Preparing week assigment


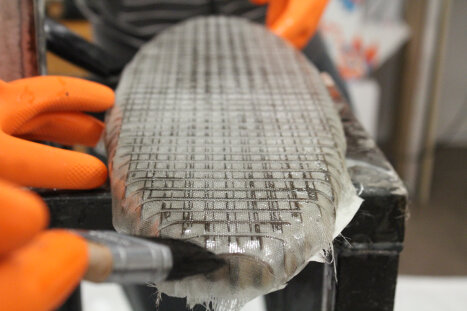
This week assigment was a nice one, but also something that I didn't fully understand until I was actually making it. I didn't want to do something that would just be a composite, I really wanted to have an application for the model I was about to do. so what me and Mathieu did was really inspired from the cardboard surf made by sheldrake . We decide to make a miniature surfboad/soon-to-be skateboard. We were really excited to show off our latest creation to everybody in the lab, but it actually took two tries before having a satisfying result.

First thing we had to do was to make a list of material needed for the project. For our first try we use potato bag fabric with epoxy resin. We found a great local store that was selling epoxy at a fair price, the epoxy resin we use is particulary made for the fabrication of surfboard, kayak and canoe. So this seems perfect for what we wanted to do. Here is the list of material, tools and machine we use for the project:

-Cardboard
-Epoxy resin
-Chemical-resistant glove
-potato bag fabric
-Safety googles
-Chemical mask
-plastic bash to cover the ground
-brush
-Laser cutter
-Scissors
-cutter
-fiber glass (second try)

Safety precaution


For the safety precaution, first thing I did was to read the safety datasheet of our resin.
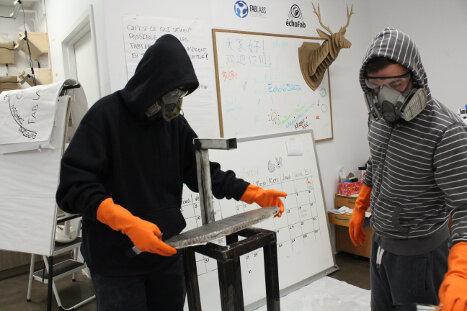
With this datasheet I learn that Epoxy resin was not harmless and needed to be handle with precaution, it is a harmful chemical that can be dangerous on skin contact and by inhalation. I went to our Rona store and explain to the guy who work there that I needed a pair of glove that would fit the use of chemical such as epoxy. We also made sure that our chemical mask was adequate for the job.

Since our lab is not the best place to work chemicals, we decide to wait for the weekend so we can be alone in the workspace while we work the chemicals. I used long sleeve shirt and cover my whole body to prevent for any contact.


I also learn that the product was stable and could only catch fire under high temperature. Also, it's in a liquid state, so we made sure the floor was covered with a plastic bash to prevent spilling on the ground.

On our second try we used fiberglass instead of potato-bag fabric, so we also had to make sure how to handle this material. Fiberglass seem harmless when you look at it, but it's a really harmfull material that needed to be handle with care, no skin contact, we also had to make sure that the space was totally clean after use, we throw the residues away on a container bin made for chemicals and hazardous materials.


Designing the model


Designing the model was super simple and fast, we used Autodesk Fusion360 and install an amazing pluggin call slicer for fusion. Slicer is exatcly like 123D make but seems to work better!

Composite!


First time we tried the process was a mess, we applied way to much epoxy resin on our potatobag fabric, the environment was really not well taken care of and we were really dirty doing the job. also the fabric was really tick and would'nt take the form of our board. We also didn't wait the proper time fot the epoxy to dry.

We also didn't use the proper security equipment and put ourselves in exposition with harmfull material, we uses short sleeves after a few minutes because of the heat and we didn't had the proper security gloves. they finally disolve with the contact of the epoxy resin.
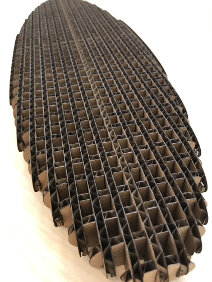
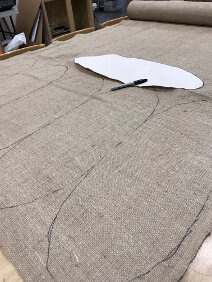
One thing that is super cool with making mistakes is that we learn a lot from them! So when we went for ous second try everything was really smooth and easy. We went to the store and bought some fiberglass, this had a cleaner look and the fabric of potatobag seems to thick for what we wanted. Once we had the fiberglass, we cut it into the correct form for envelopping our surf.


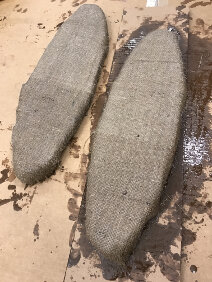
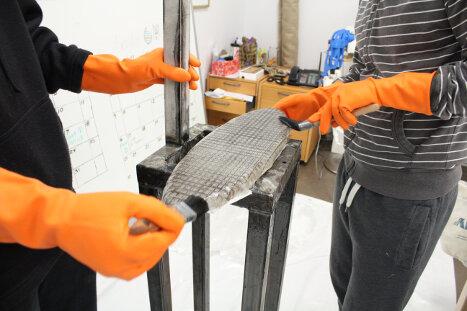
Then we cover the carboard with the fiberglass and gently applied way less epoxy resin than the first time. we did a clean job and wait for the first side to dry. Also, Damn we look badass.
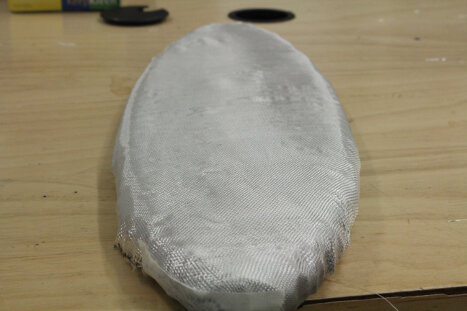
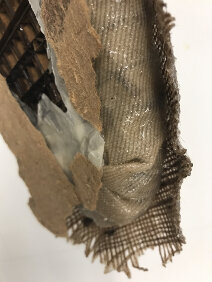
The surf is a sucess, one both side was applied, all we had to do is trim the borders and here we are! The thing I learn is that when working with these kind of process, you really need to prepare your space and thhe way you will procede in advance, once you know how to proceed everything goes well.

Second mold


Me and Marc made a second mold using machinable wax, it's a really simple design that we will CNC into our wax. The design was made using Fusion 360, we started by doing a rectangle sketch and extruding it, the we made another rectangle on top of it to make an negative extrusion, we had fillet and the job was done!


This was for our female part, the male part is done with the same process, but it's a positive extrusion on the second extrusion instead of a negative one.

We then machine the mold into our wax and here are the results:


For a more in deph explanation of the step above, please refer to Marc composite page. Now tha we have our mold, we can start doing our composite, this time we made a really clean setup, to make sure it would be easy to clean up the mess afterward!


Then we prepare and open our vacuum-sealed bag so that they would be ready to receive our mess in time and without having to touch anything with our messy gloves.


We are now ready to mix and apply our epoxy onto our mold and our potato bag layers.


Once this is done, we put our male part on top of the mold and press hard, then we can put everything in the vacum-bag and let the magic happen!


After 24 hours, I took the mold out of the vacuum bag, and realise then that I didn't use any unmolding agent, this made the job a little harder to get the part off the mold, still was fairly easy. Here are the final Result!:


I think it look's pretty good!

My Files!Here