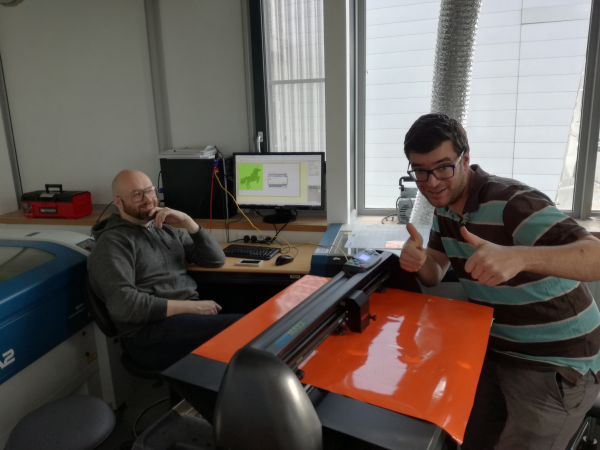
The Vynile cutter is trully the unloved tool of the FabLab... It's quick to learn its basics though.
We used the MAXX Air of KNK.


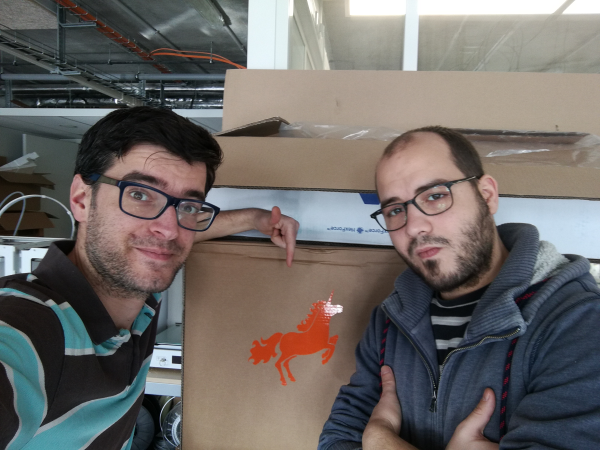
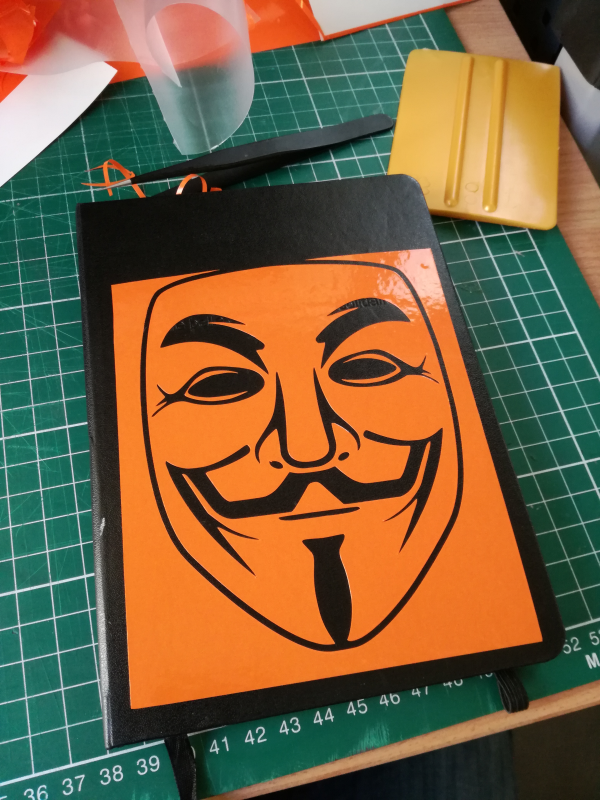
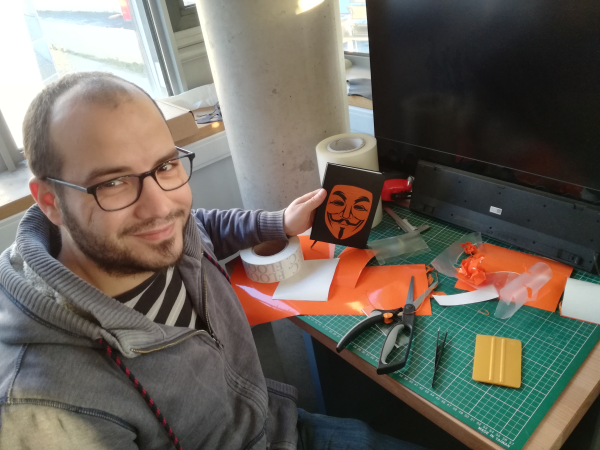
As a test file, I used an anonymous mask in black and white that I vectorized using KNK's software.
My first try failed. The Roll was not rolling properly. Second one failed too: there wasn't enough pressure on the blade. The cut wasn't clean and continuous.
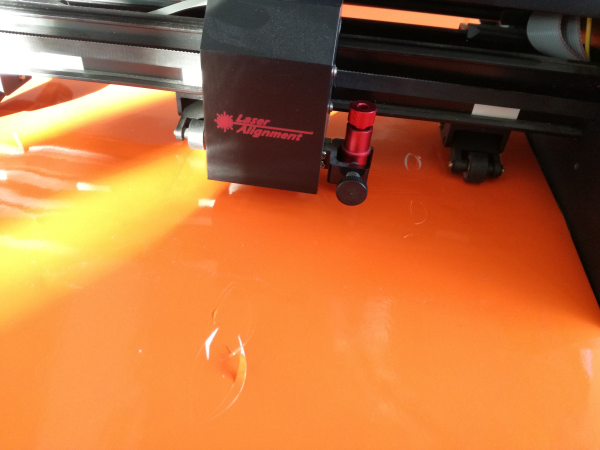
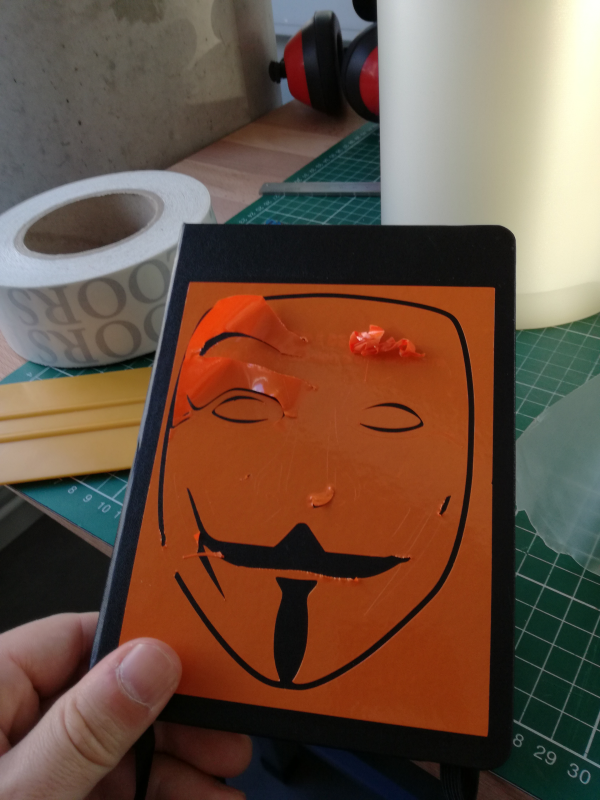
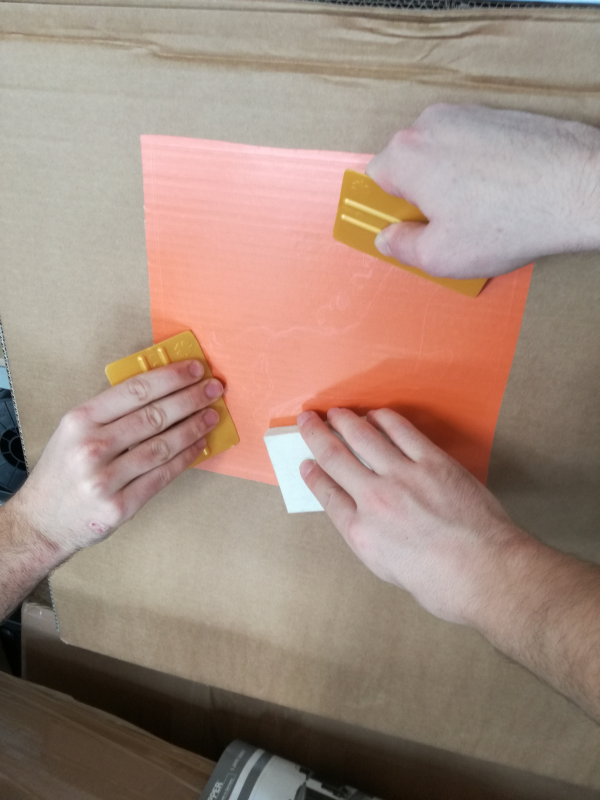
The 3rd try worked! It is important to find the good cutting parameters (ie: V=20mm/S P=60%) for the cut. "marouflage" and Transfert-tape use is straight forward.
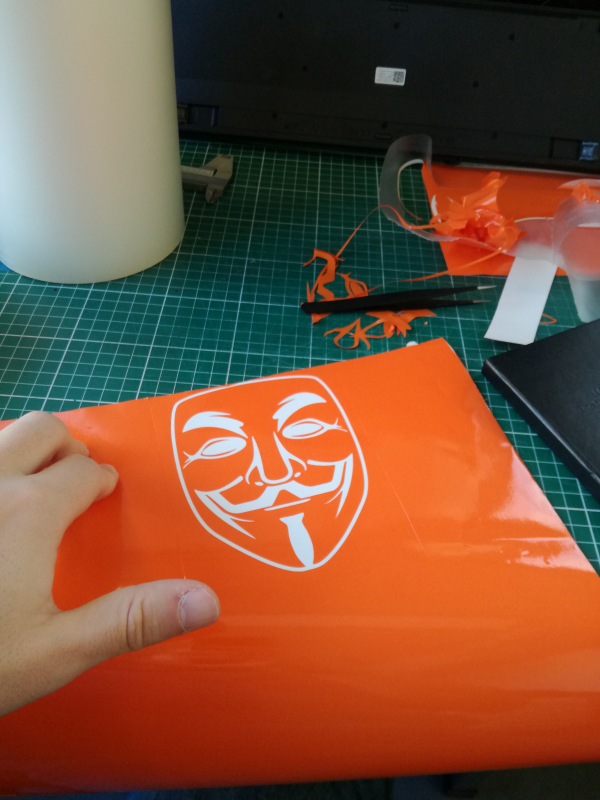
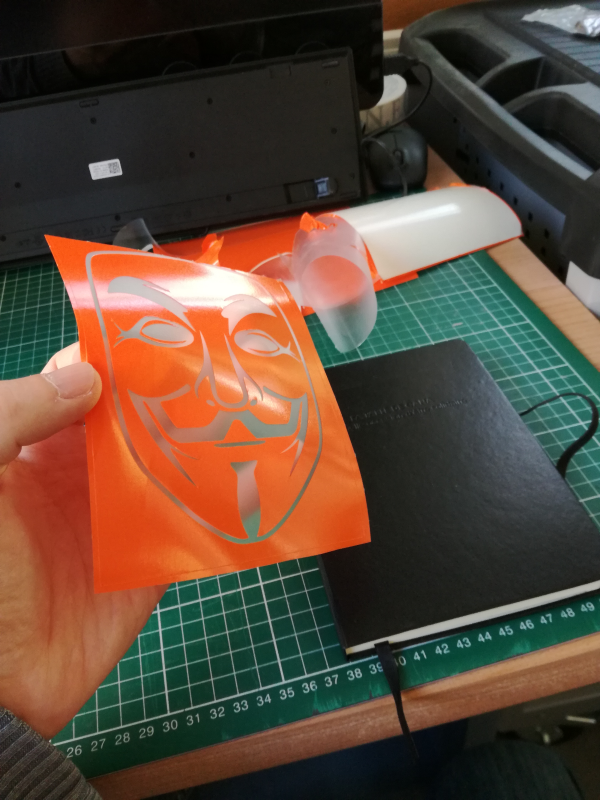
All the source files of this assignement can be found here
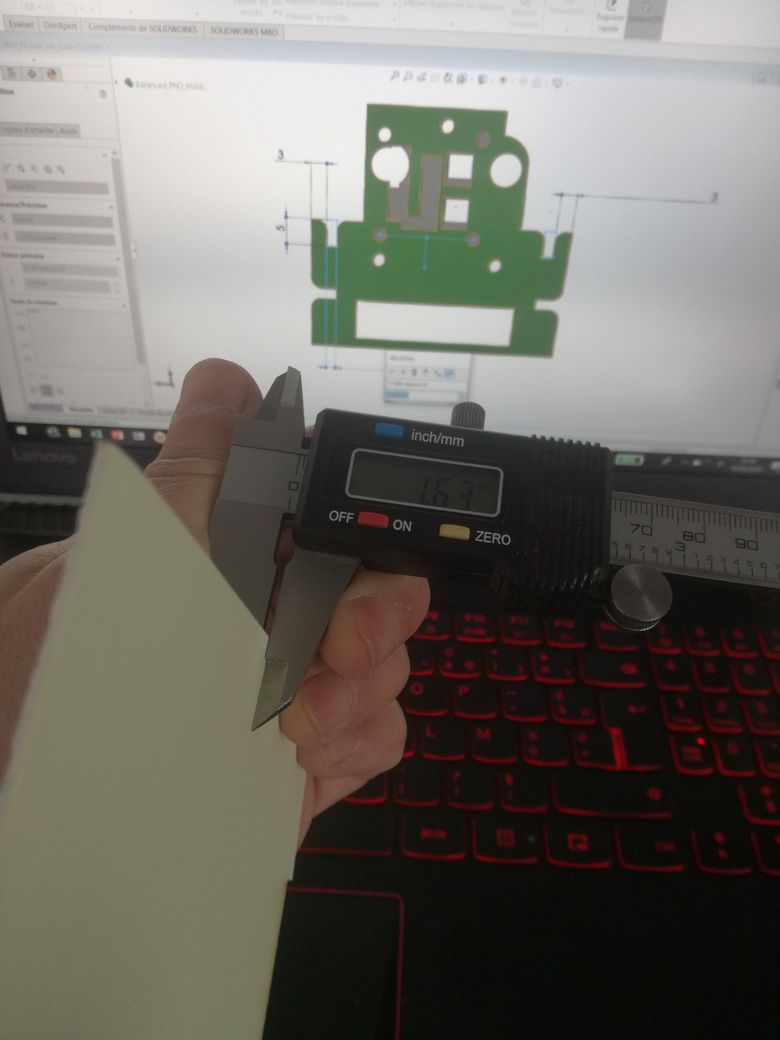
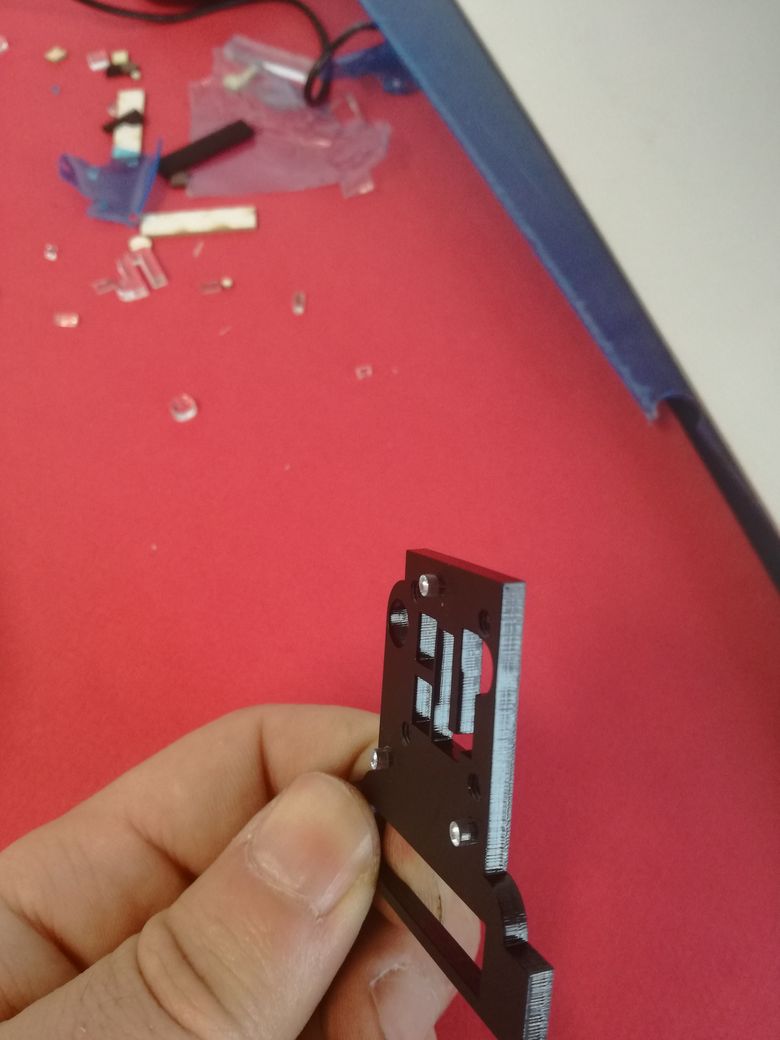
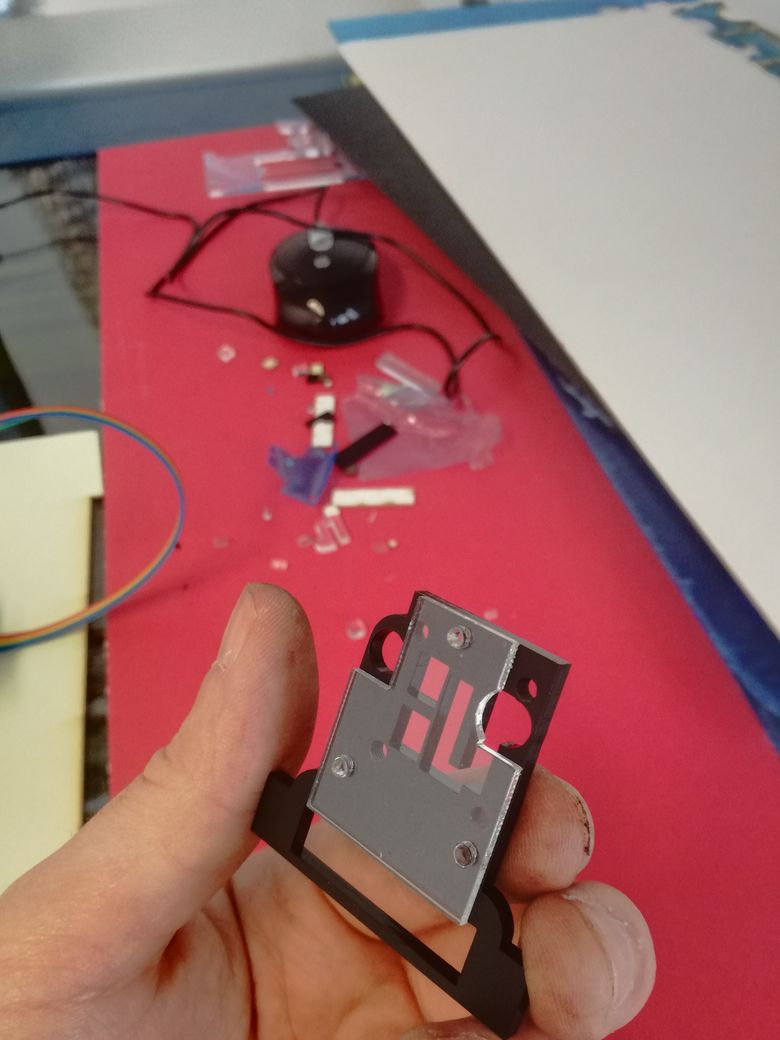
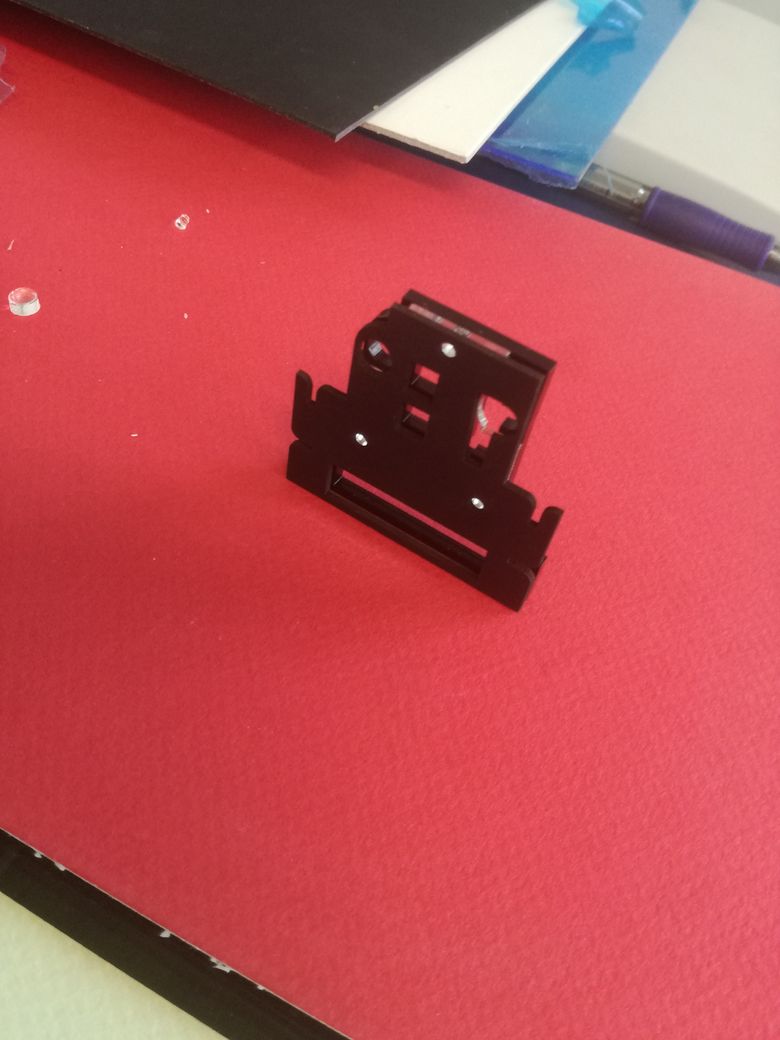
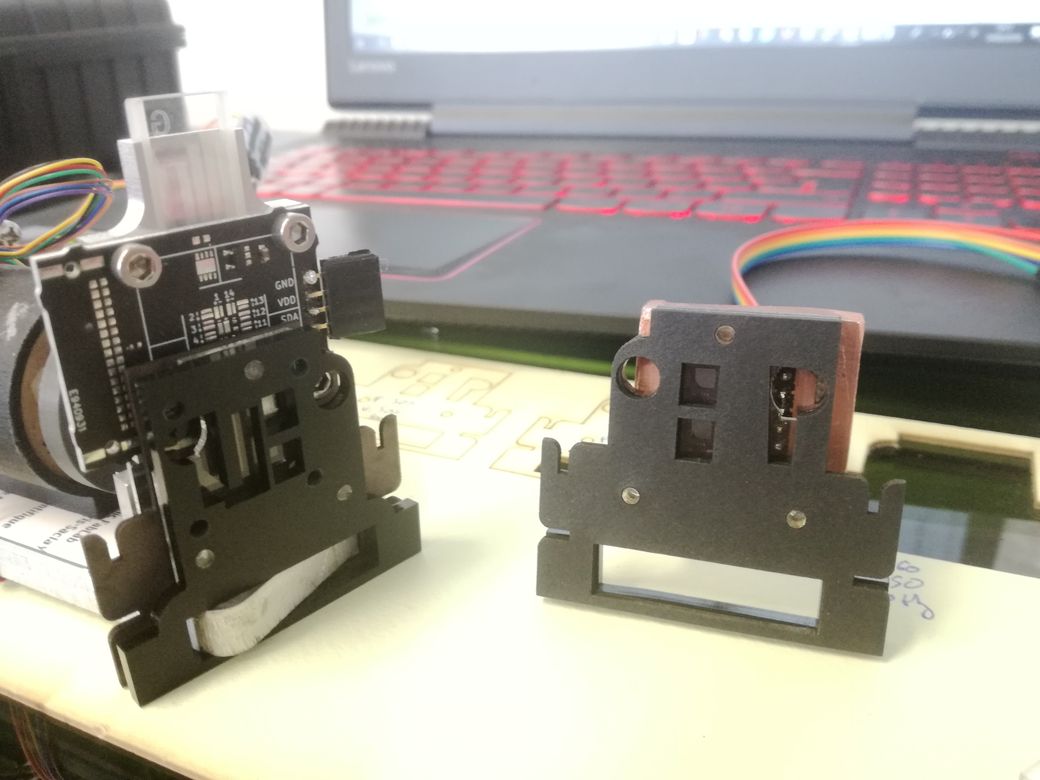
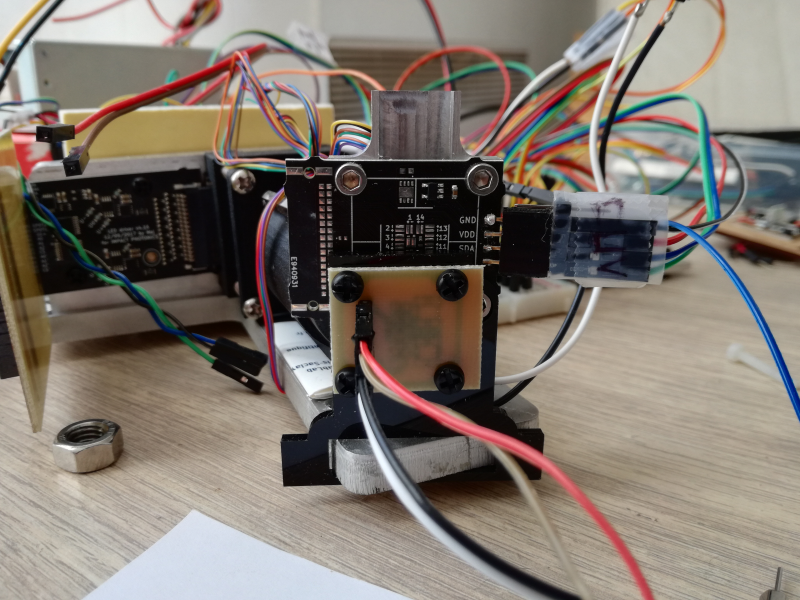
I needed a holder, and possibly a window for my new photo-detector PCB
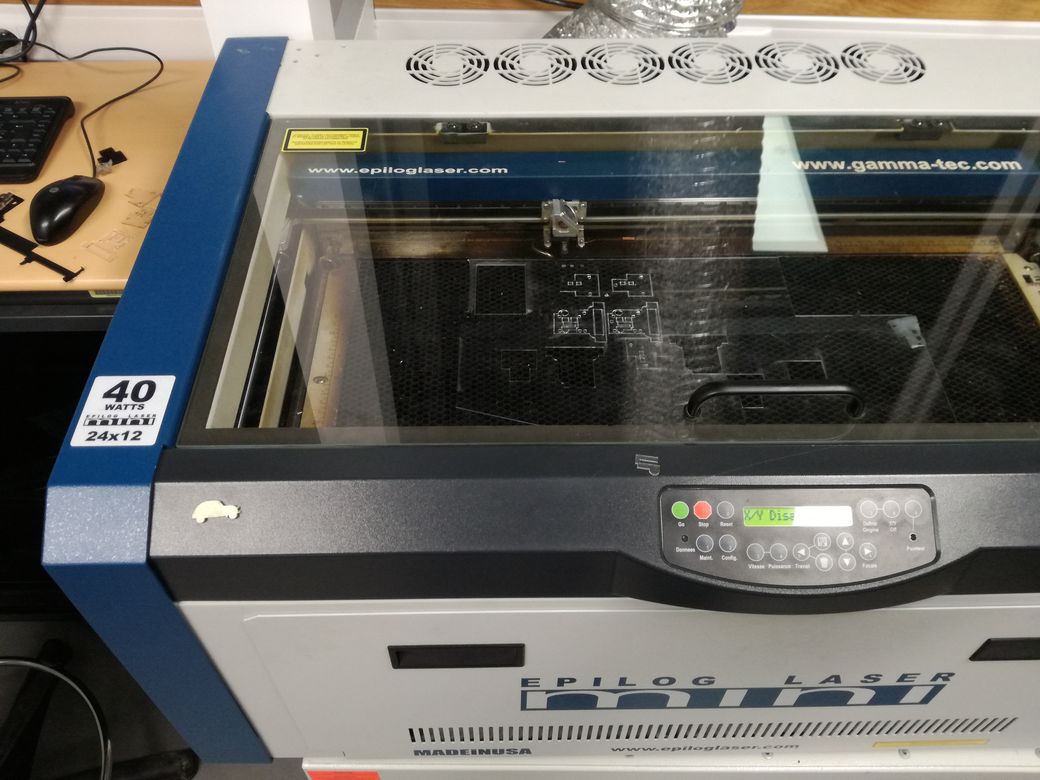
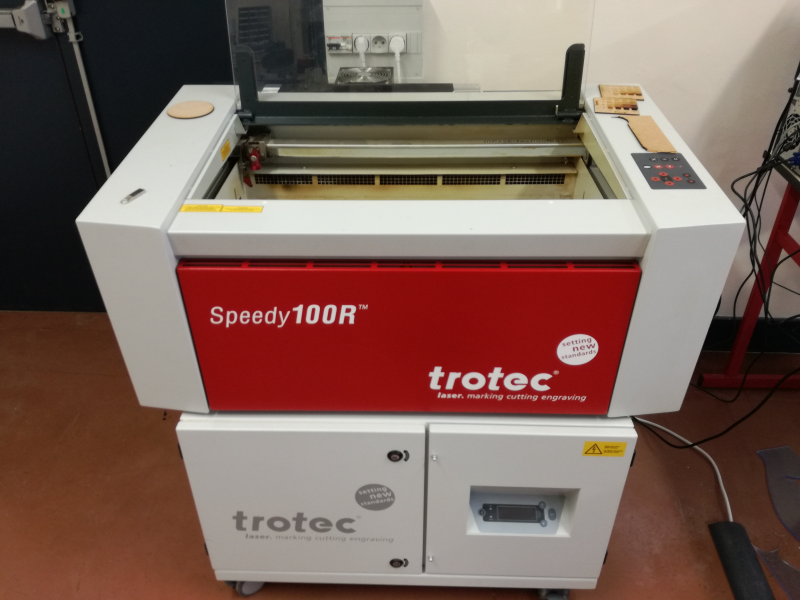
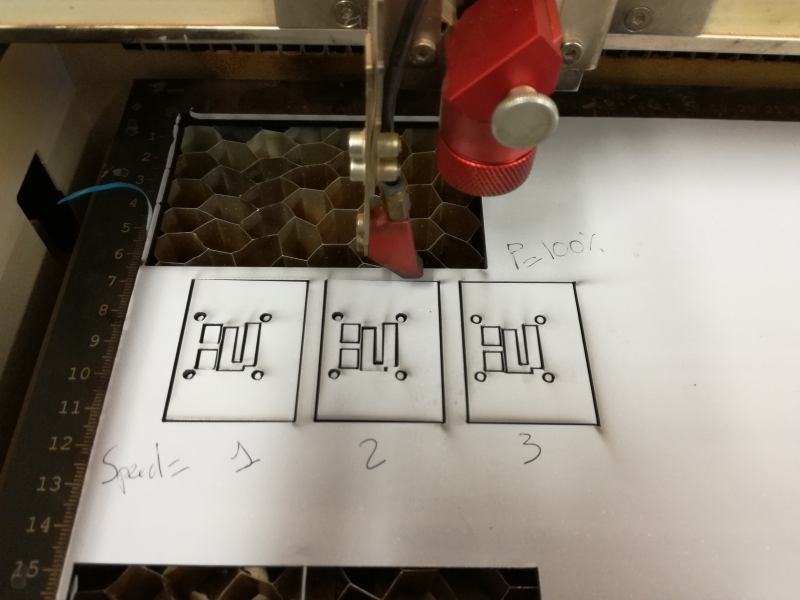
Using the CO2 laser (10um, 40W) I cut black PMMA 3mm: P=100%, V between 2 and 3 %
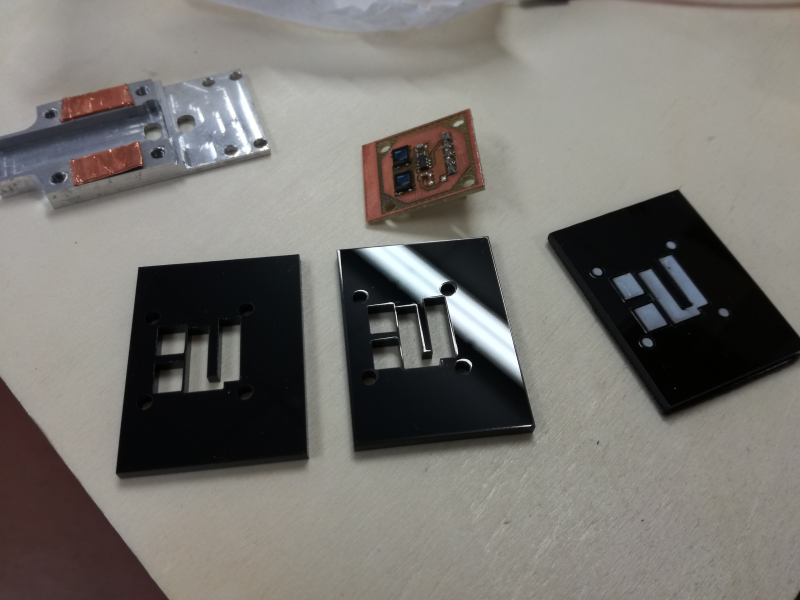
I used manual threading tool (M3) and nylon screw to "screw-fit" the PCB.
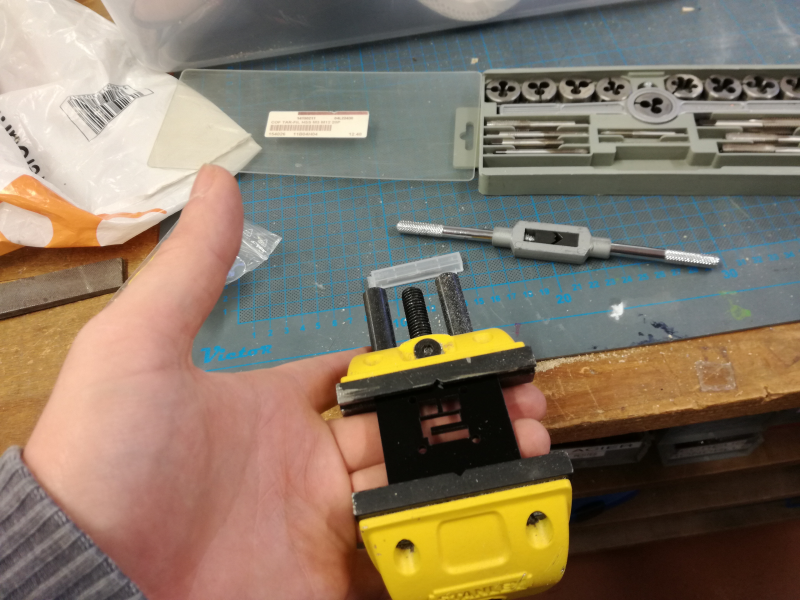
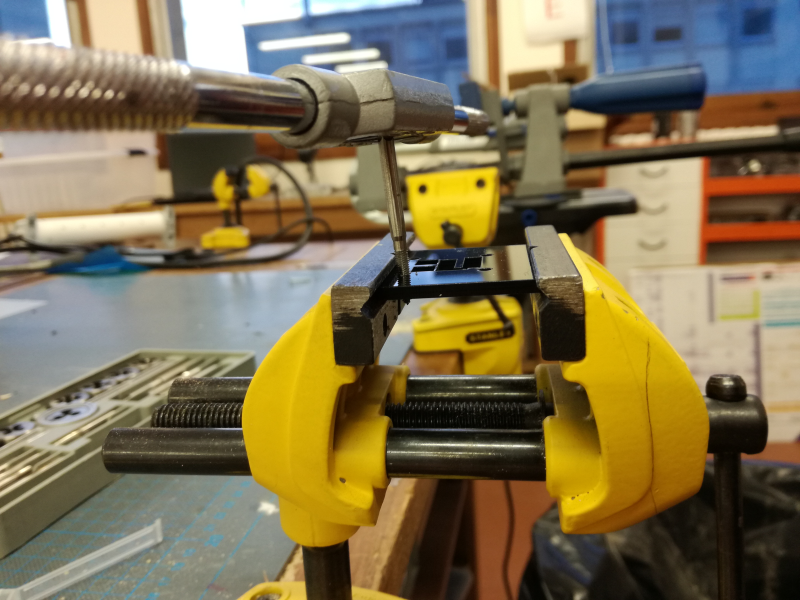
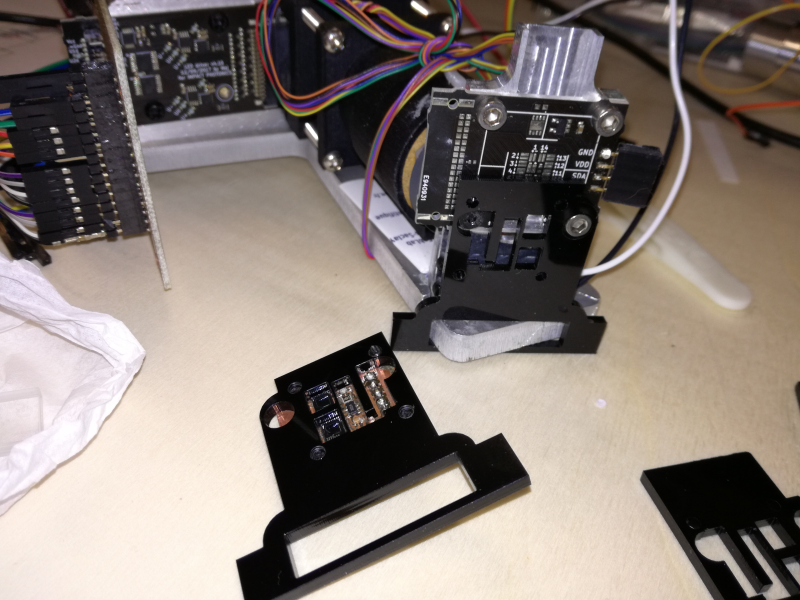
Thanks to the perfect shape of the holder (achieved through only 3 parametric iterations) the photodiodes are perfectly alligned with my beams!
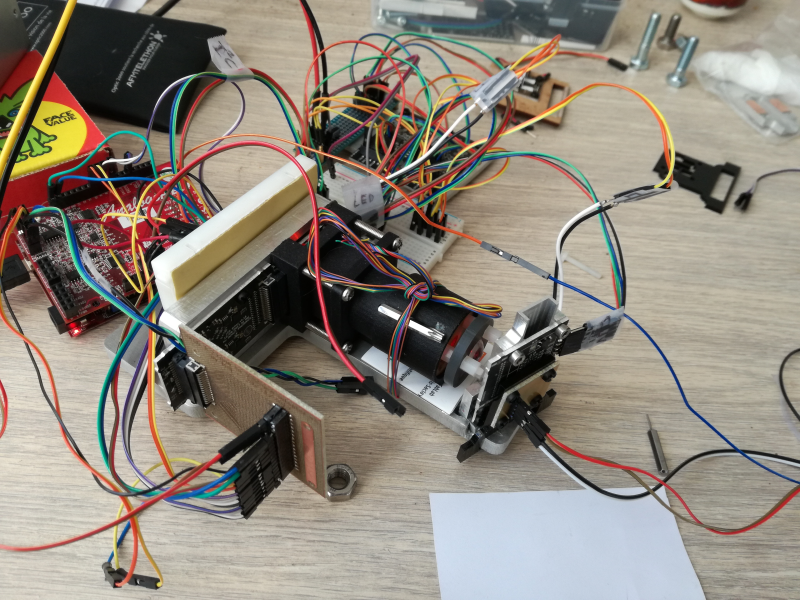
During my measures, the cuvette holder in front of the PCB is changing temperature (from 15 to 35°C).
It creates thermal perurbation on the photodiodes, which photo-current is temperature dependant (+/-1% per °C).
I need to insulate and thermalise my PCB... Radiator? Window? Puff Walls?
I used M3 screws to hold the PCB on its holder. It is not true to the spirit of "press-fit".
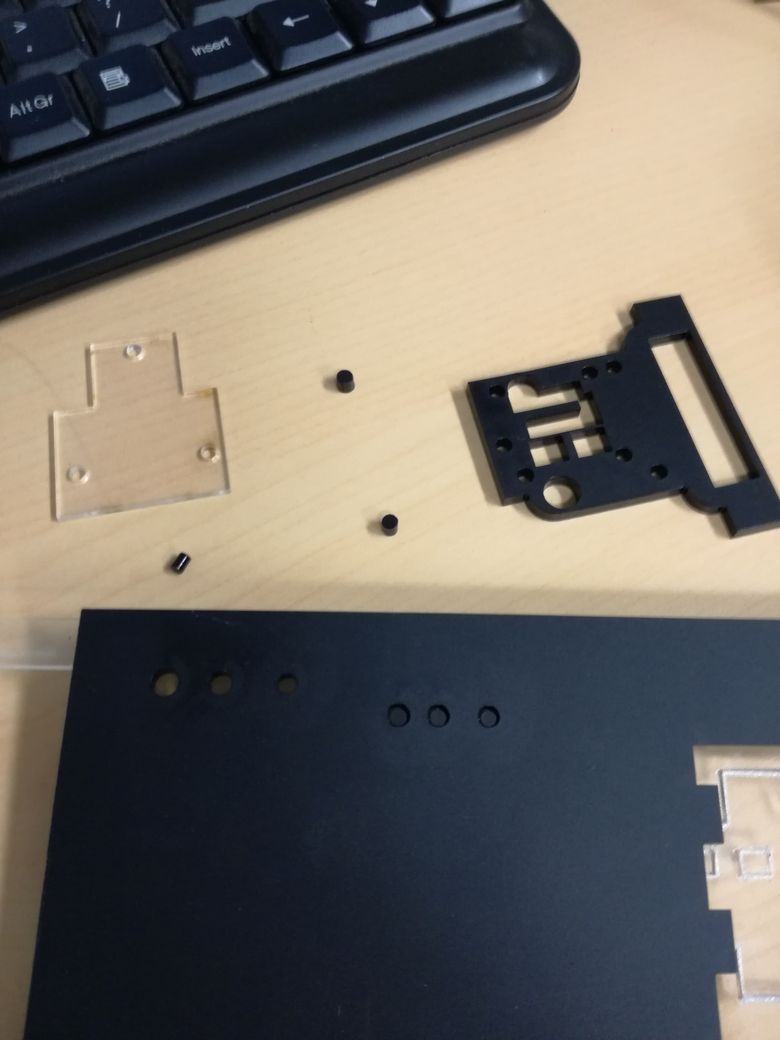
Instead of creating a full "press-fit kit" I focused on finding a "press-fit" method to stack several thin (1.5 to 3mm) surfaces...
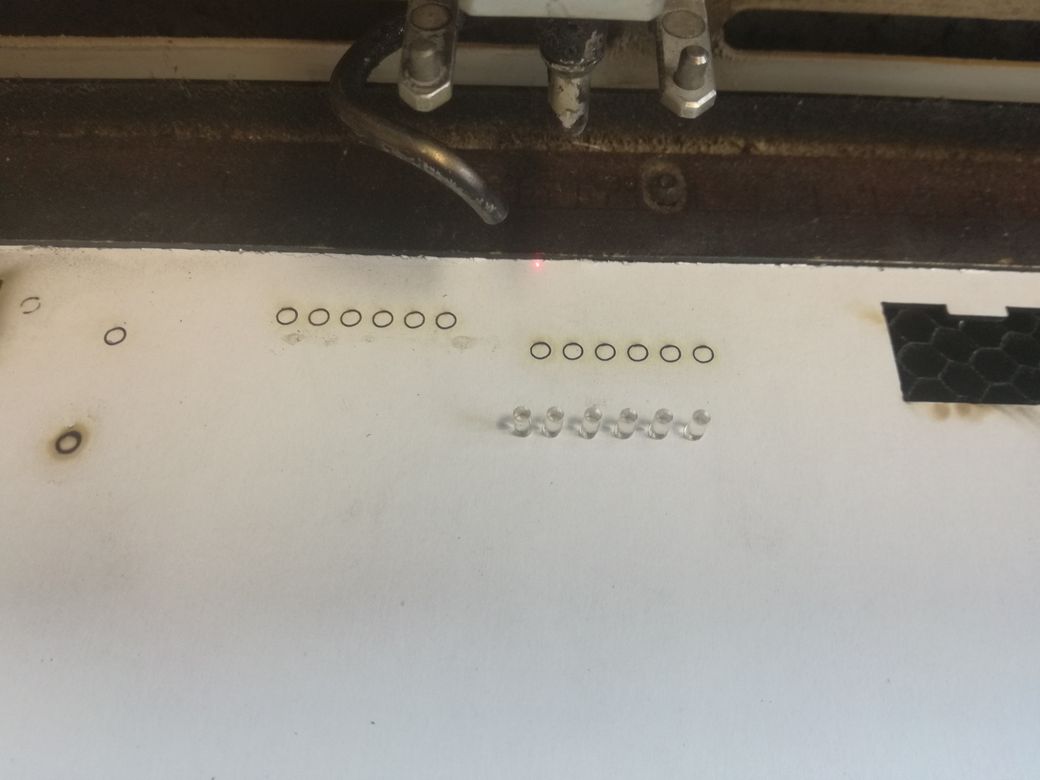
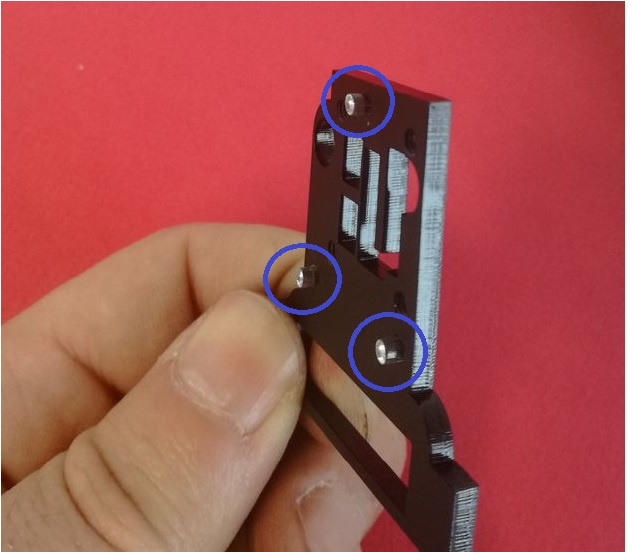
A solution that works gorgeously is to use a "circular" inserts cut with laser in thick (4 to 10mm) plastic. Thanks to the heating of the laser and melting of the plastic, instead of getting perfect cylindres we gets slightly "conical" cylinders. Which is perfect for a super-strong press-fit! I cercled the cones in blue in one pictures, so you wont miss them!
It is possible to assemble this kit many ways: with or without the PMMA window, or with extra paper layer to increase insulation.
