Wildcard - Sewing Machine
Intrigued by the PFAFF sewing machine, I set out to learn how to use it and make an embroidered T-shirt for my son. I was surprised at just how easy the machine was to use - even for someone with very little sewing experience. It certainly helped that a colleague of mine who is extremely experienced in sewing spent about an hour with me and taught me the core set of skills I needed to be successful with the machine - Thanks Rachael!
I also found that the machine has great documentation to help you get started.
These are the key steps in producing an embroidered design:
-- Thread the machine
-- Set your fabric into the hoop
-- Tell the machine what you want to embroider
Threading the machine
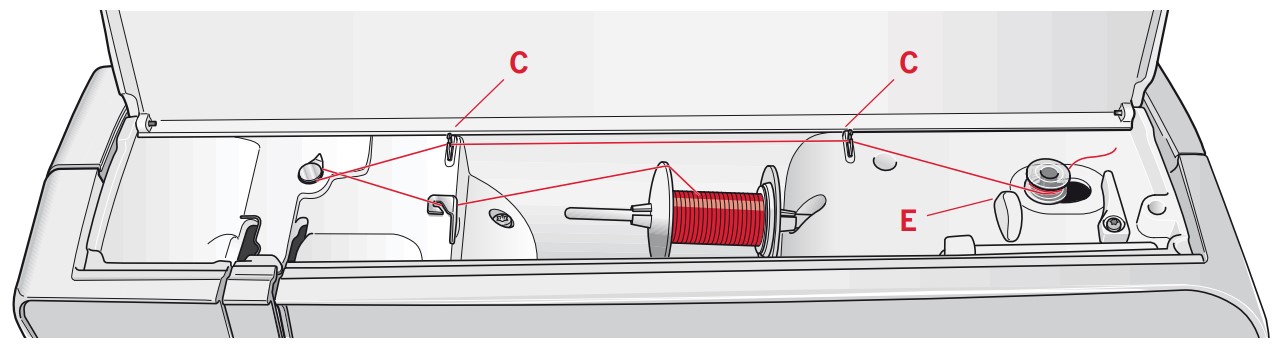
This is broken down into two steps: 1) winding the bobbon, and 2) threading the needle. Winding a bobbin is the act of taking thread off of the main spool and transferring it to a smaller spool (the bobbin) so it can be used during embroidering as the thread for the underside of your fabric. You can wind the bobbin in a few differnt ways, but the key is to make sure you maintain proper tension on the thread as the bobbin is wound. An experienced person might hold the thread in their hands to regulate the tension, but for an amature like me who's affraid of getting rope burn, I chose to pass the thread through the various openings that keep the thread taut.
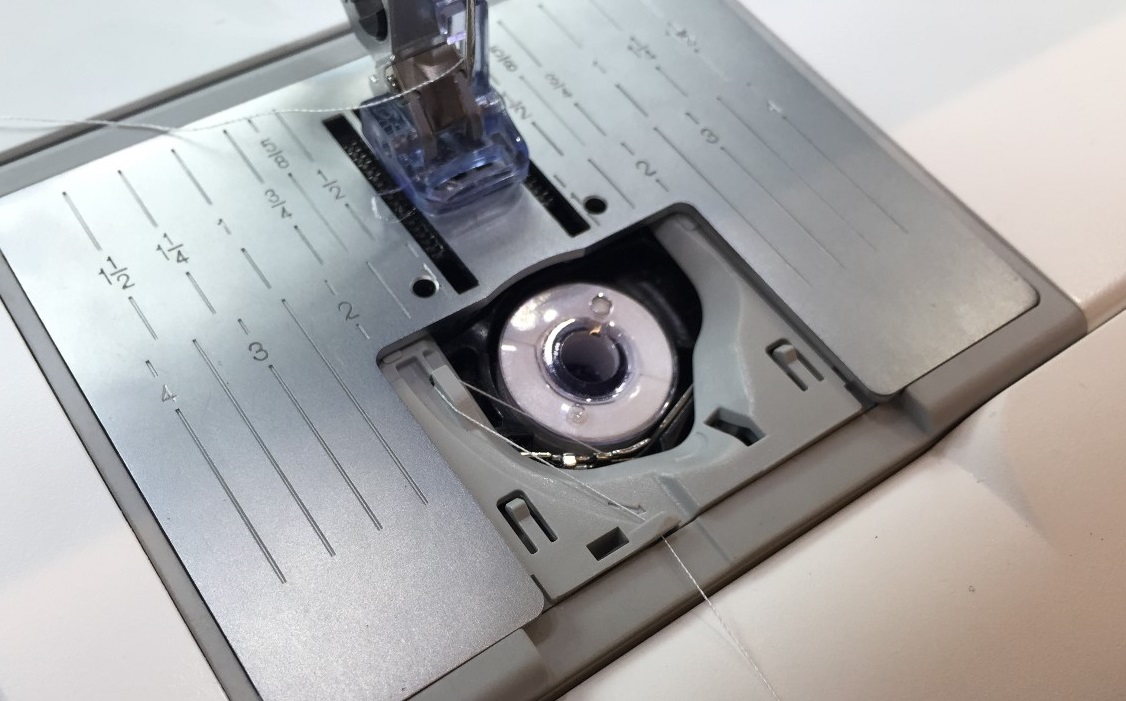
With the bobbin wound, I could place it into the chamber at the bottom of the machine. Doing this required the thread to be wound around a few key tension points, but overall it wasn't too bad. The thing to remember is that the bobbin should unwind in a counterclockwise direstion, so be sure to load it so the thread comes off on the left side and is pointing towards you. I like to remember it as the bobbin and thread form the letter "P".
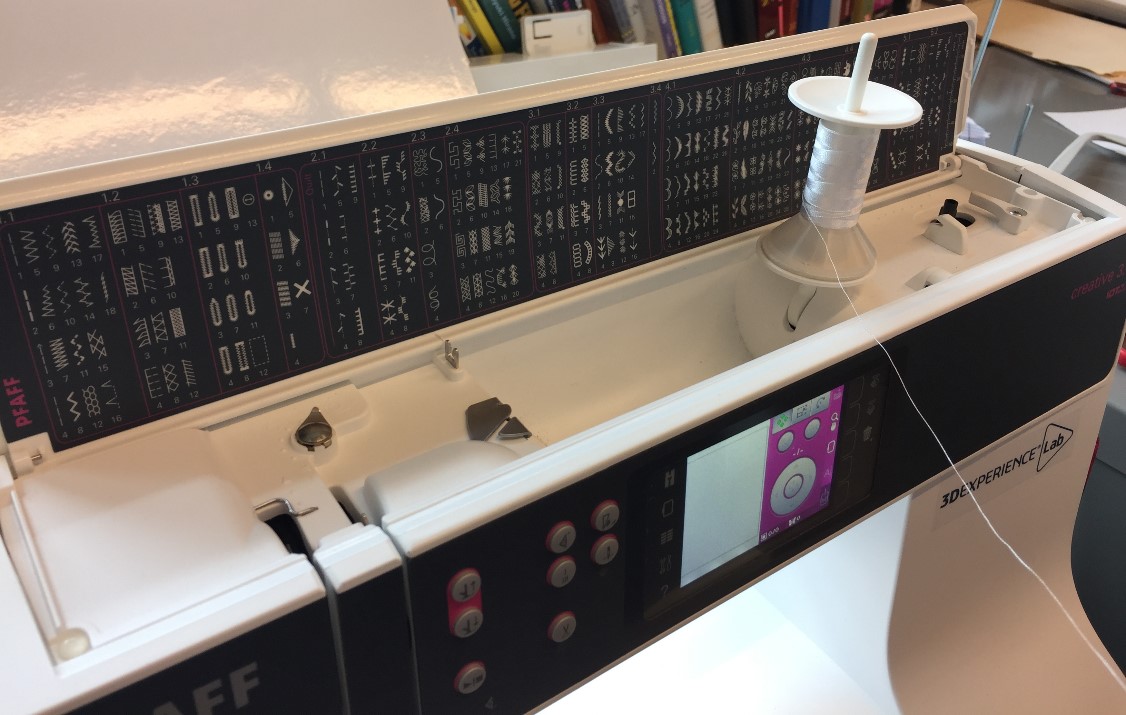
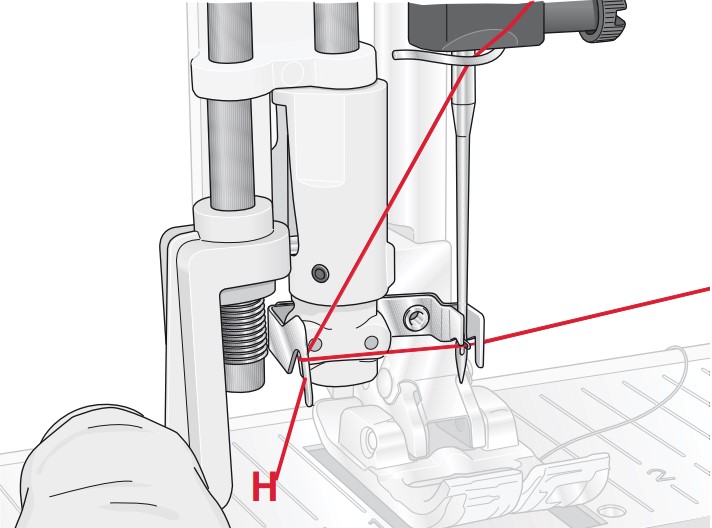
After placing the cover on the bobbin, I manuvered the thread through the series of channels necessary to get it from the spool to the needle. If you are doing this for the first time, I recommend checking against the instruction manual. It will guide you through winding the thread under the pre-tension disk and the needle thread guide - two important "destinations" along the path to the needle.
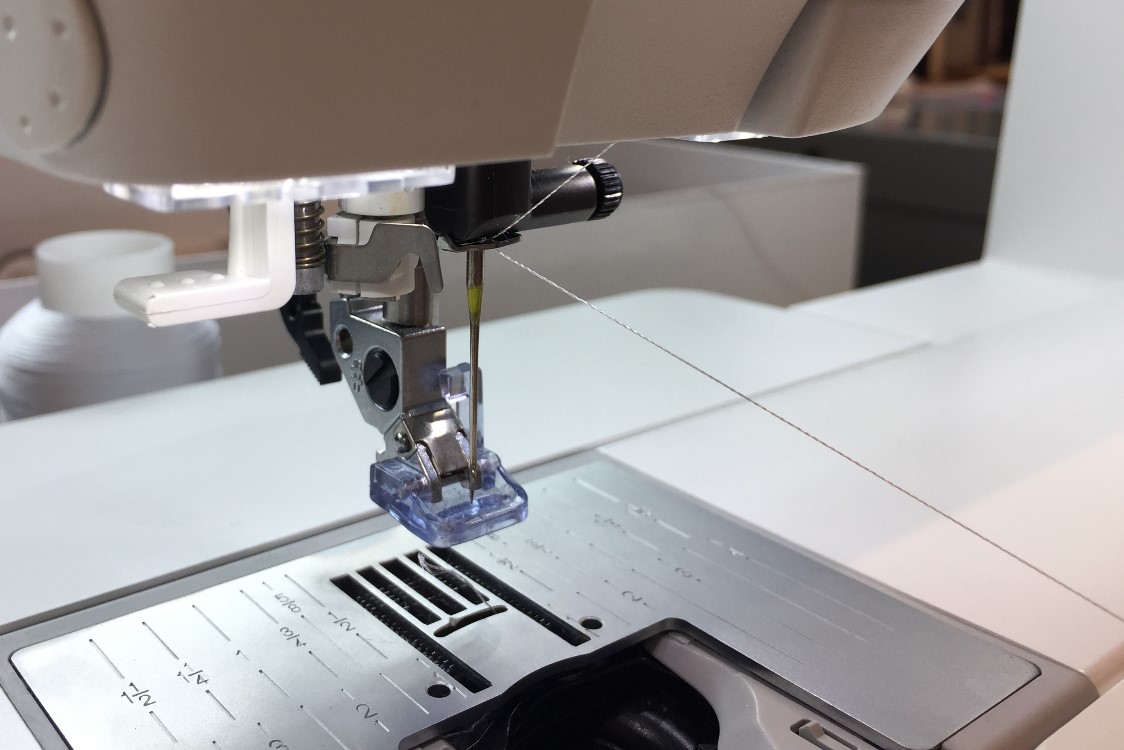
If you're old-school, you can try and insert the thread through the needle's eye by hand, but I found it very convenient to use the needle threader built into the machine. You do have to weave the thread around a few more contraptions, but when you release the spring loaded device, the thread is pulled through the eye. It's quite satisfying!
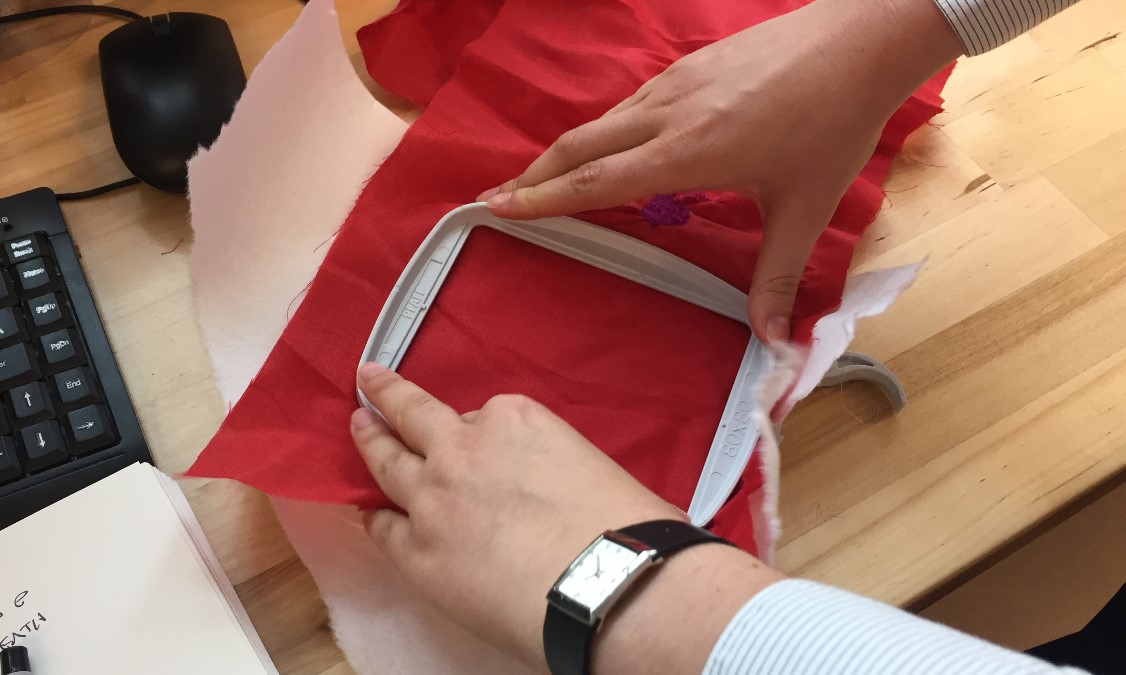
Set your fabric into the hoop
The next step is to prepare the fabric that you intend to sew. I practiced with a scrap piece of fabric and placed a piece of backing behind it. This is critical as it helps the fabric withstand the abuse it will undergo during sewing.
After sandwiching the fabric and backing between the top and bottom hoops, I worked my way around the perimeter and pulled the fabric taught (while maintaining downward pressure onthe hoop). Then I closed the clamp on the bottom hoop to hold everything securley. This is critical as it will reduce the likelihood that the fabric will bunch up as the needle makes its way through the design.
Tell the machine what you want to embroider
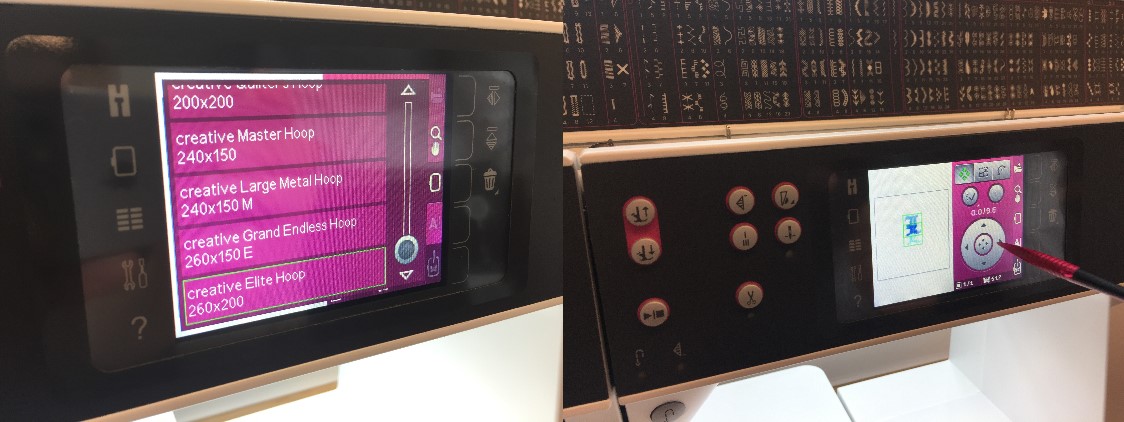
To tell the machine what to embroider, you can either use the built in capabilities of teh machine, or provide it a "g-code" file that represents your design. The built in capabilities of the machine include lettering and basic shapes. I practiced by embroidering the letter "L".
Using the machine's LCD screen, I specified the hoop size I was using, and then placed the letter "L" in the center of the sewing area. I used the simple scale and positionig tools to refine the letter's location and then pressed the "play" button to start the job.
A few minutes later, I had this:
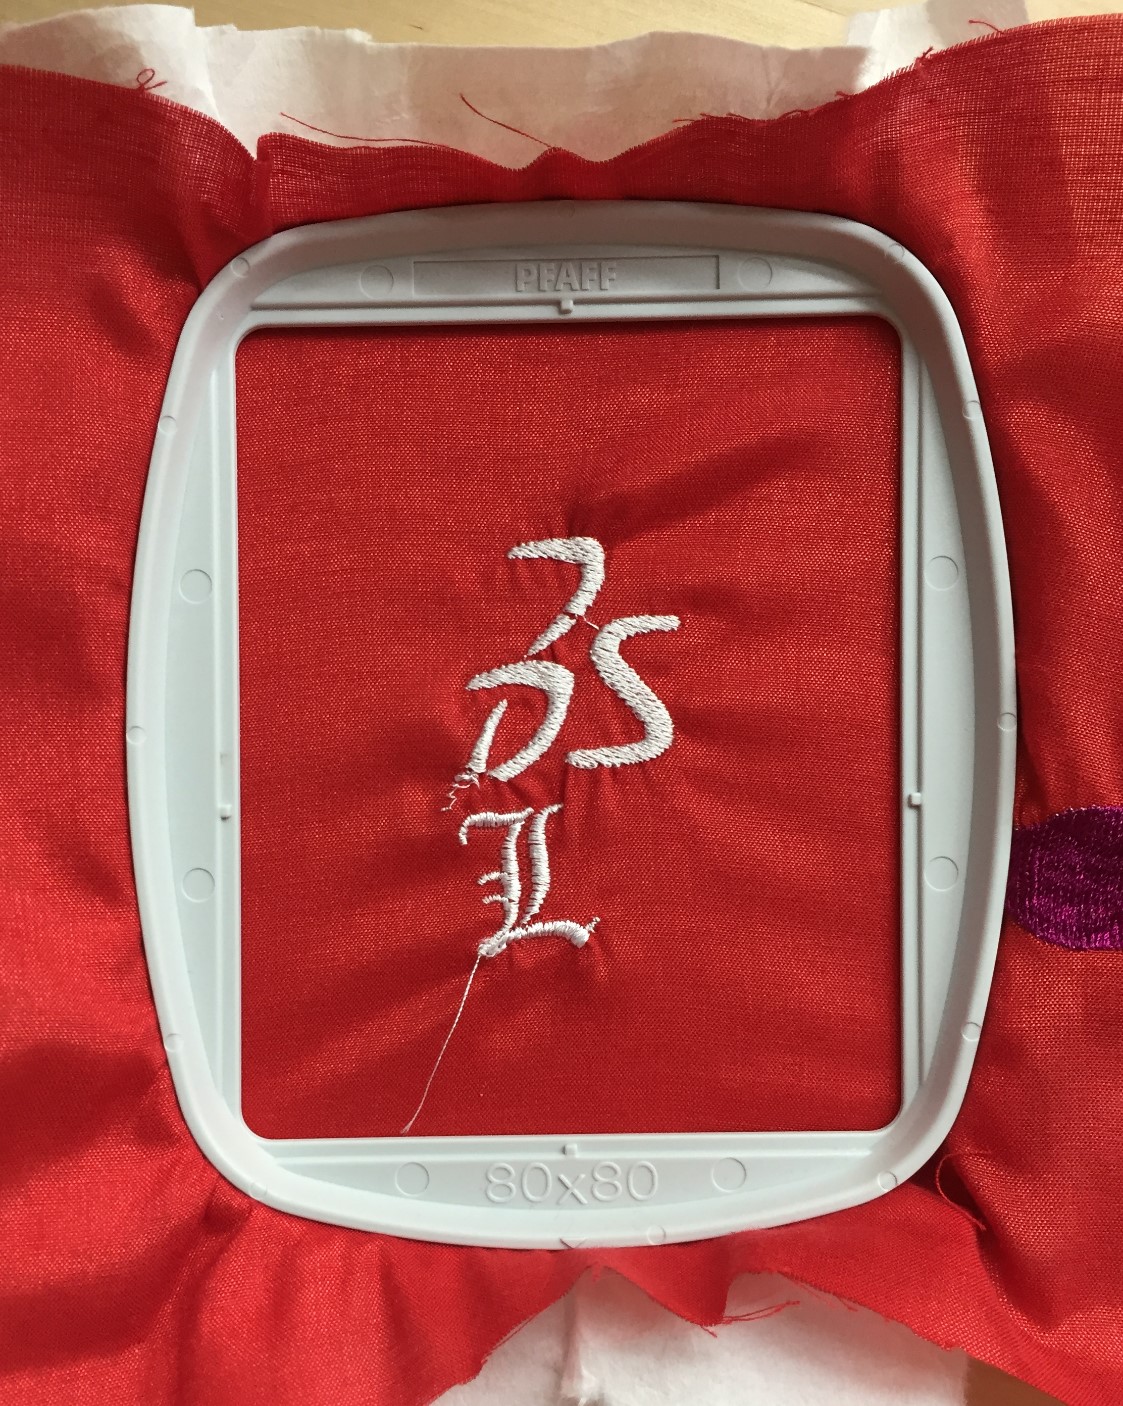
You'll notice in the image above that I also tried to embroider the Dassault Systemes logo. I used an image that had aready been uploaded to the machine to do this, but I experimented with the angle at which the stitches were positioned - clearly I chose a poor angle as the bottom corner failed to sew properly. Lesson learned! On my next project (below) I chose an appropriate angle that fit the design. This corrected the problem.
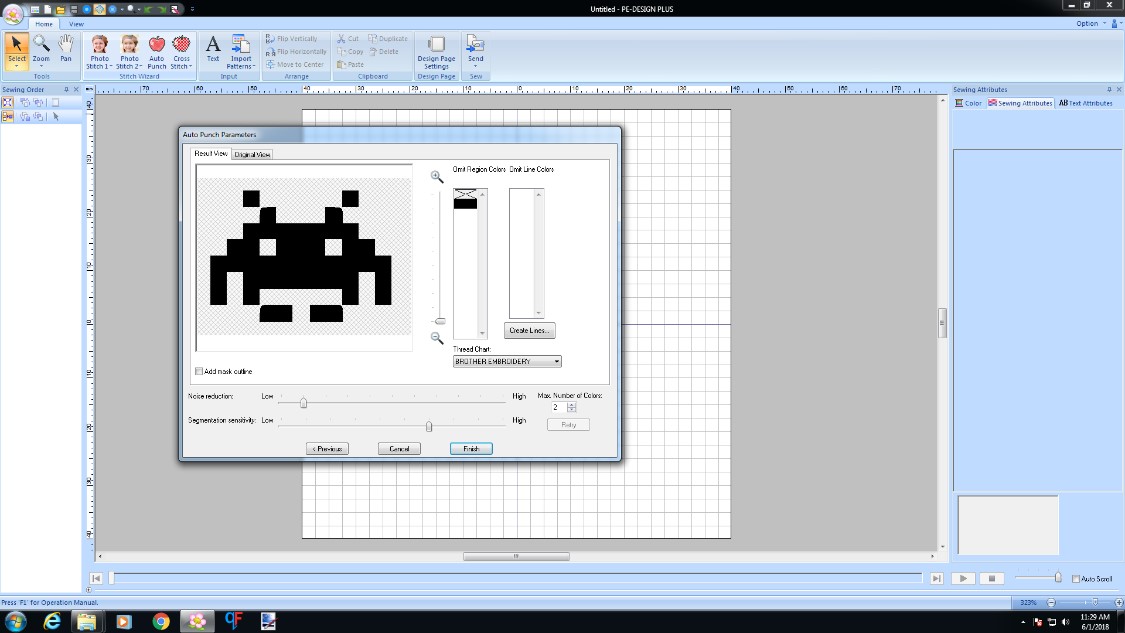
The second way to tell the machine what to embroider is to use an application like "PE Design" to process an image and generate g-code. I imported a picture into the application and used it to size and position it, as well as determine what type of stich to use and what angle to embroider.
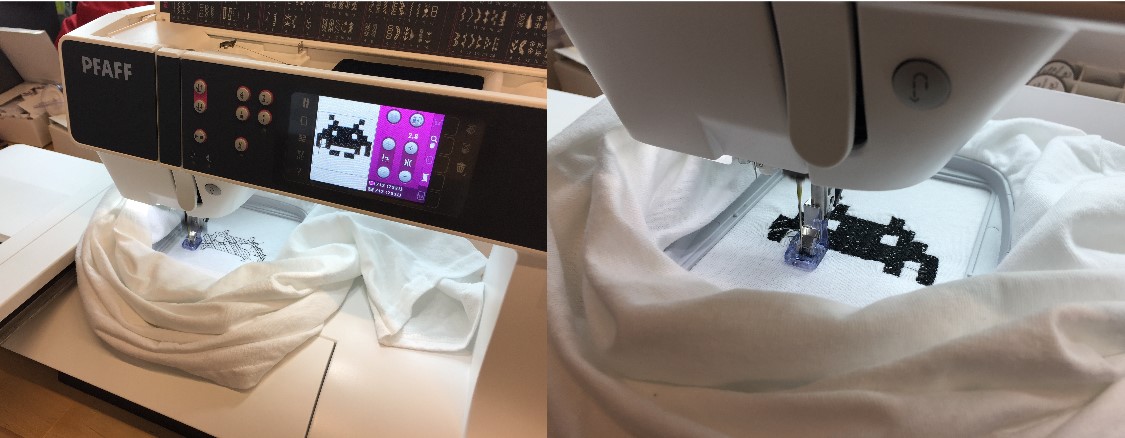
I exported the file as a ".VIP" file and transfered it to the sewing machine via a USB stick. I used the sewing machine's LCD screen to select my VIP file and then started the job. Here's what I made!
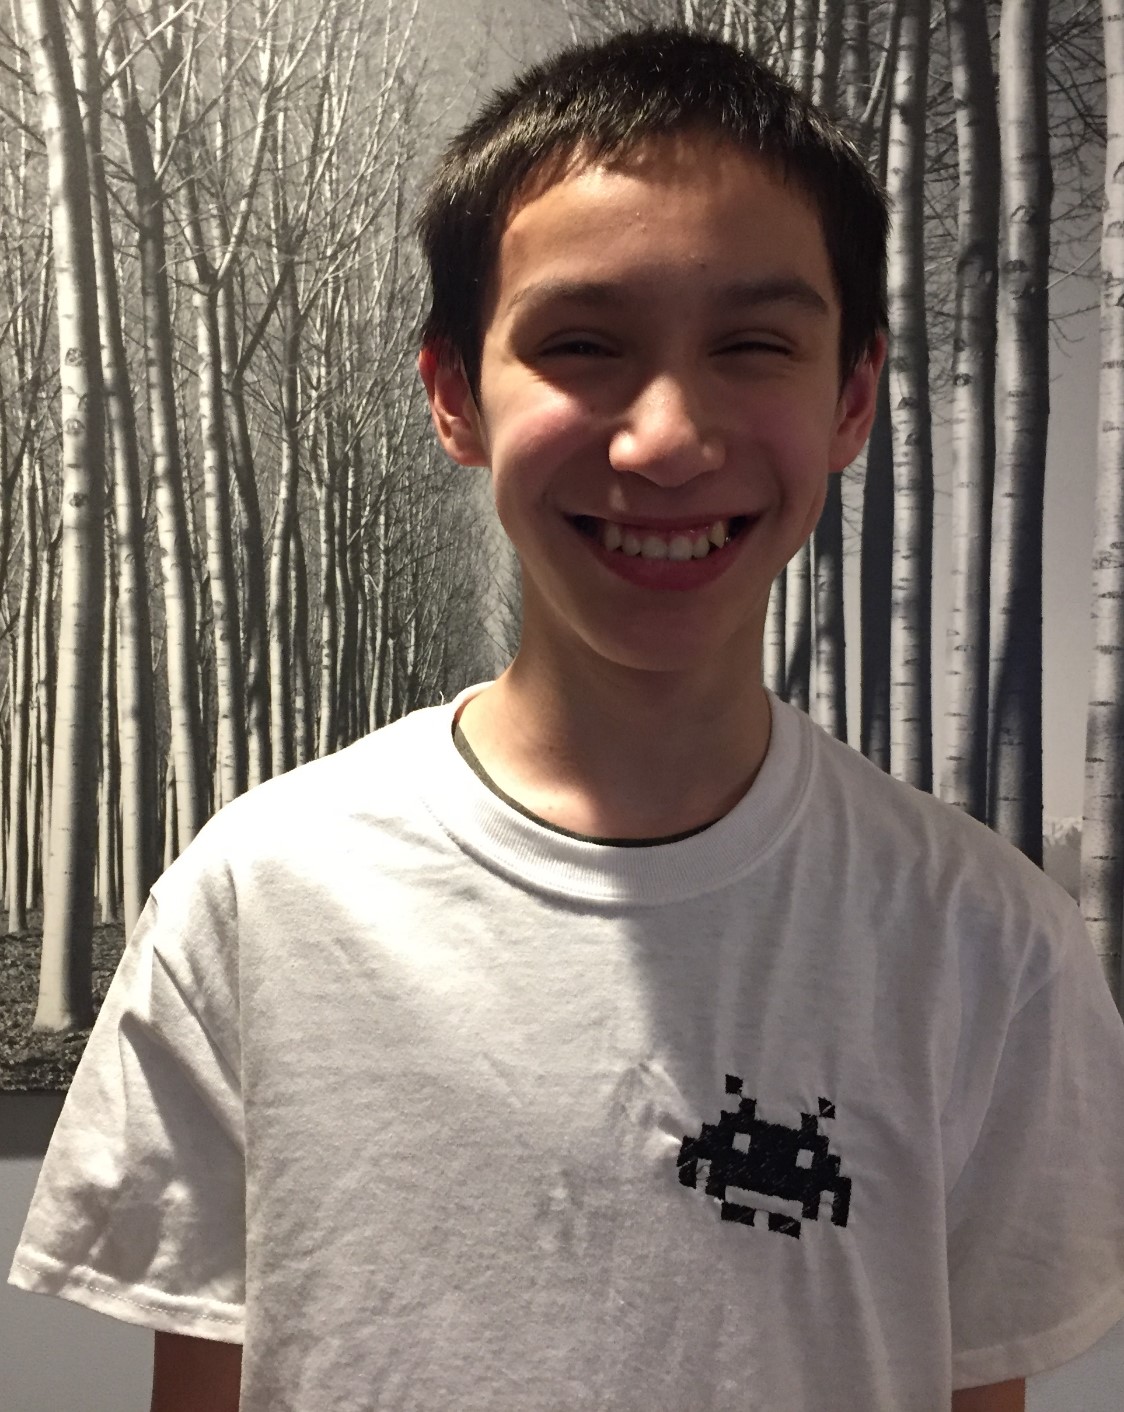
...and here's the happy gift recipient!