Exercise 17: Applications and Implications
Applications and Implications
- Individual Assignment: Propose a final project that integrates the range of units covered.
My Process (Final Project Design)
:: May 29, 2018 ::
This week’s assignment was to propose a final project that integrates the range of units covered. Below I describe the concept behind my final project and how I hope to develop it over the coming 6 months.
Pixie, The Interactive TV Screen
My final project is called Pixie. Pixie is an interactive TV screen.
Now that may sound like an oxymoron, but here’s why it’s not...
In my past life I was an architect, and now I’m an educator (who still loves design). I started an innovation school 8 years ago, called NuVu, where students work on hands-on projects in a studio-based environment and use the creative process to design solutions to real world problems. Over the years, one of the more challenging aspects has been the role of “screens” (computer screens, phones, tablets) in our studio. Screens can be a tool for students to develop their projects through the use of 3D design software or they can be an equally distracting and addictive tool drawing them away from working on their projects. It’s a constant battle with engagement when screens are concerned.
In this project, I focused on the idea of screens and their dichotomy of useful and useless and explored how to flip the notion of a static, homogeneous screen into an interactive, ever-changing screen. Pixie, my project engaging in this discourse, has a screen that is forever changing. The idea is that with time, I or anyone can build different screens or facades that can be attached to the TV box. Pixie operates in 3 states:
In the Dormant State, Pixie looks like a dormant TV. It can be used as a shelf to store items and keep objects for safe keeping. In its dormant state, I plan to use Pixie as a place to store my modem-router boxes which currently sit on the floor and are quite an eye sore.
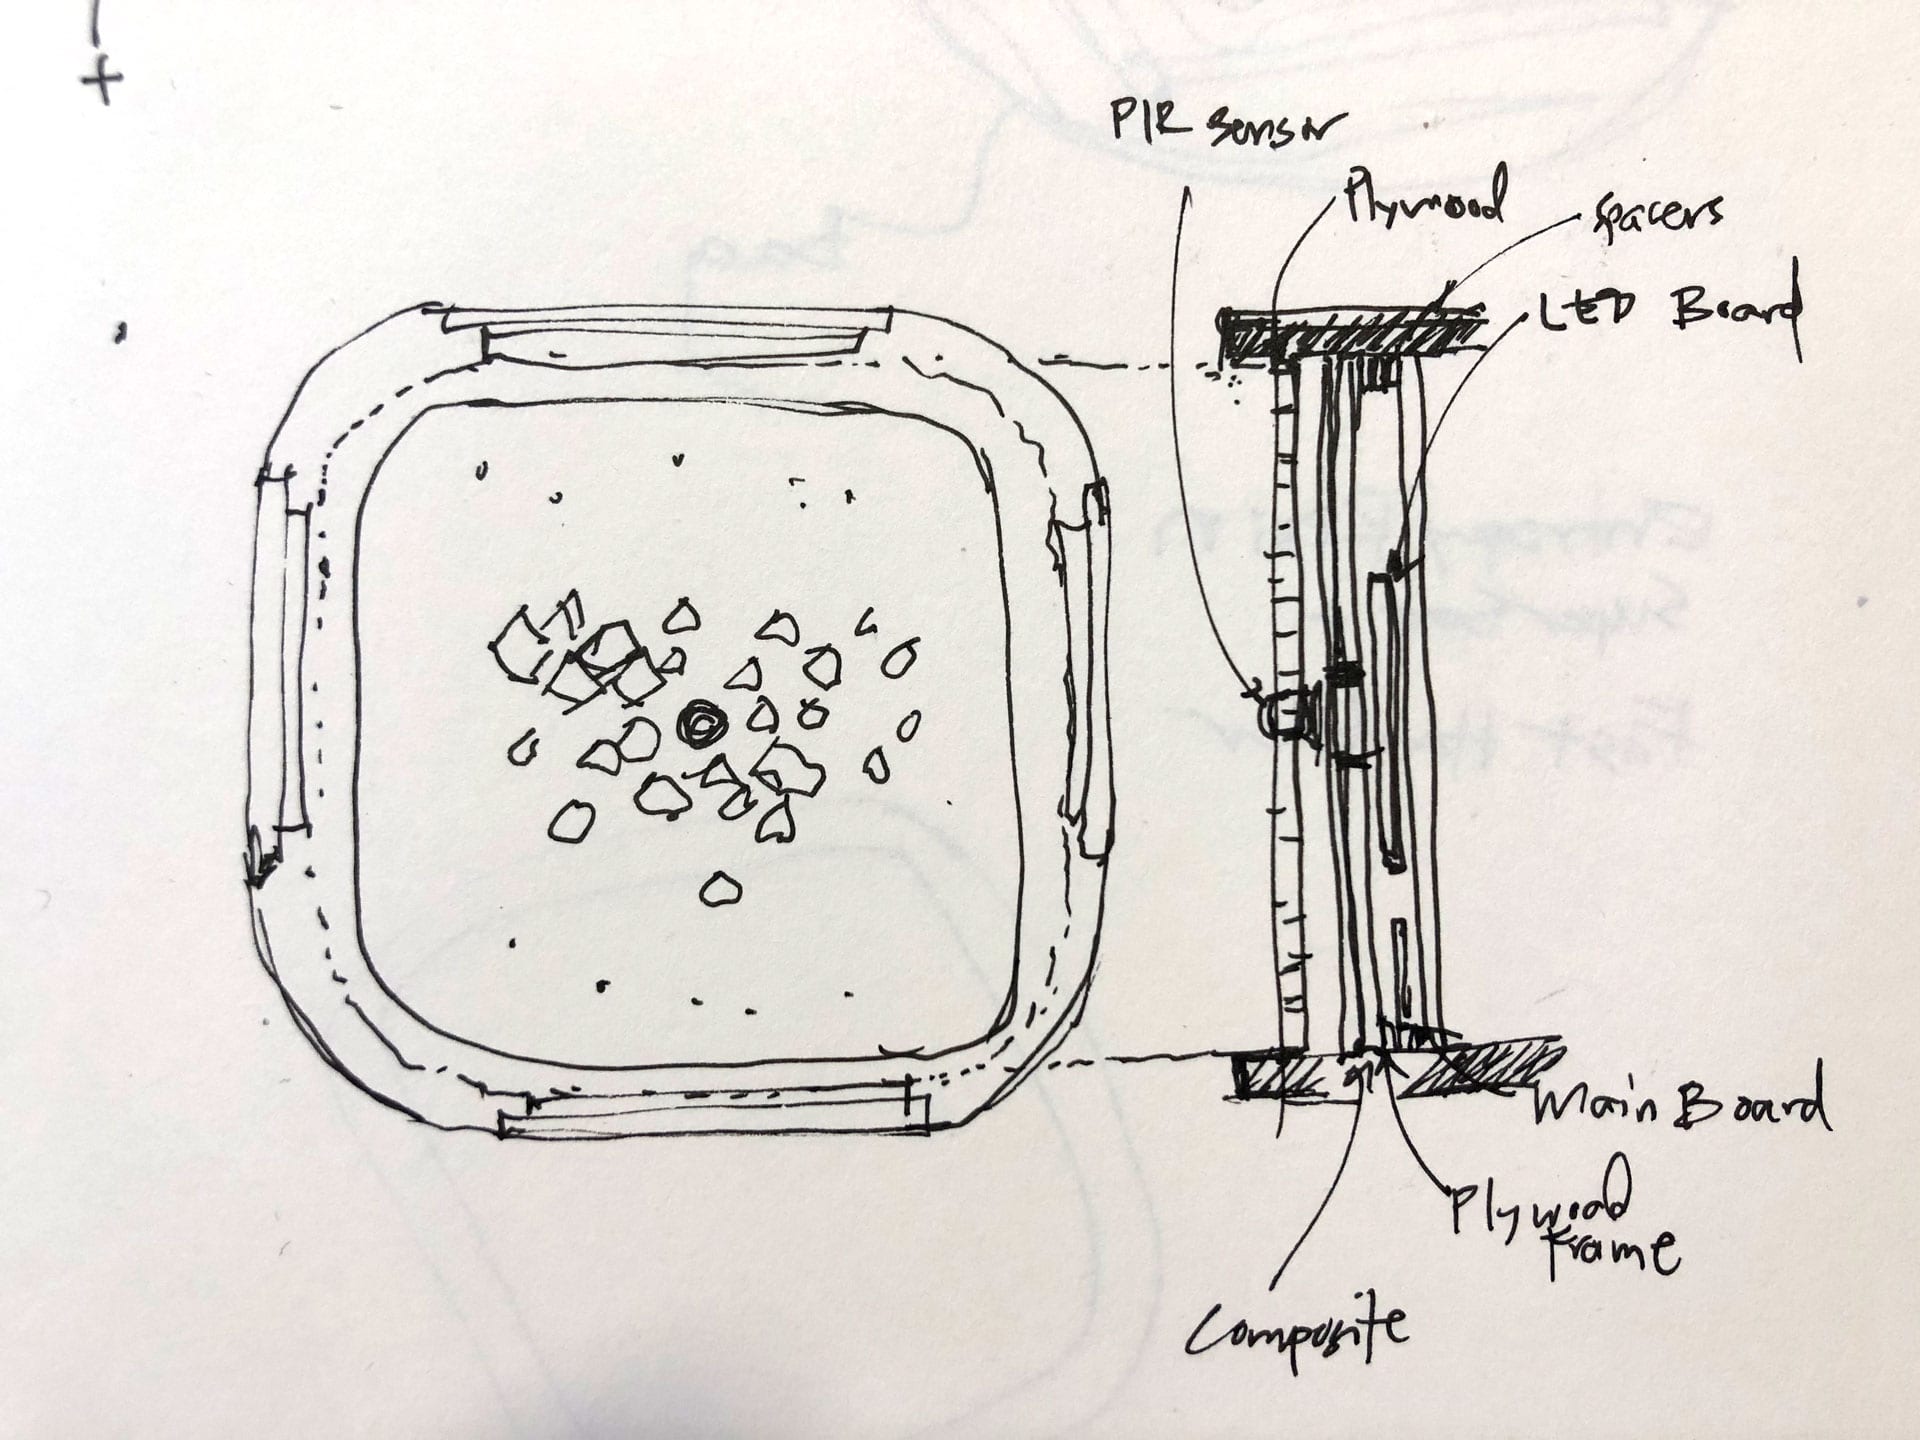
In its Aware State, Pixie lights up. There is a PIR Sensor at the center of the screen that picks up motion, such as a passing person, and its lights turn on for a short period.
The final state is the Interactive State. In this state, users can touch Pixie’s screen and engage in more interactive activities, such as game play and music making. This is the part of Pixie that will continually evolve and change over time. Over the next year, I plan to design three to five different screens with different goals. Some of the screens I plan to build include: A puzzle and coding game for kids ages 4-6, a PacMan game, a music-making gear machine, and a heartbeat monitoring system.
Pixie’s Design & Onomastics
Pixie is designed to be small and portable with dimensions of approximately 18”Hx16”Wx14”D. With the tangible screens, the desire is to invite kids and adults to touch and interact with Pixie. The entire piece rests closer to the ground, so that younger kids between the ages of 2-6 can interact with it directly.
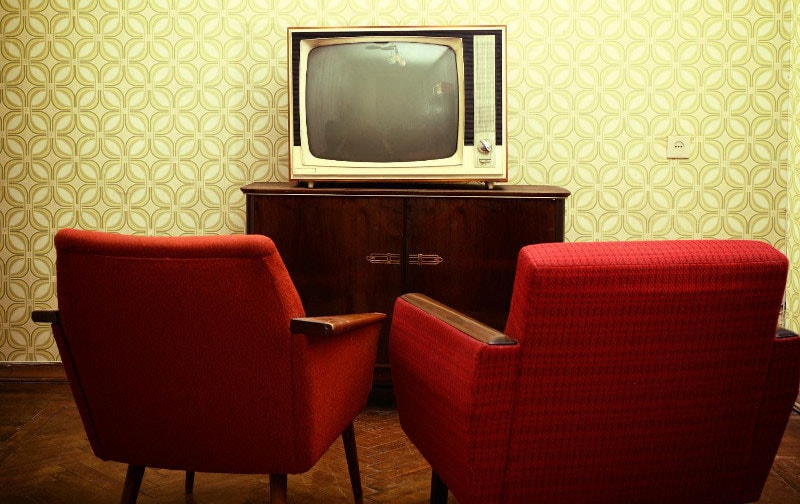
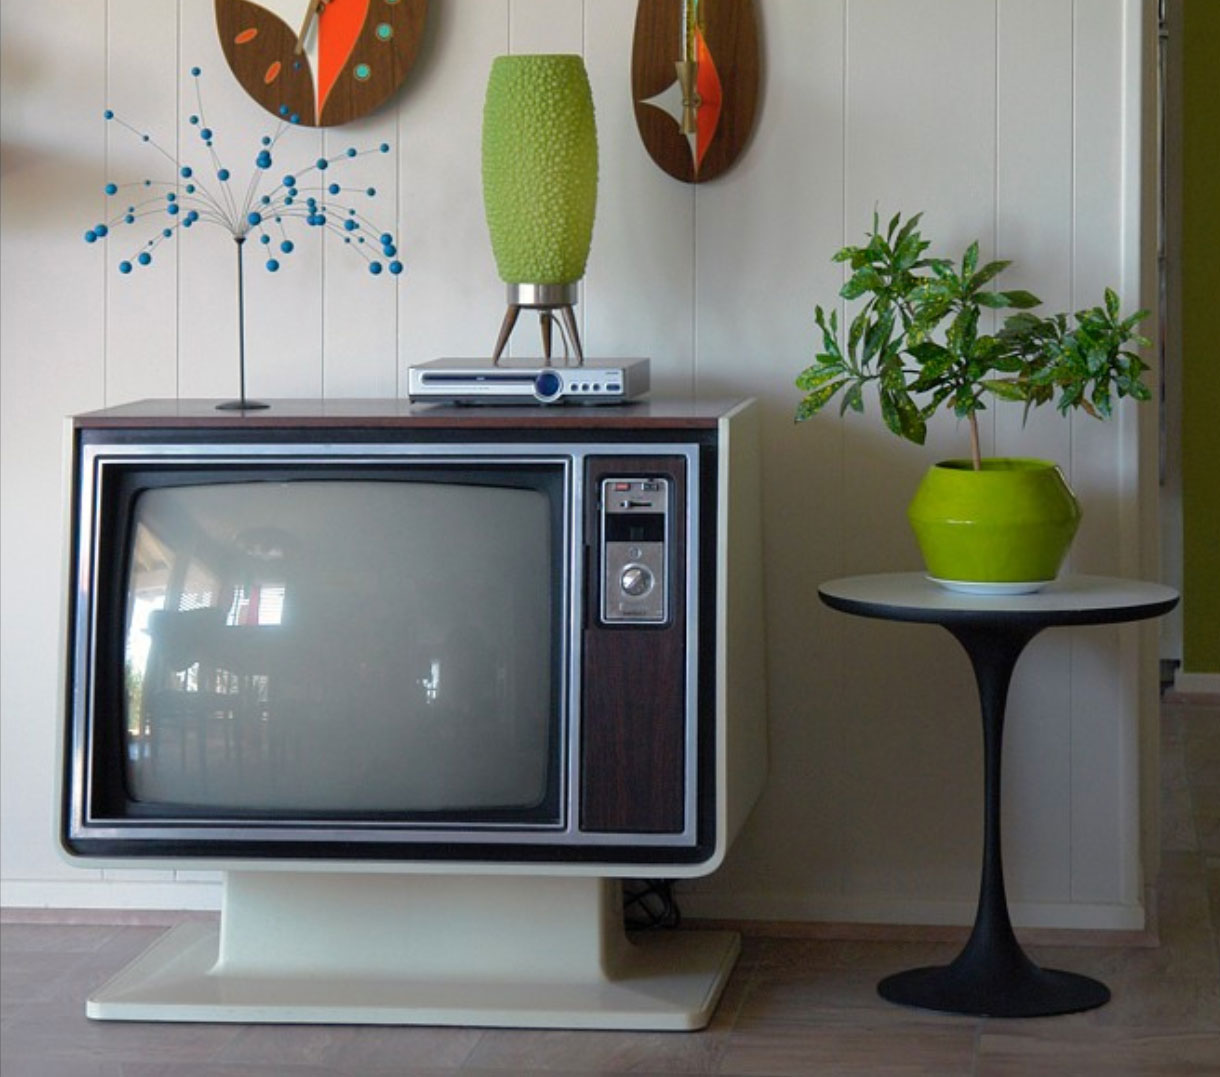
Inspired by the design aesthetic of TVs from the 1970s, I created Pixie with a boxy form factor with rounded edges. I think back to the first TV in my family’s home, and I remember it sitting on top of a small stout table, close to the ground, and somehow feeling like a character with immense personality in our home. Its large tactile buttons and knobs were a delight to twist and turn.
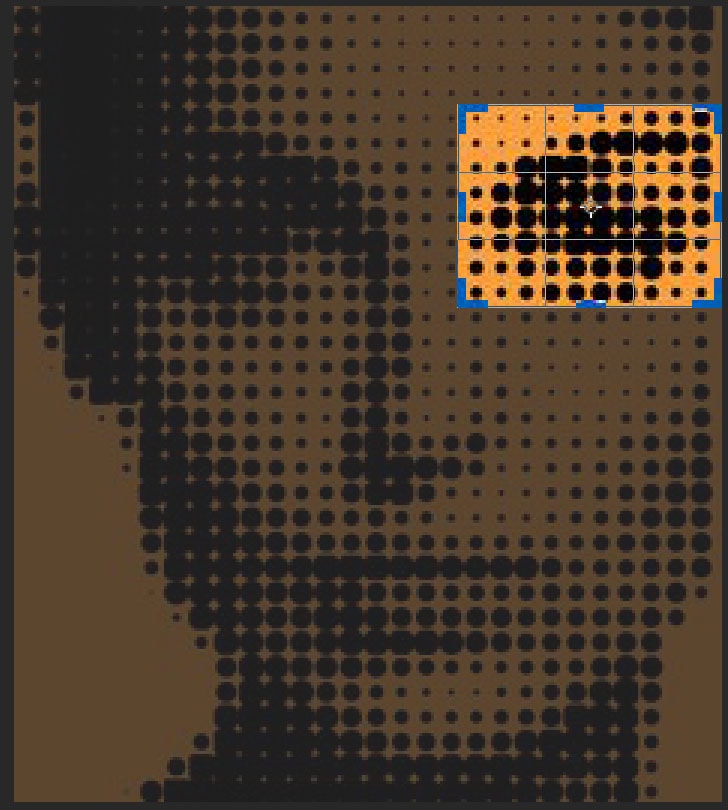
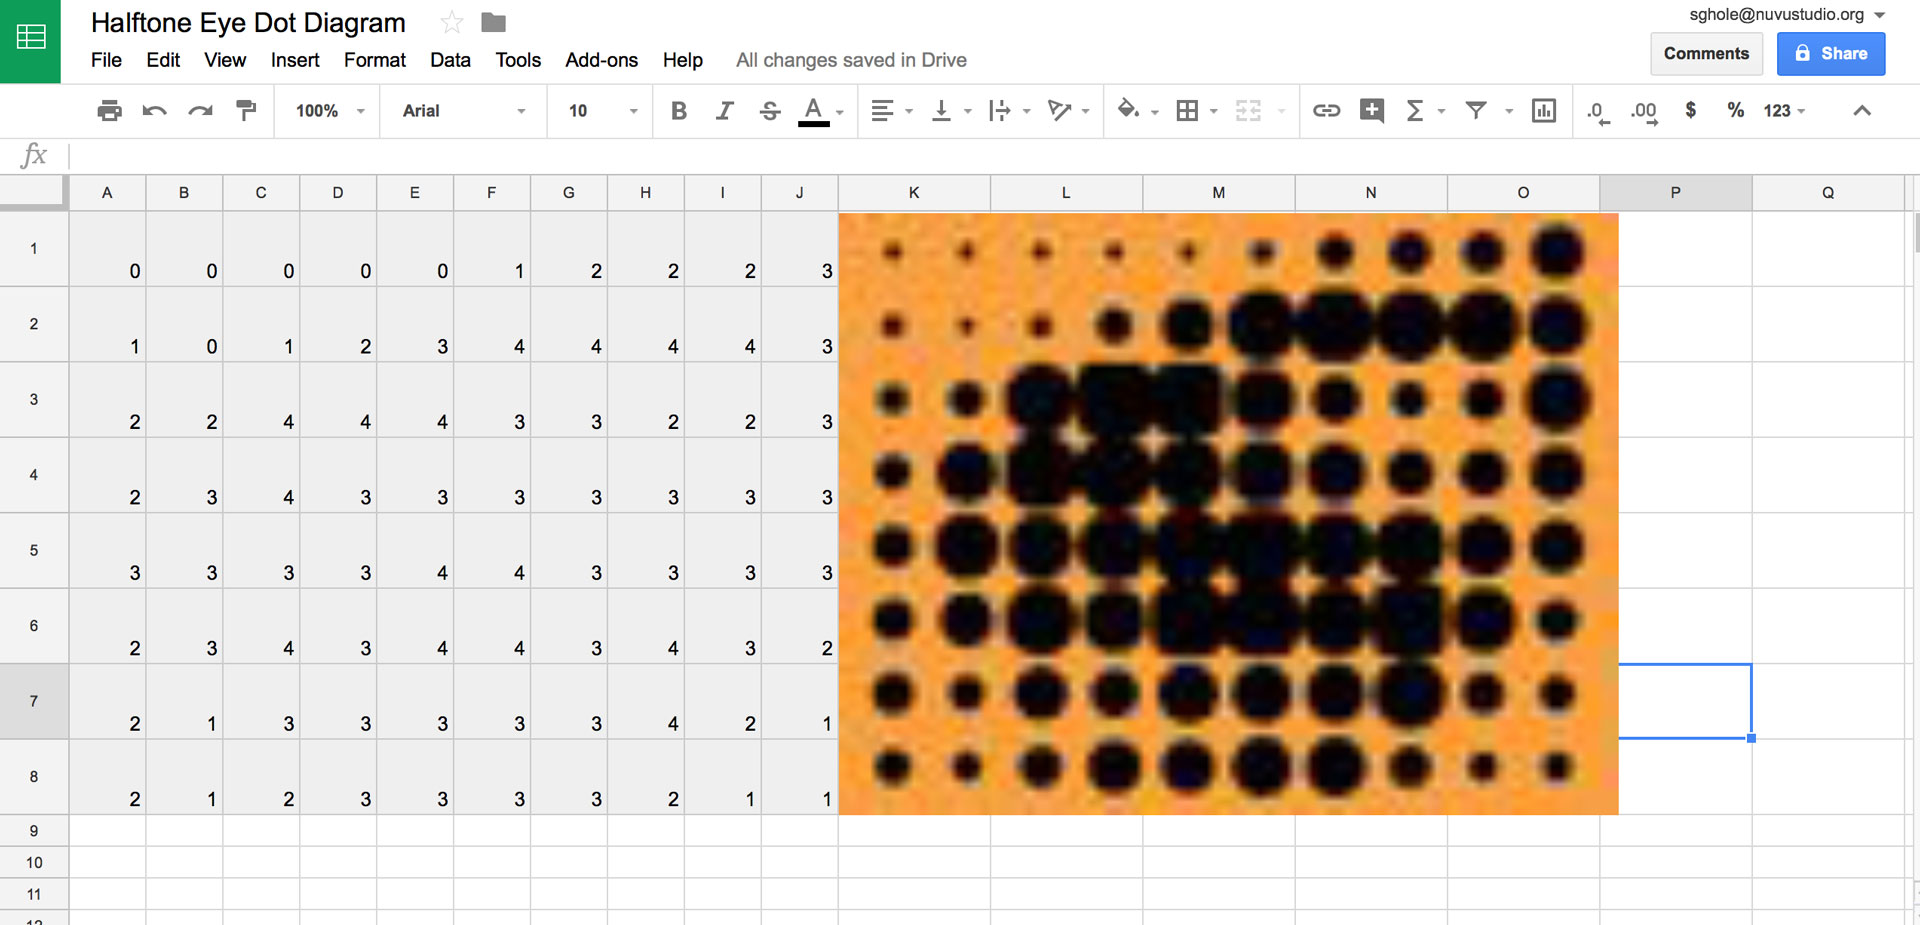
I decided to name this device “Pixie” because of its miniature form factor and imaginative potential. The word “Pixie” (especially in children's stories) means a small, imaginary person. Oftentimes pixies are mythical creatures that have just the right amount of mischief and mystery to be playful yet trustworthy. Similarly, Pixie creates surprising interactions when least expected. The name is also derived from “pixel” or a minute area, or dot,of illumination used on a display screen that creates an image when used in groups. In my first screen, the pixels are based on a halftone technique used to create an image of an eye.

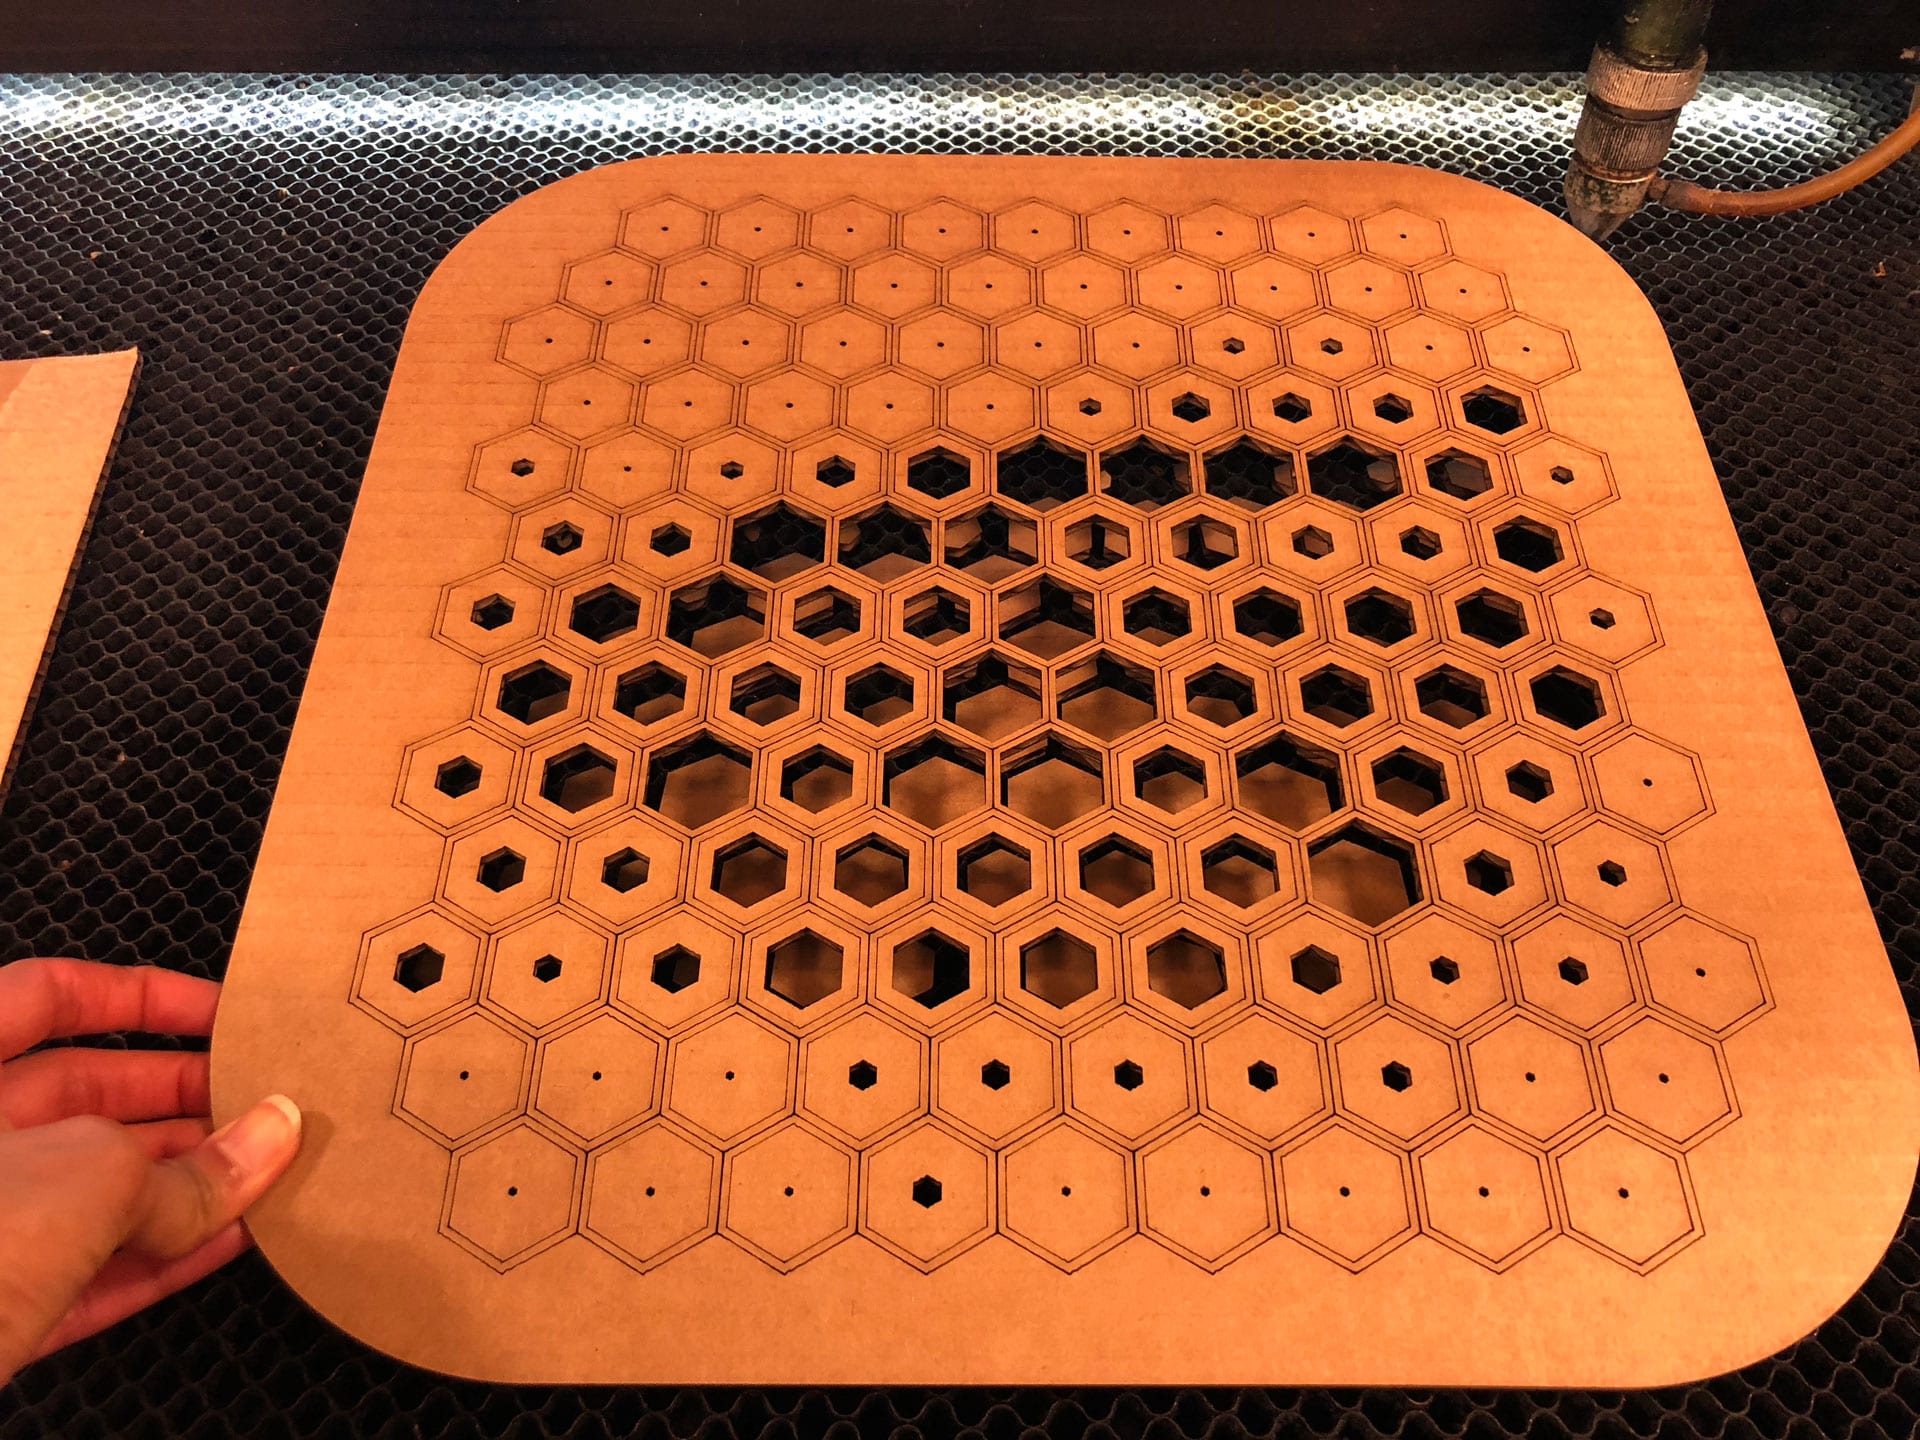
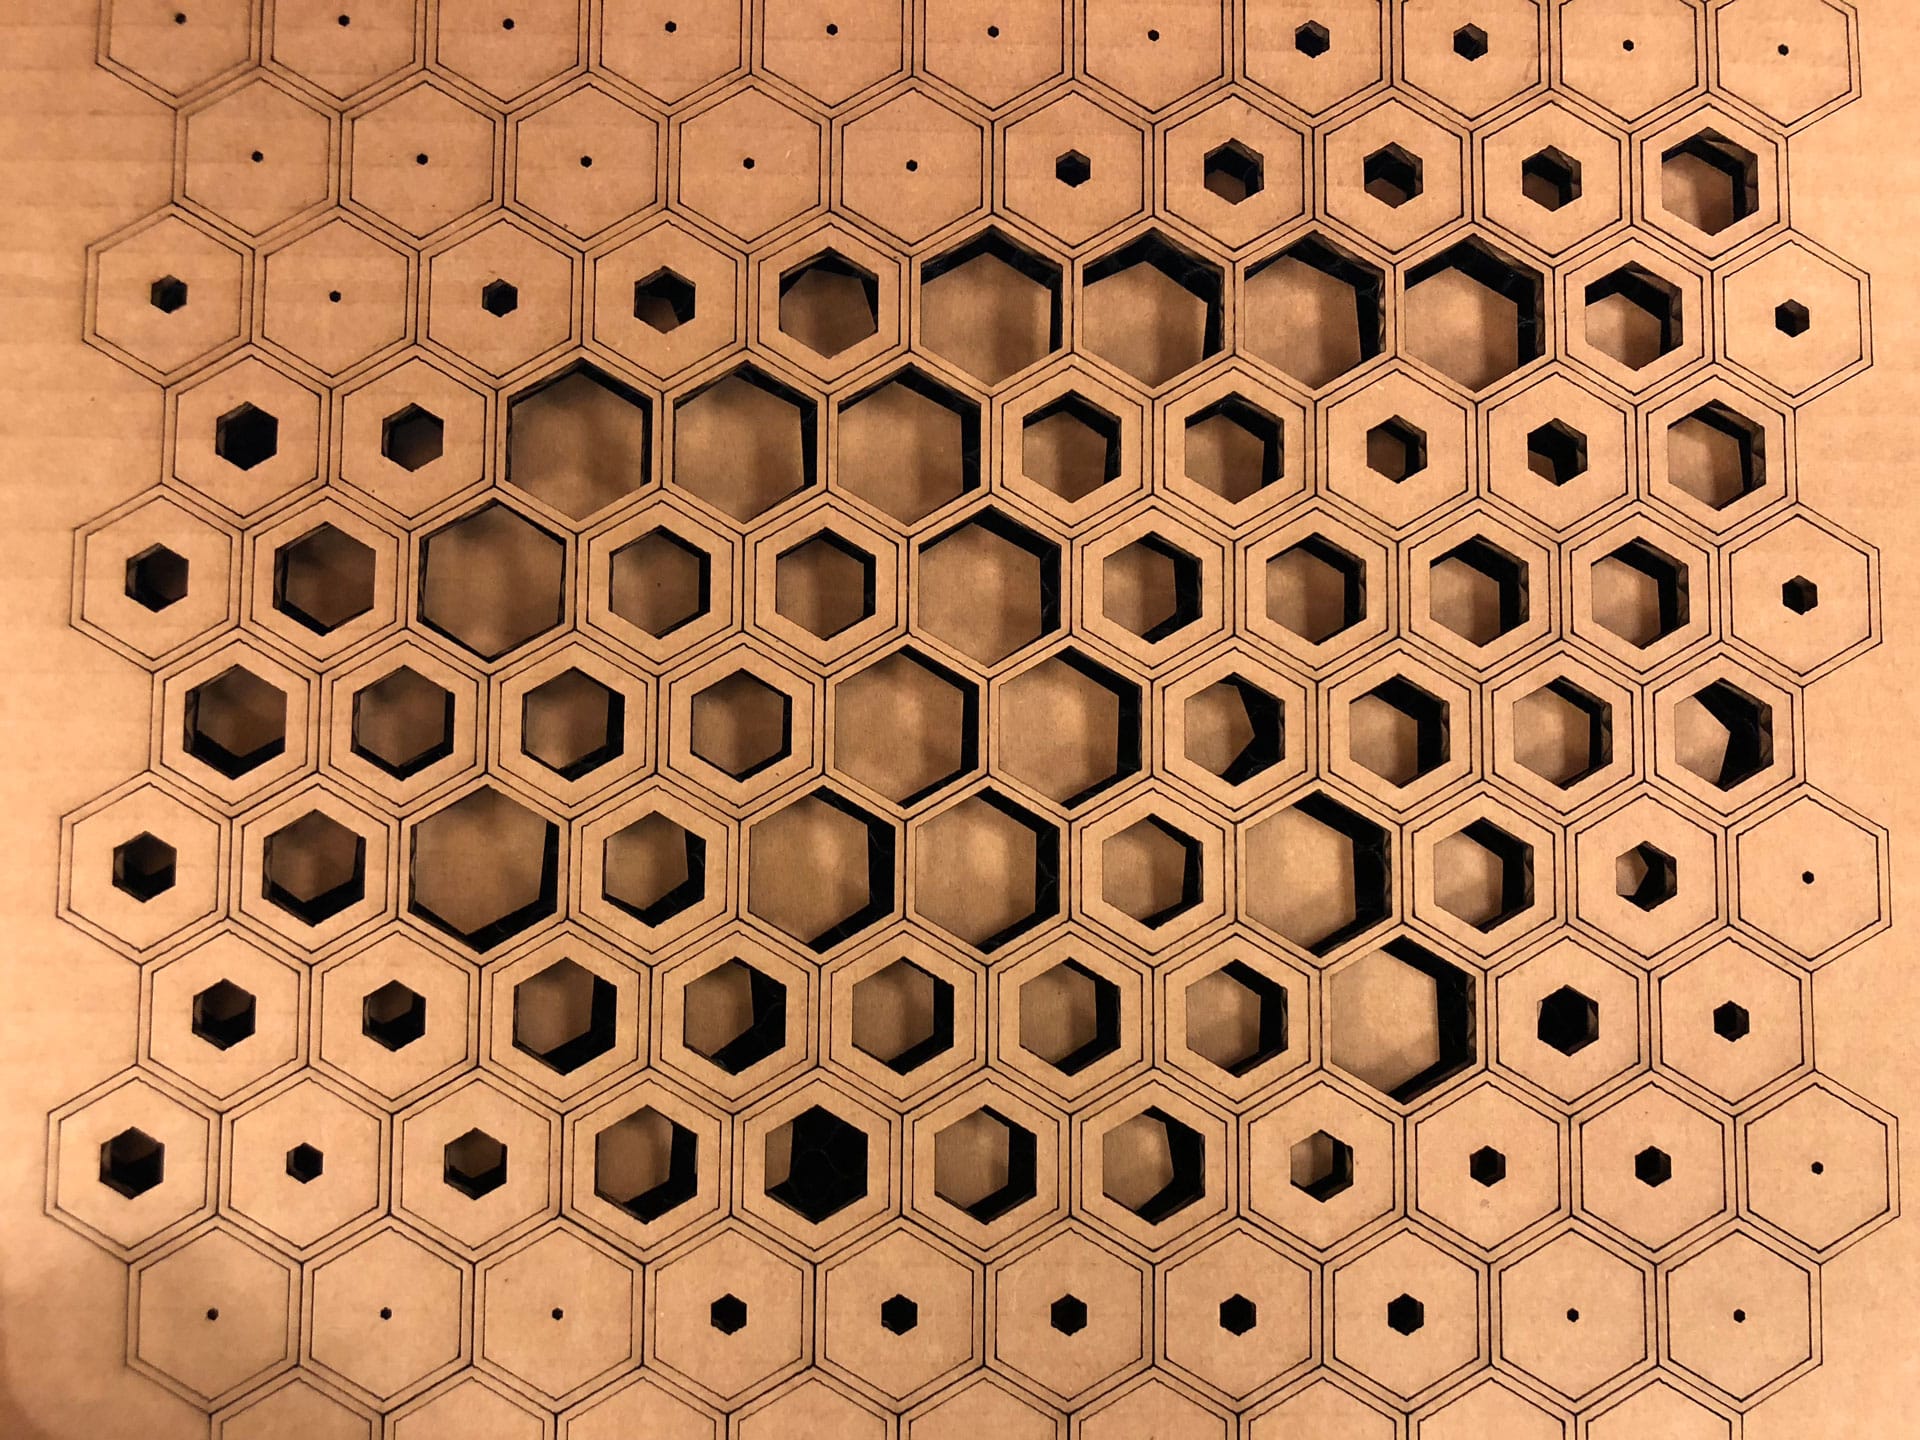
Pixie’s Screen
Pixie is designed so that each screen can snap on and off easily. For my first screen, I began by using a “halftone” technique and took an eye created using the halftone process, and made a 3D version of it. An eye that looks back observing the space around it. We typically stare at TVs and screen one-directionally, but here the TV looks back bi-directionally. The iris portion of the eye is lit with 30 LEDs that turn on with movement in front of the TV and physical contact.

Materials and Components
I wanted to use natural wood materials as much as possible so that Pixie’s appearance is warm and welcoming and can fit into any home or school. Most of Pixie is made of ½” Plywood with the facade being a mix of wood, fabric composite, and PLA. The facade also houses the electronics, including the main Sabaduino ATmega328 Board, RGB Board, and PIR Sensor Board, as well as the batteries. Most of the materials are commonly available materials that can be bought at a local hardware shop and the electronics and components for the board can be bought online from sites such as Digikey.
Parts and Systems
I designed and built all the parts used in Pixie. From the Sabaduino Board to the TV Box or housing to the screen. The main box frame of Pixie is designed with overlapping tongue and groove pieces that are glued together and then laminated across, therefore requiring no hardware.
Overall the cost of materials needed to produce Pixie is approximately $105 and includes the following:
Processes
The process to create Pixie includes 3D modeling, additive and subtractive fabrication techniques such as 3D printing, laser cutting, and milling, compositing, and programming.
Precedents
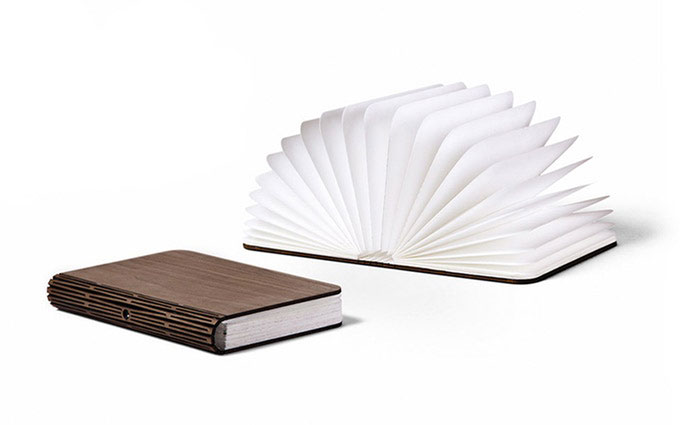
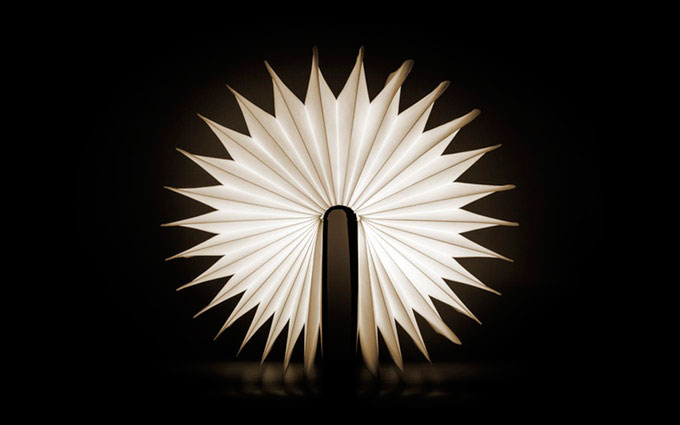
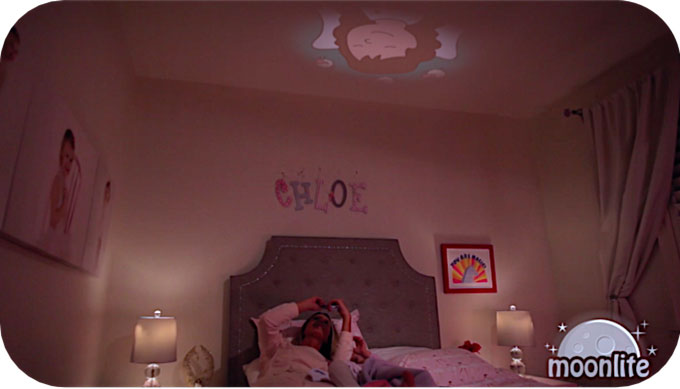
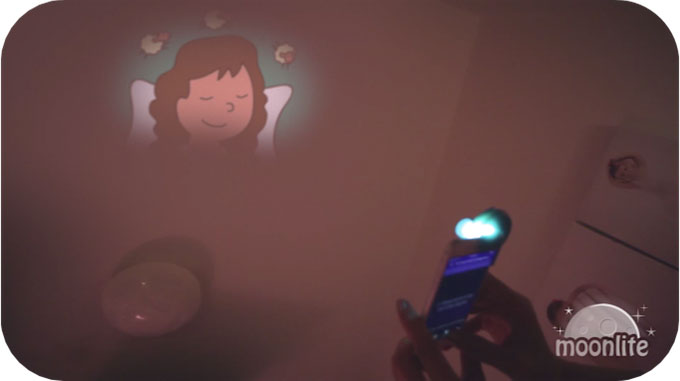
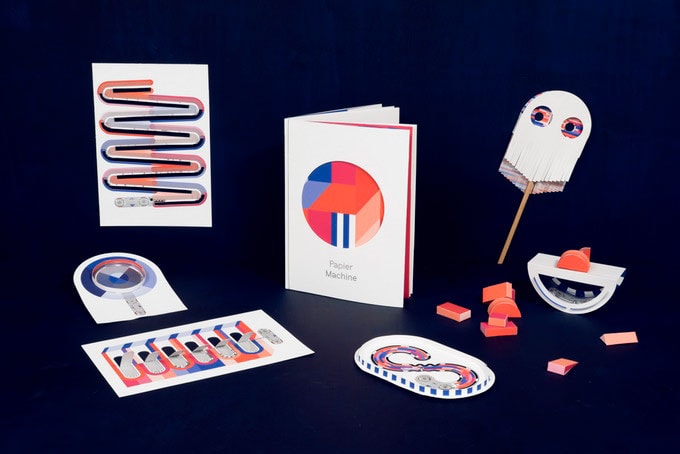
For inspiration and precedents, I looked at successful projects on Kickstarter, specifically cross-age products, and thought about the qualities that made them a success. I saw that a number of projects were designed in simple ways with an eye for craft and detail. Many of the projects also combined two or three functional elements or concepts together to create a single unique product, for instance Lumio is a pop-up book and lamp, Moonlite is a storybook projector, and Papier Machine is an electronic paper toy. All of these projects are interactive and whimsical, qualities that I find bring interest from users of all ages. I also appreciated the attention to design in each of these products. The final product wasn’t fussy, and focus on the interactive aspects and getting users to engage in the experience.
As I further develop Pixie, I would like to keep design a priority as well as find ways to get the user to interact with the piece in different ways within a small kit of parts.

Questions & Evaluation
I have been thinking of the different screens I want to create for Pixie and the different contexts in which Pixie might be used. For instance, when working with kids ages 5-7, I would like to find ways to have the students build their own “screens” for Pixie as part of a multi-day project. Perhaps digitally fabricated characters that become the face of Pixie. Through this process, the kids would learn how to sketch, design, model, fabricate and assemble. We could add simpler electronics such as a makey makey to make the characters talk on the TV.
As far as my current timeline and development of Pixie, I need to mill and stuff my RGB Charlieplex Board that will connect to my Sabaduino Board and work with the PIR sensor. I’m wondering whether to include different light sequences as part of the initial programming for this screen.
I feel my piece will be evaluated best as users interact with it across different ages. I plan to begin with younger kids, ages 4-7, and see how they work, play and engage with Pixie. I plan to create different educational components to connect to Pixie, such as the Hex Blocks I began in one of my earlier exercises at Fab Academy, and would like to see what I learn from these experiences and improve future screens and the design of Pixie.