Exercise 16: Wildcard Week
Wildcard Week
- Individual Assignment: Design and produce something with a digital fabrication process (incorporating computer-aided design and manufacturing) not covered in another assignment, documenting the requirements that your assignment meets, and including everything necessary to reproduce it. Possibilities include (but are not limited to) composites, textiles,biotechnology, robotics, and cooking.
My Process (Working with Composites)
:: May 30, 2018 ::
This week’s assignment was a wildcard assignment and we could pick a new process to explore. I chose to focus on composites, since I was interested in creating a diffuser for the lights that are part of my final project, Pixie, the interactive TV screen.
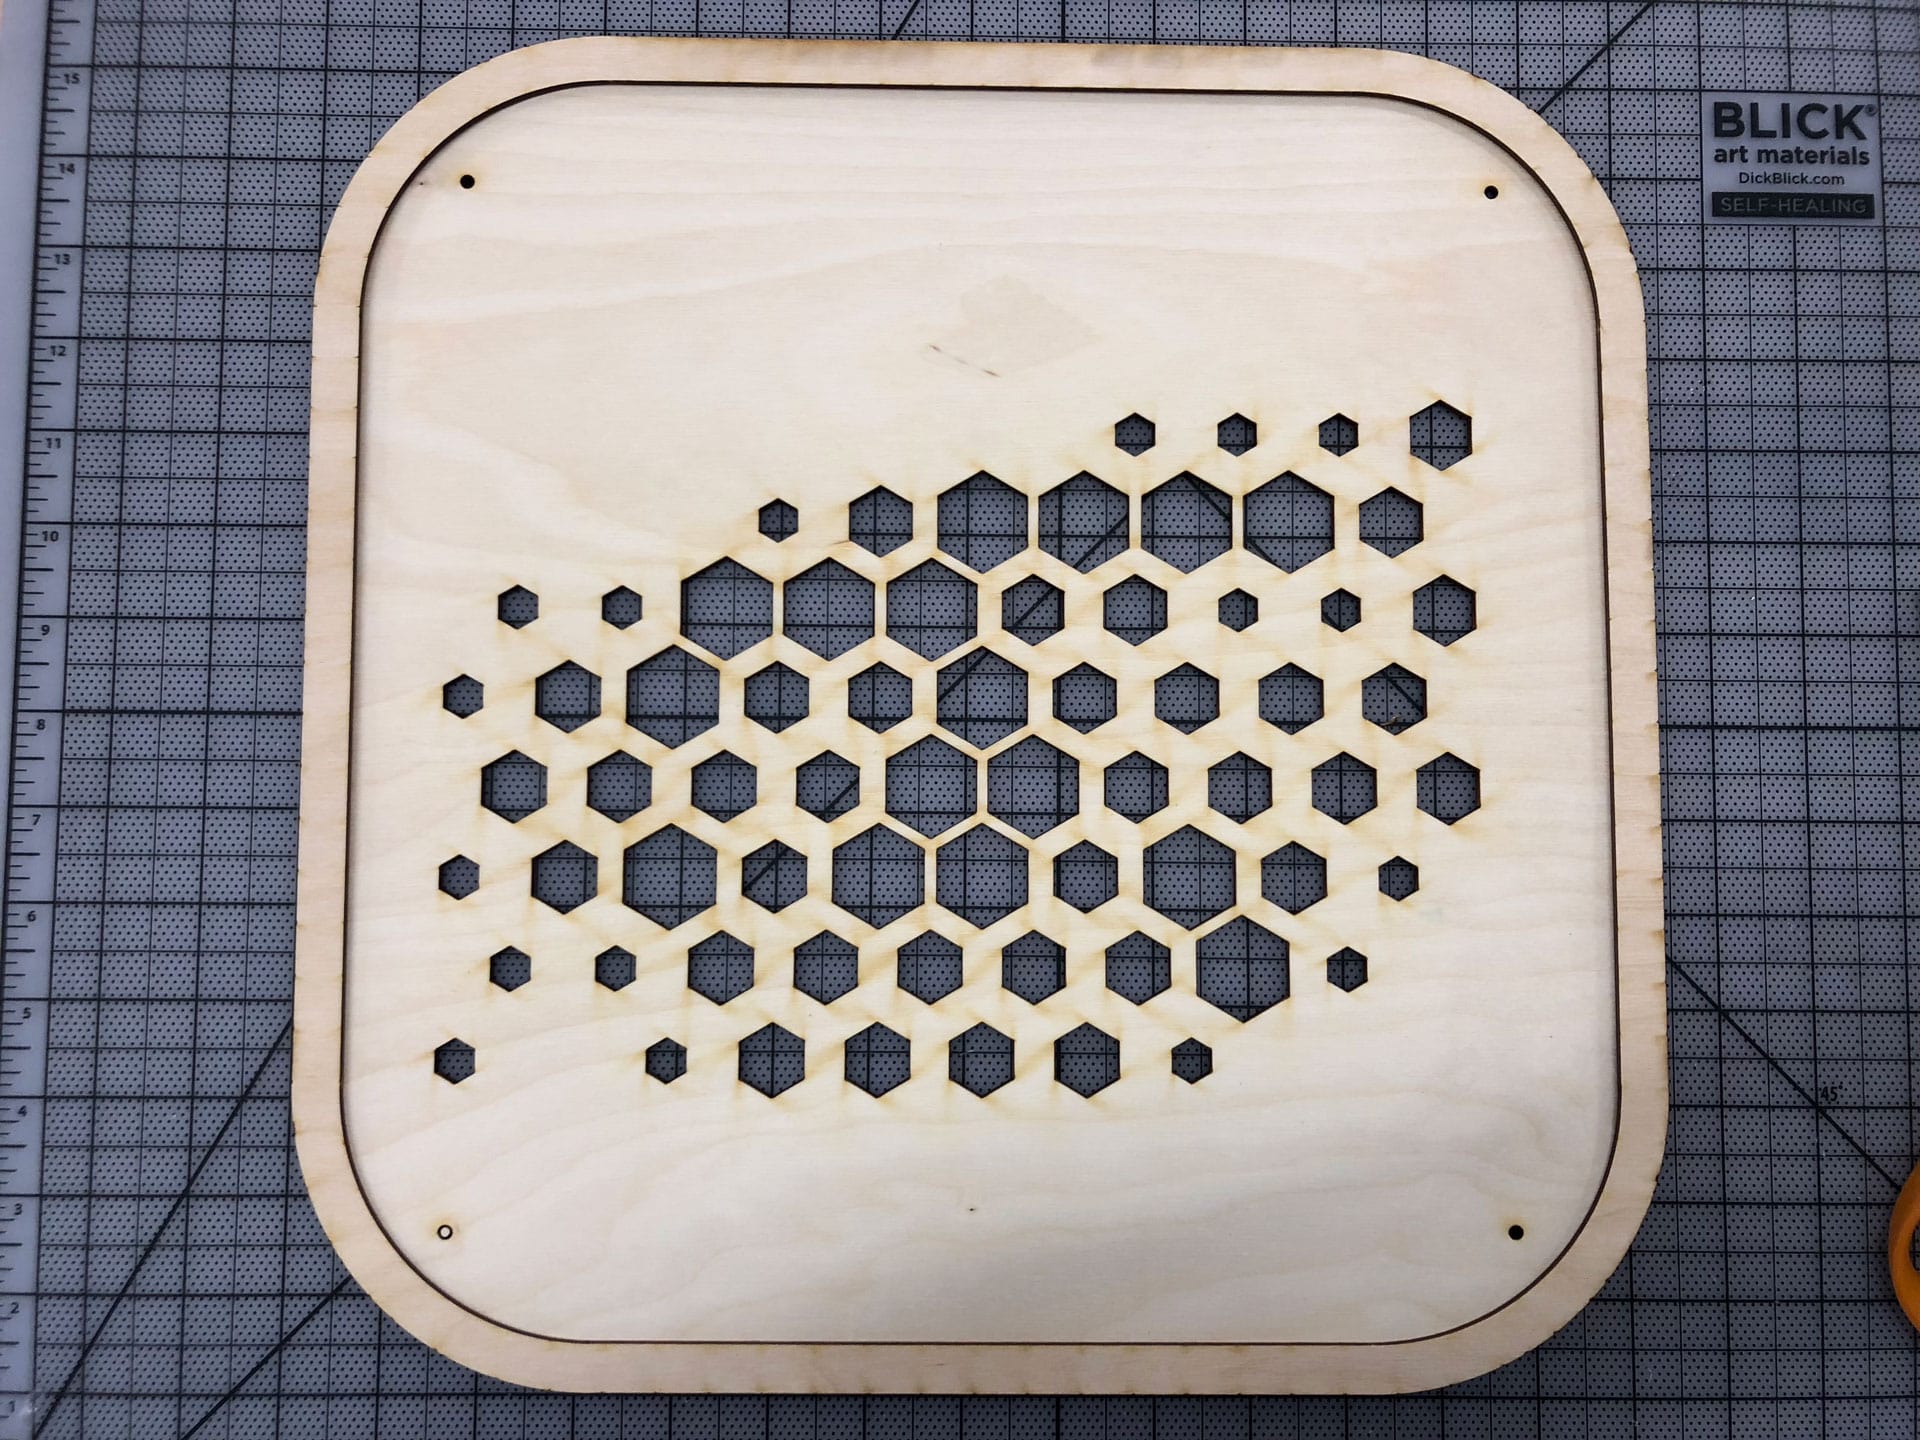
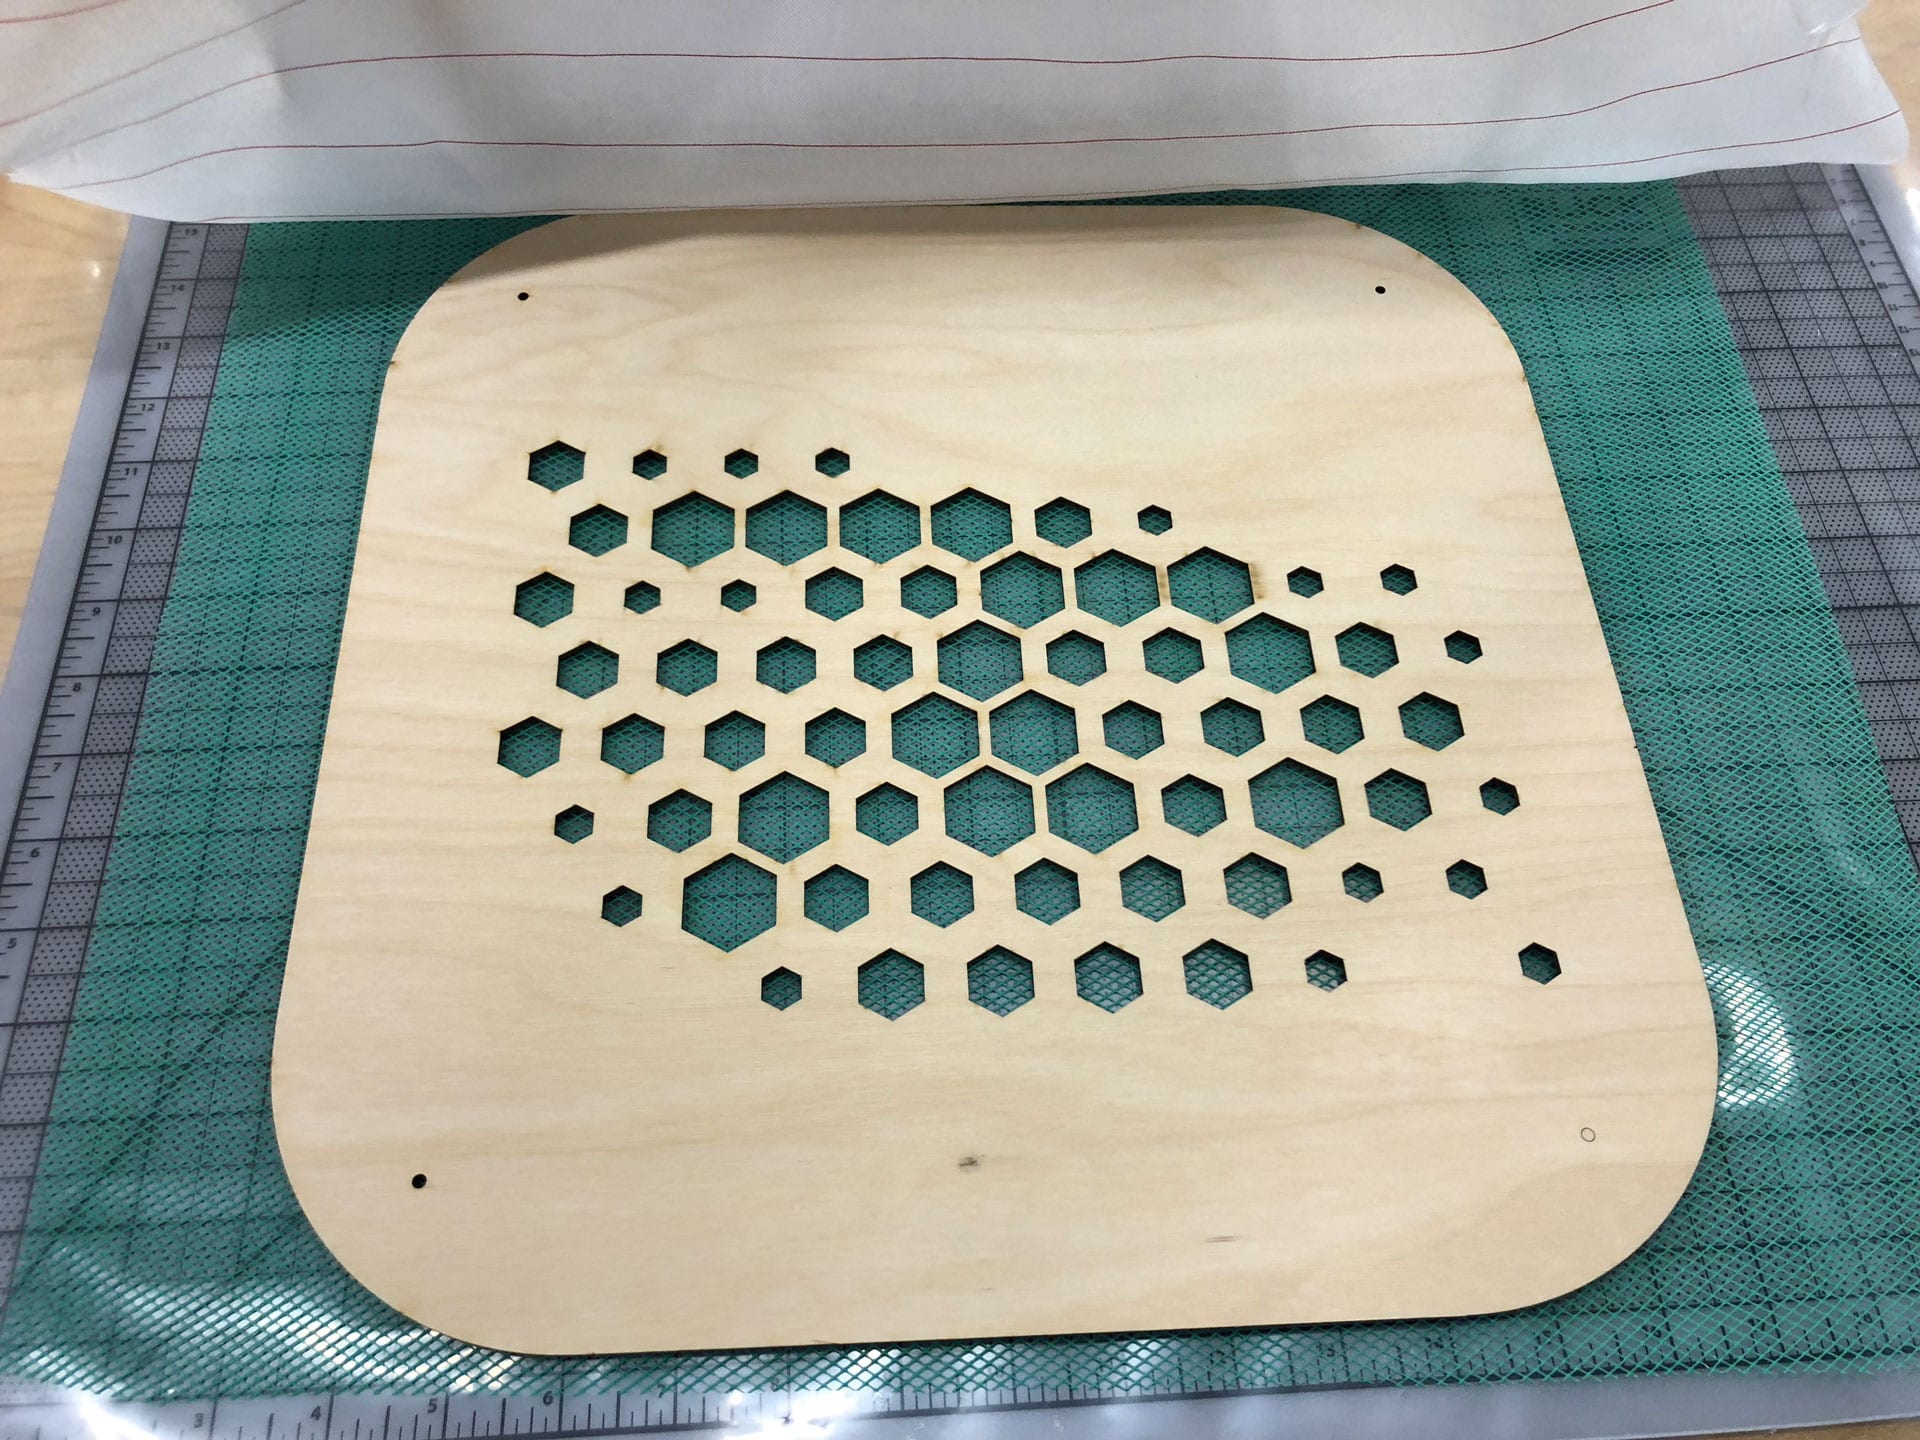
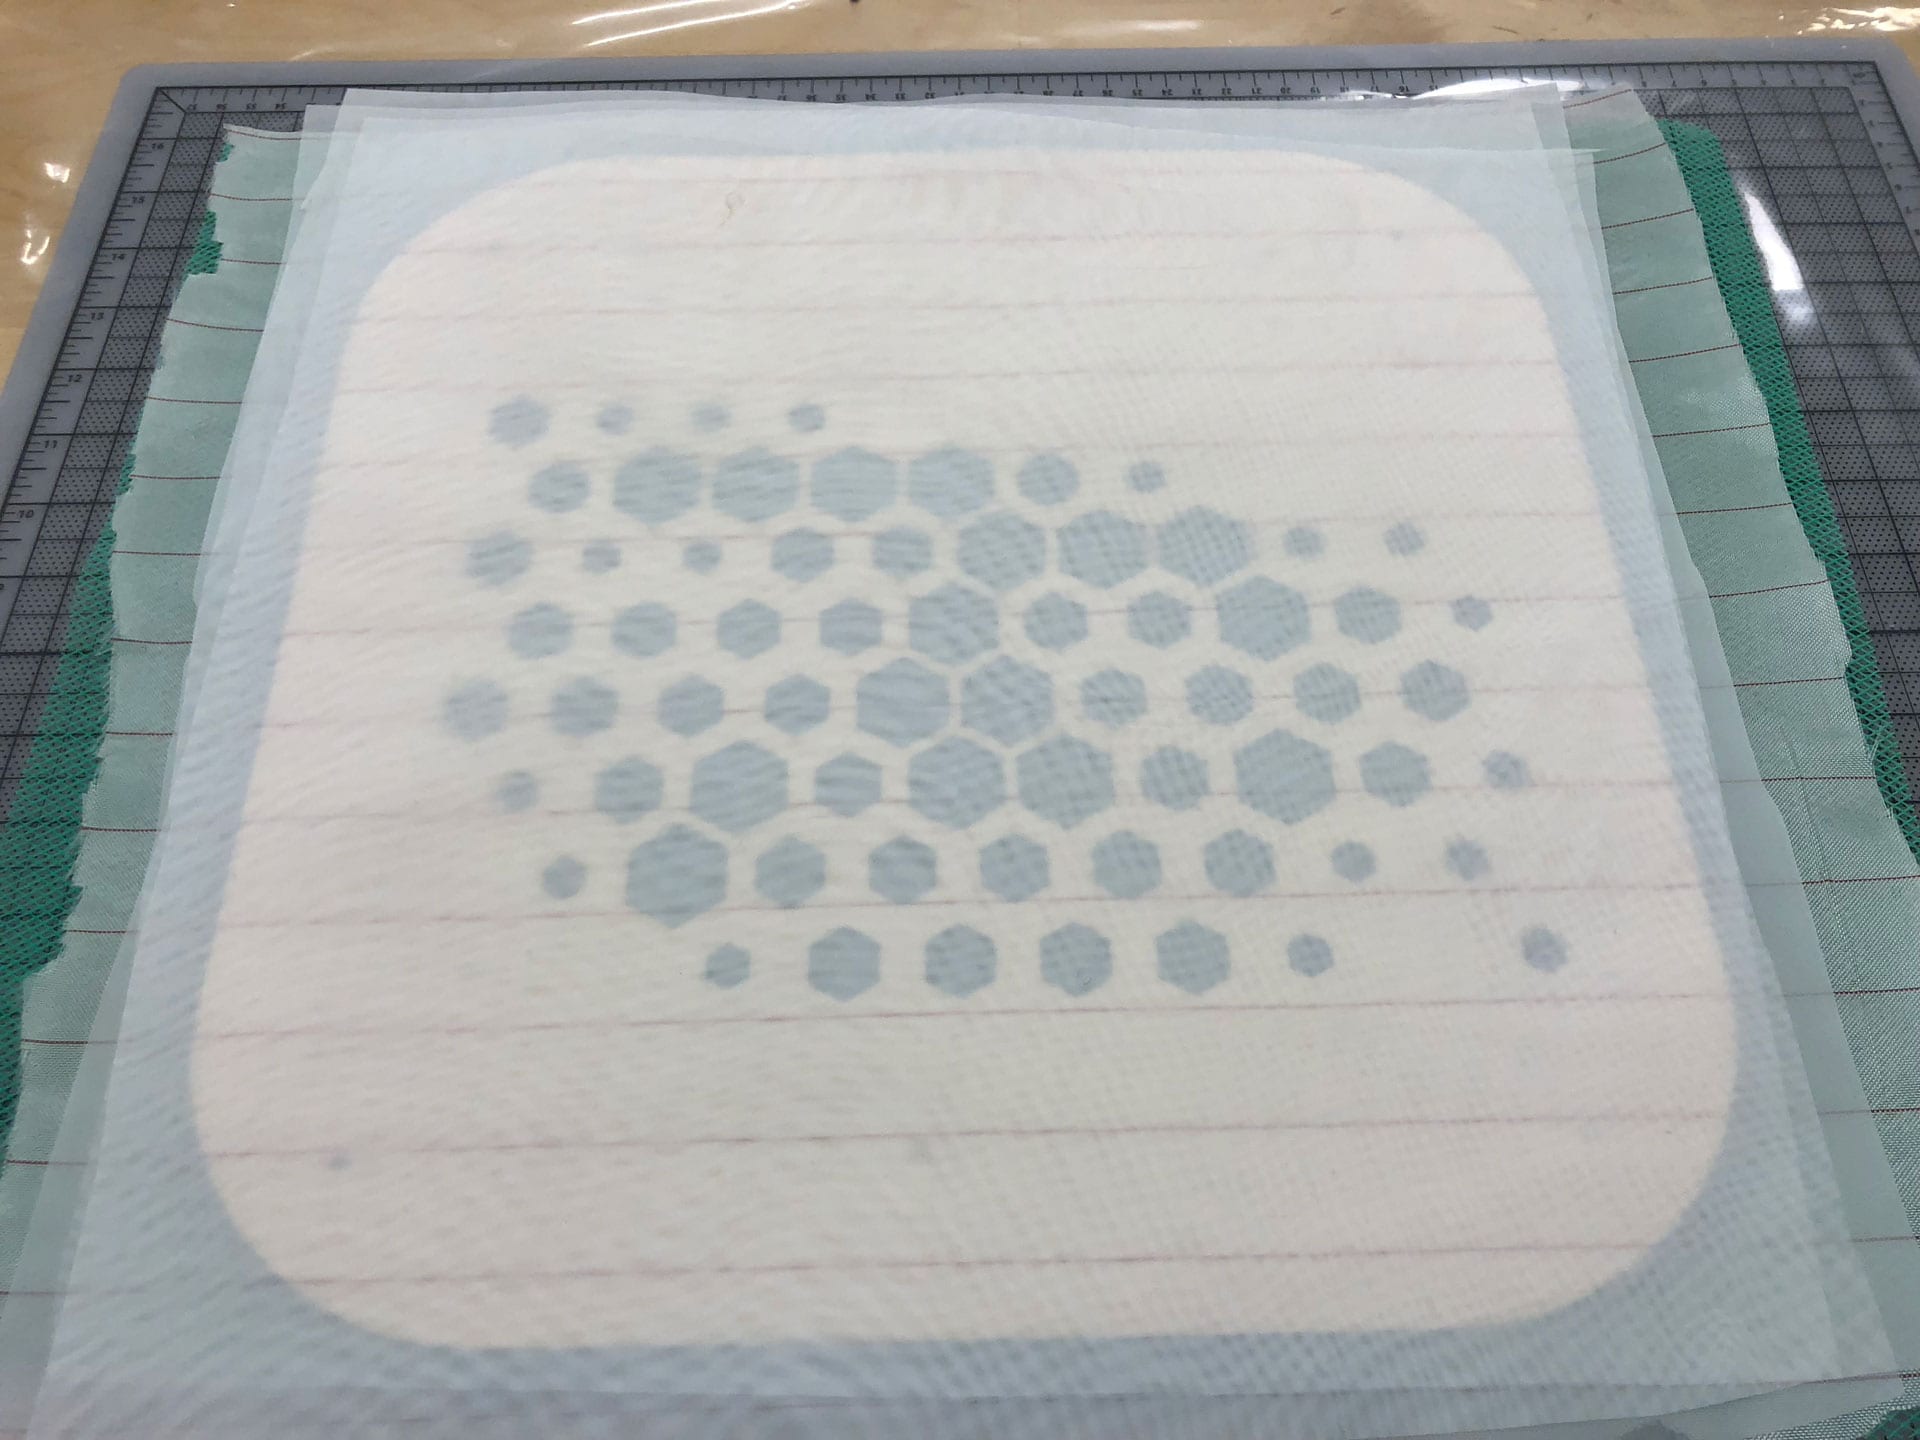
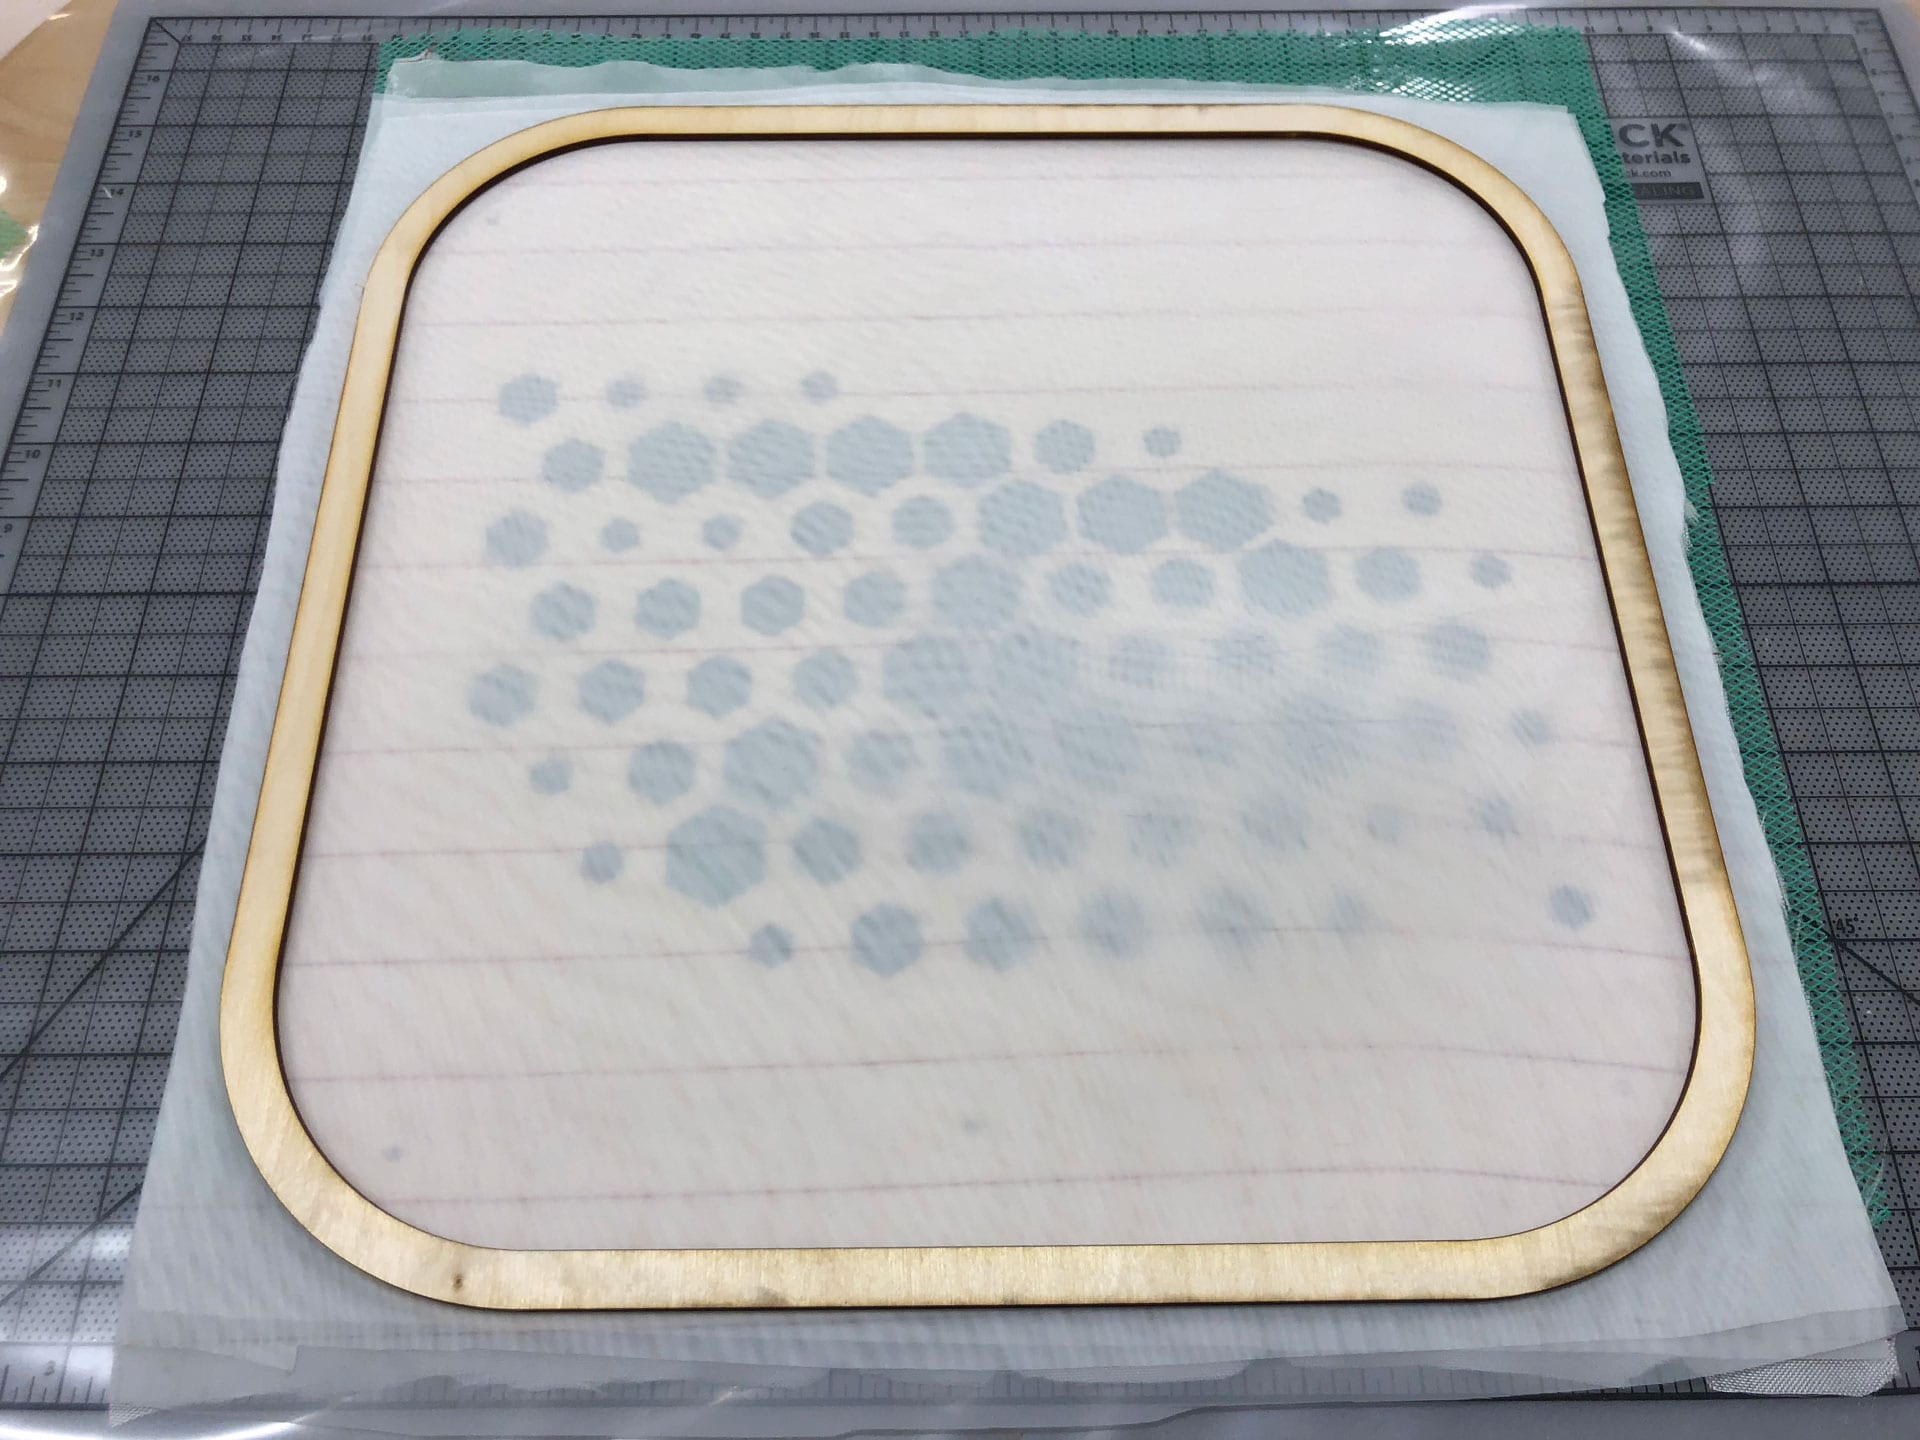
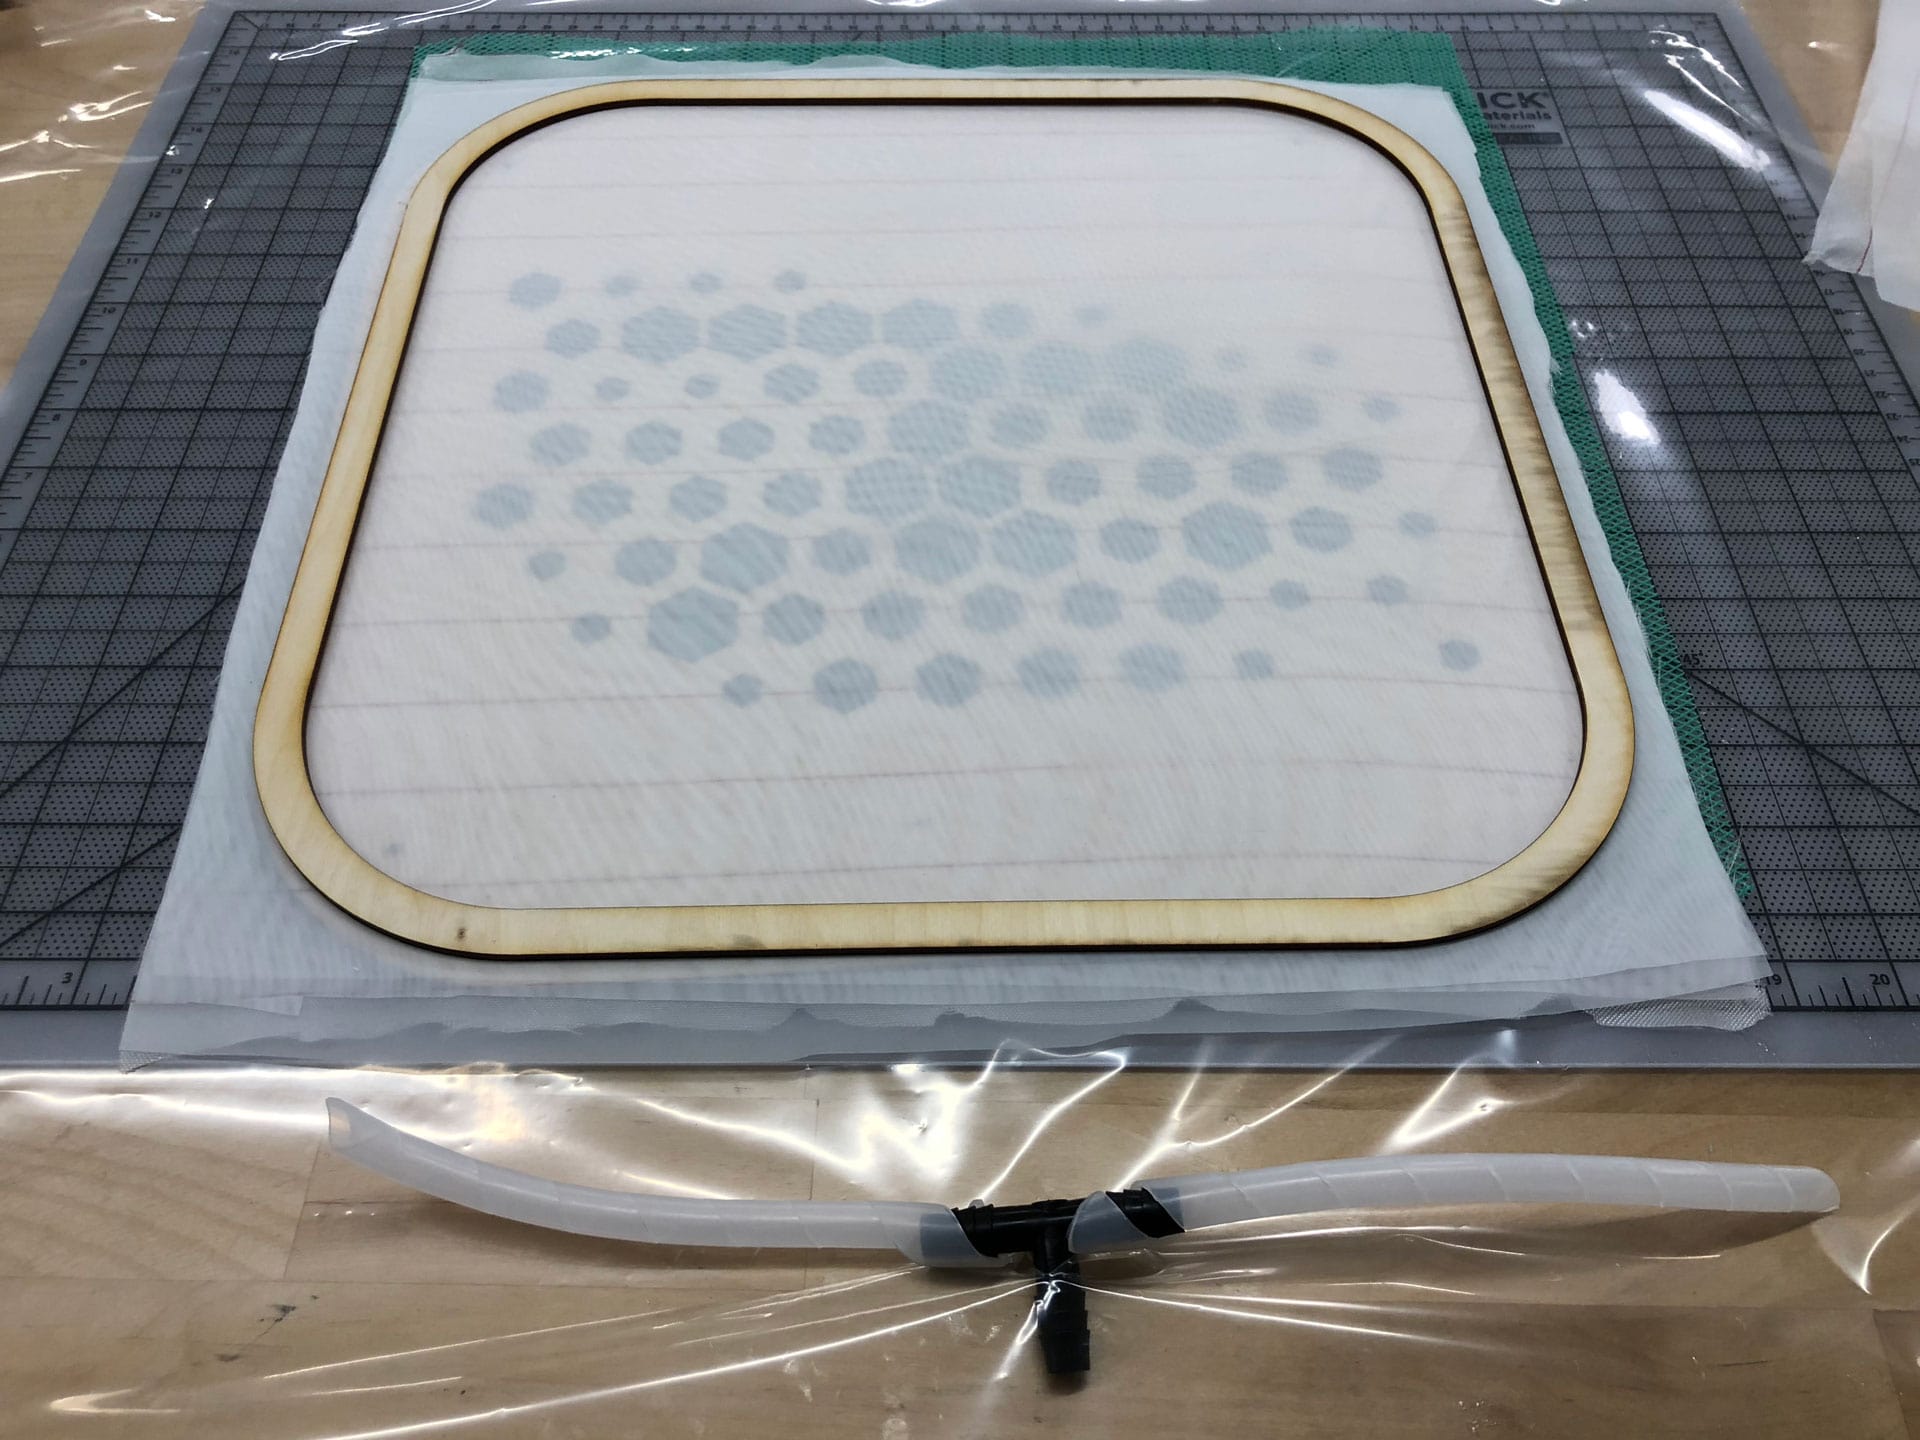
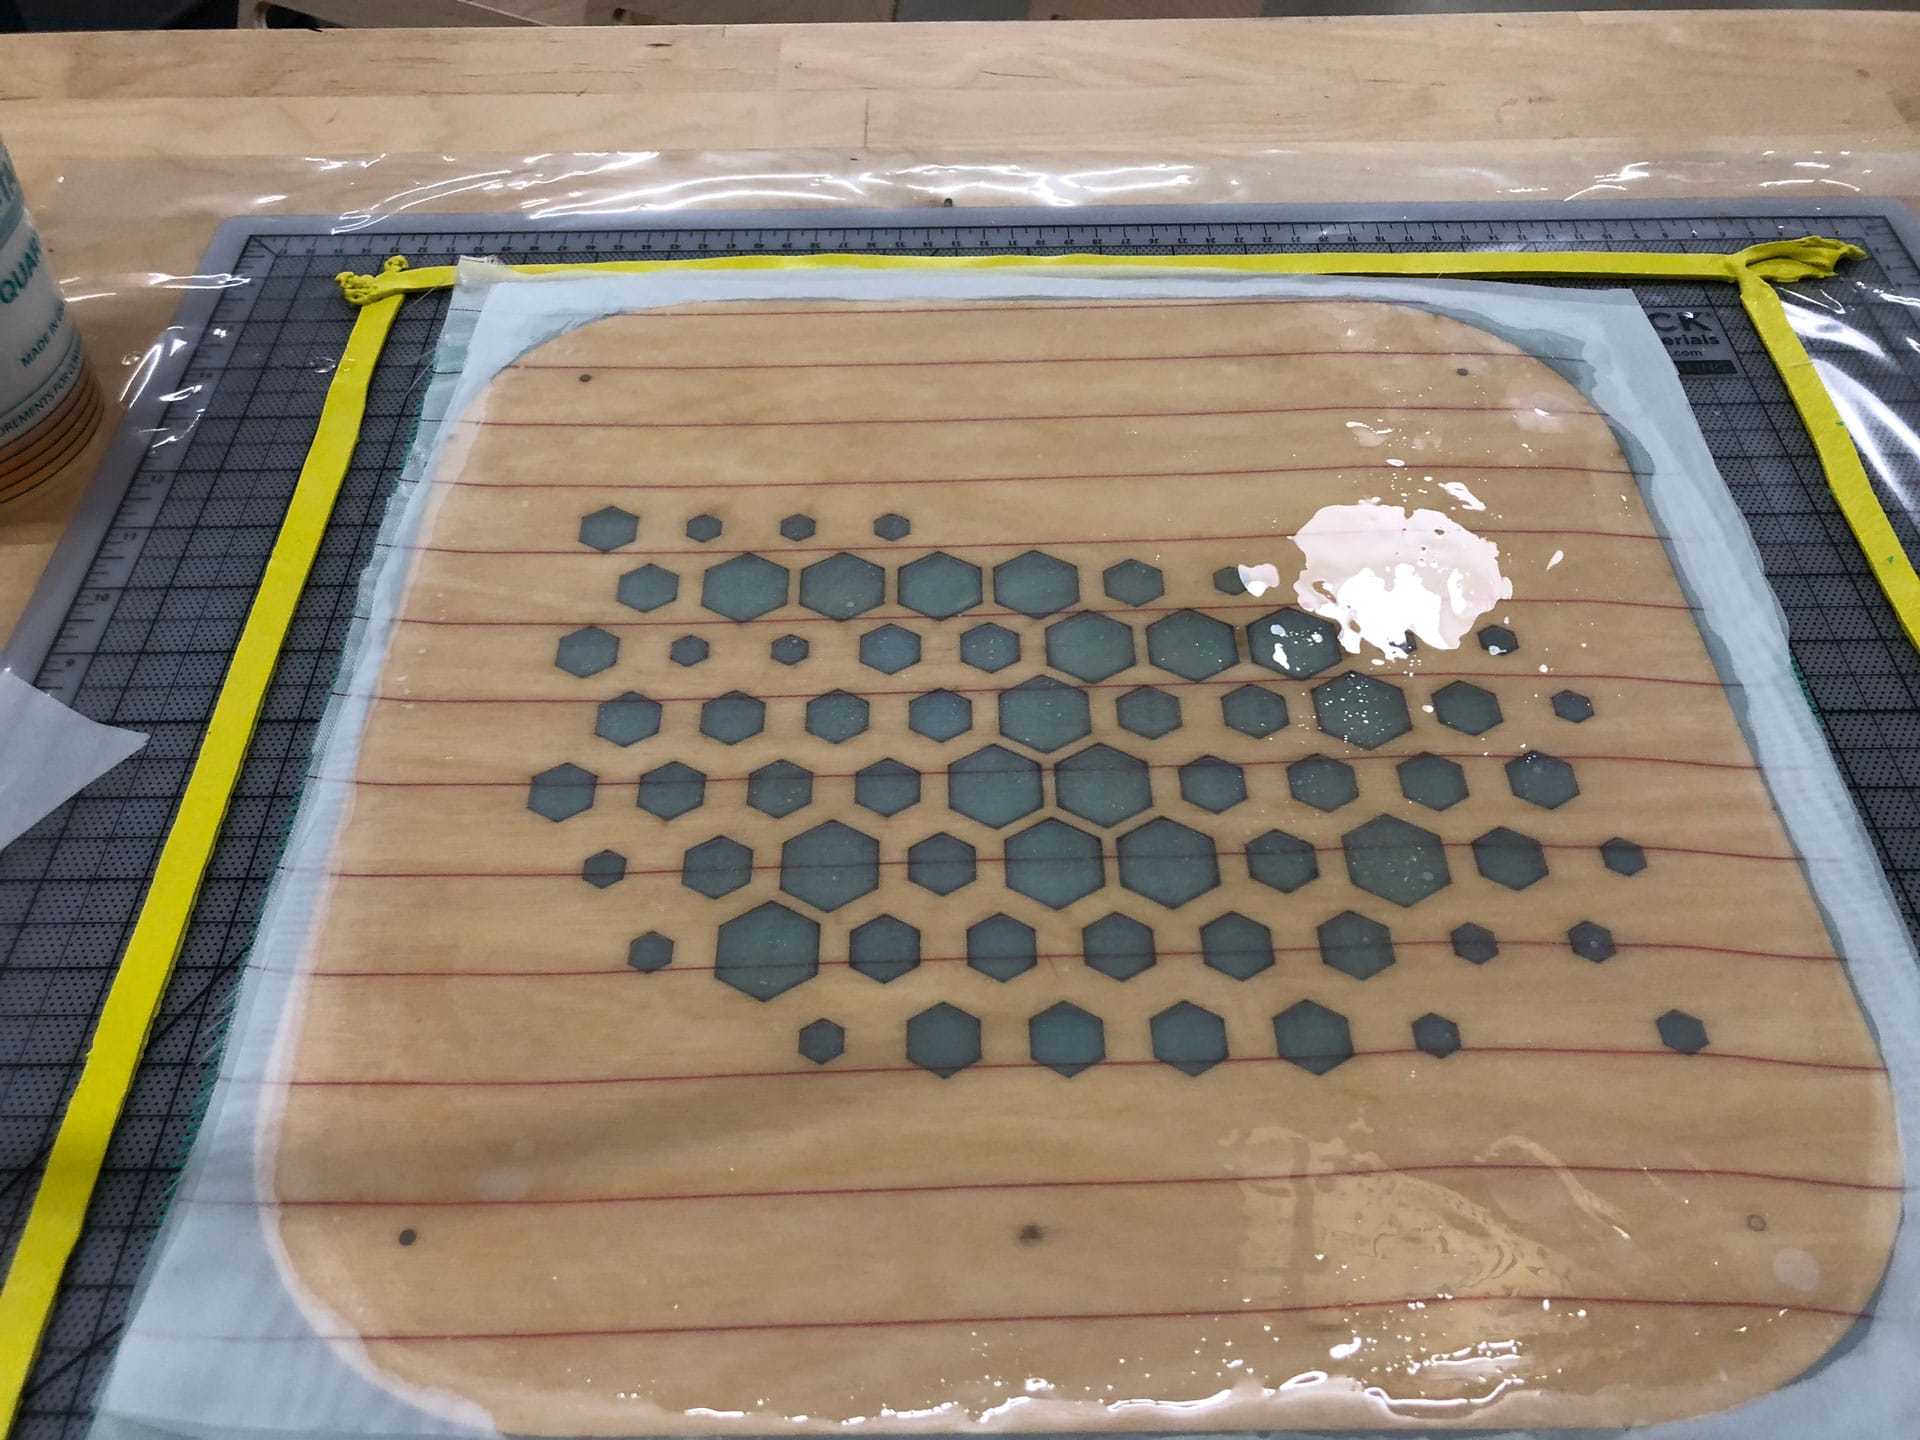
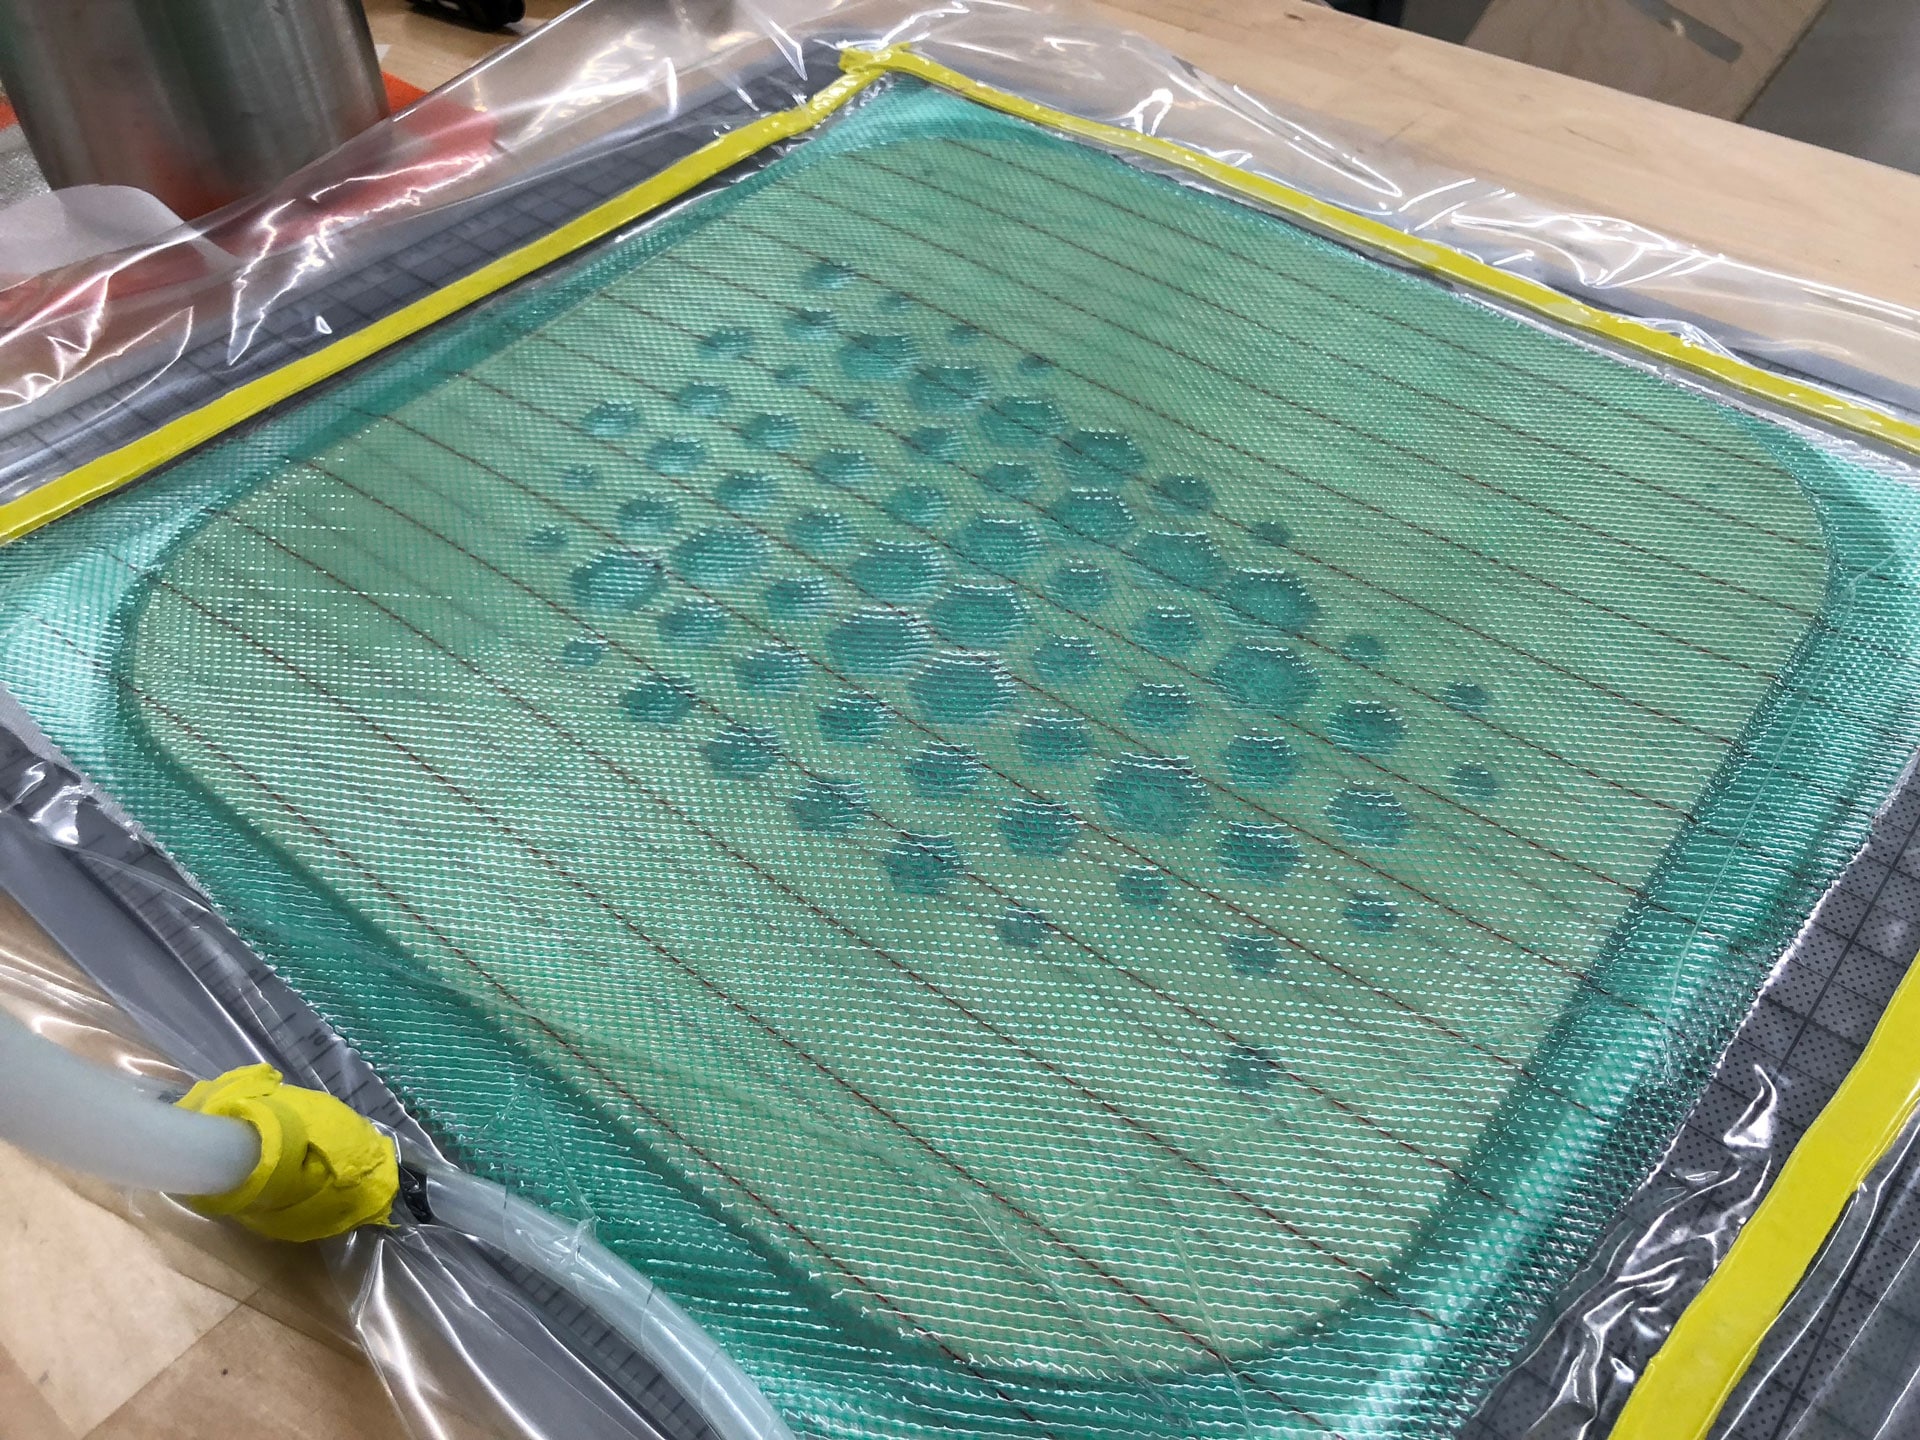
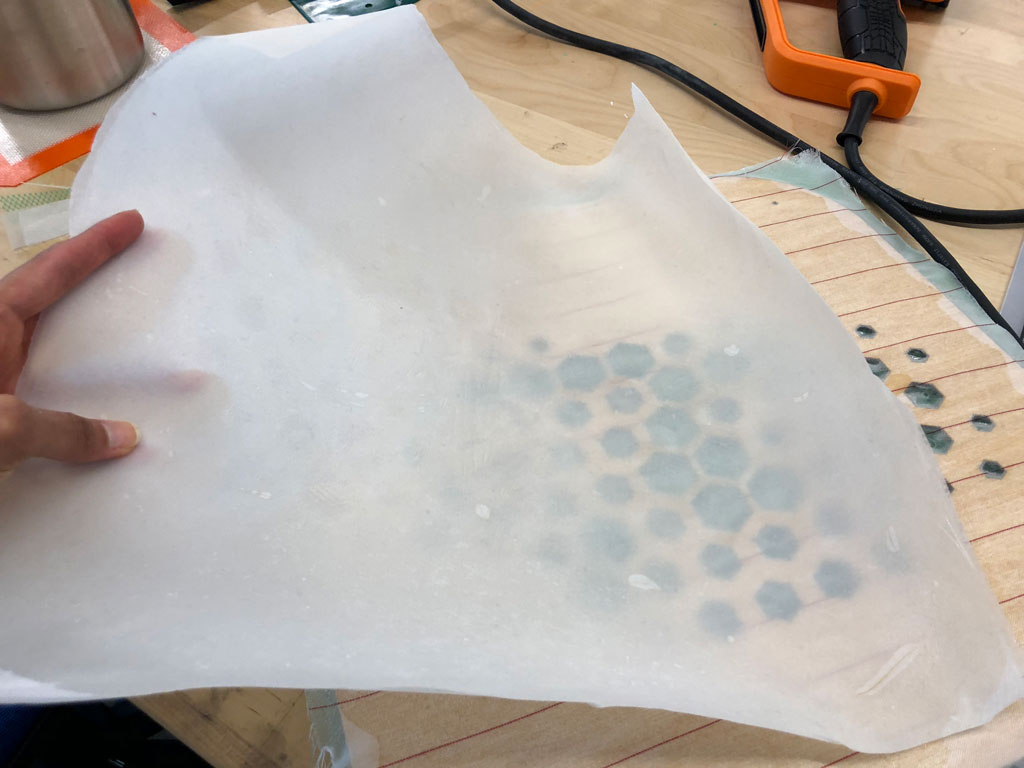
The diffuser essentially acts as translucent material to diffuse the LED Diodes that are integrated into the screen, so there won’t be strong hot spots. This will create a softer lighting effect. I created a mold in Rhino for the composite that will become the diffuser screen. The mold will create slightly concave indents in the composite diffuser where the LEDs will be located and allow the light to spread inside that area.
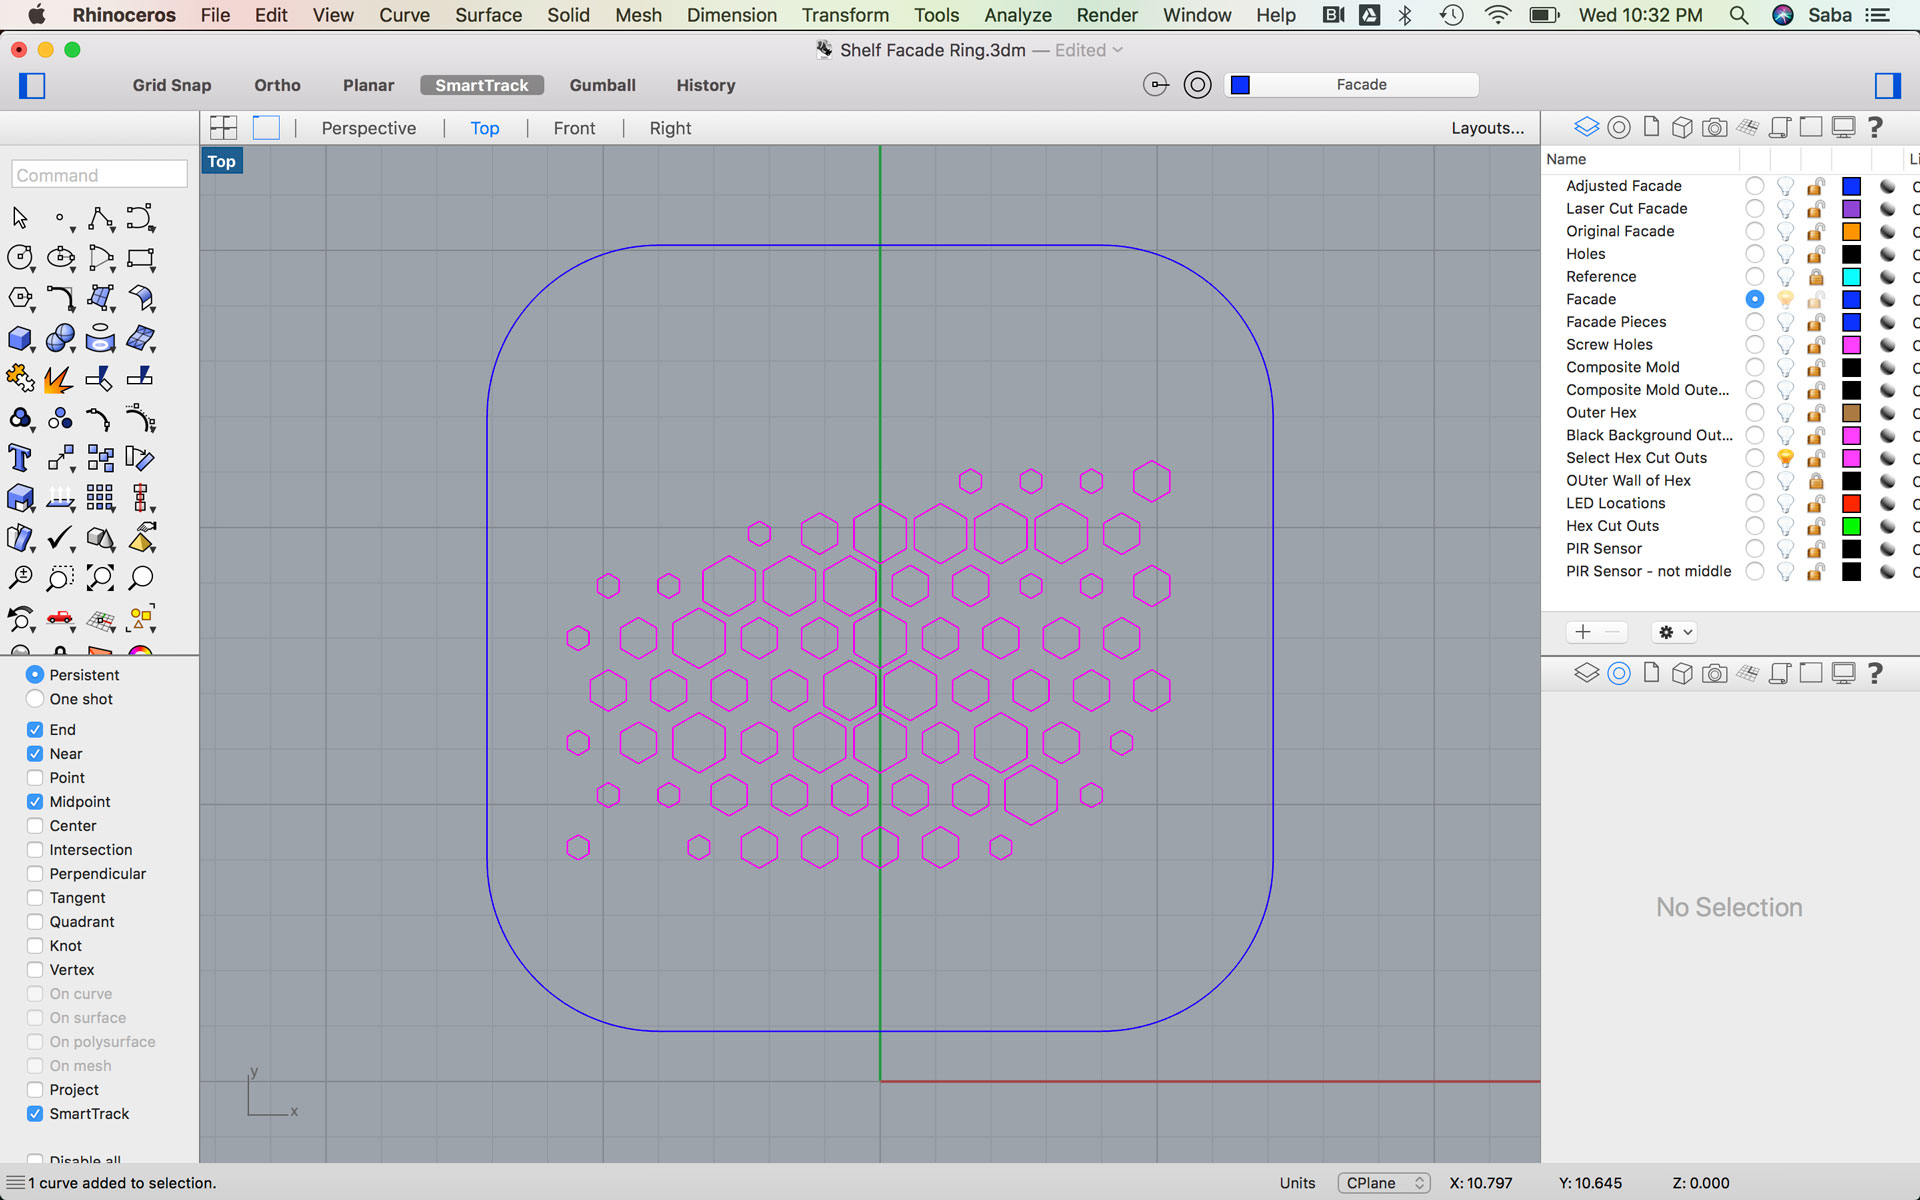
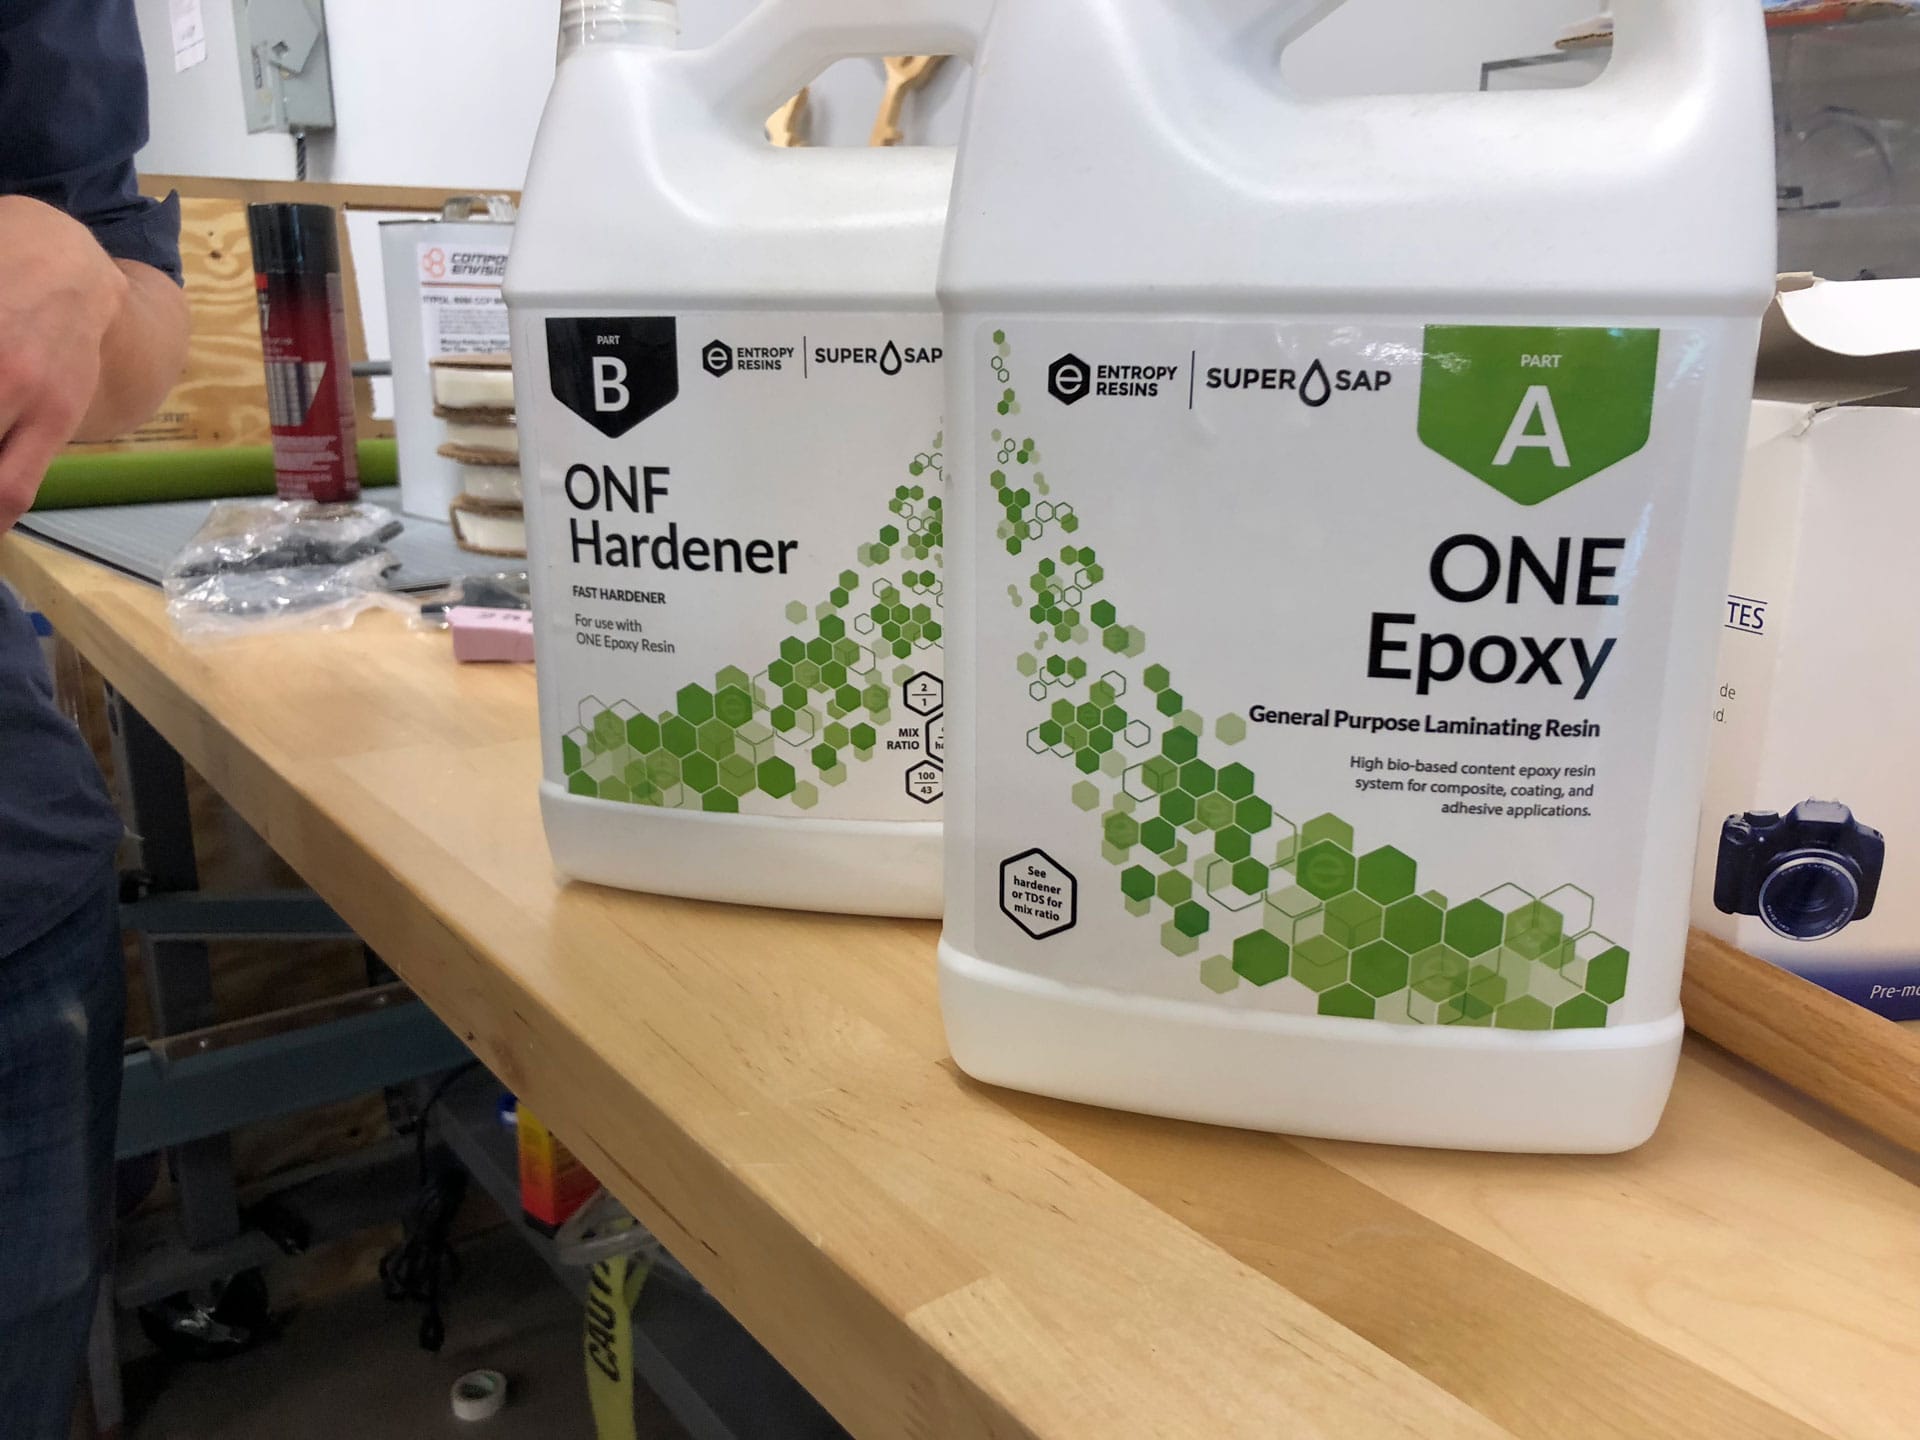
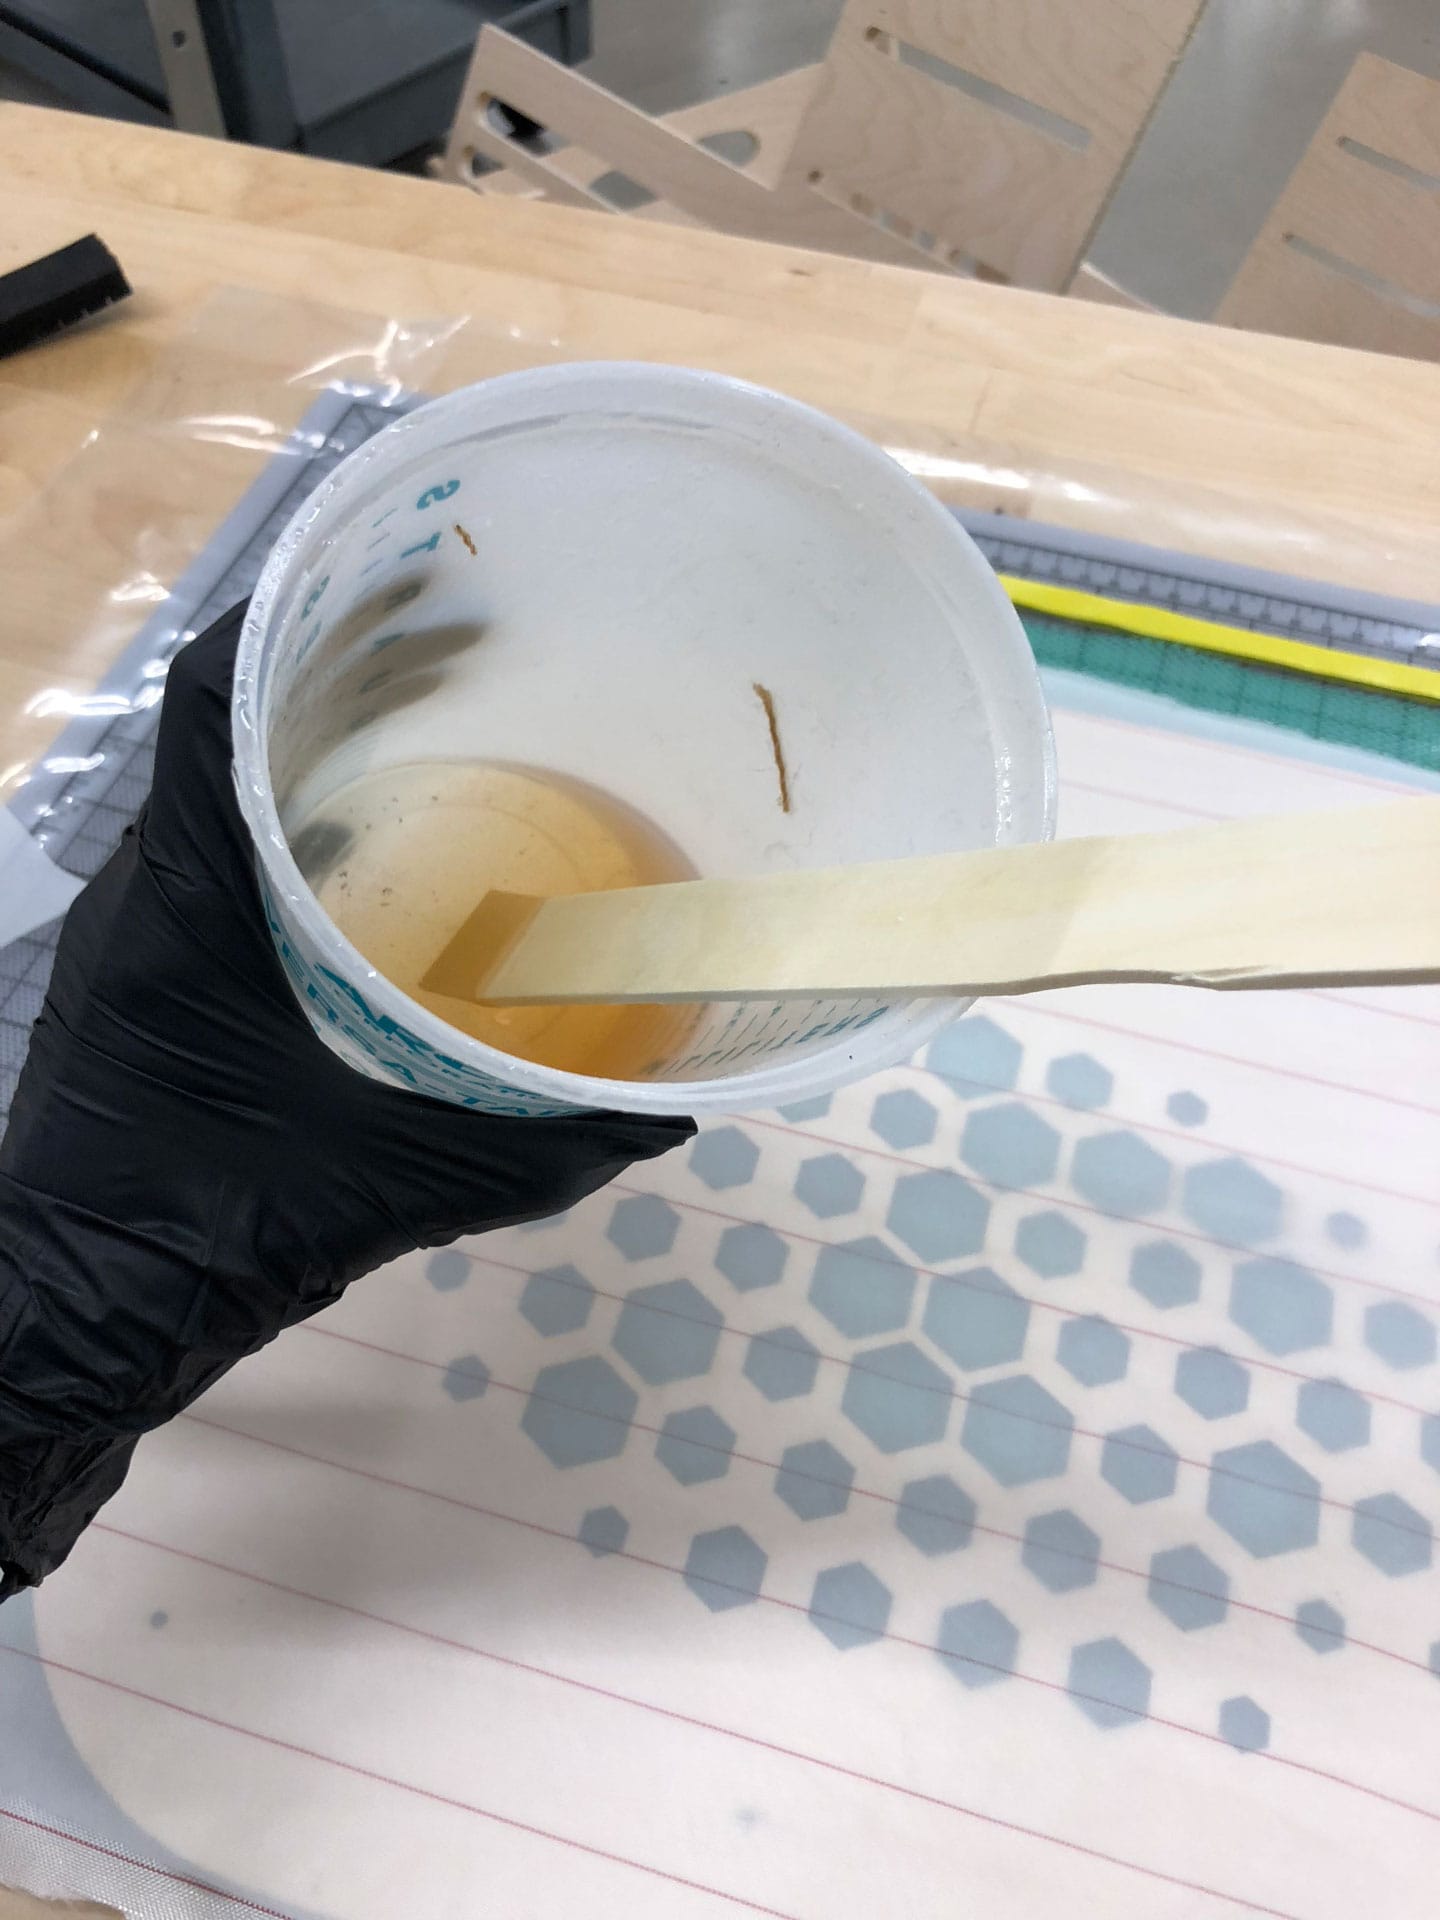
As part of my final project, I am trying to use mainly natural materials, such as wood. Therefore, to create the diffuser, I choose to make my composite out of a cotton mesh fabric and a more natural resin, called Entropy Resins.
Using Entropy Resins
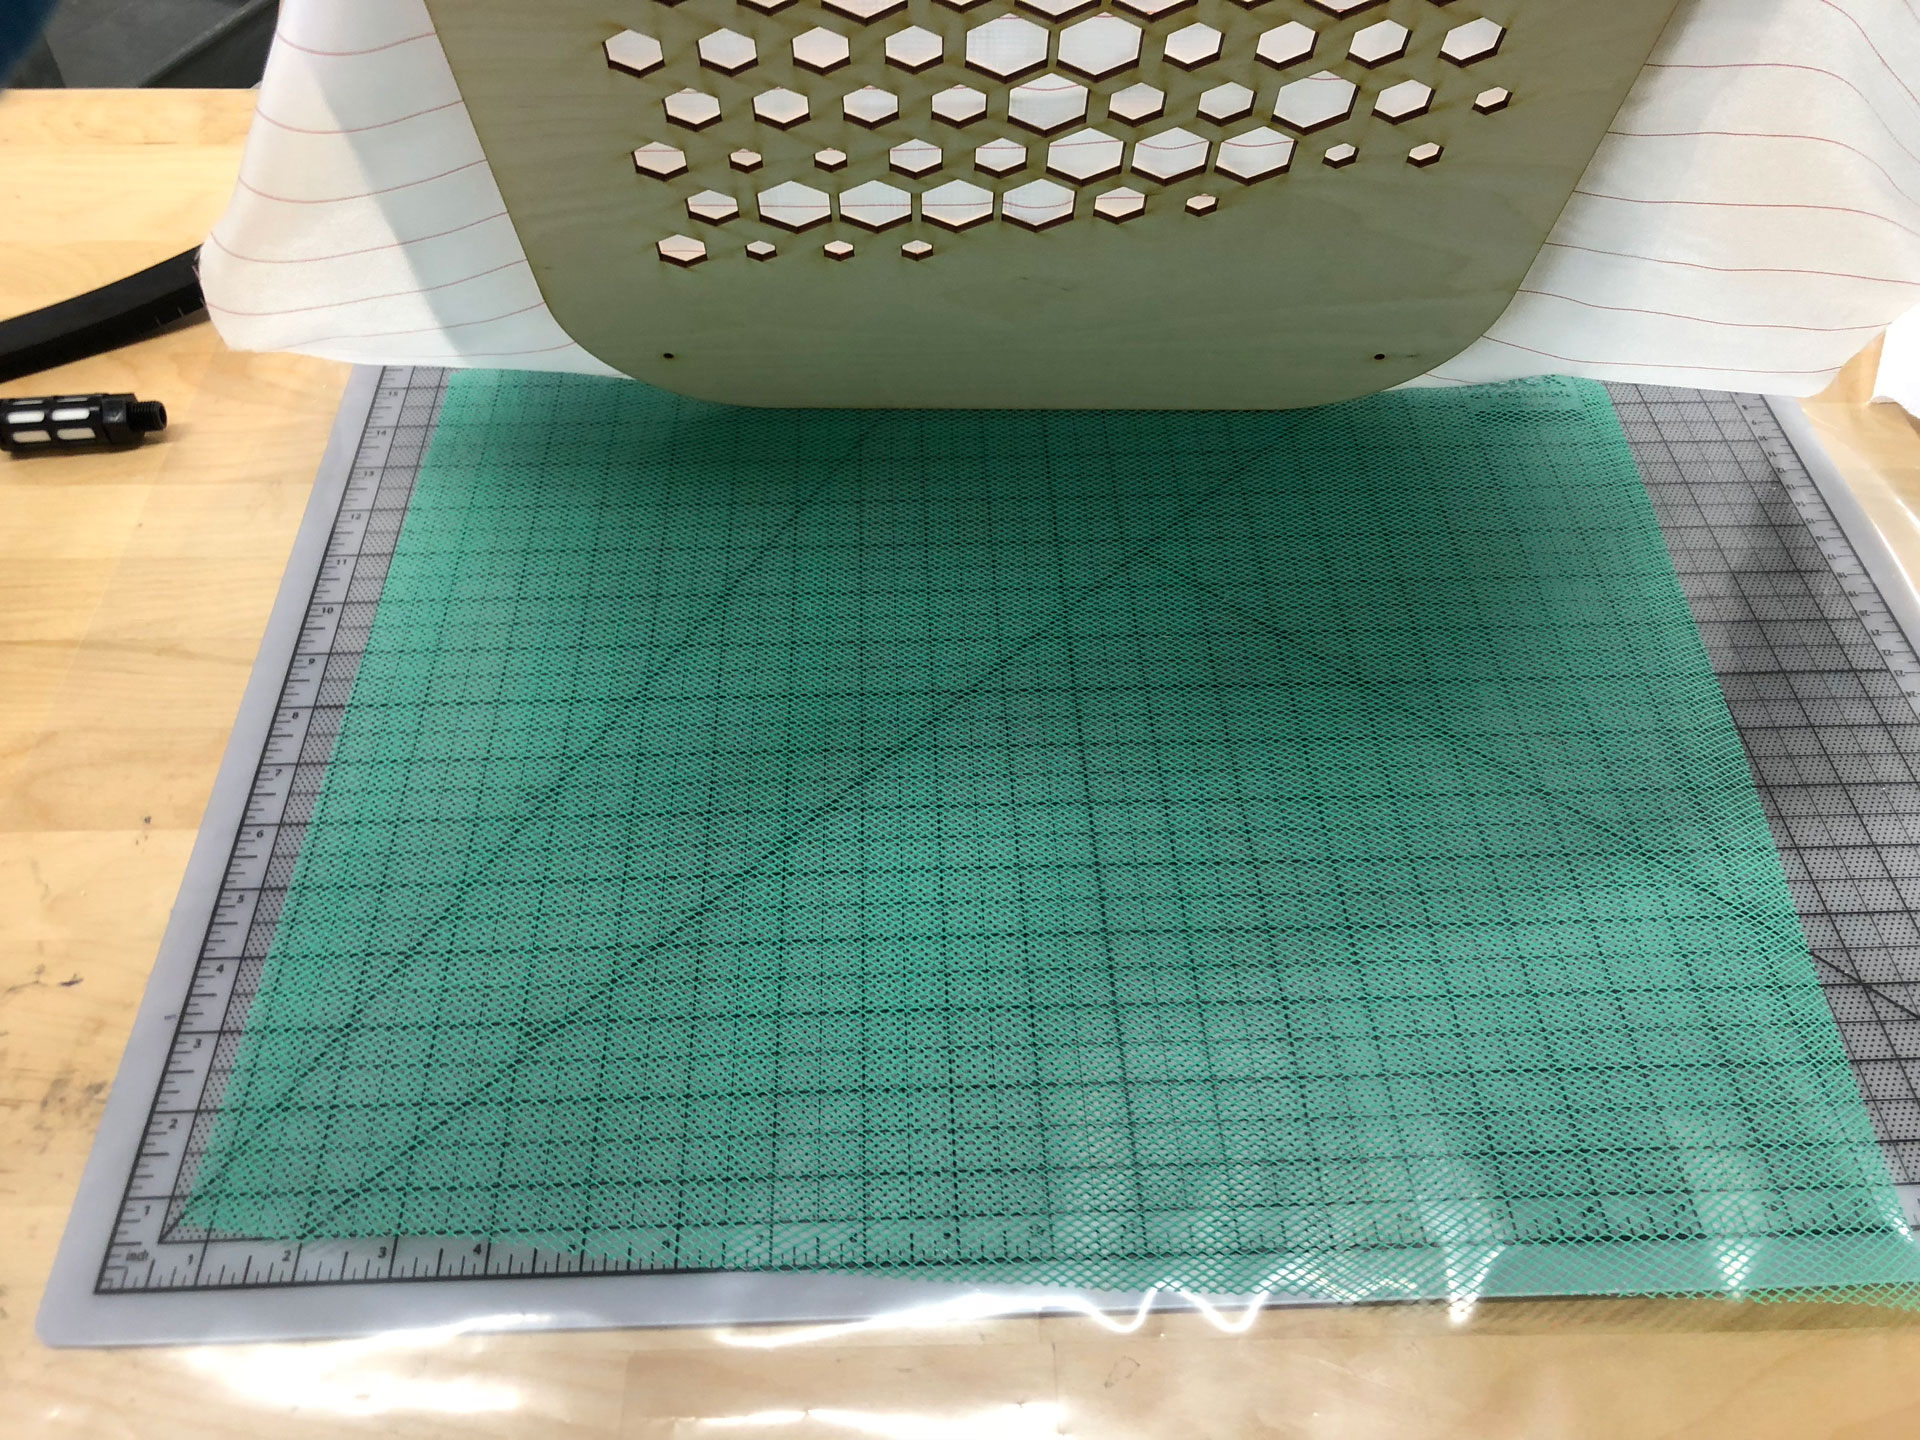
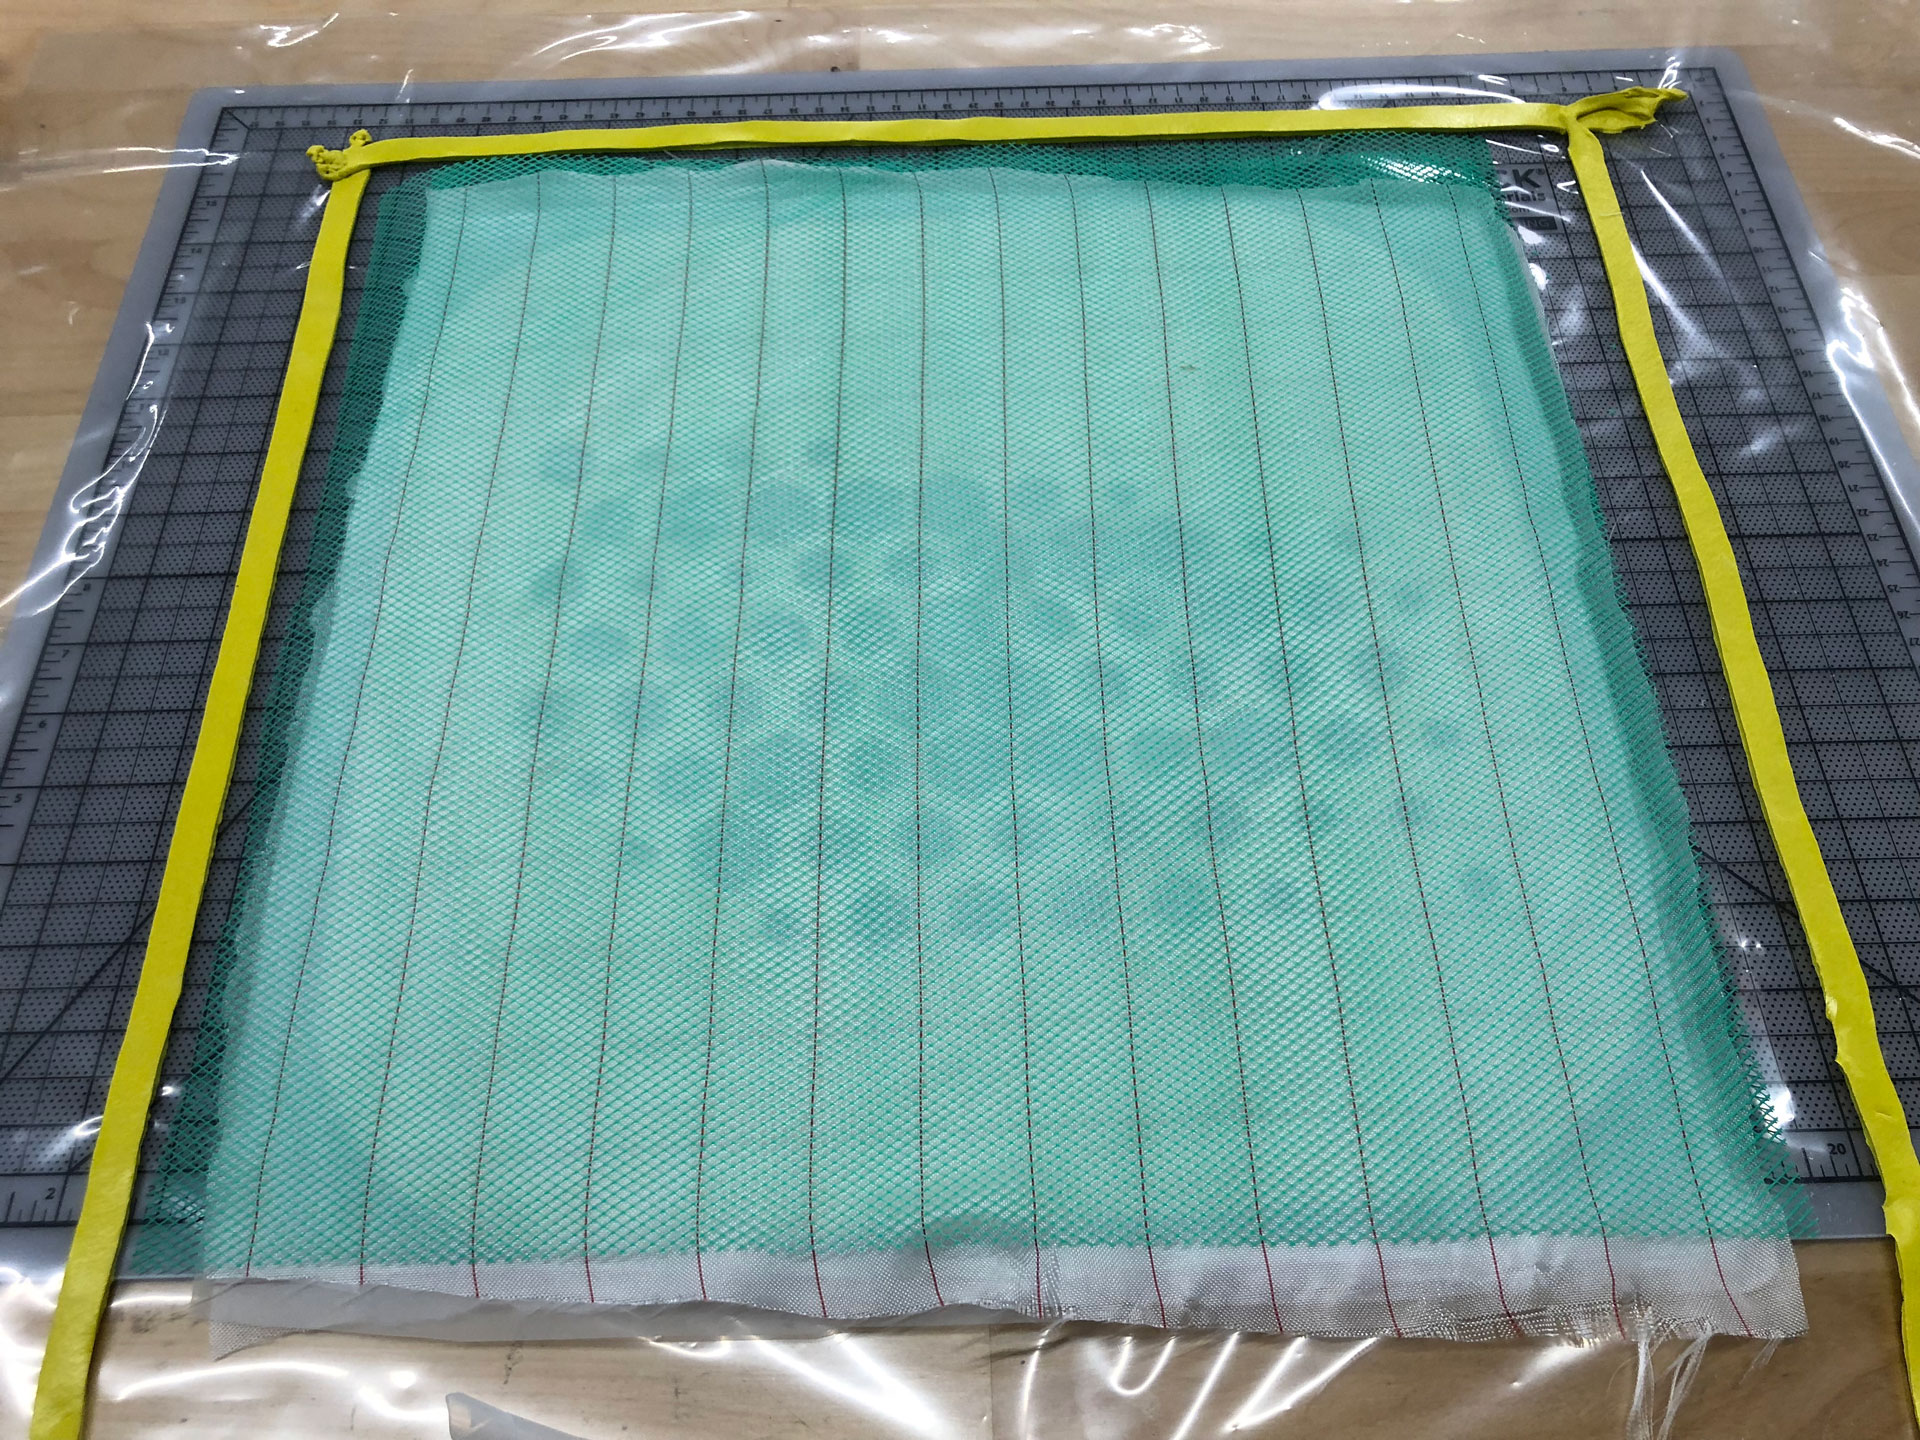
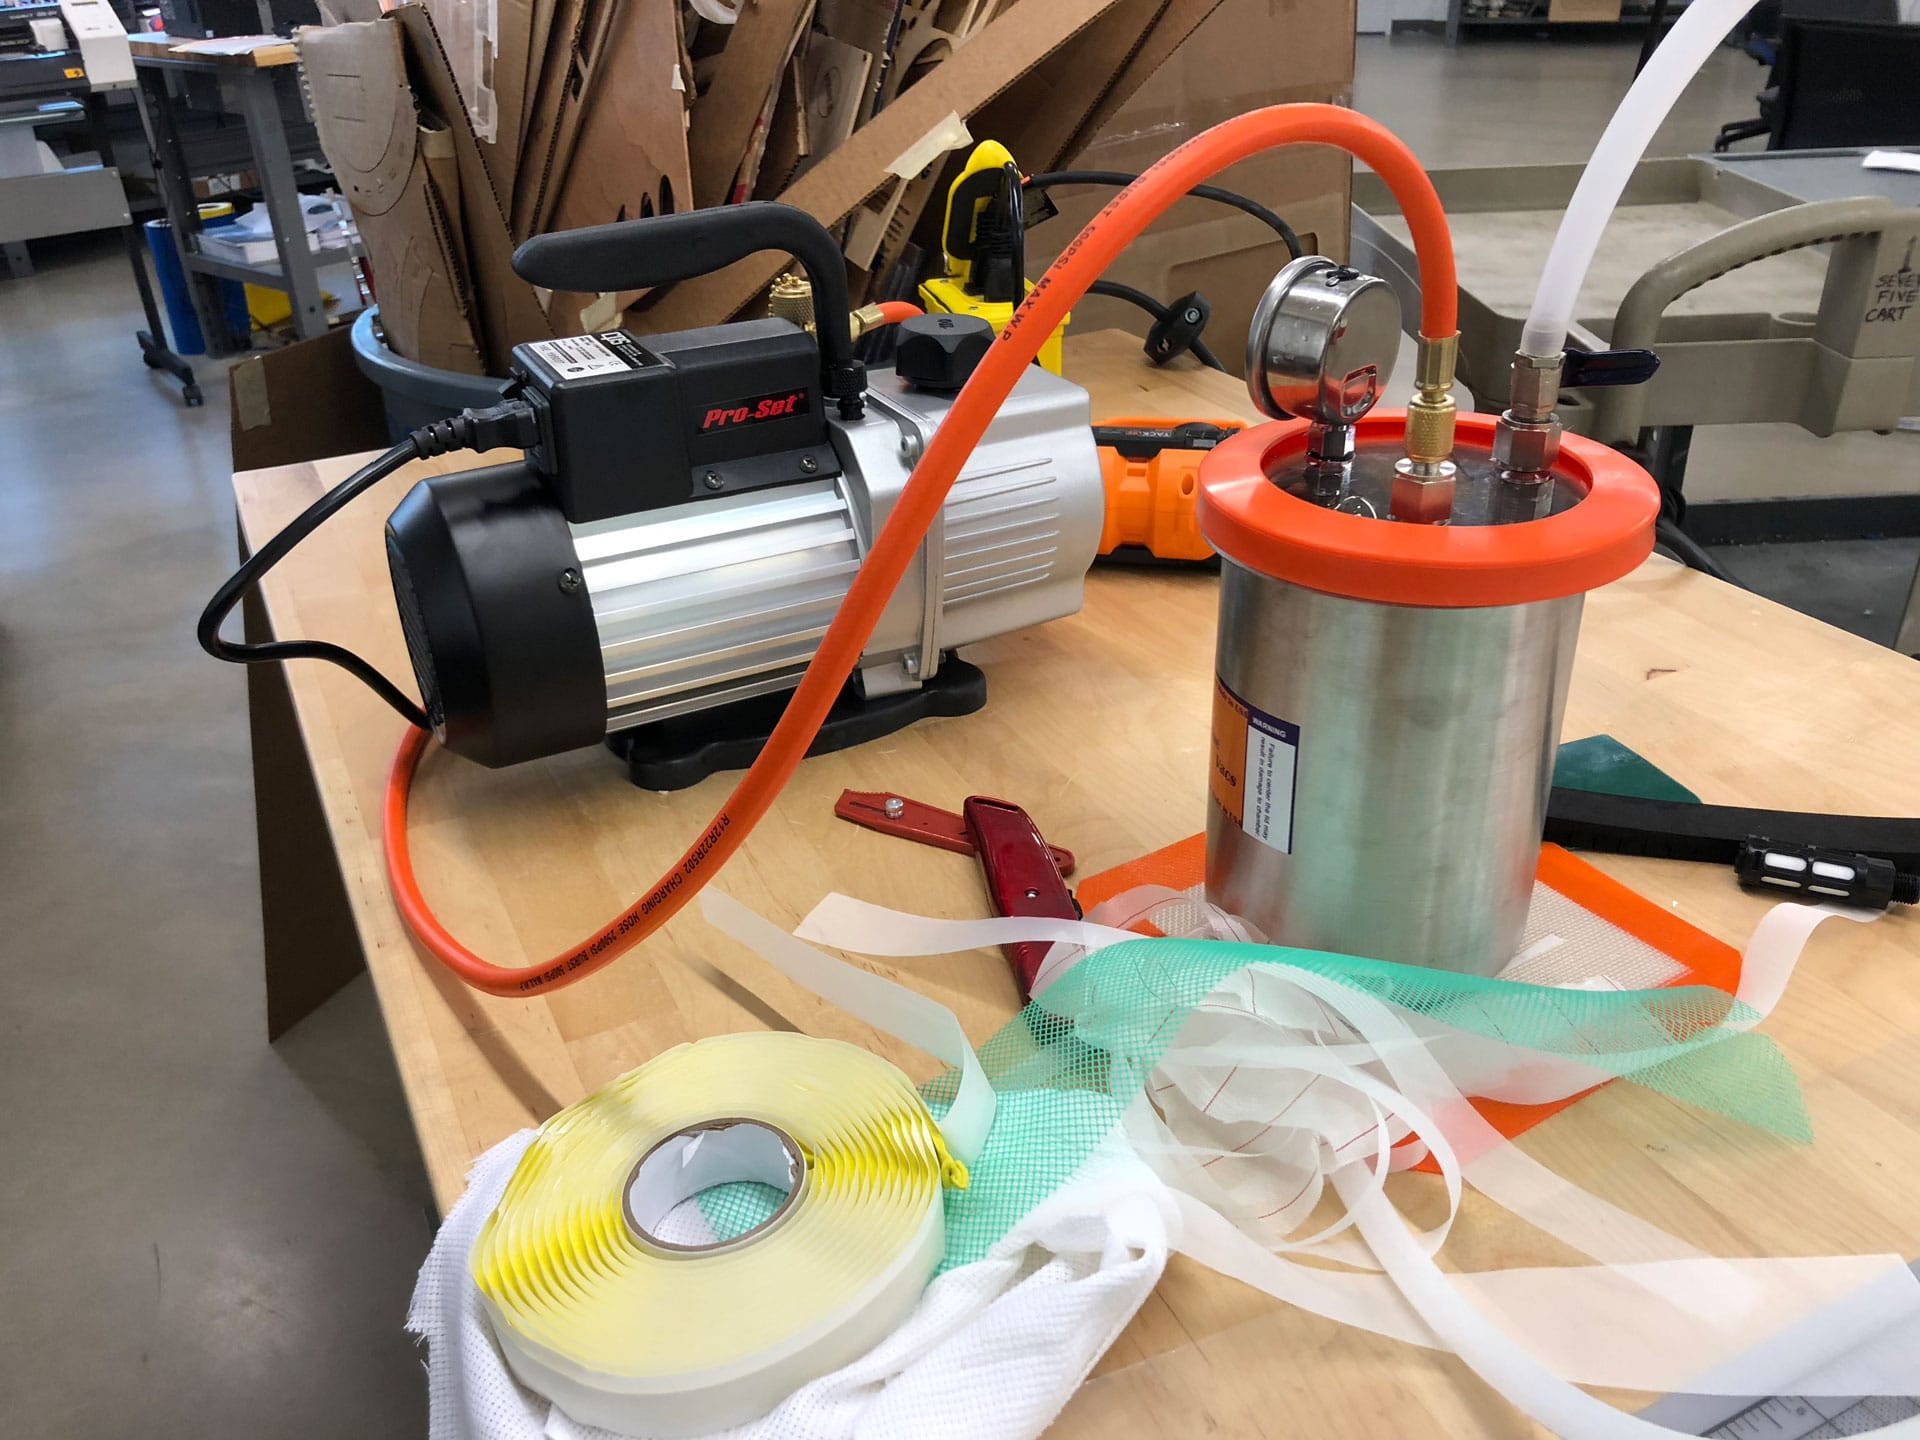
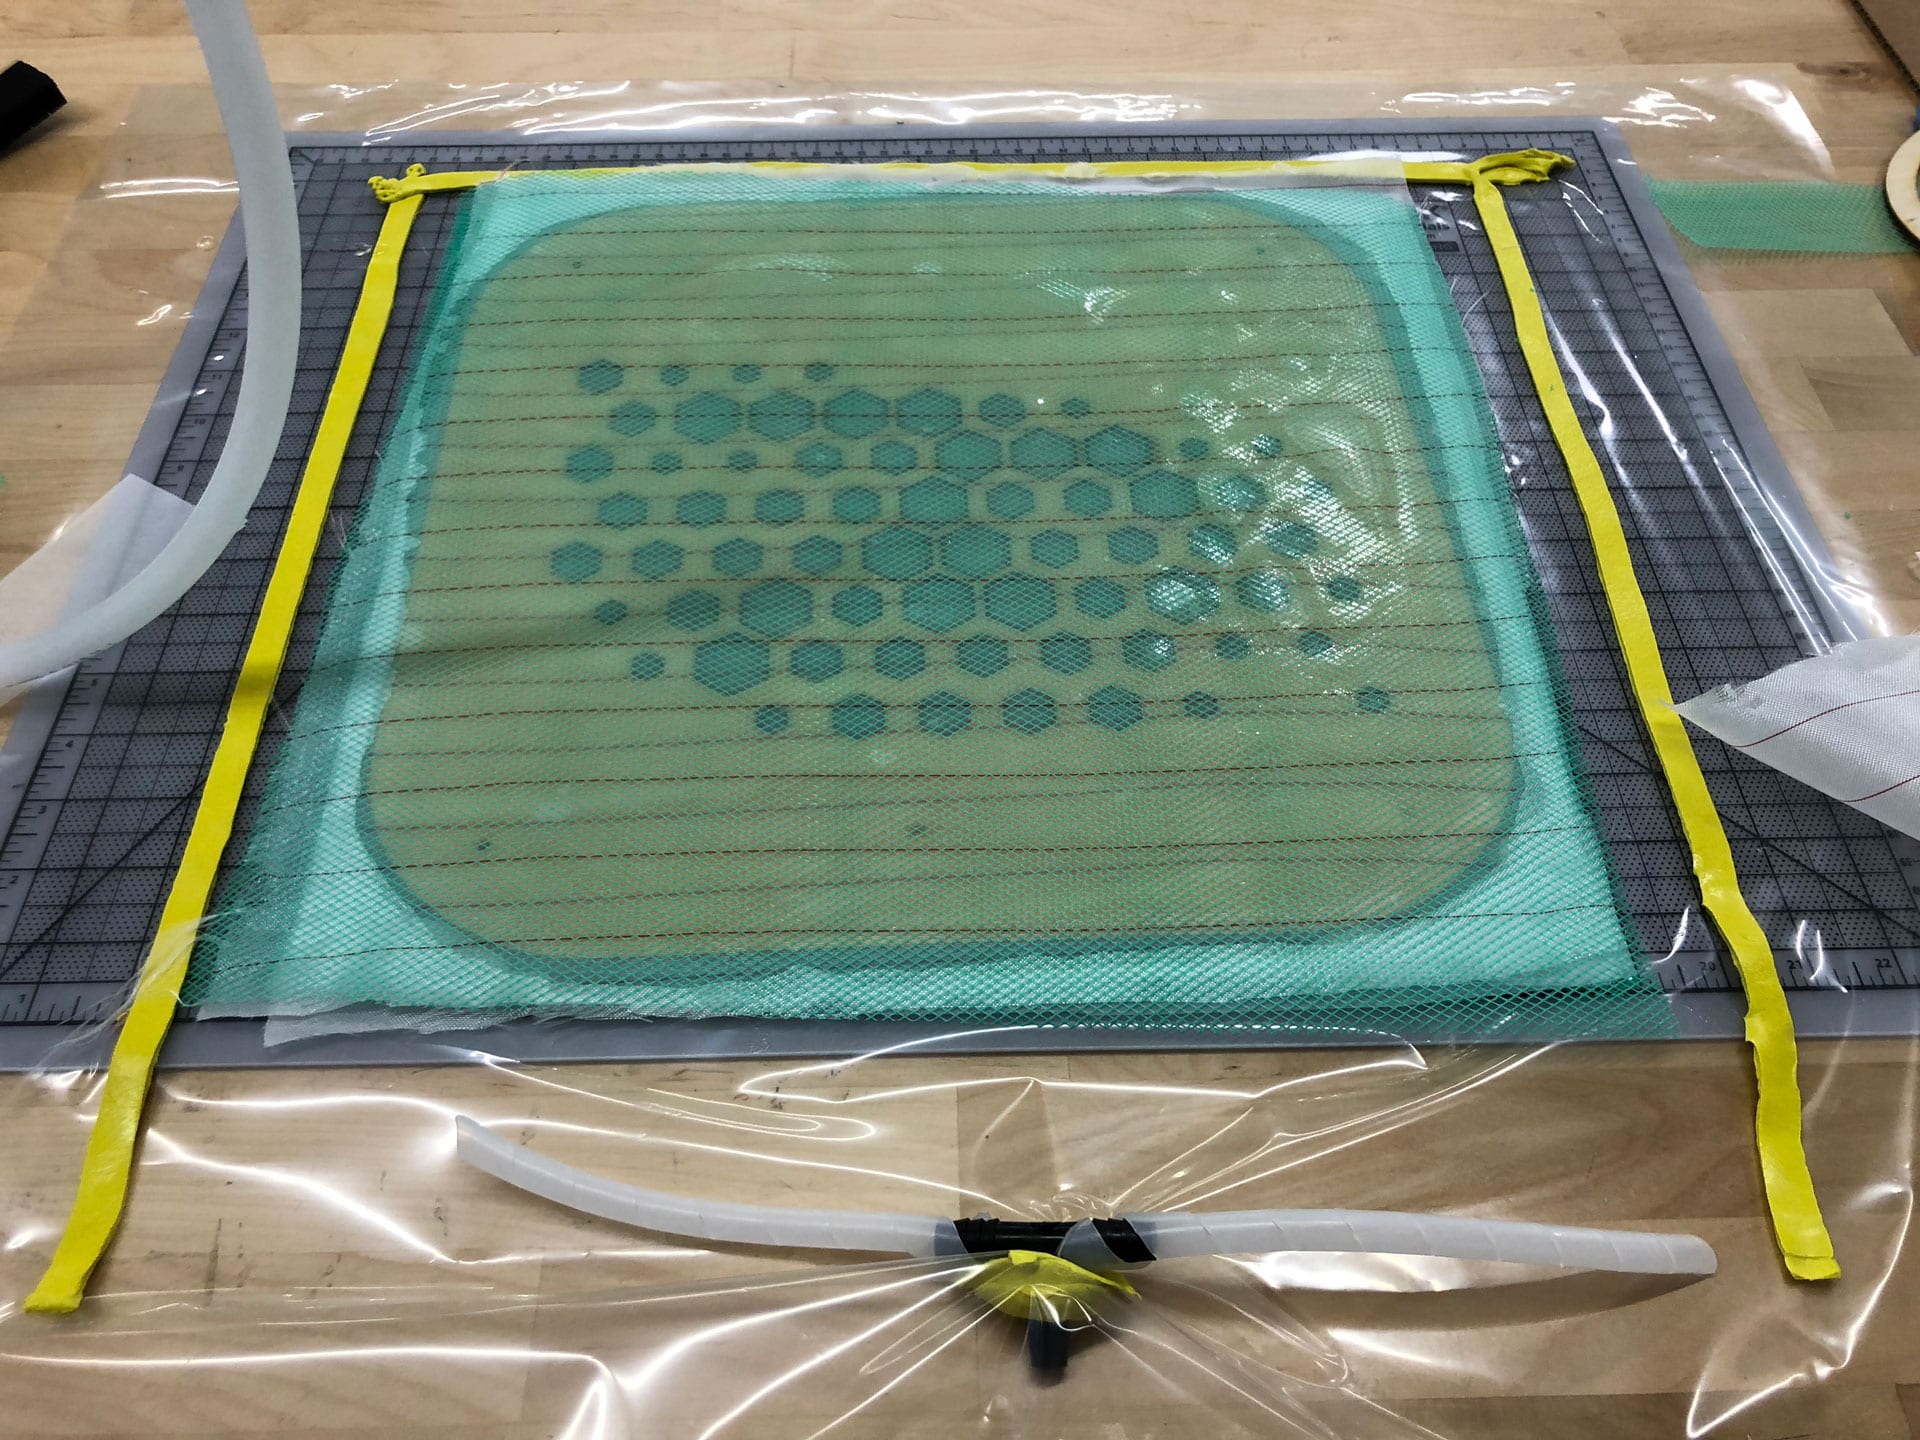
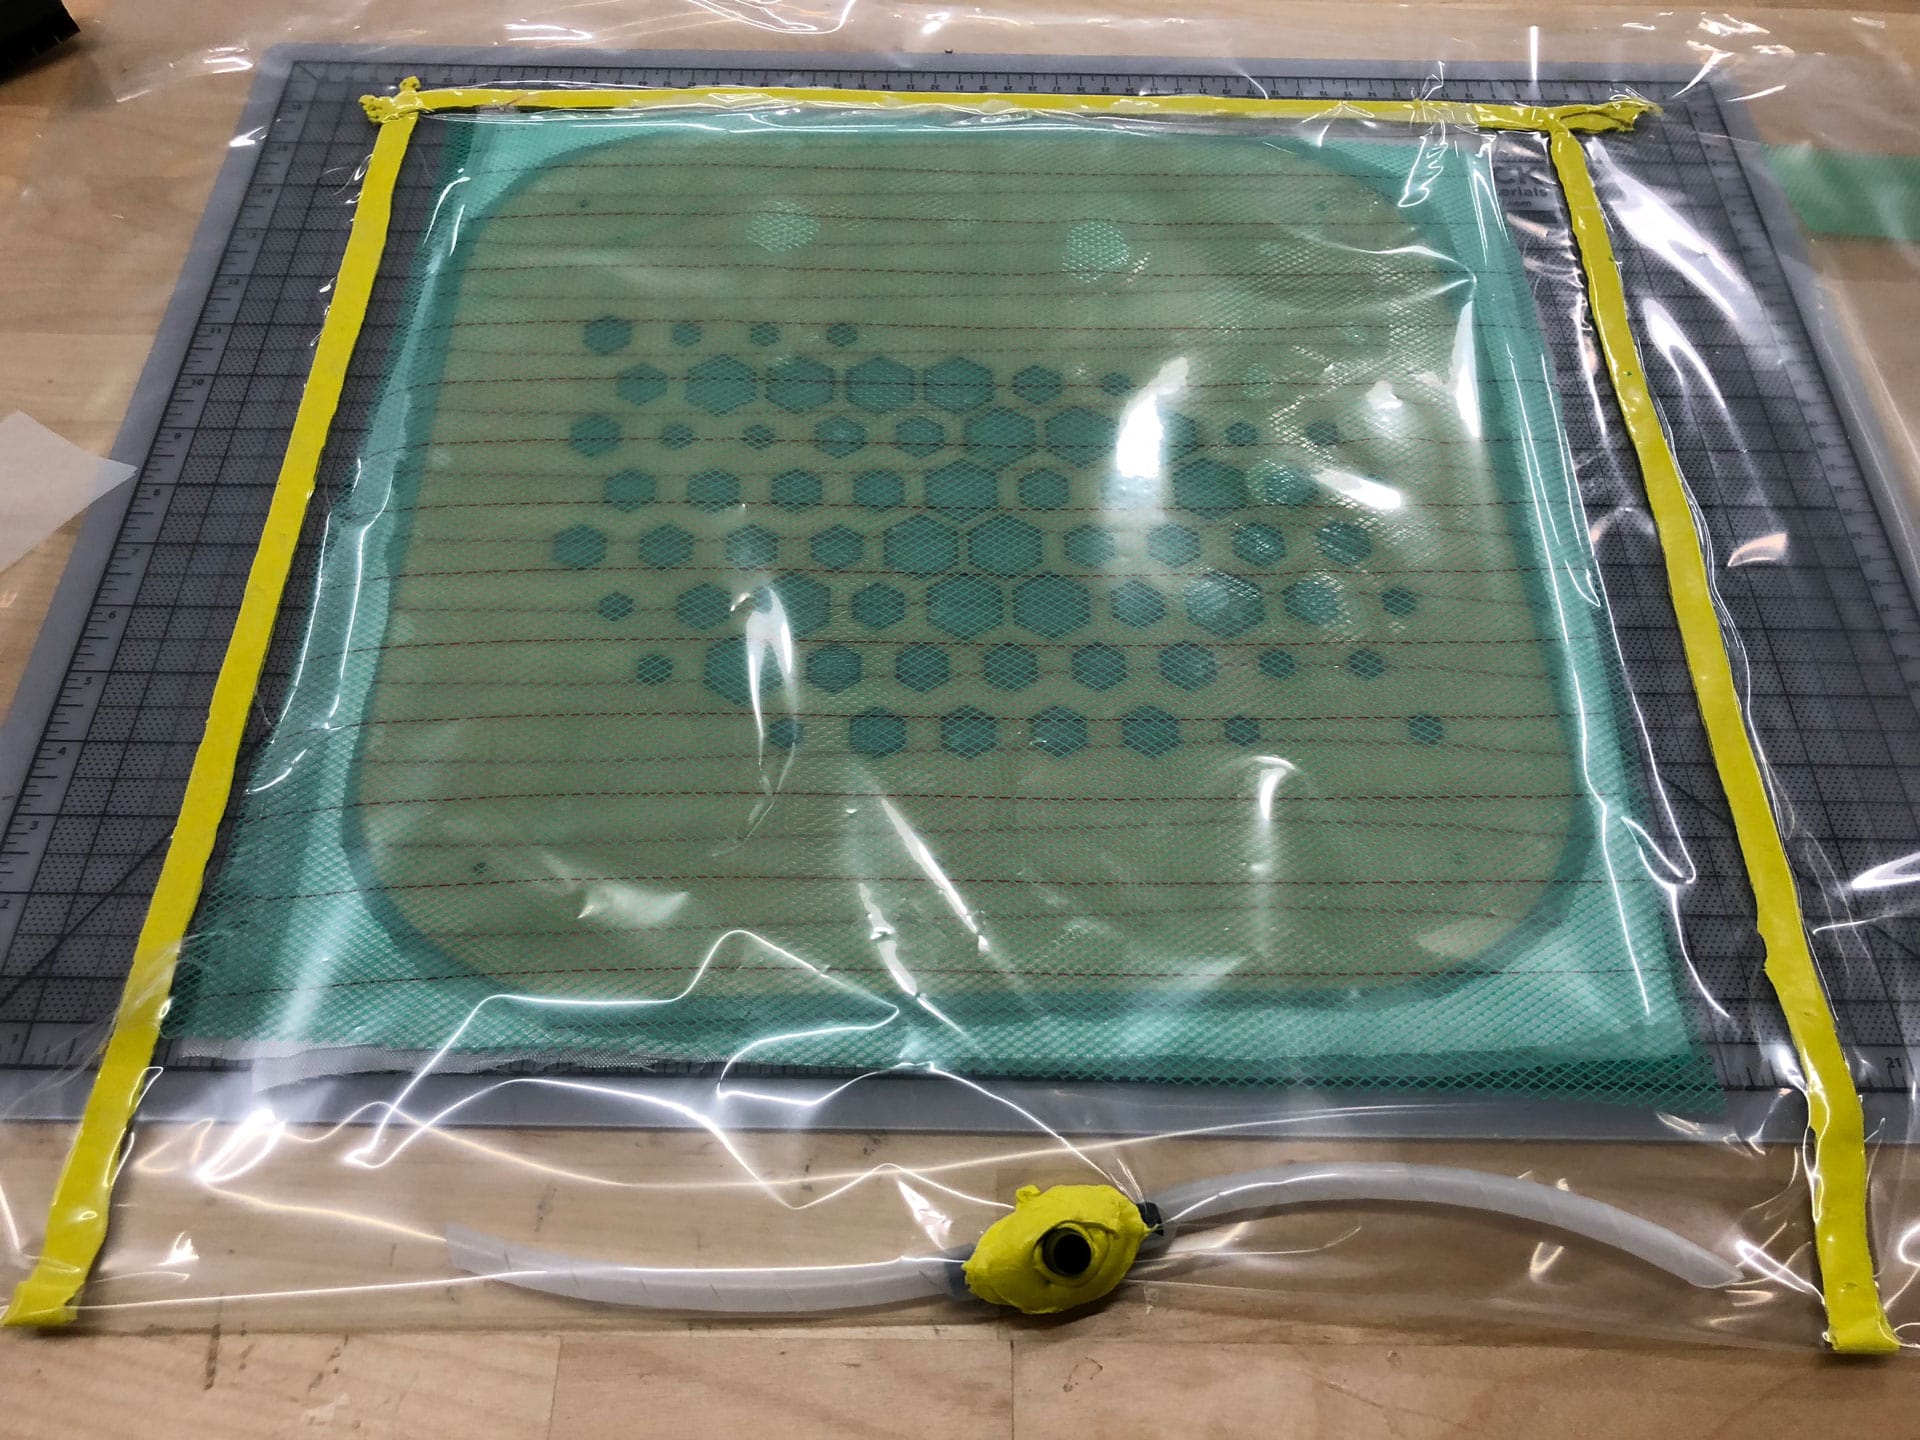
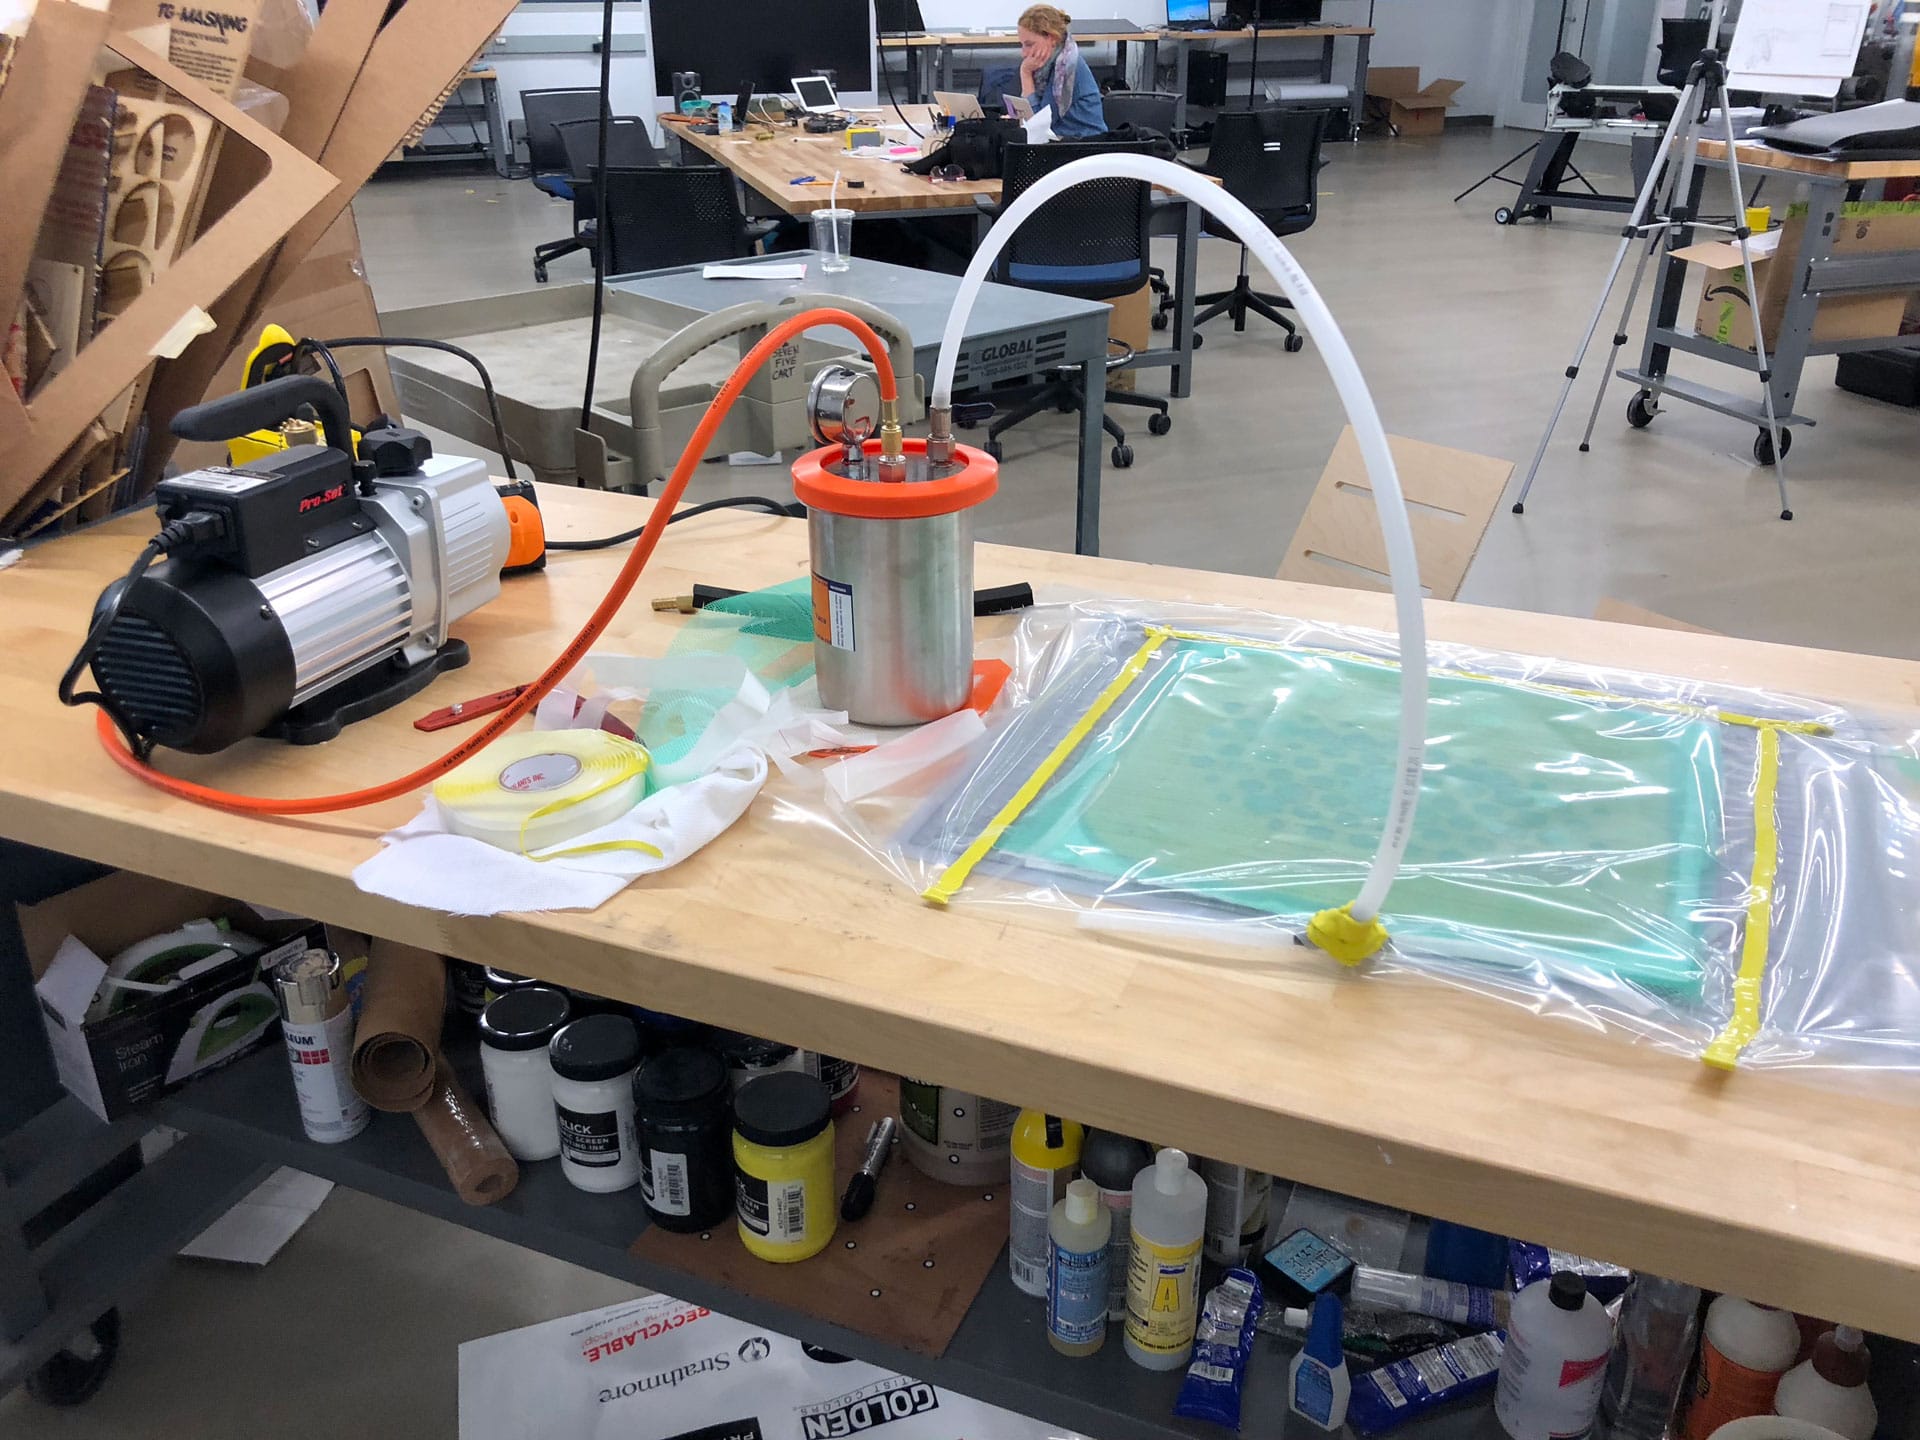
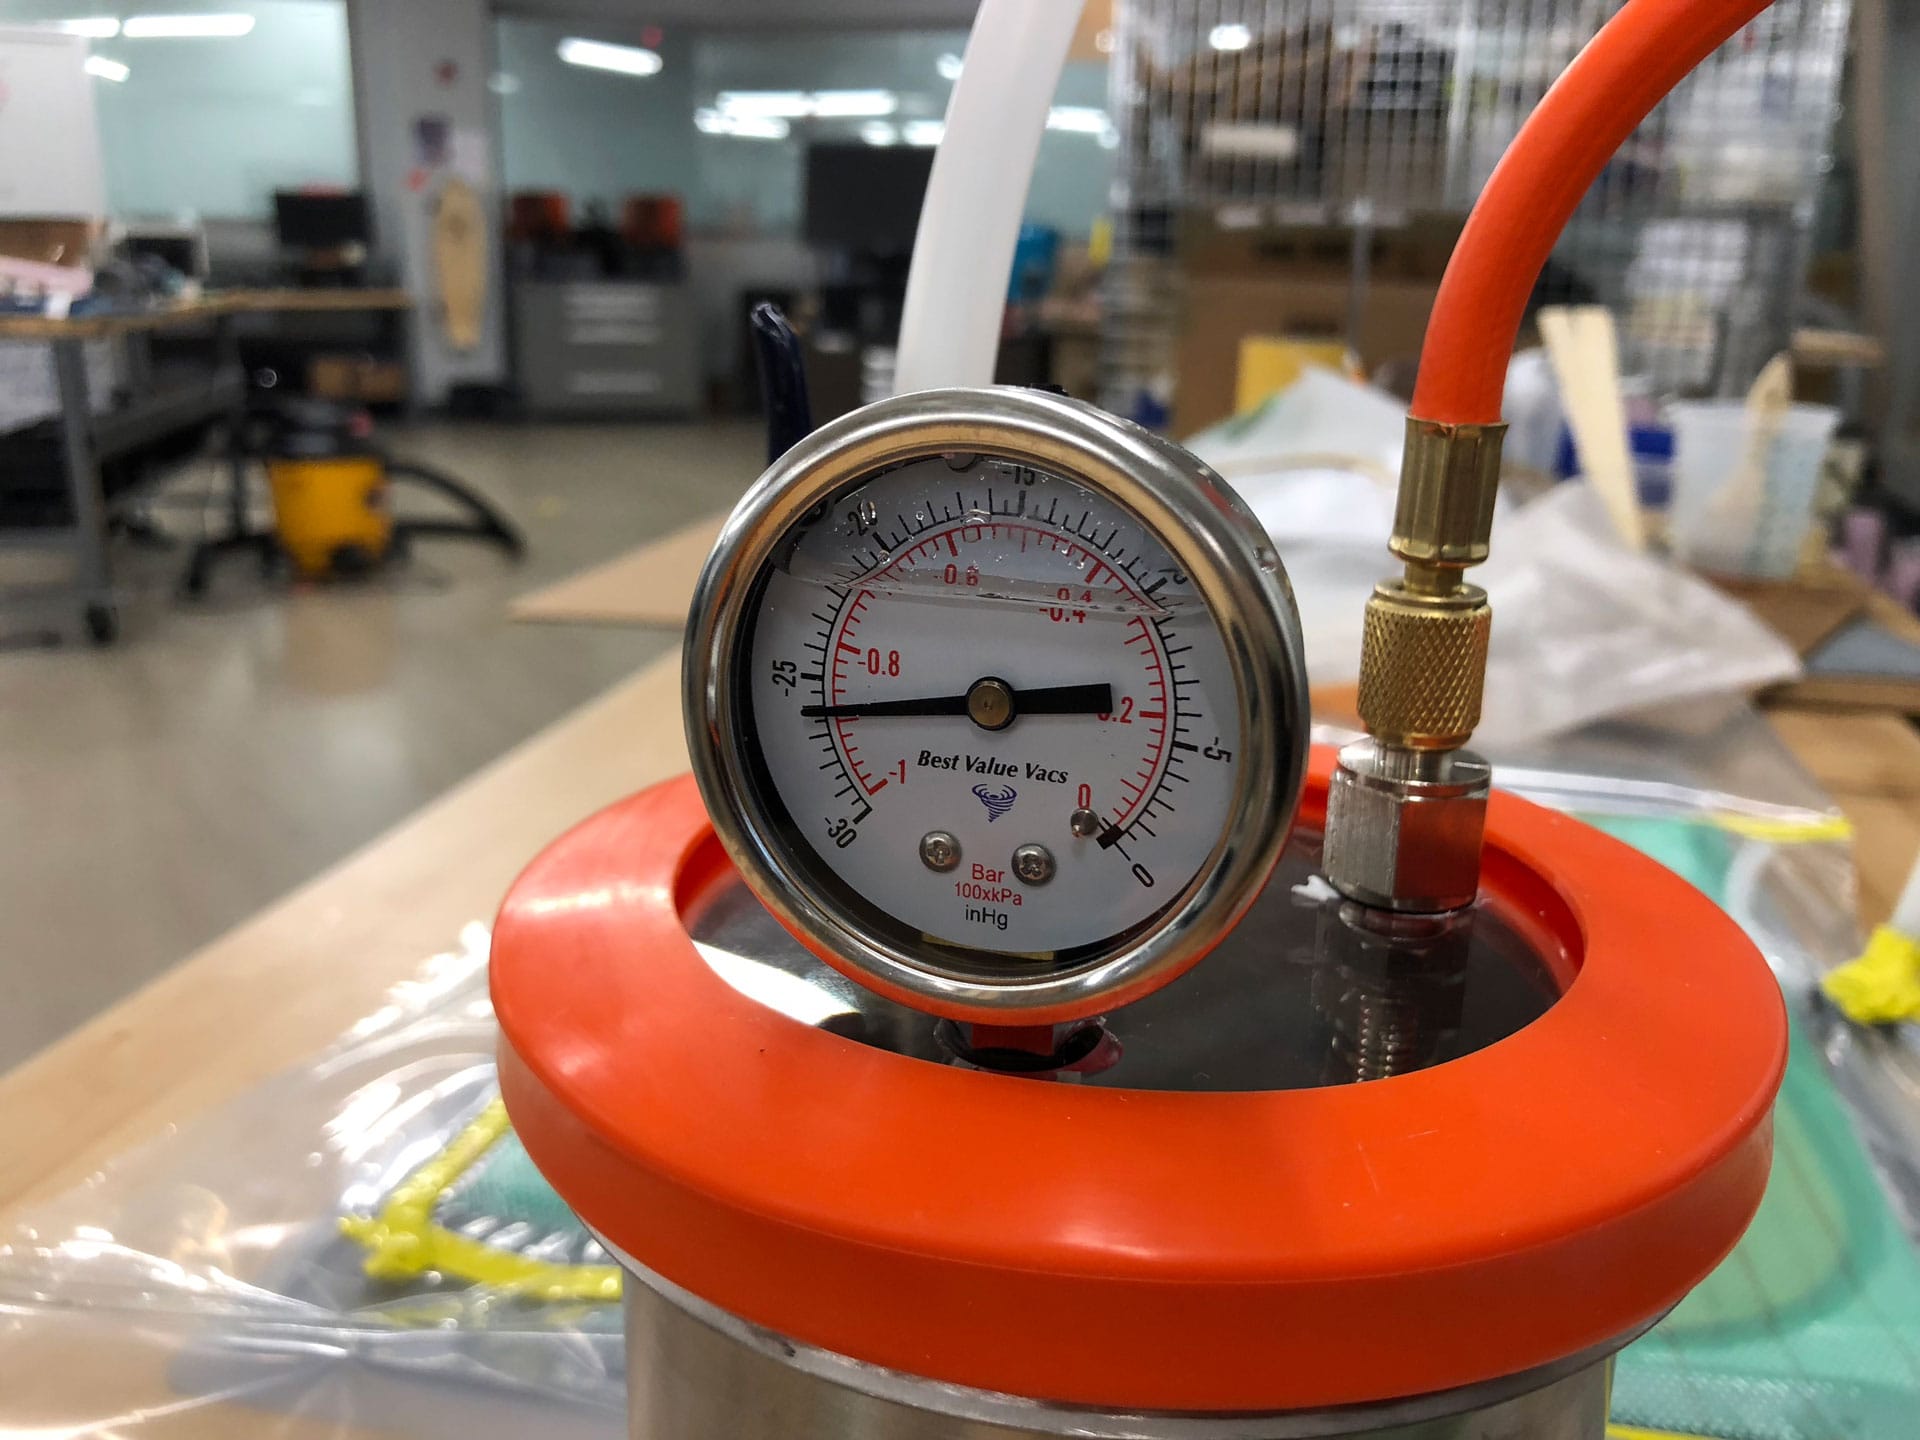
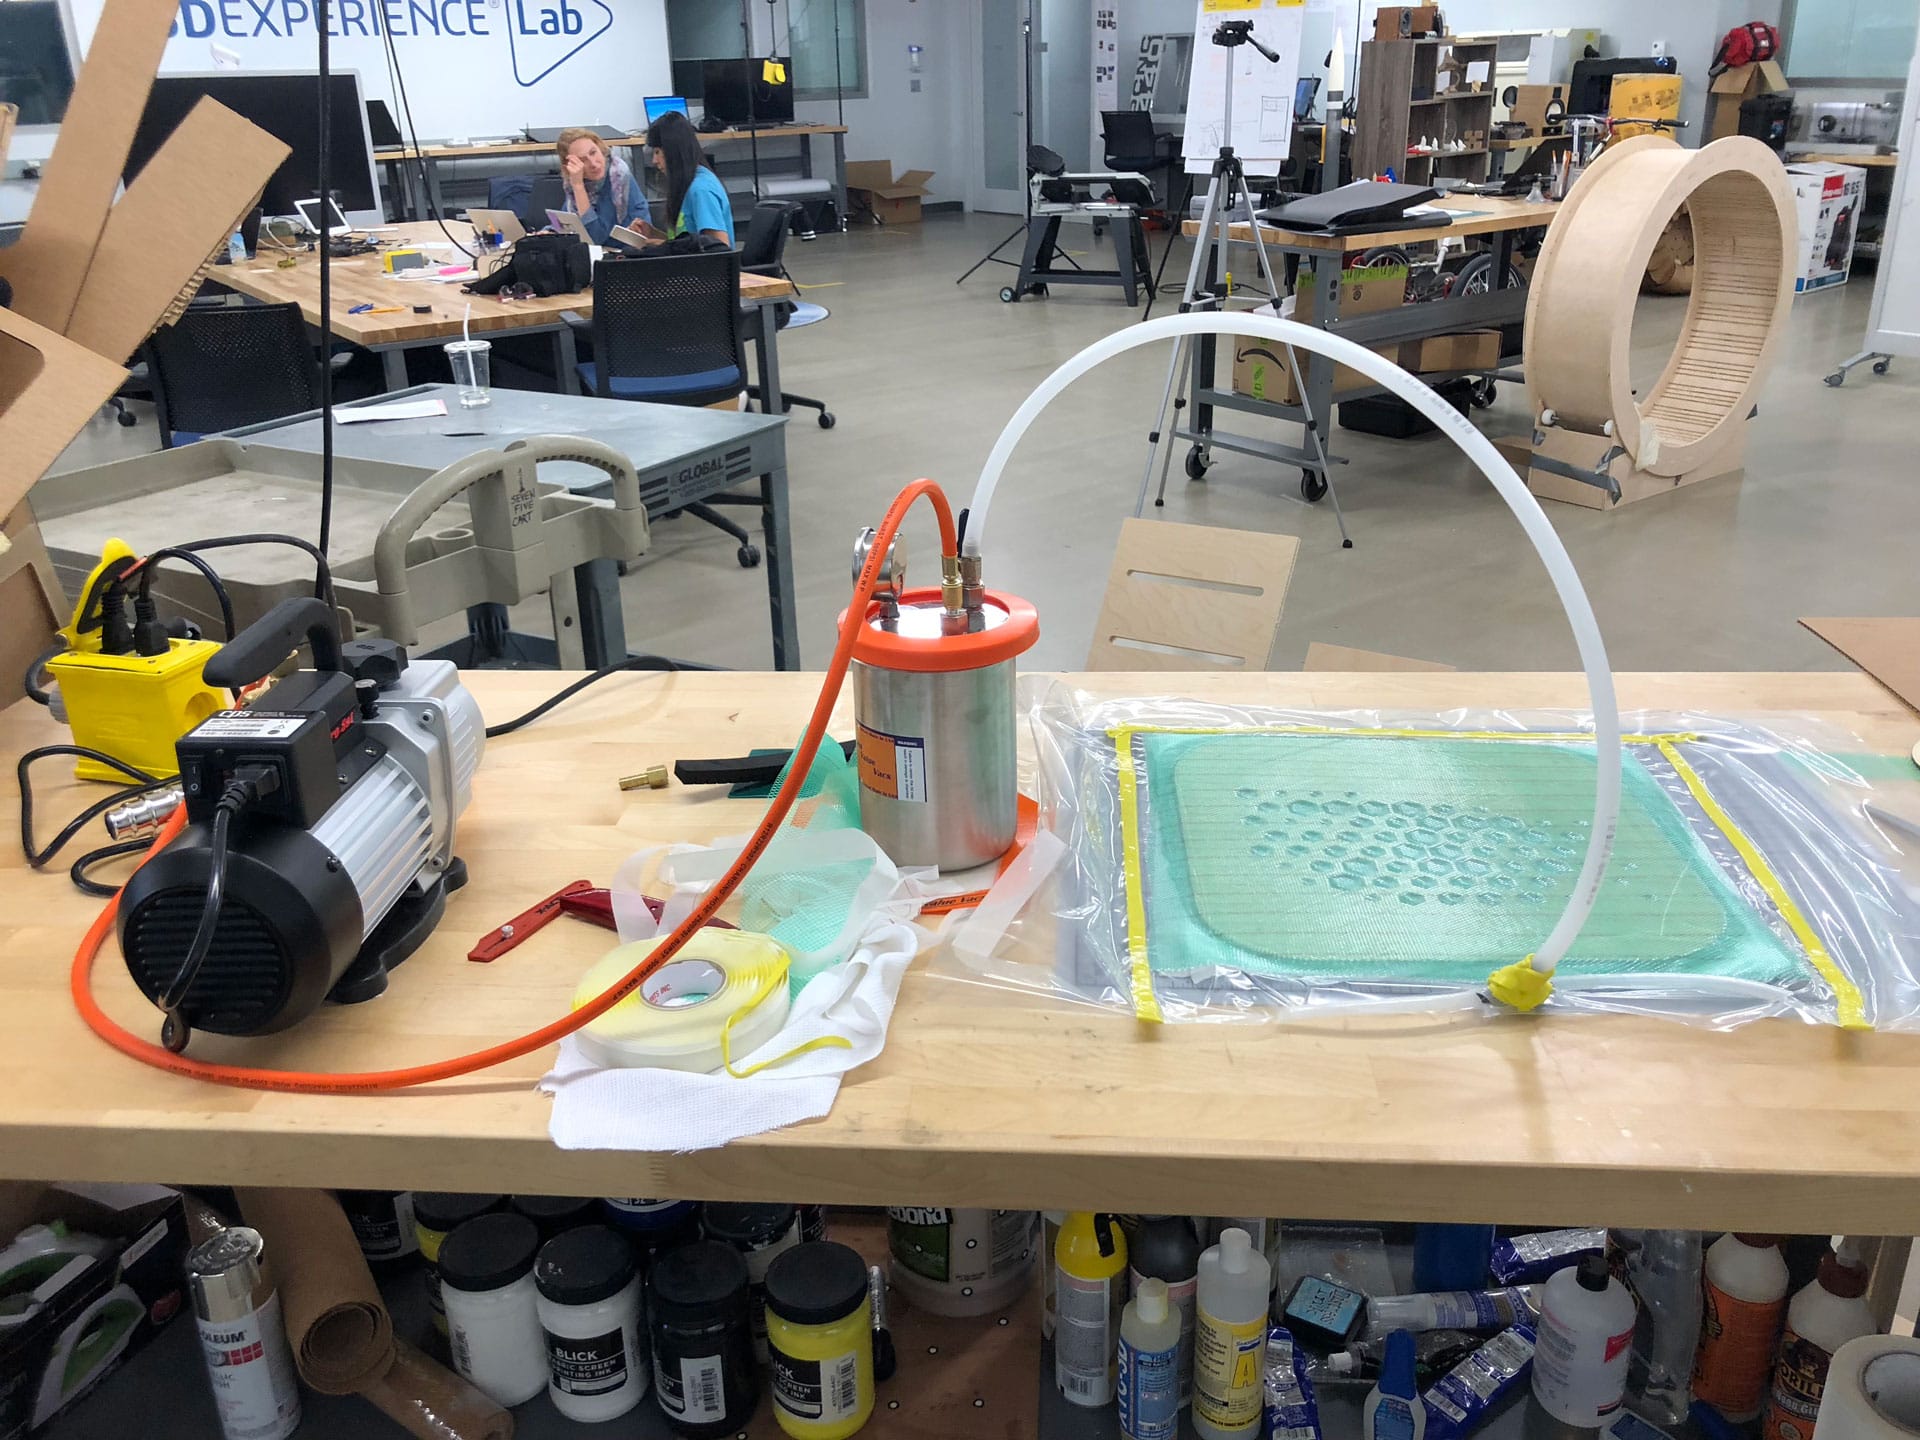
To create the composite, you need to create a mold, lay the layers on top of the mold with the resin and then vacuum seal all the pieces in a plastic bag and compact the layers by sucking out all the air from the bag.
The directions for using the Entropy Resins are fairly simple:
Layering Process
There is a specific layering process when creating the composite. The layers from top to bottom include:
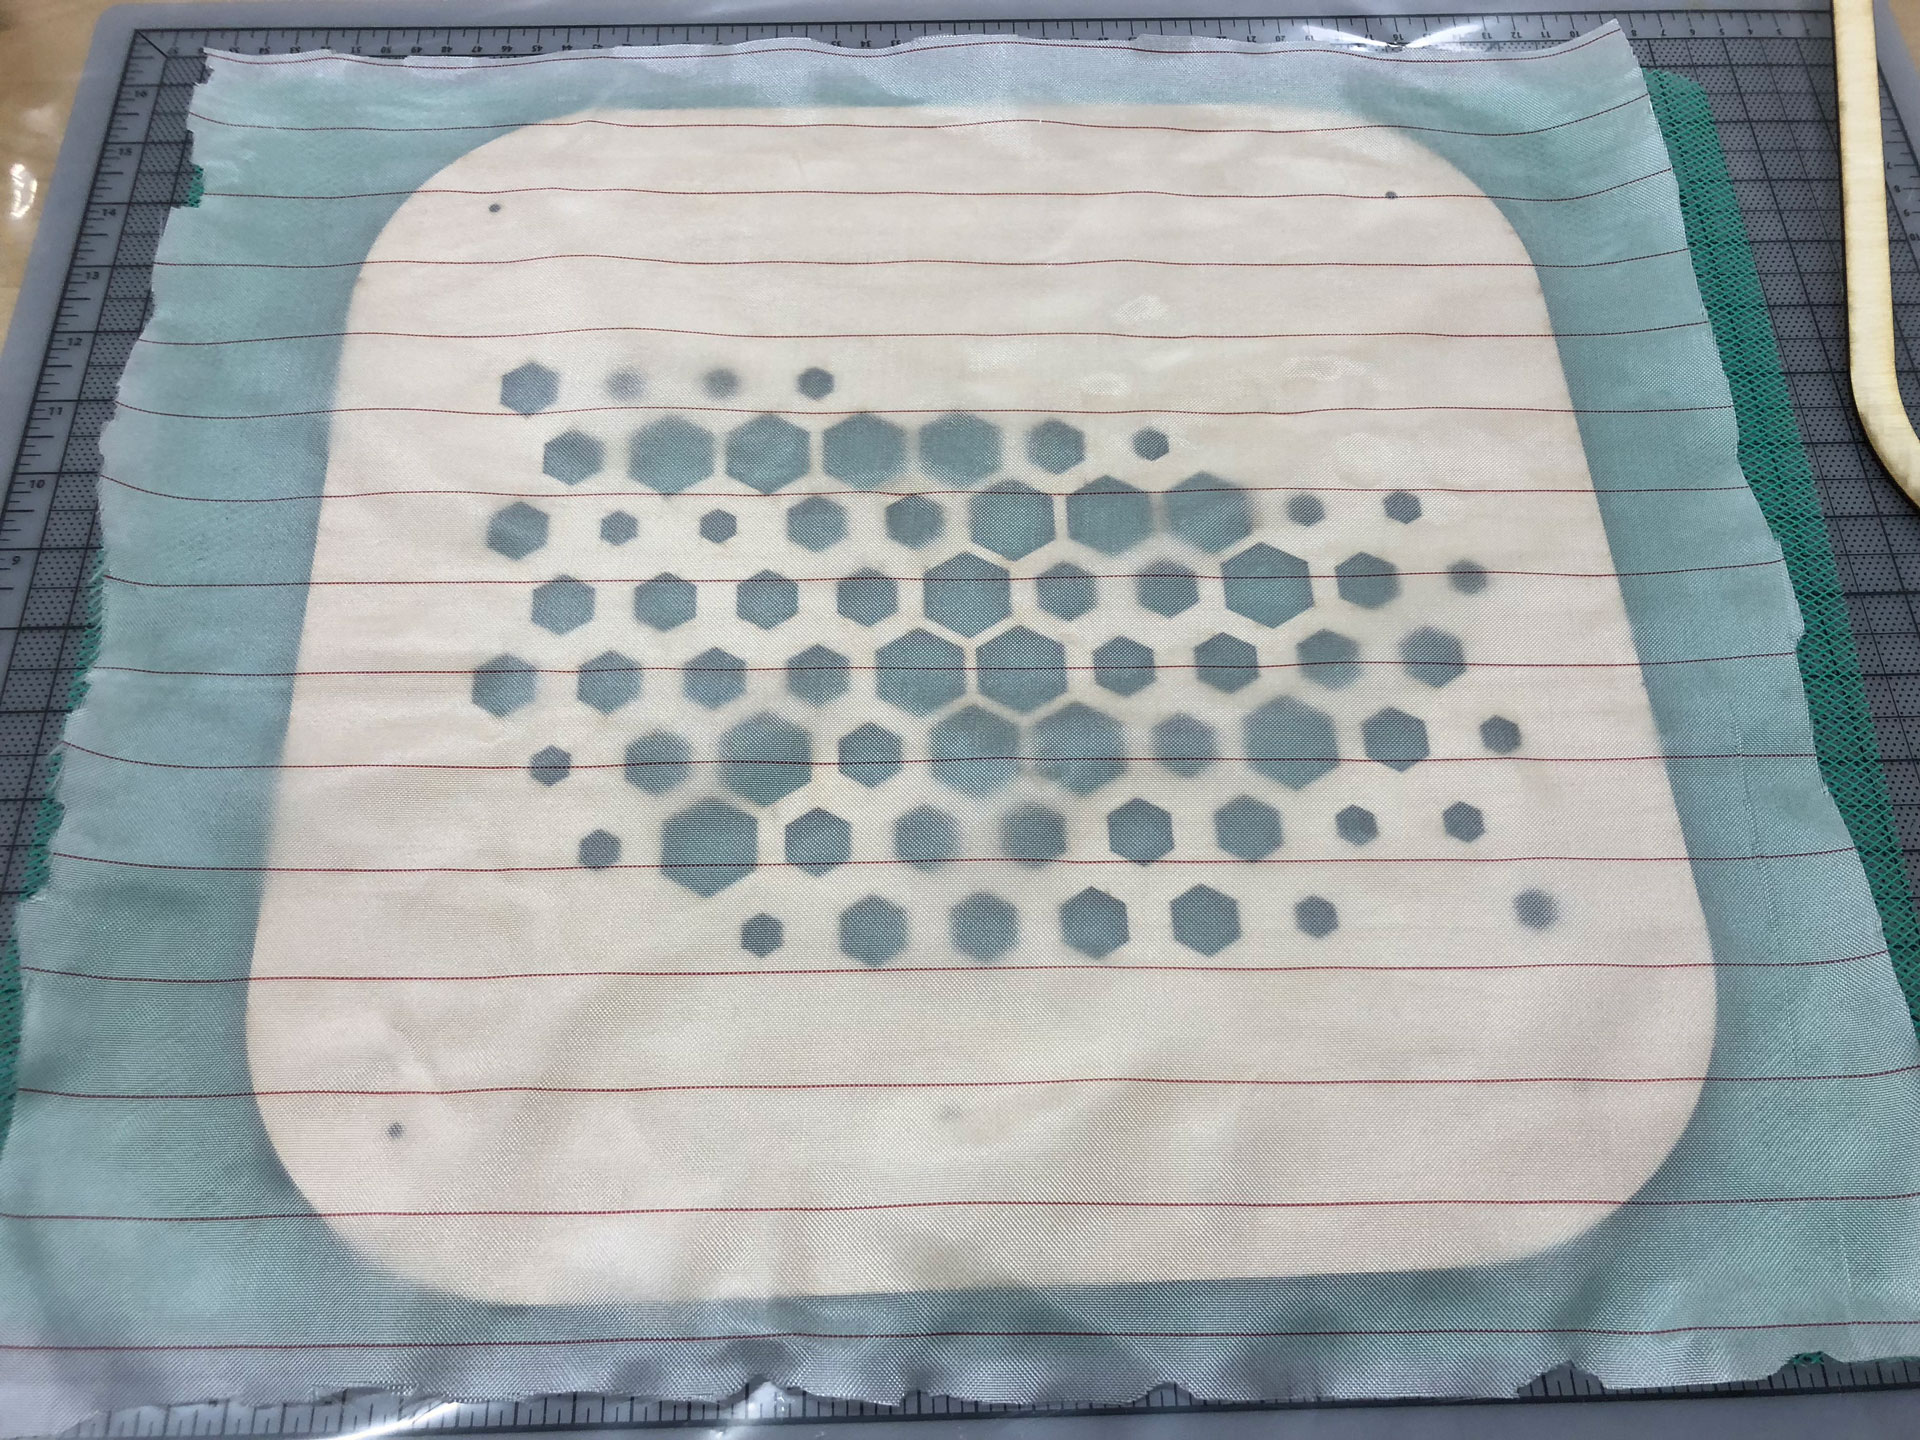
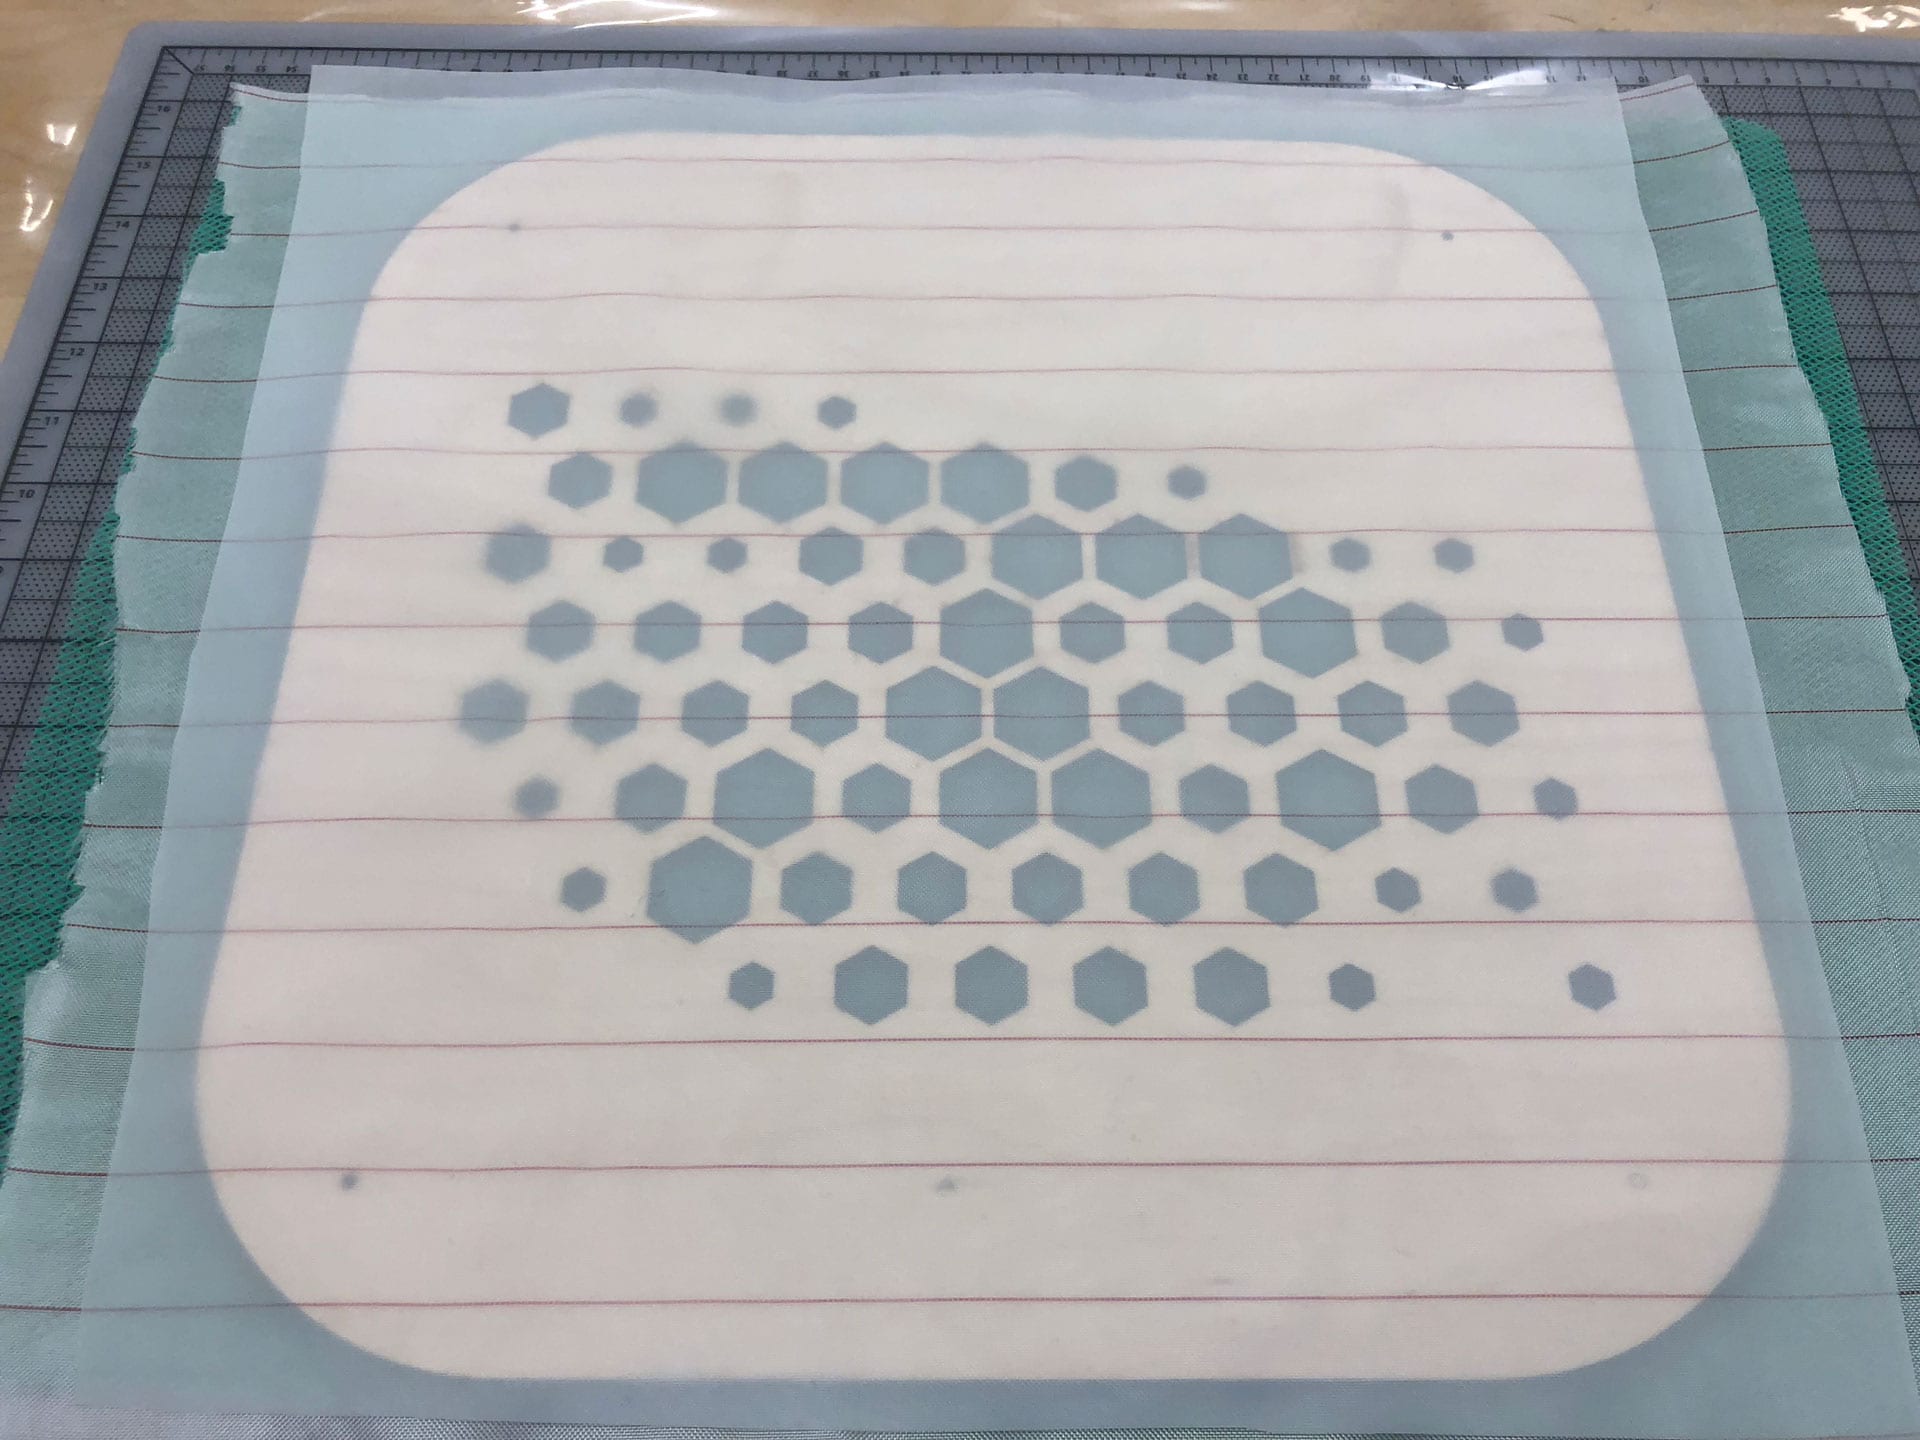
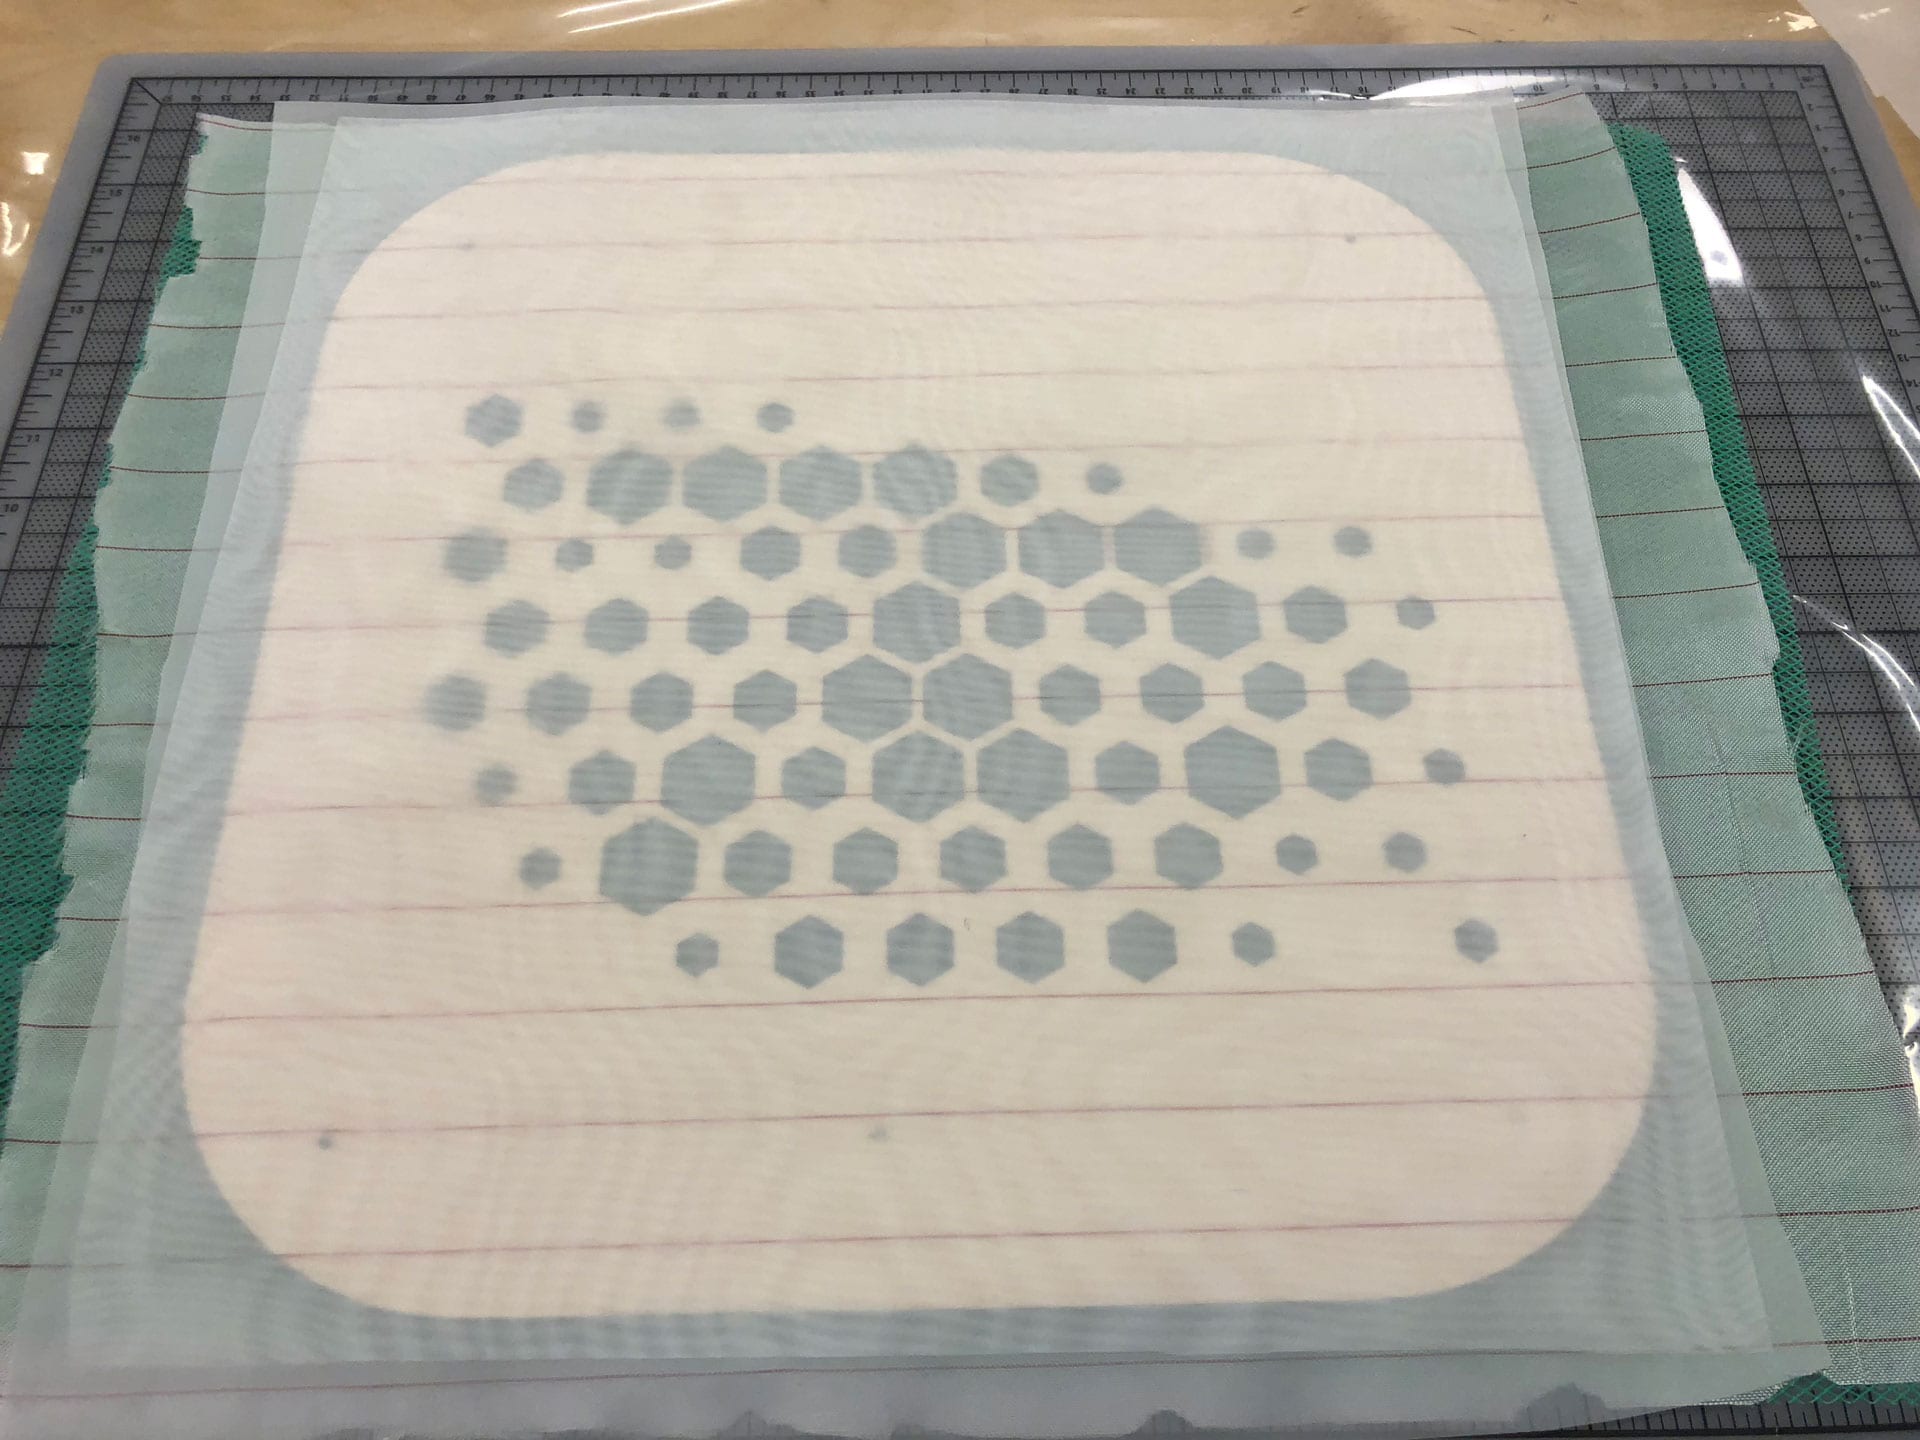
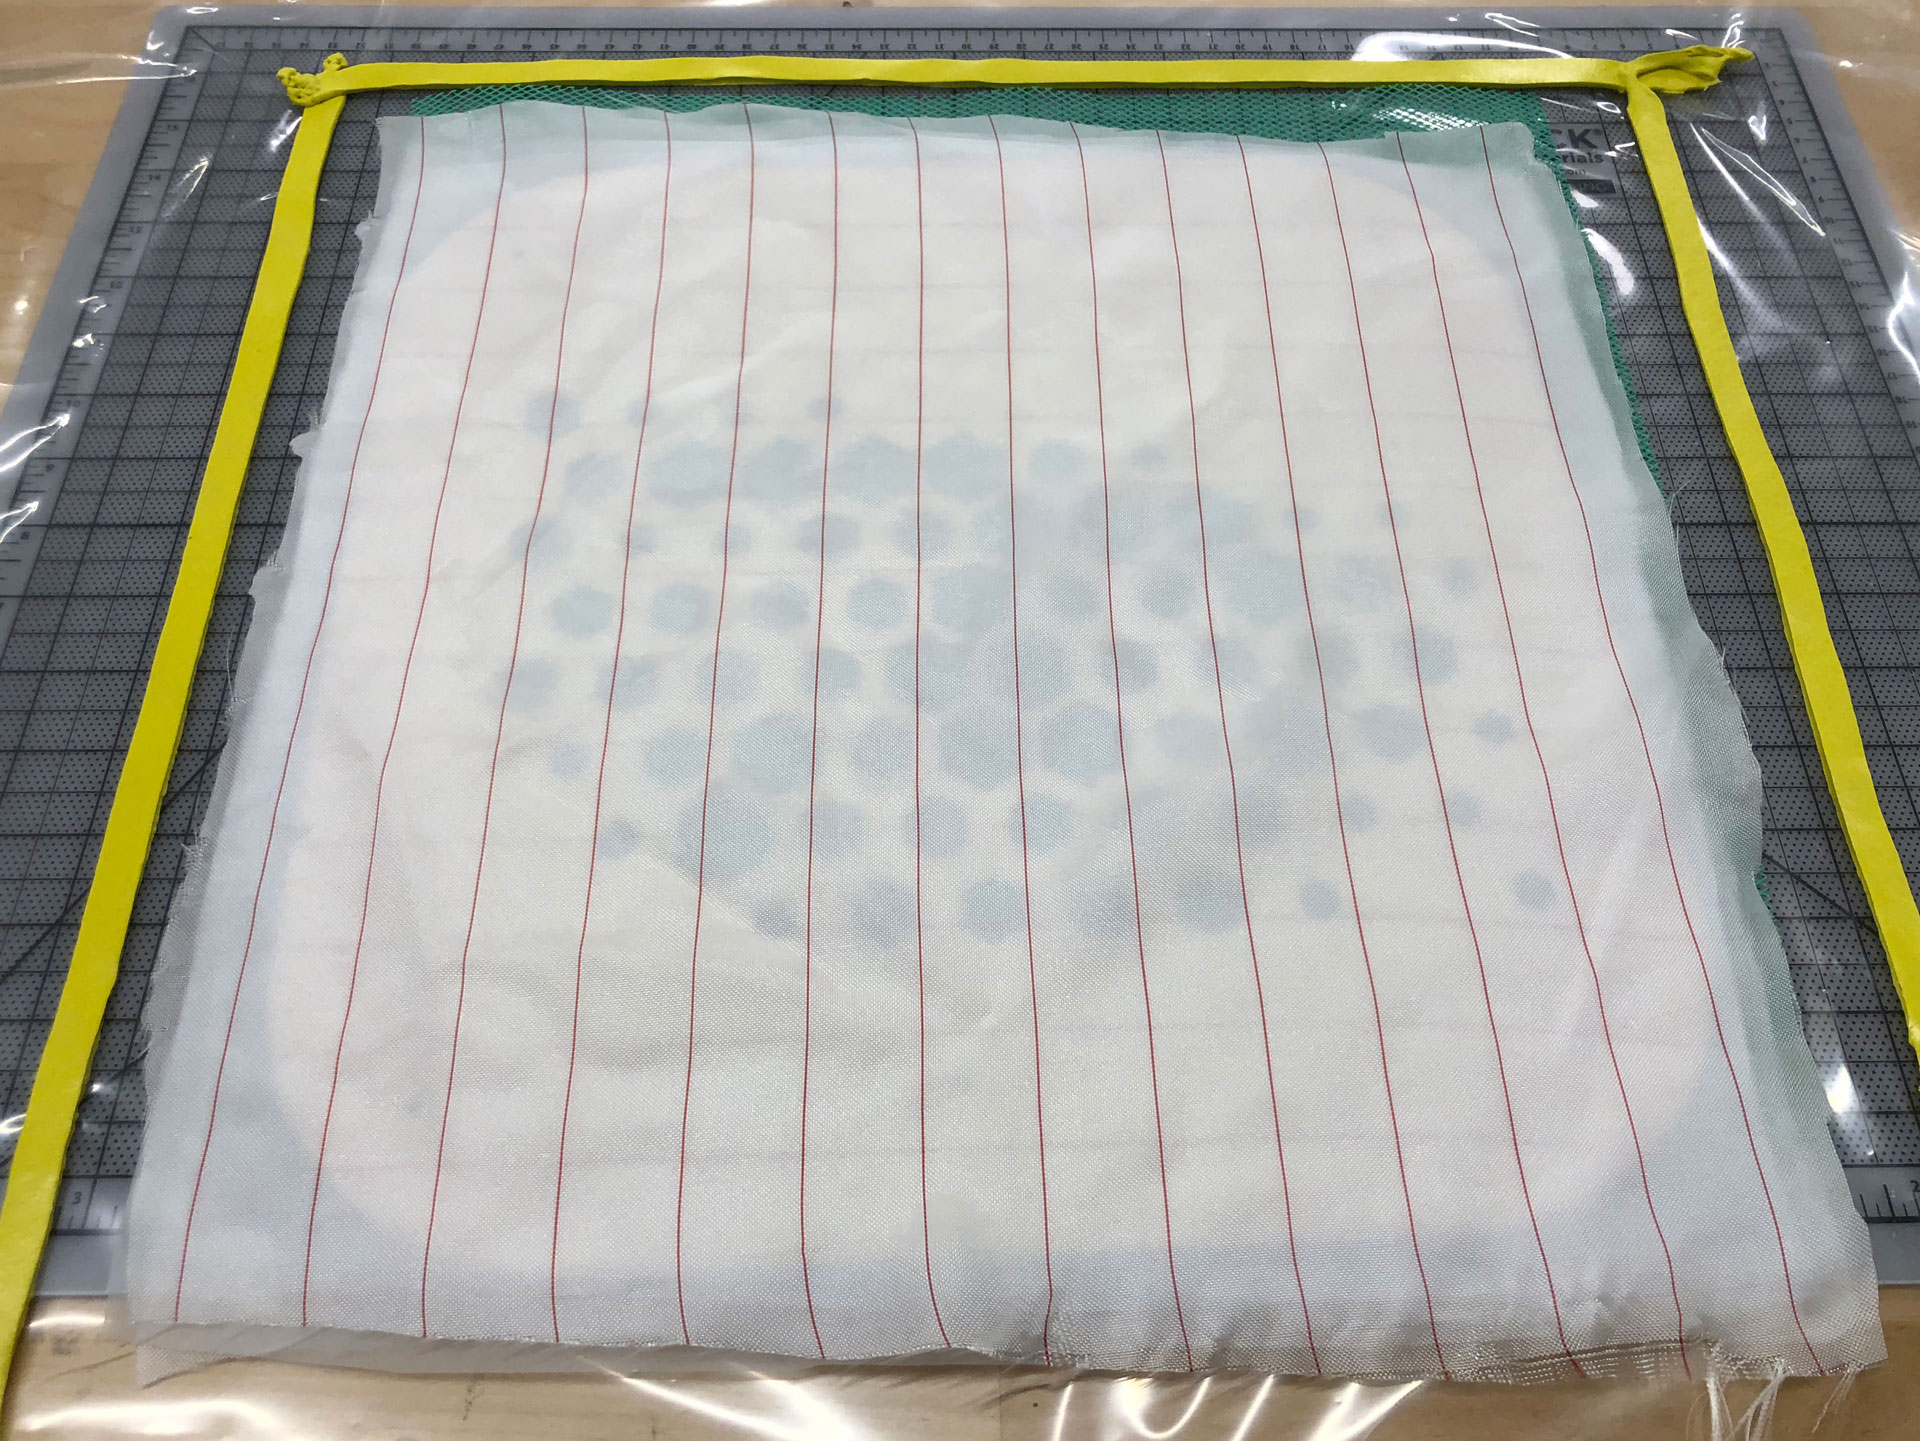
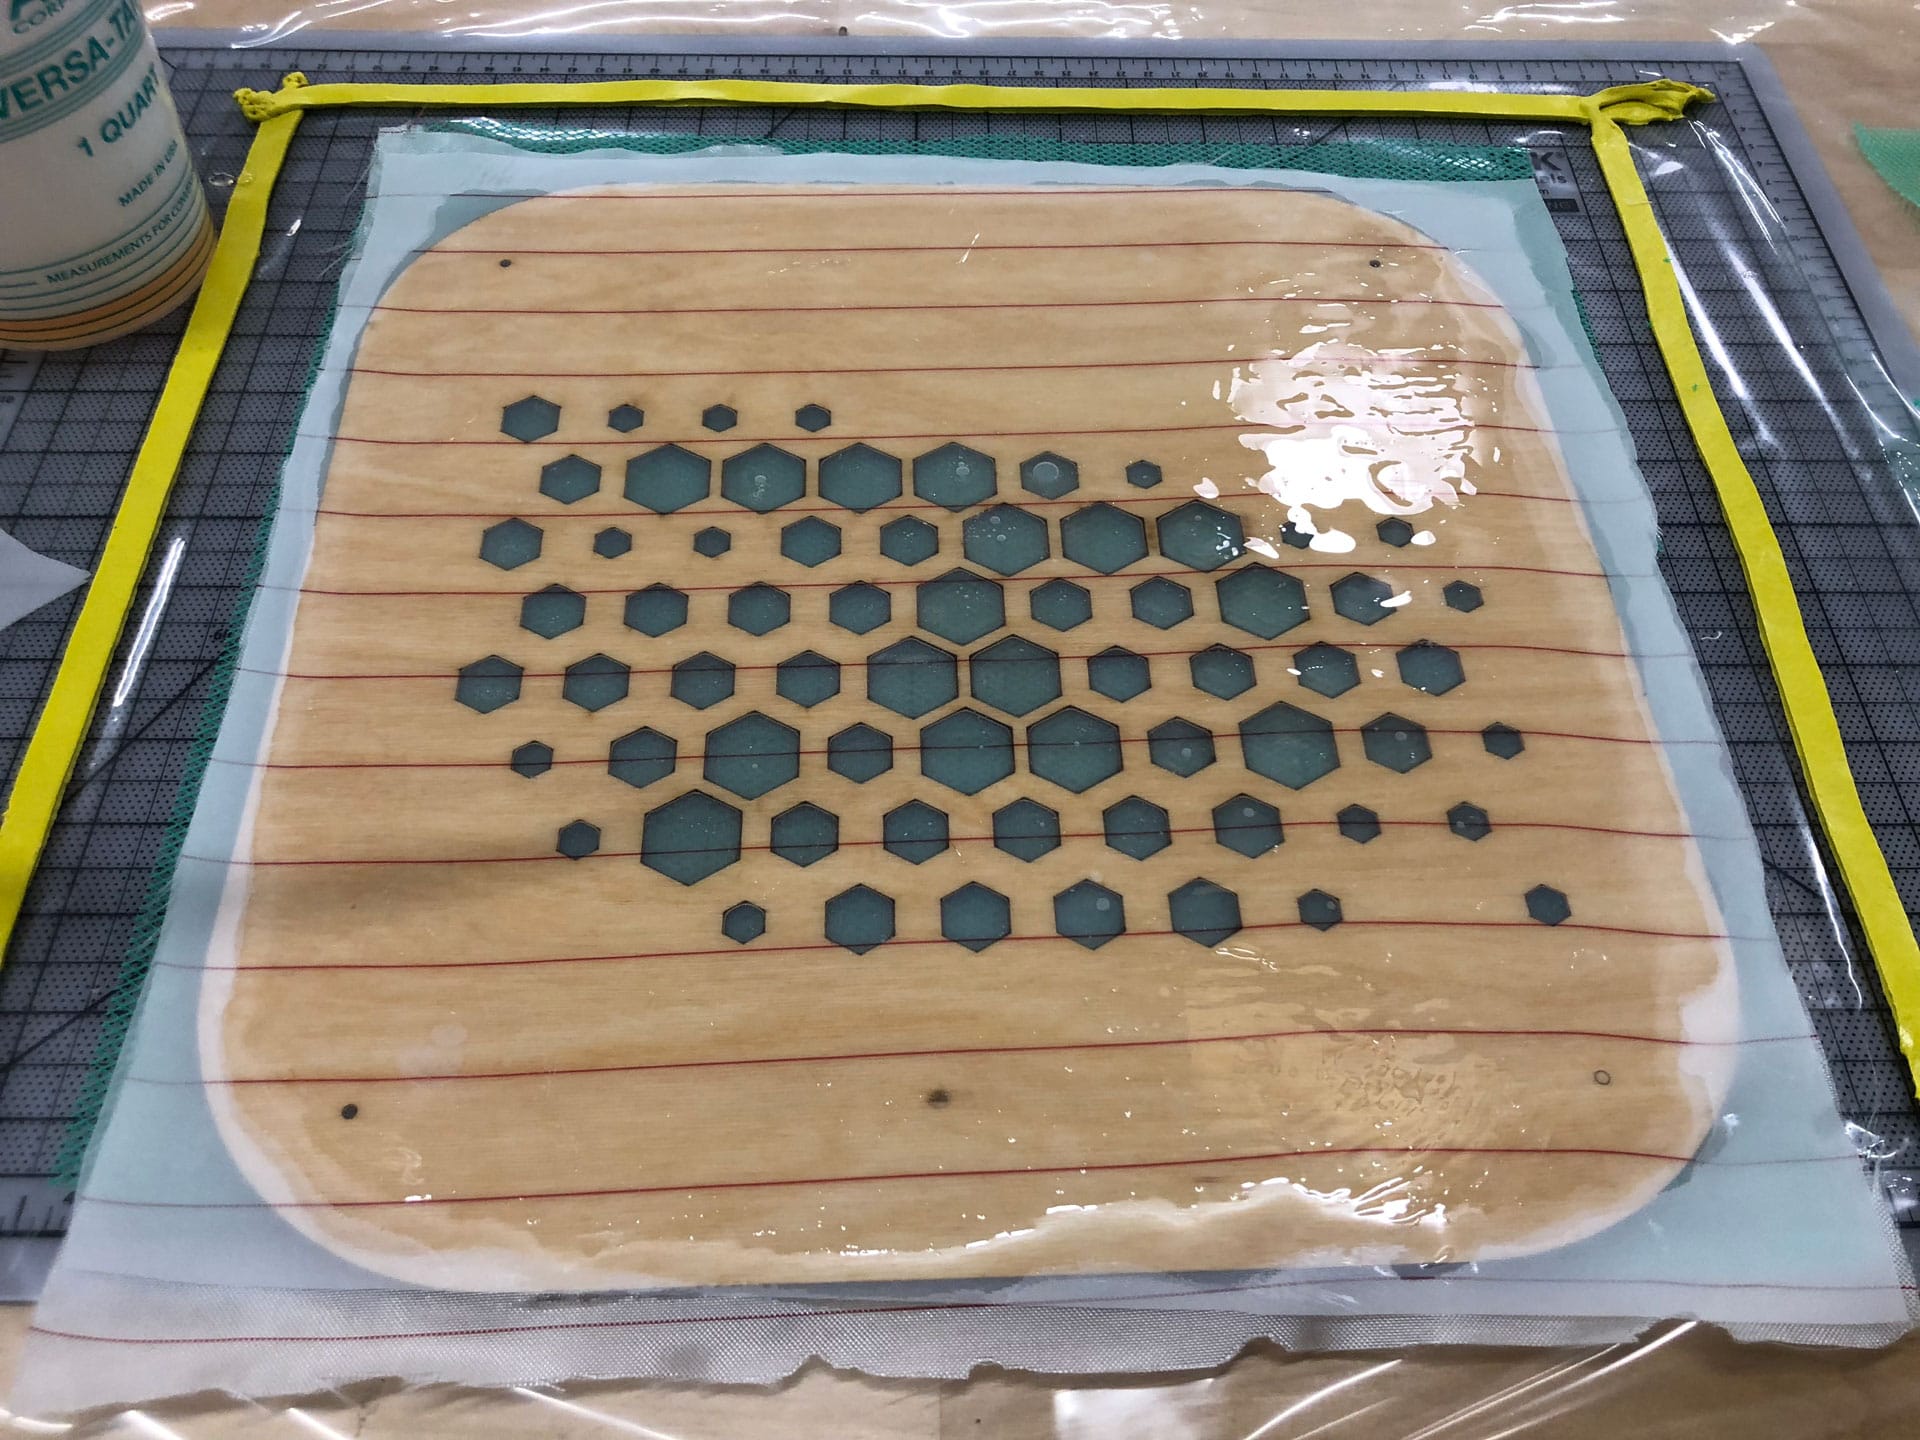
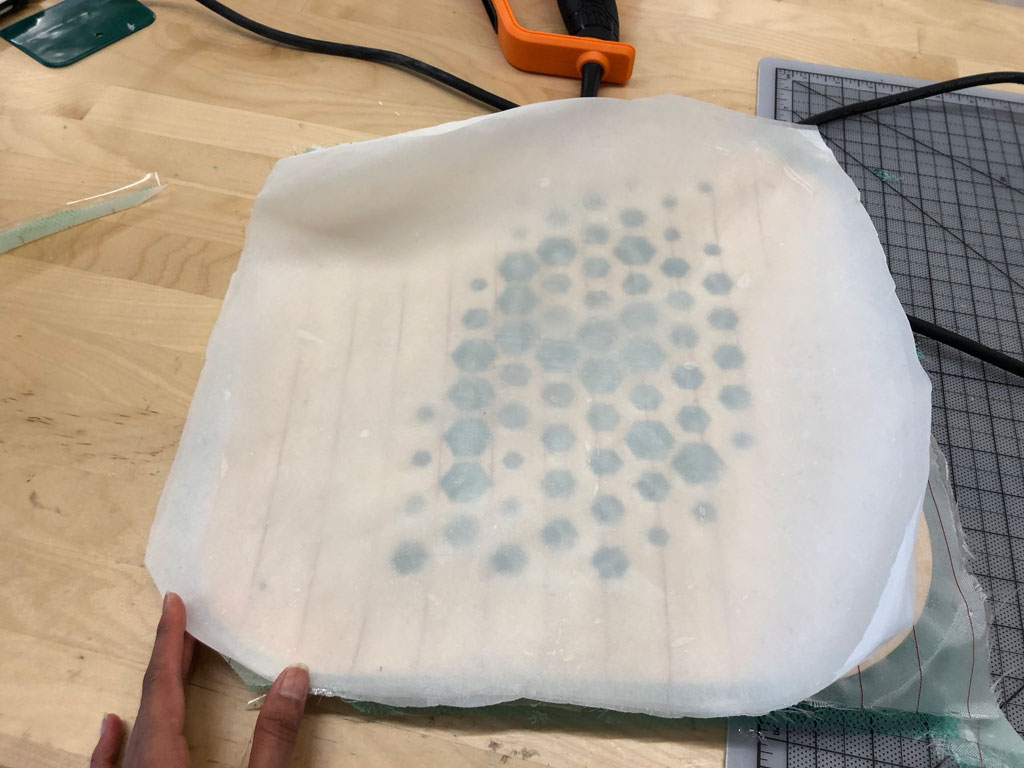
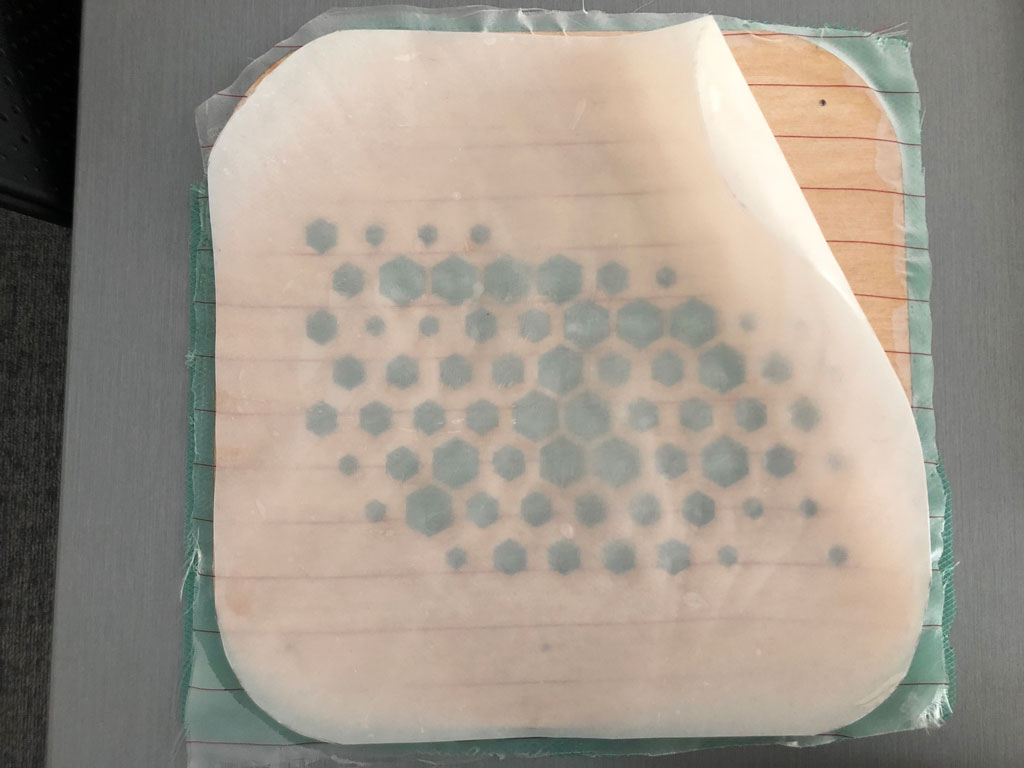
The final composite turned out really well. It took some effort to pry the composite off of the Peel ply, but it came off clean. The 3 layers of the mesh fabric in the composite created a translucent-milky white diffusion that should be just right for the LED lights that are integrated into my facade. I trimmed off the edges with a sharp exacto blade. Given the thinness of the mesh material, I was still able to bend it and it's soft enough that I can easily trim the edges with an Xacto blade. In the future, I'd like to experiment more with this composite mesh material. It seems ideal for creating curved forms that require some rigidity but can bend and take on different shapes. The composite is firm enough for my application and I plan to use this as part of the facade for Pixie.

Download the Rhino file for the mold for the diffuser.