Exercise 09: Molding and Casting
Molding & Casting
- Group Project: Review the safety data sheets for each of your molding and casting materials, then make and compare test casts with each of them.
- Individual Project: Design a 3D mould around the stock and tooling that you'll be using, machine it, and use it to cast parts.g
My Process (Molding & Casting)
:: March 23, 2018 ::
Molding
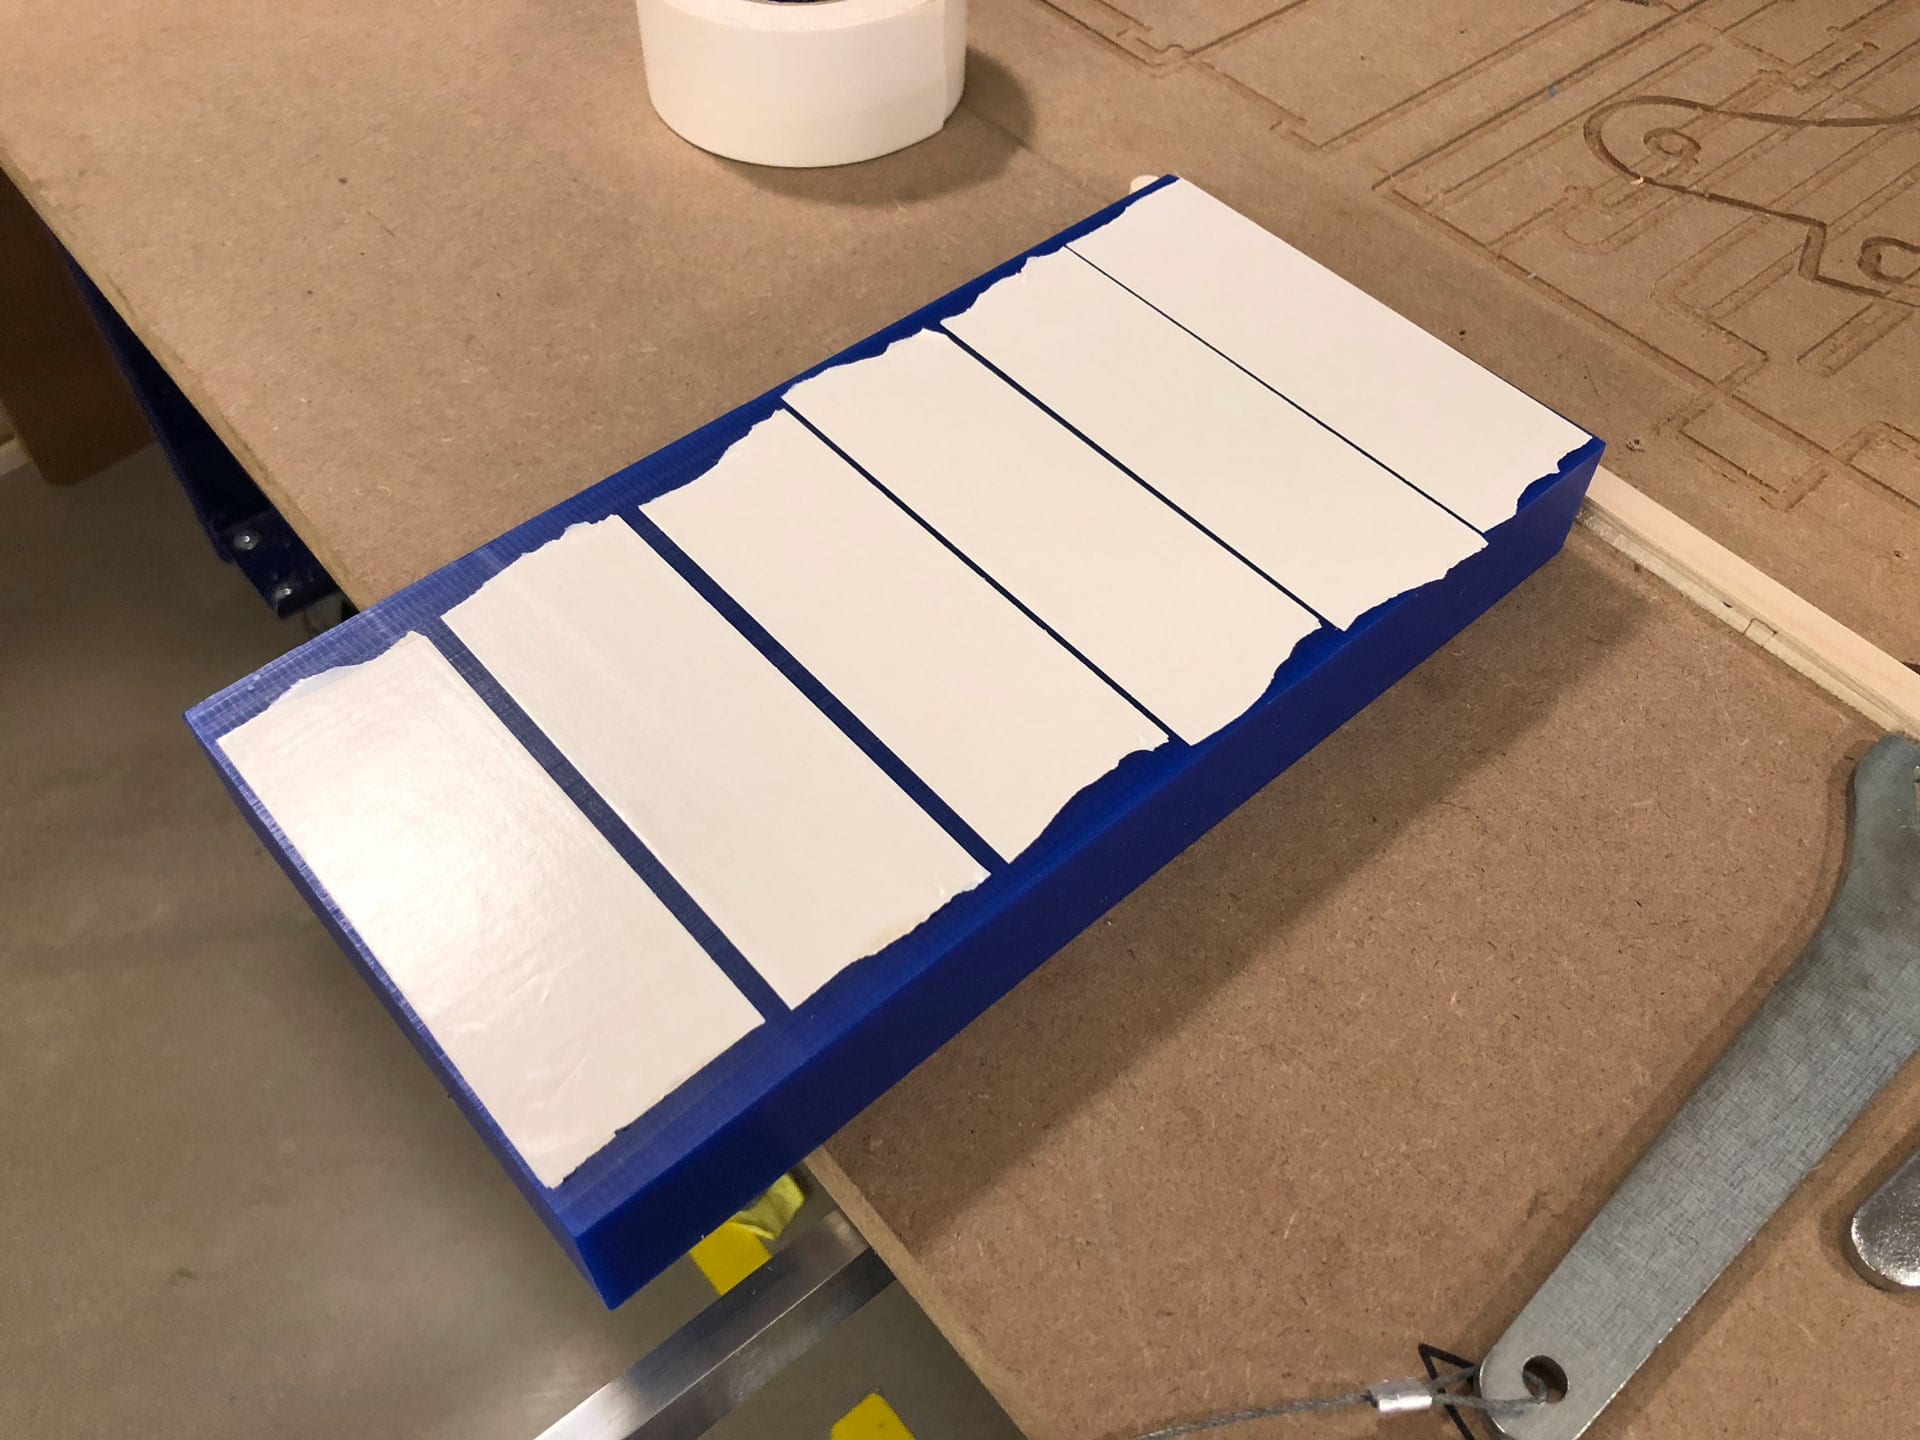
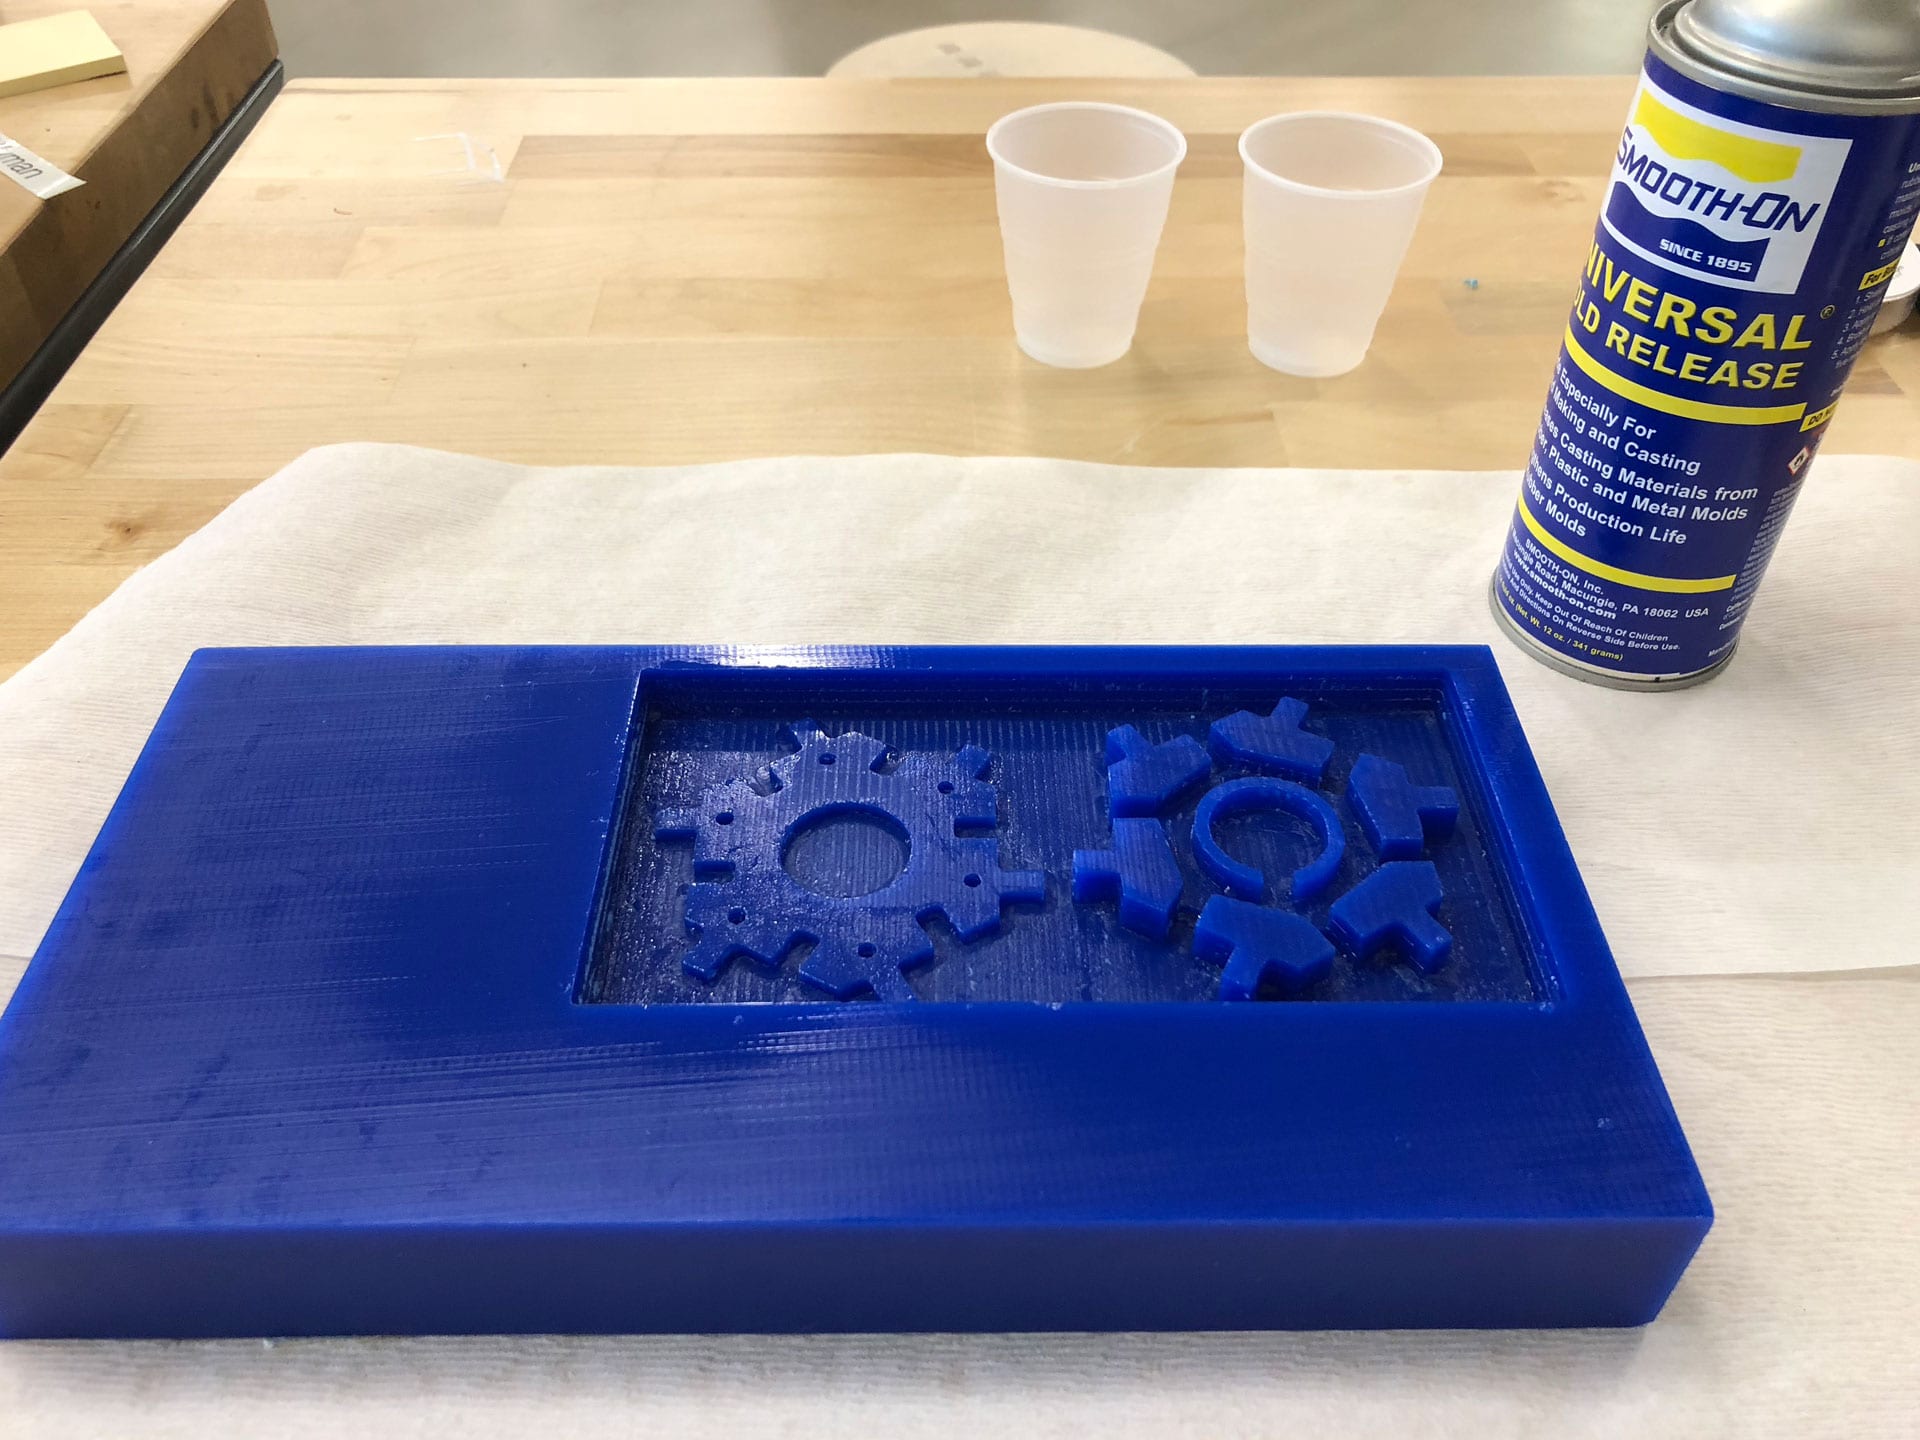
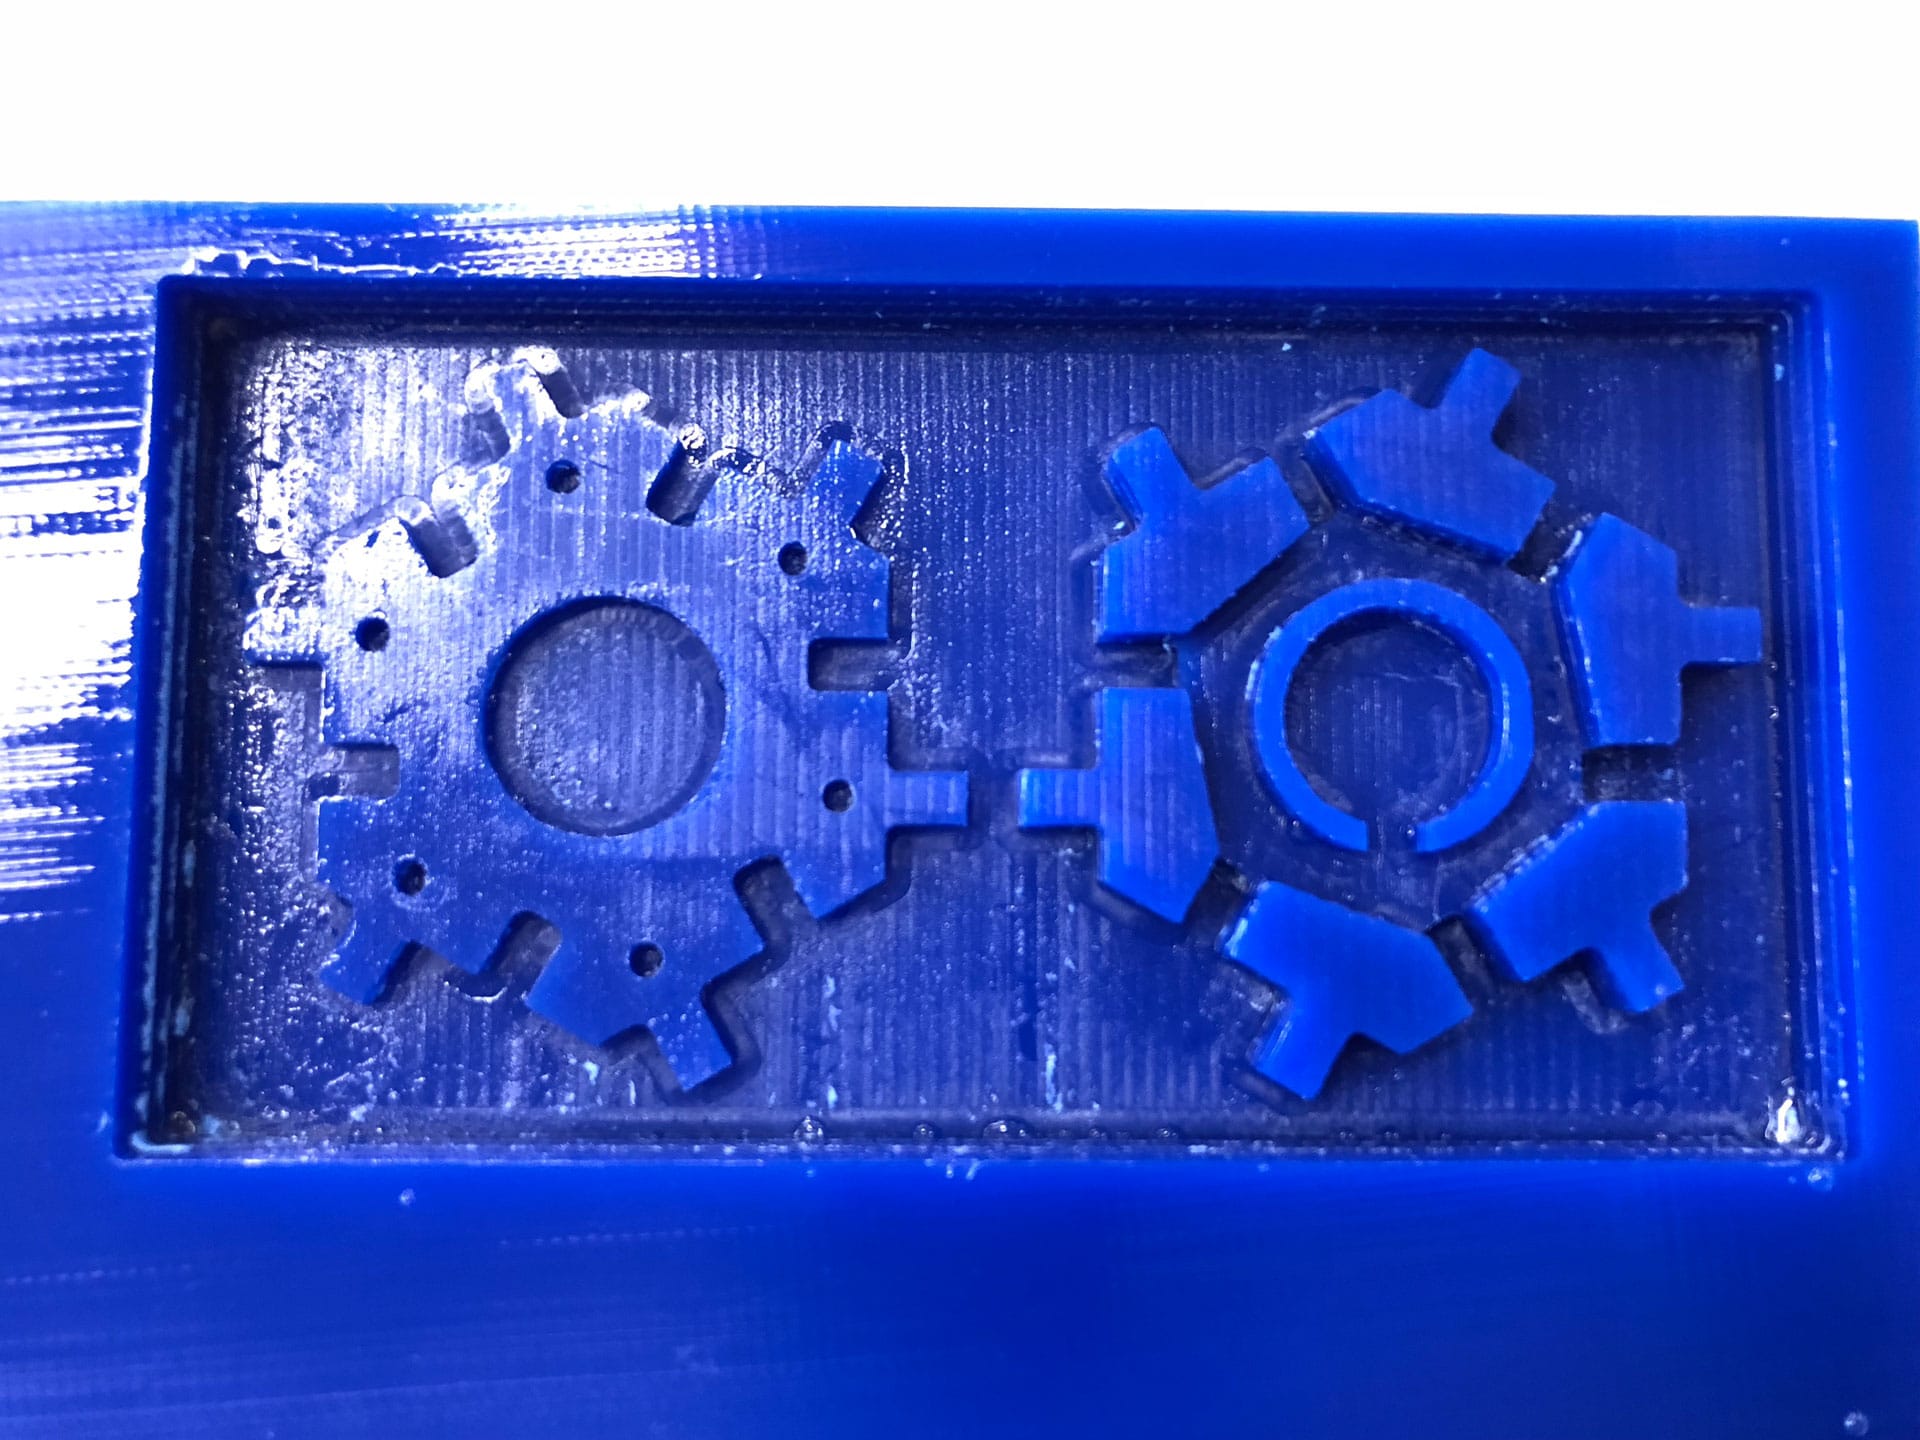
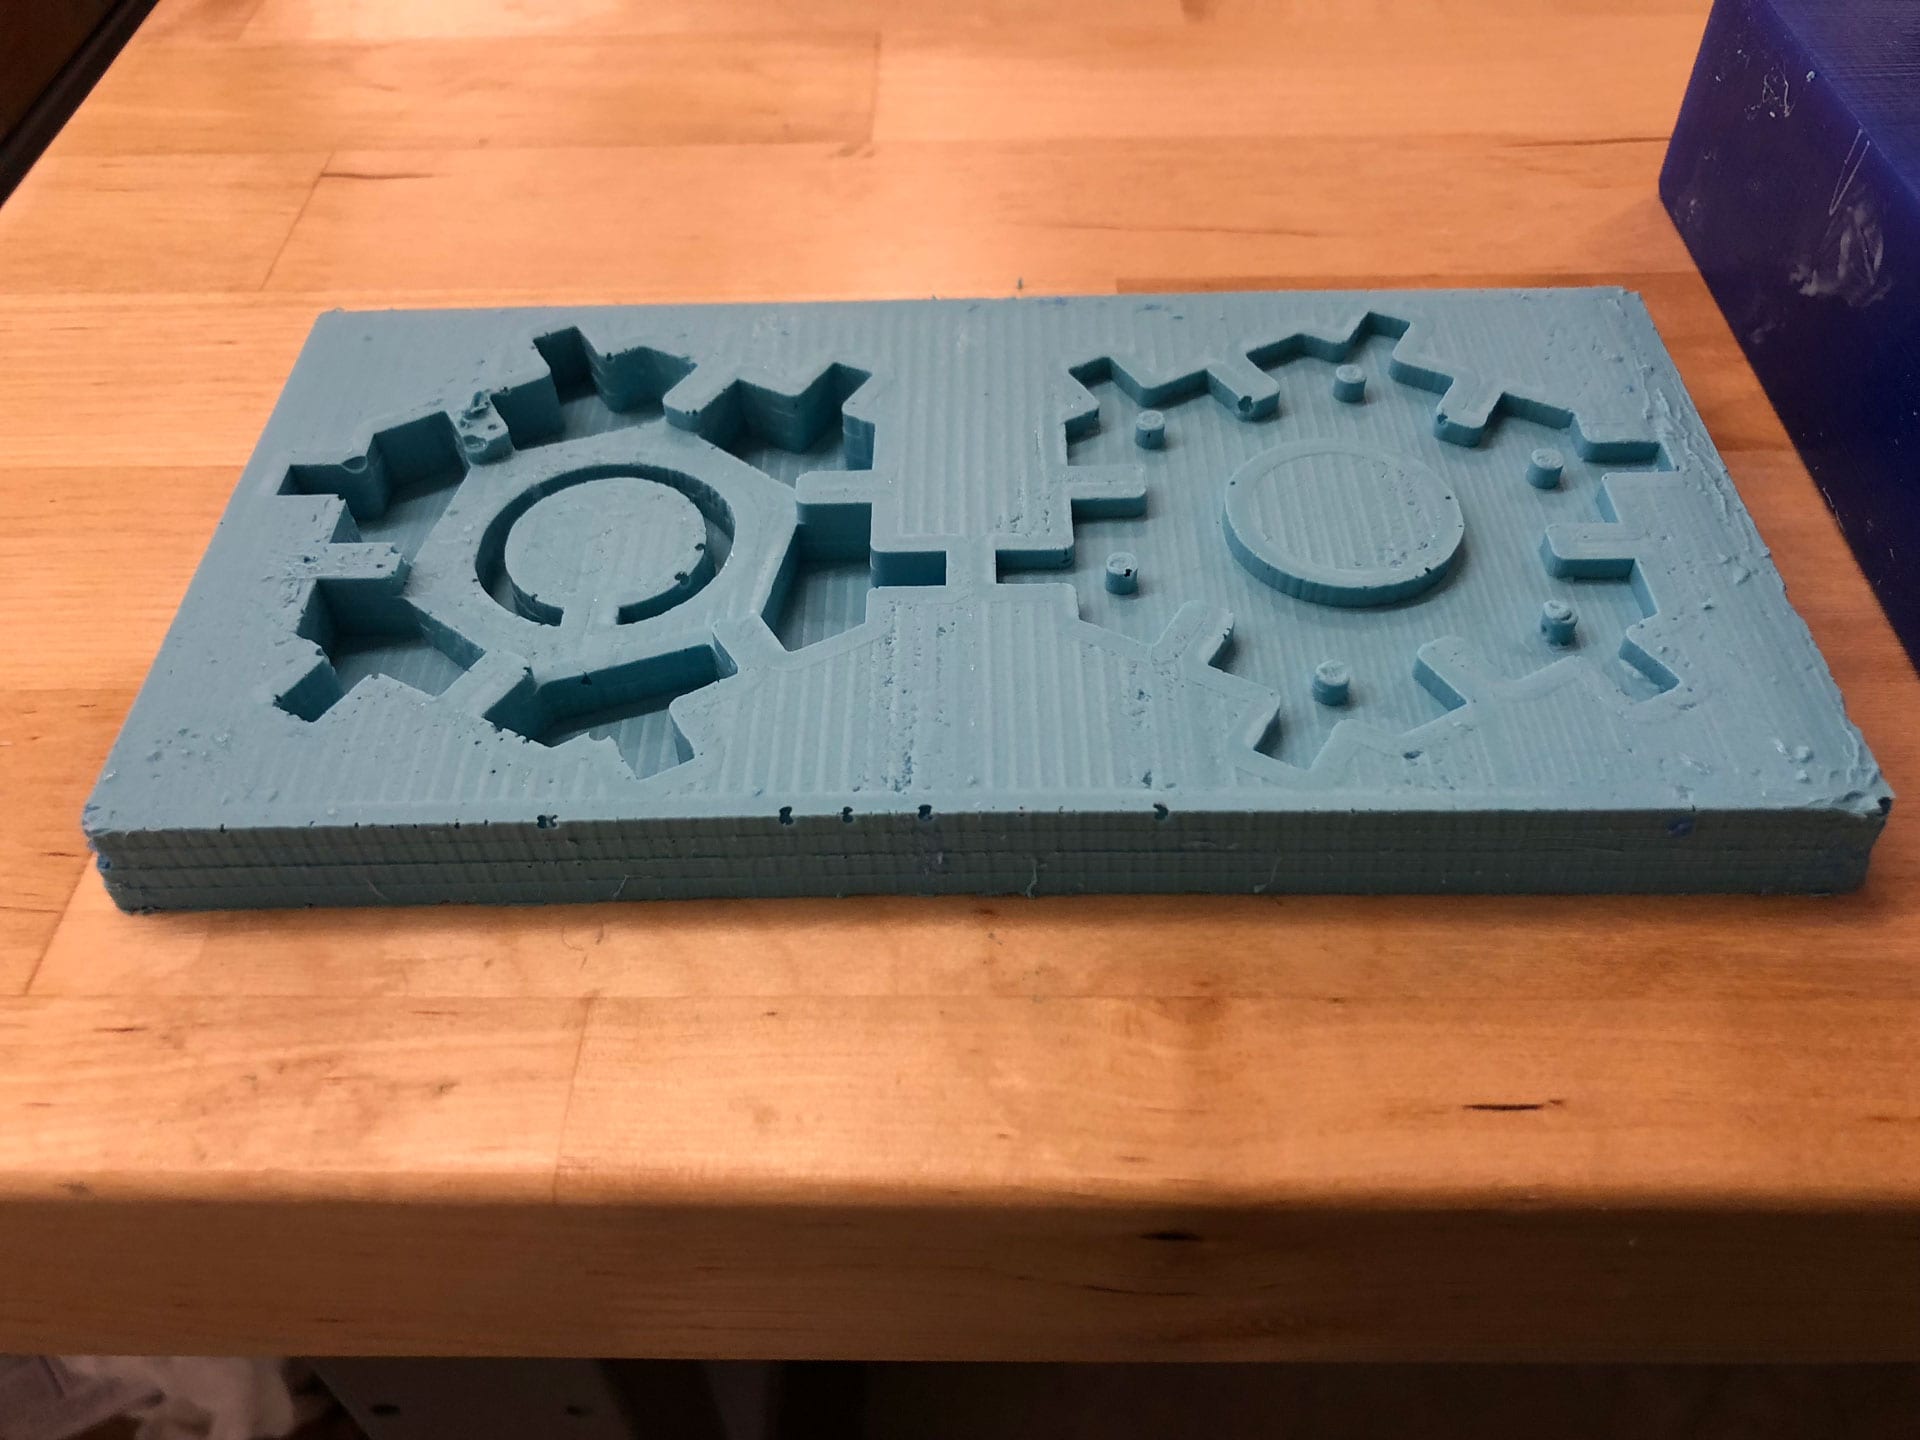
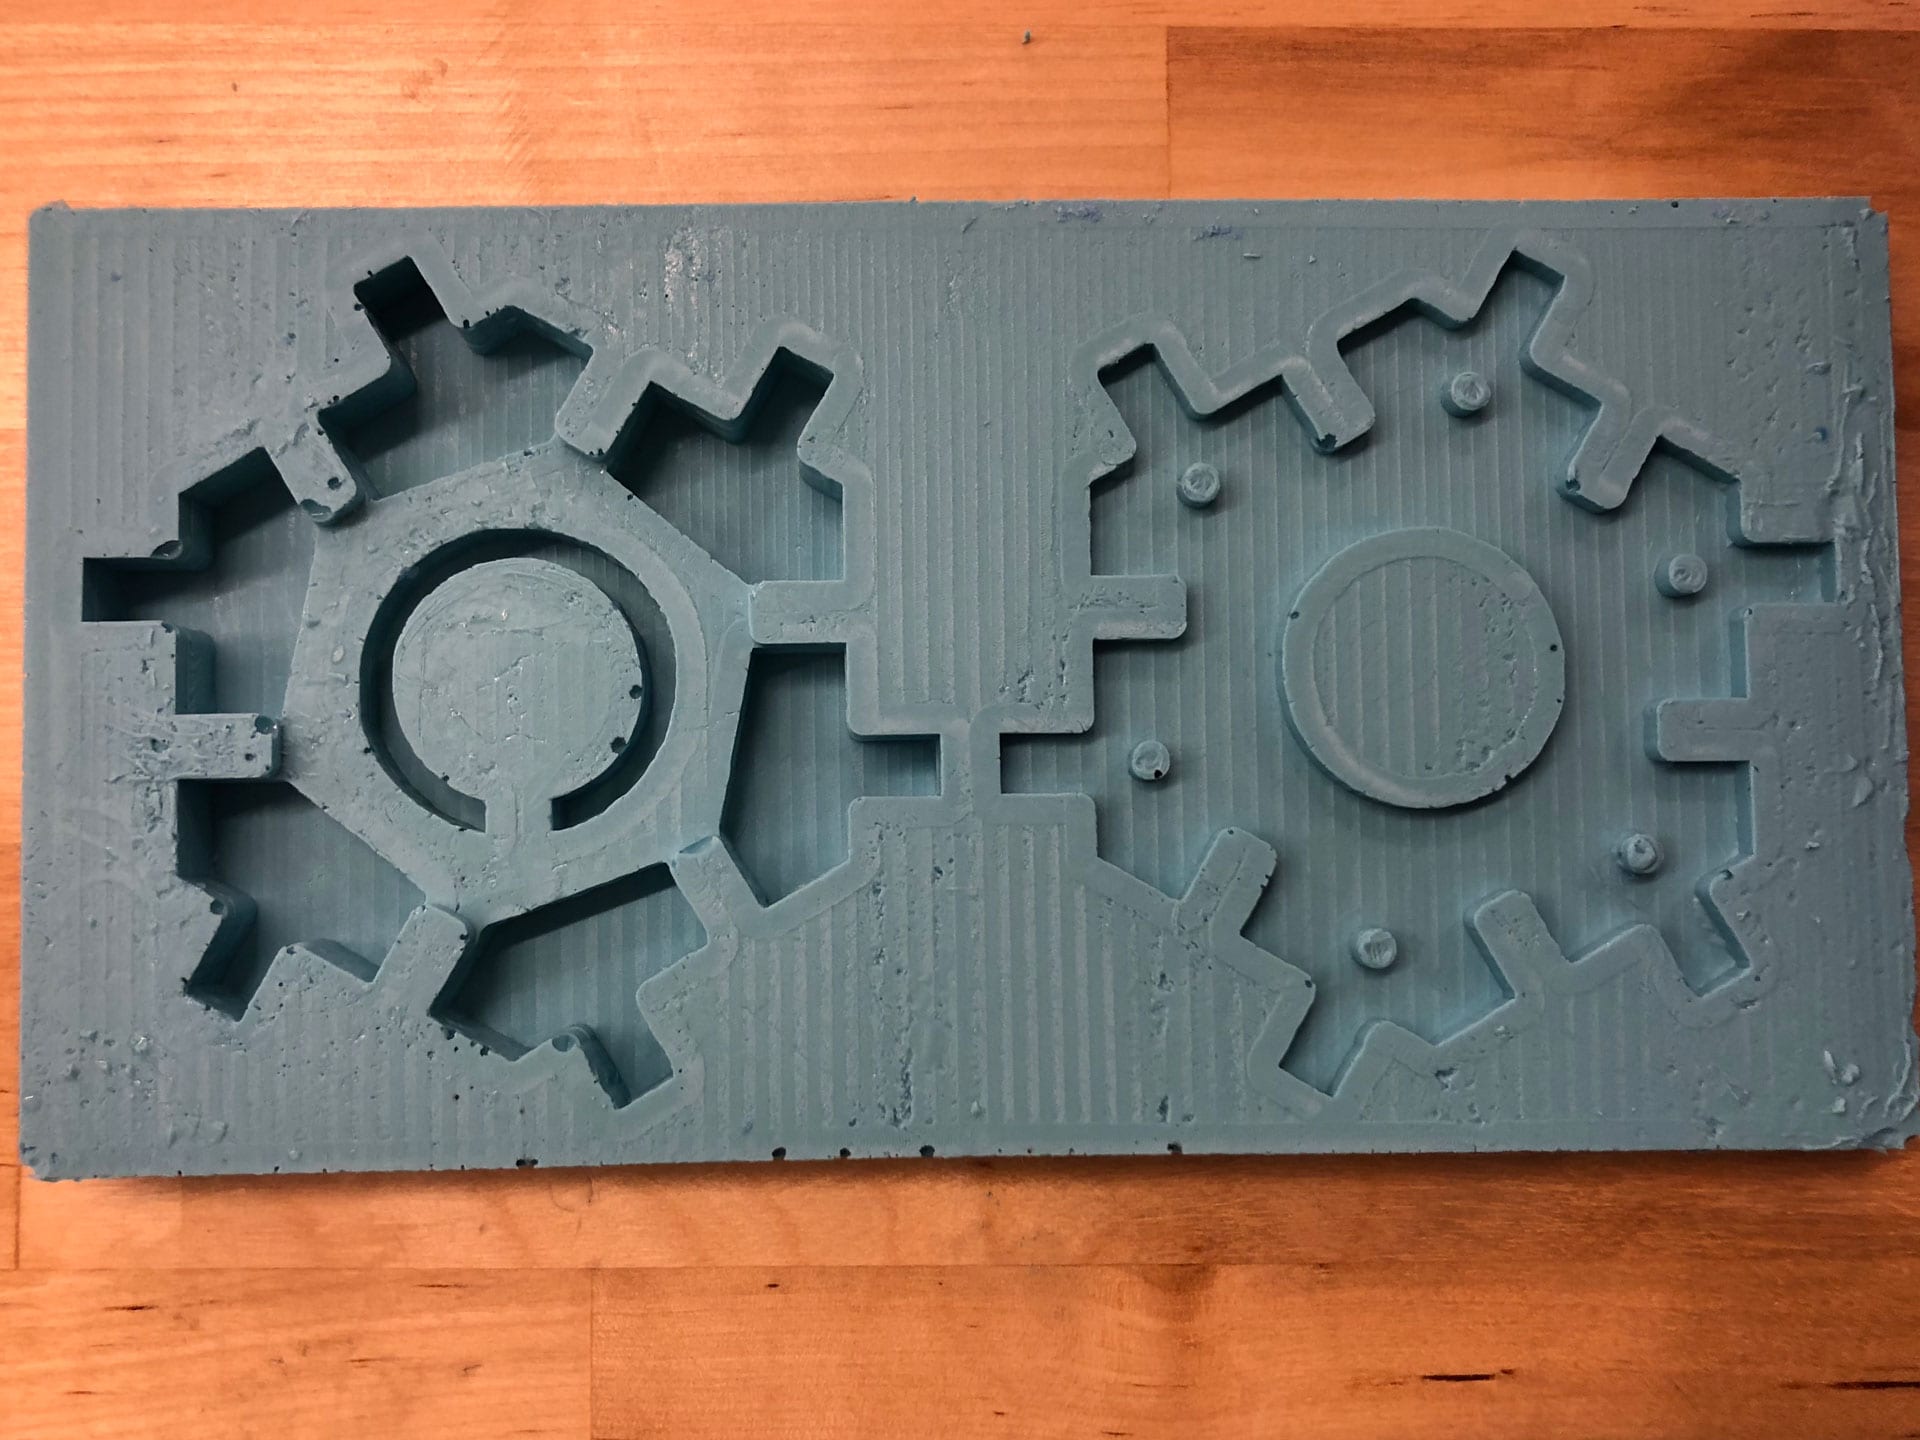
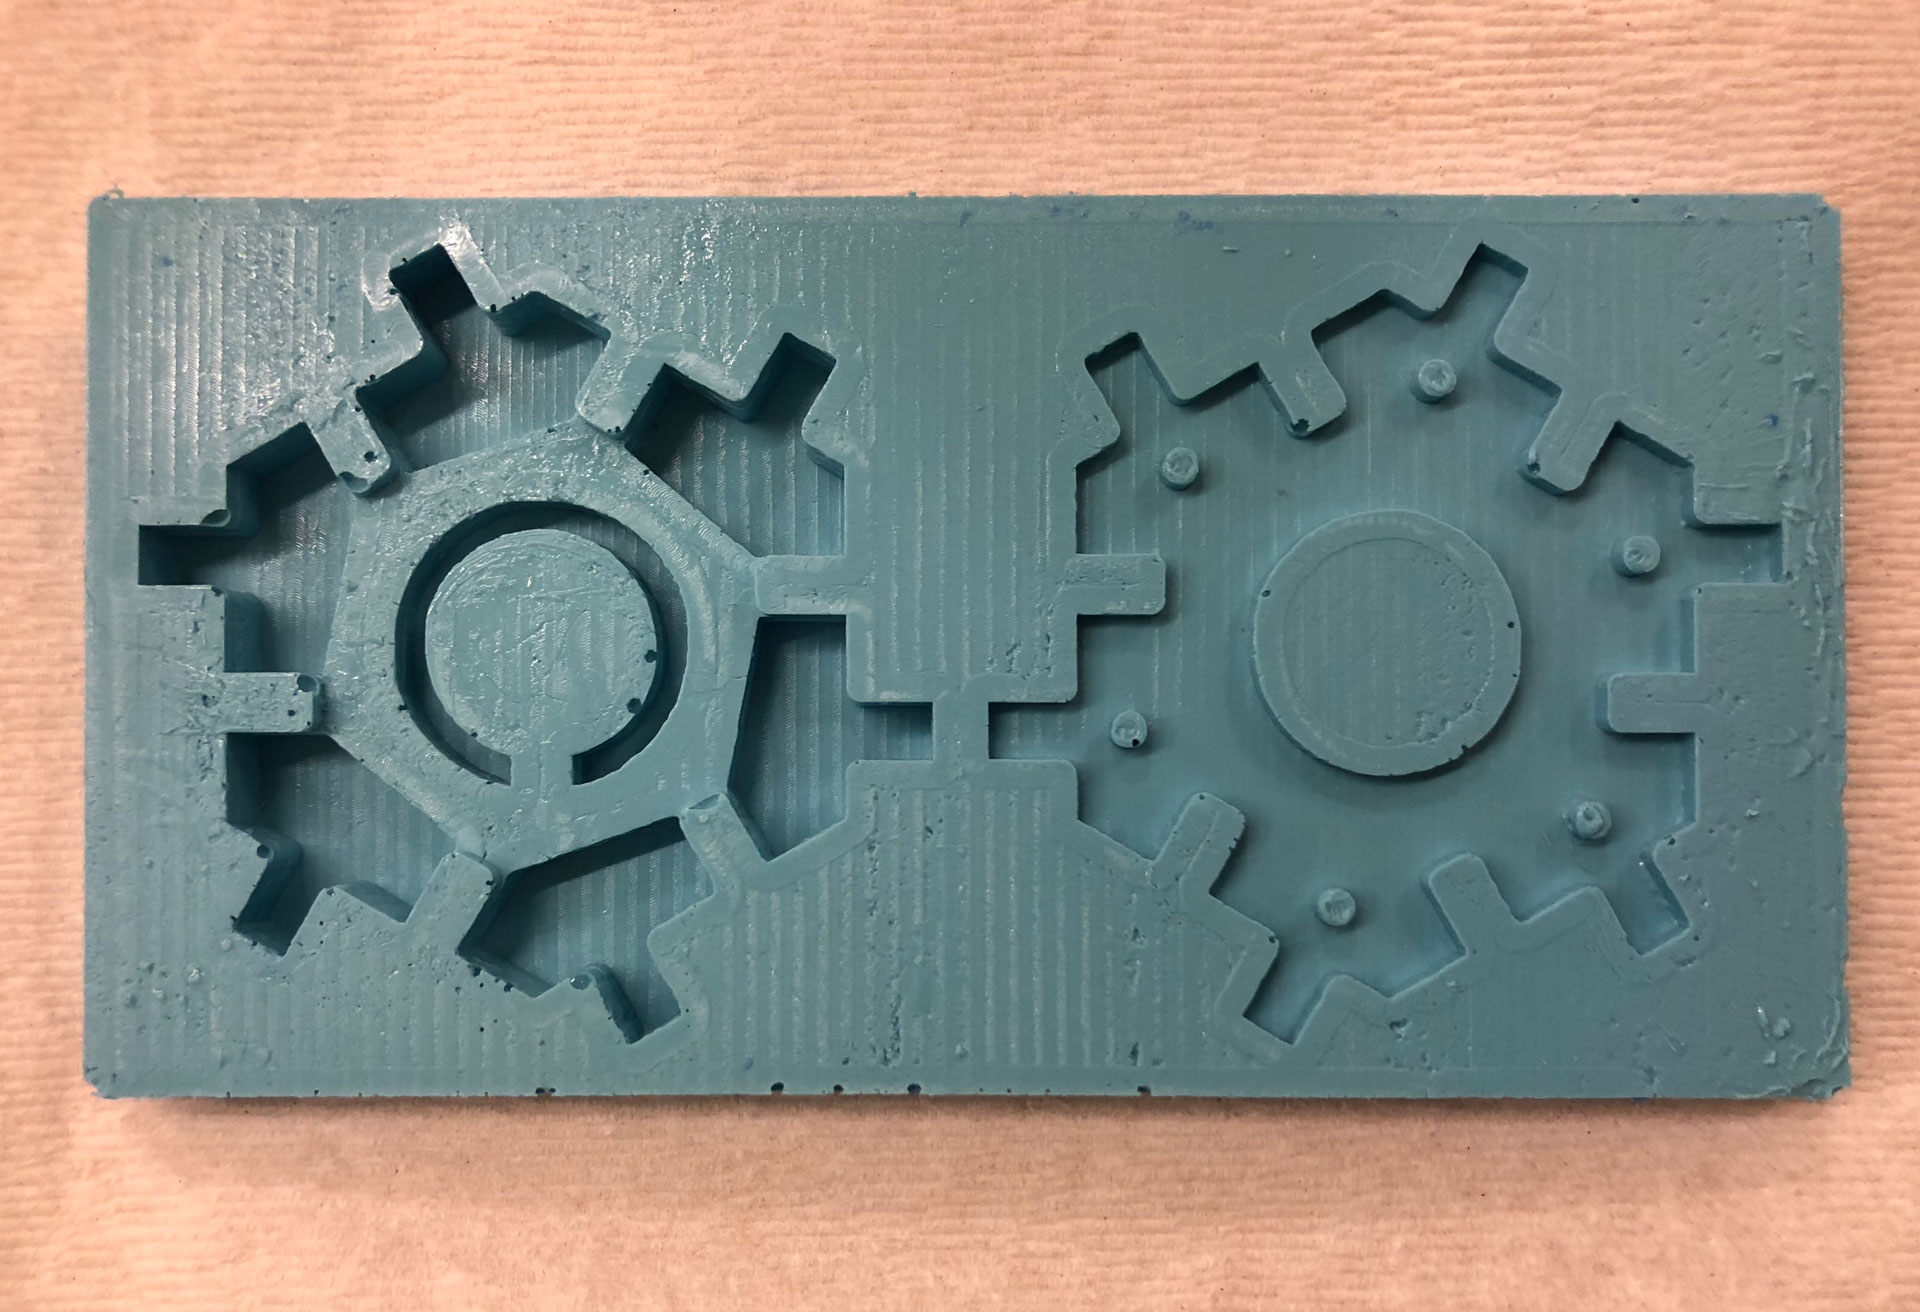
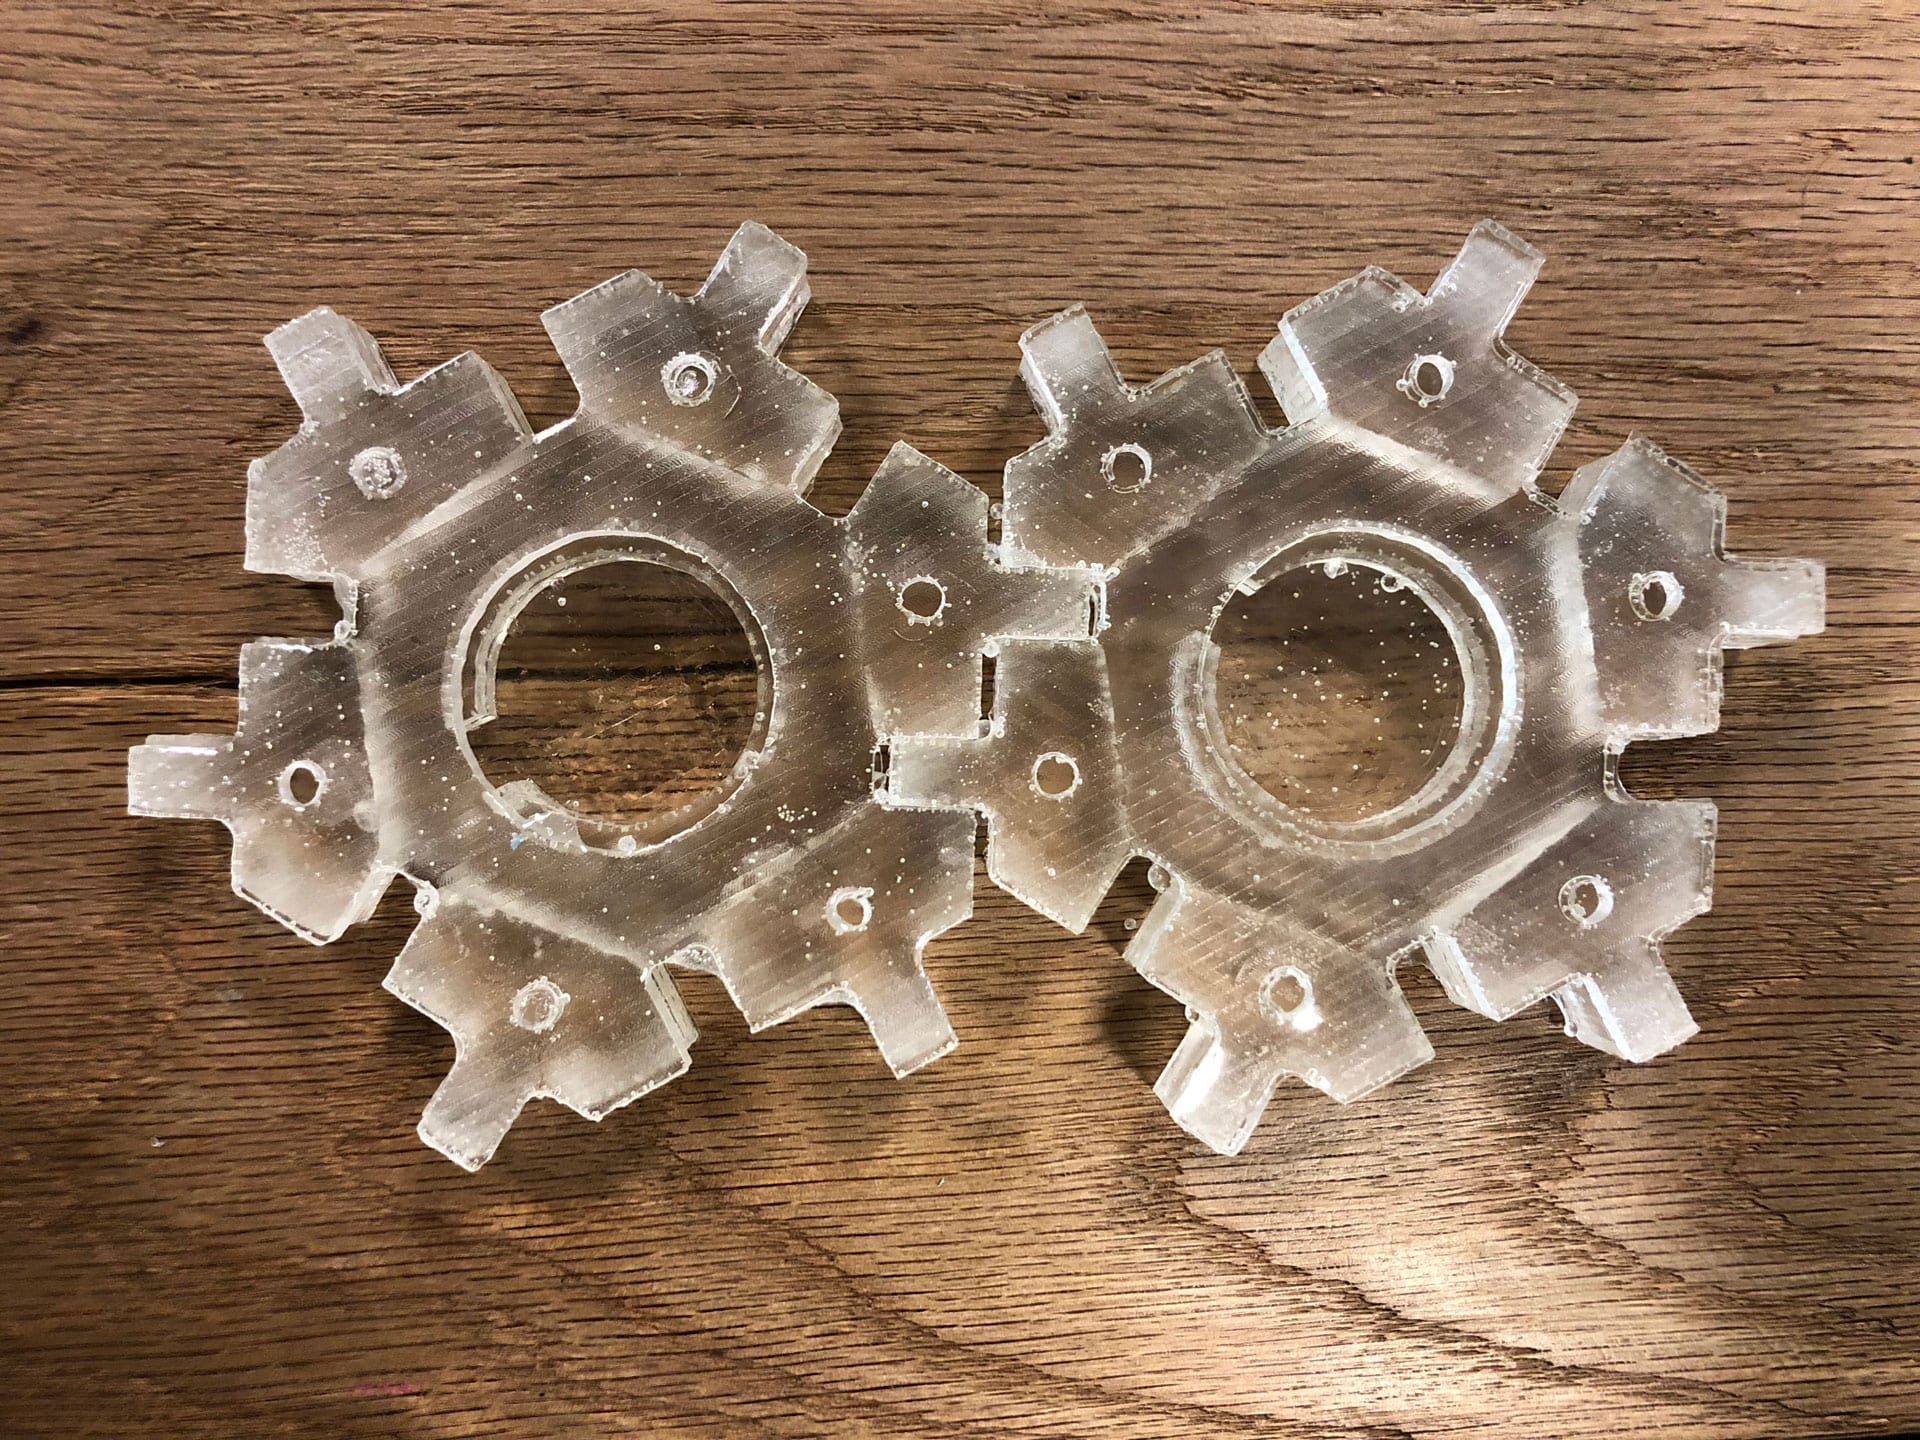
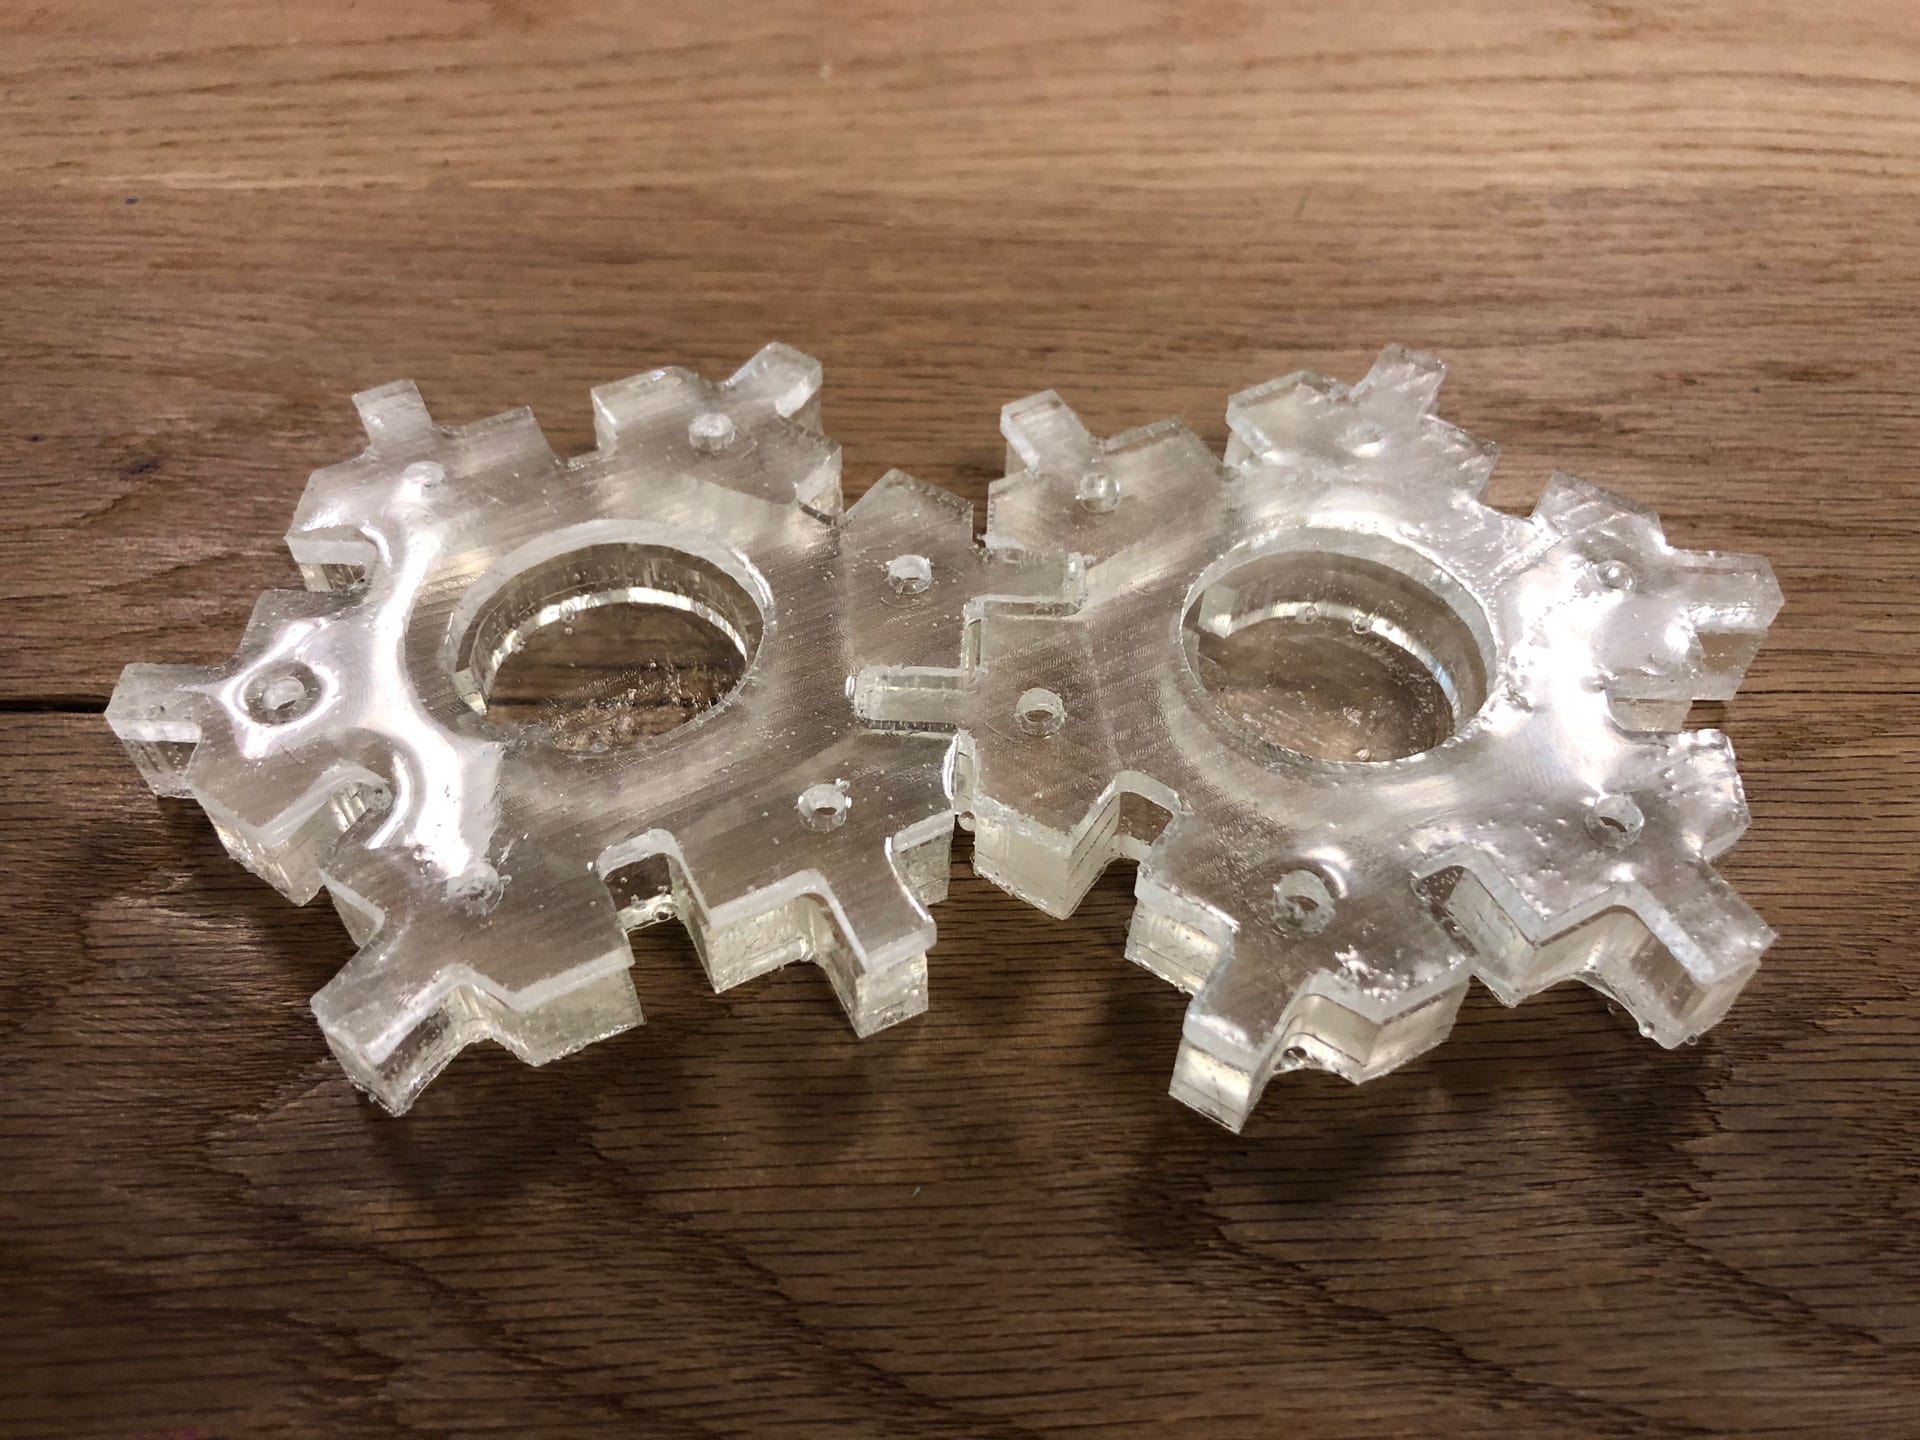
This week’s assignment was to design a 3D mold, machine it and use it to cast parts. I decided to return back to my Hex Blocks since this week’s assignment perfectly fits that project. I needed to create many versions of my Hex Blocks since they are meant to fit together in some capacity and light up using a halftone pattern. 3D printing these parts would take weeks, so having a mold to cast the parts will be of great benefit.
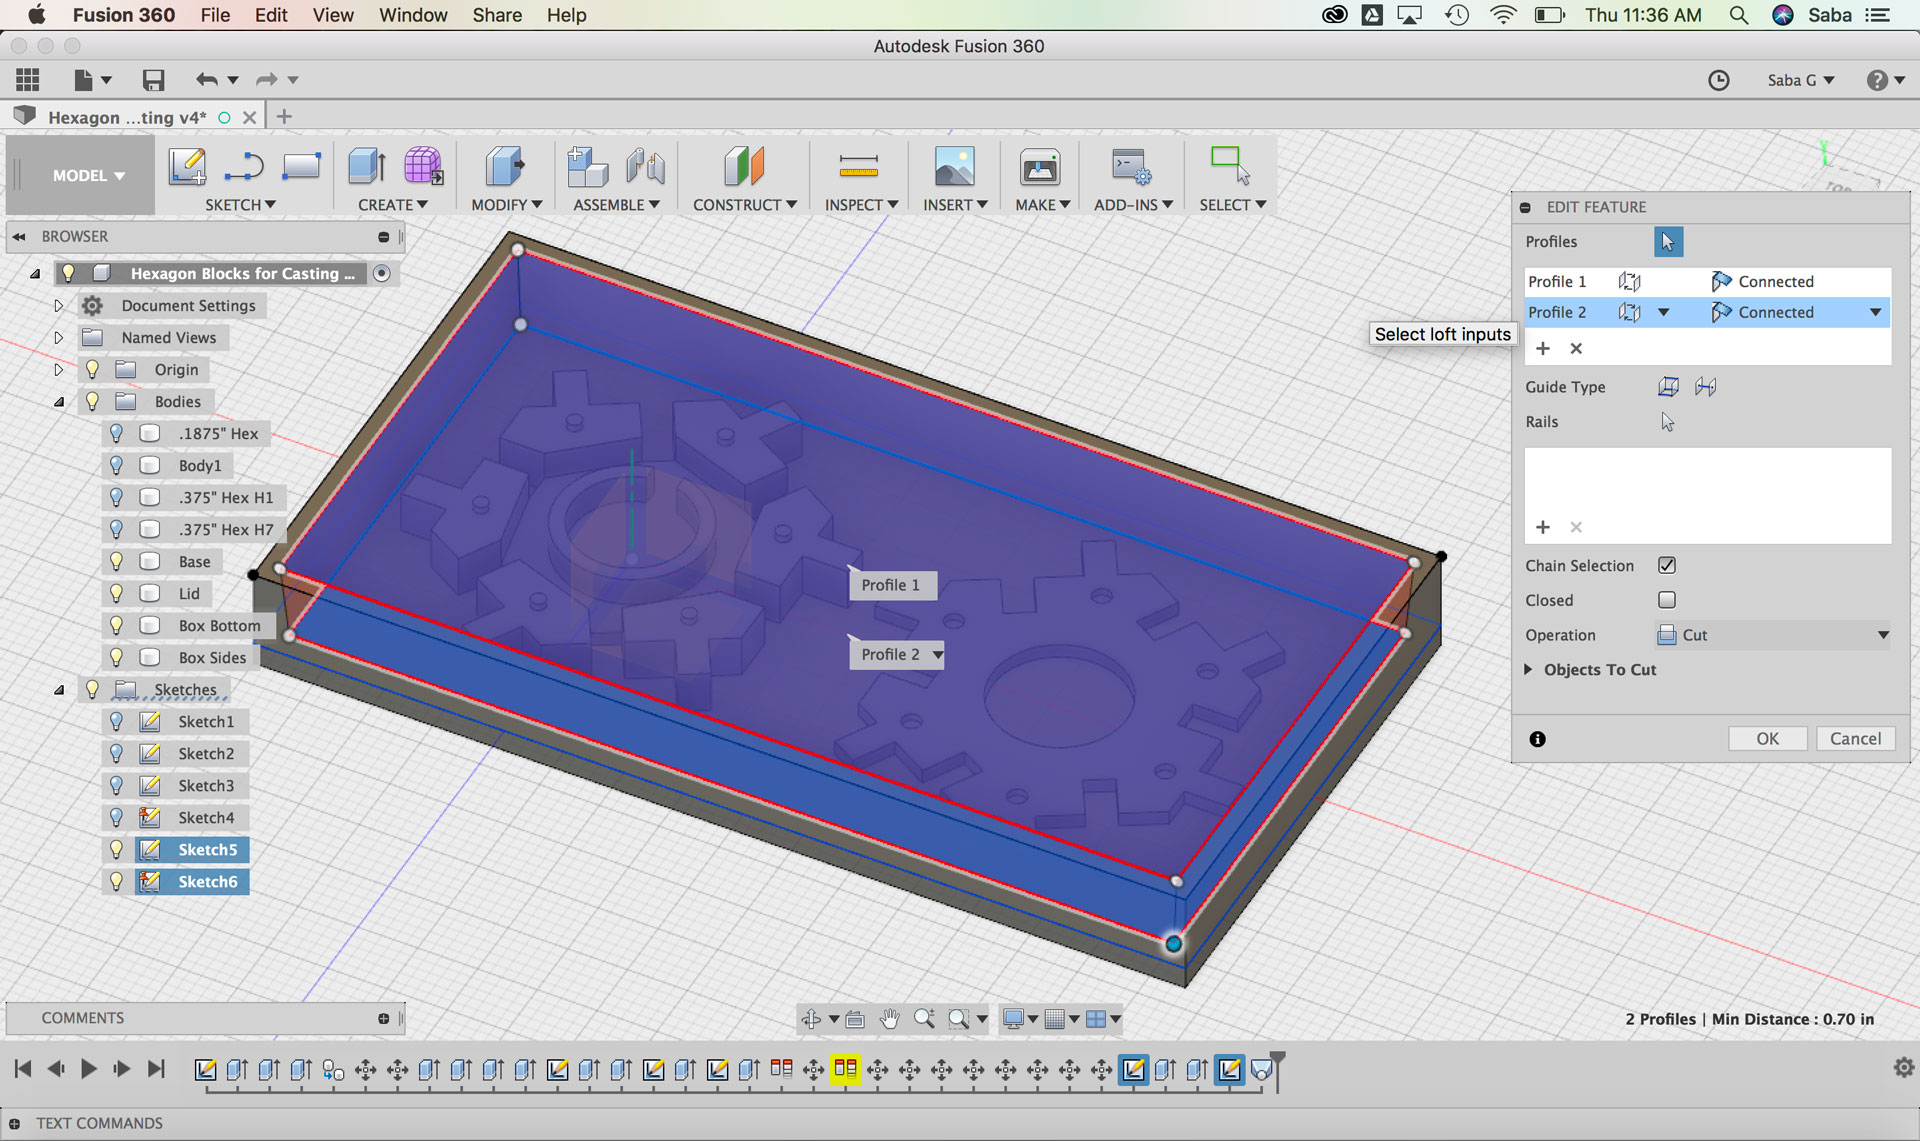
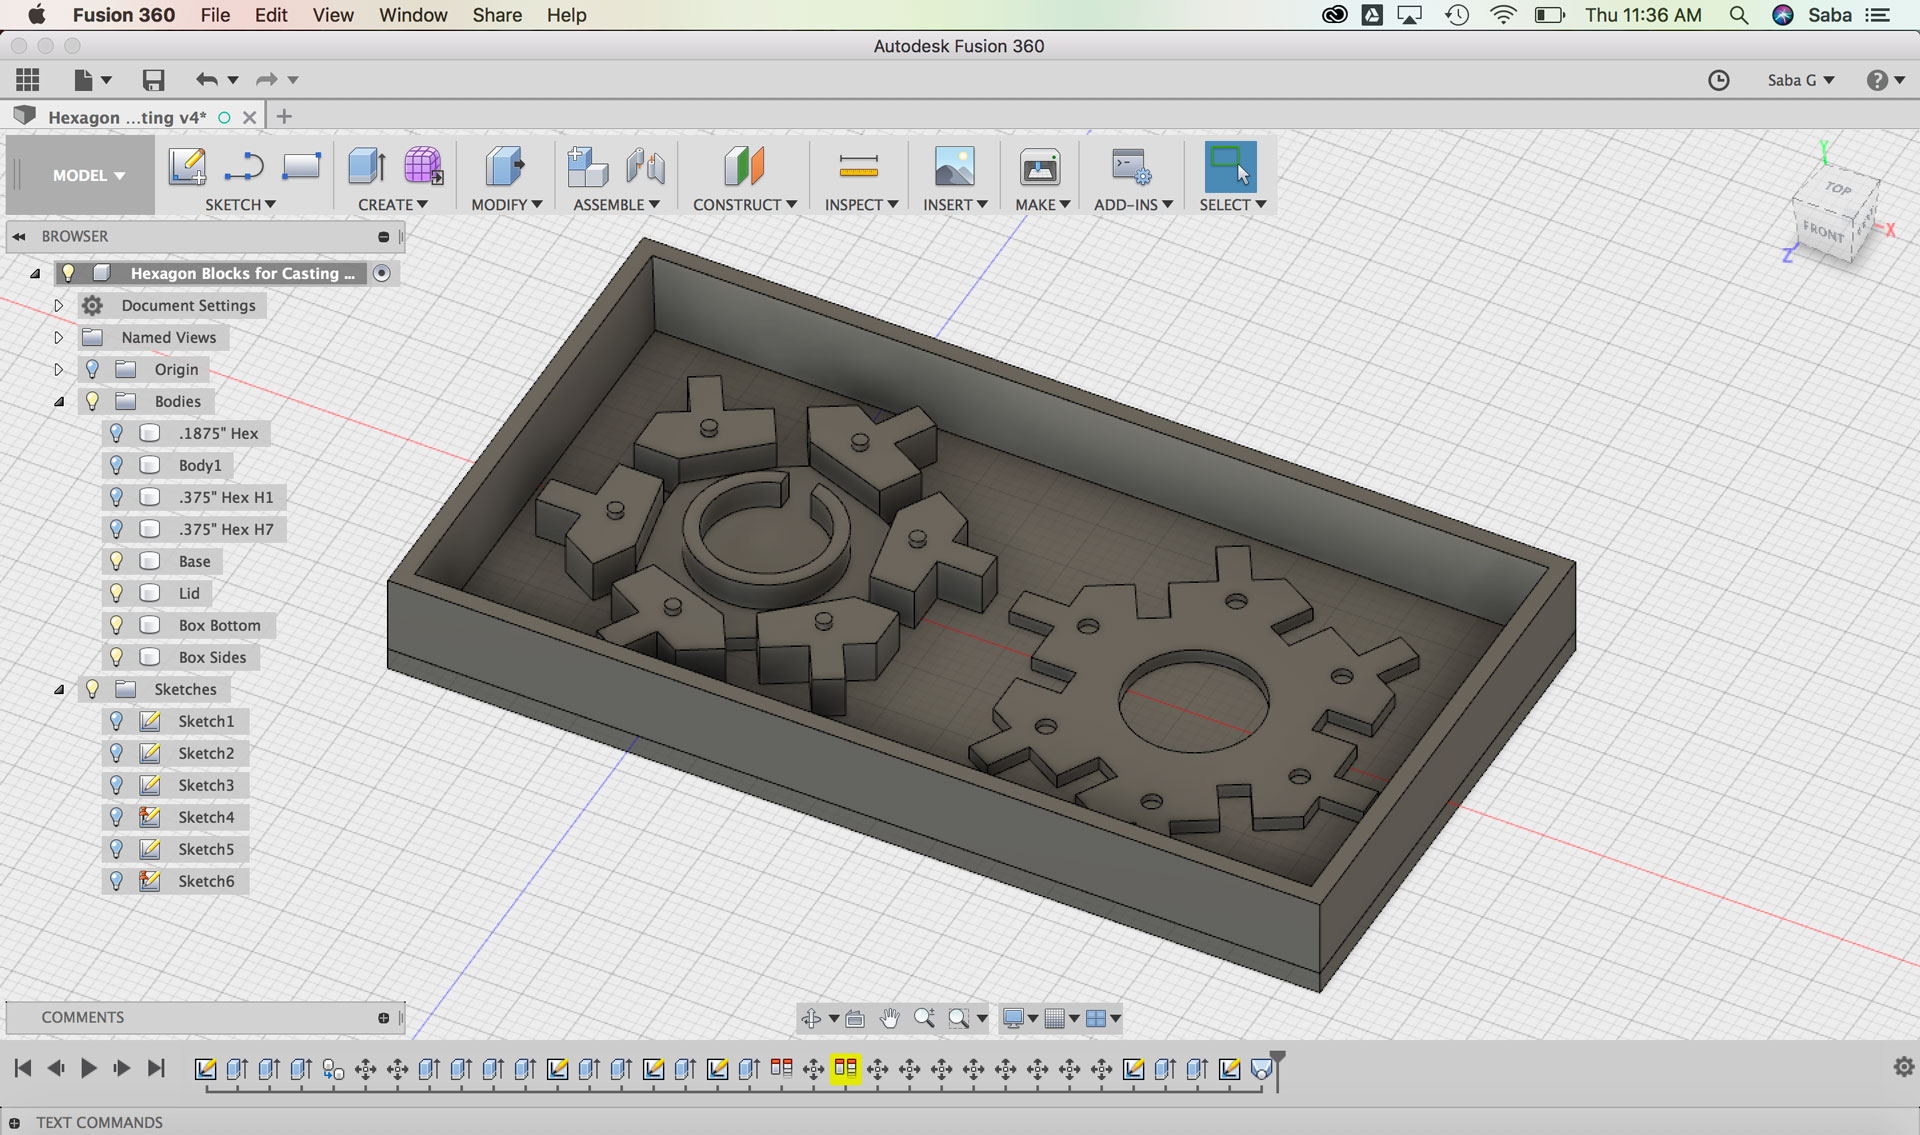
Modeling Mold
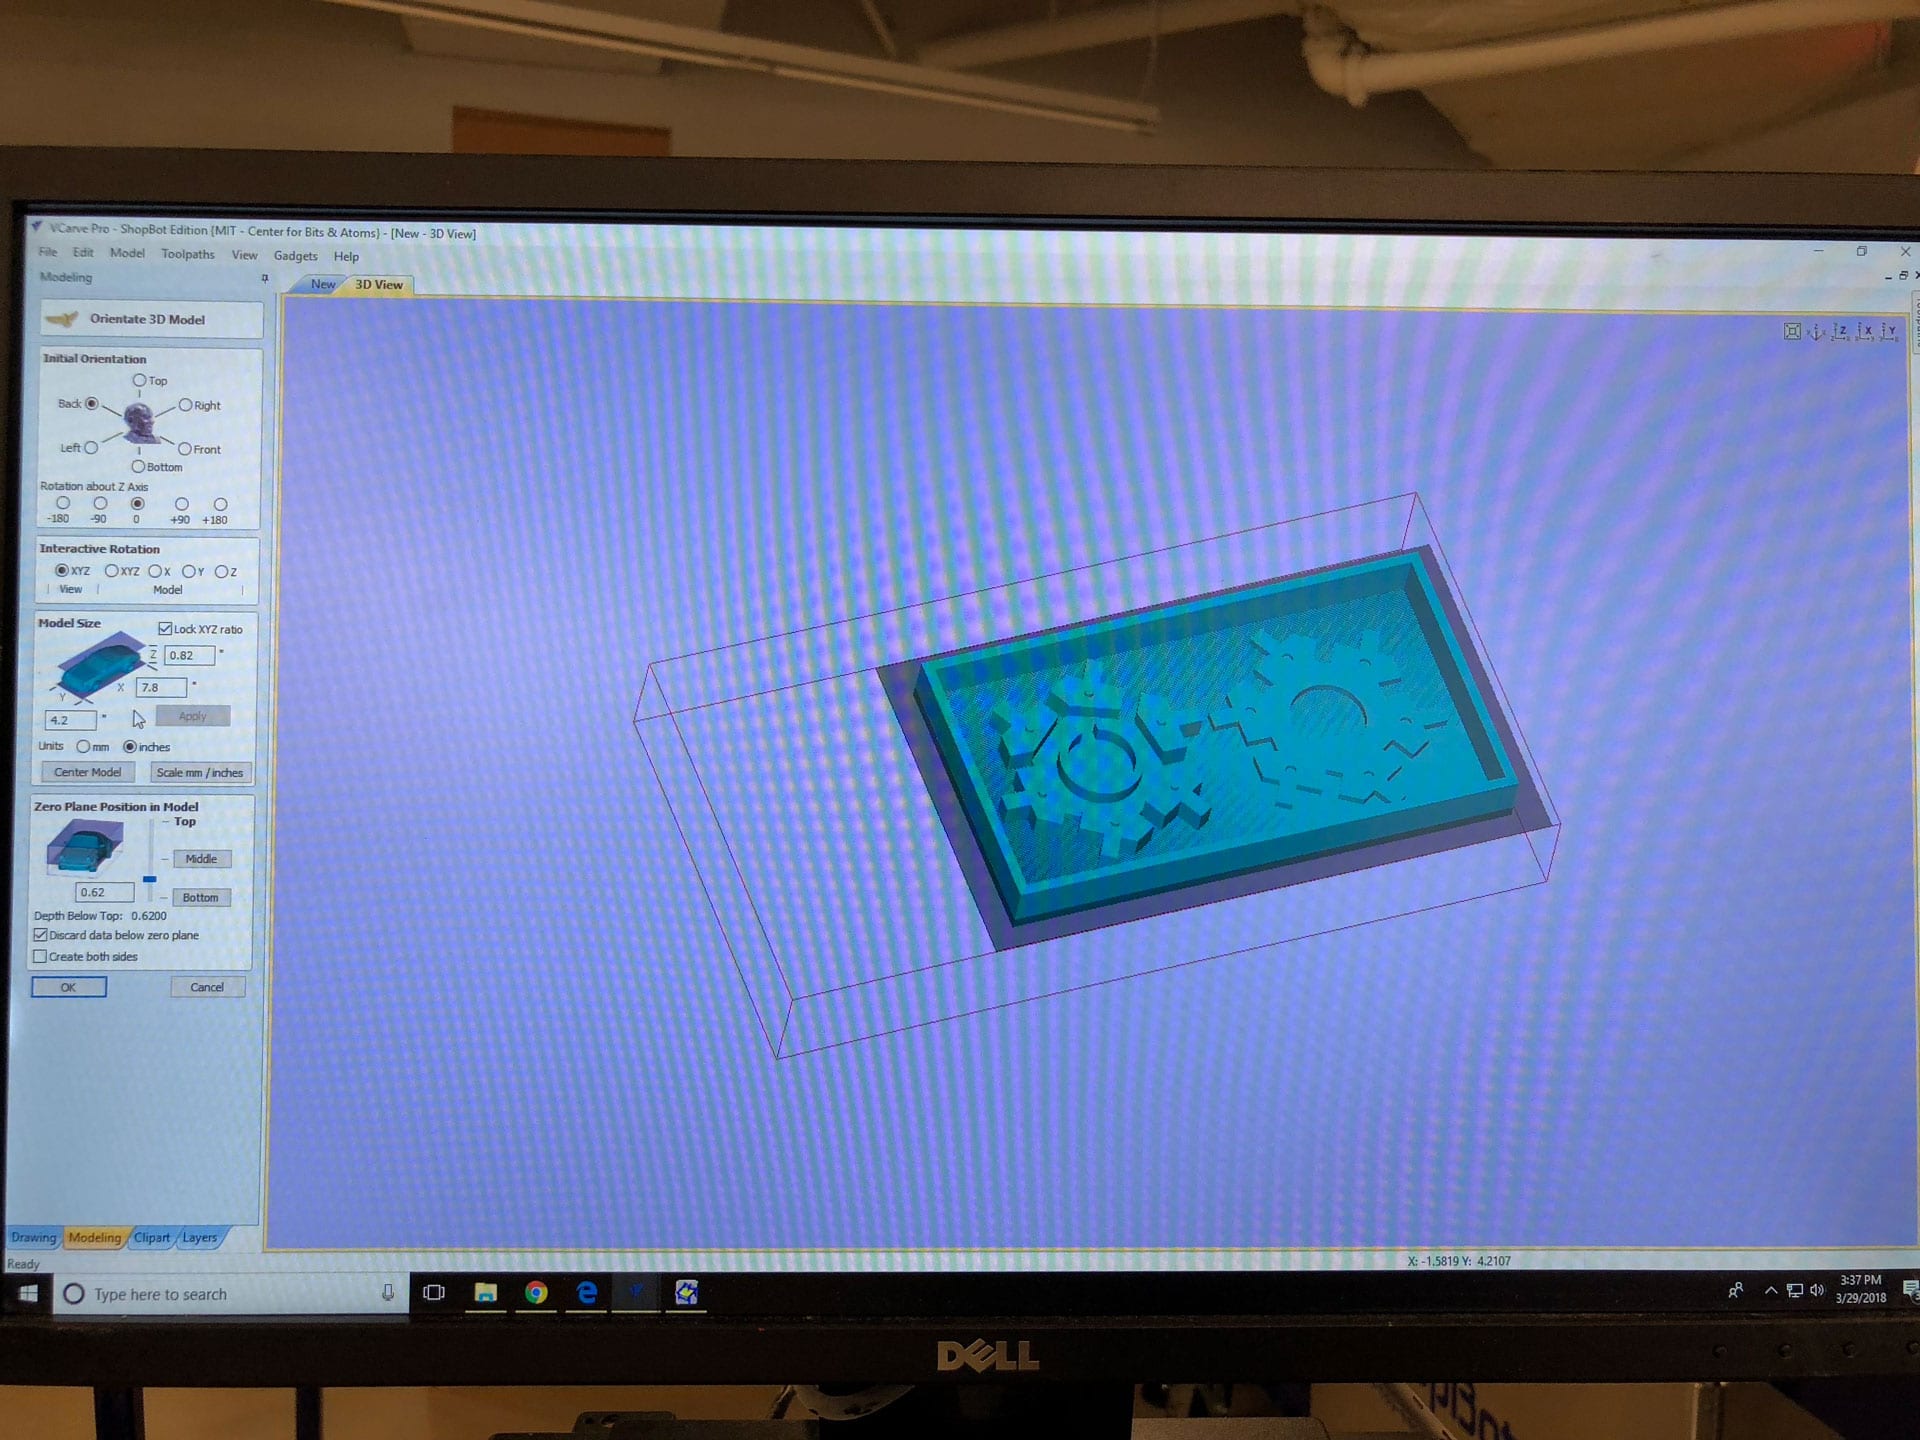
To create the mold, I needed to design the positive of the piece and create a box surrounding it. I used Fusion 360 for this process. The main points to consider:

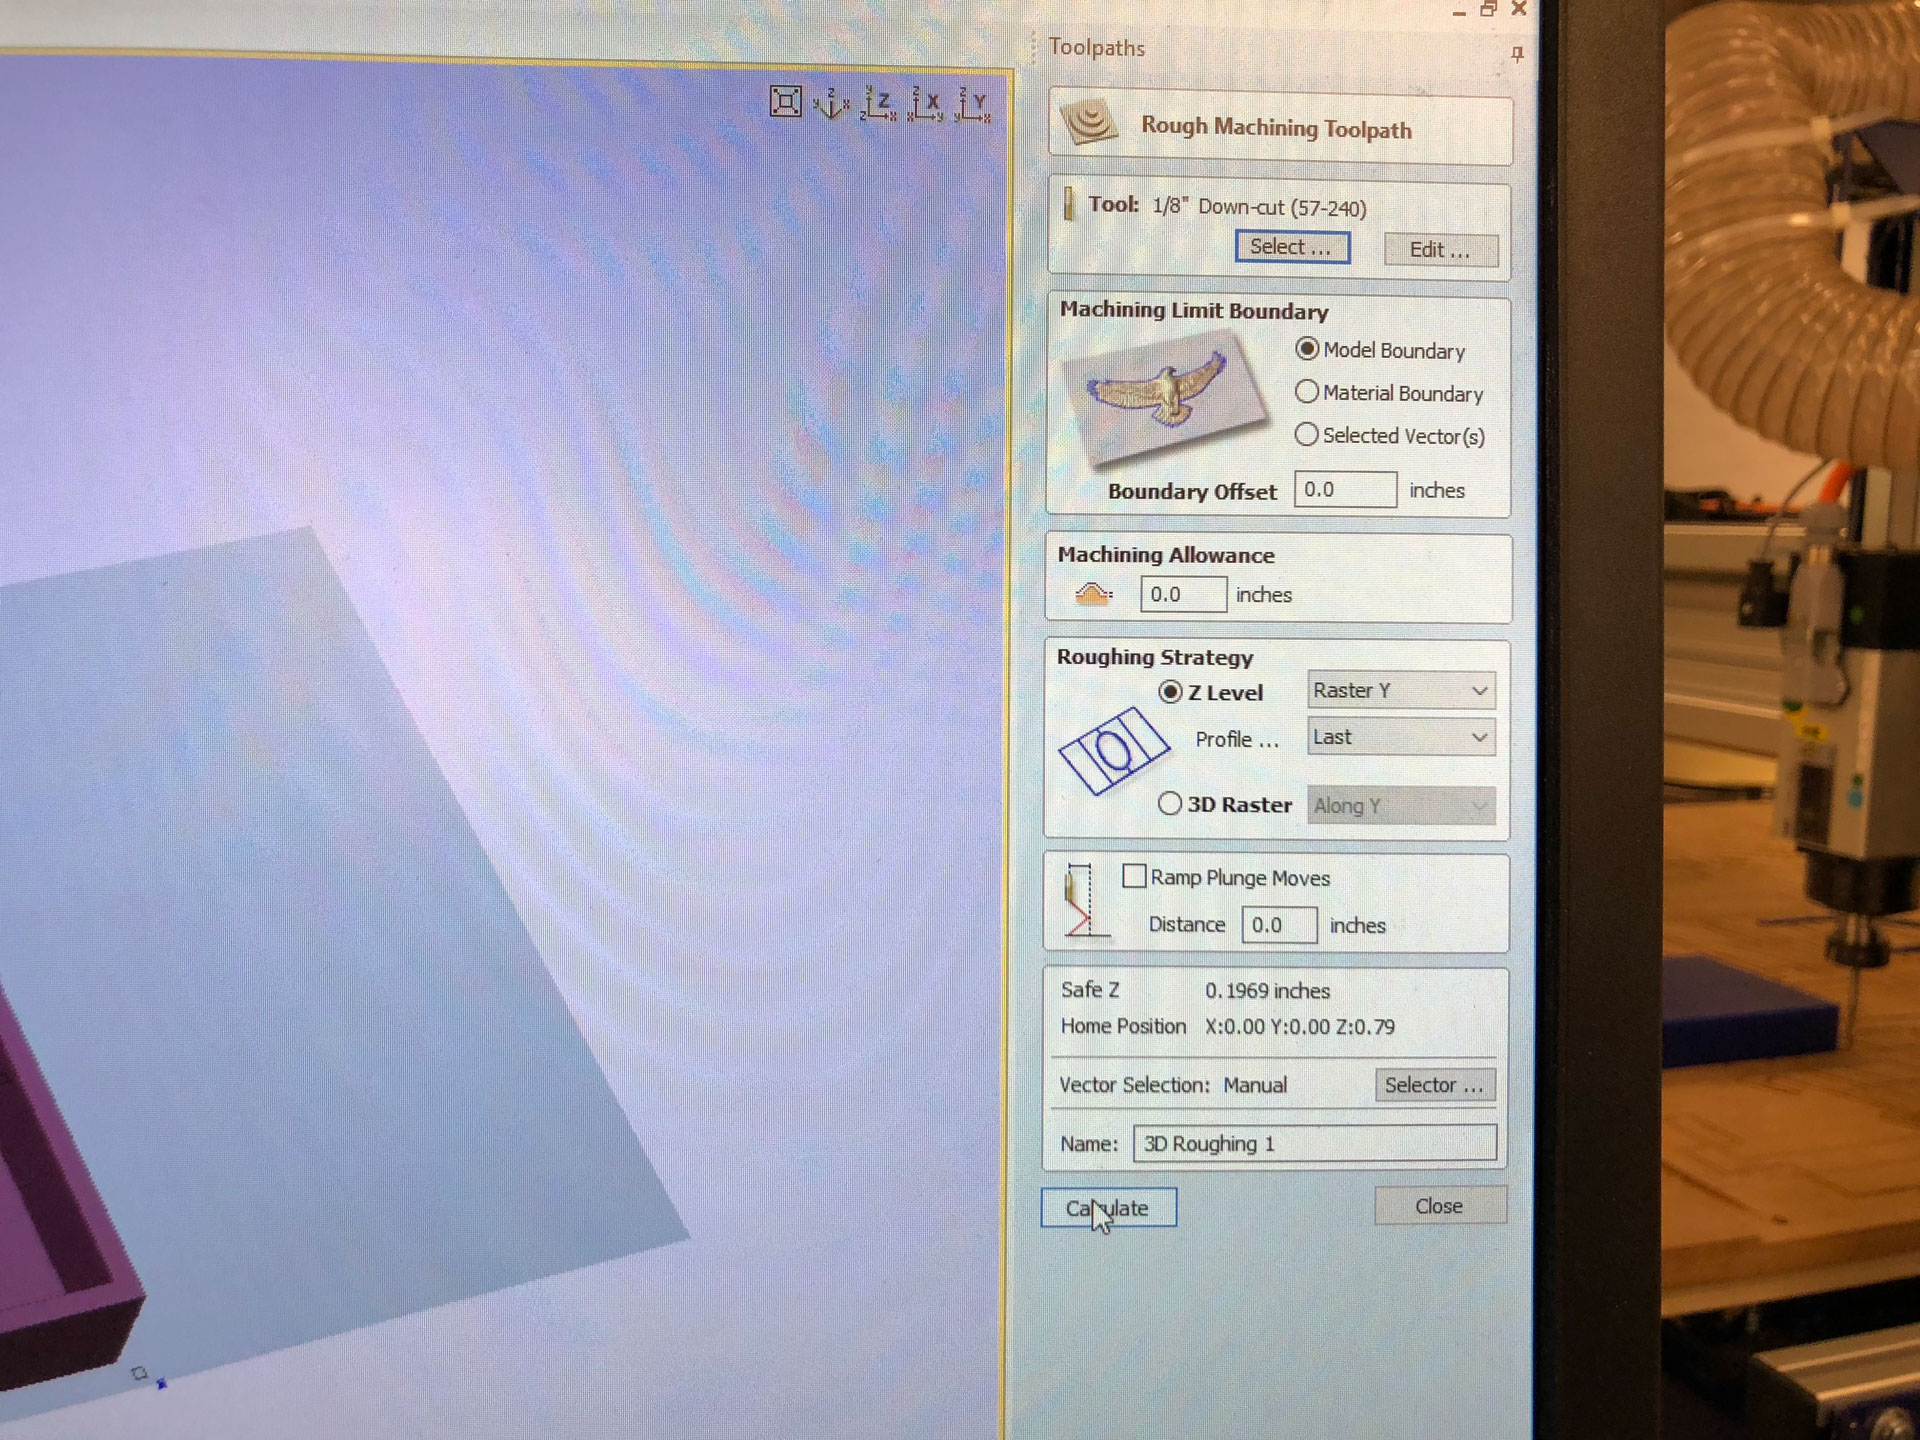
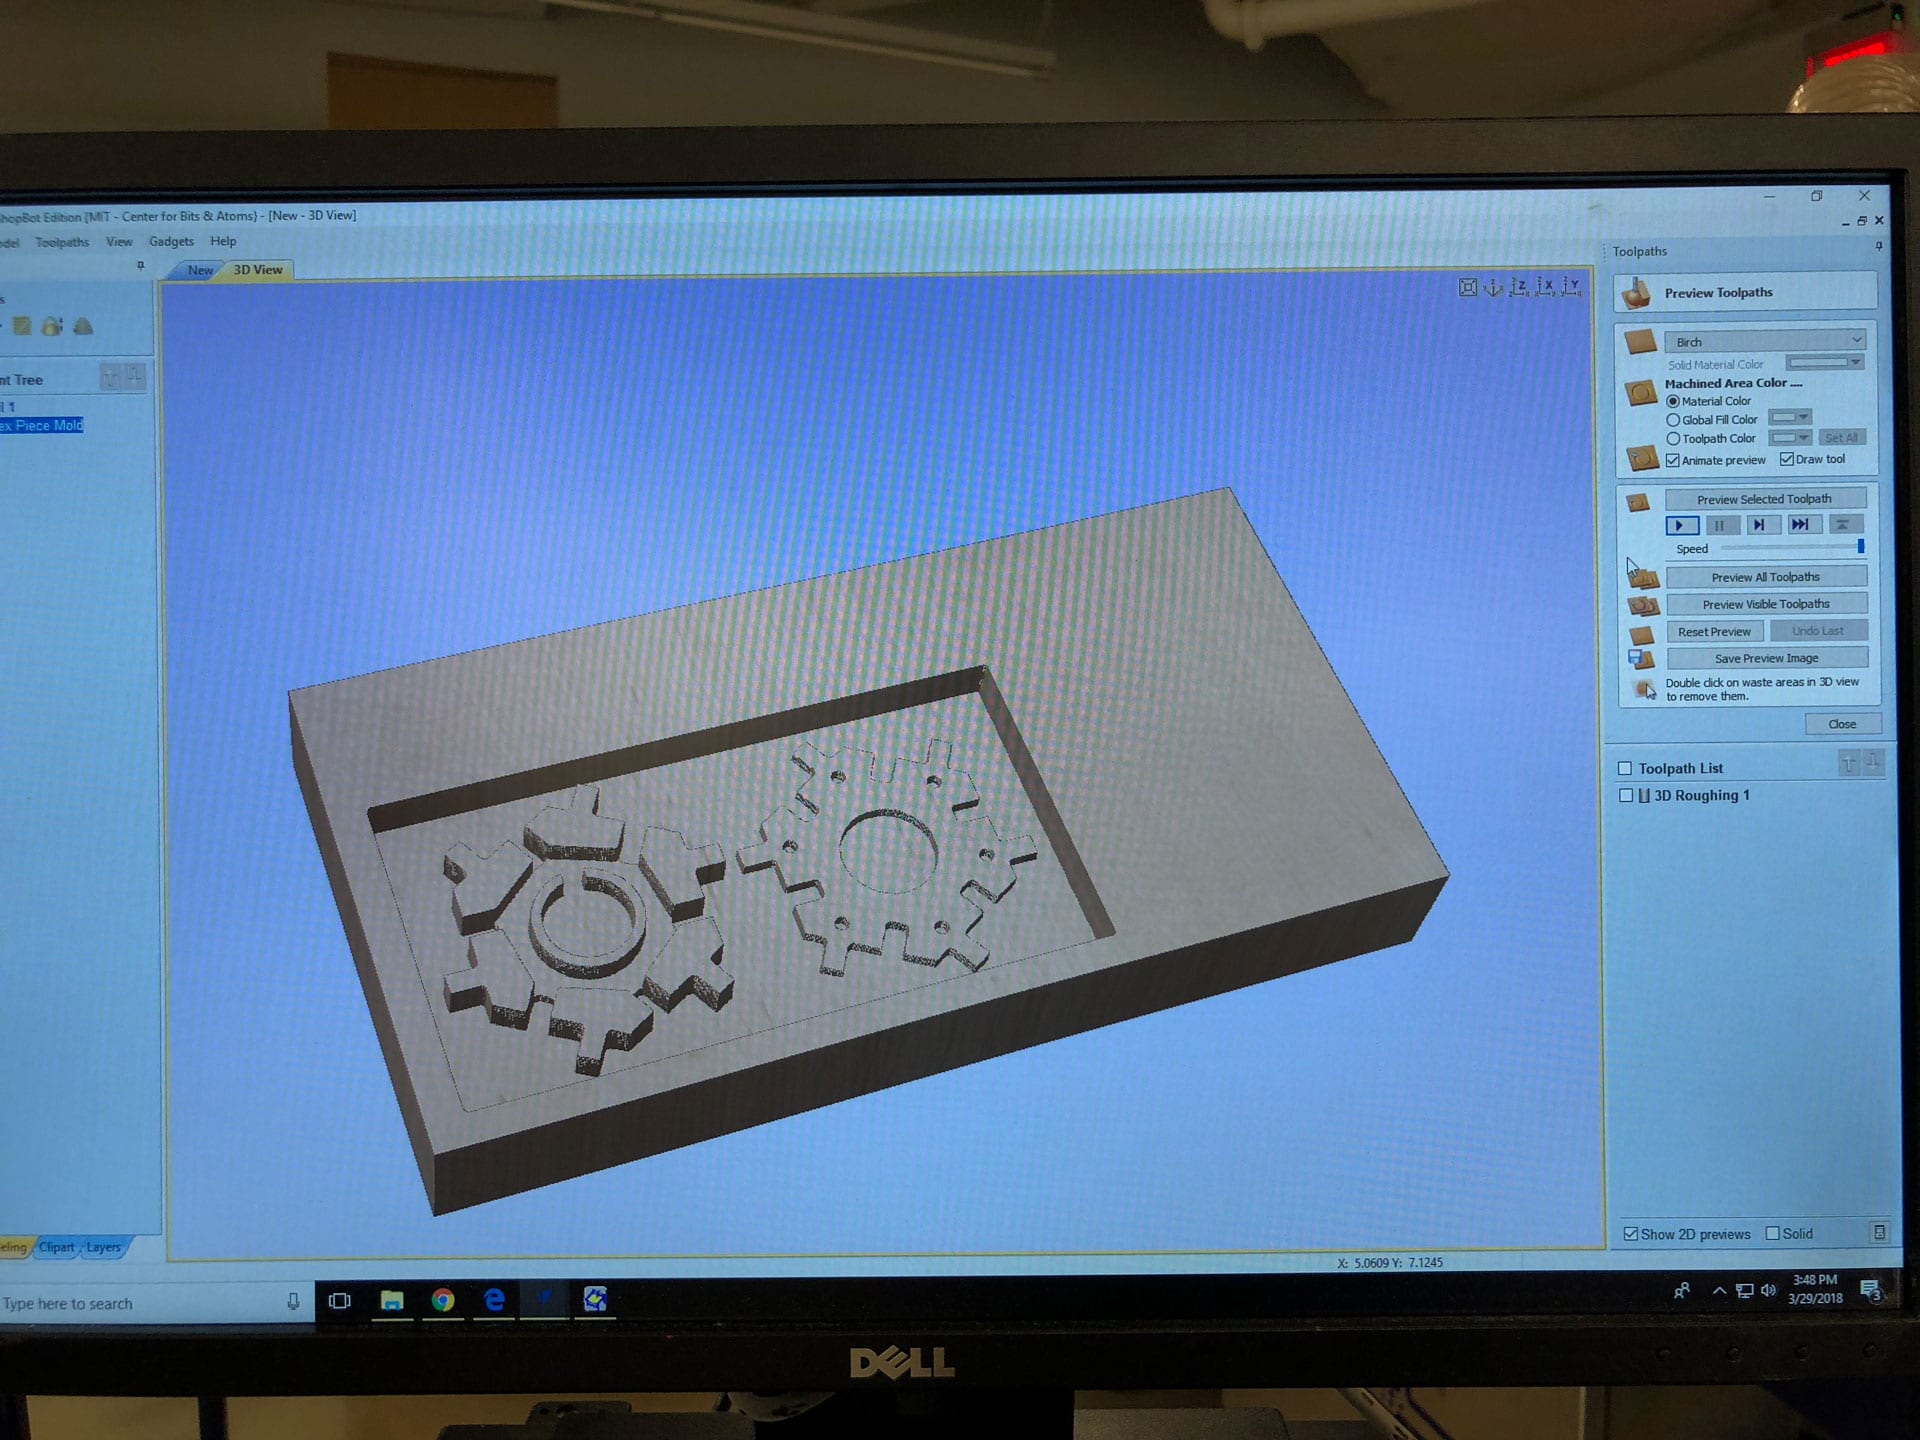
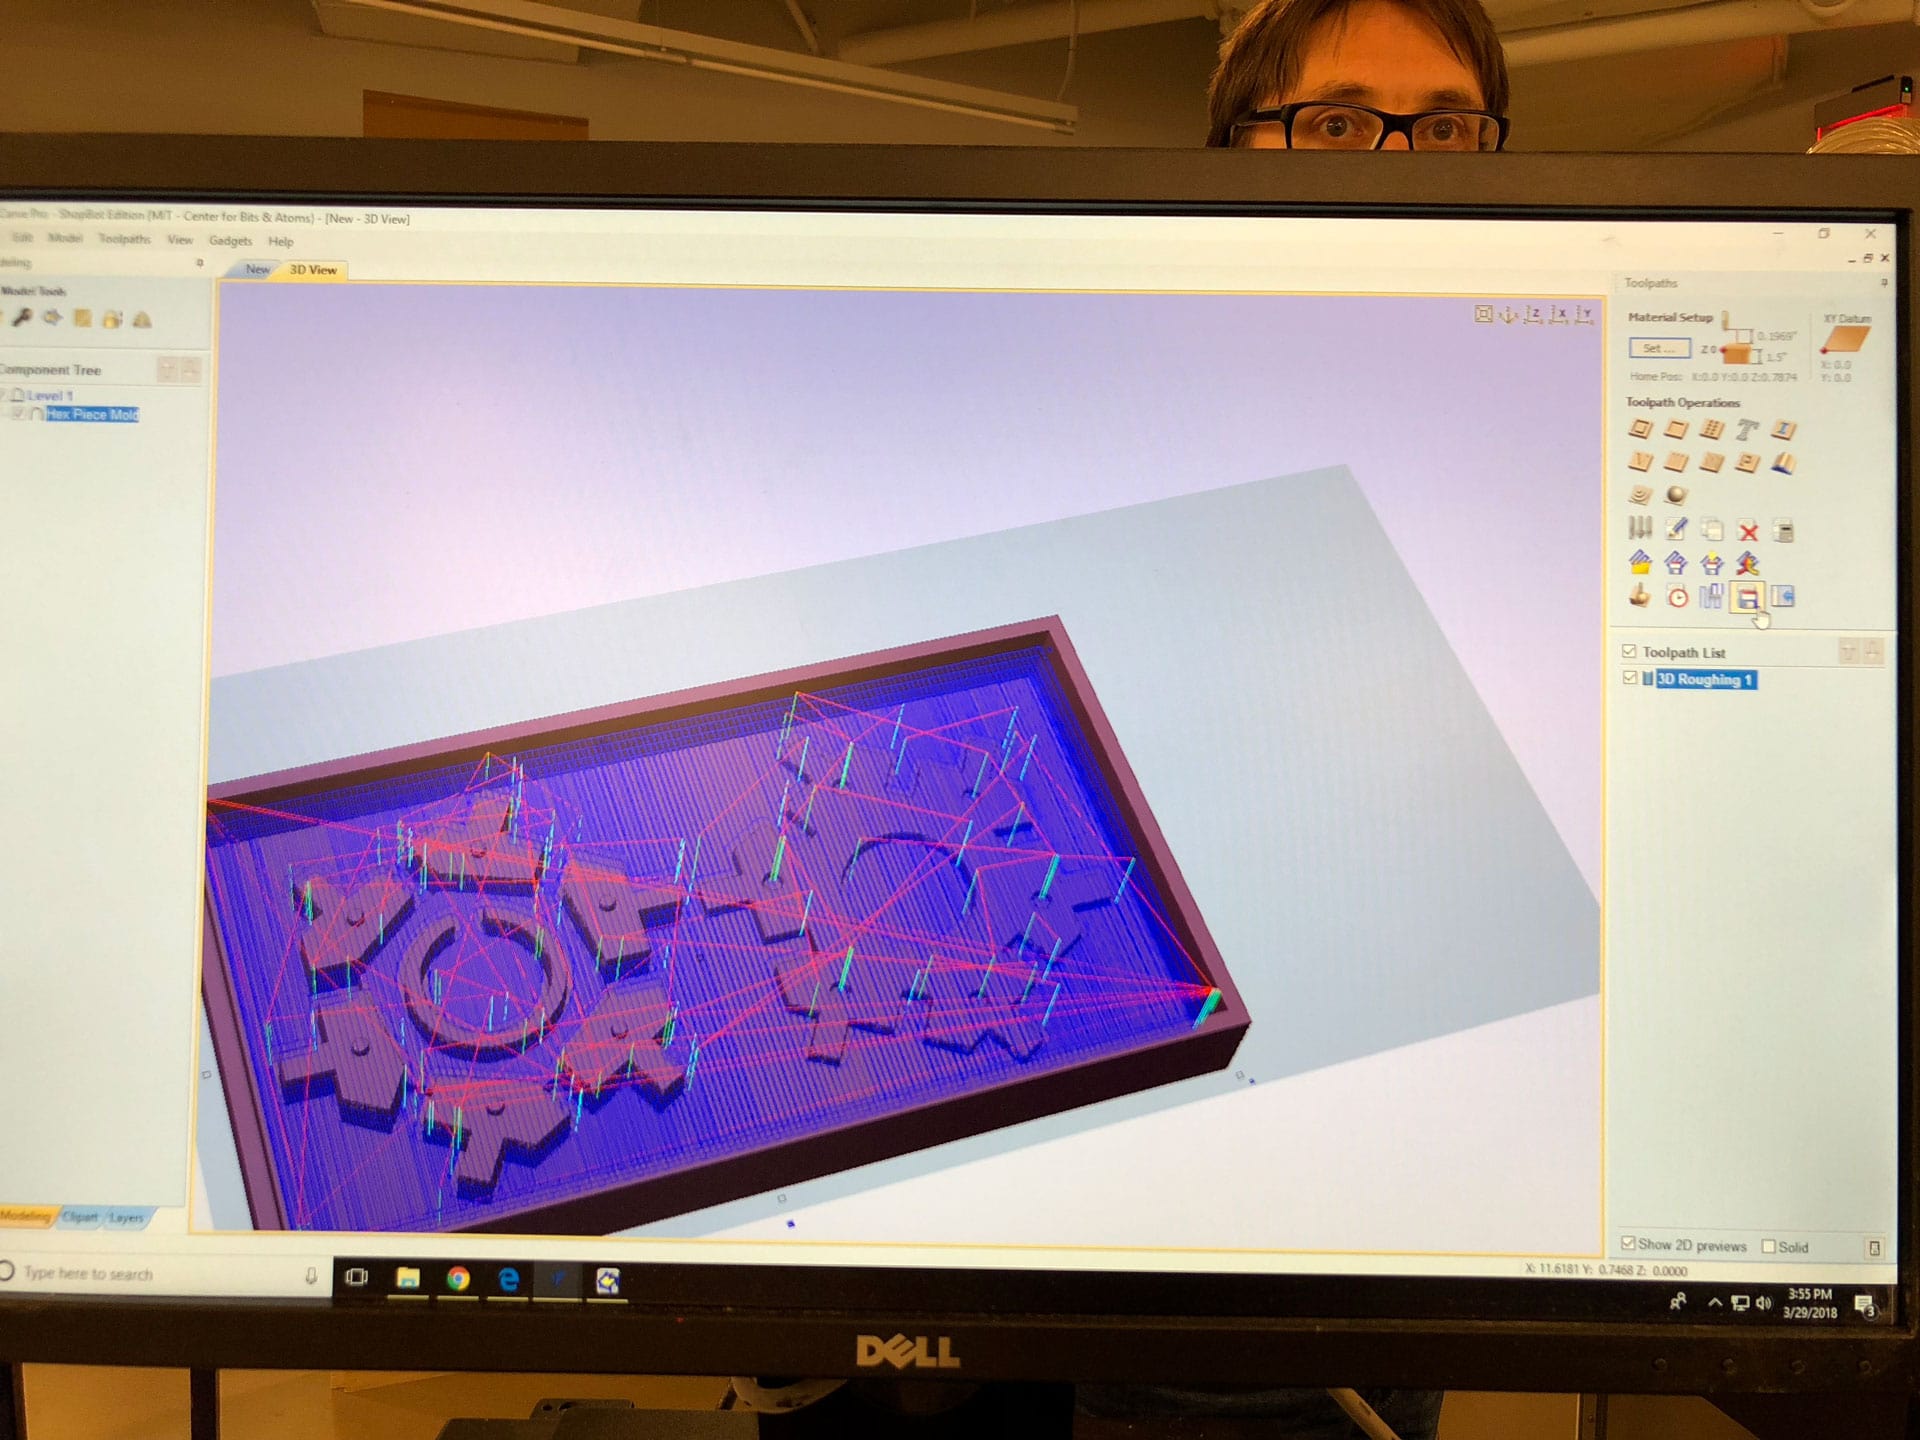
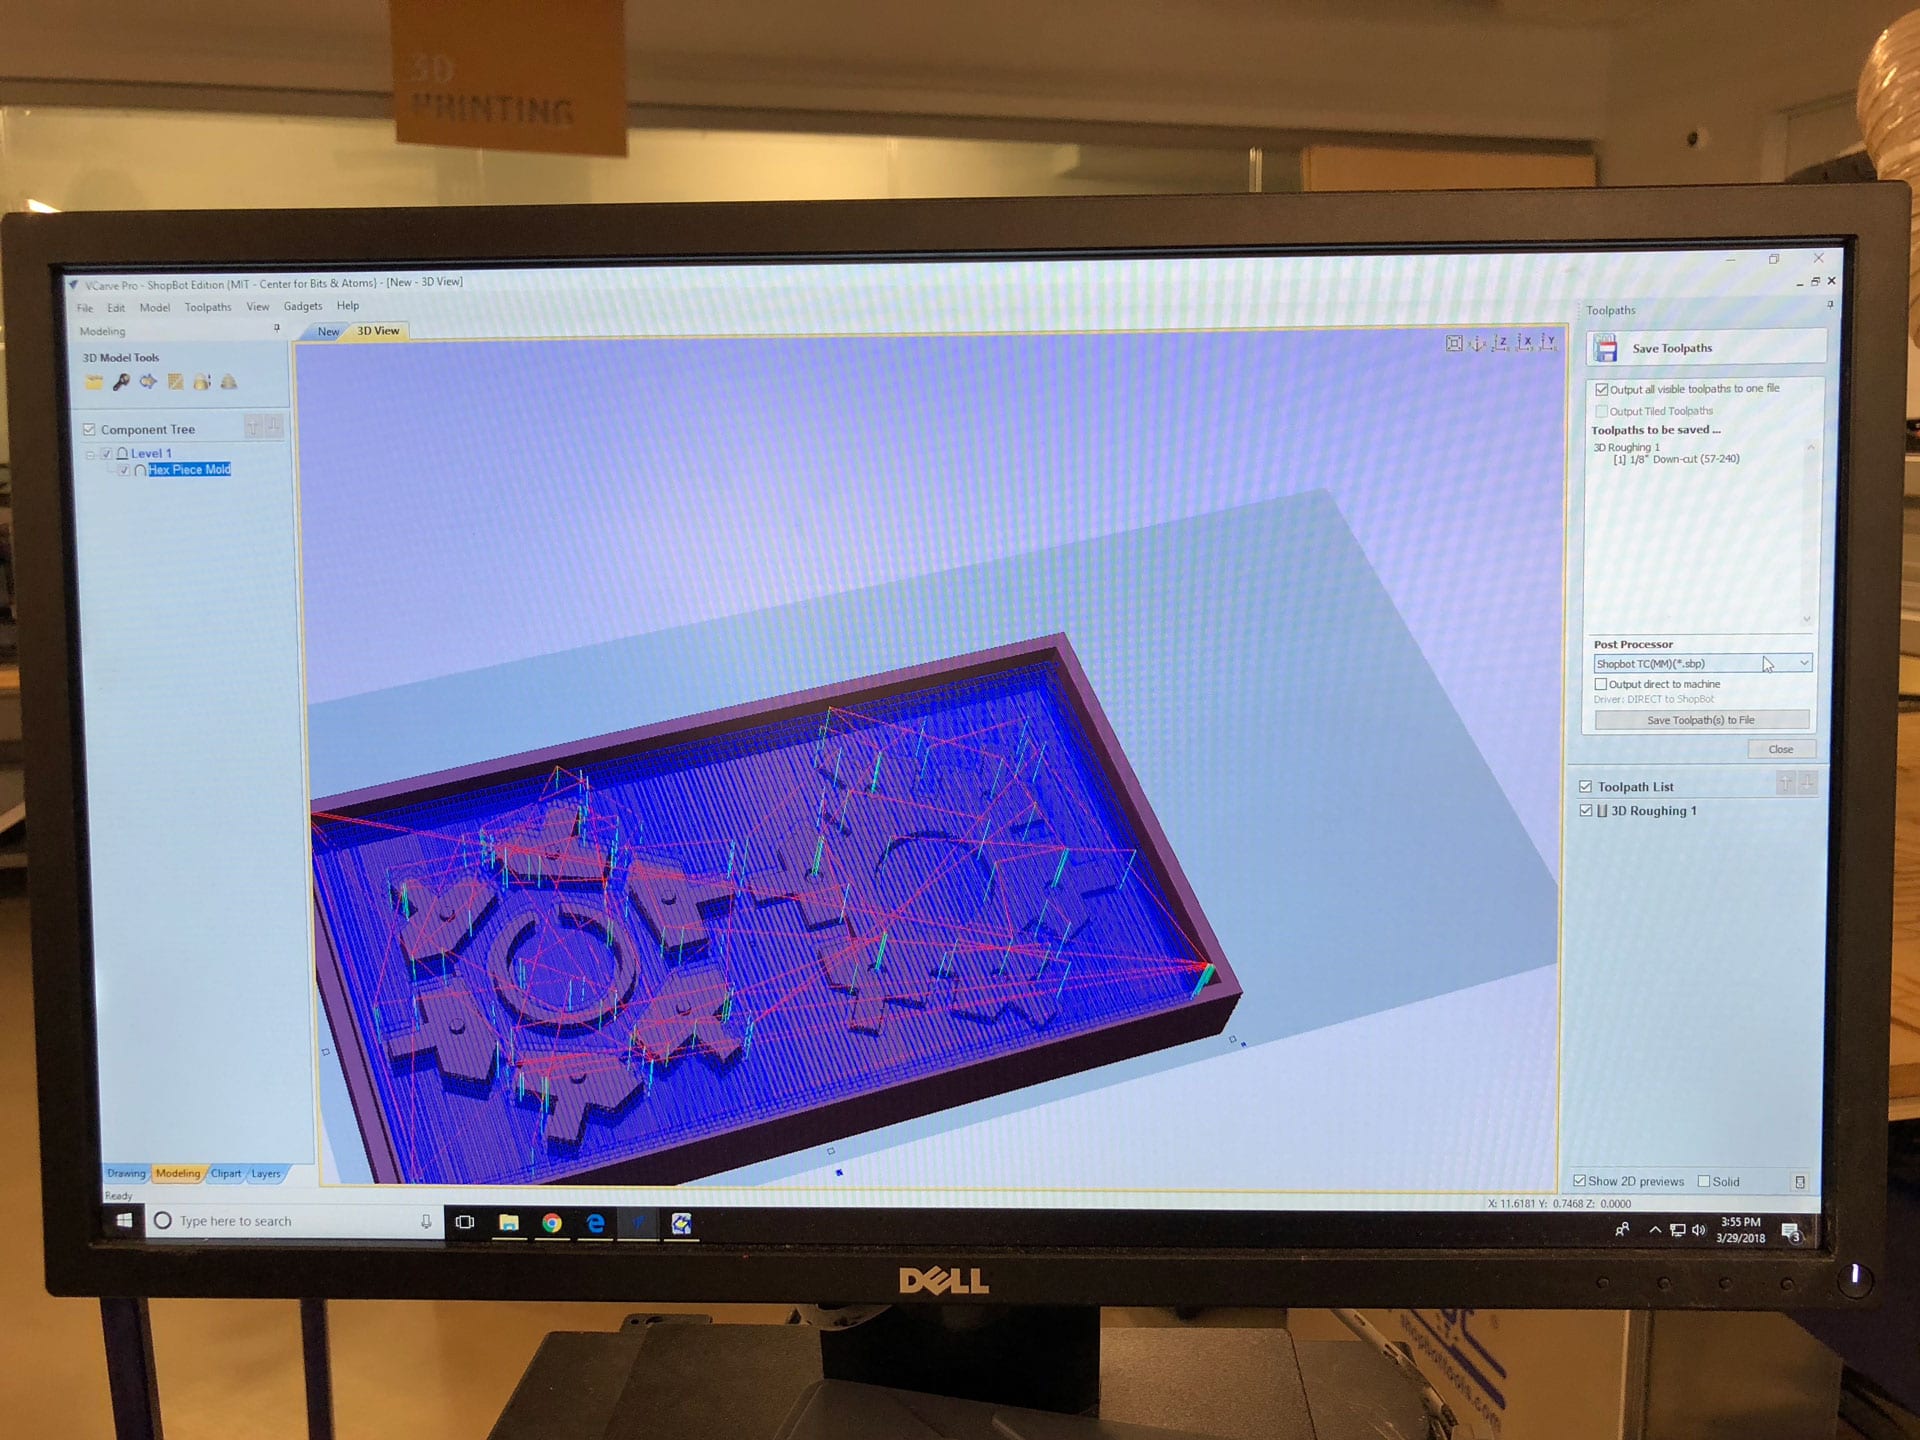
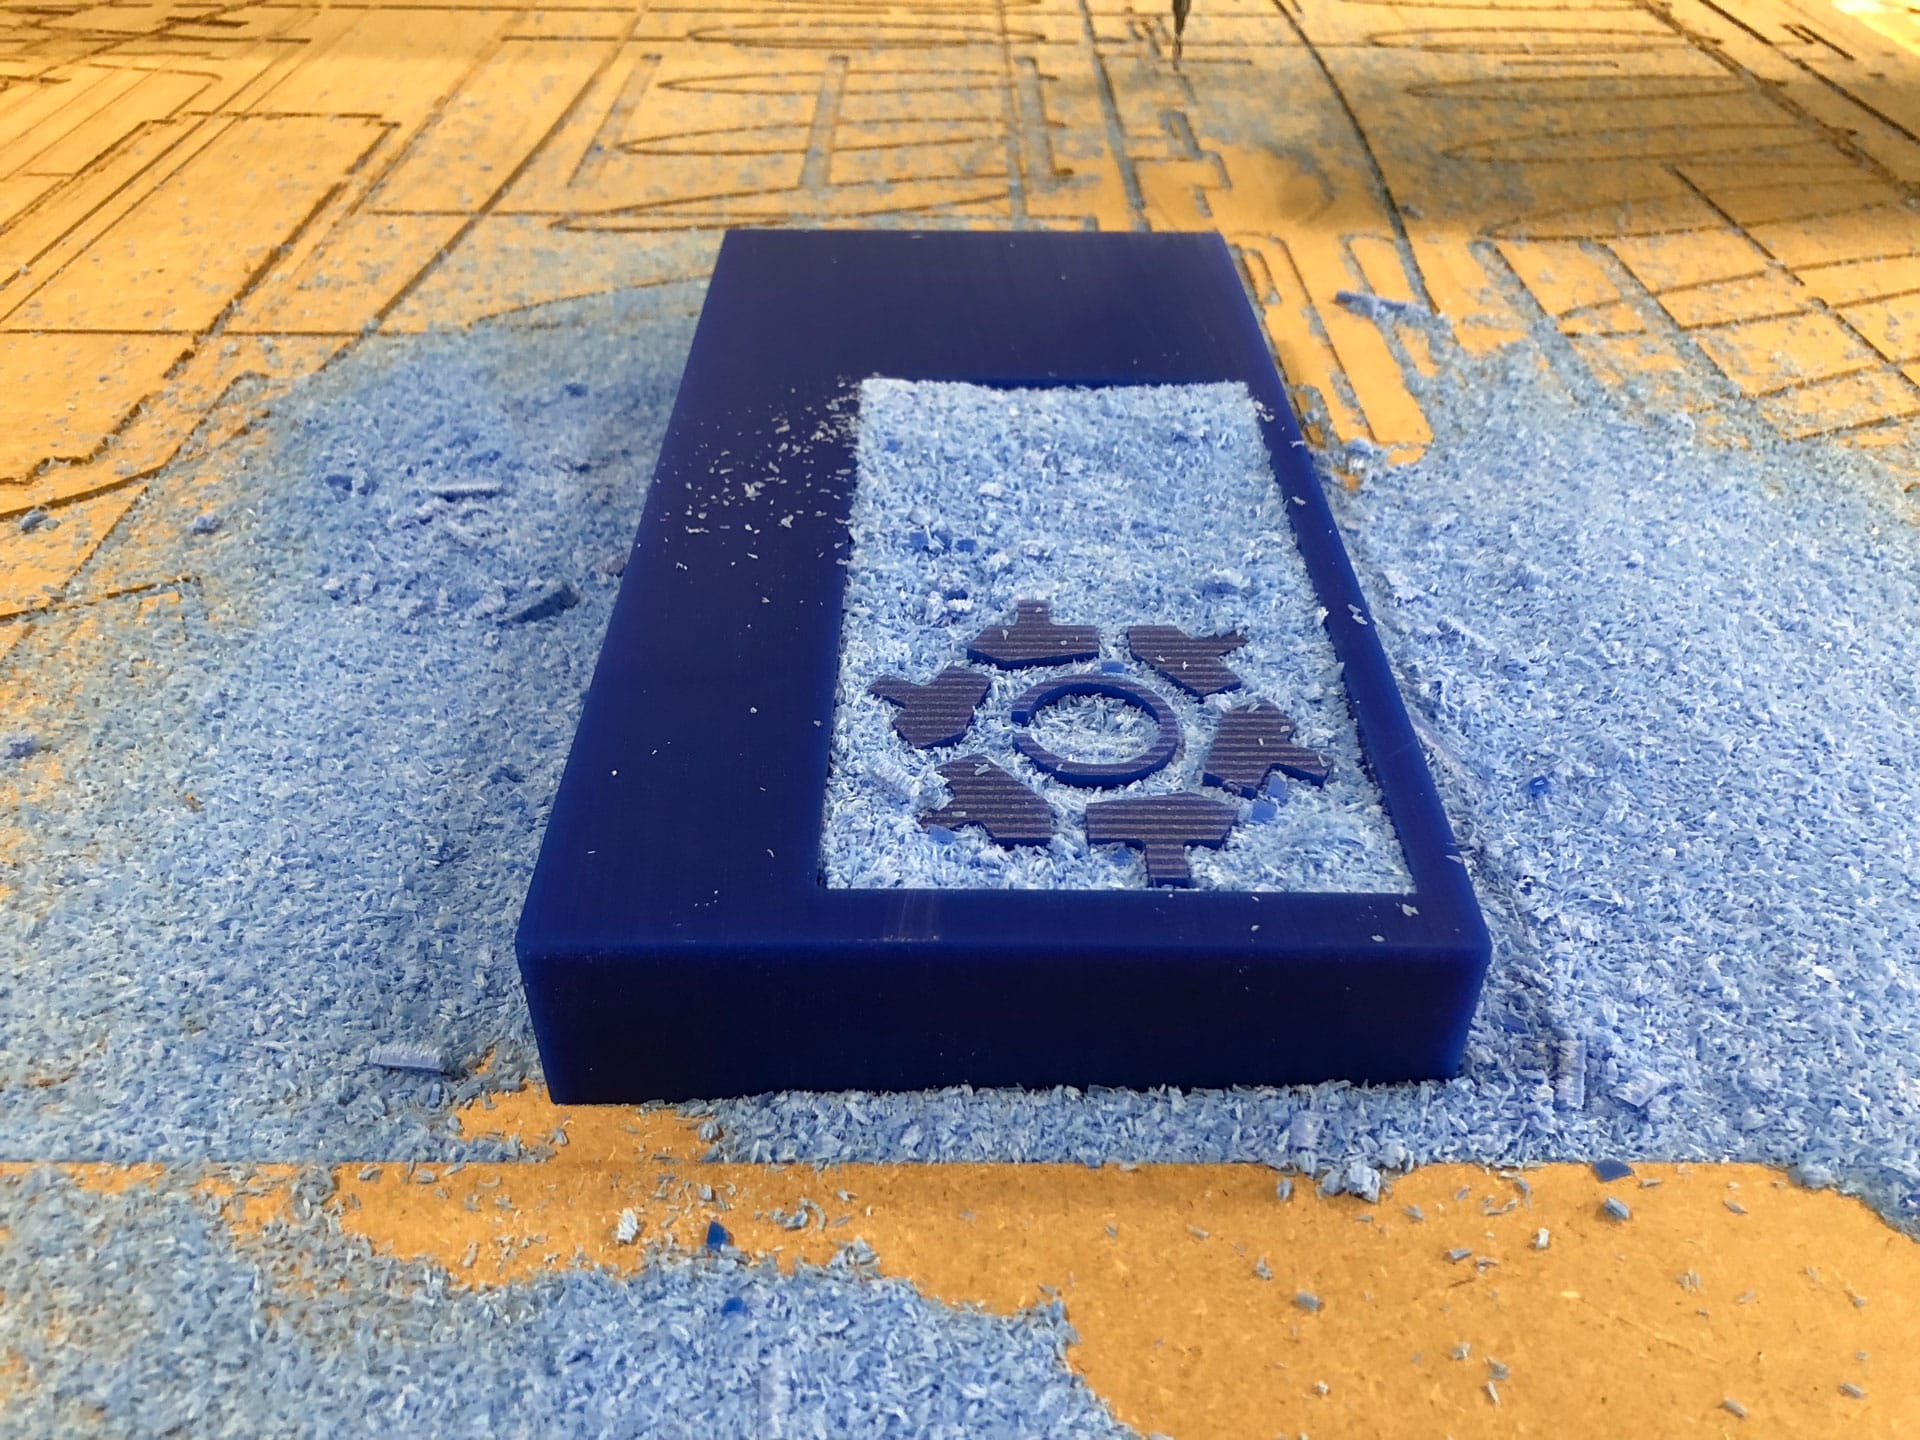
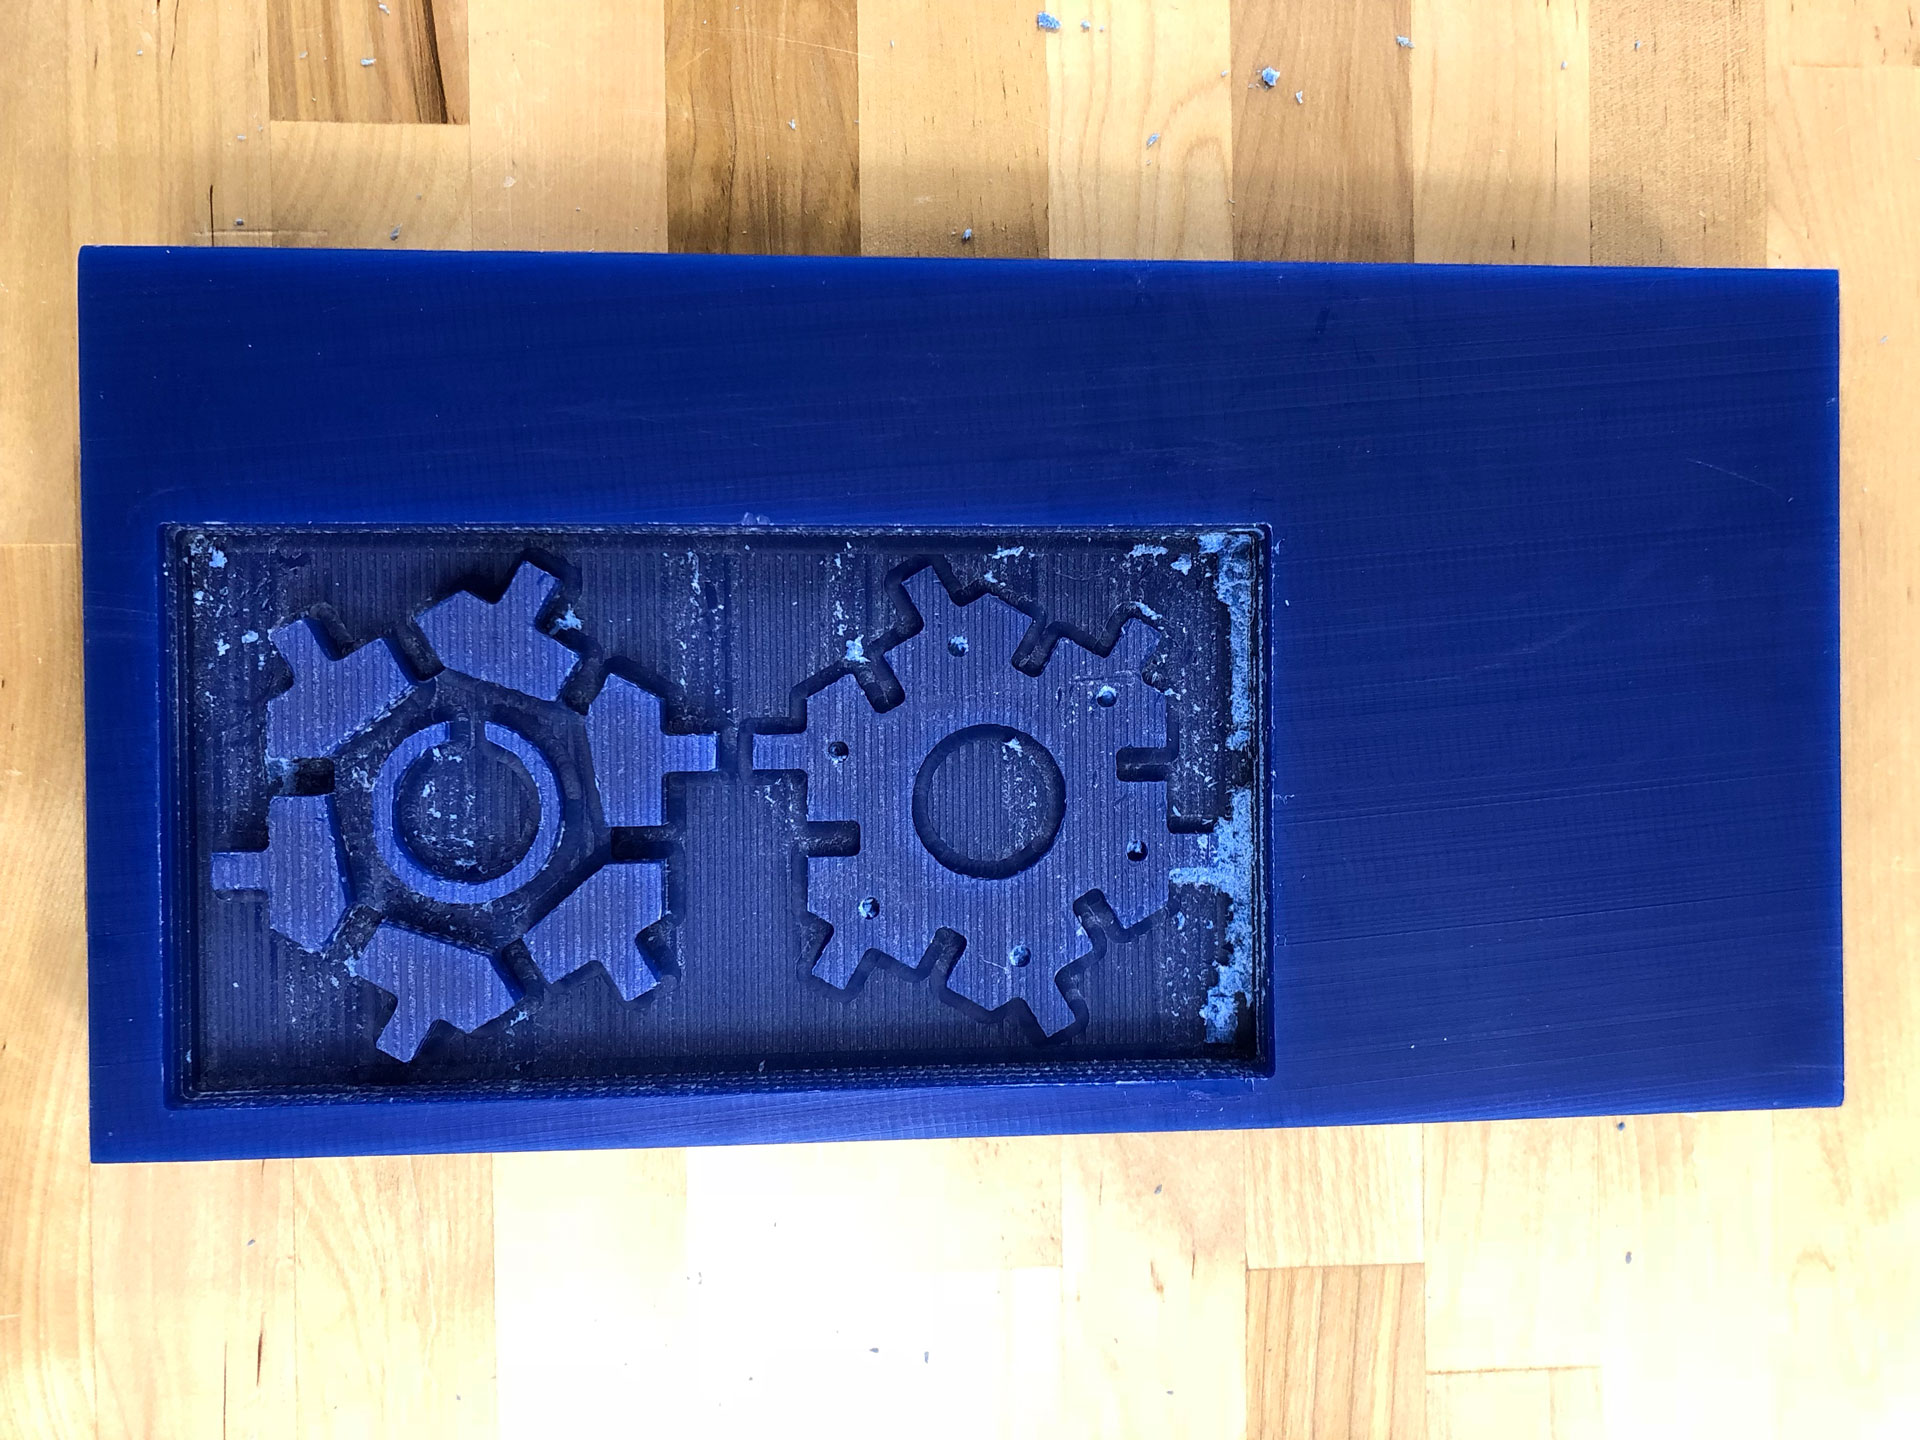
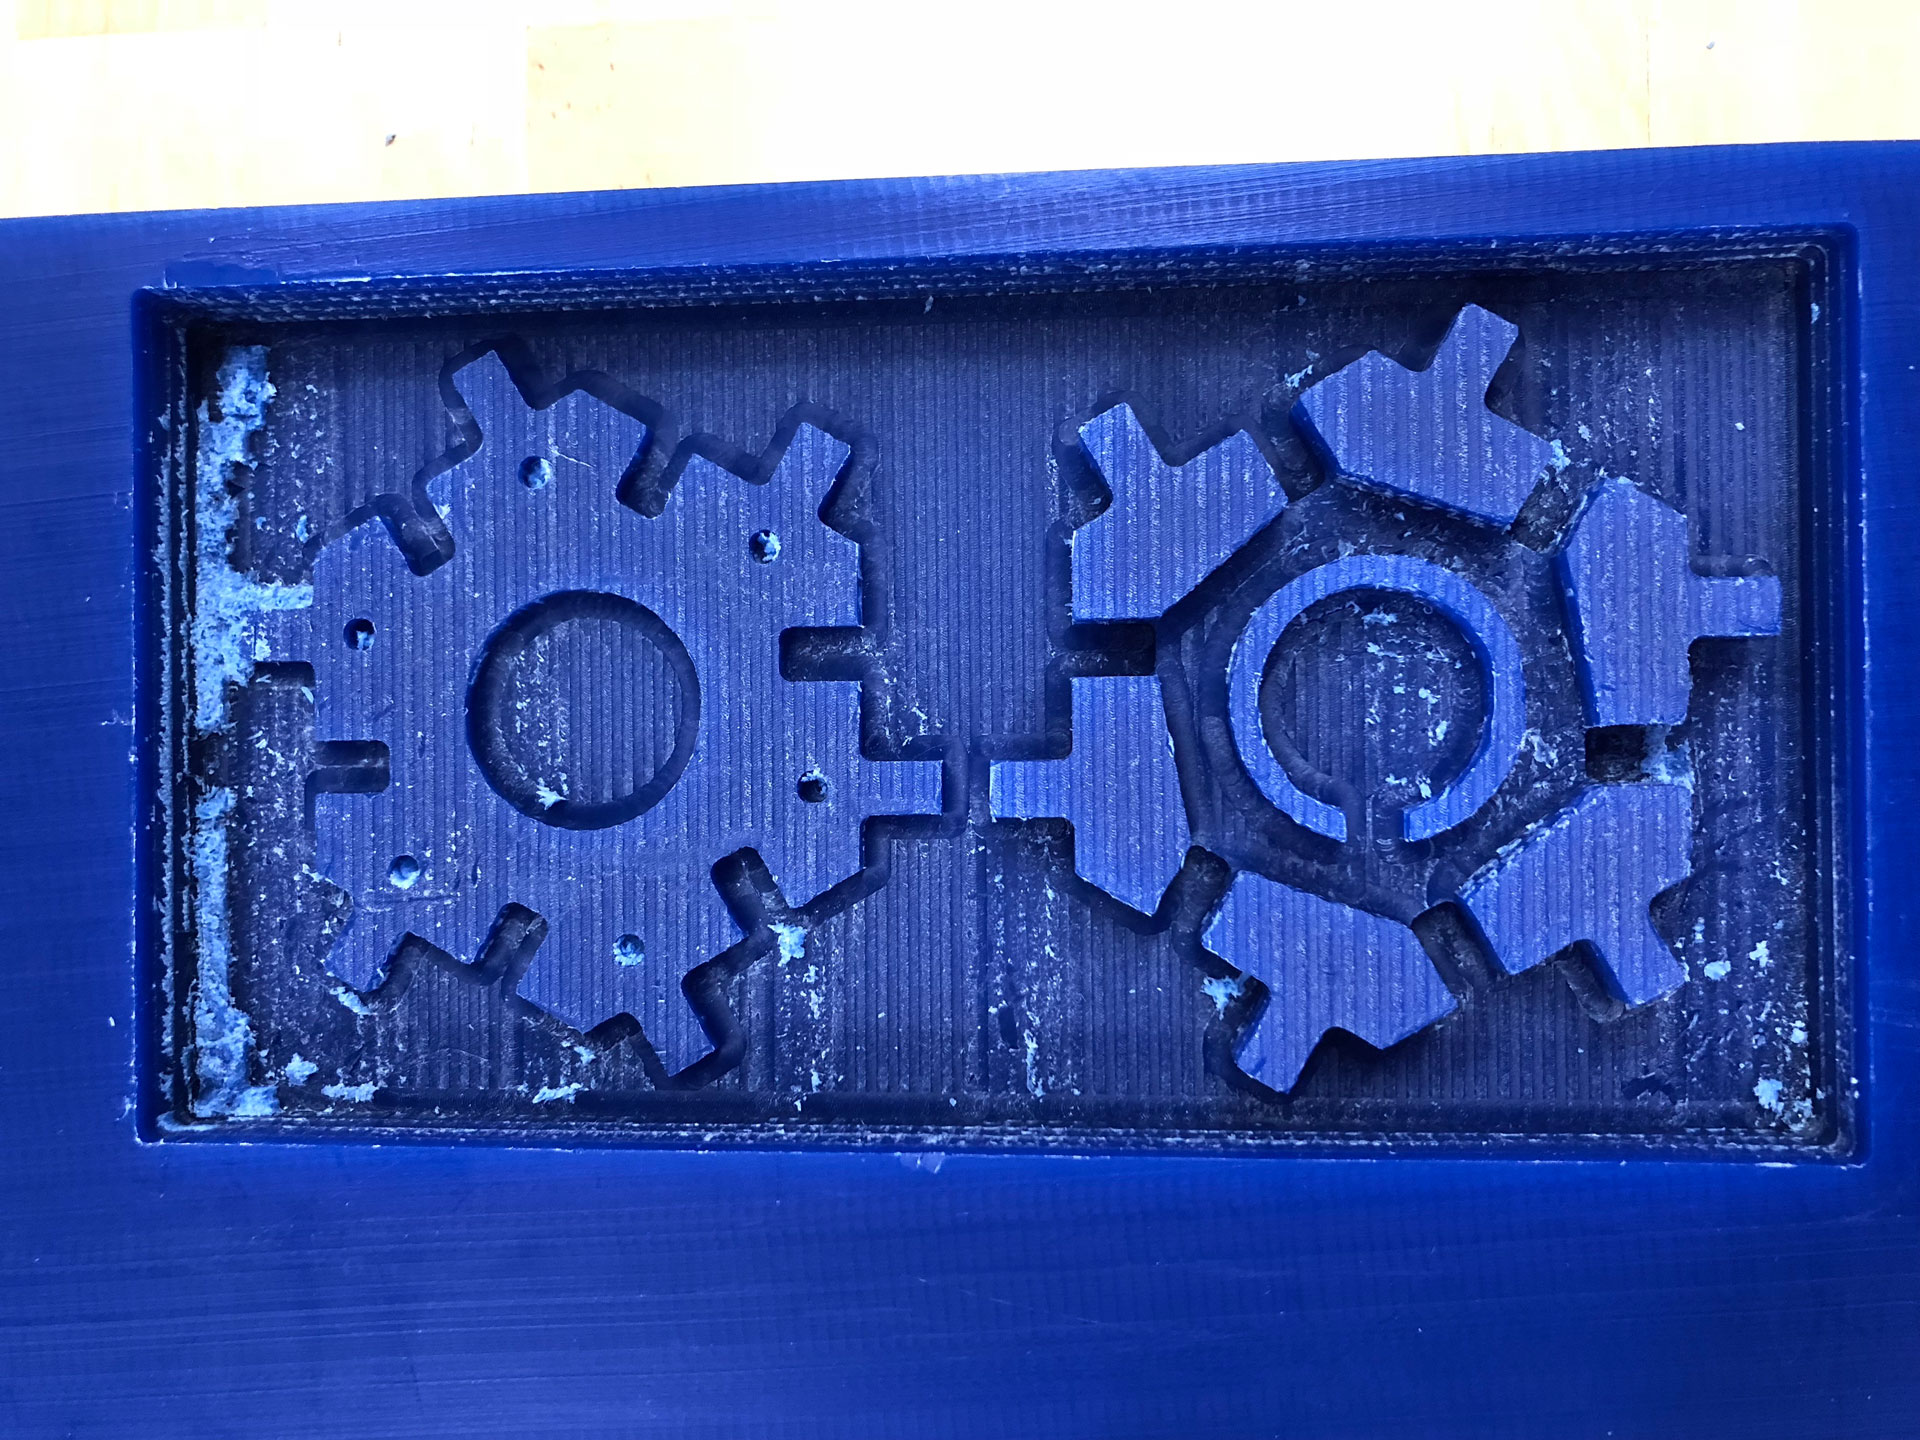
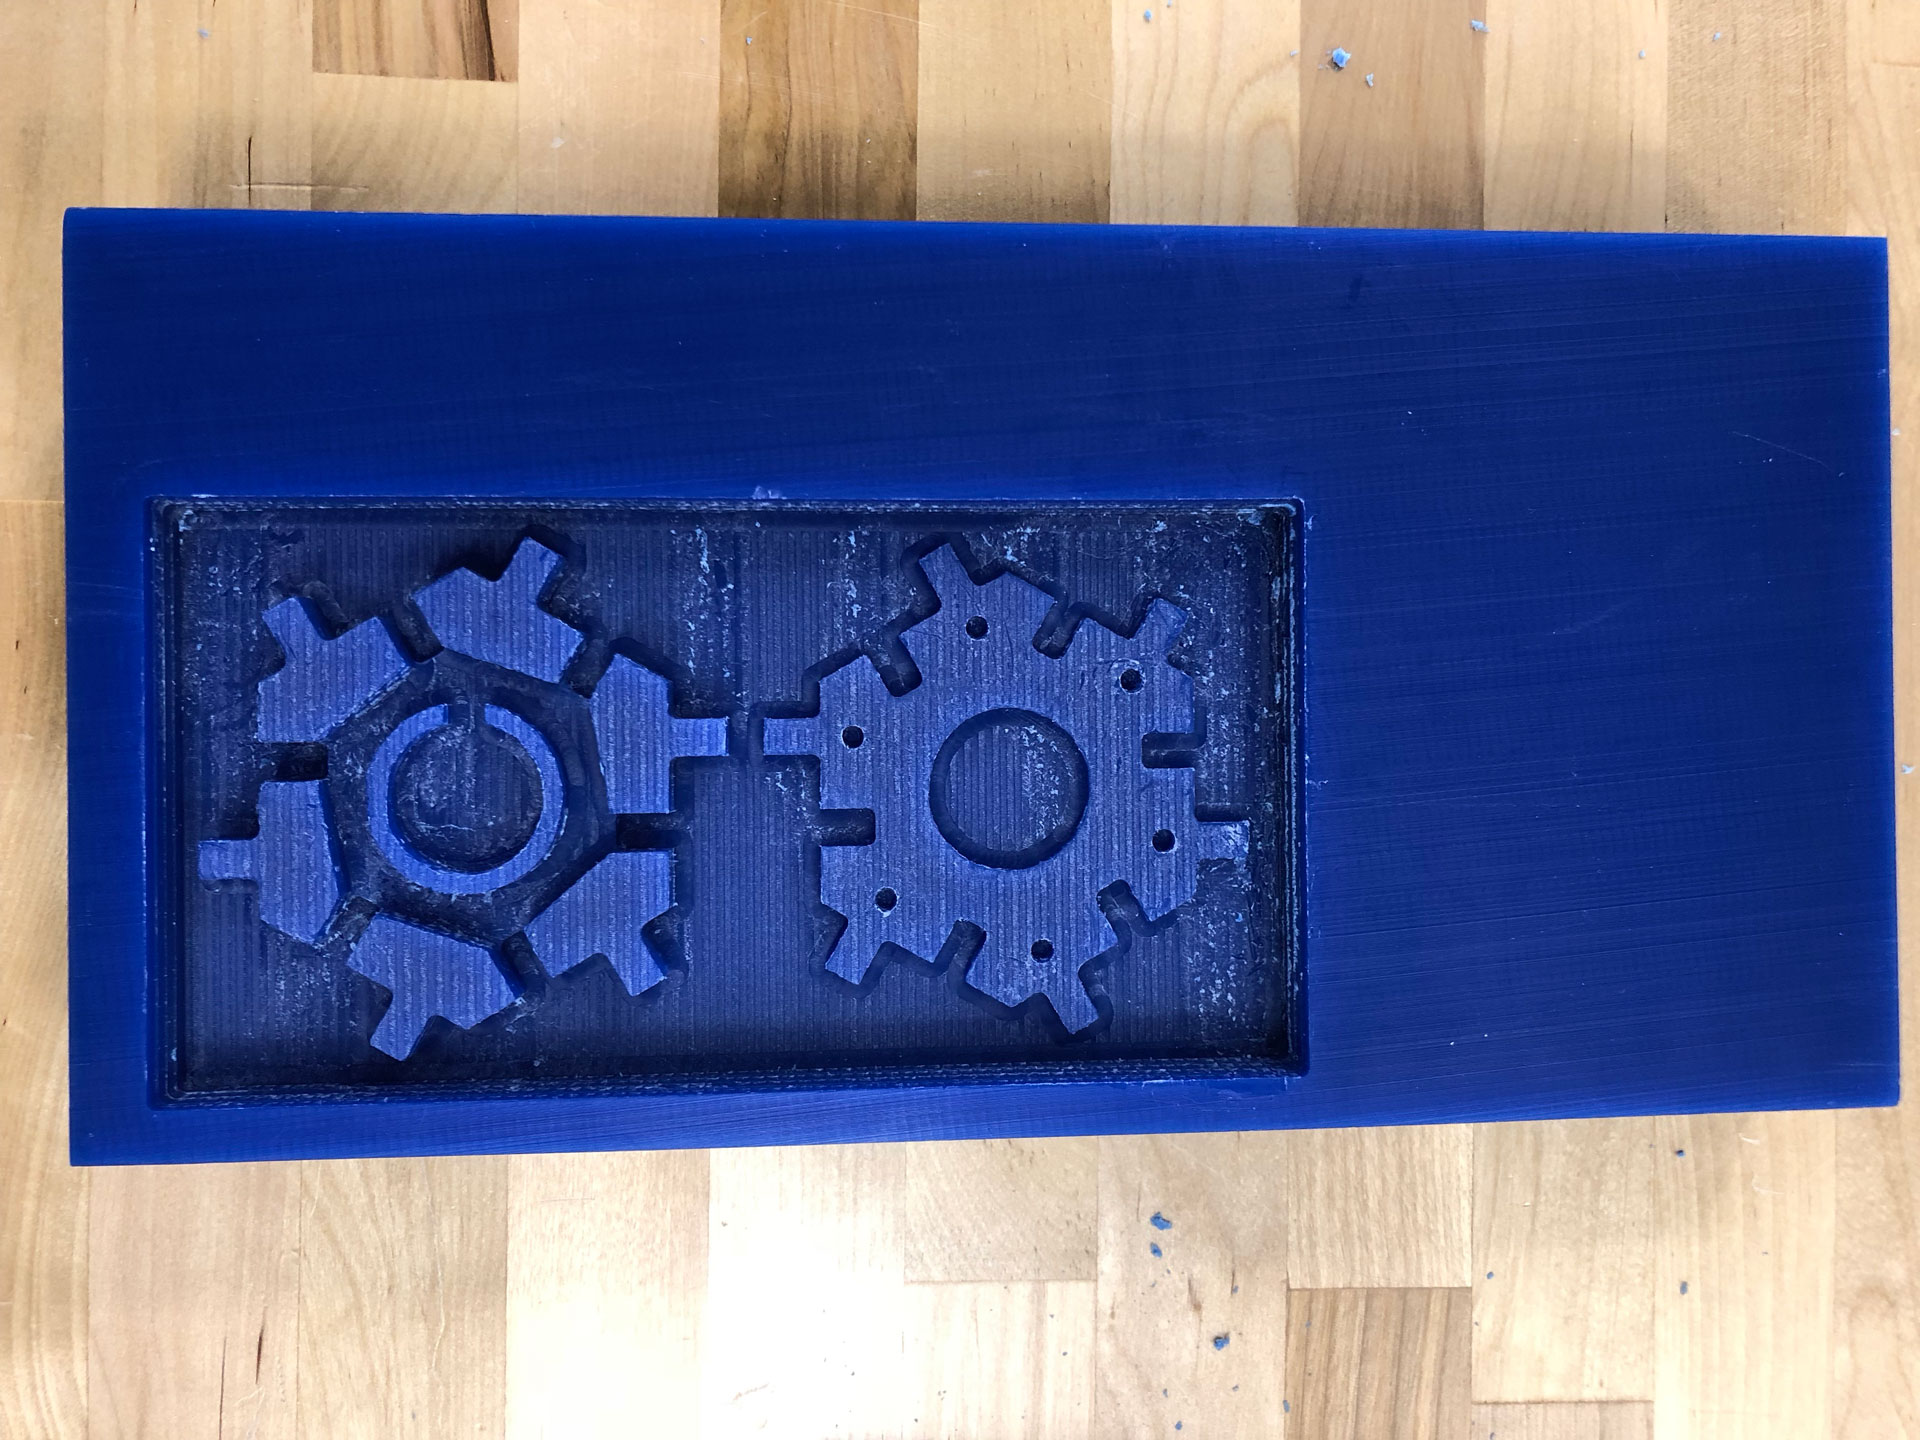
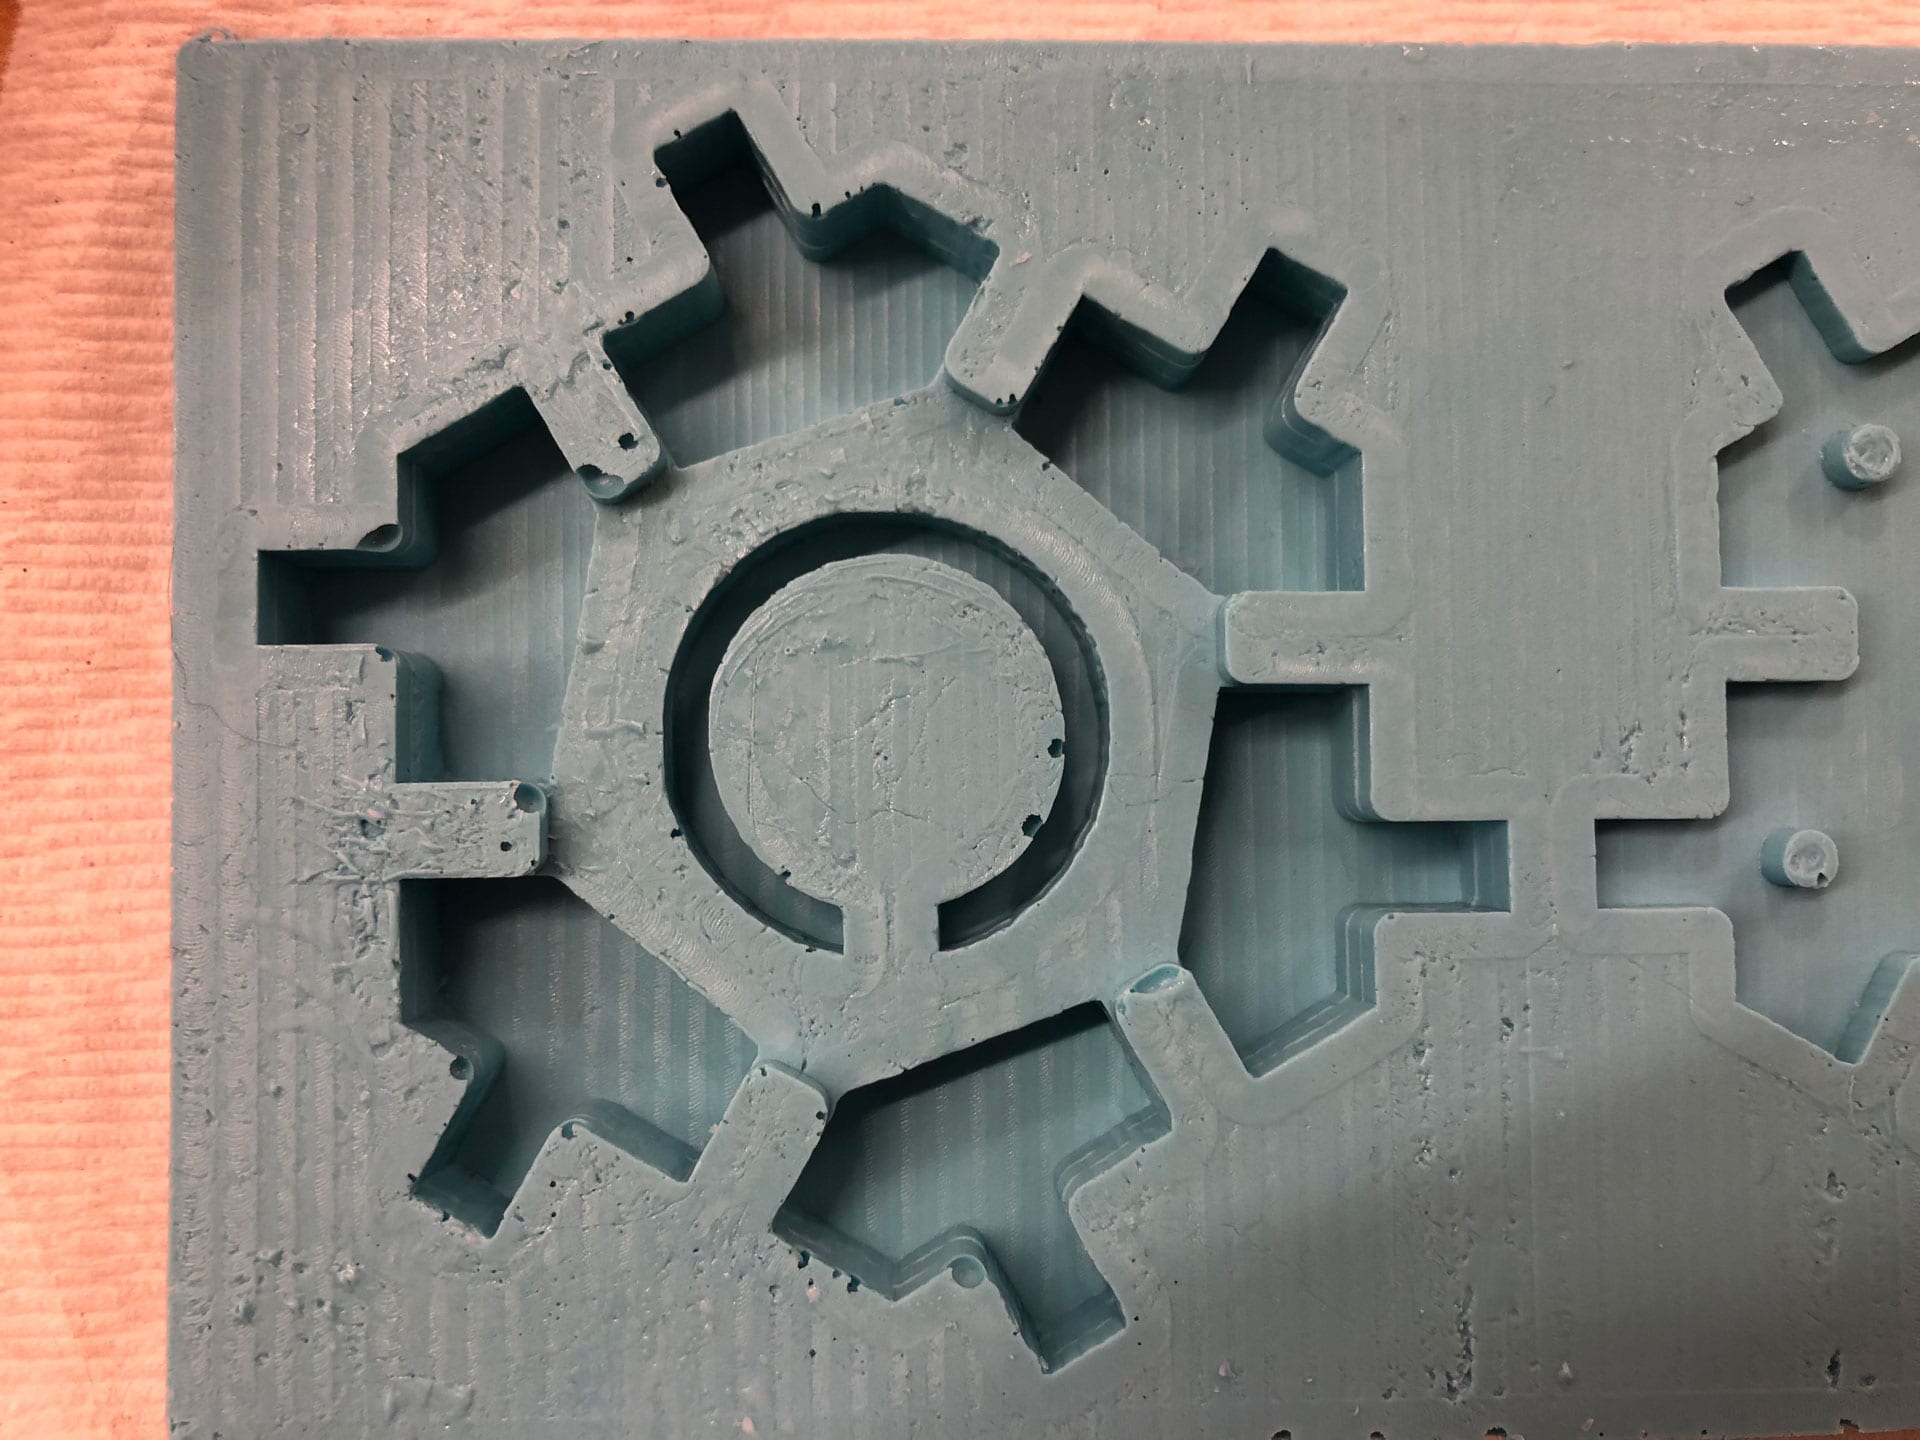
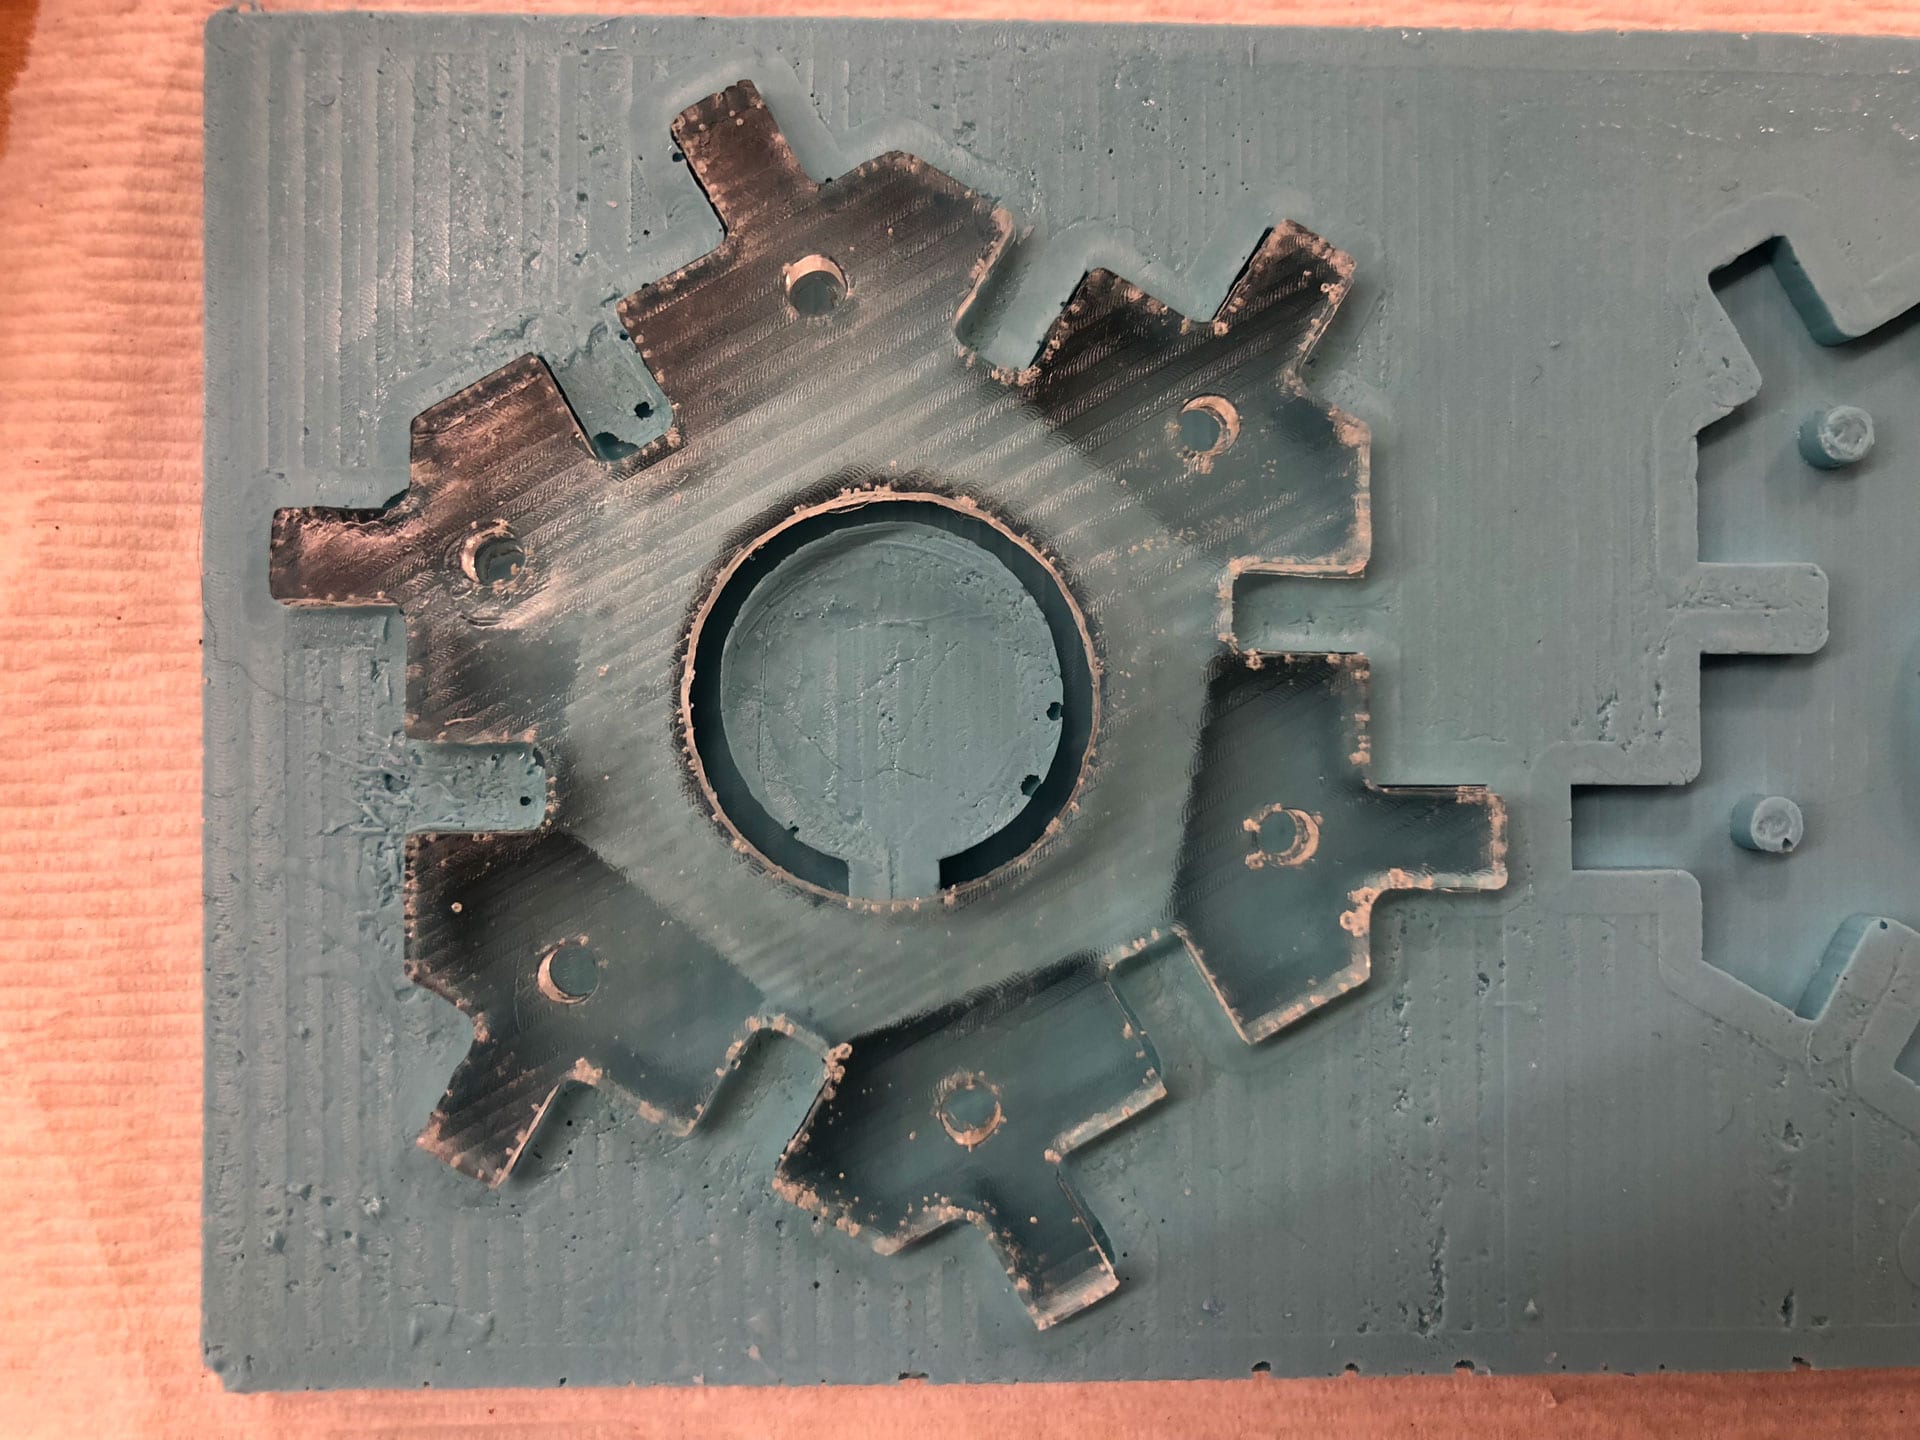
Milling Mold
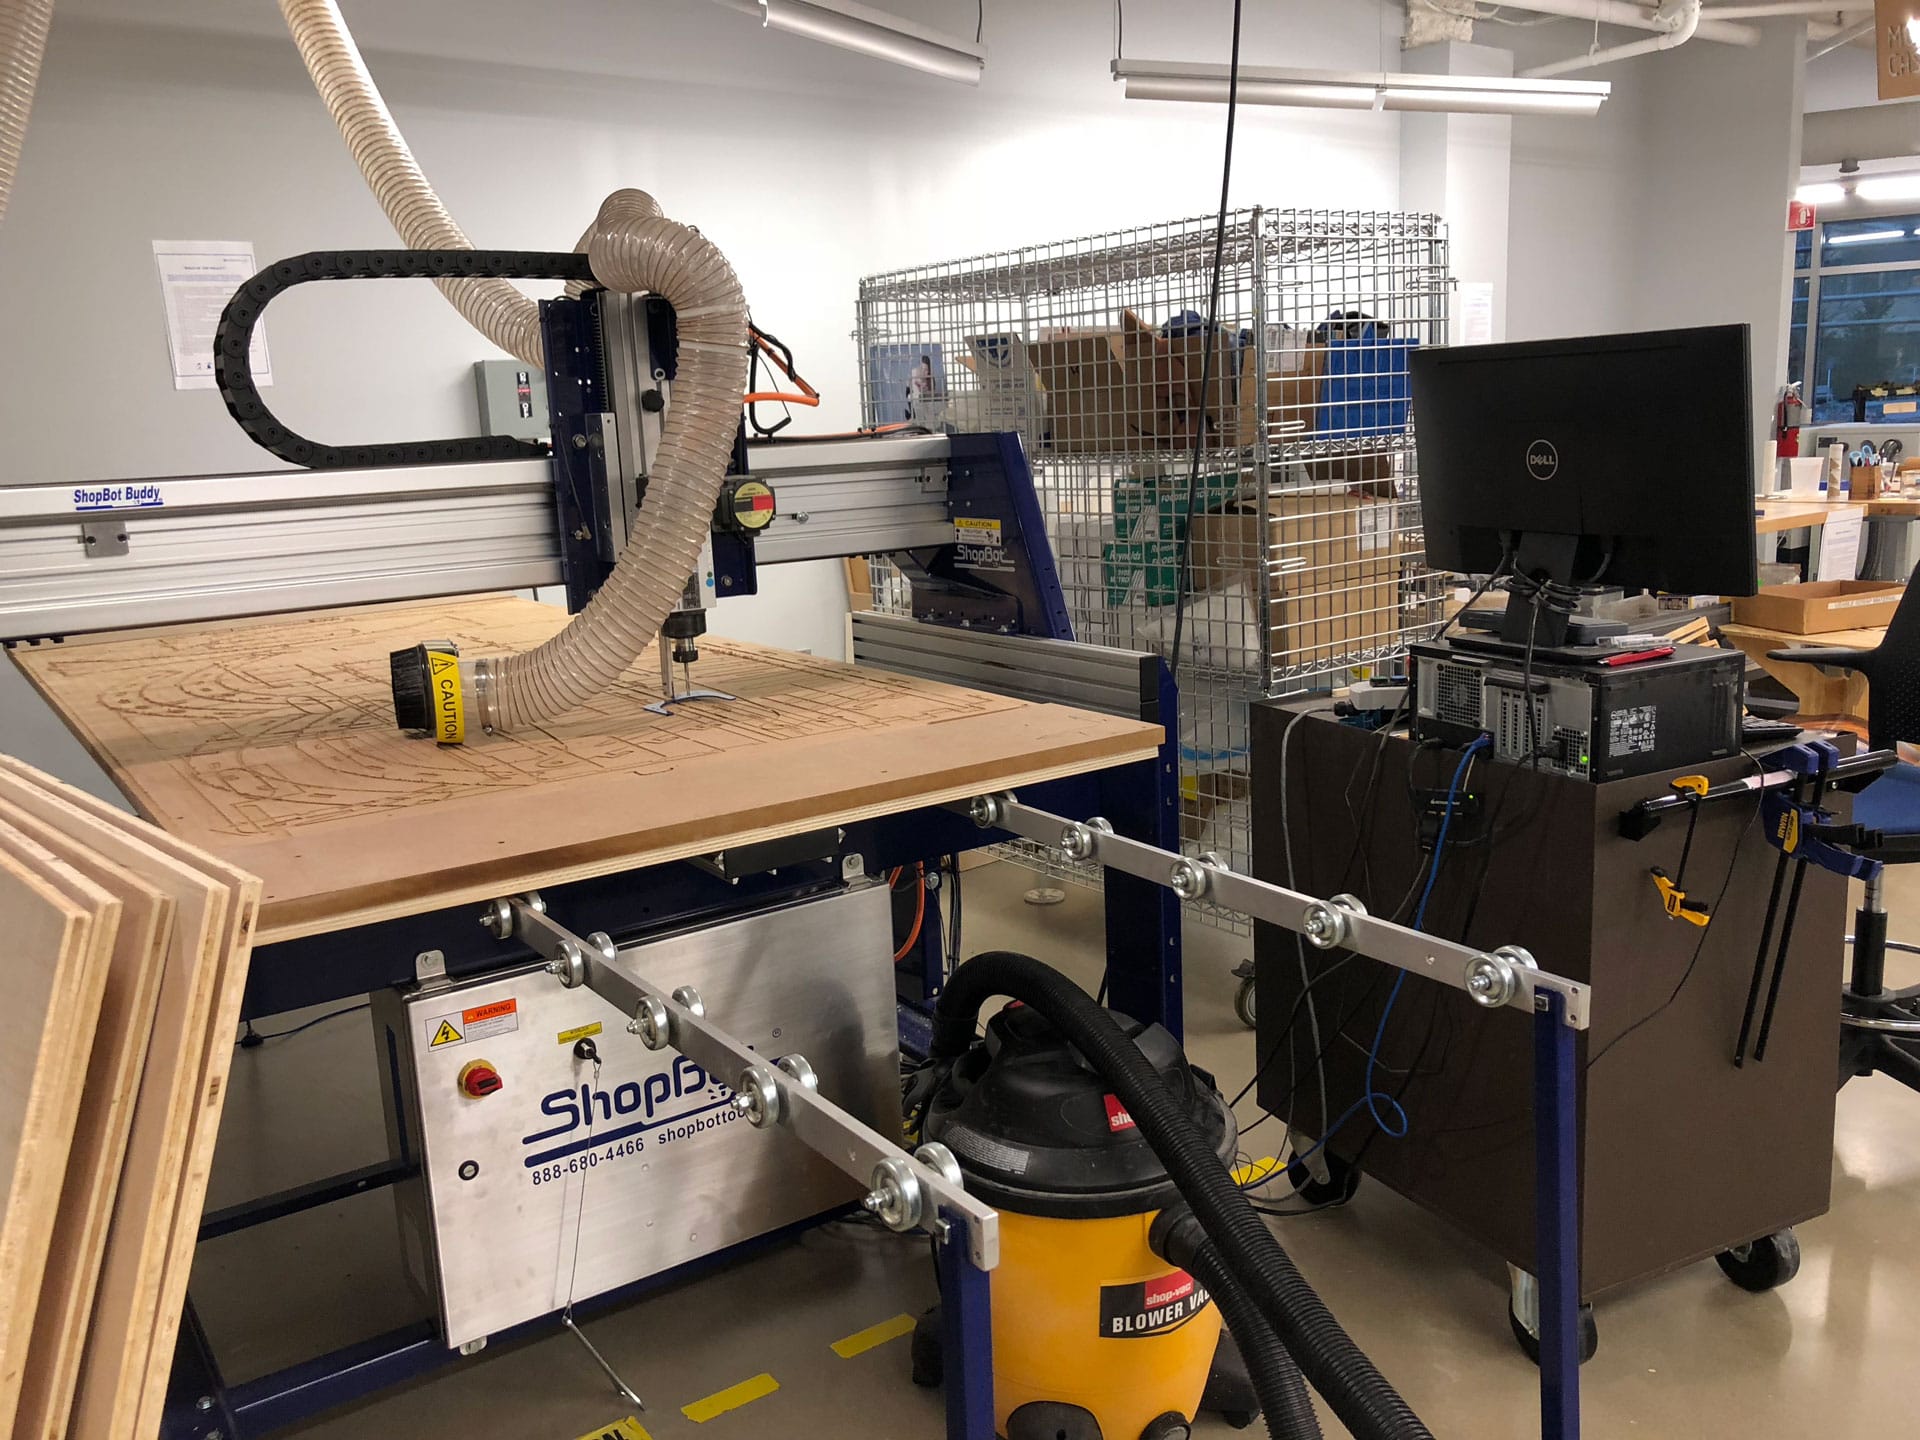
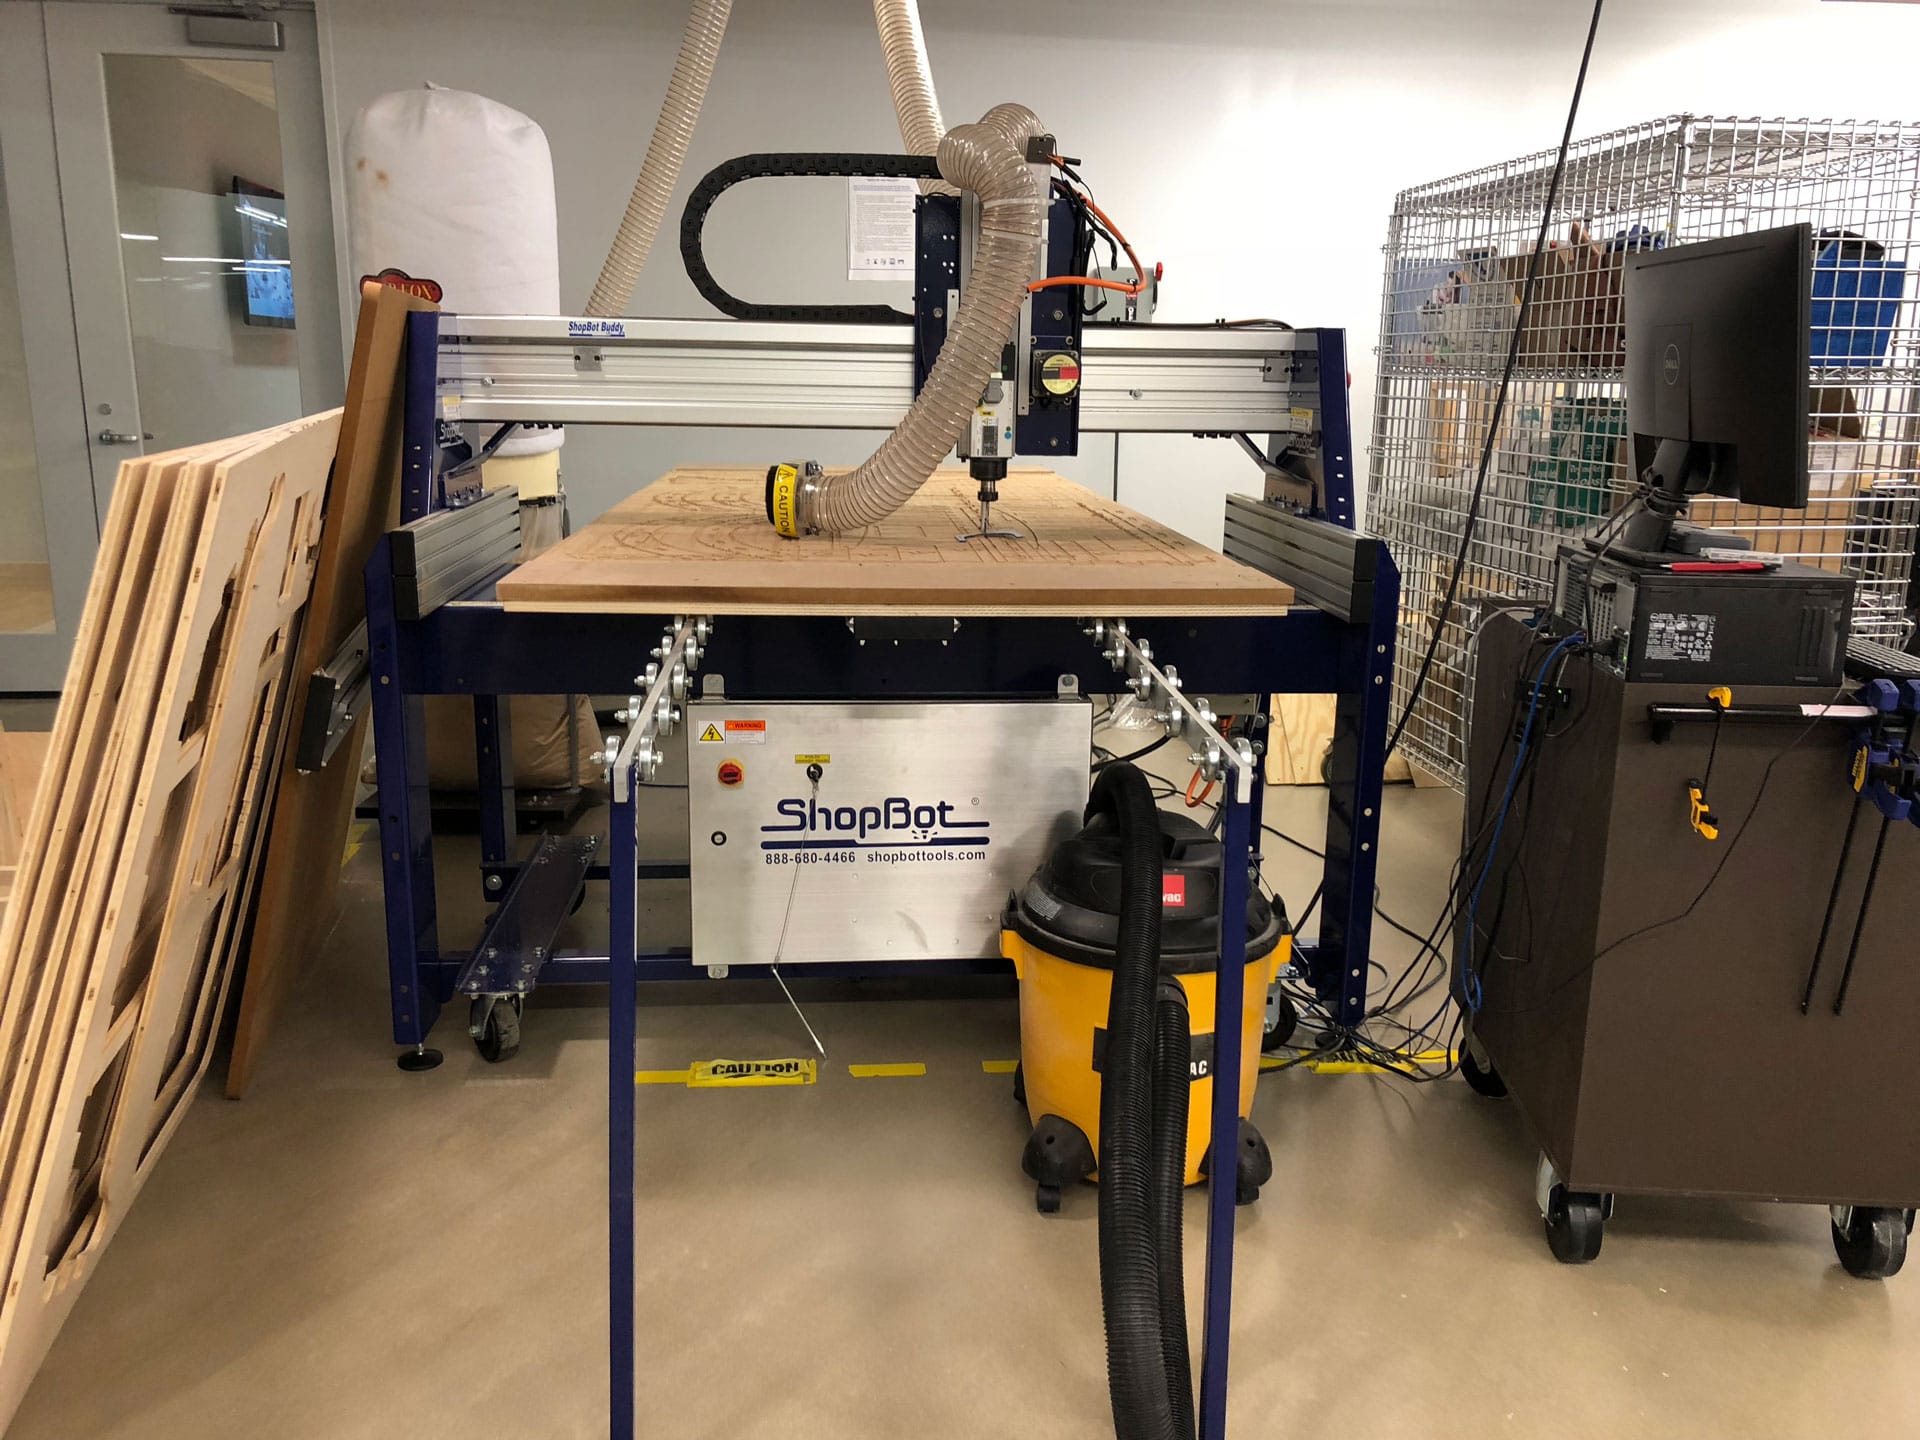
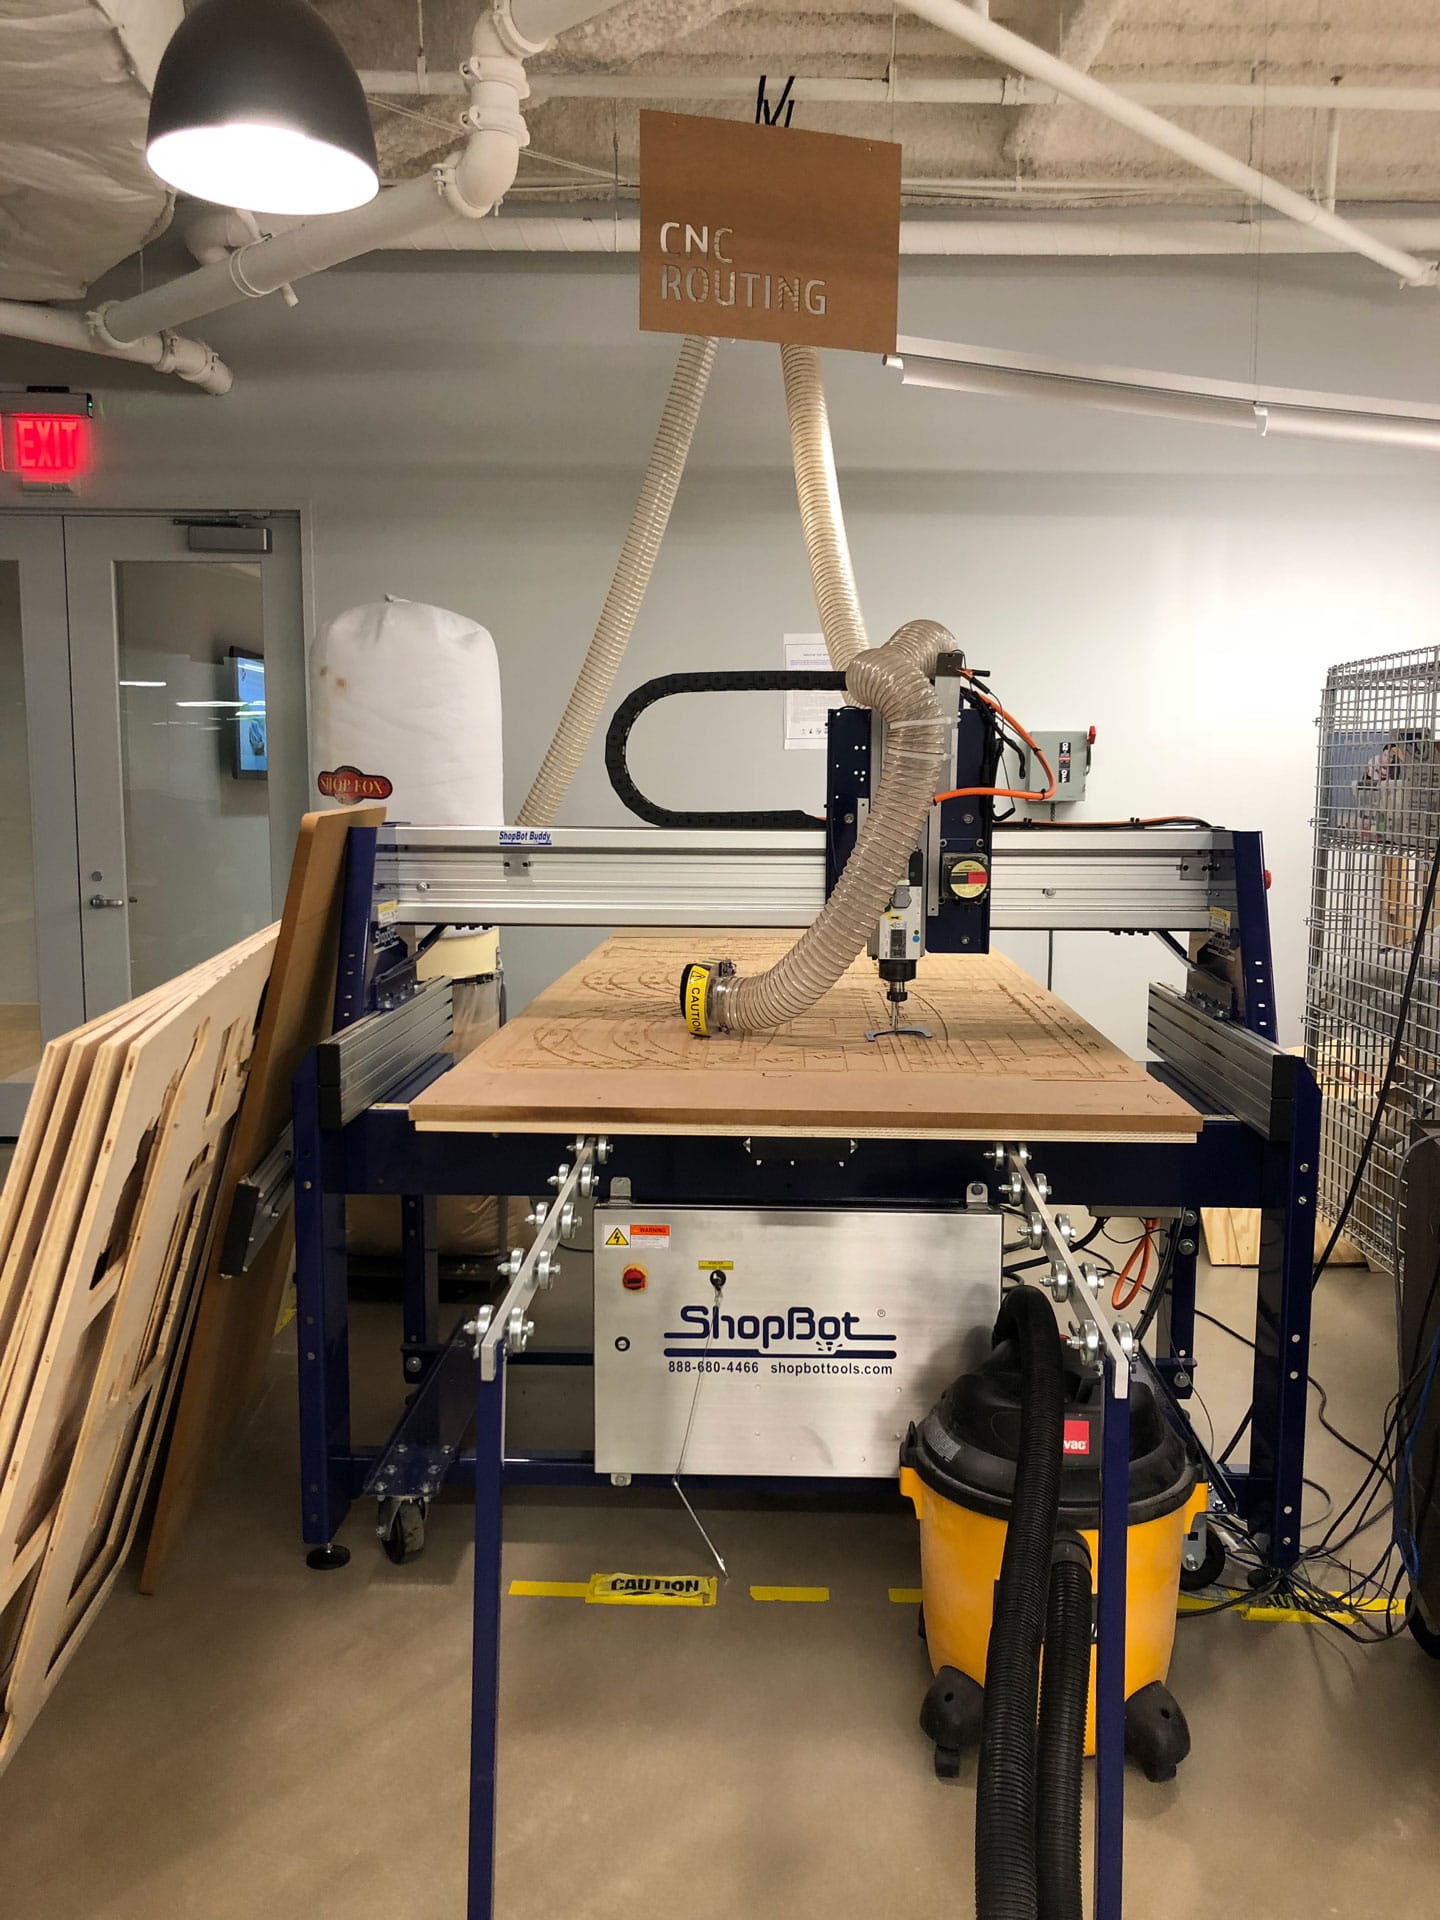
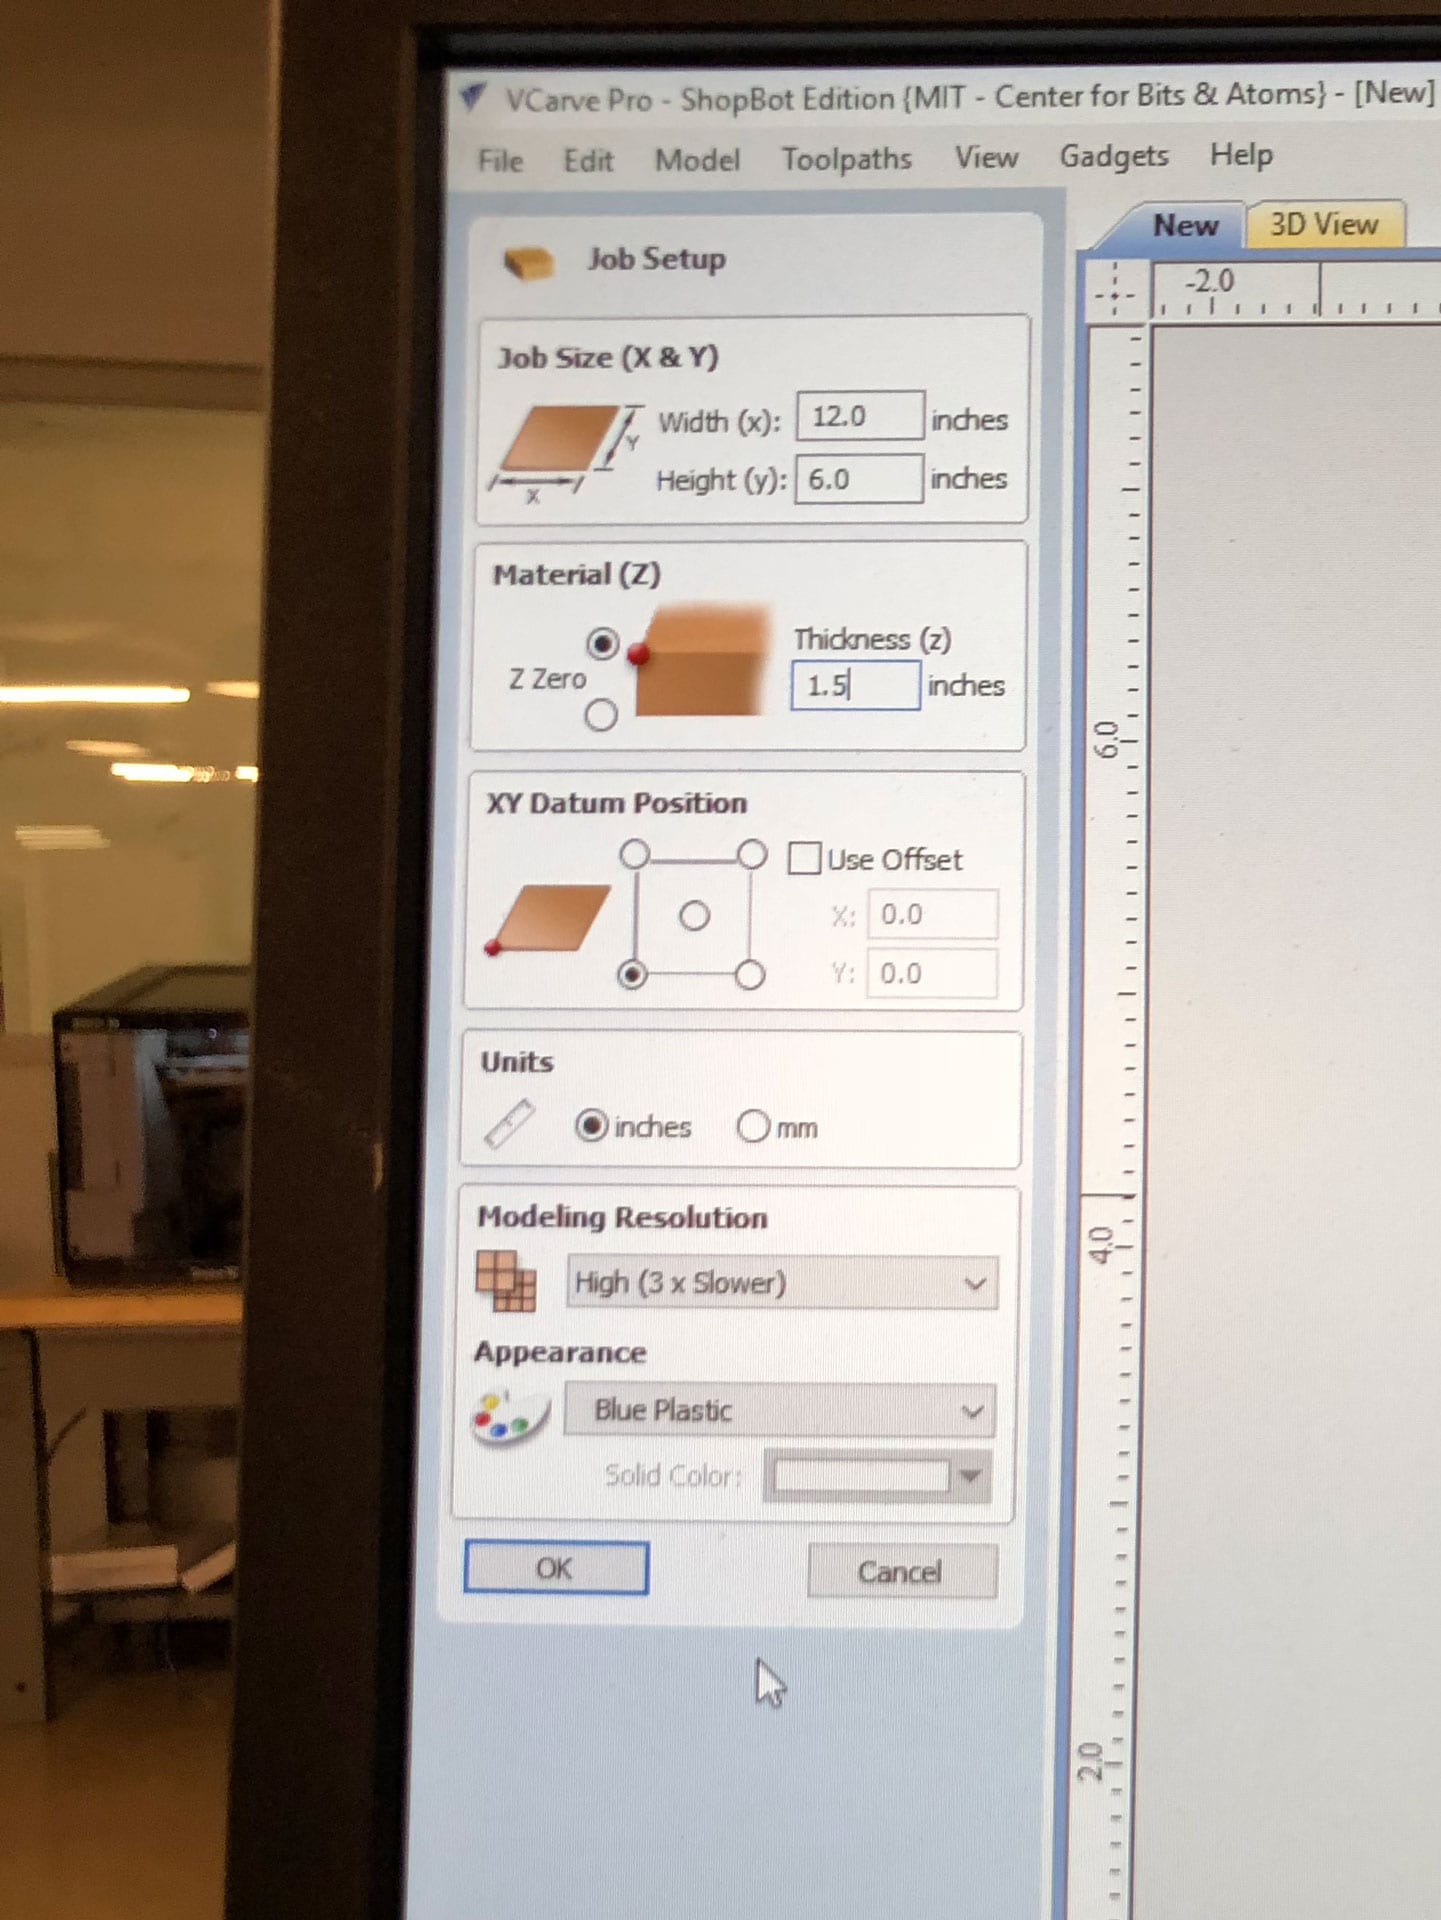
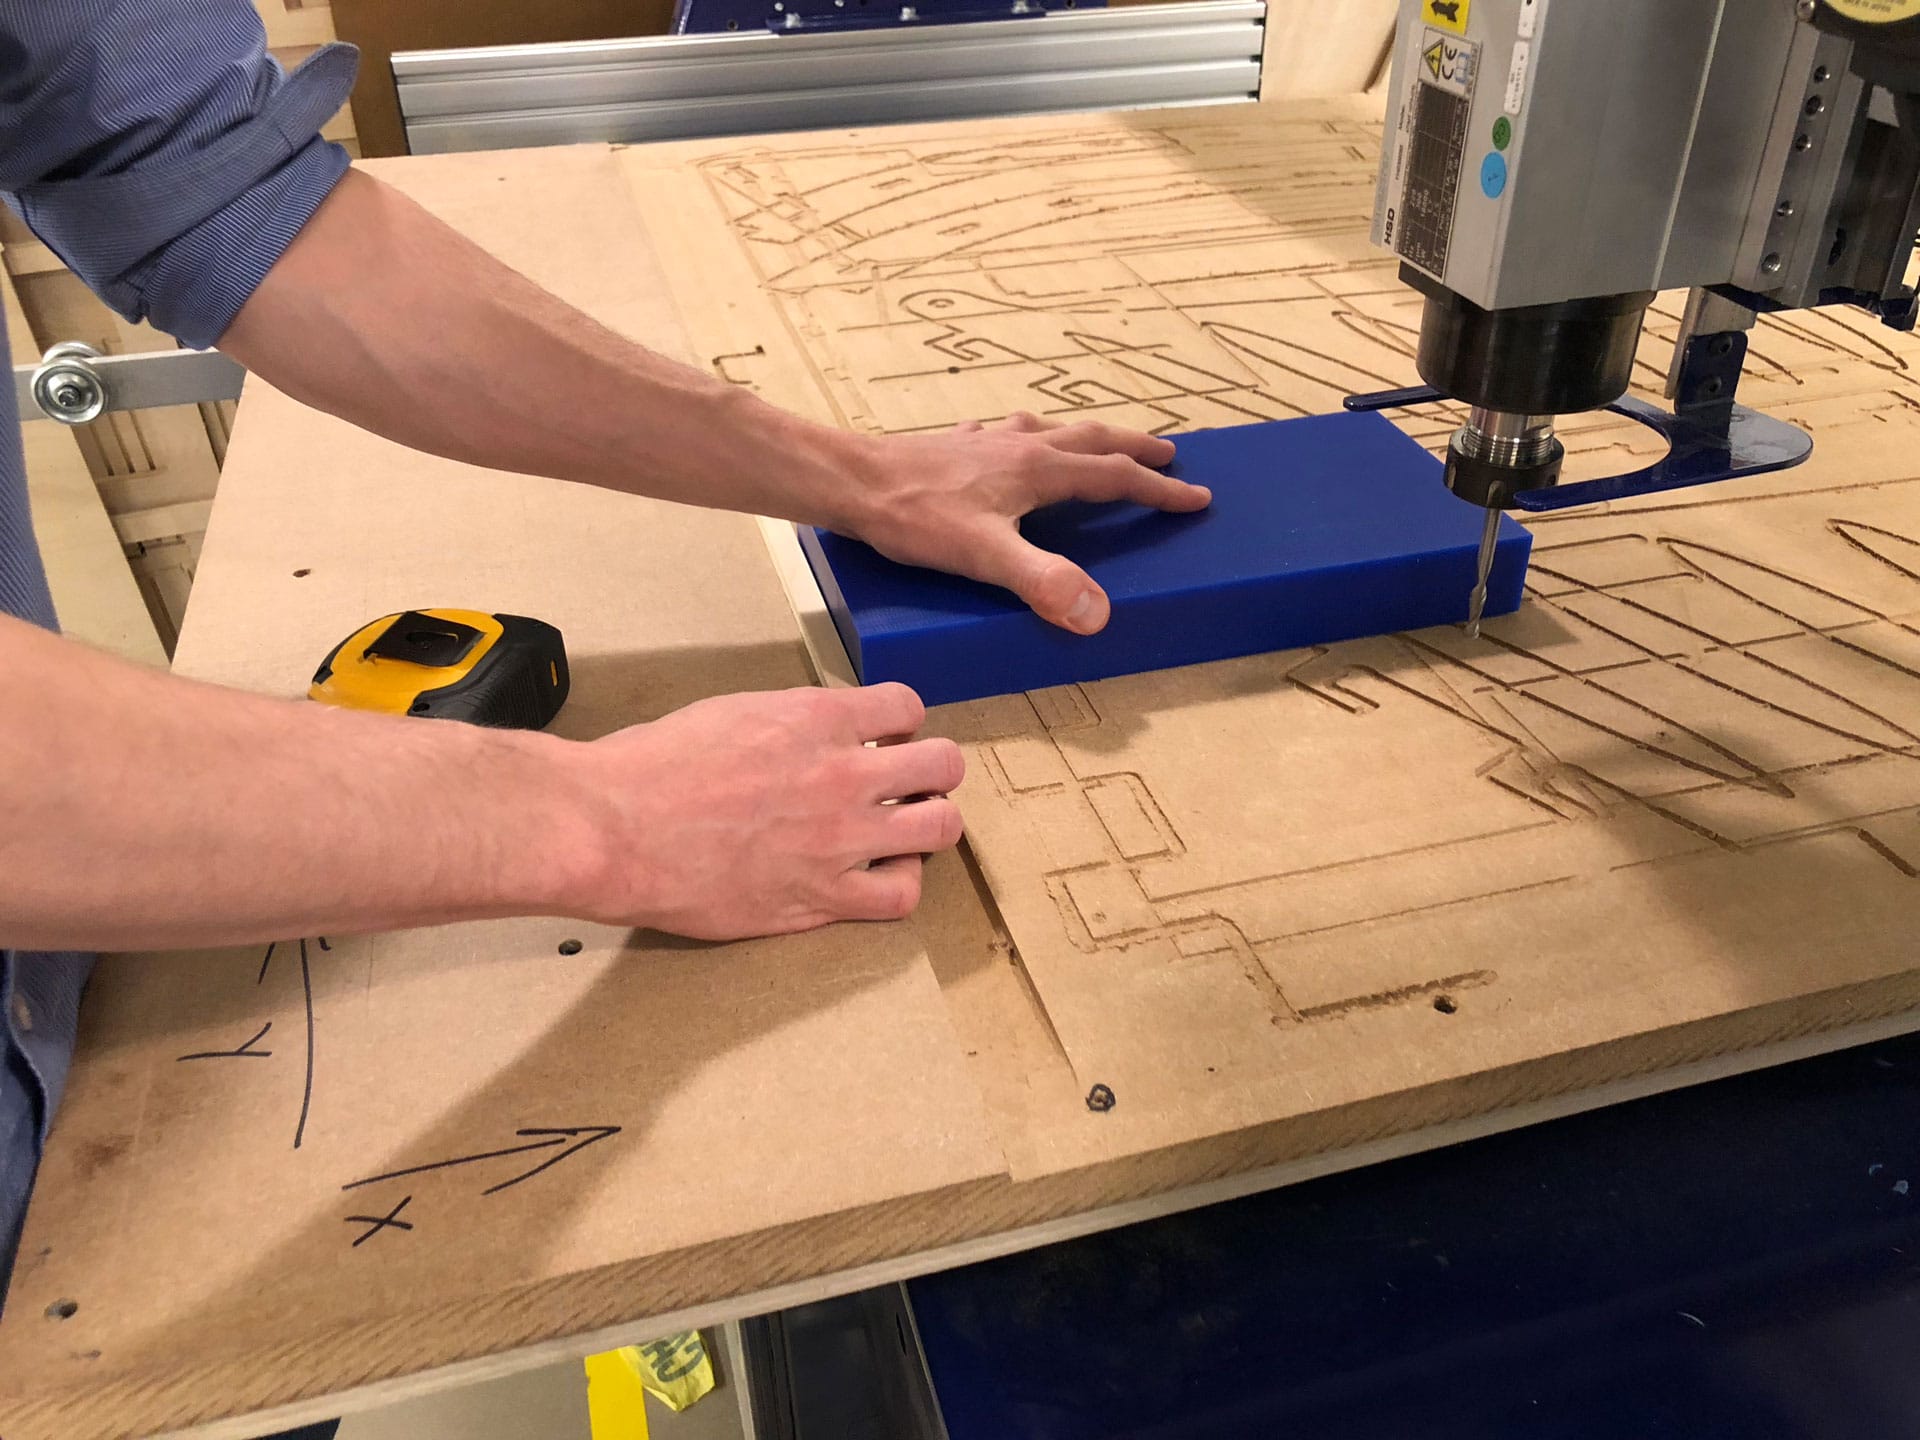
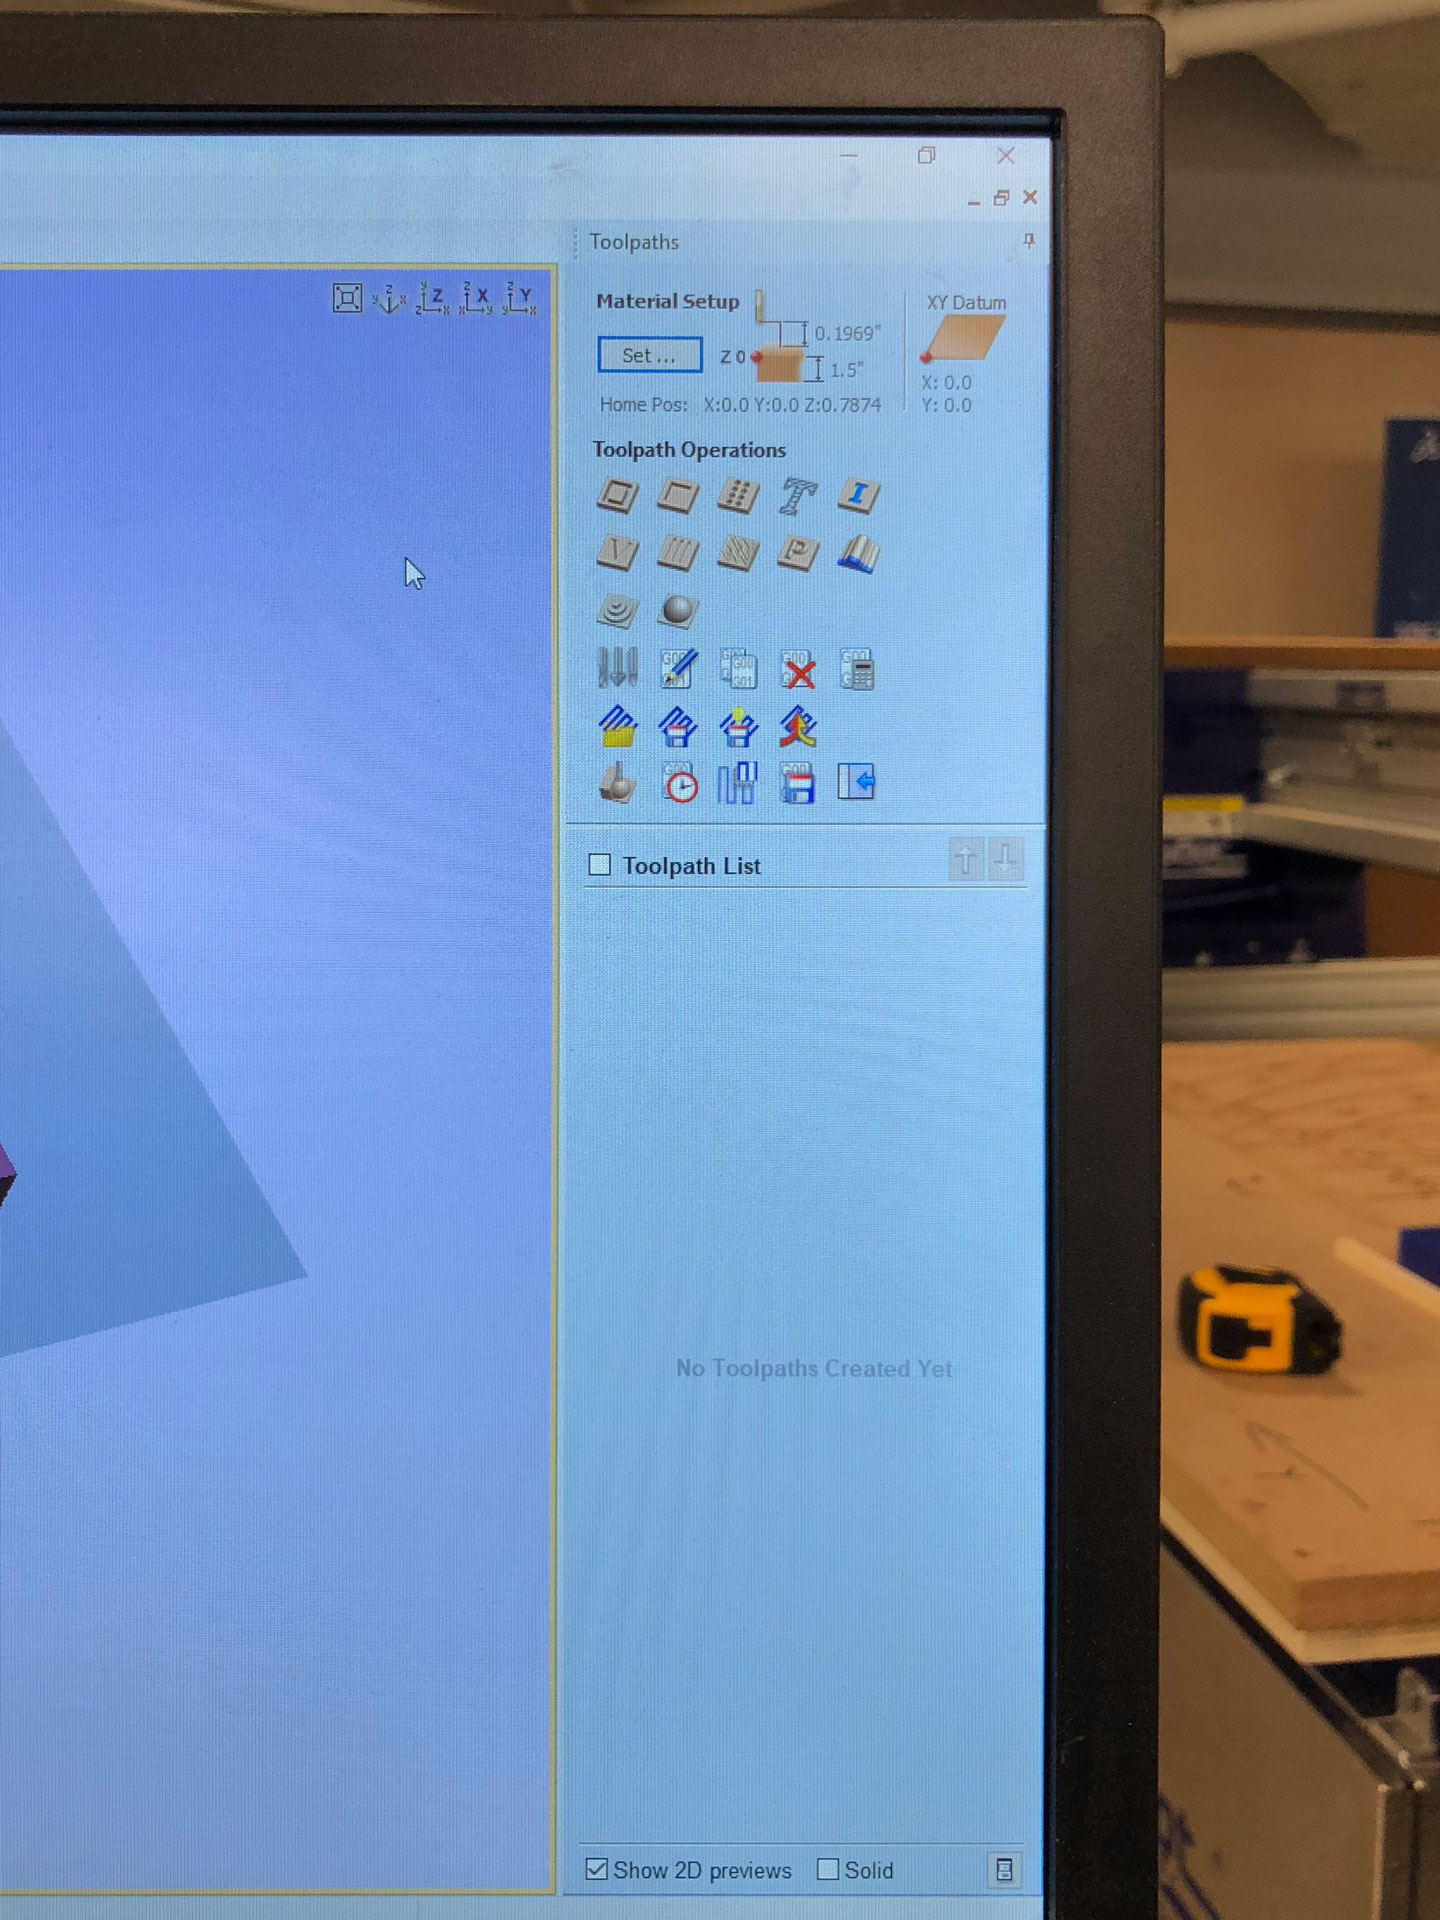
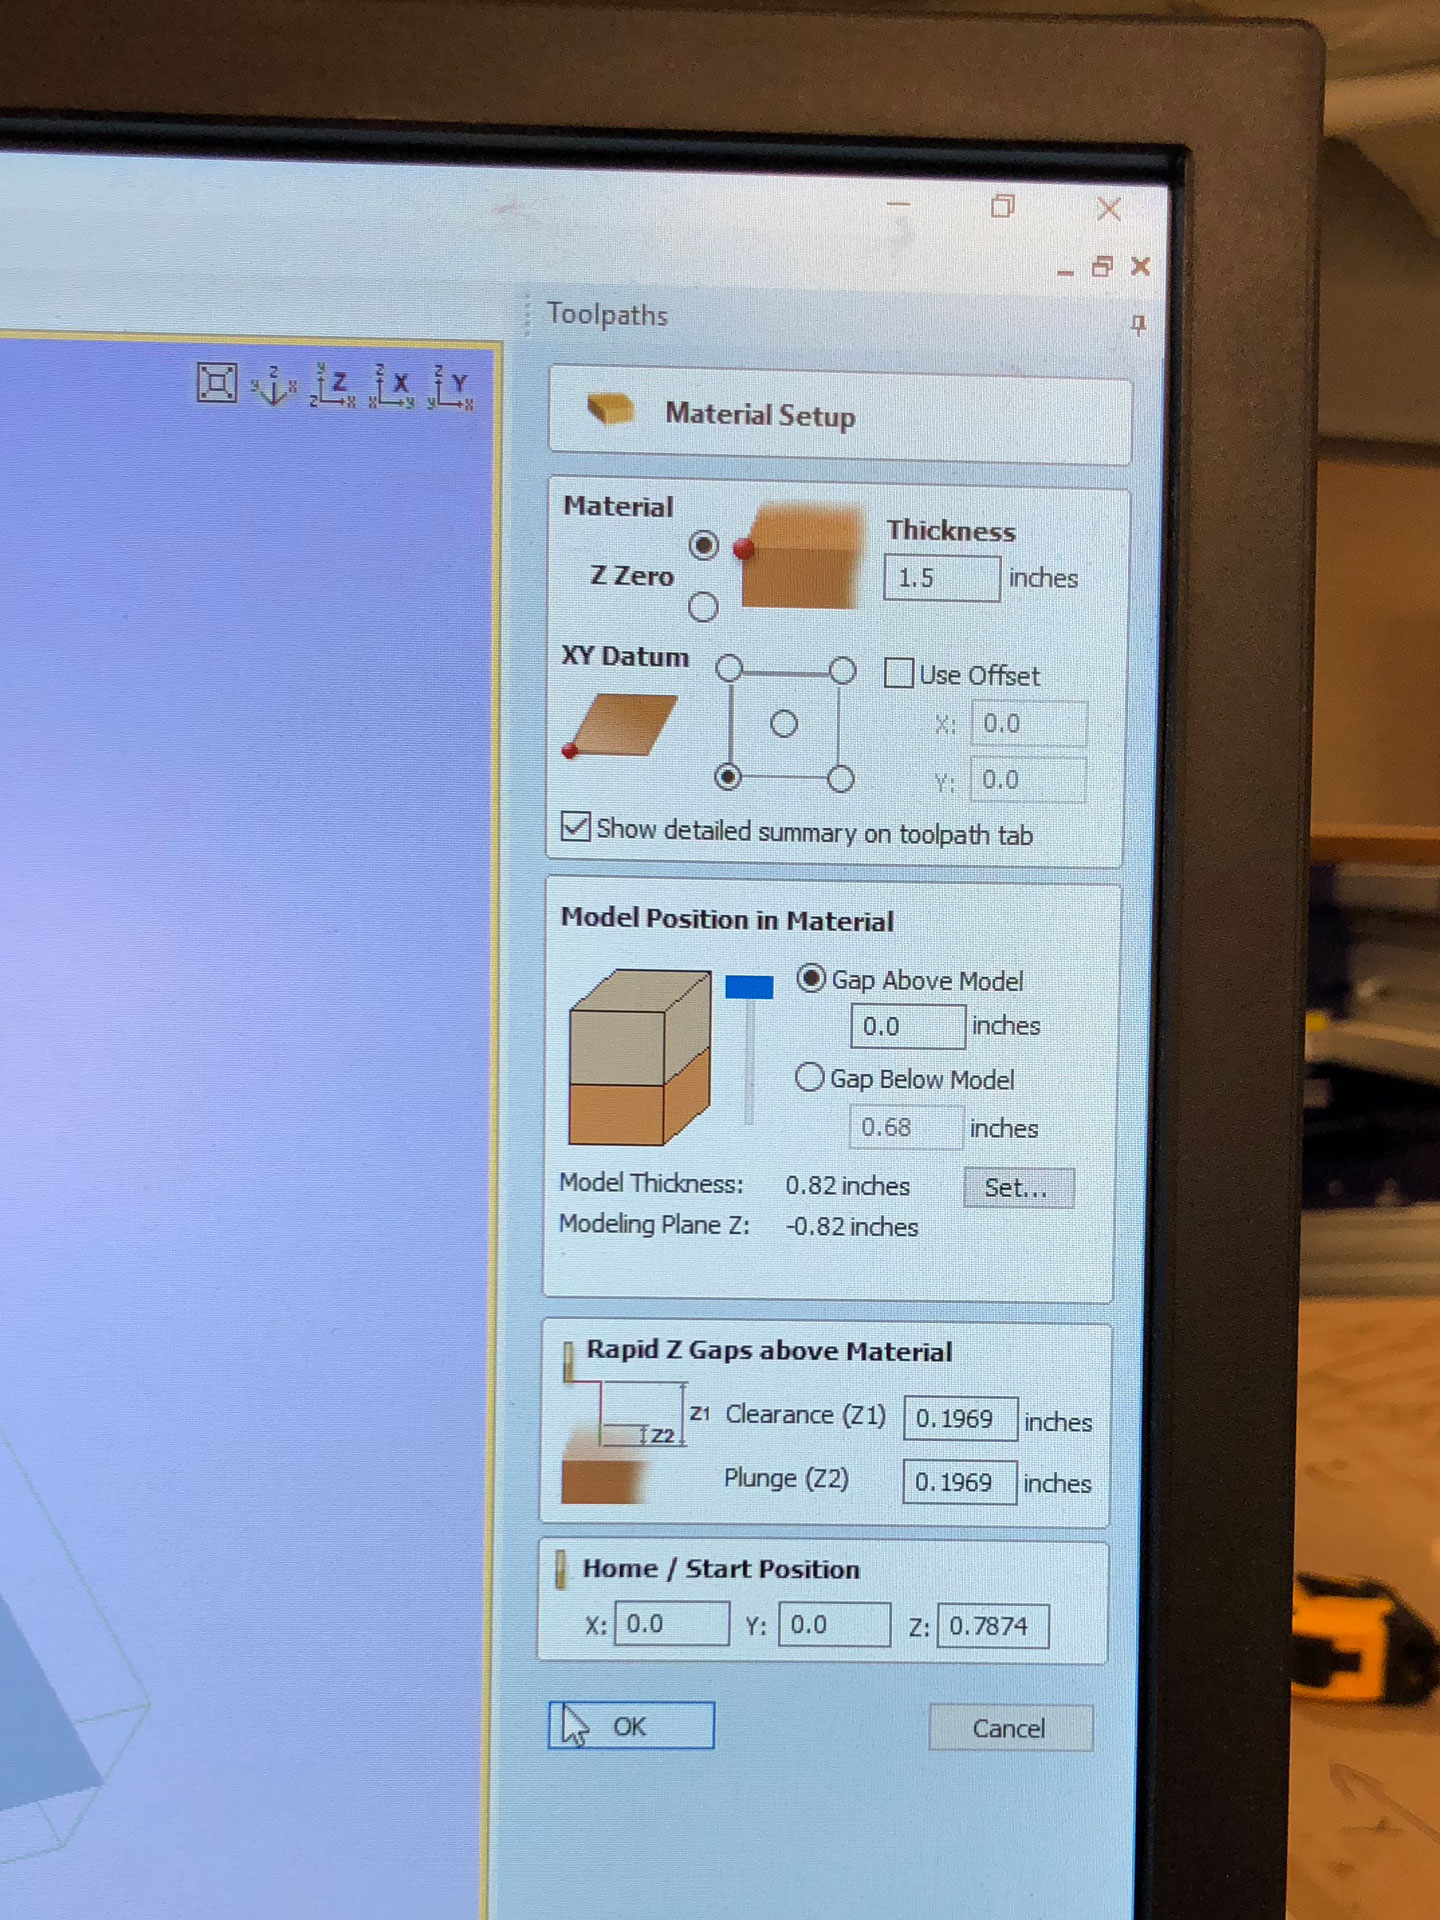
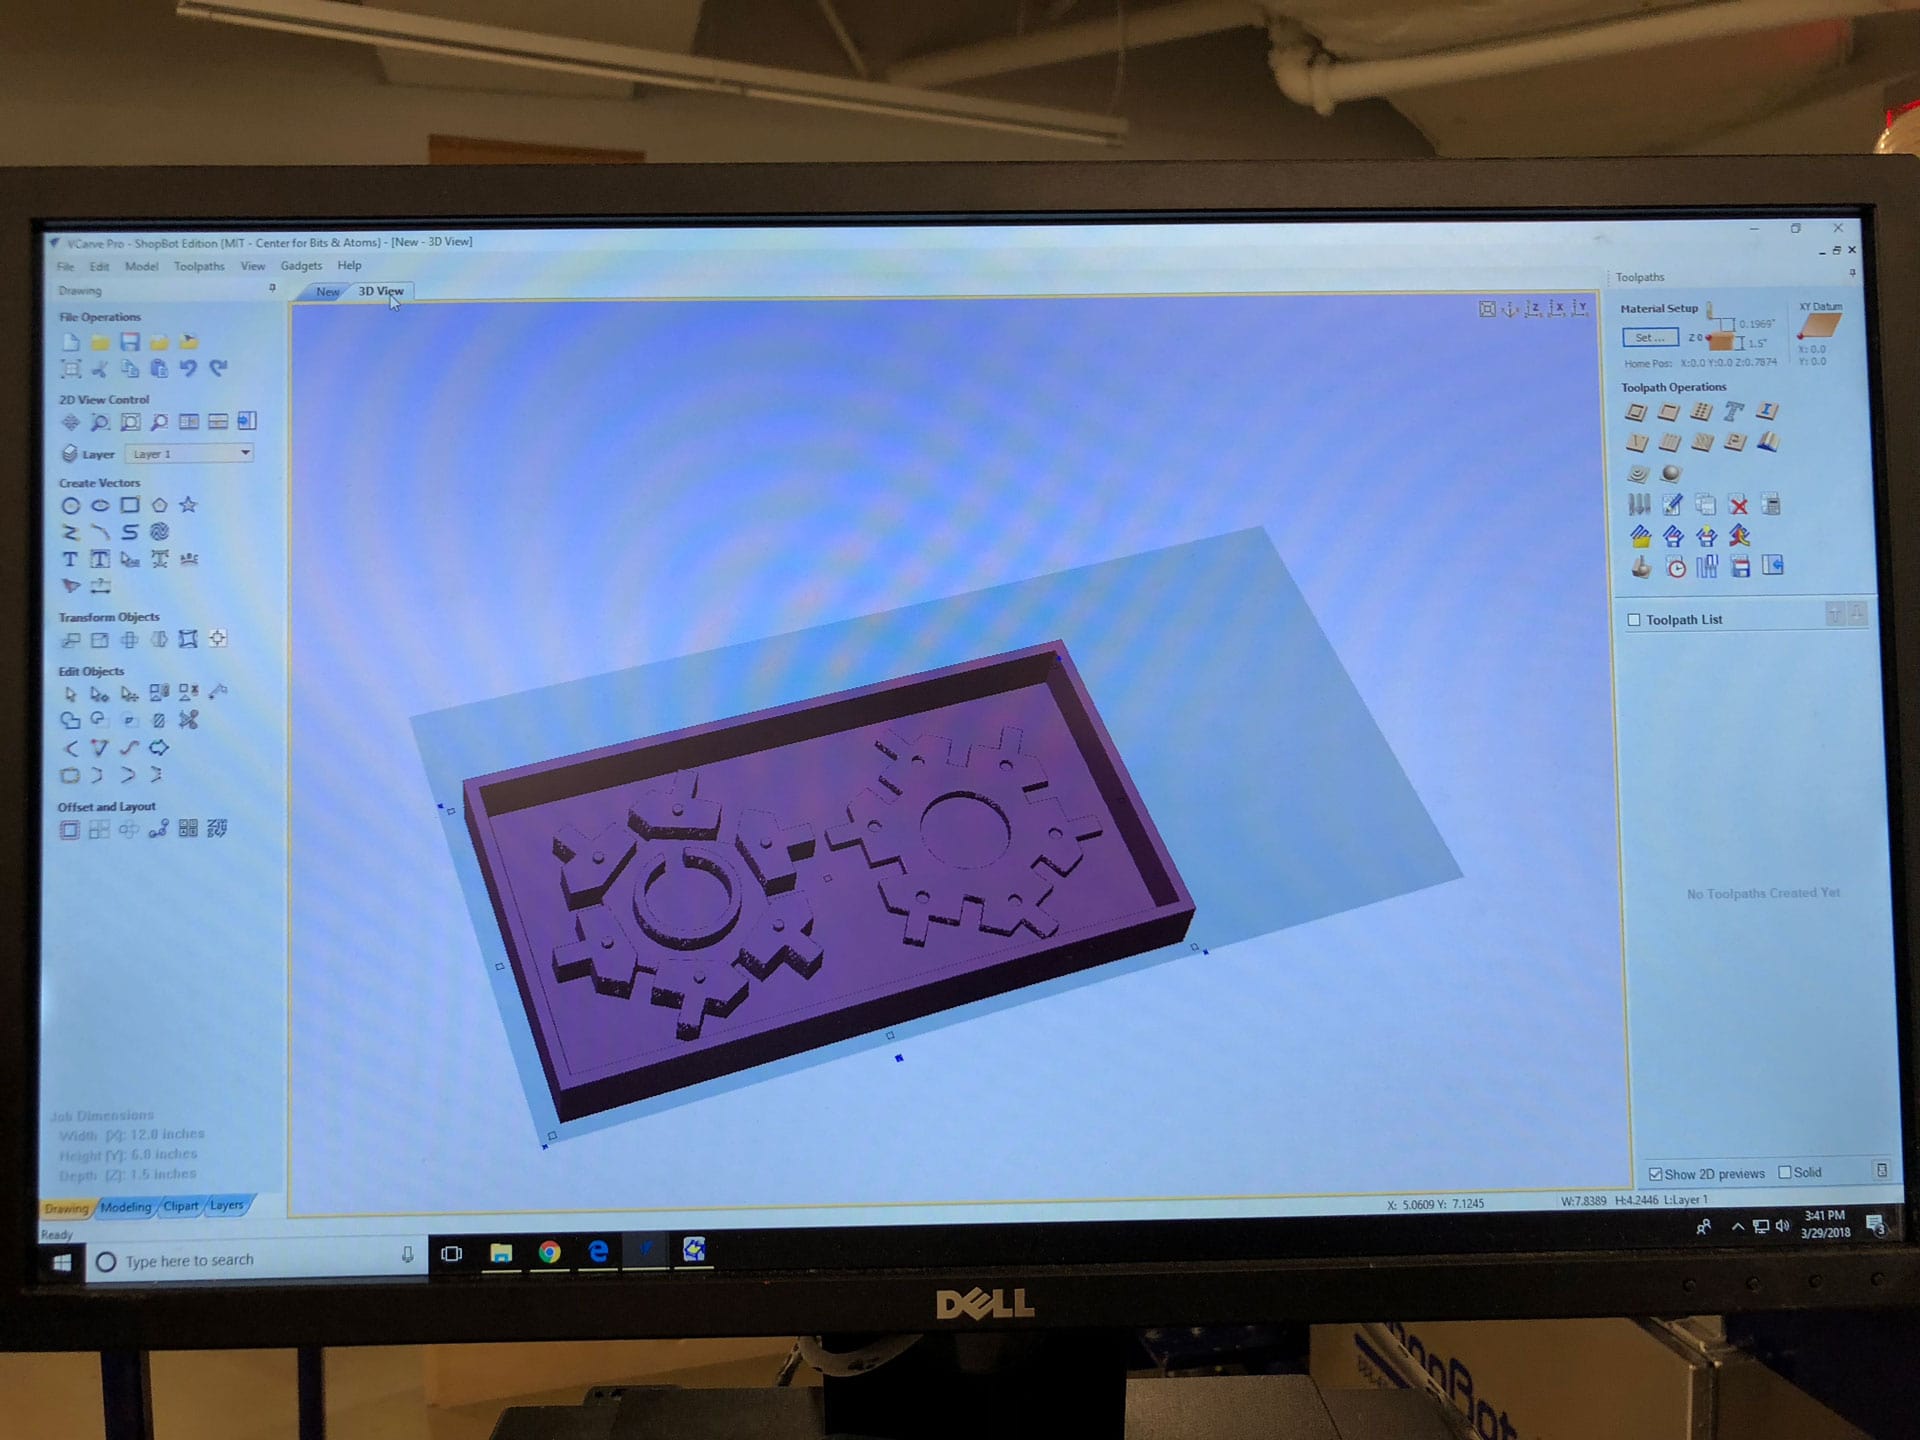
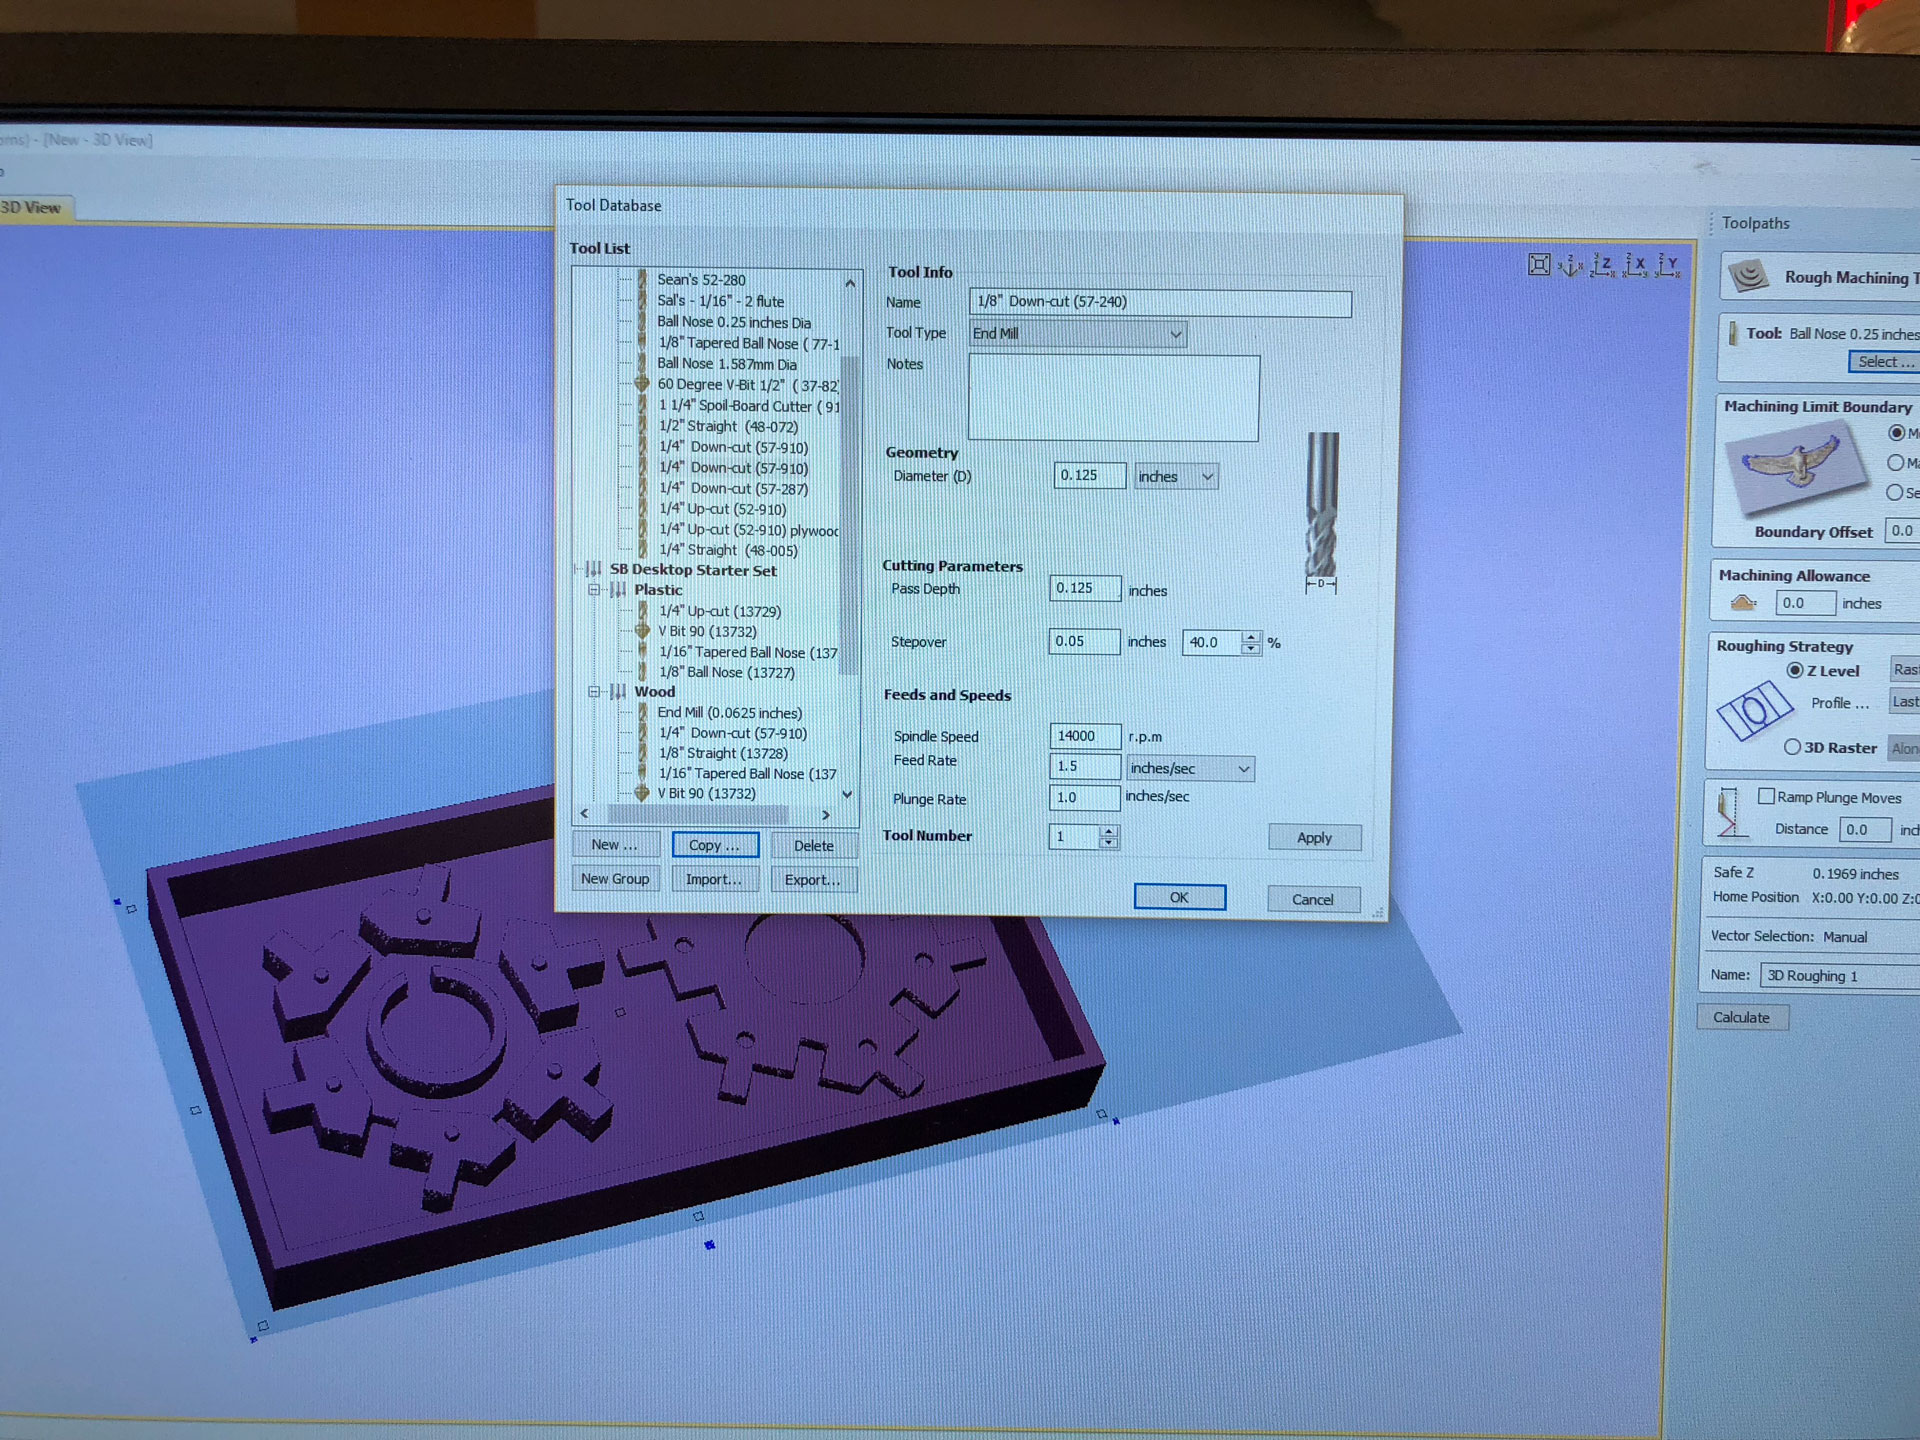
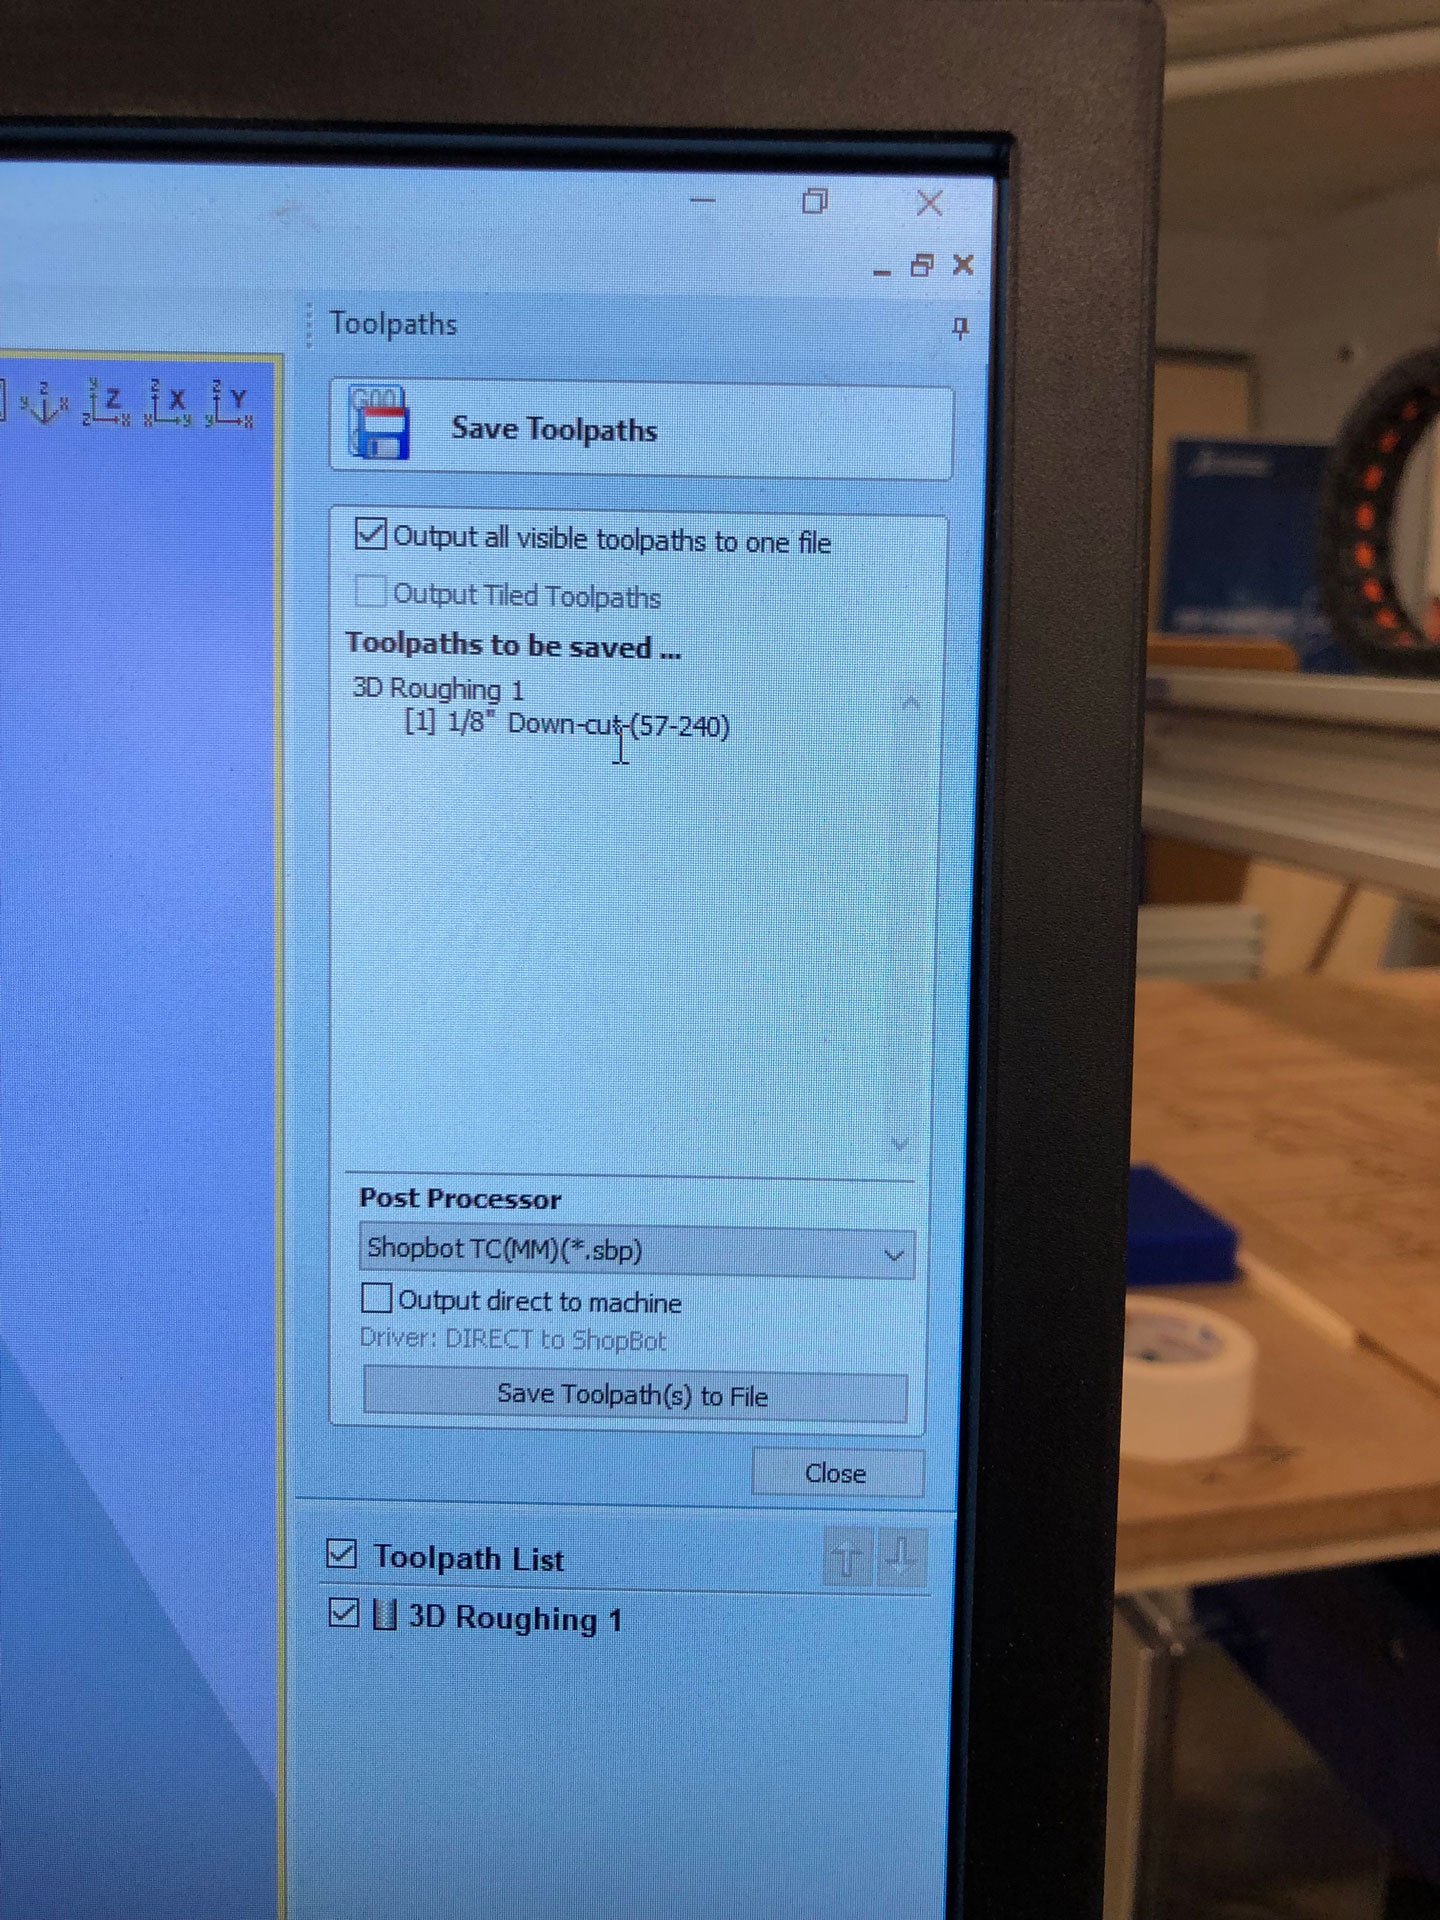
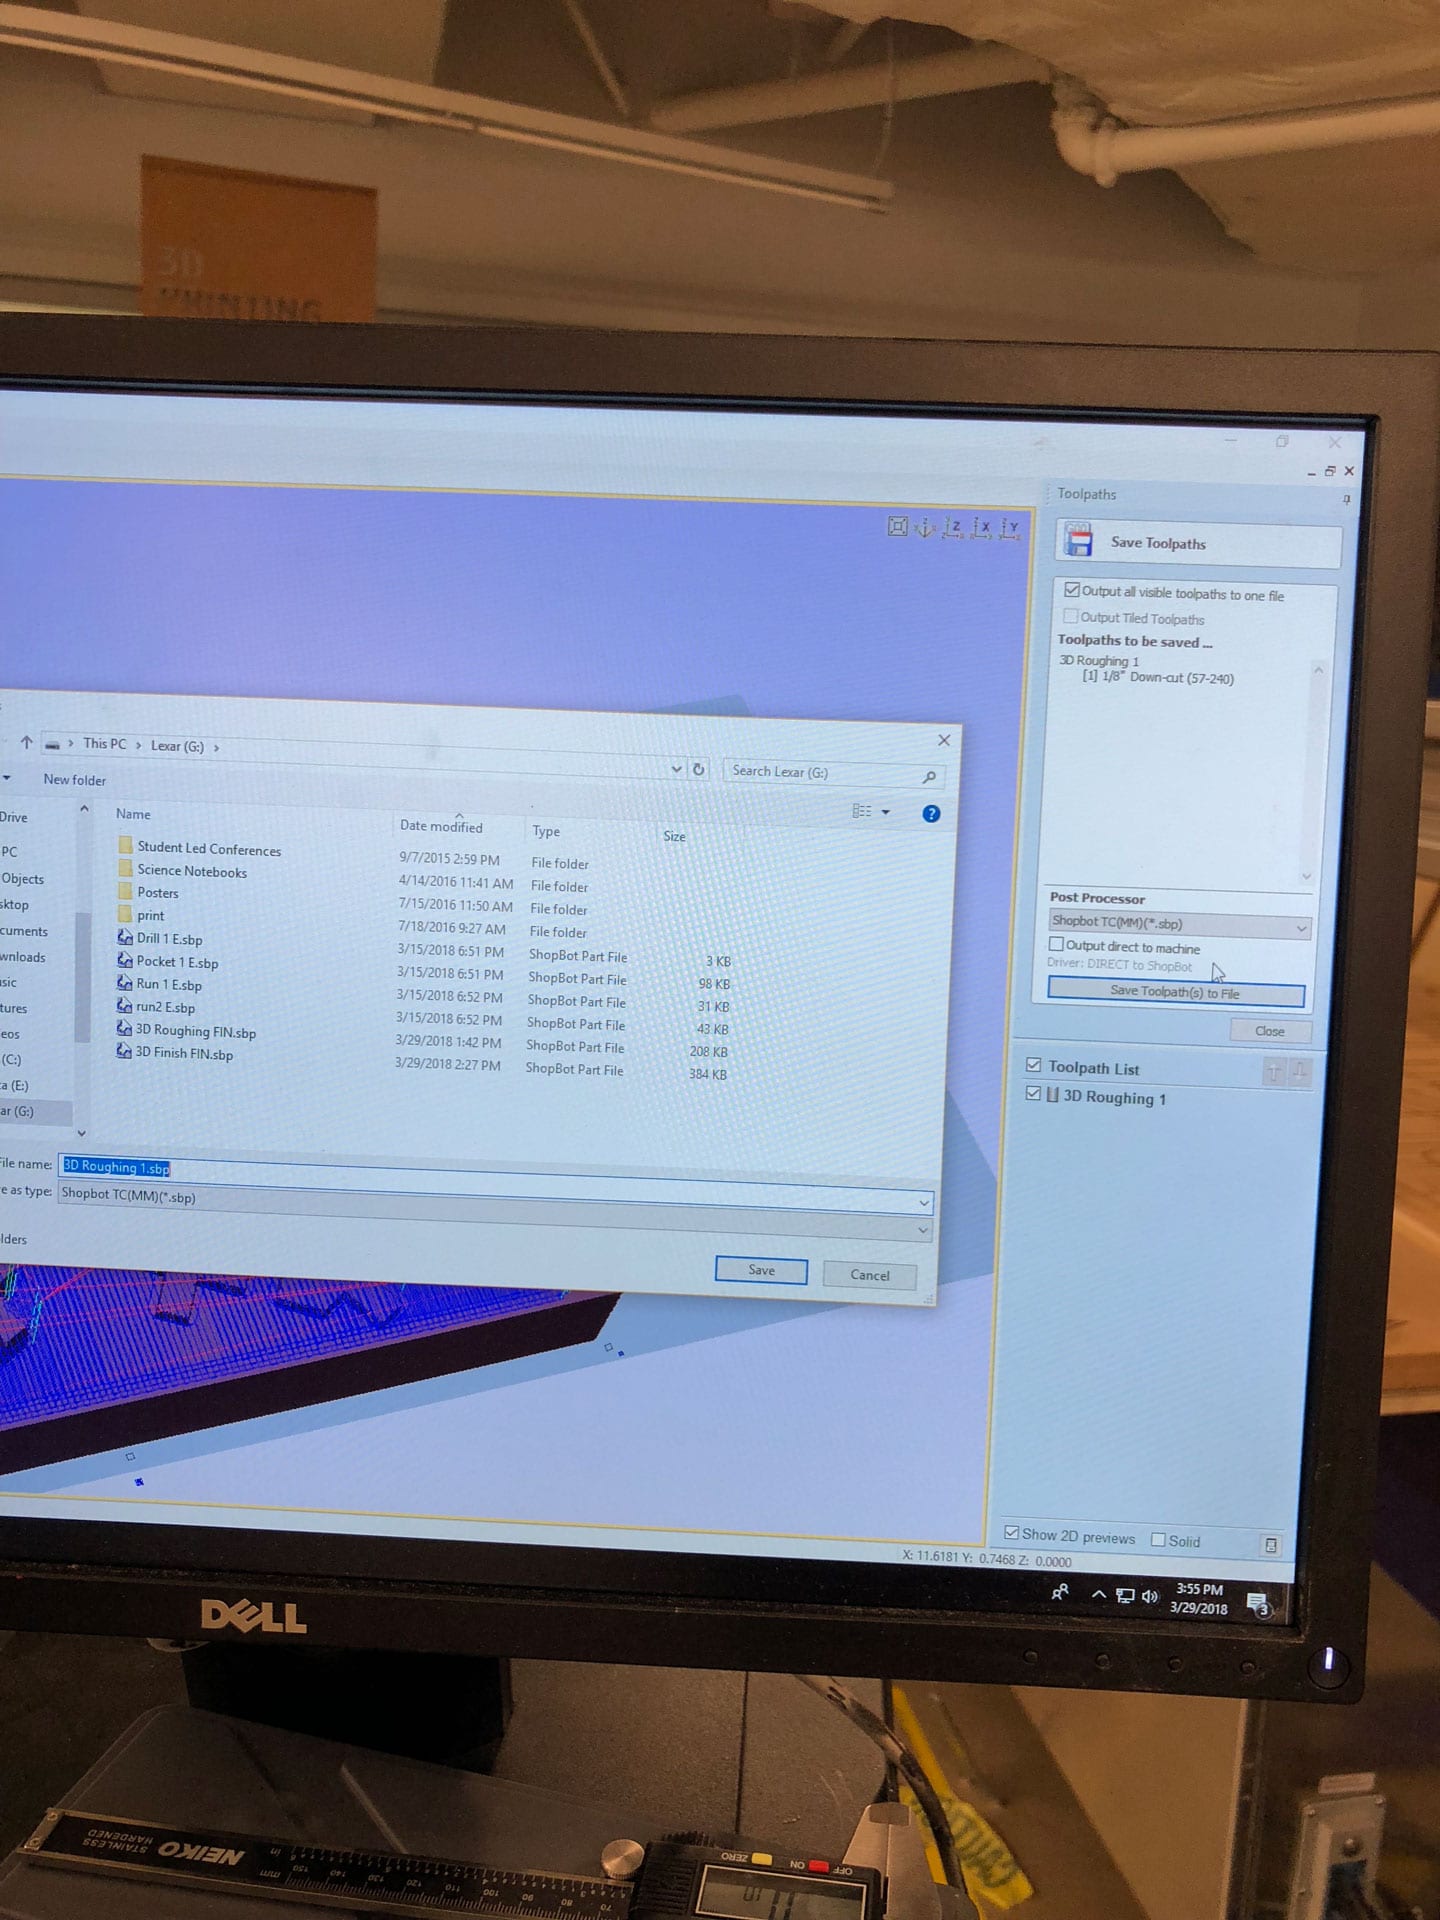
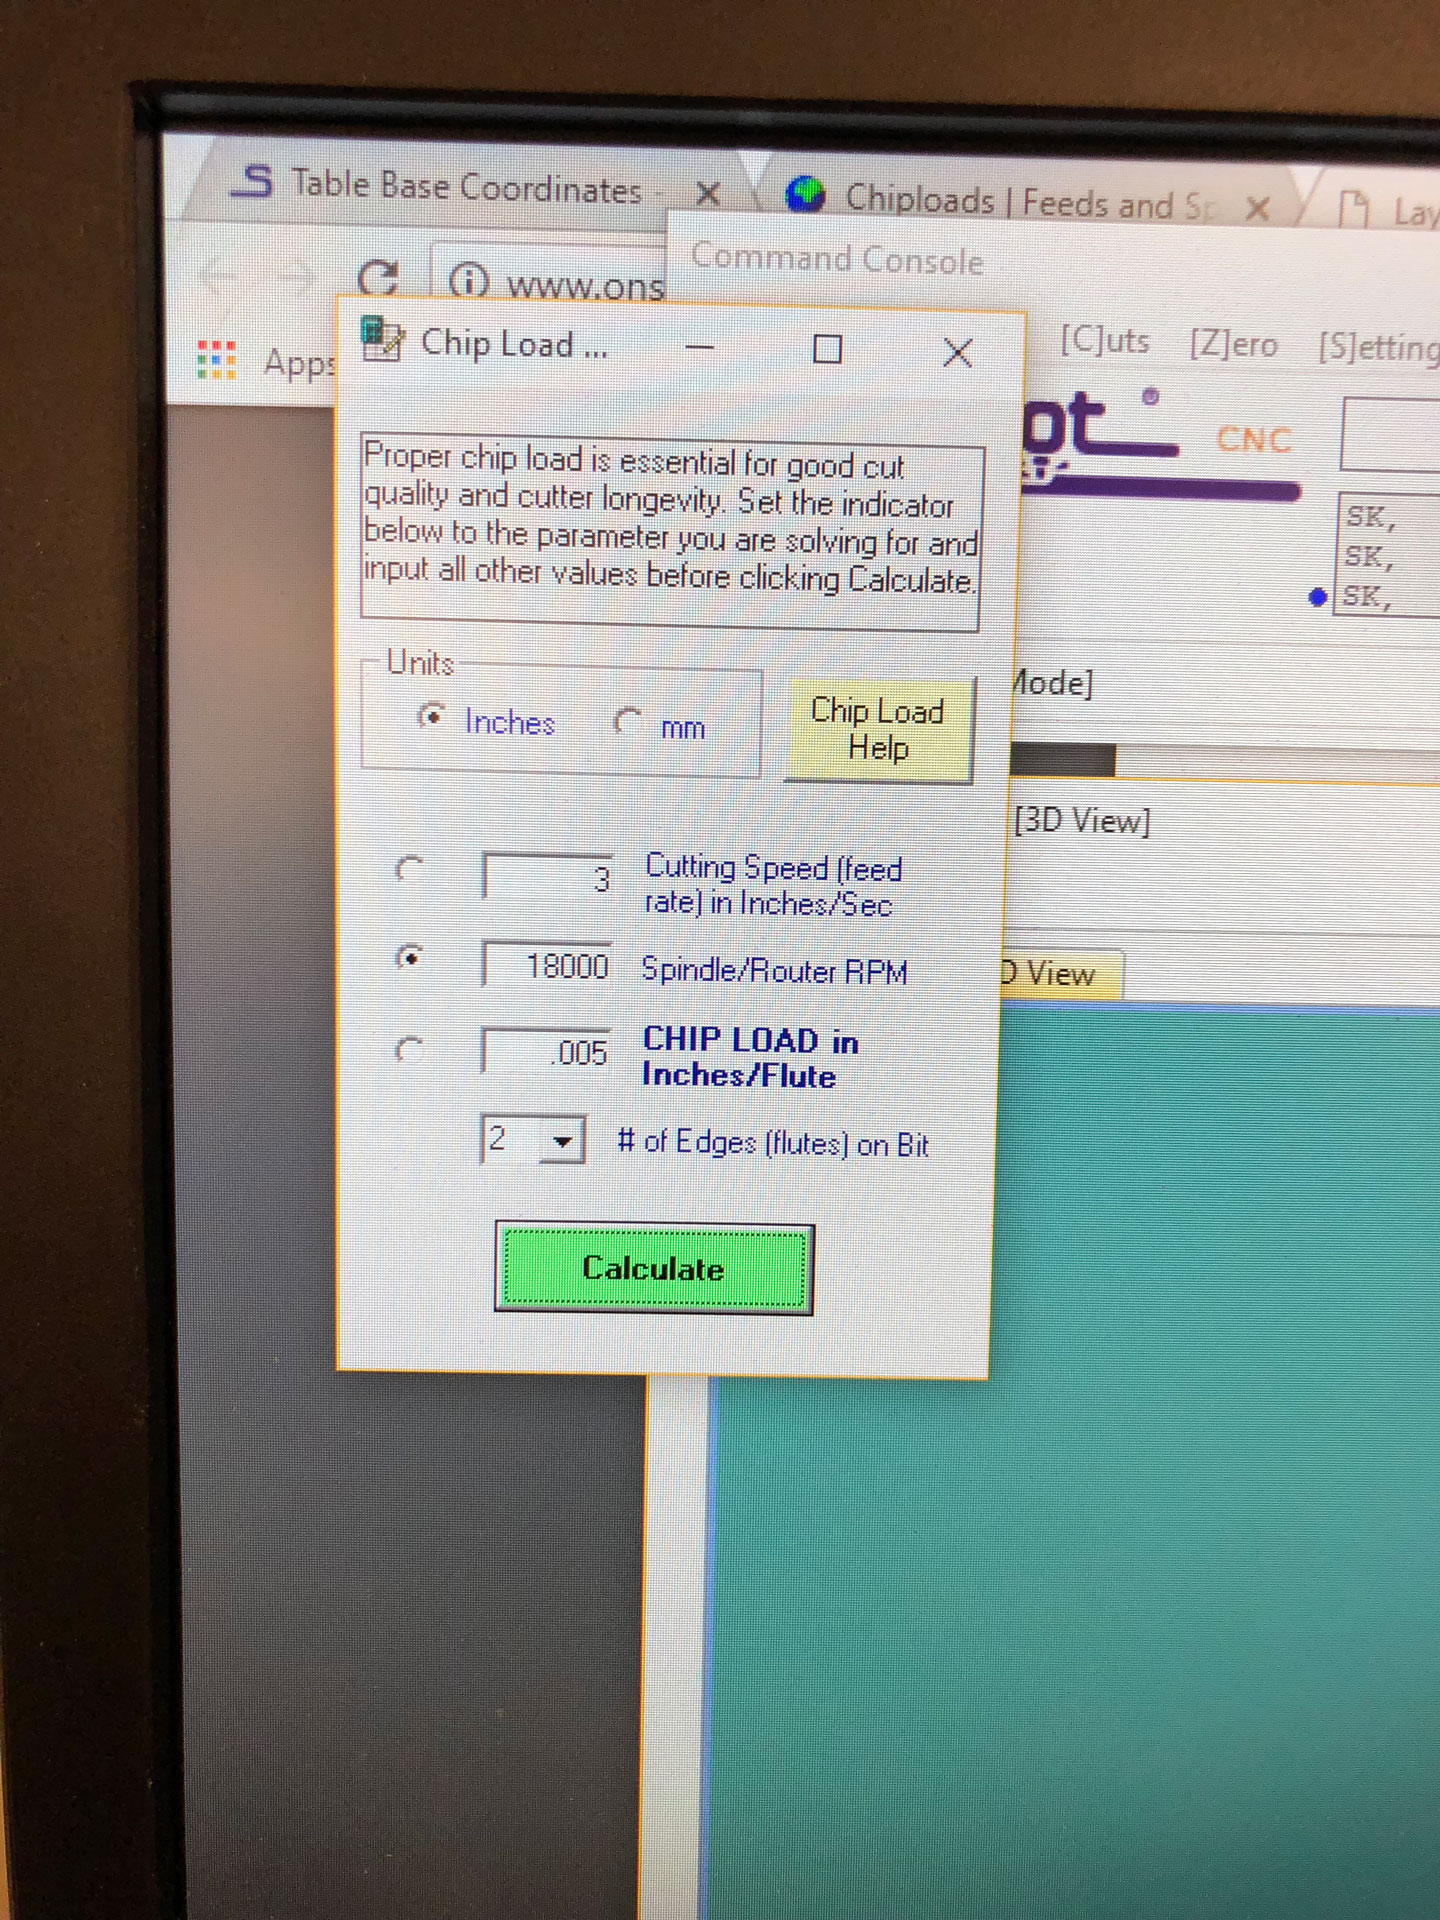
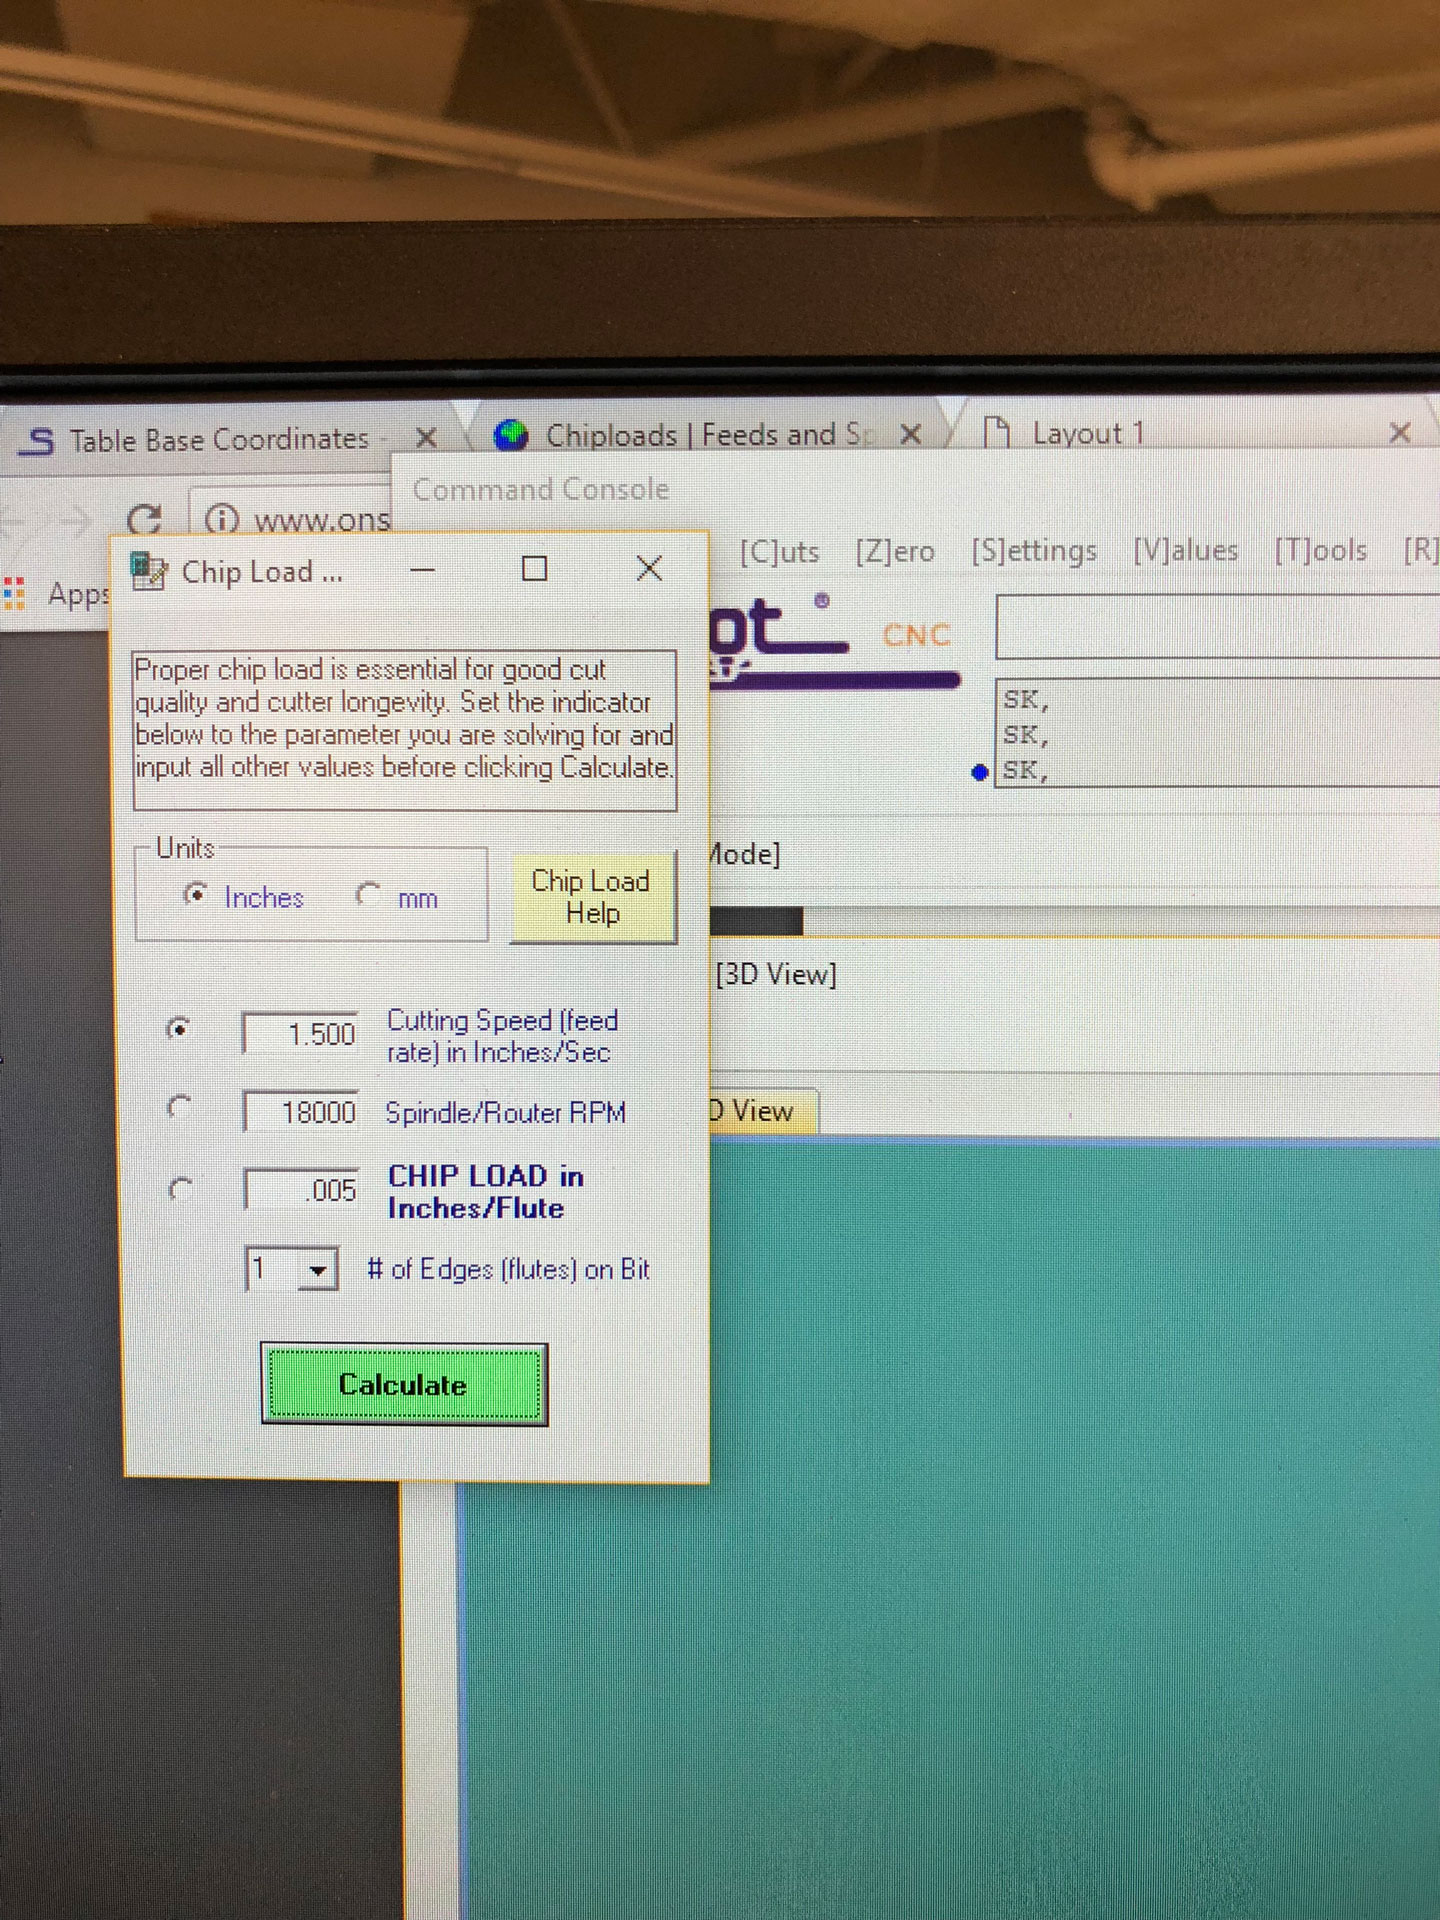
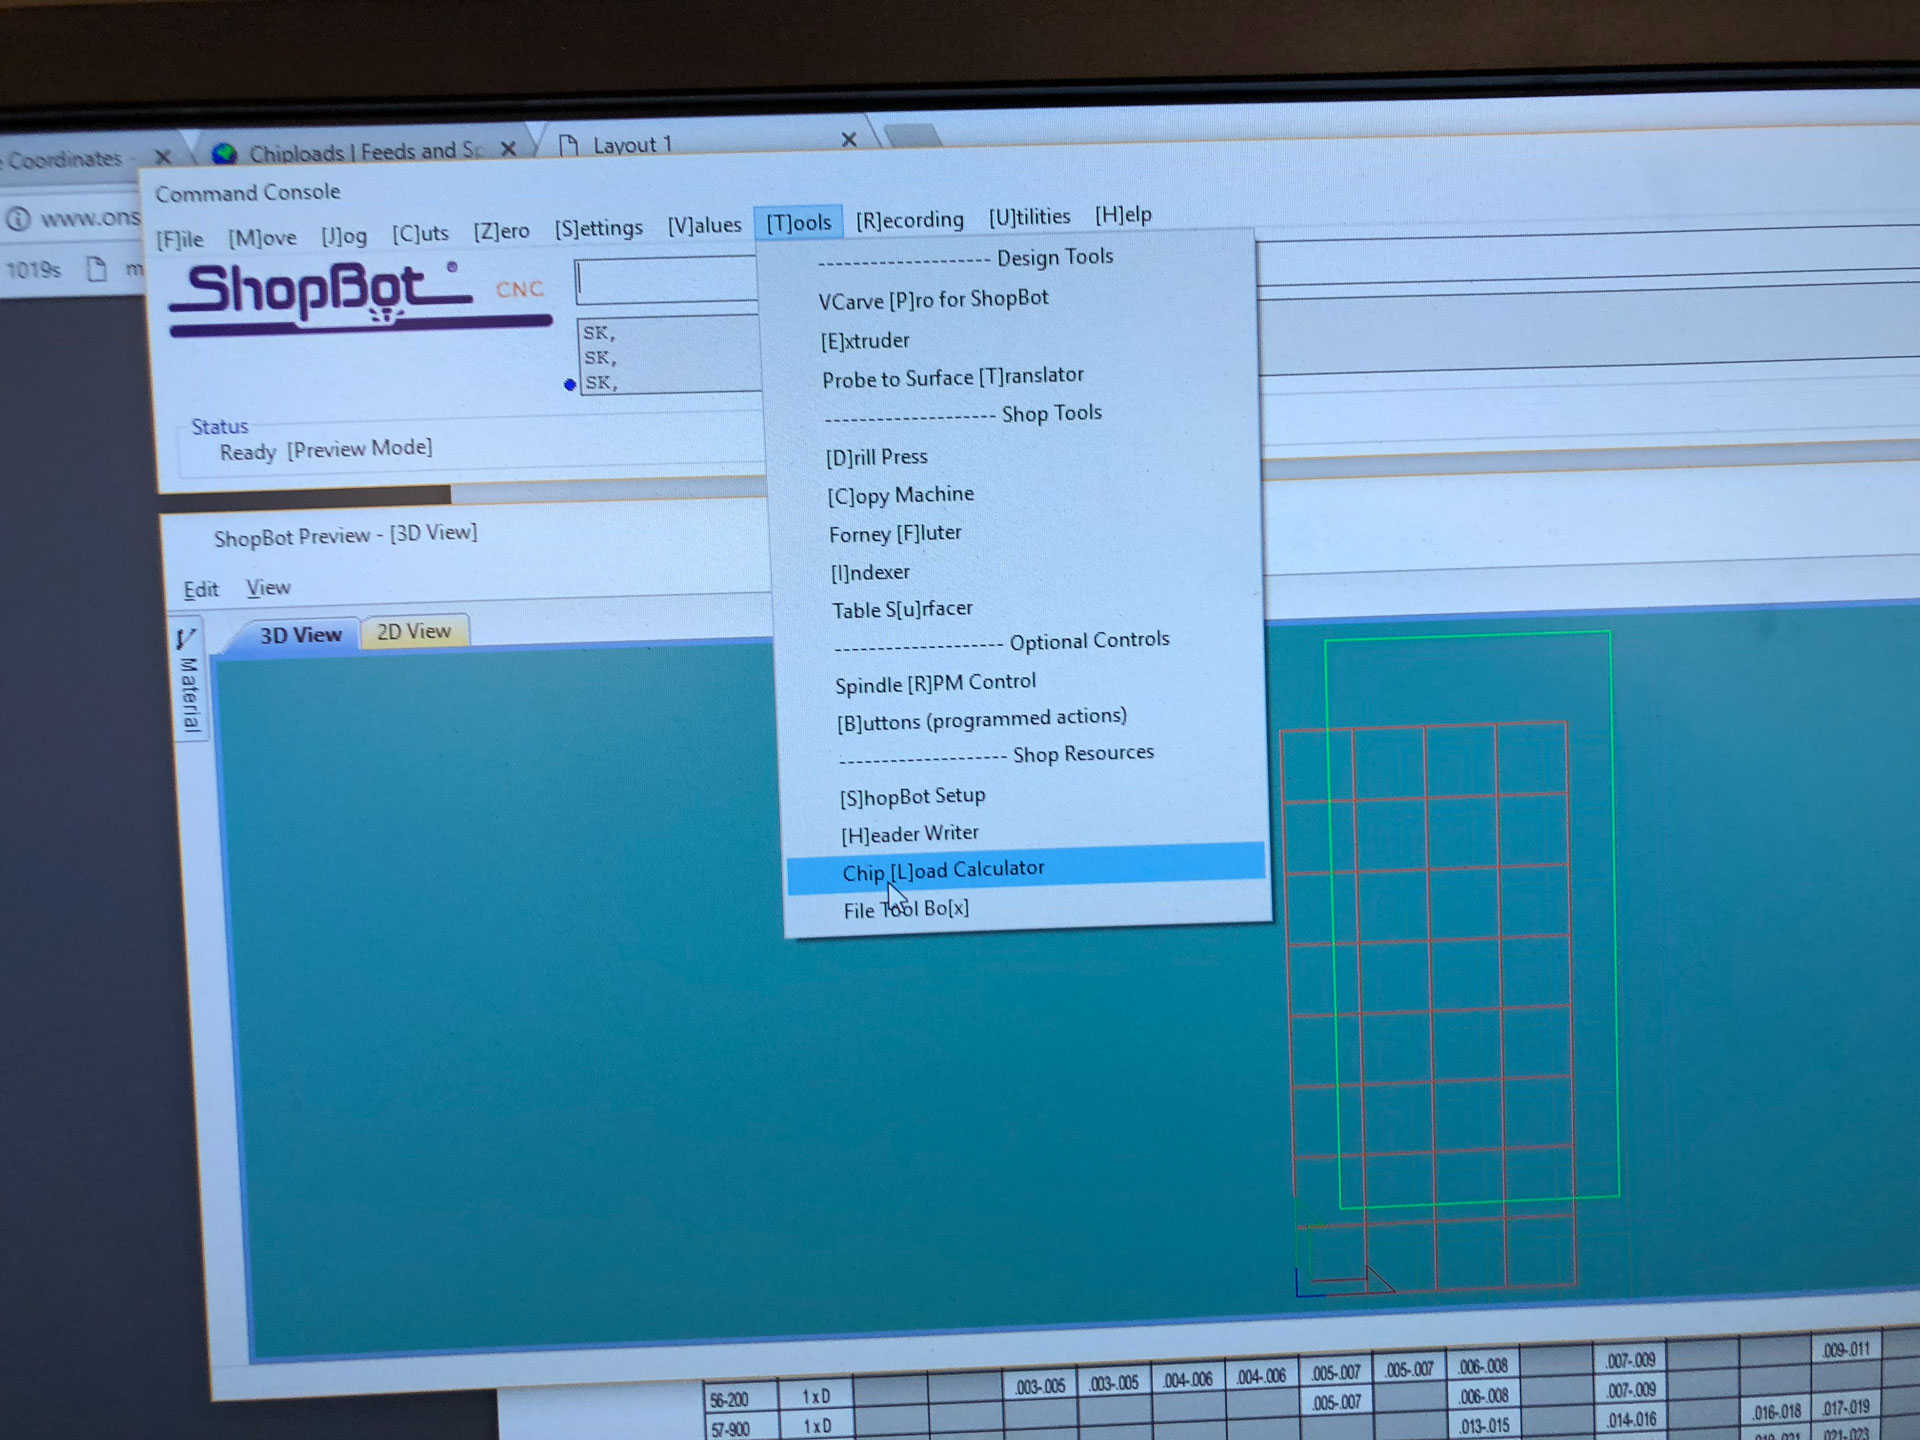
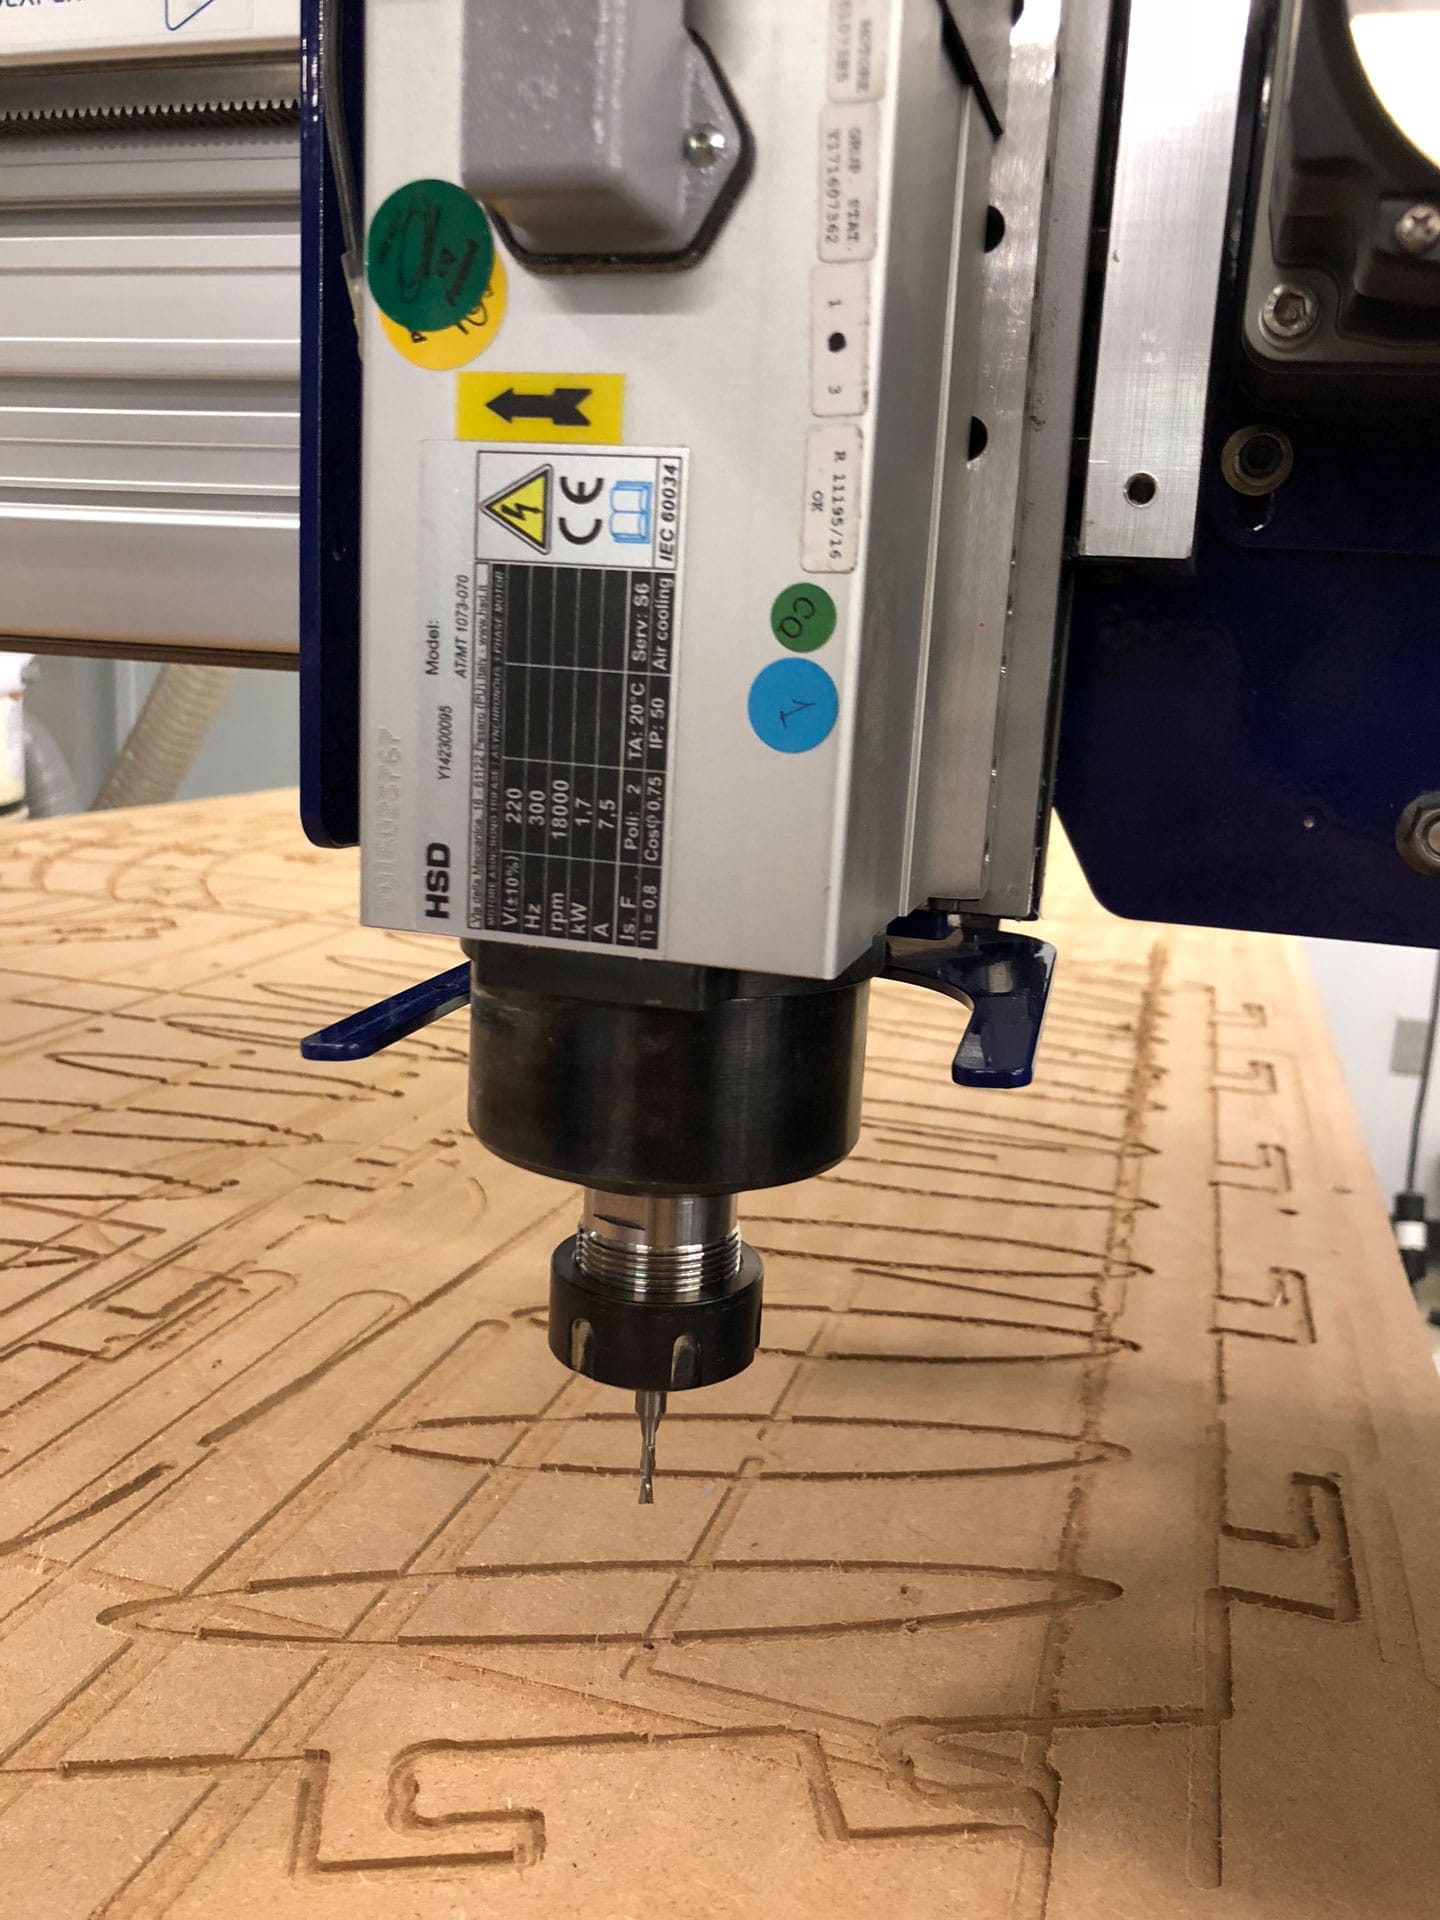
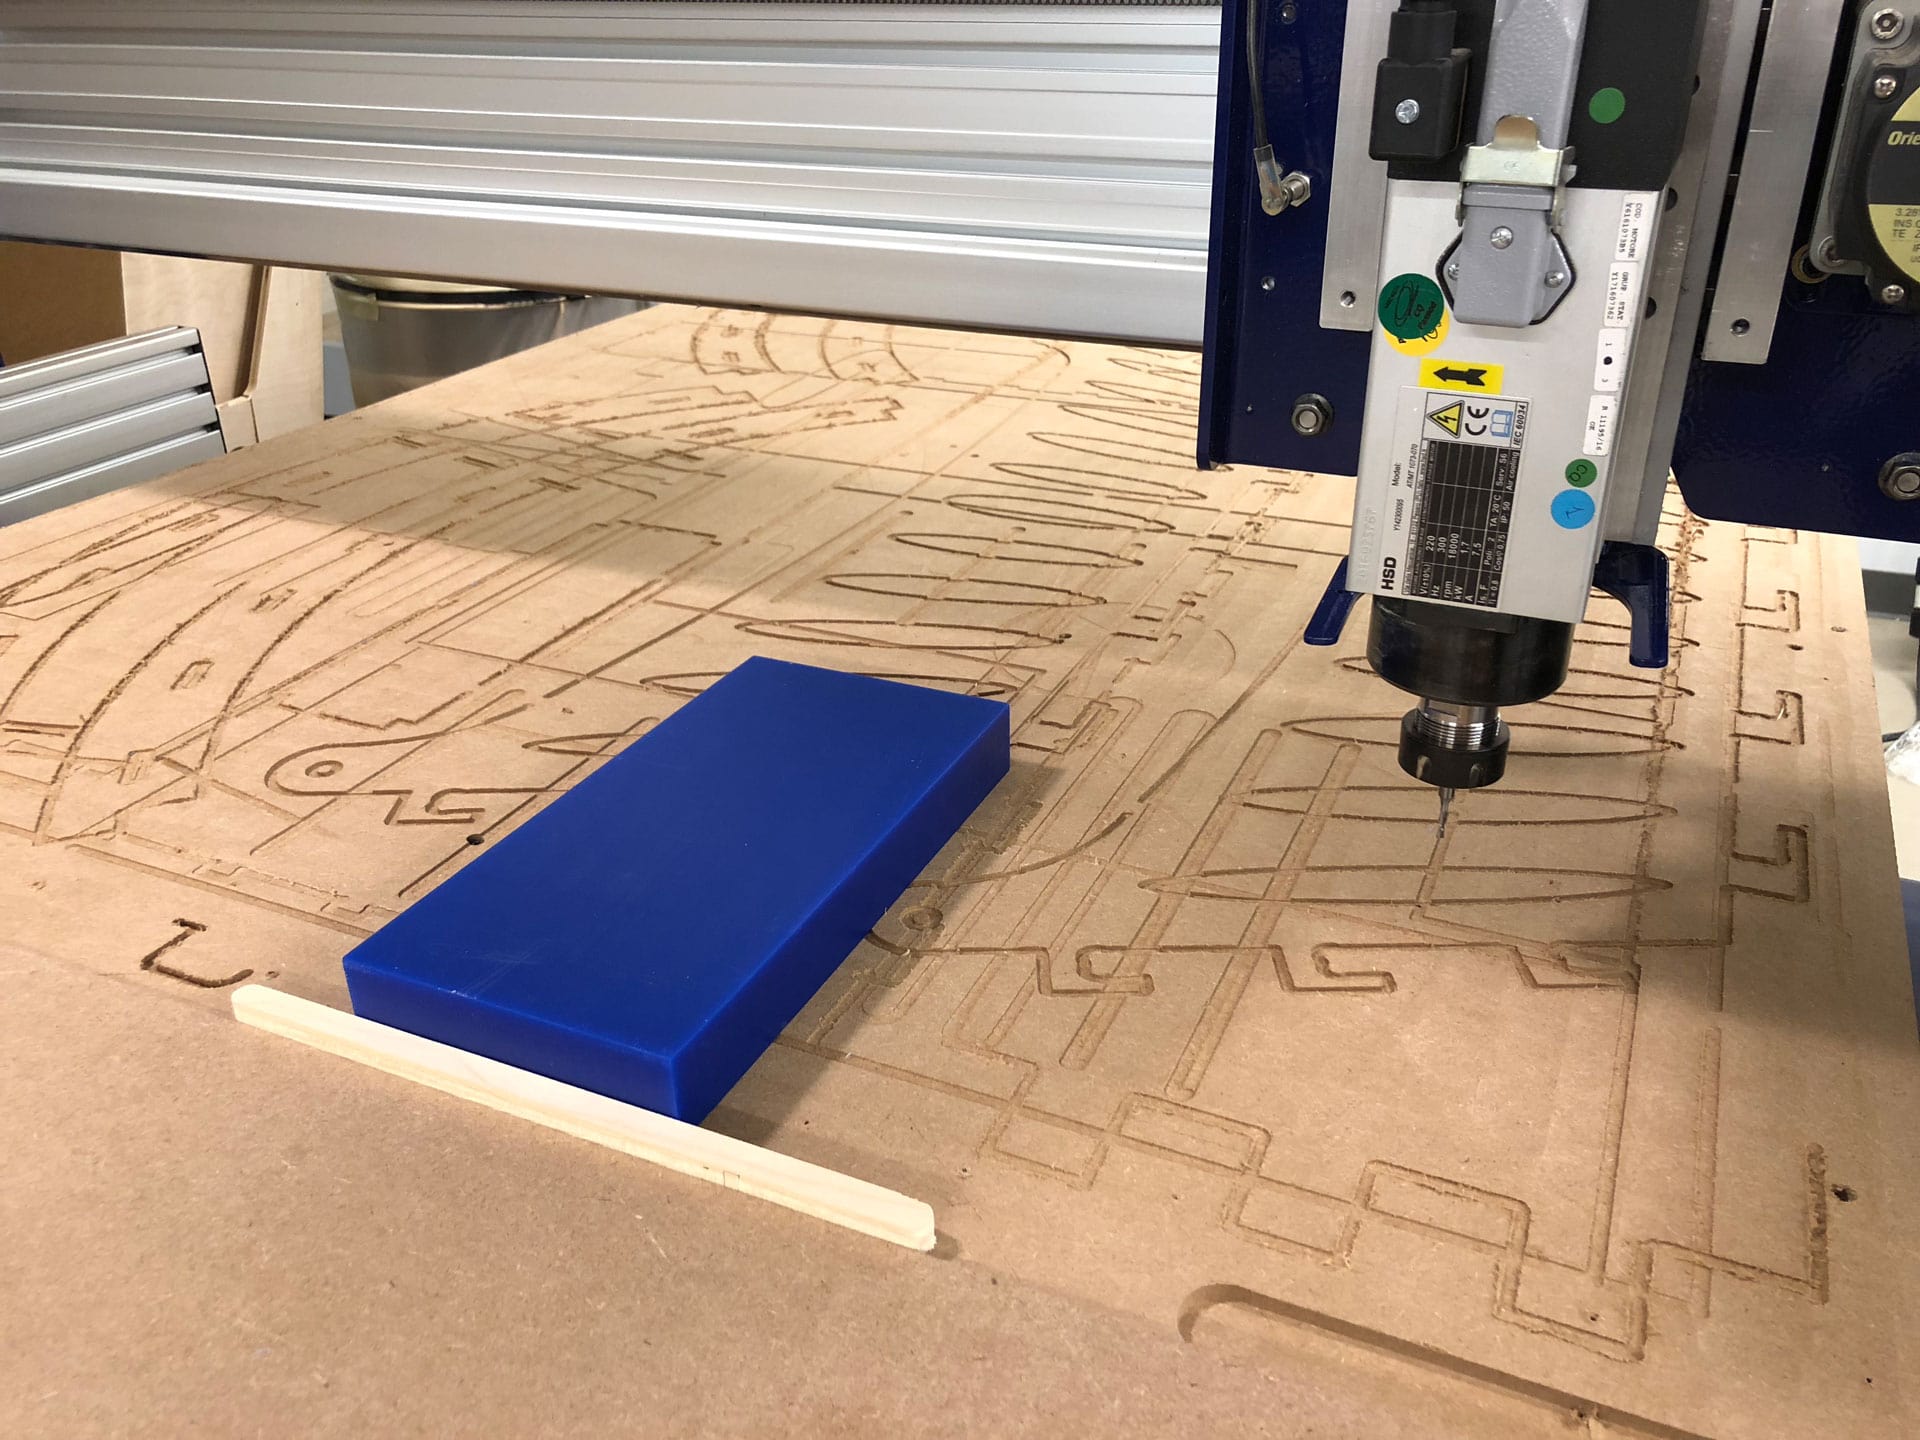
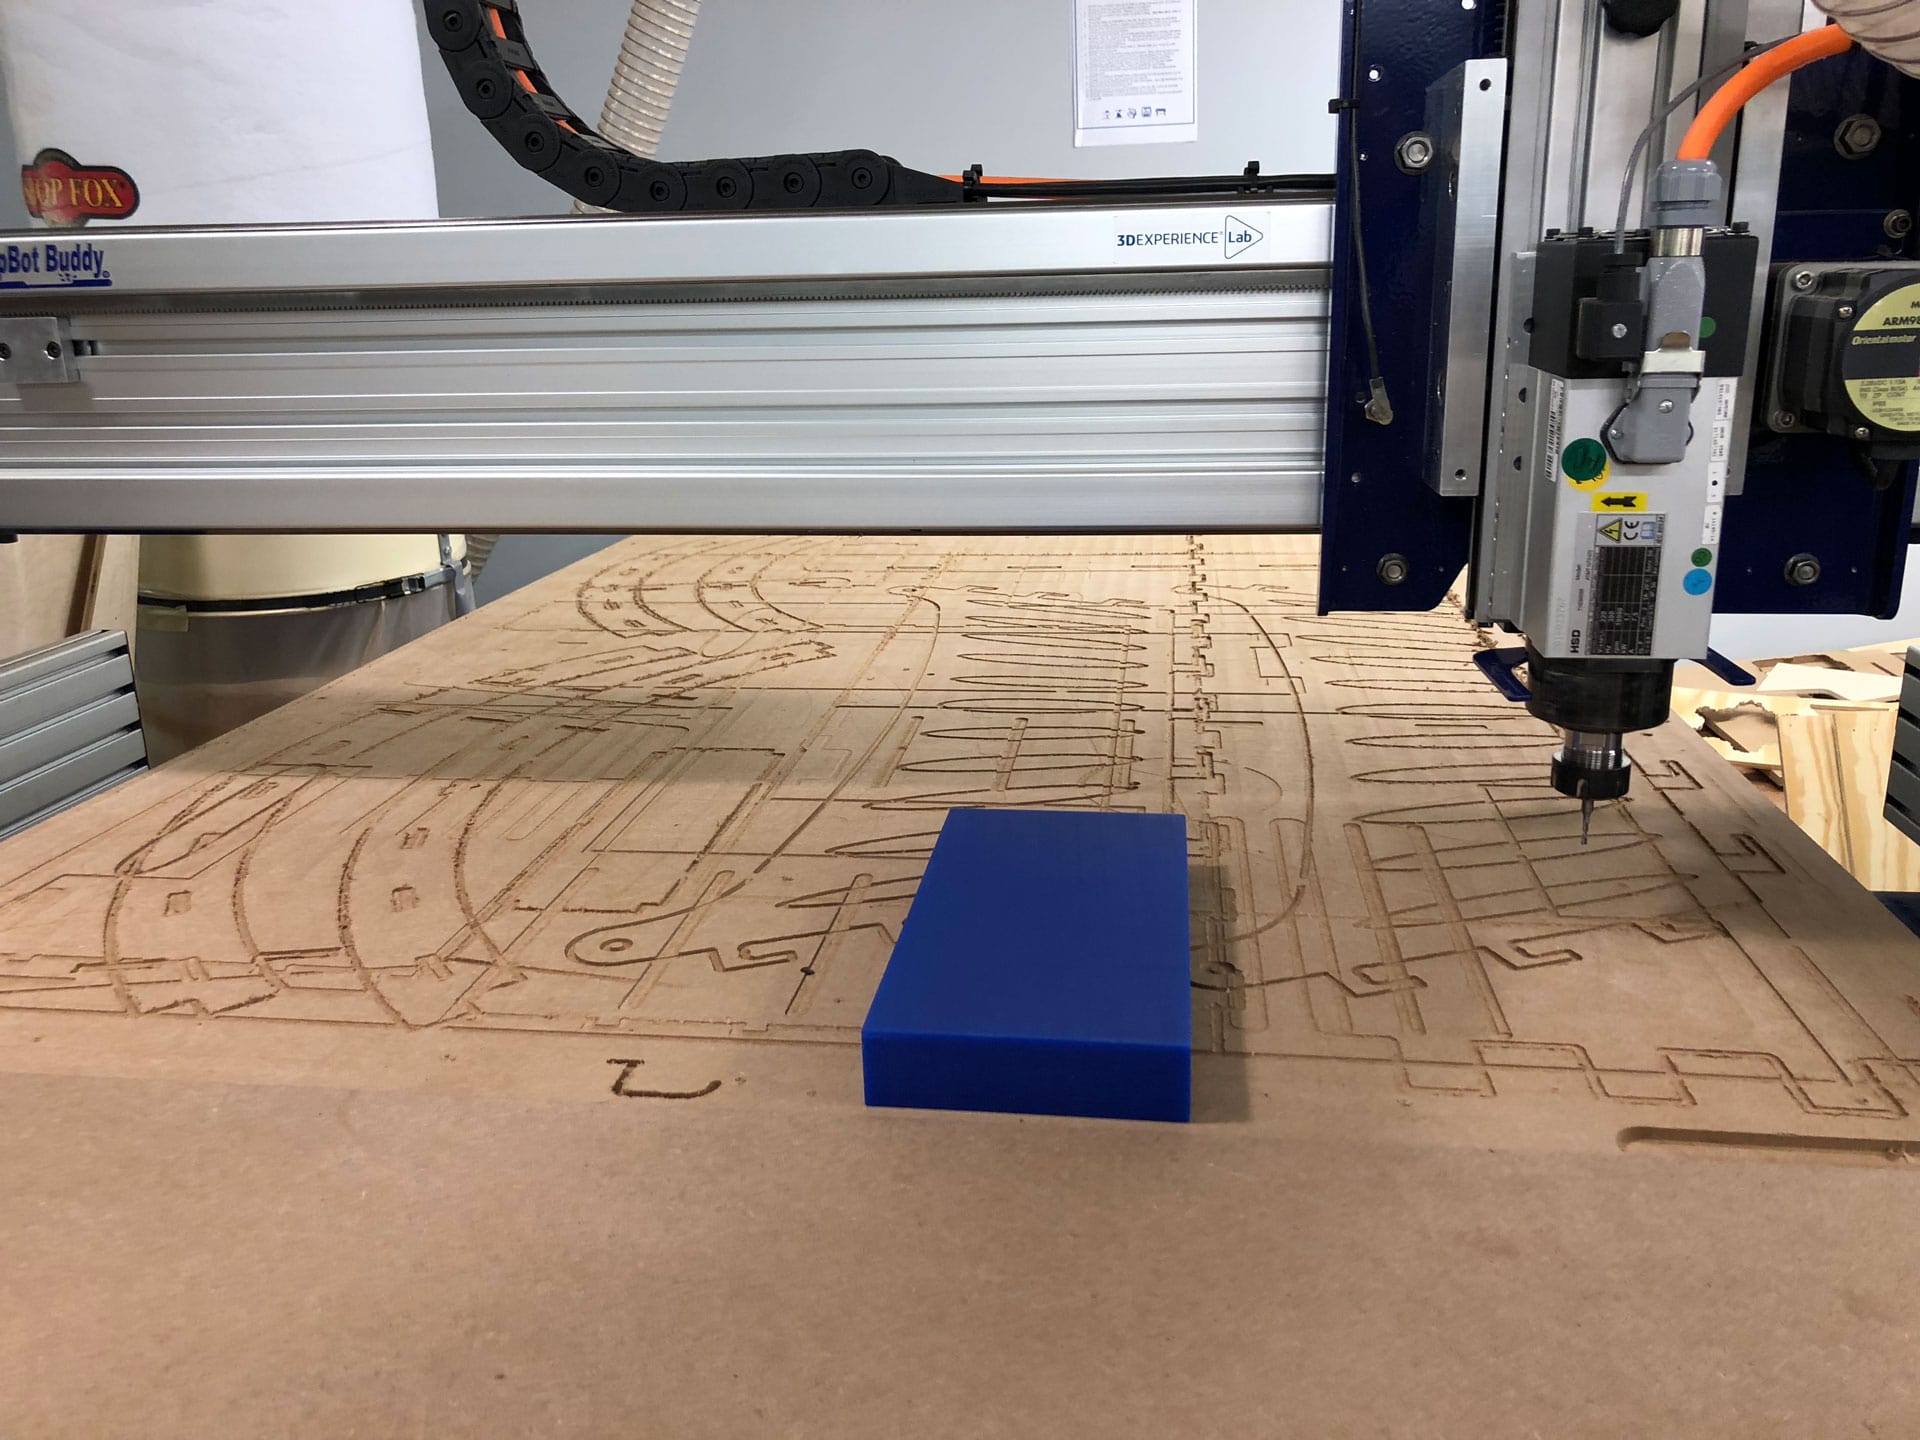
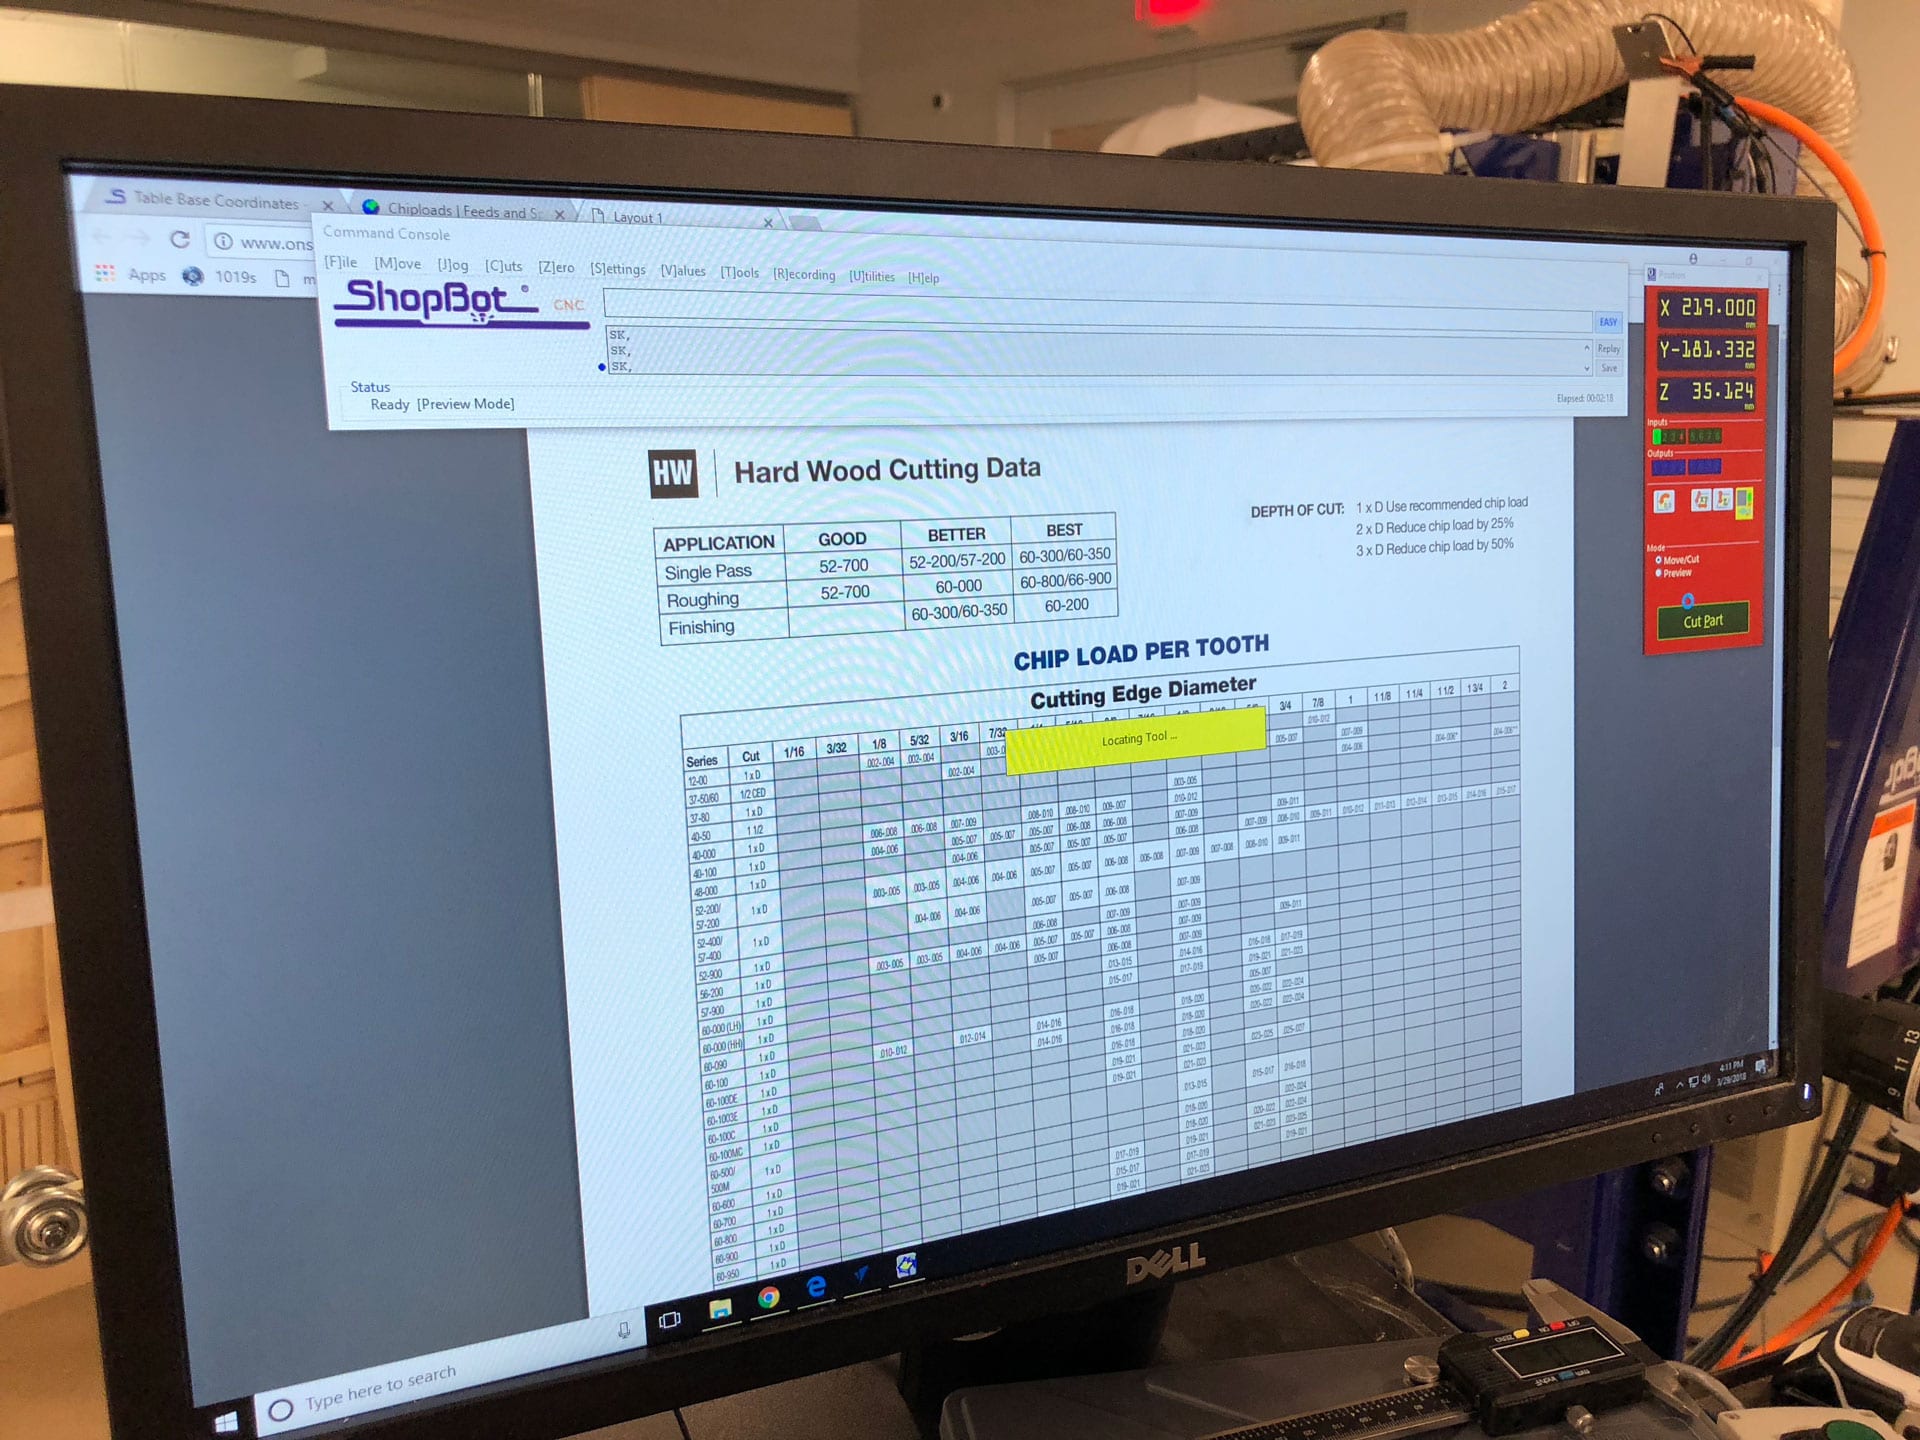
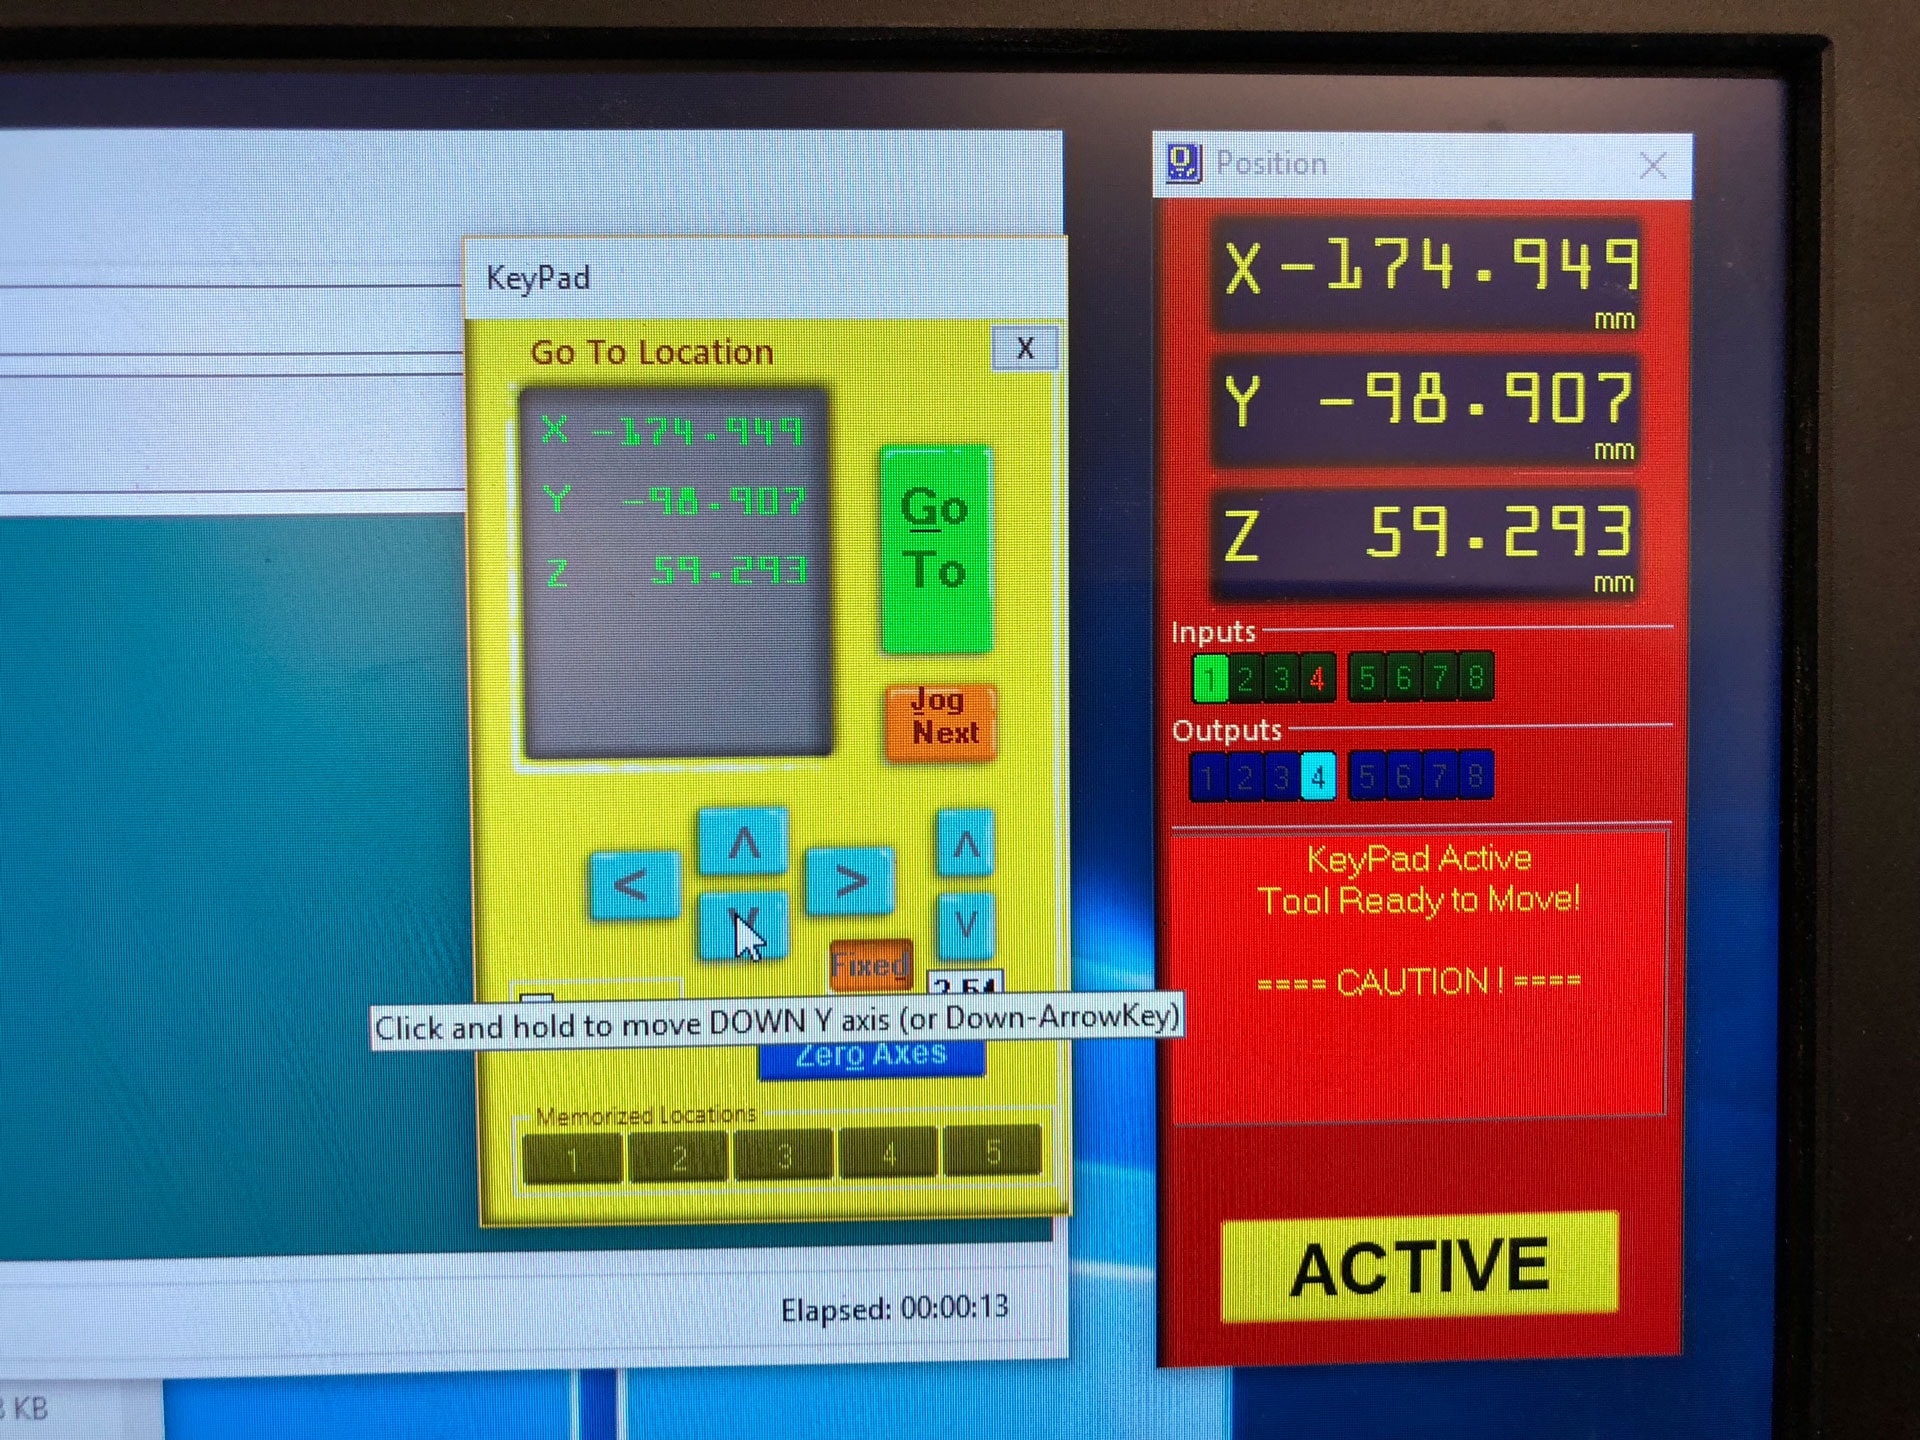
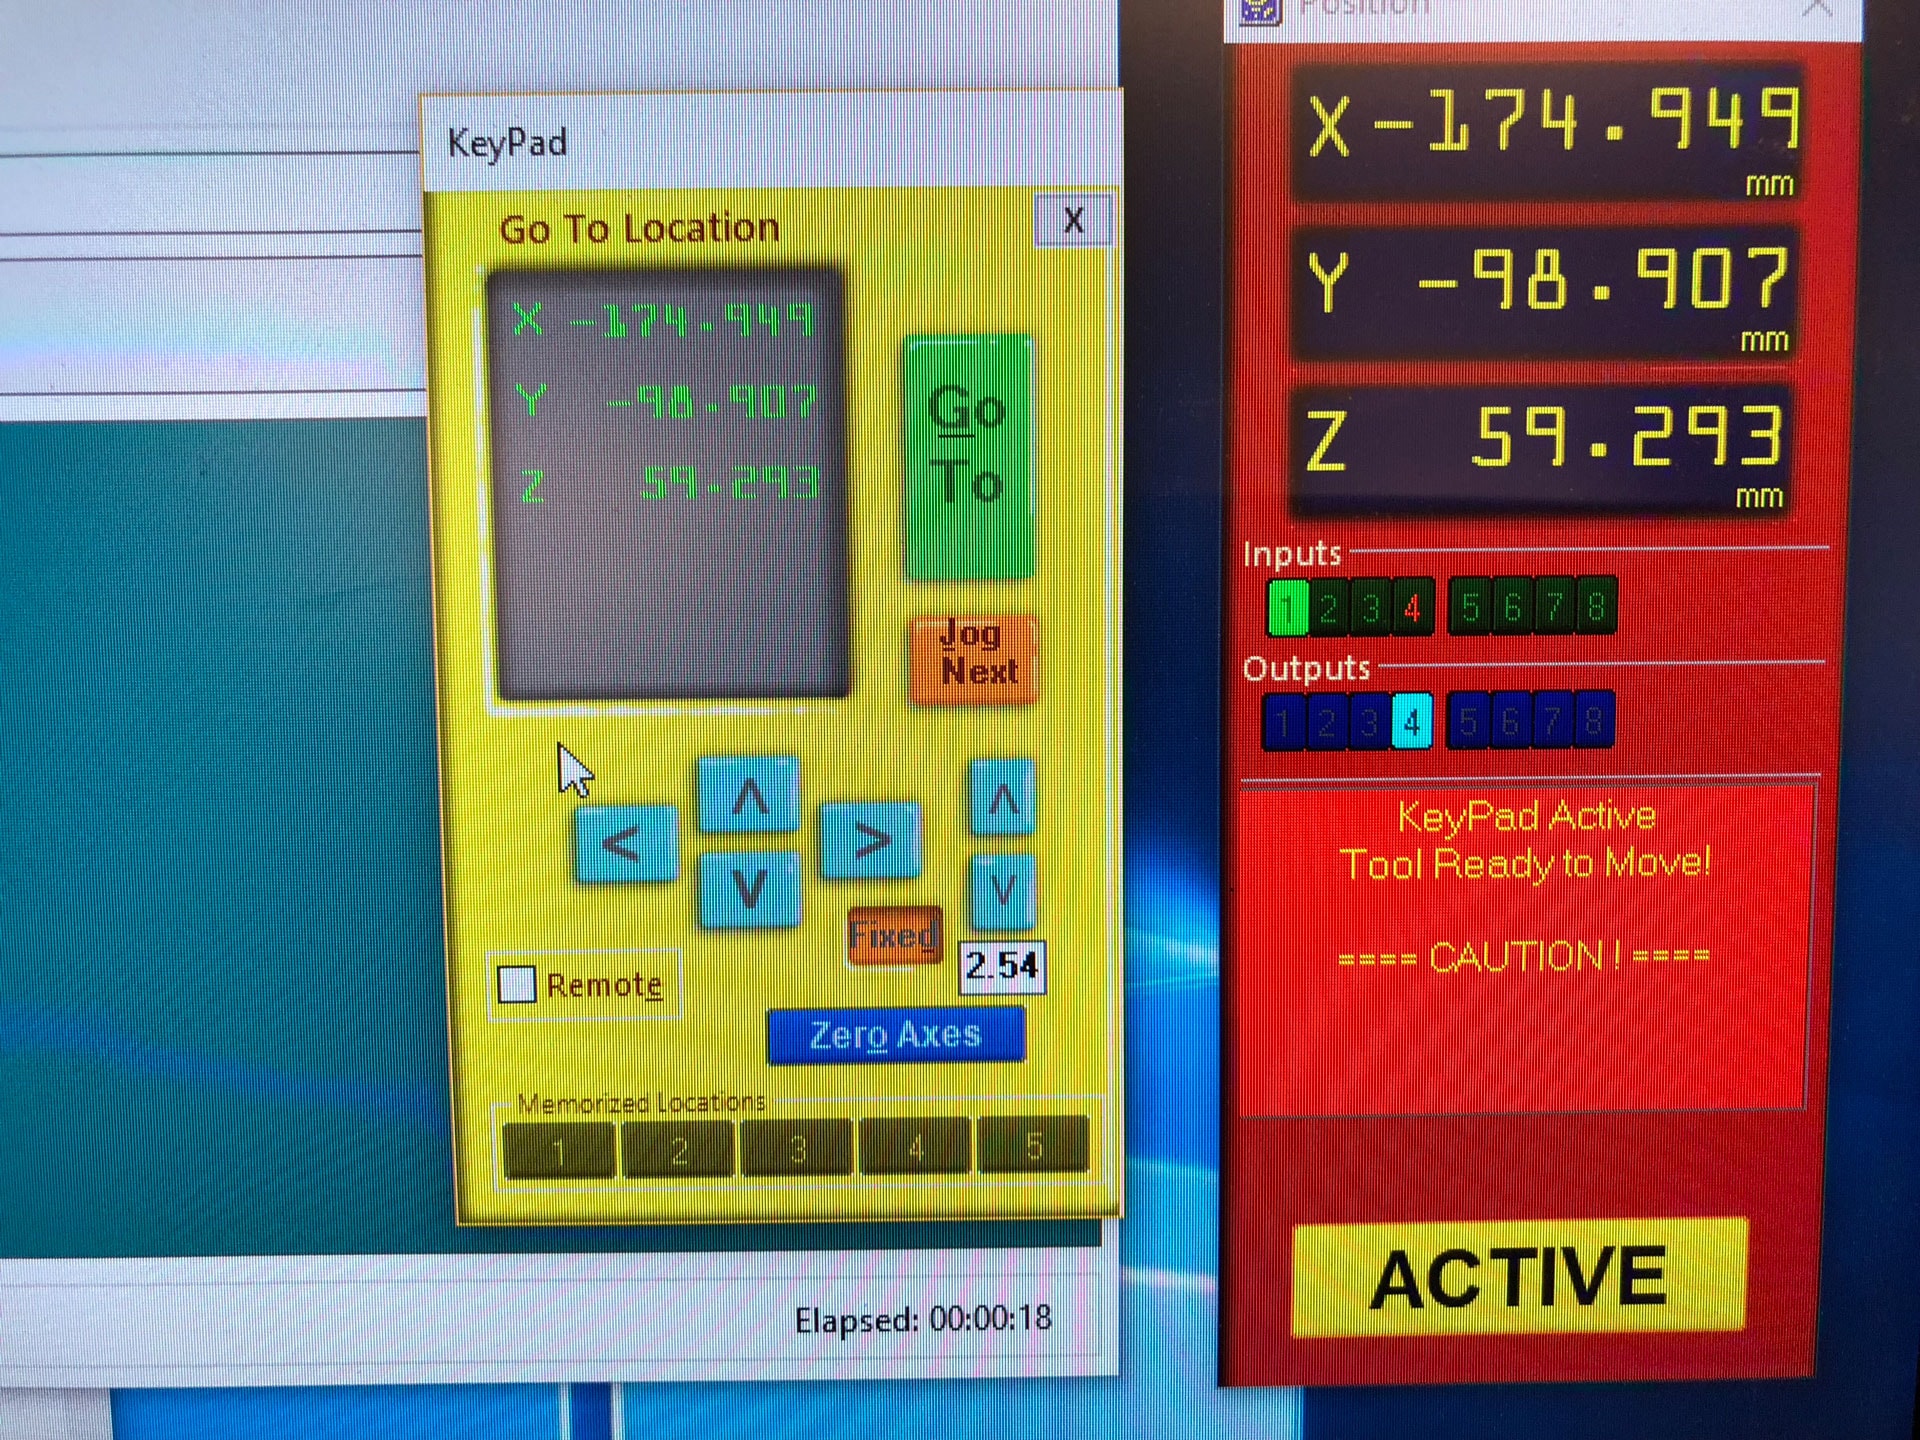
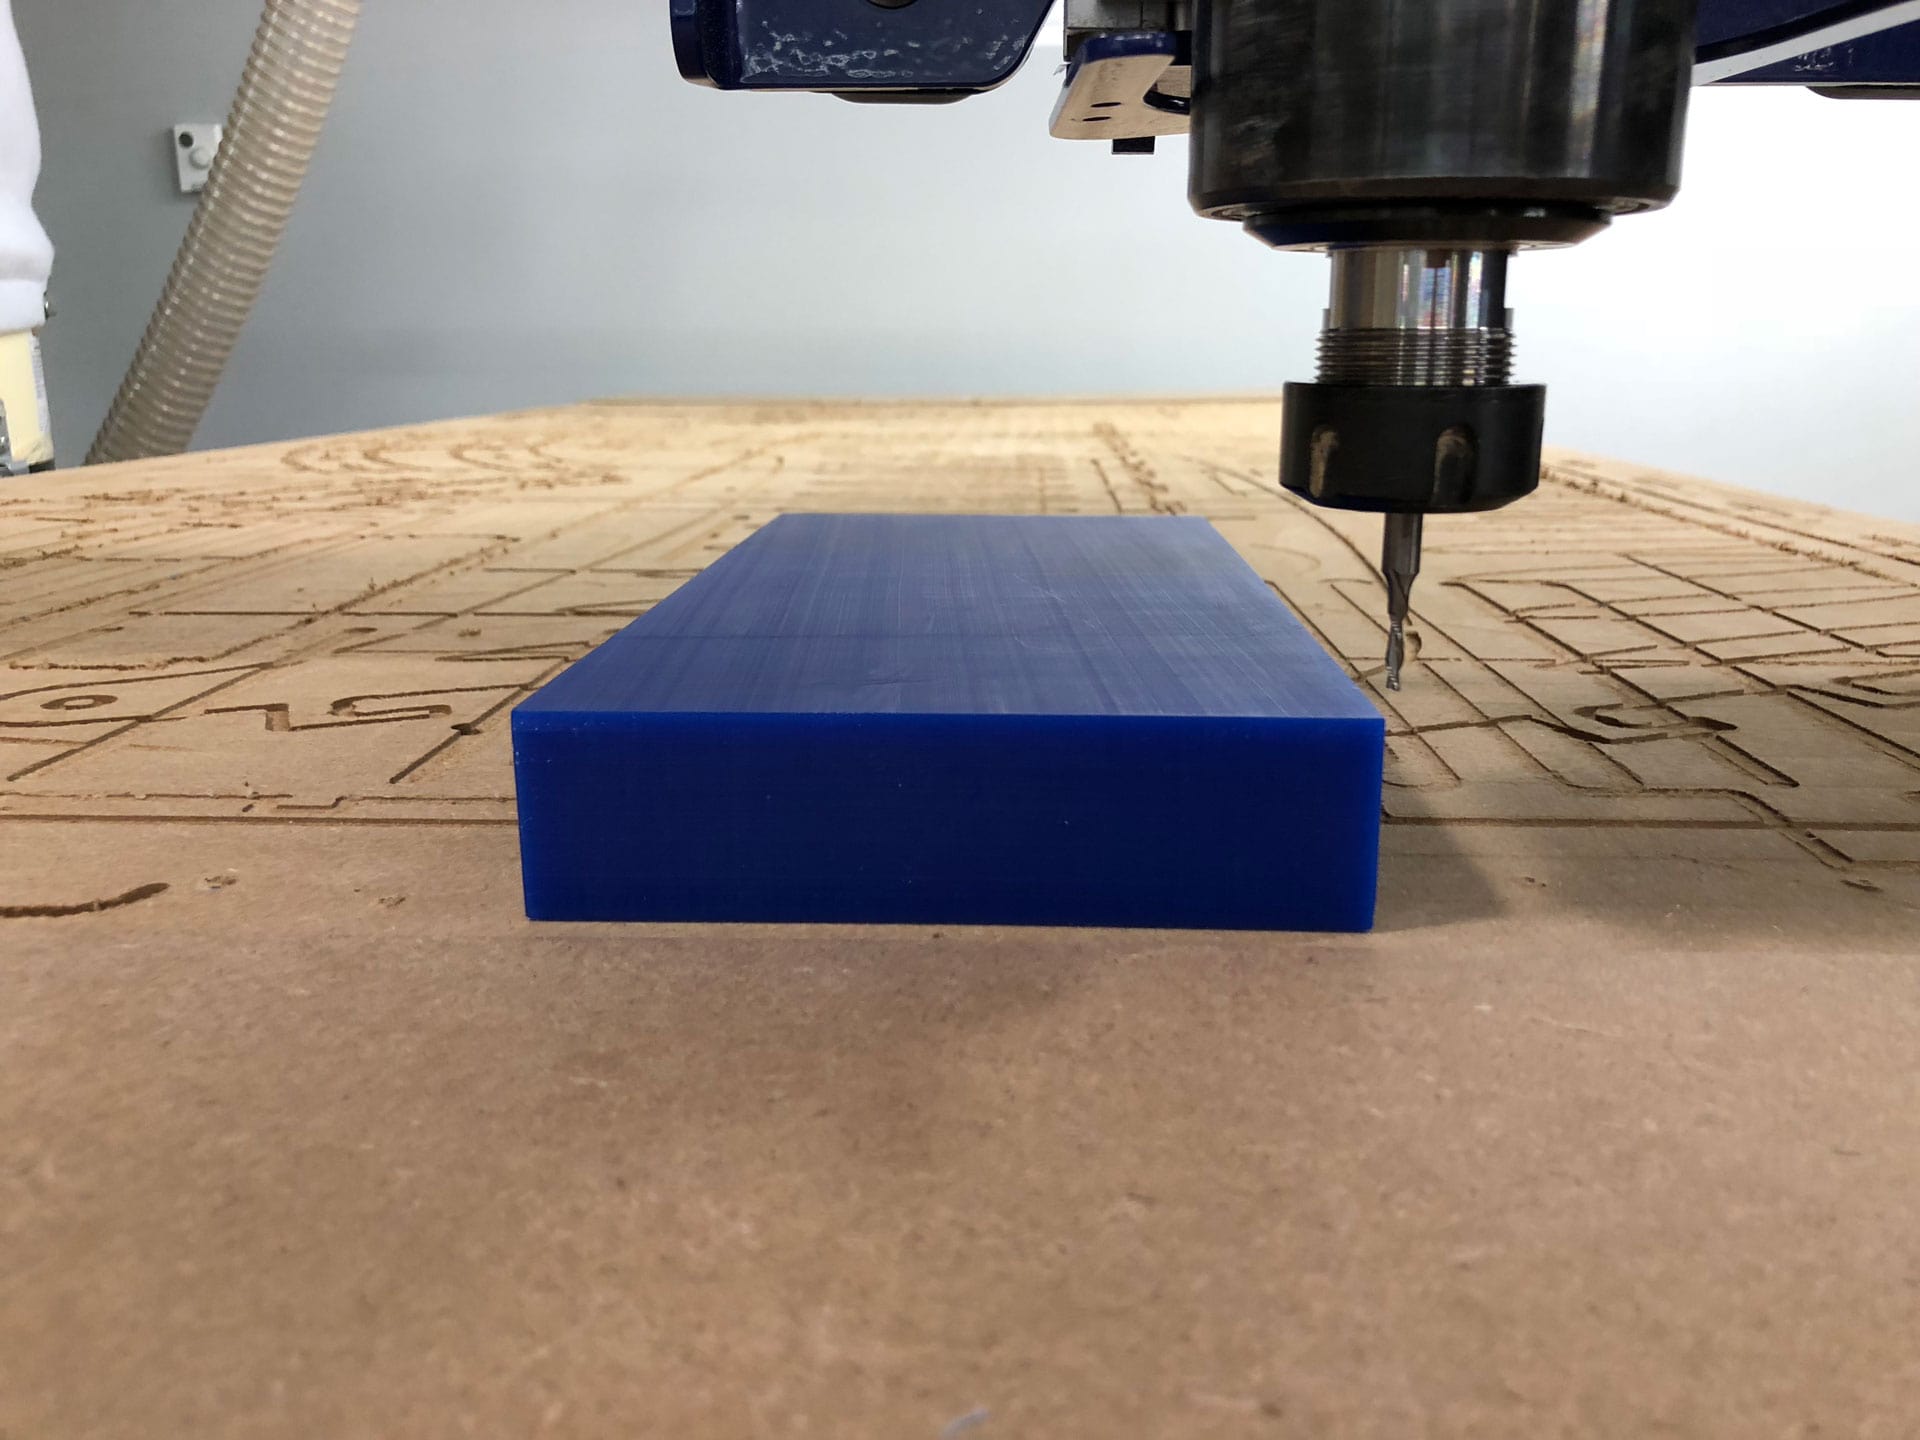
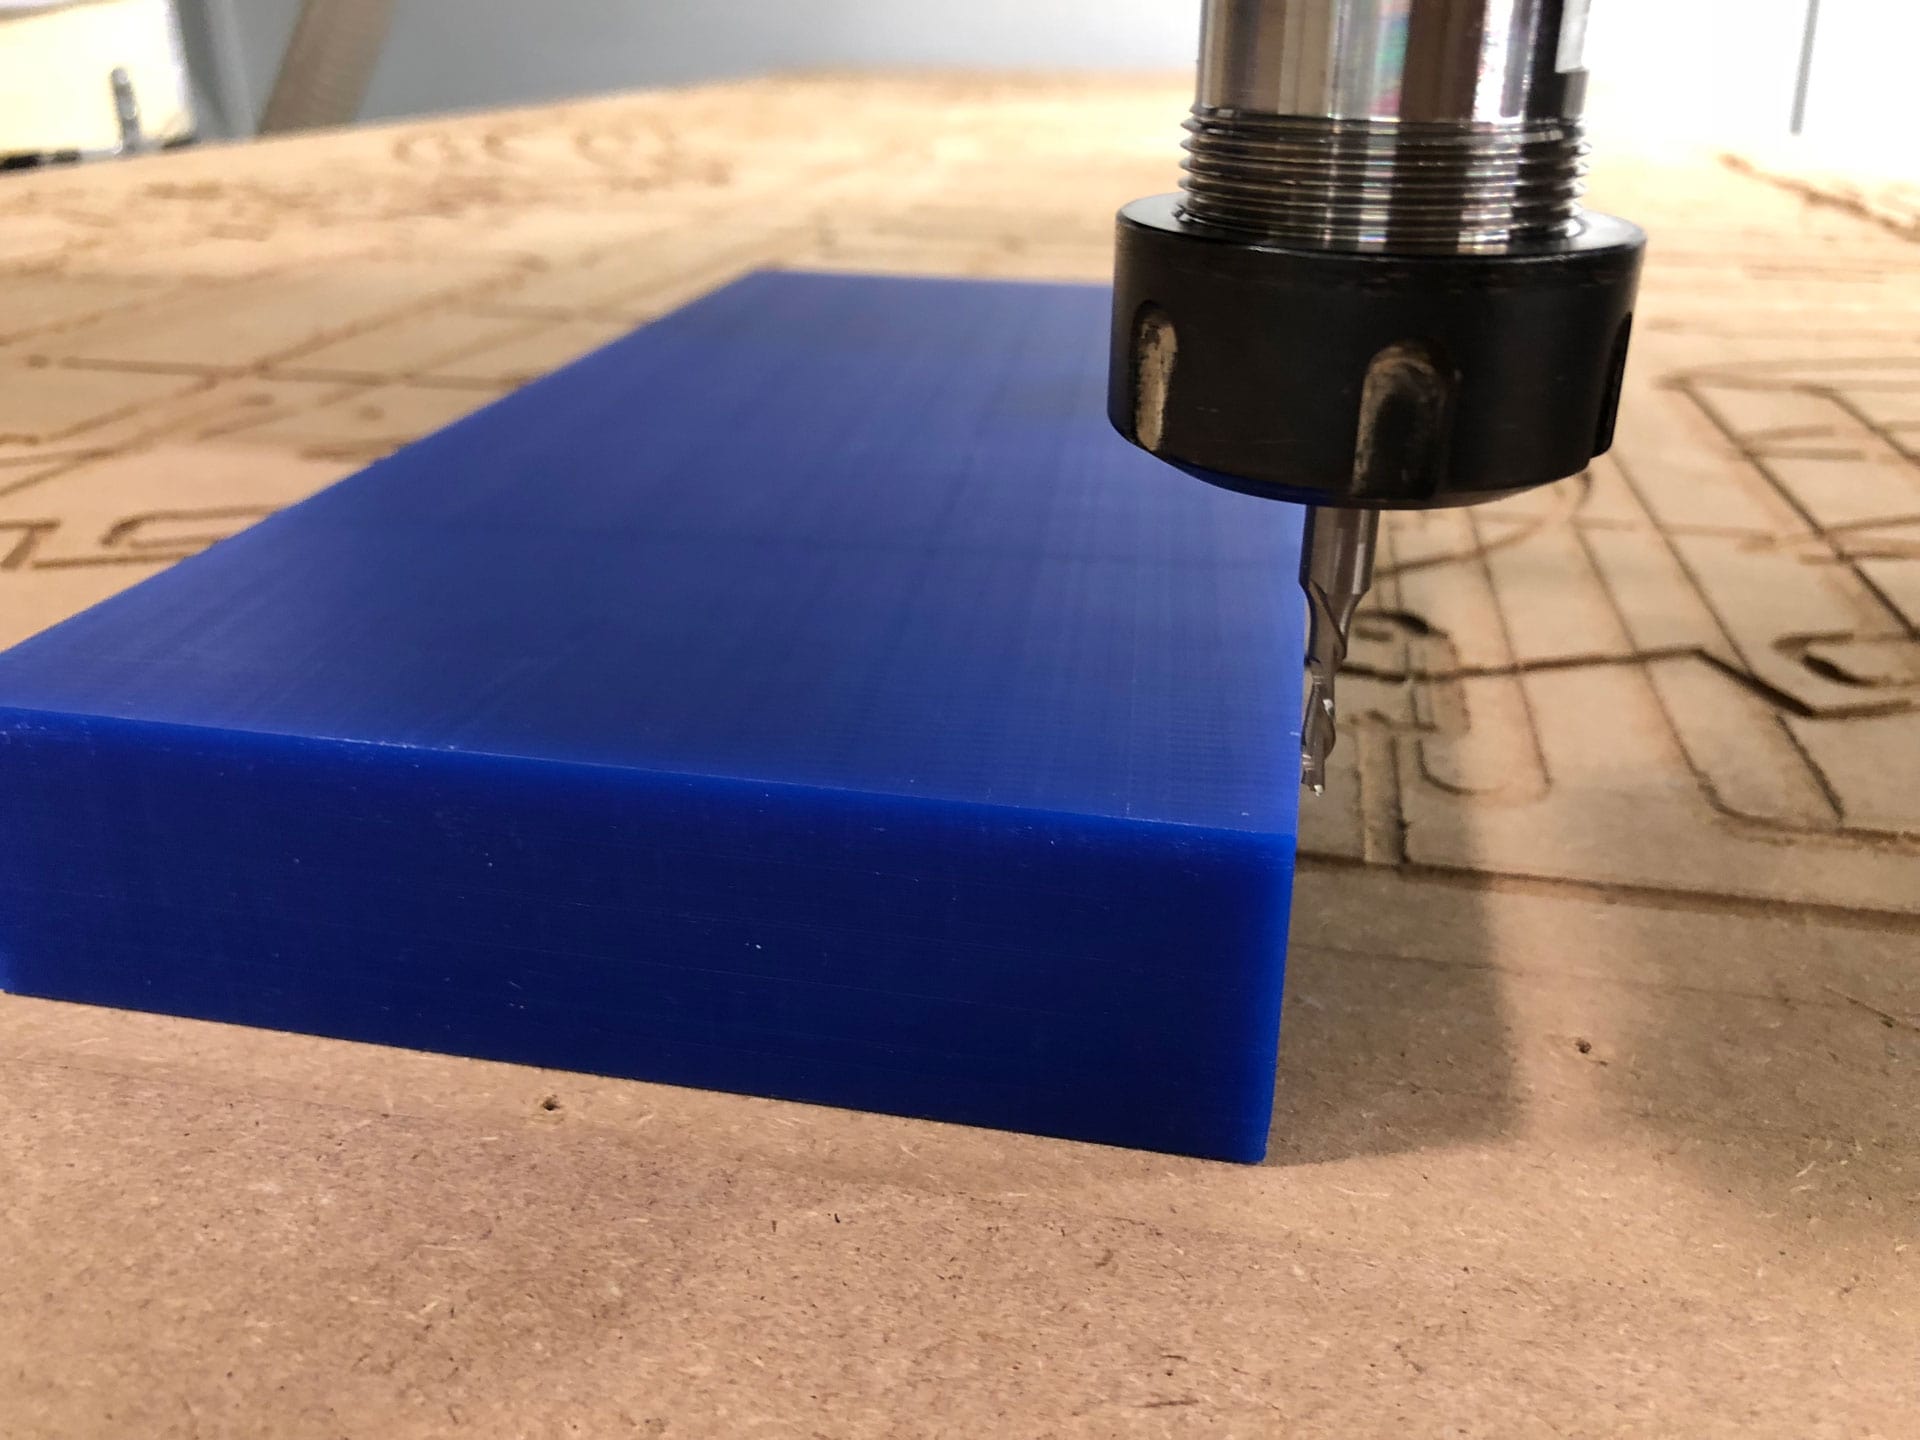
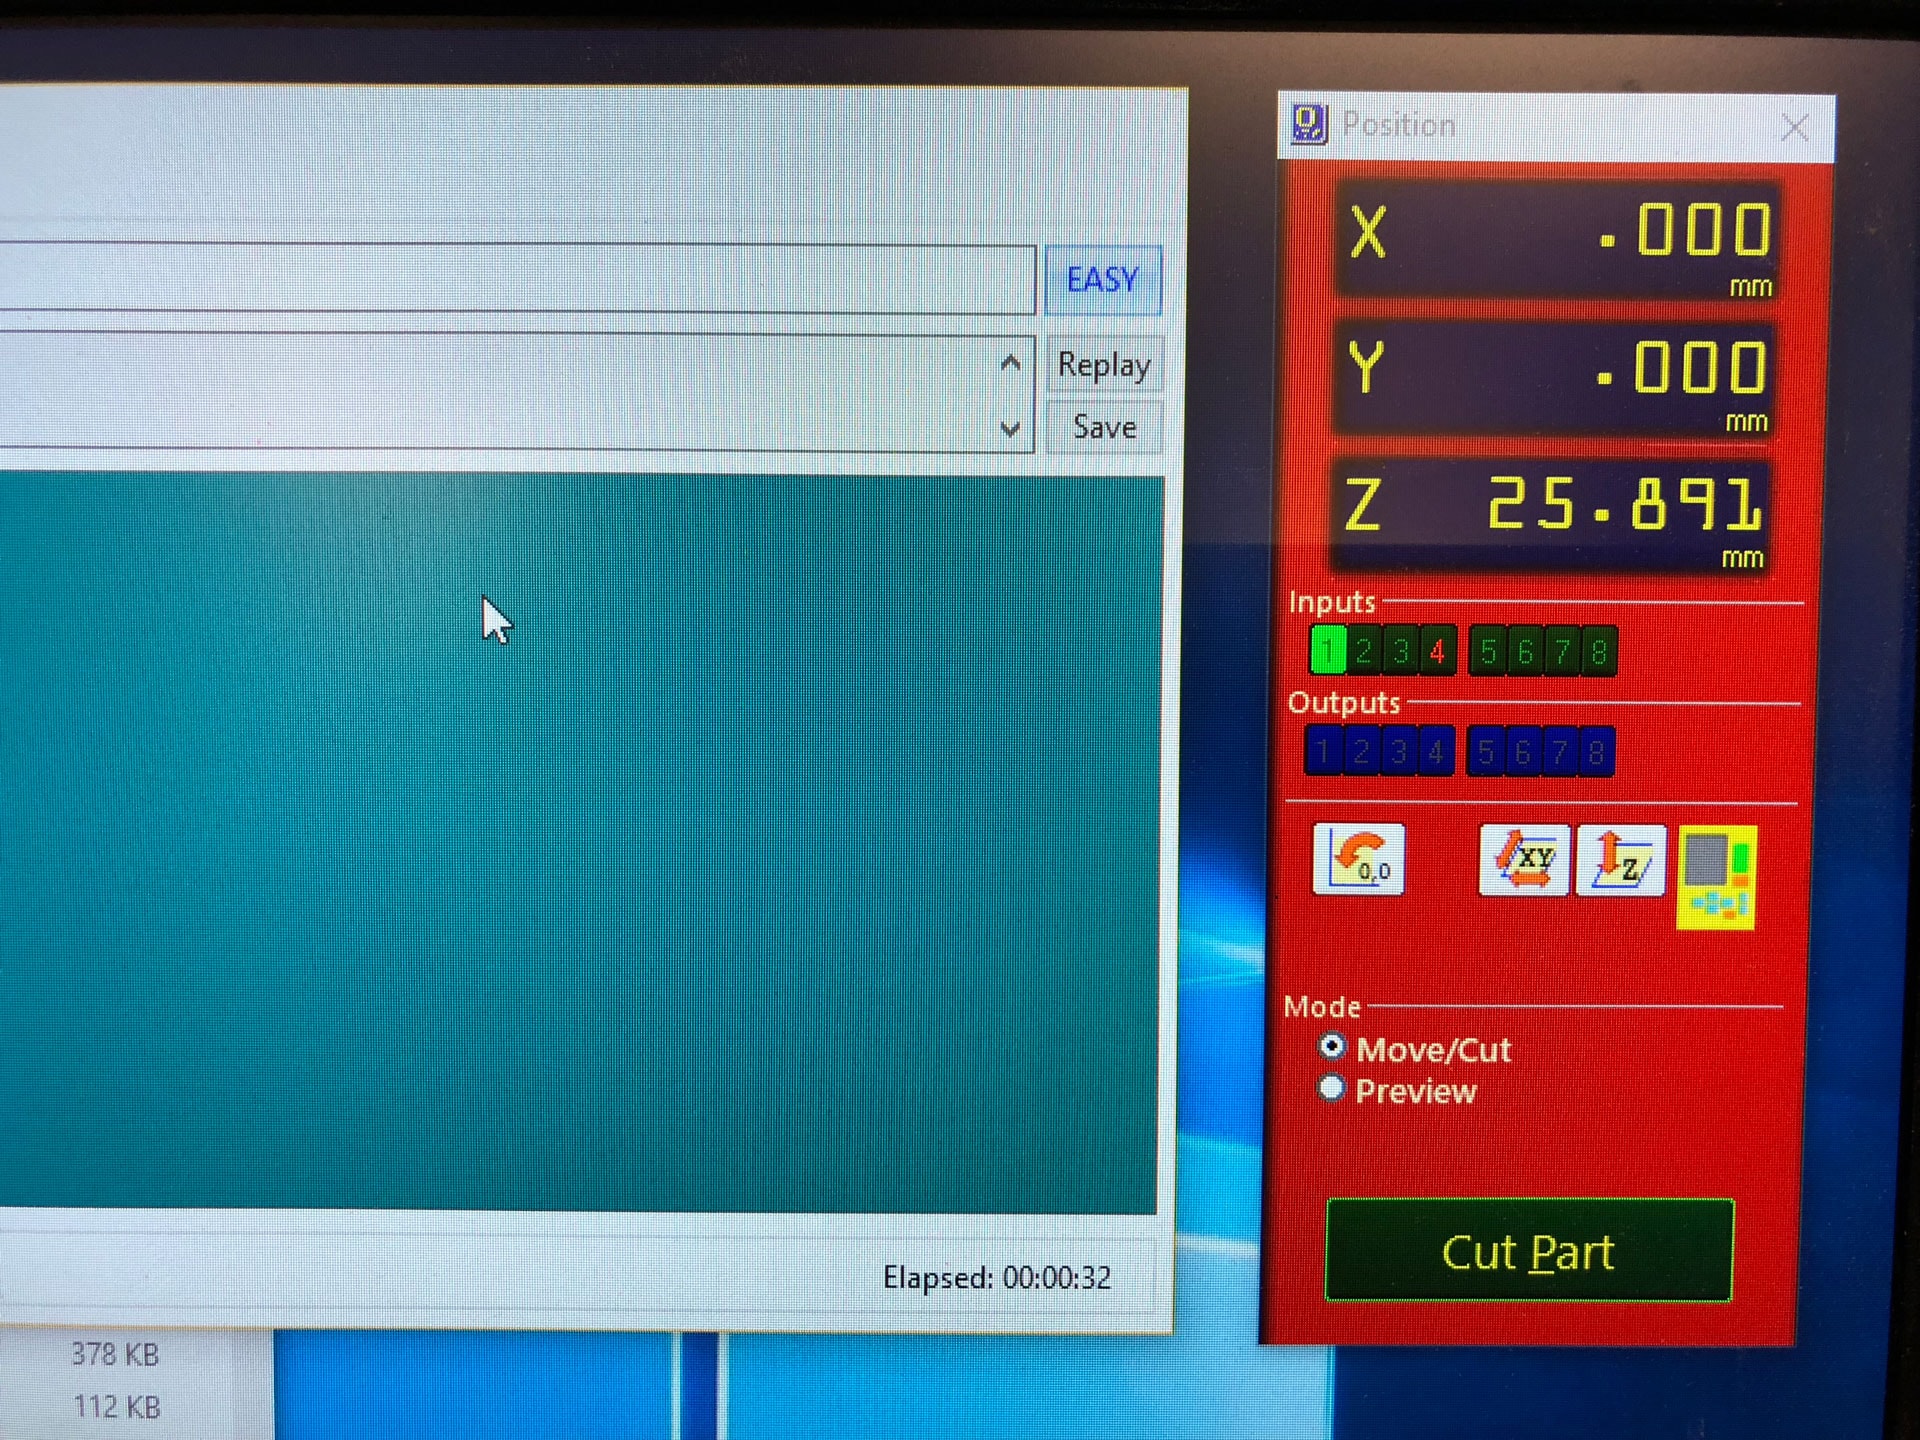
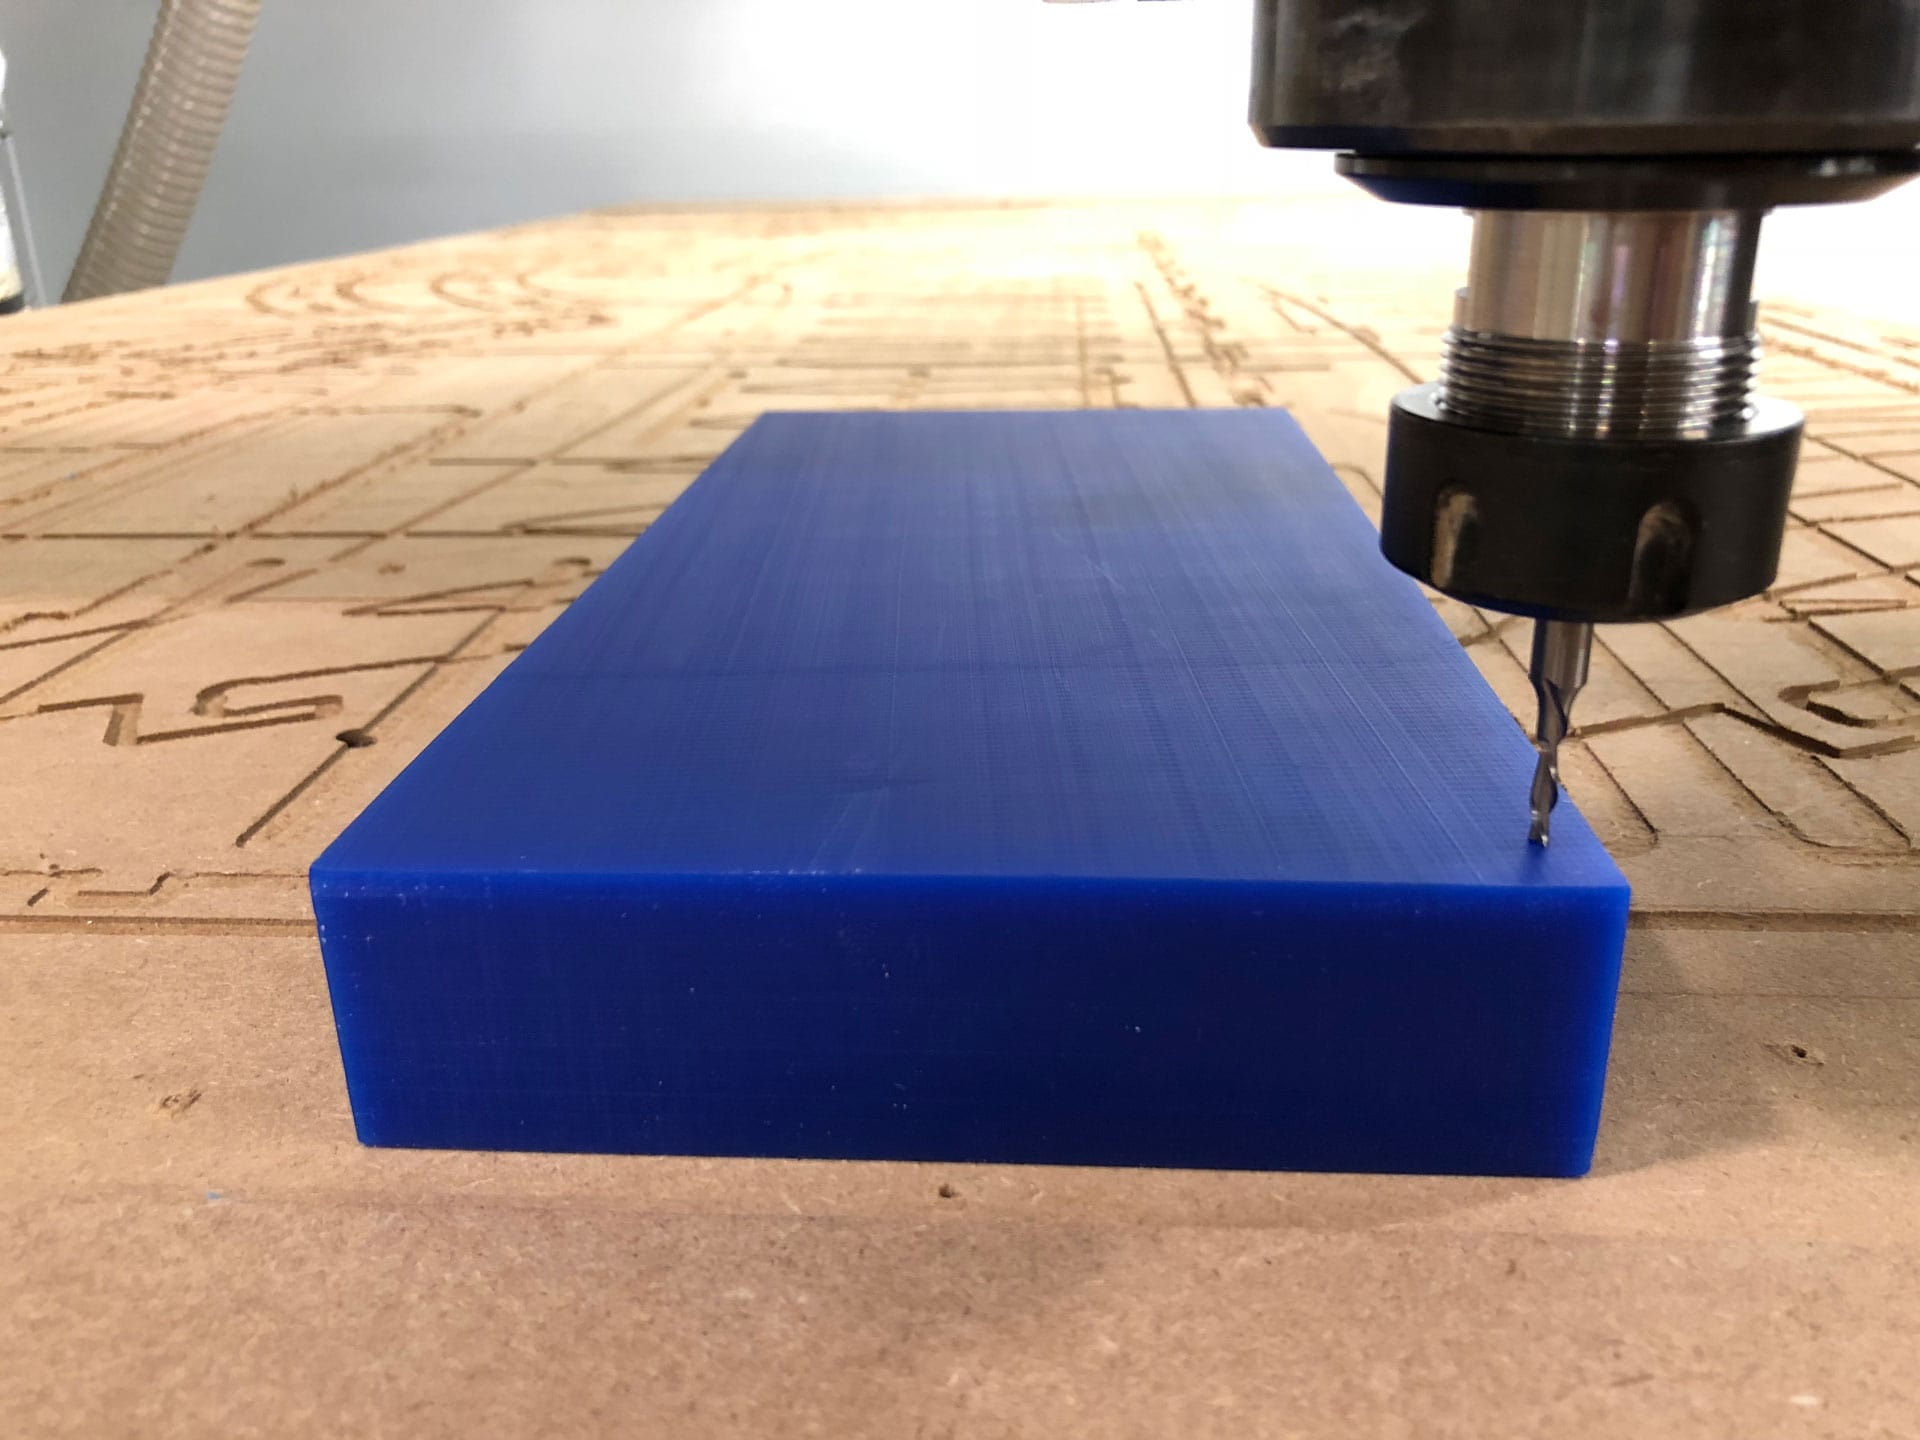
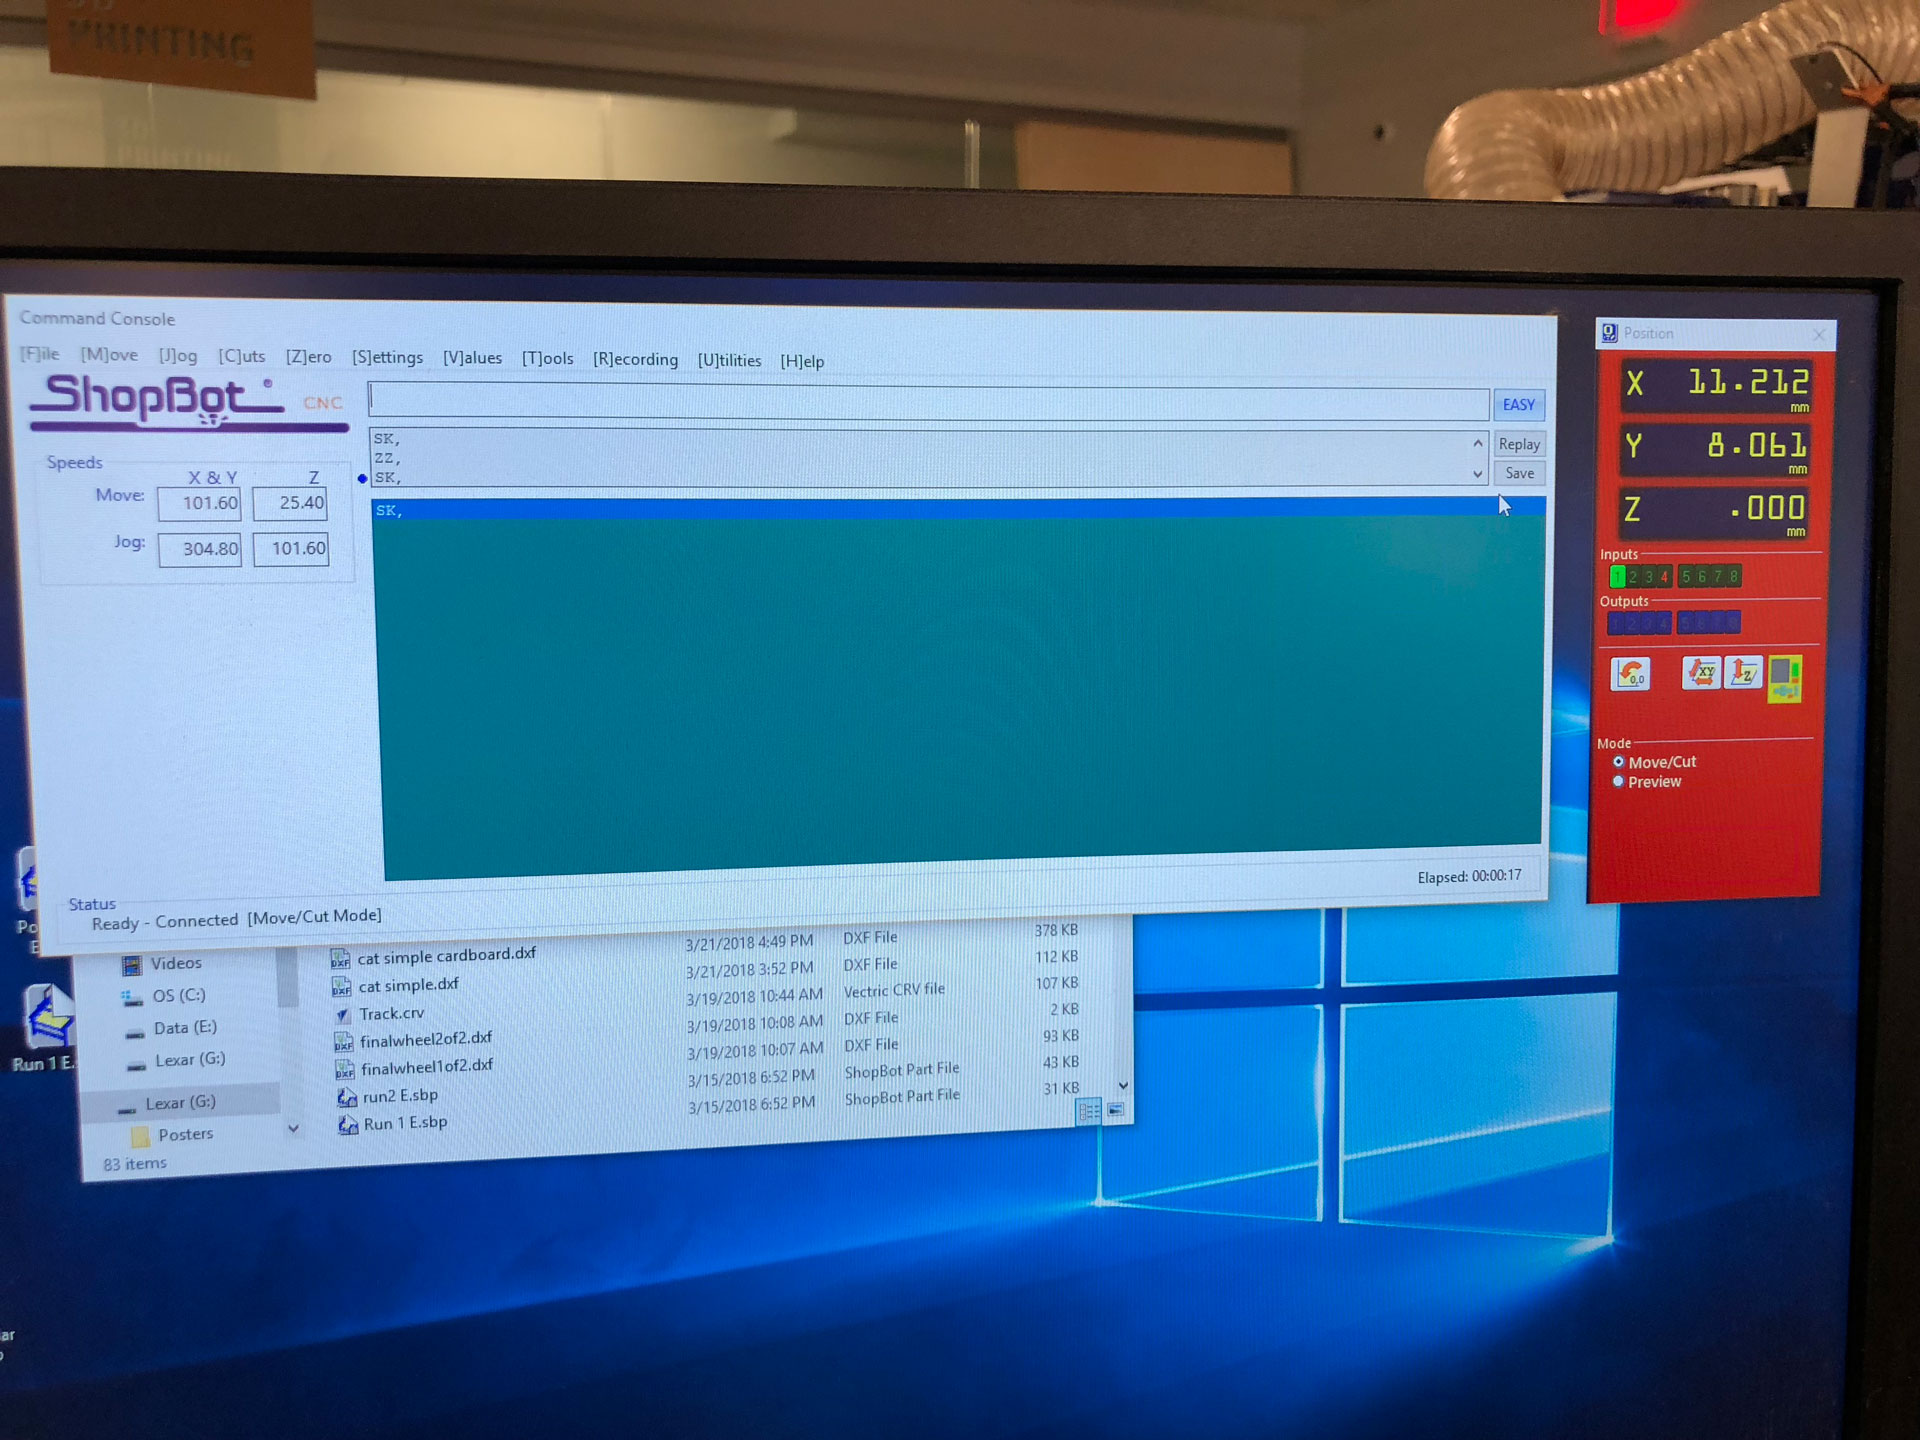
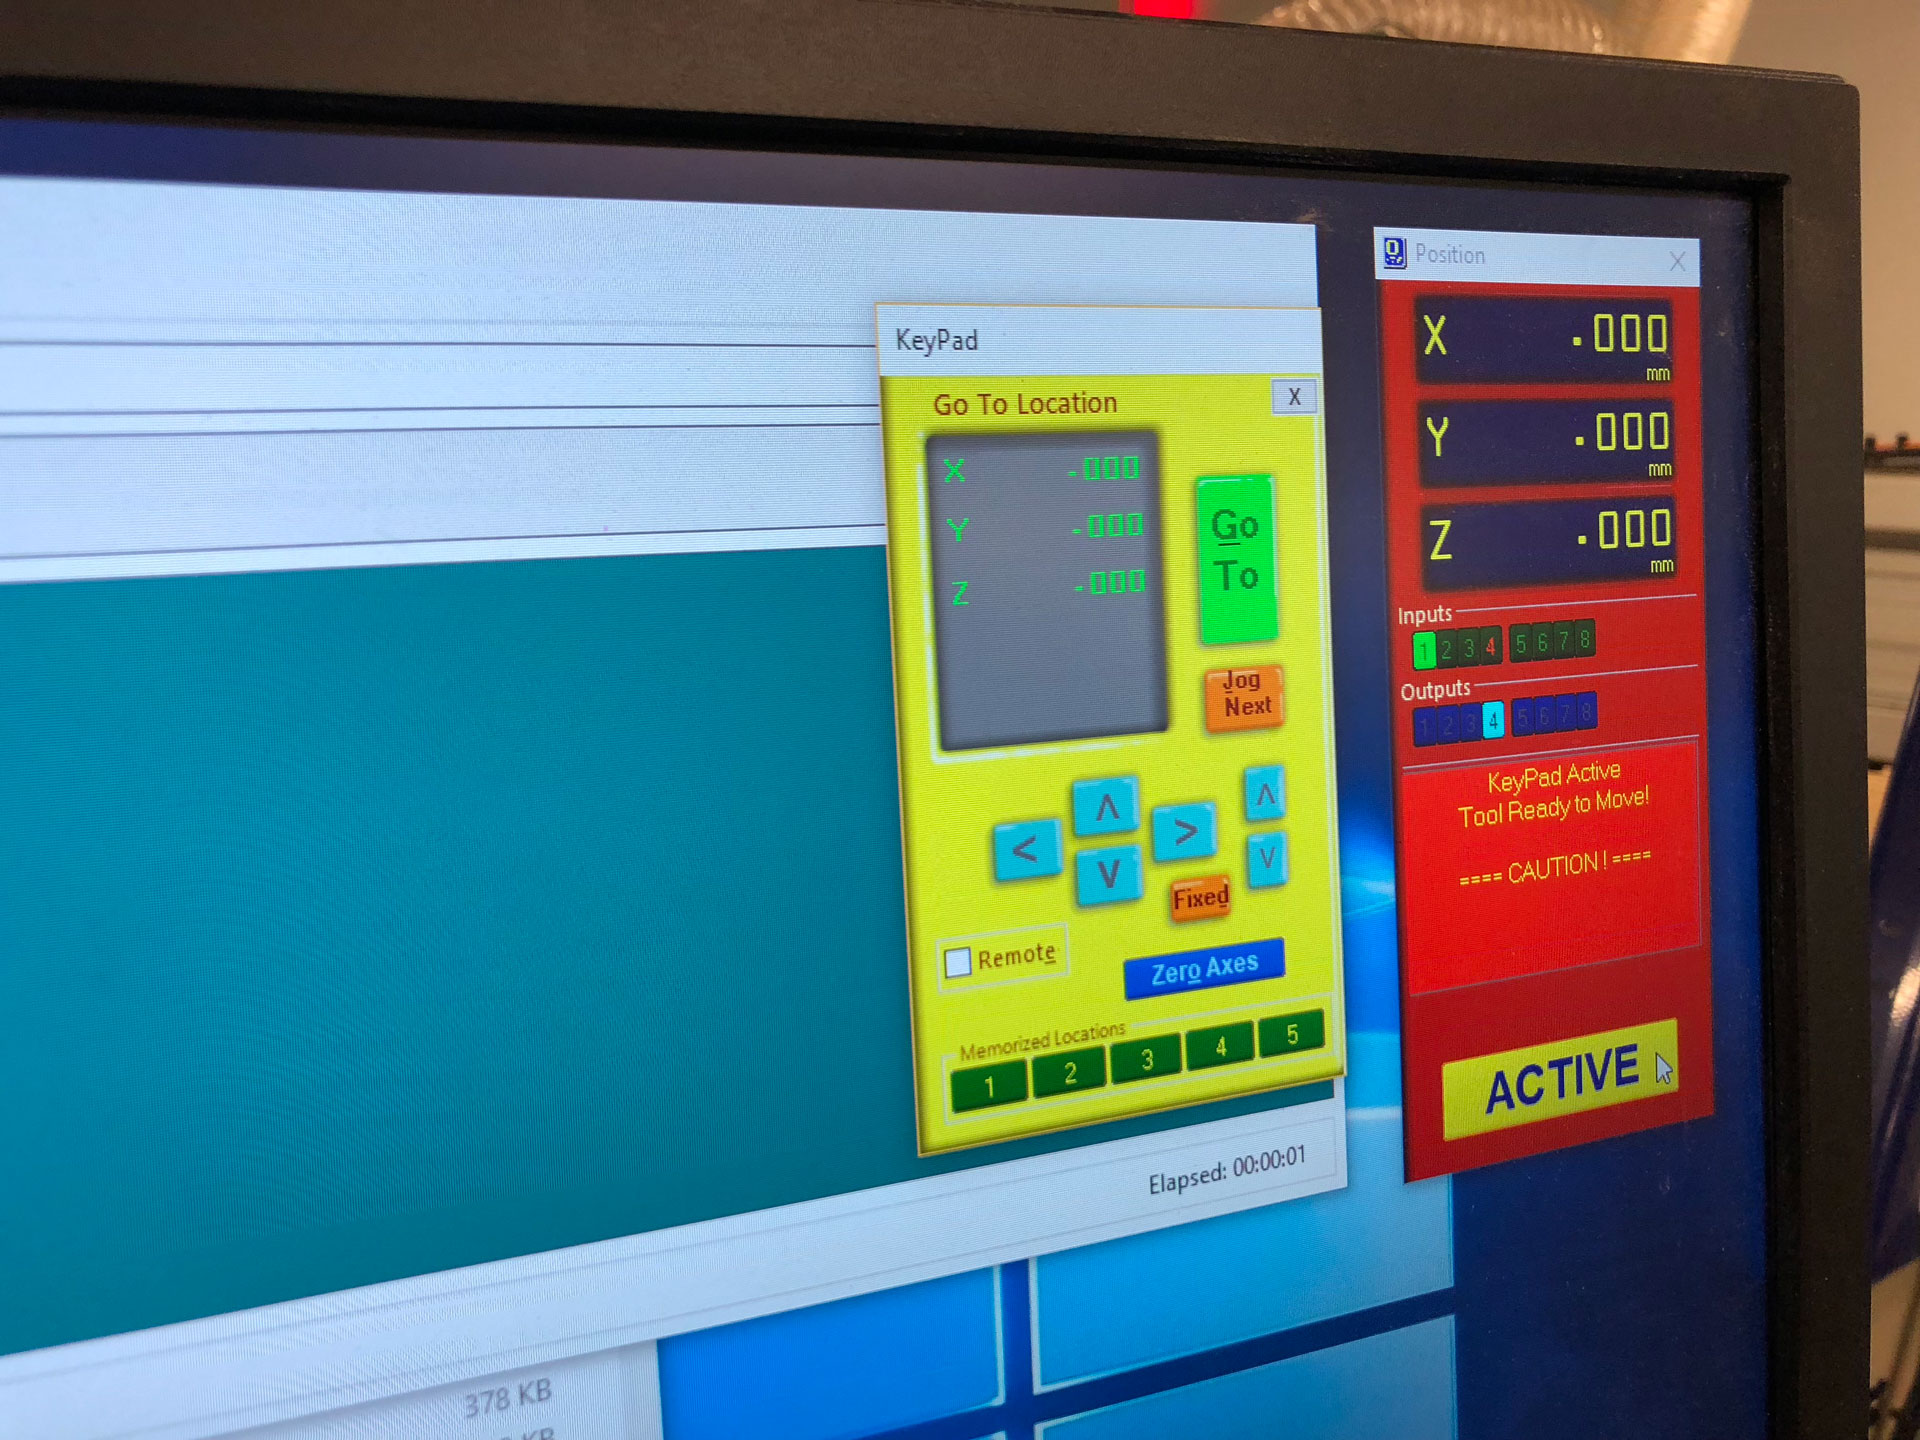
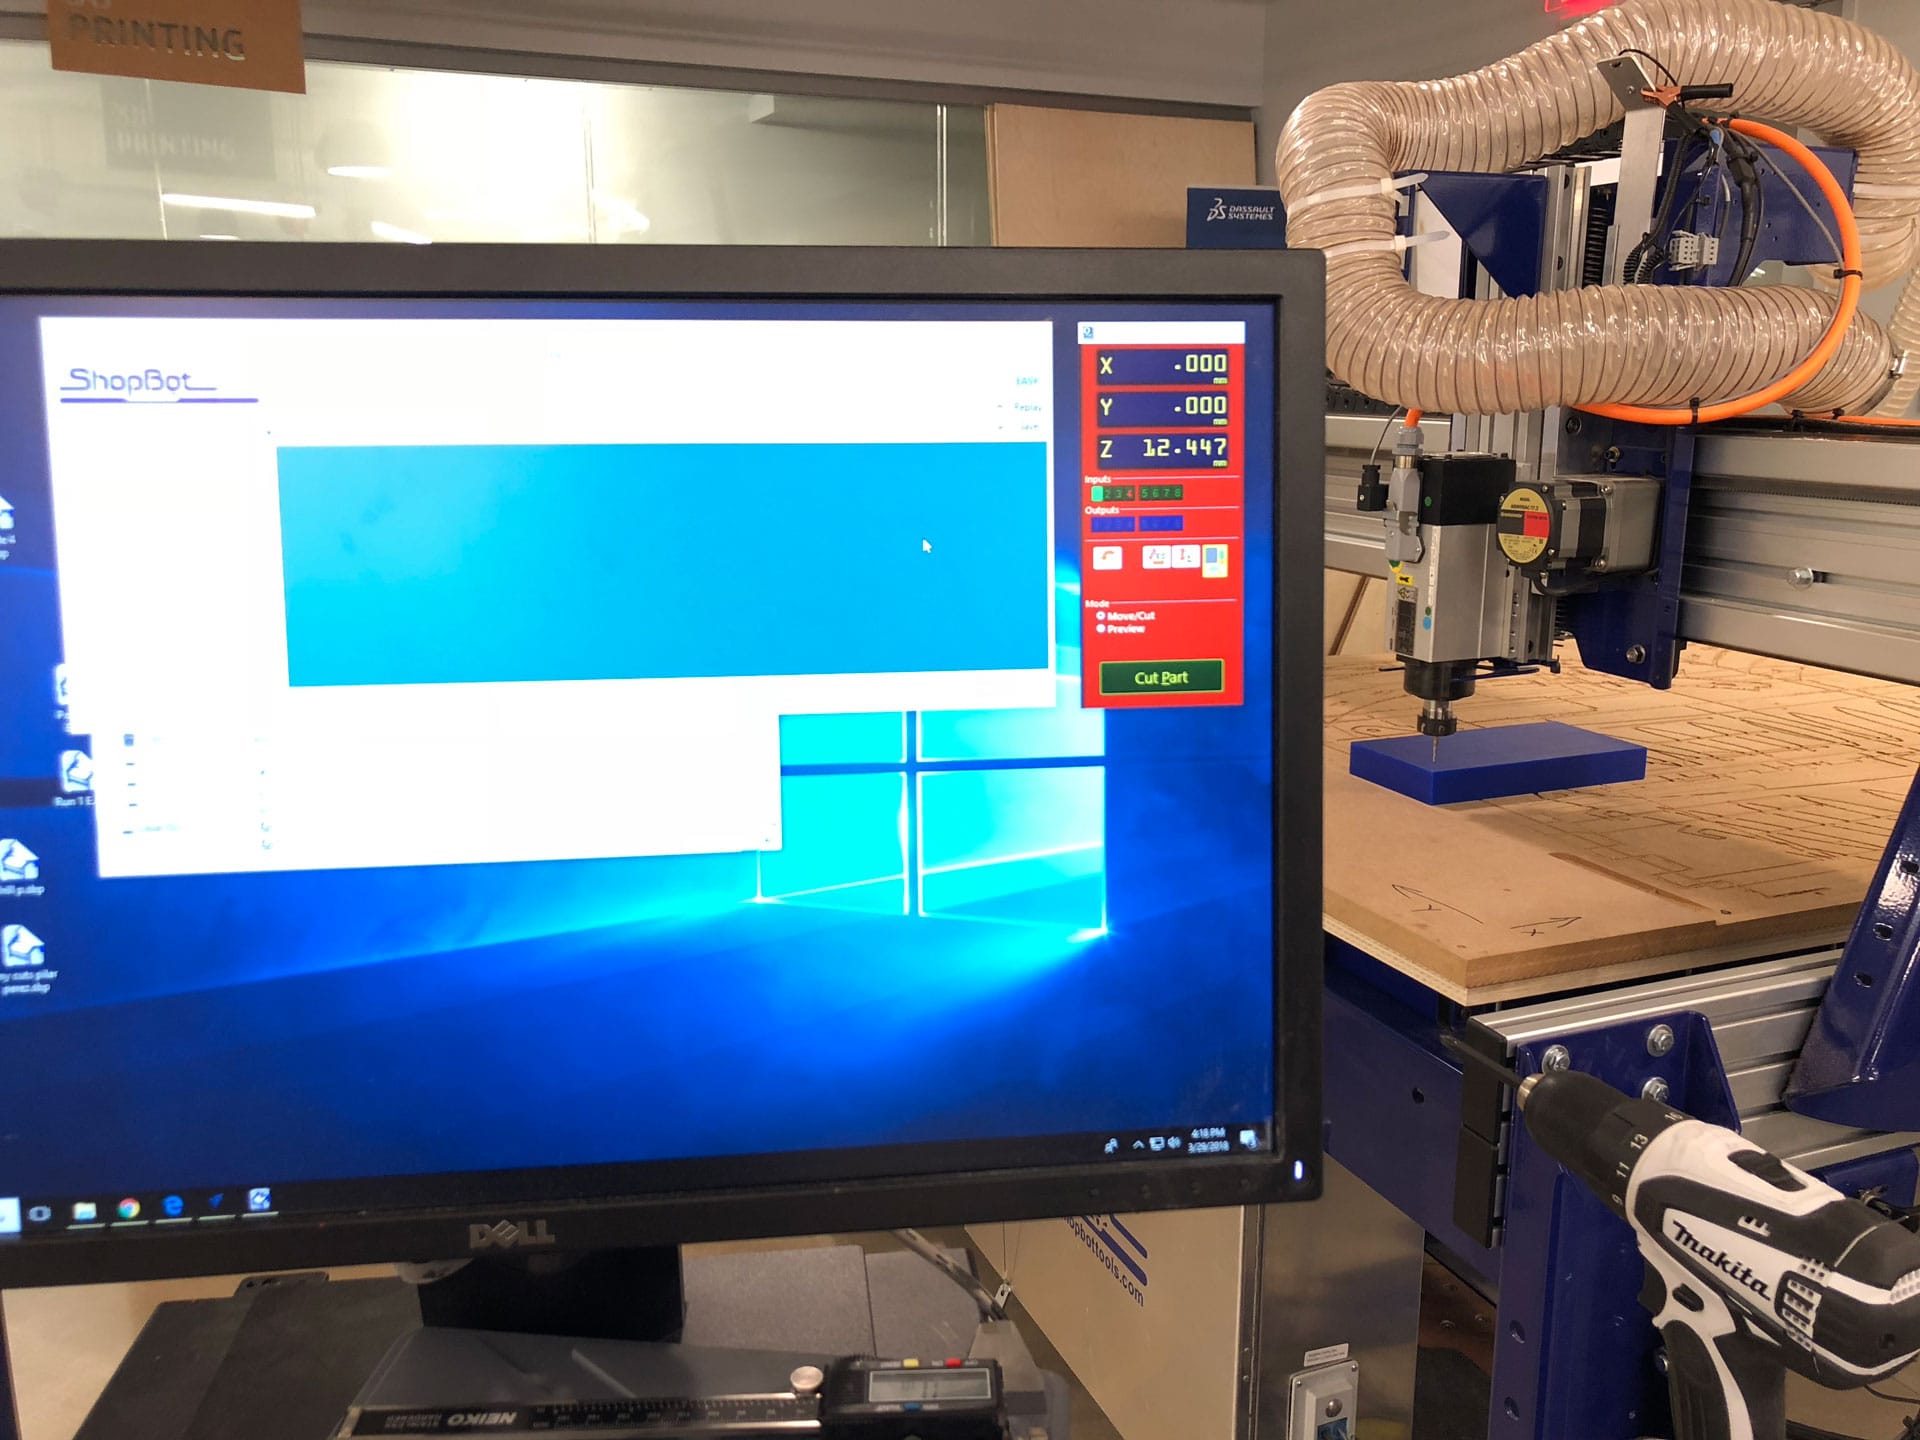
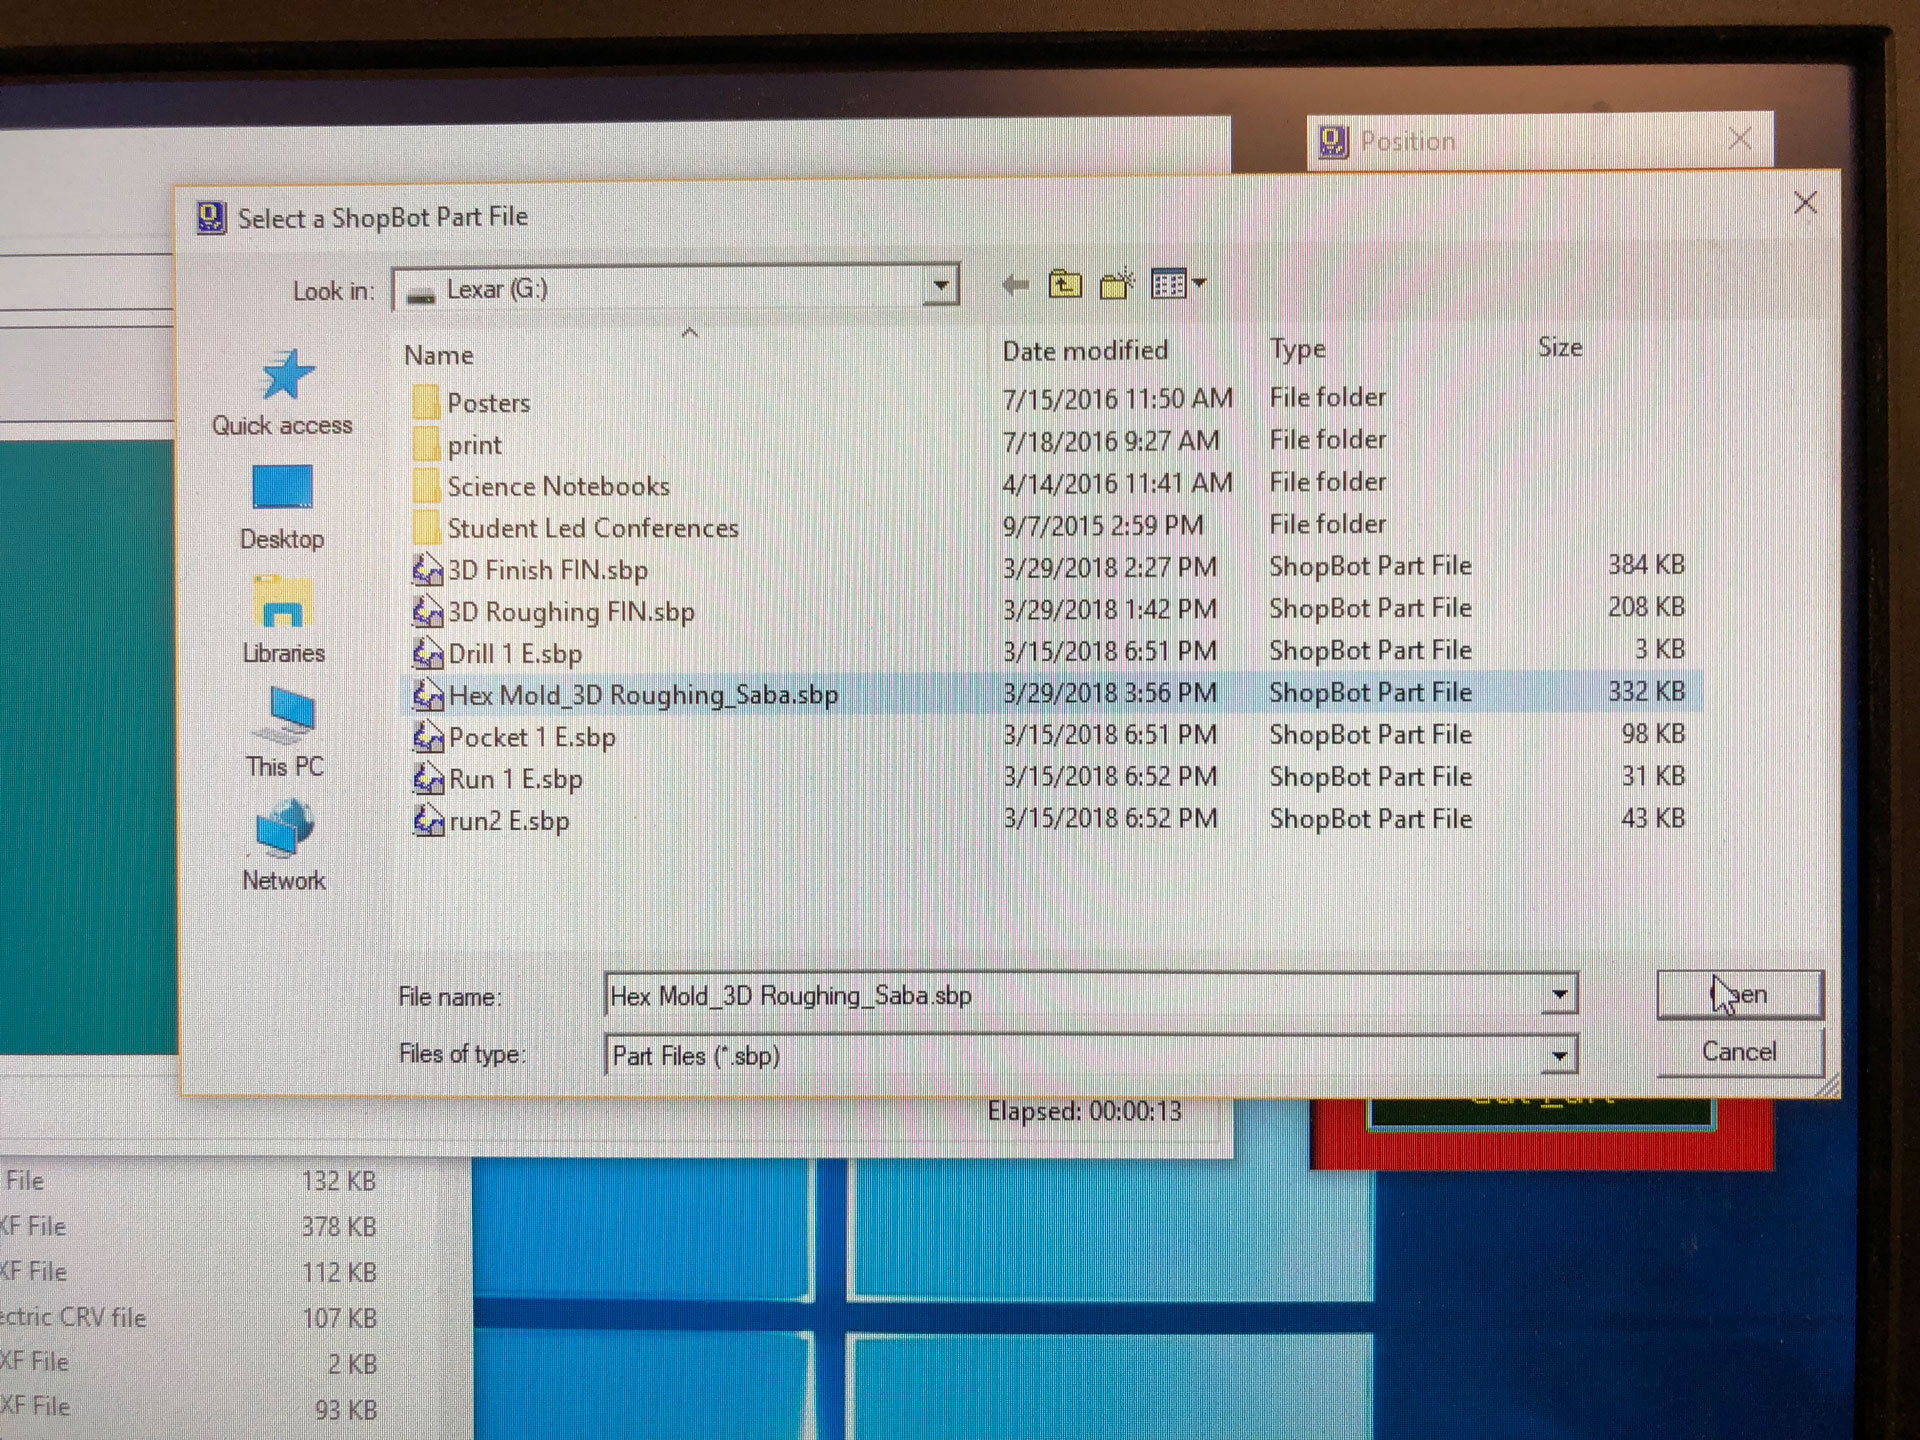
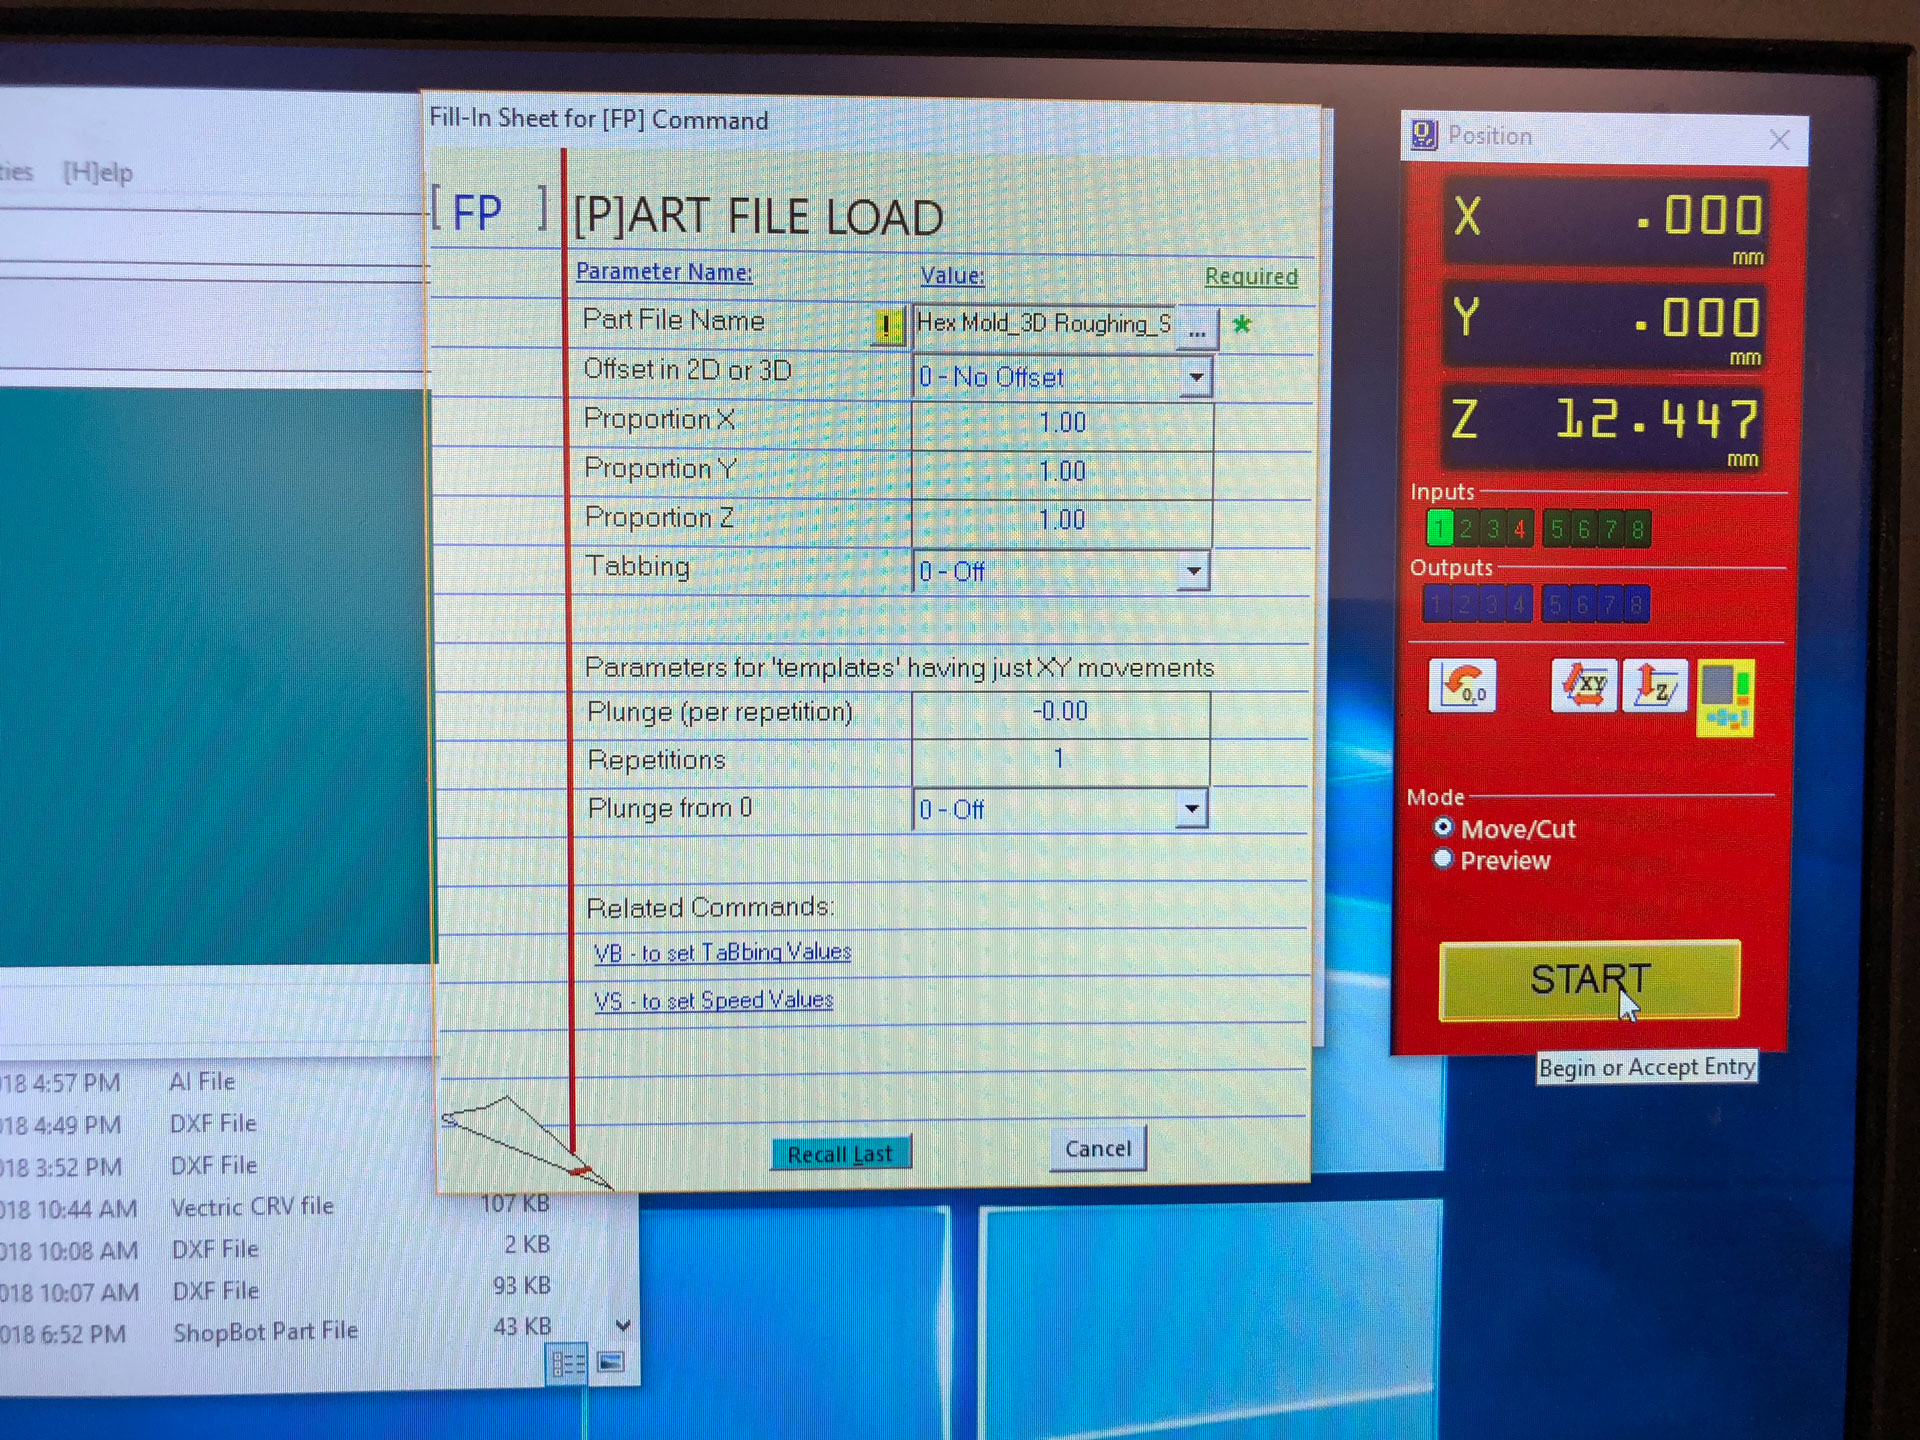
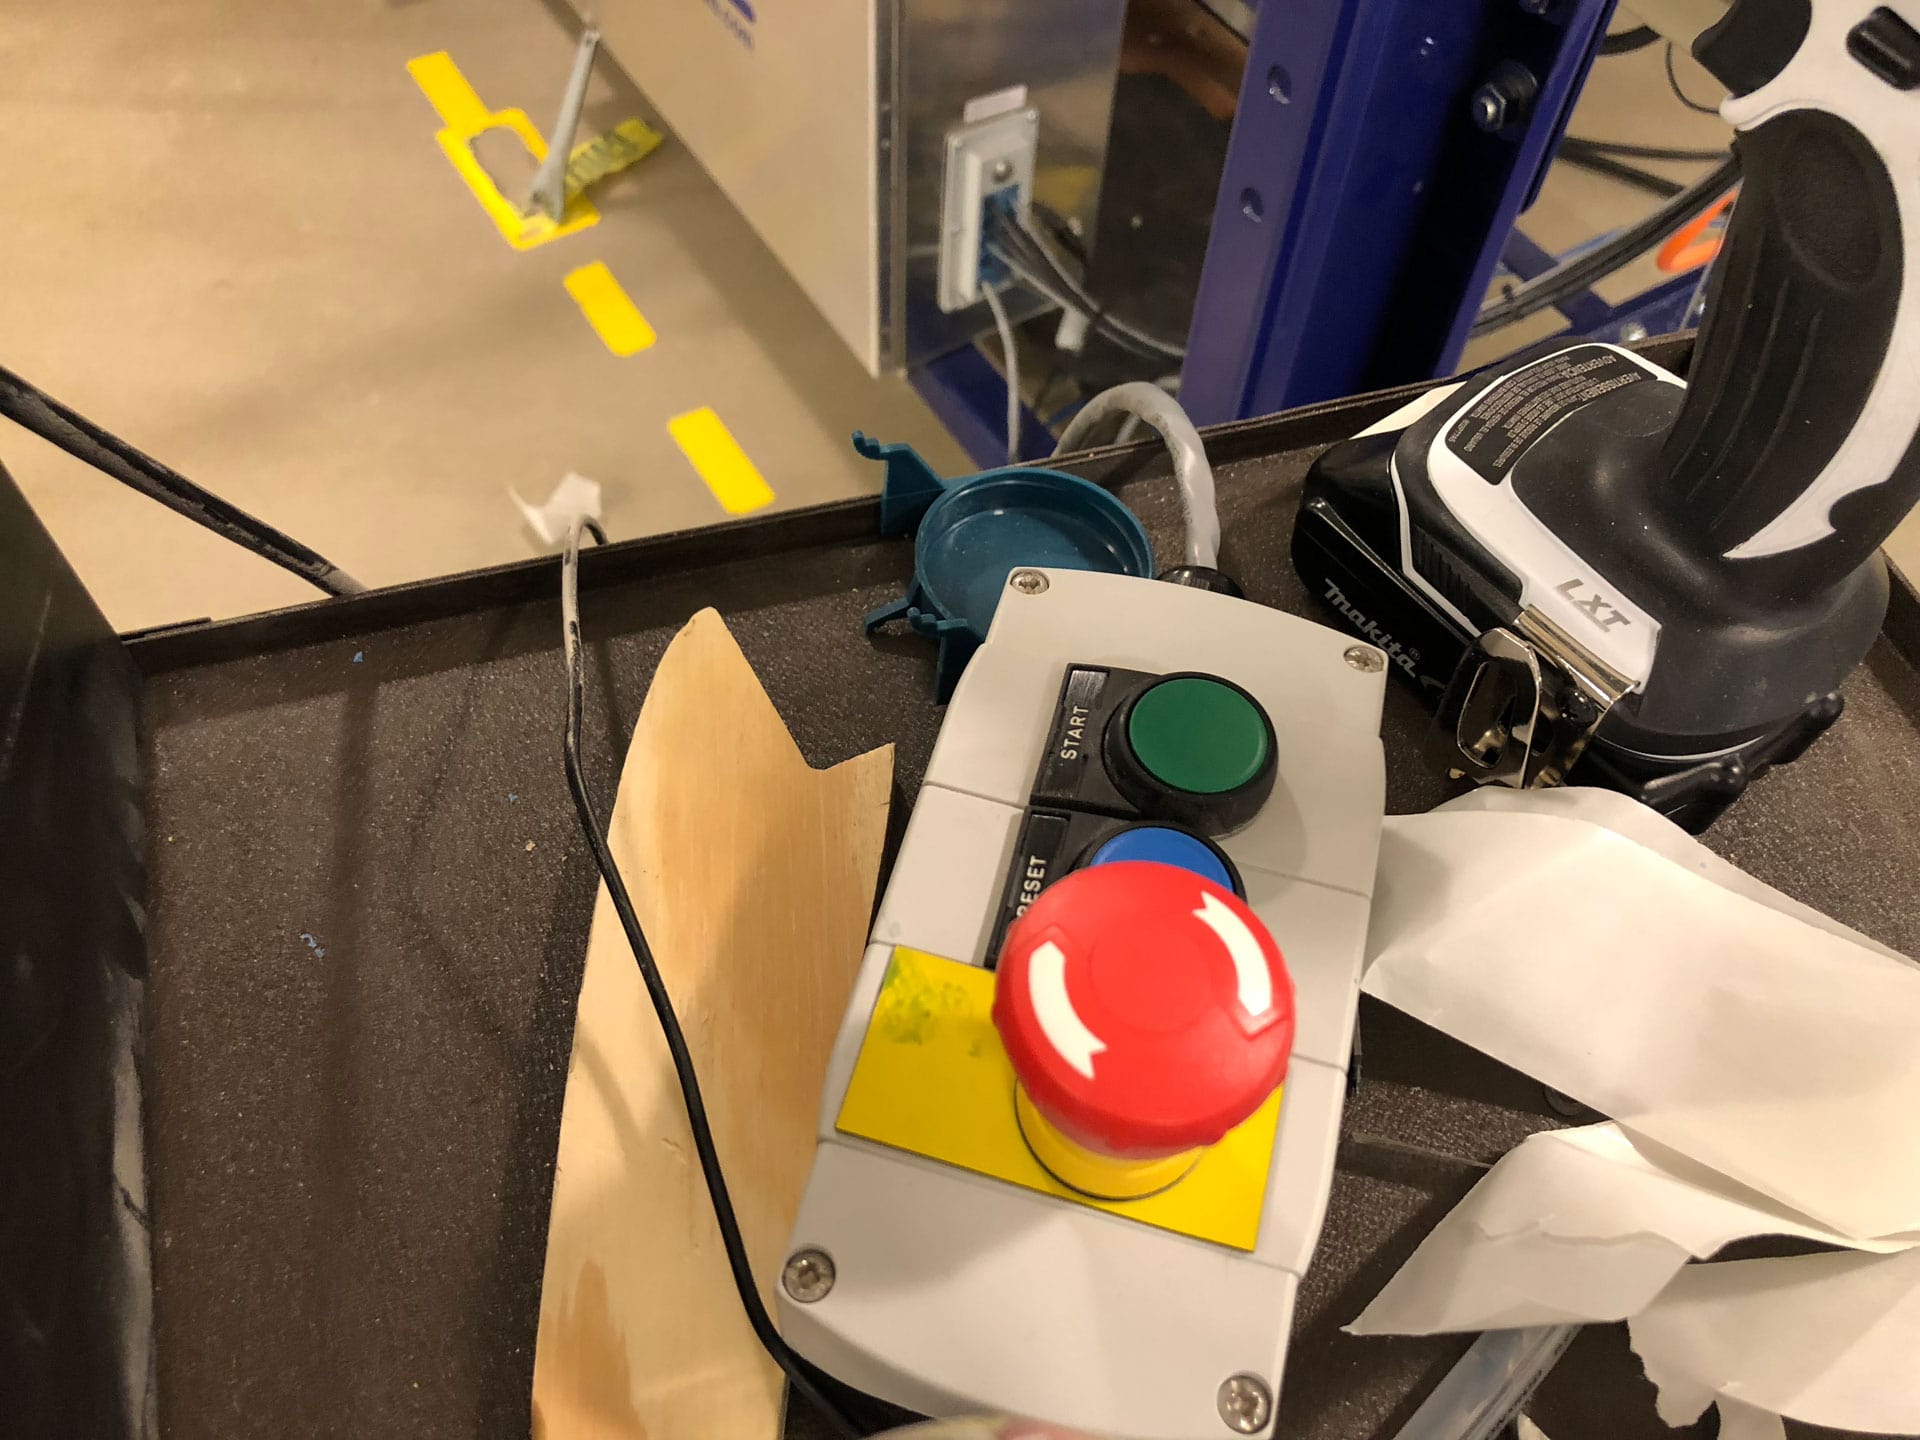
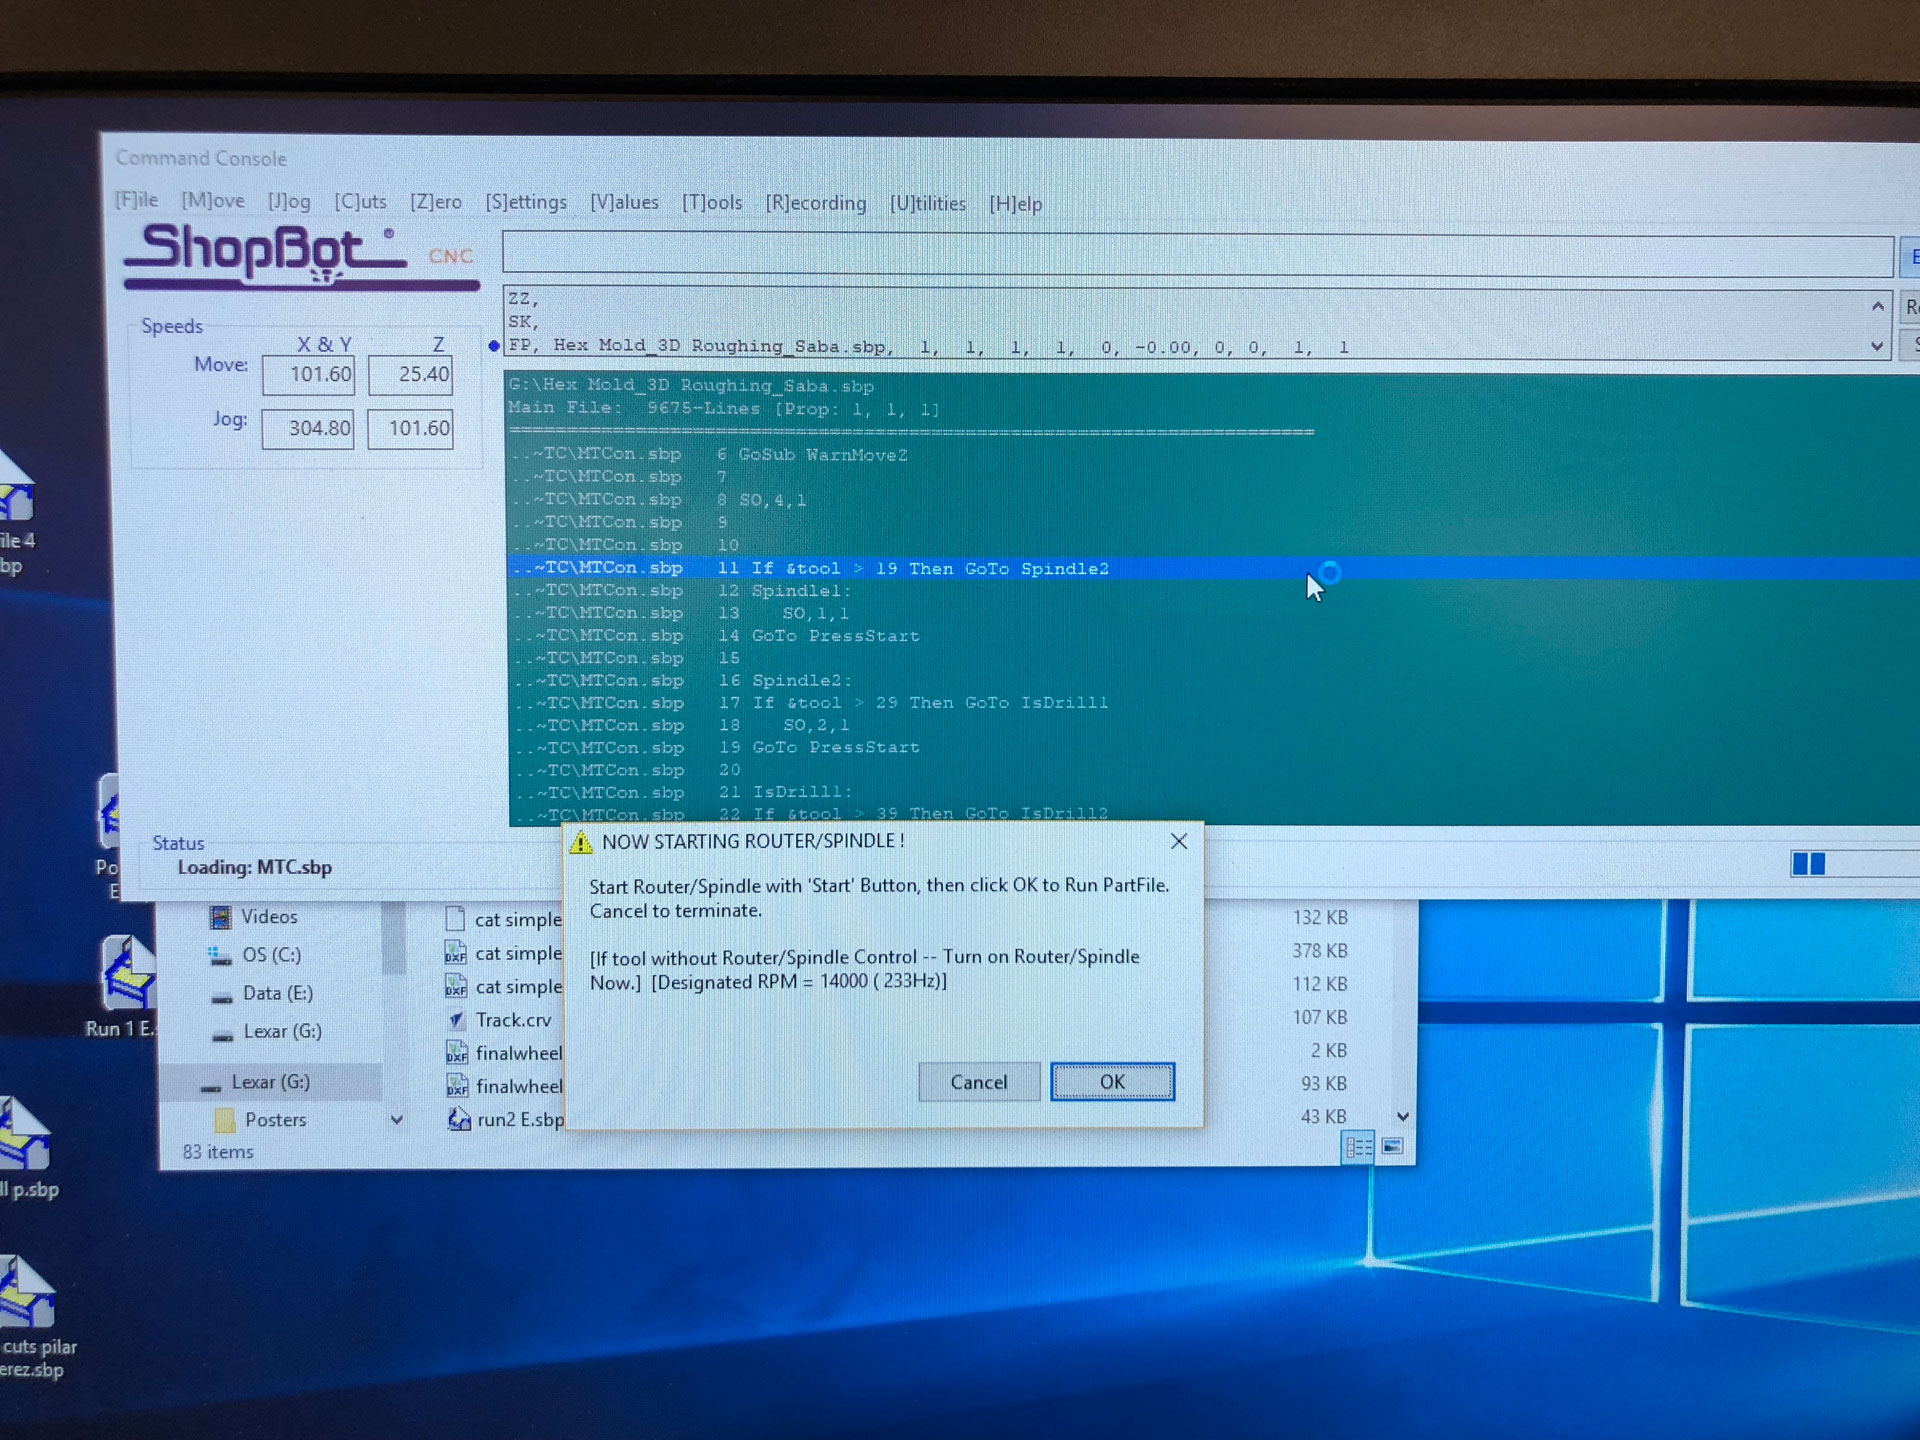
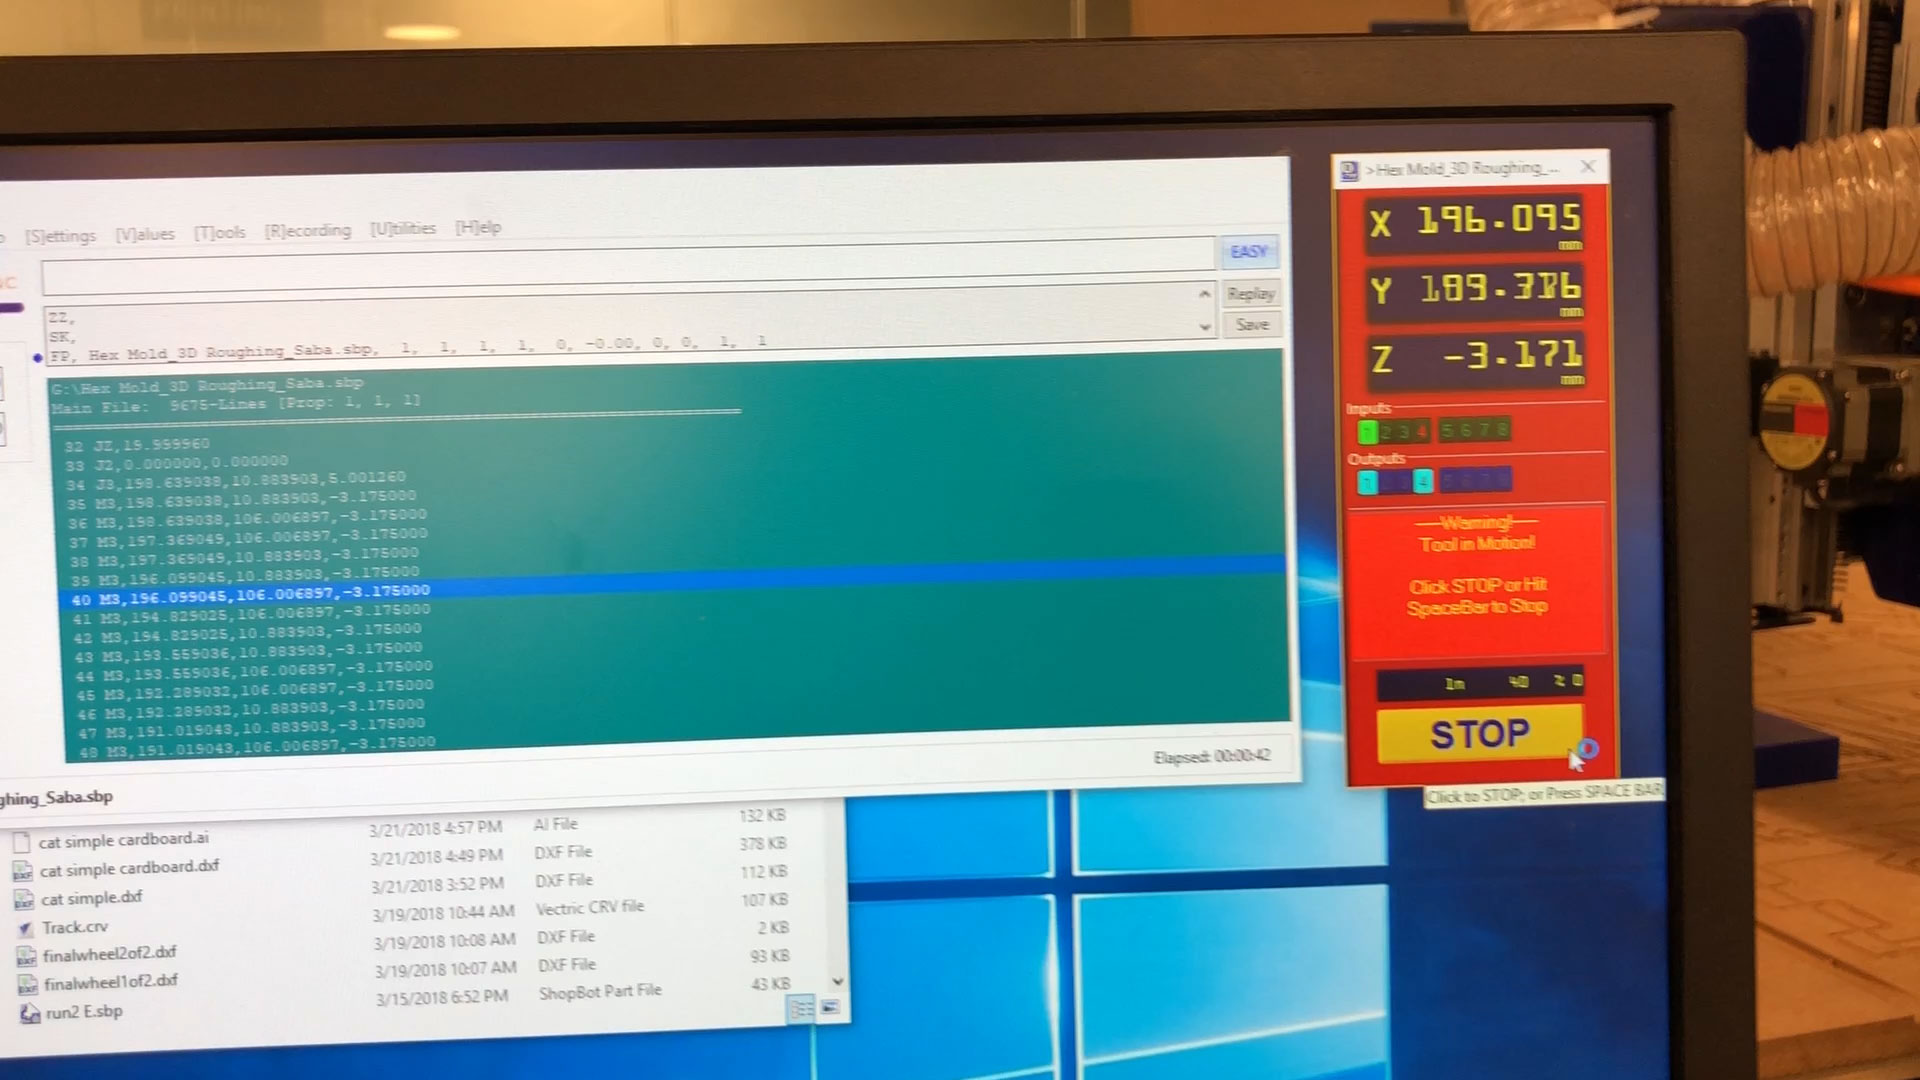
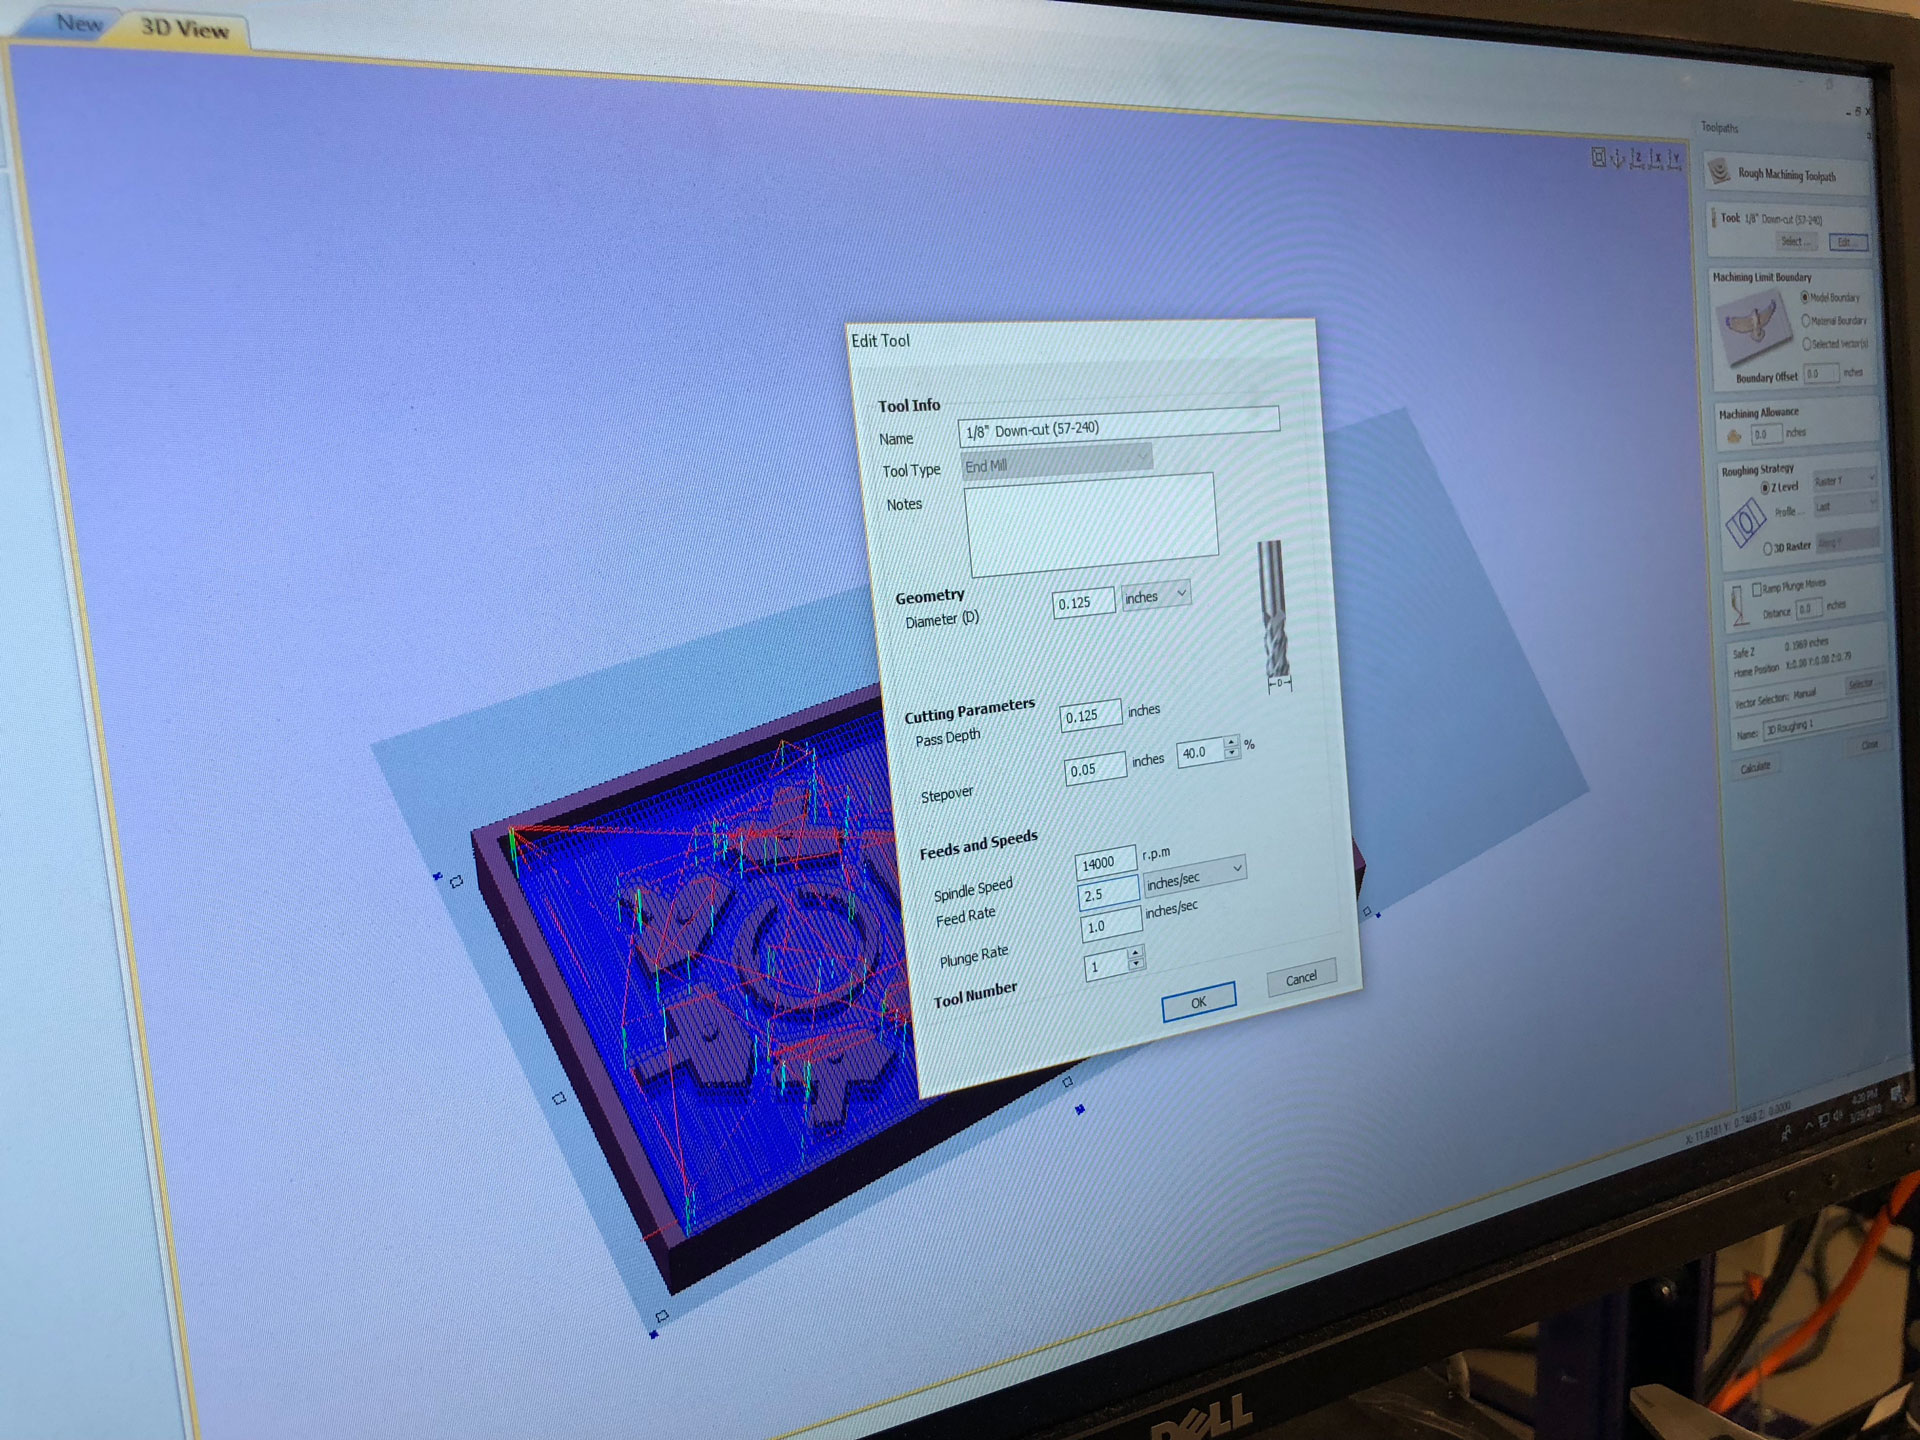
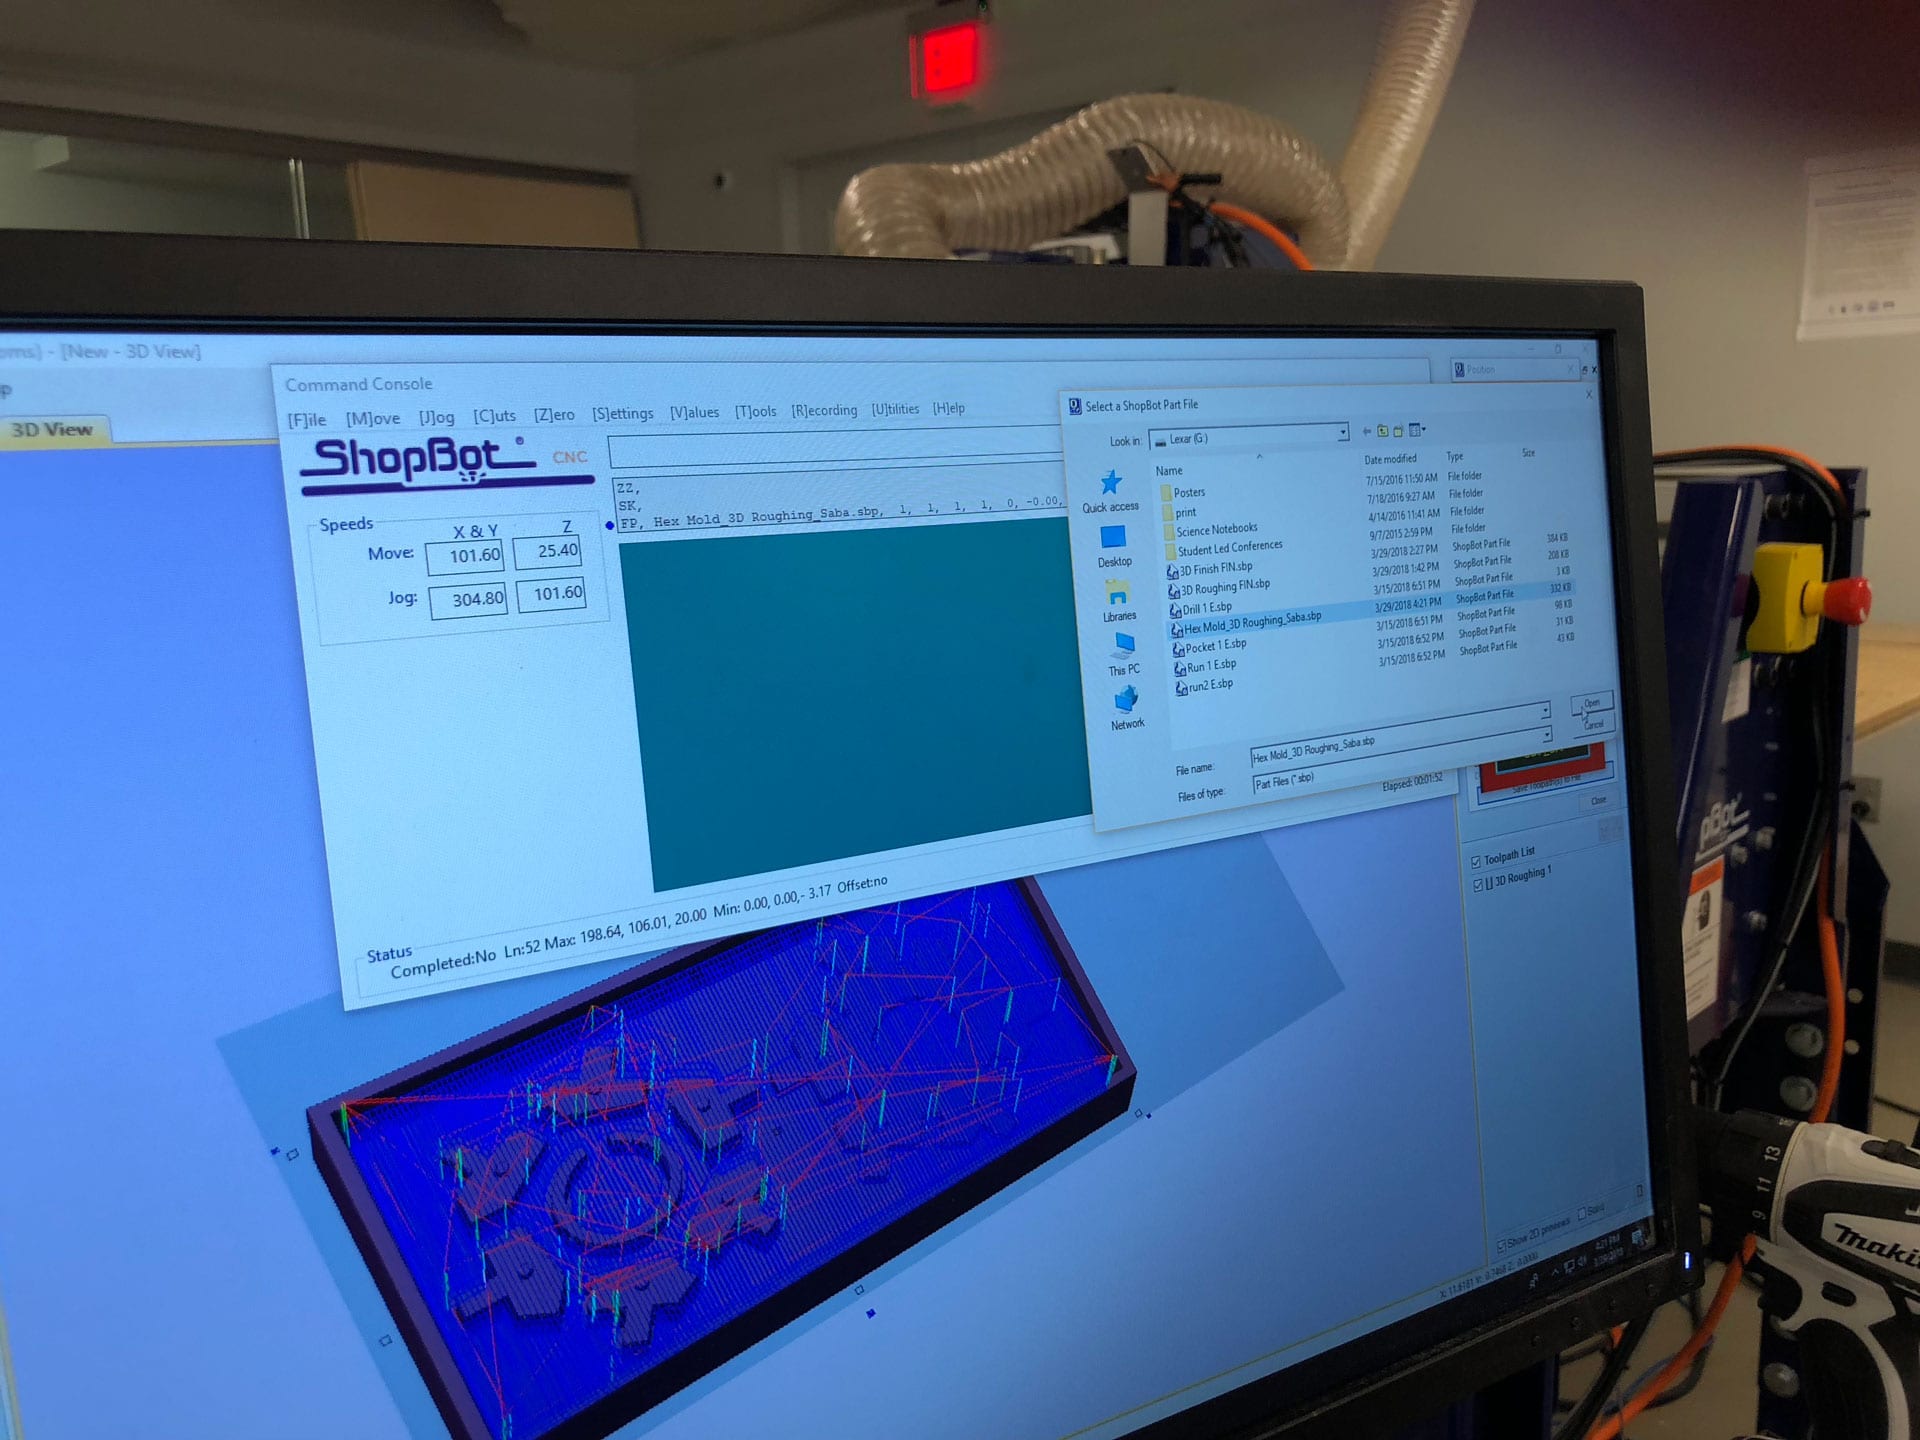
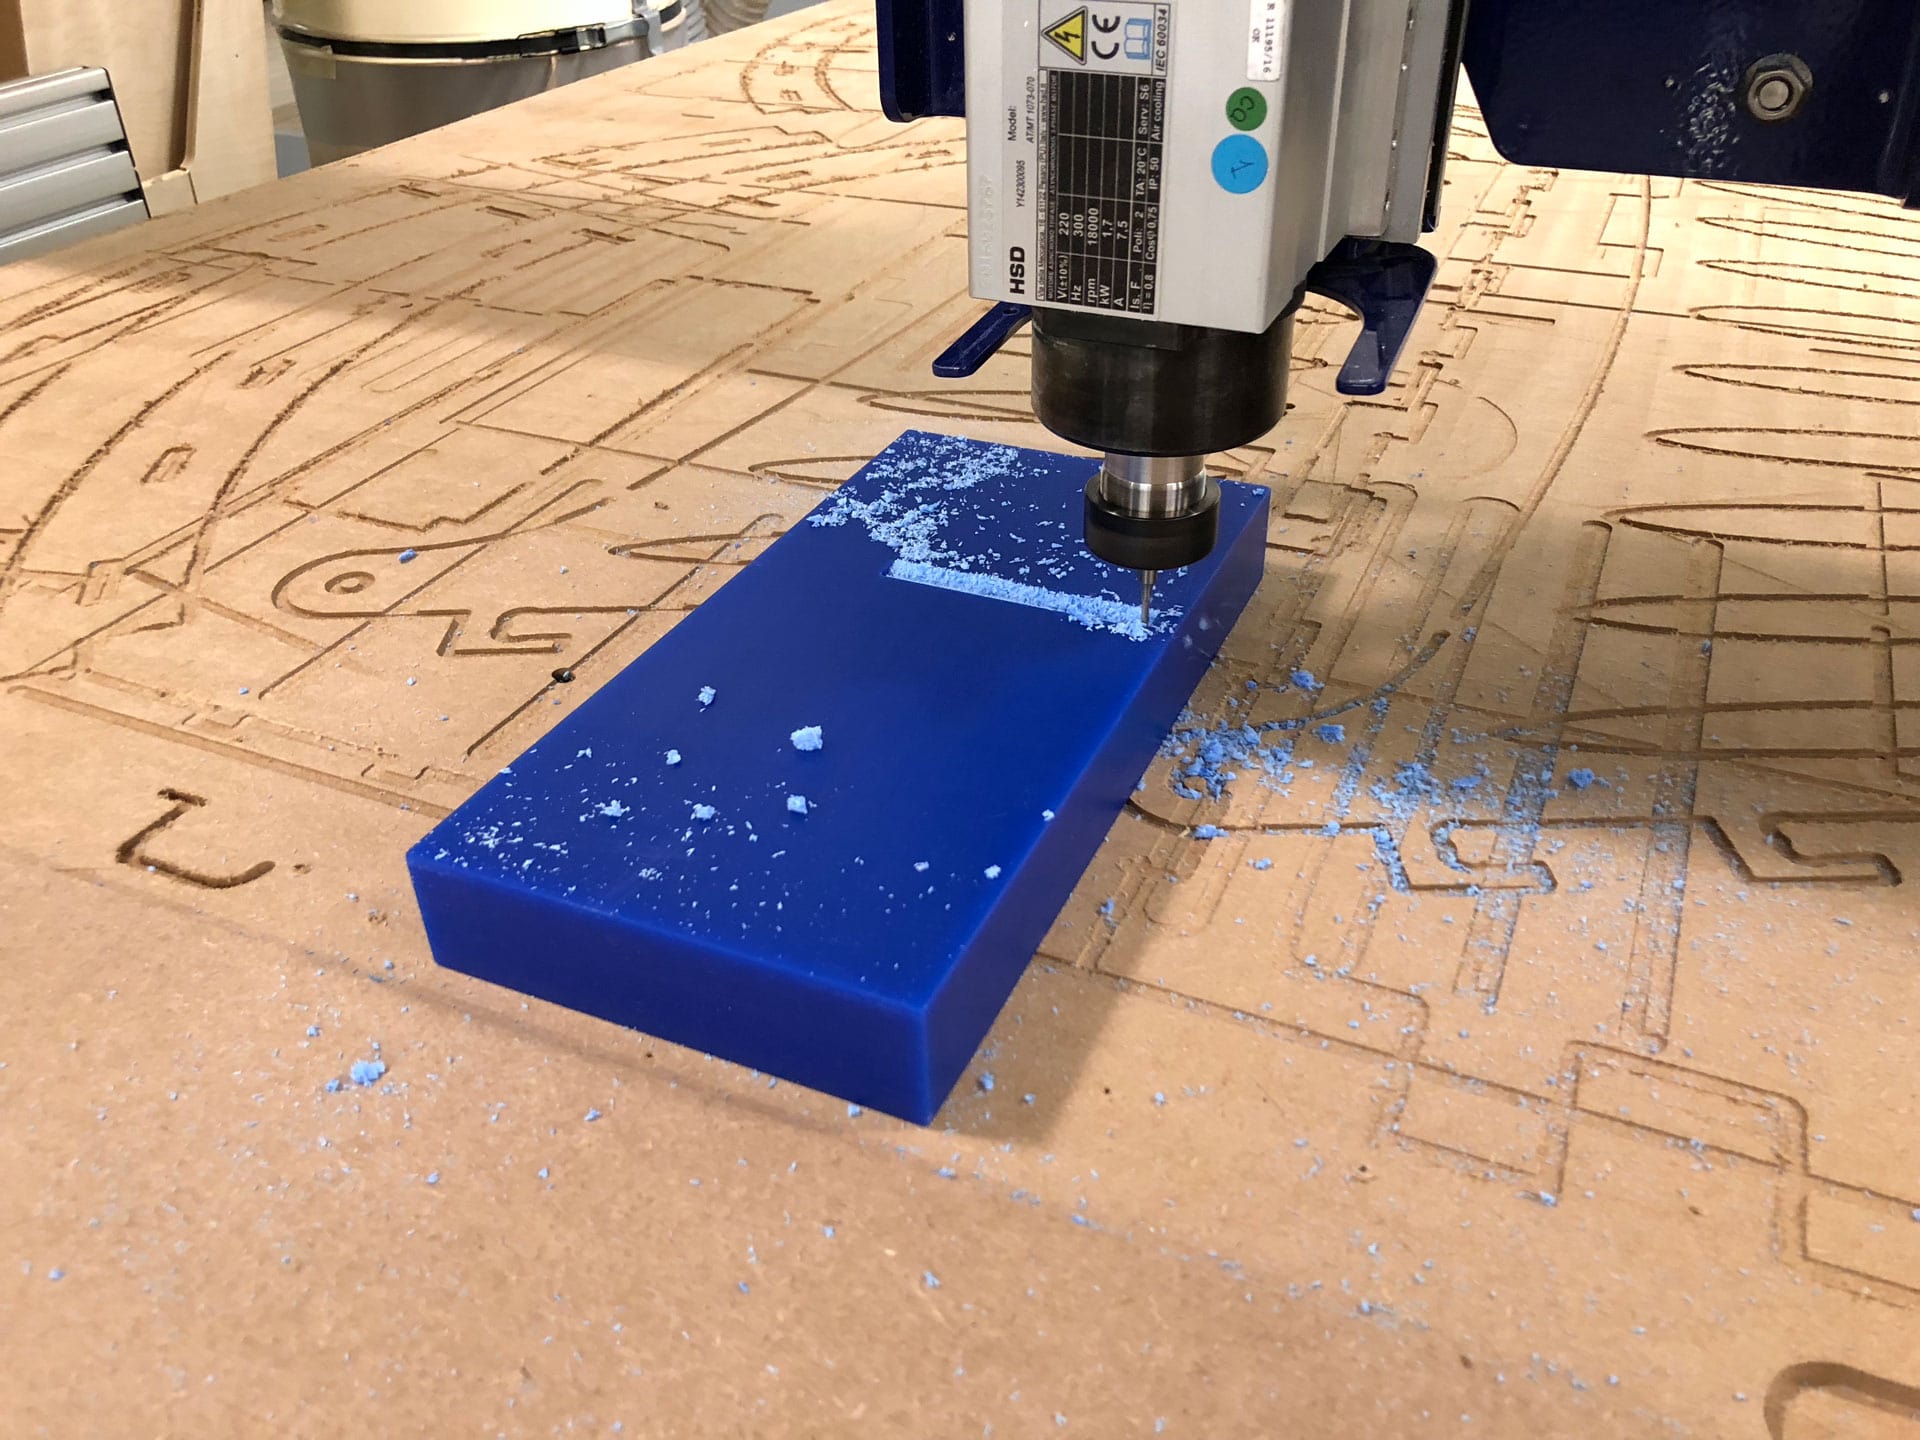
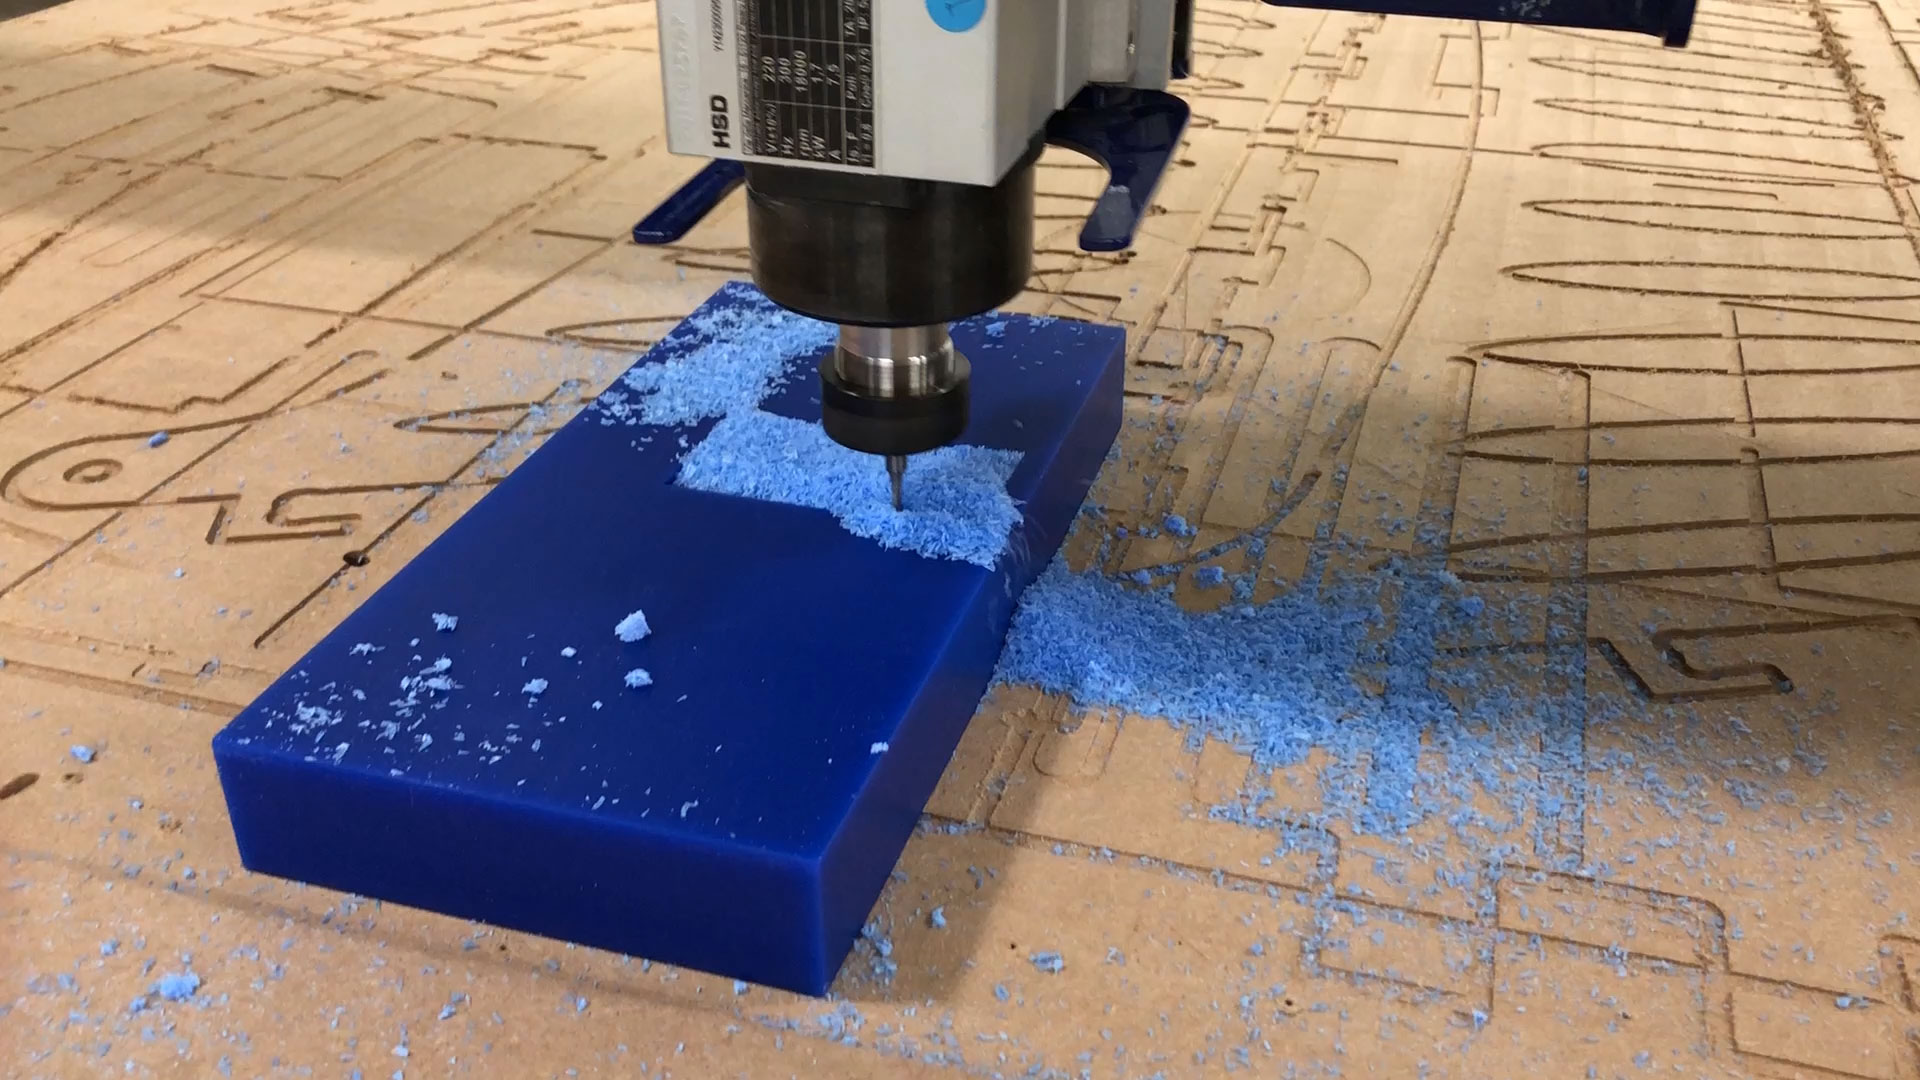
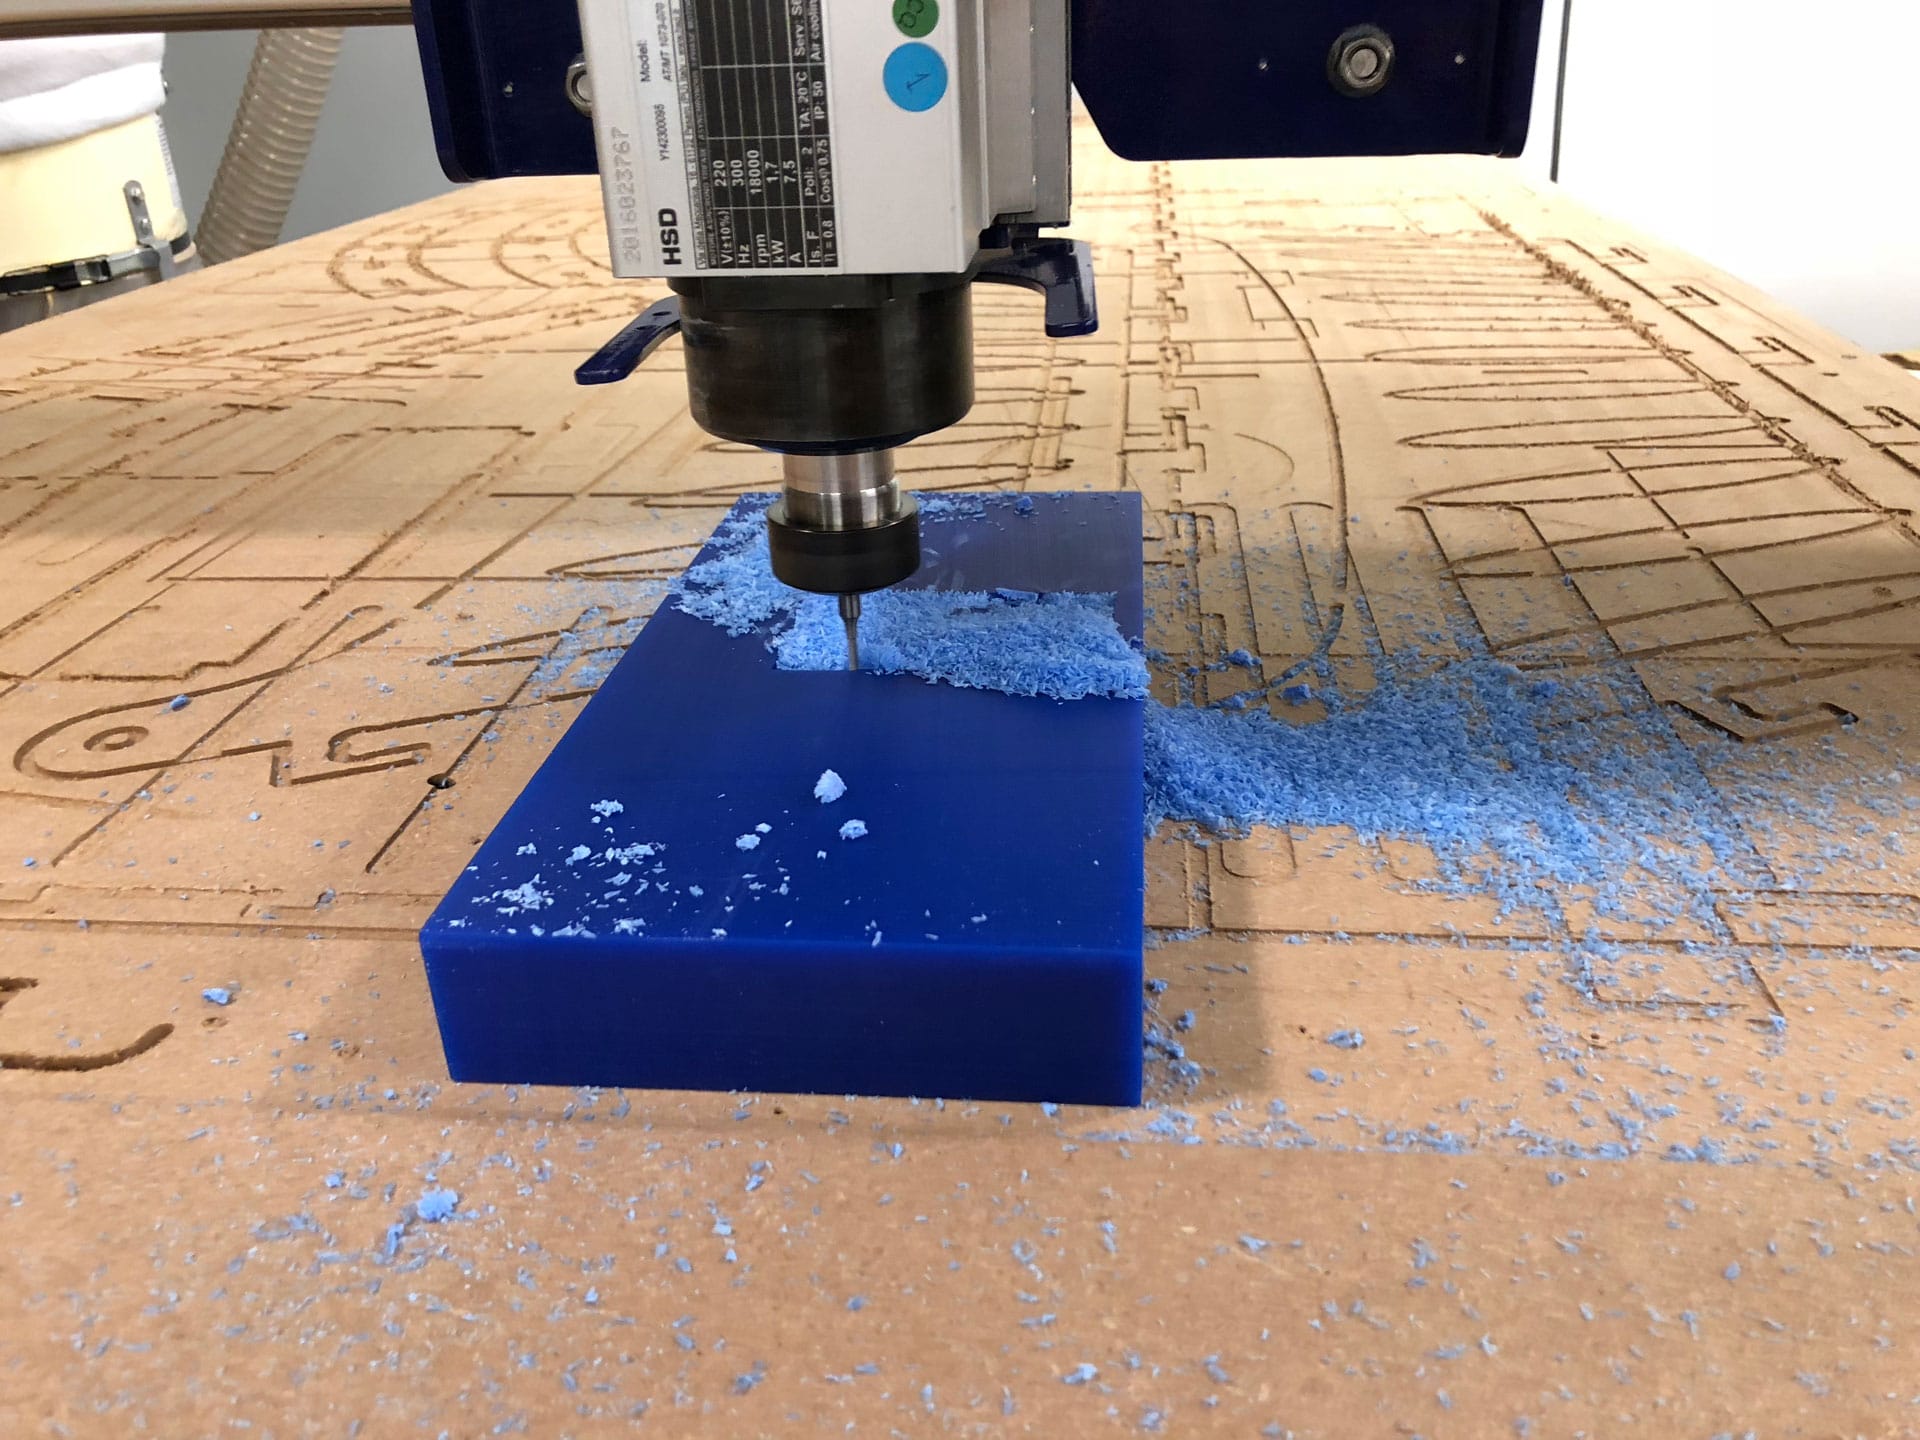
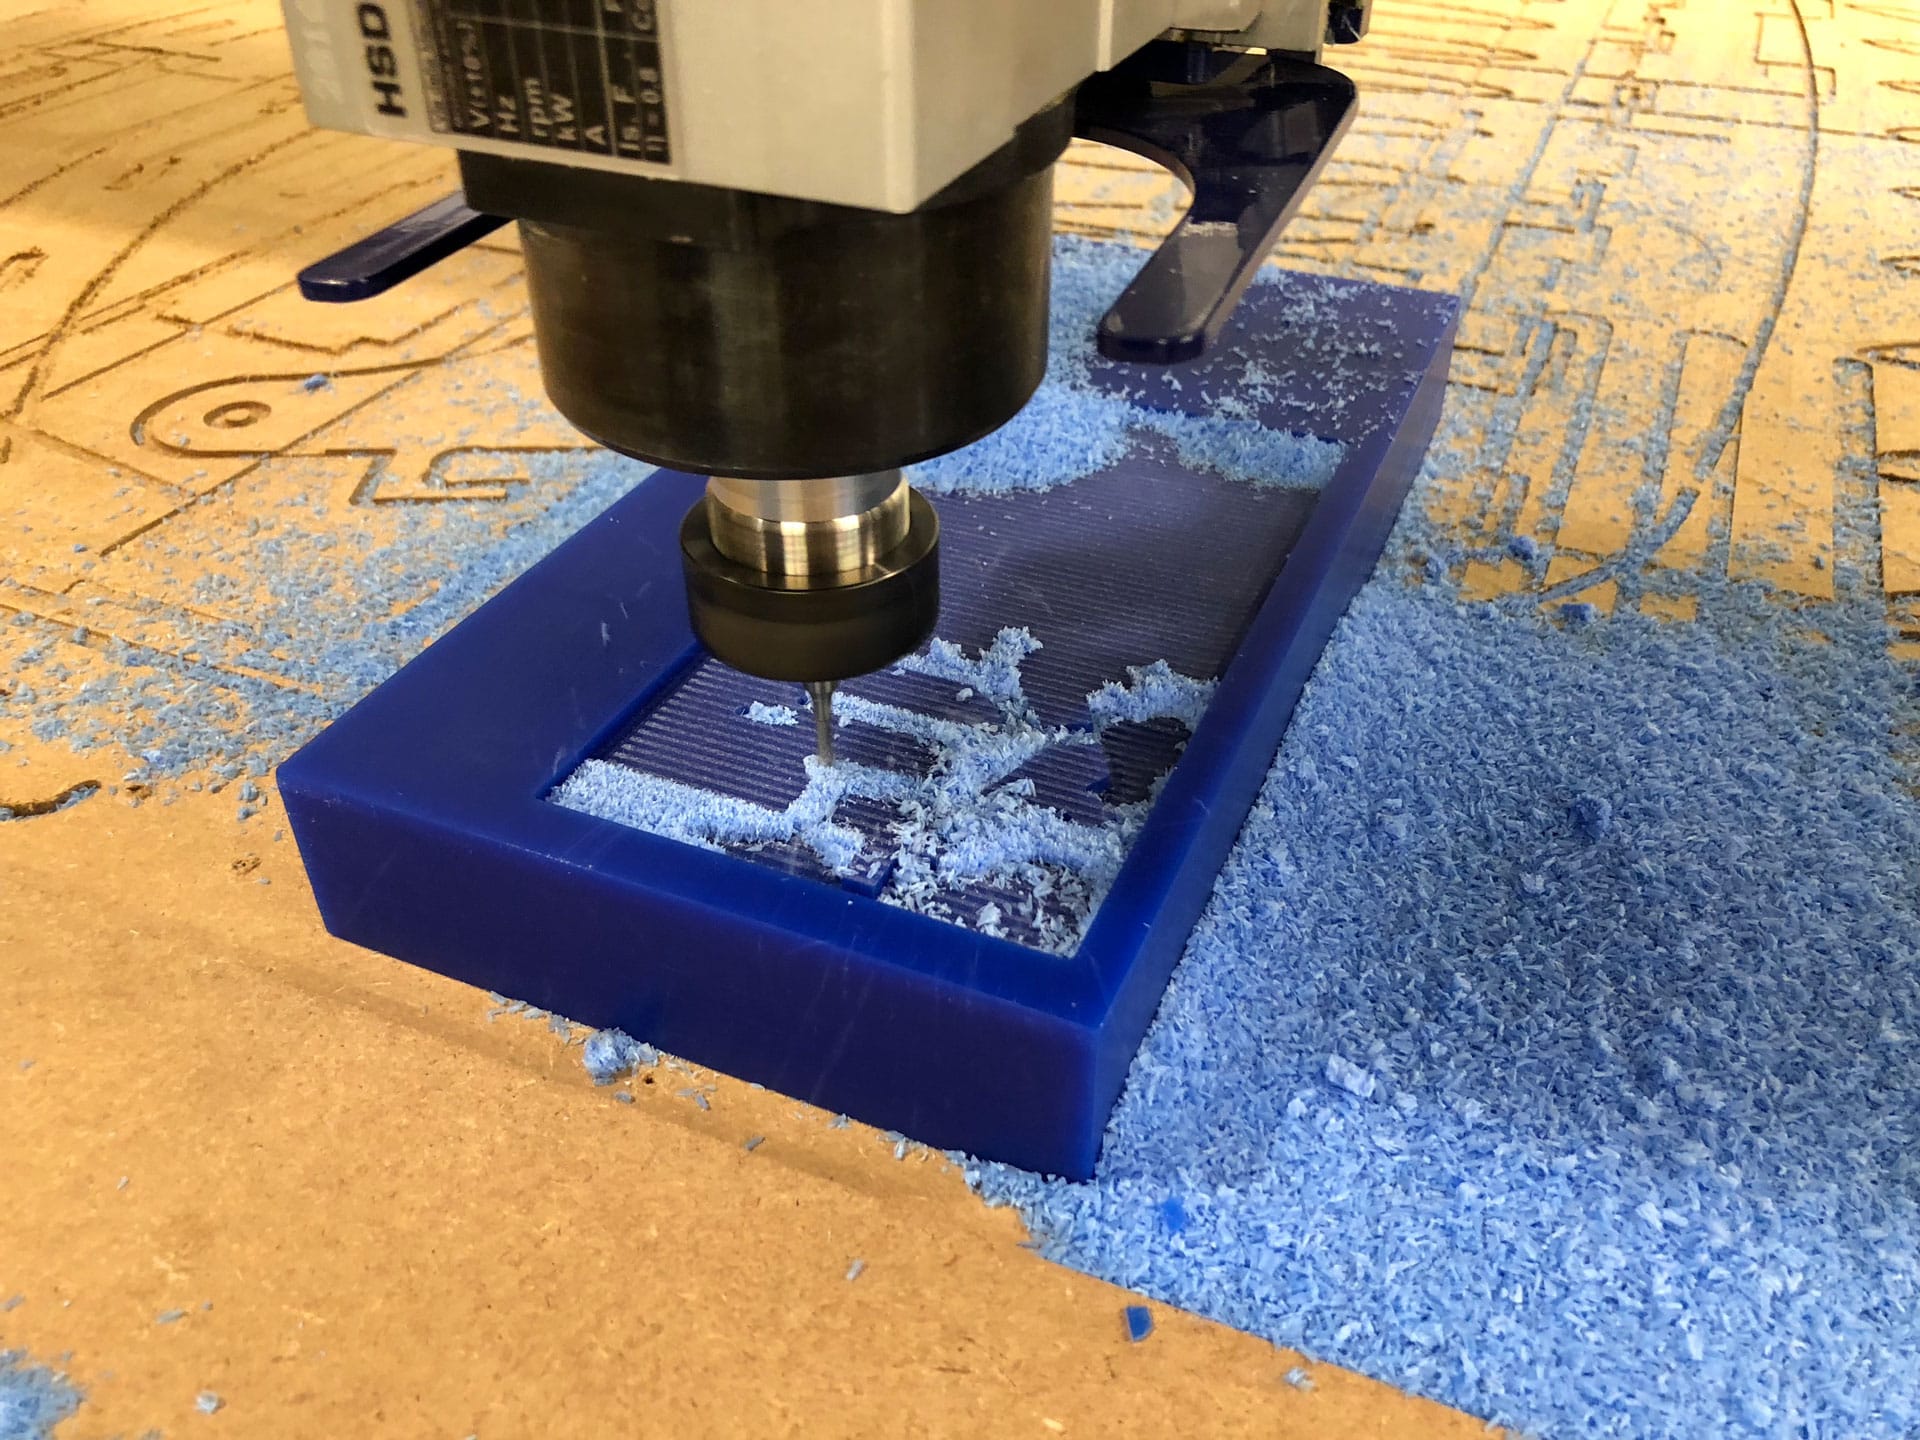
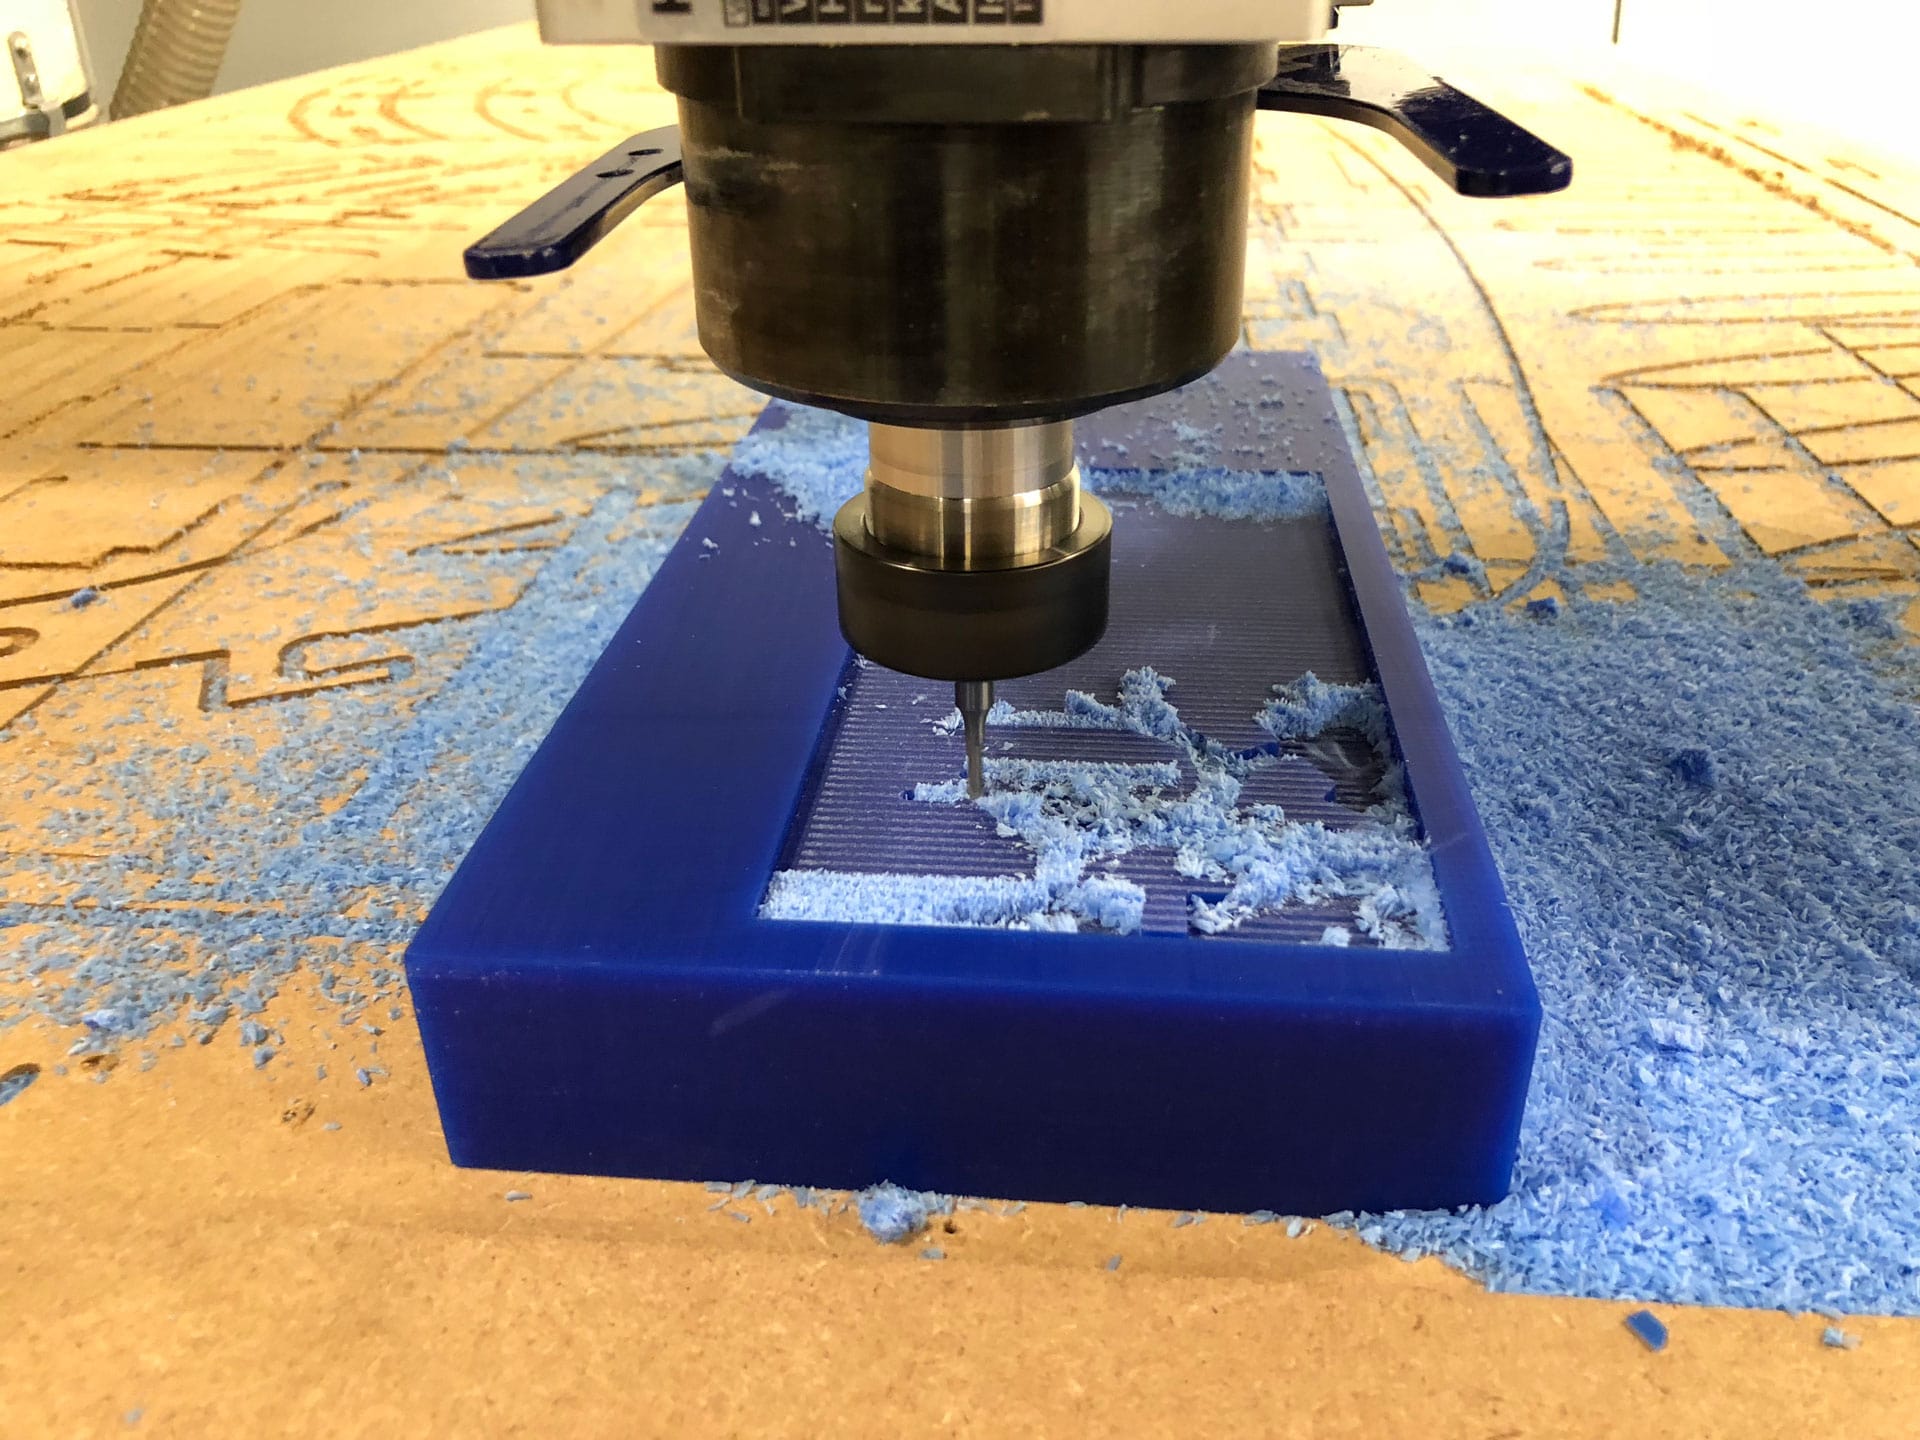
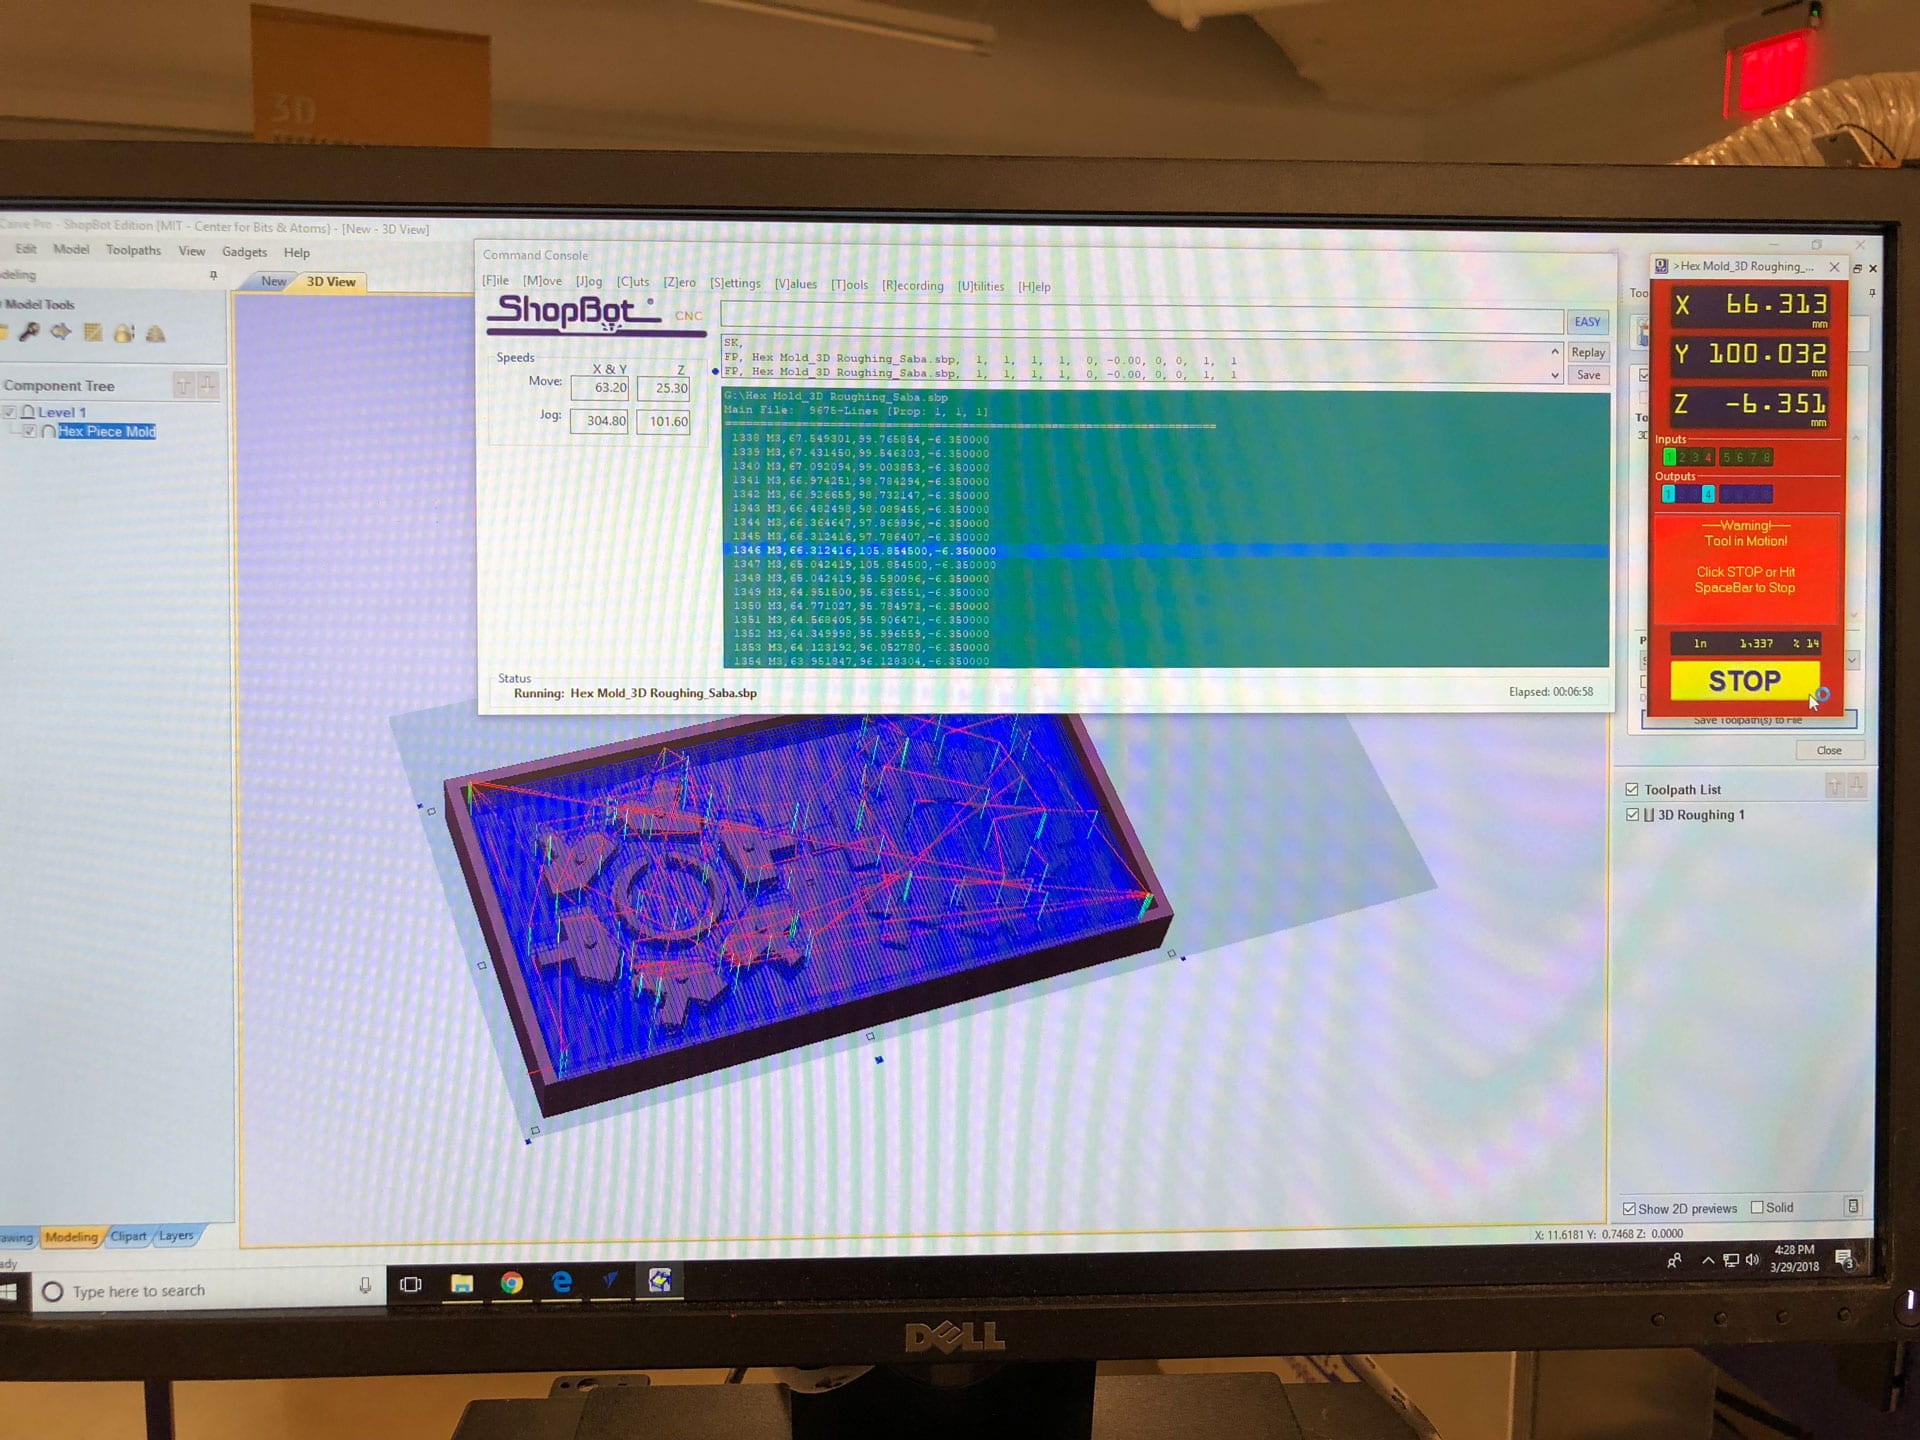
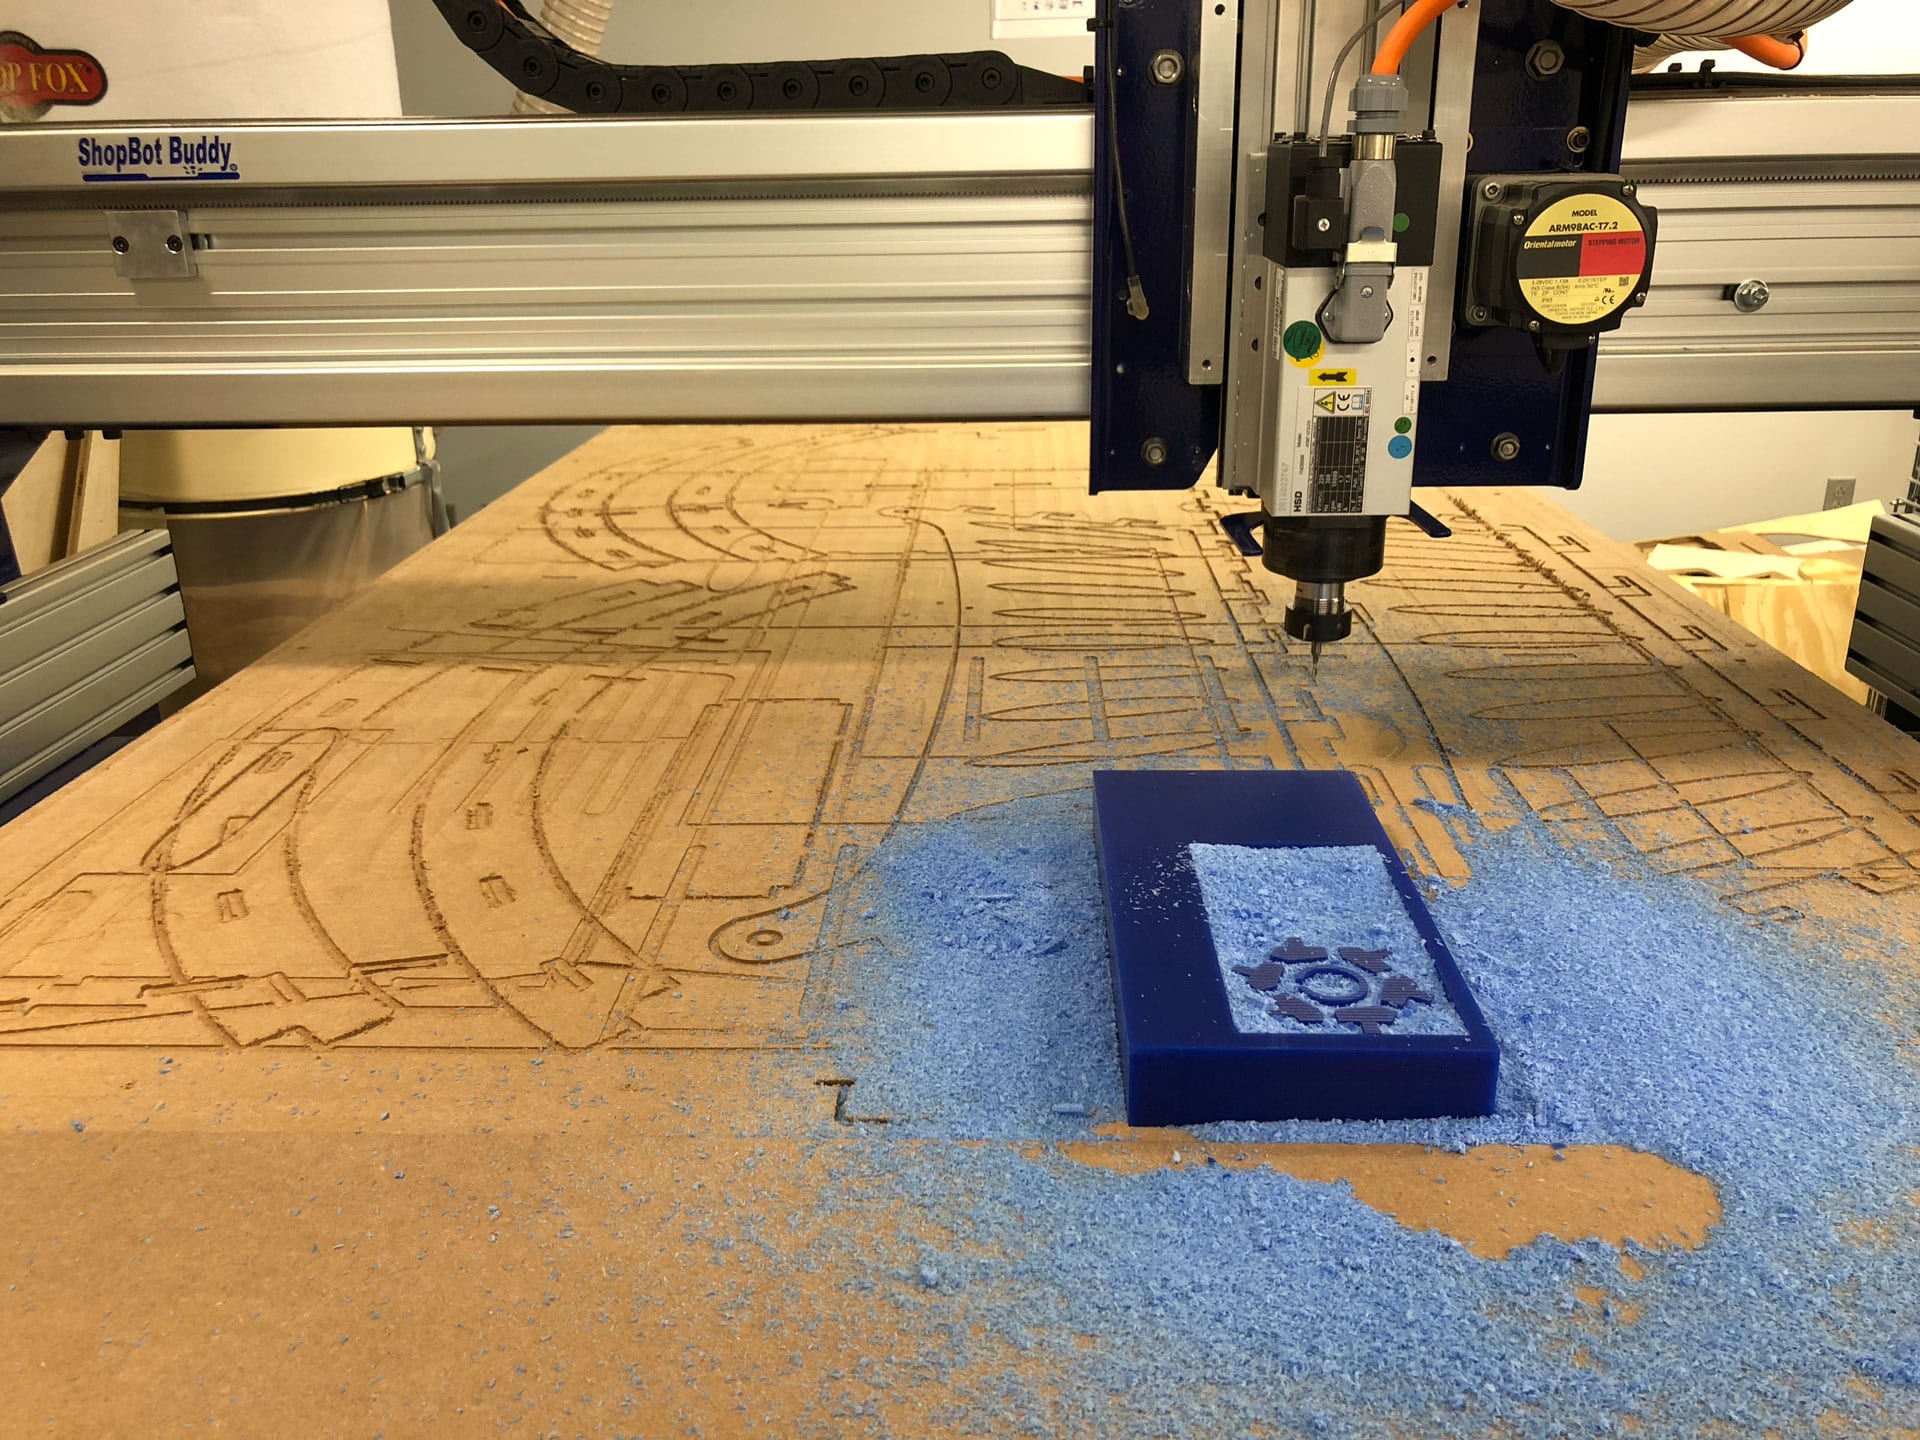
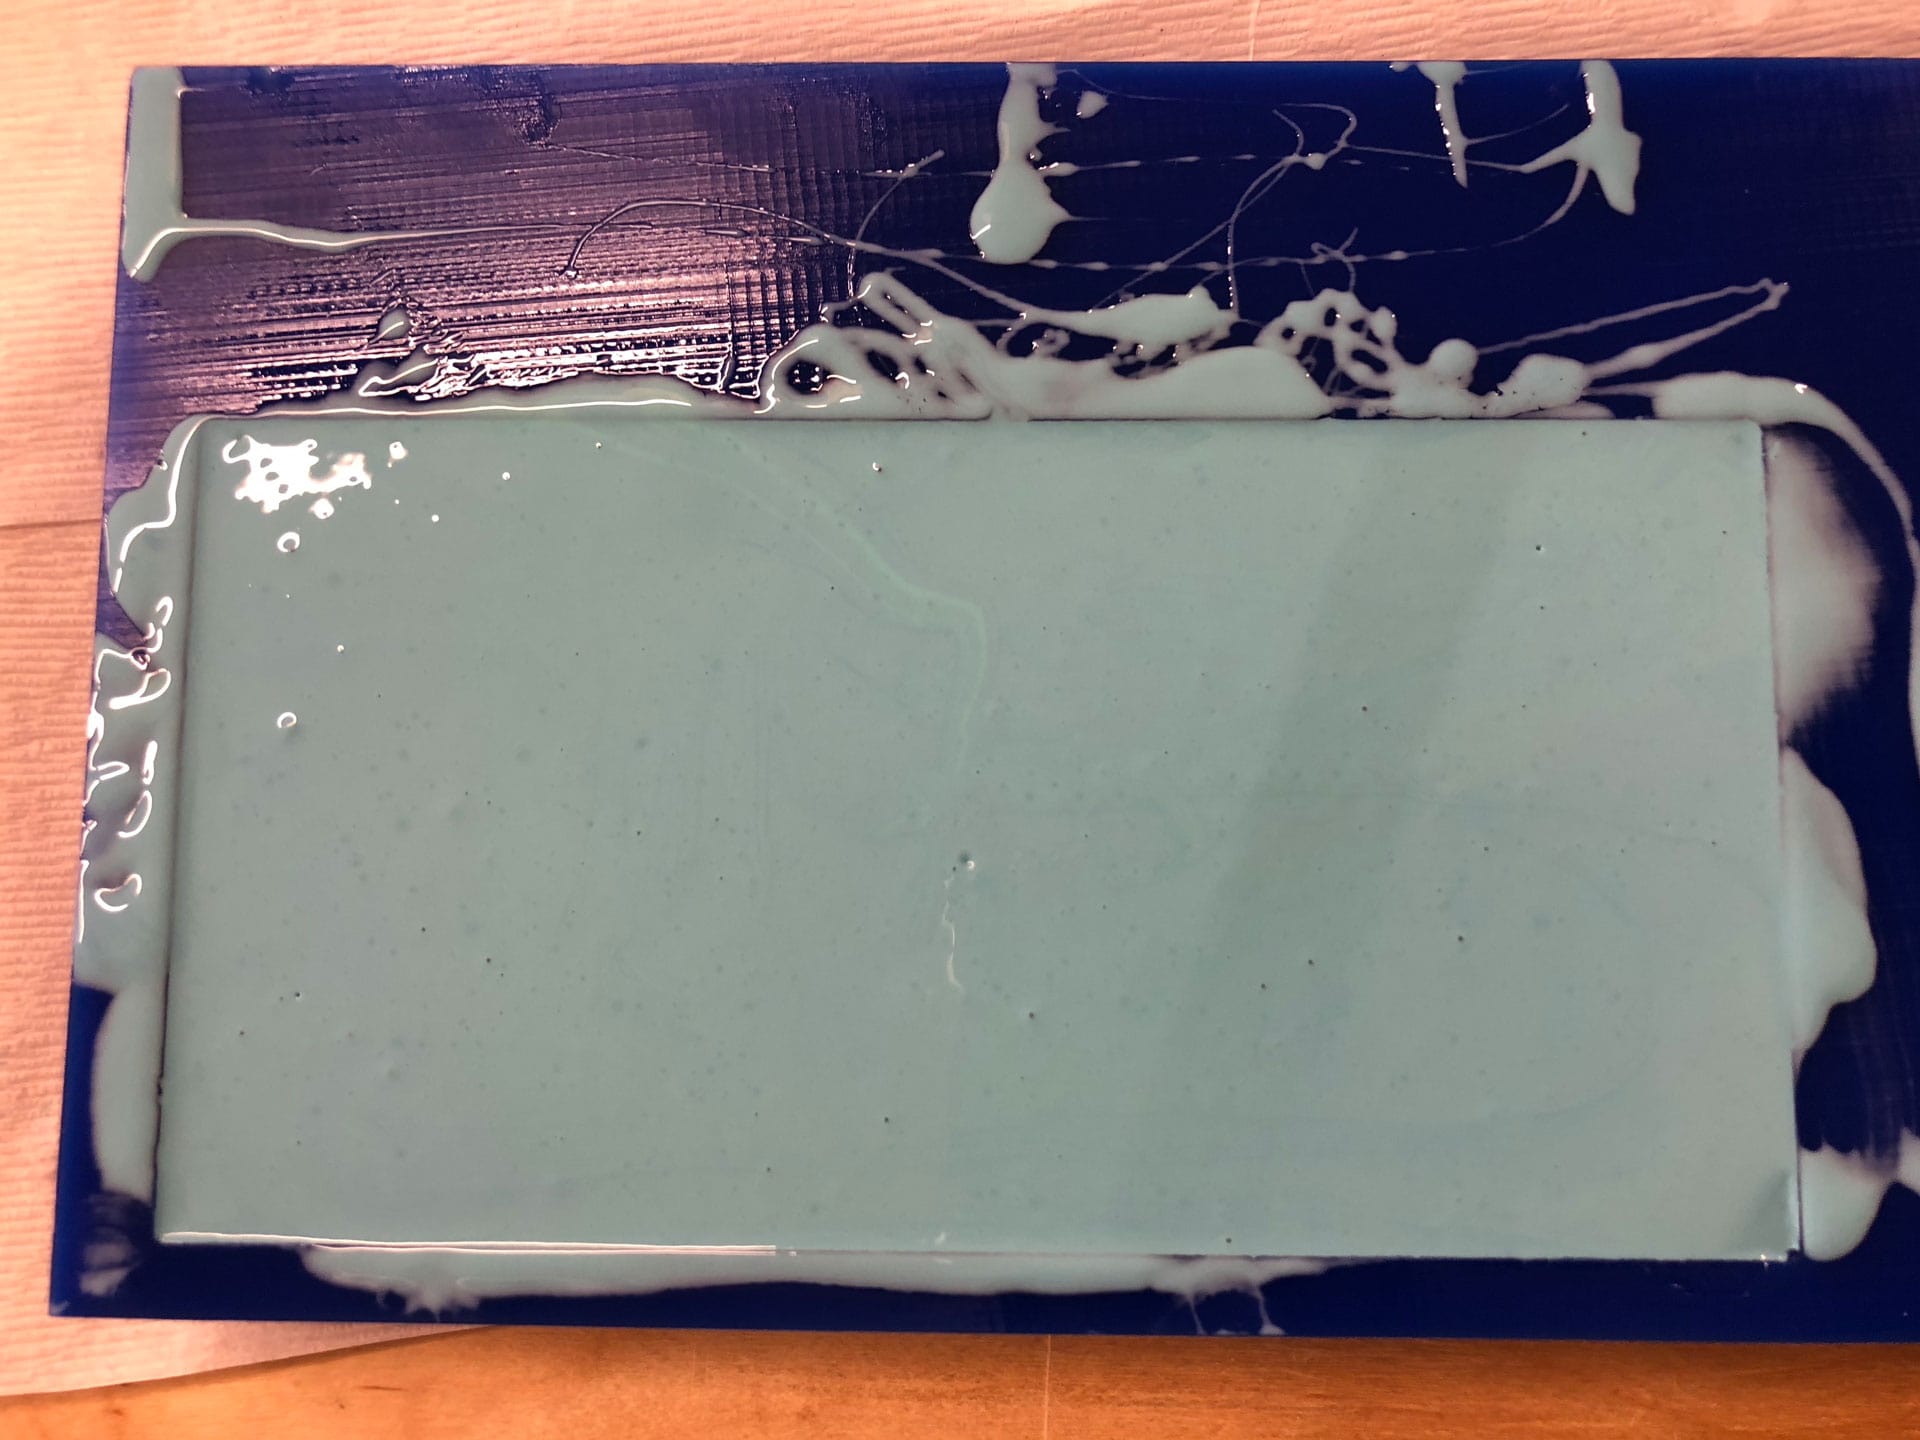
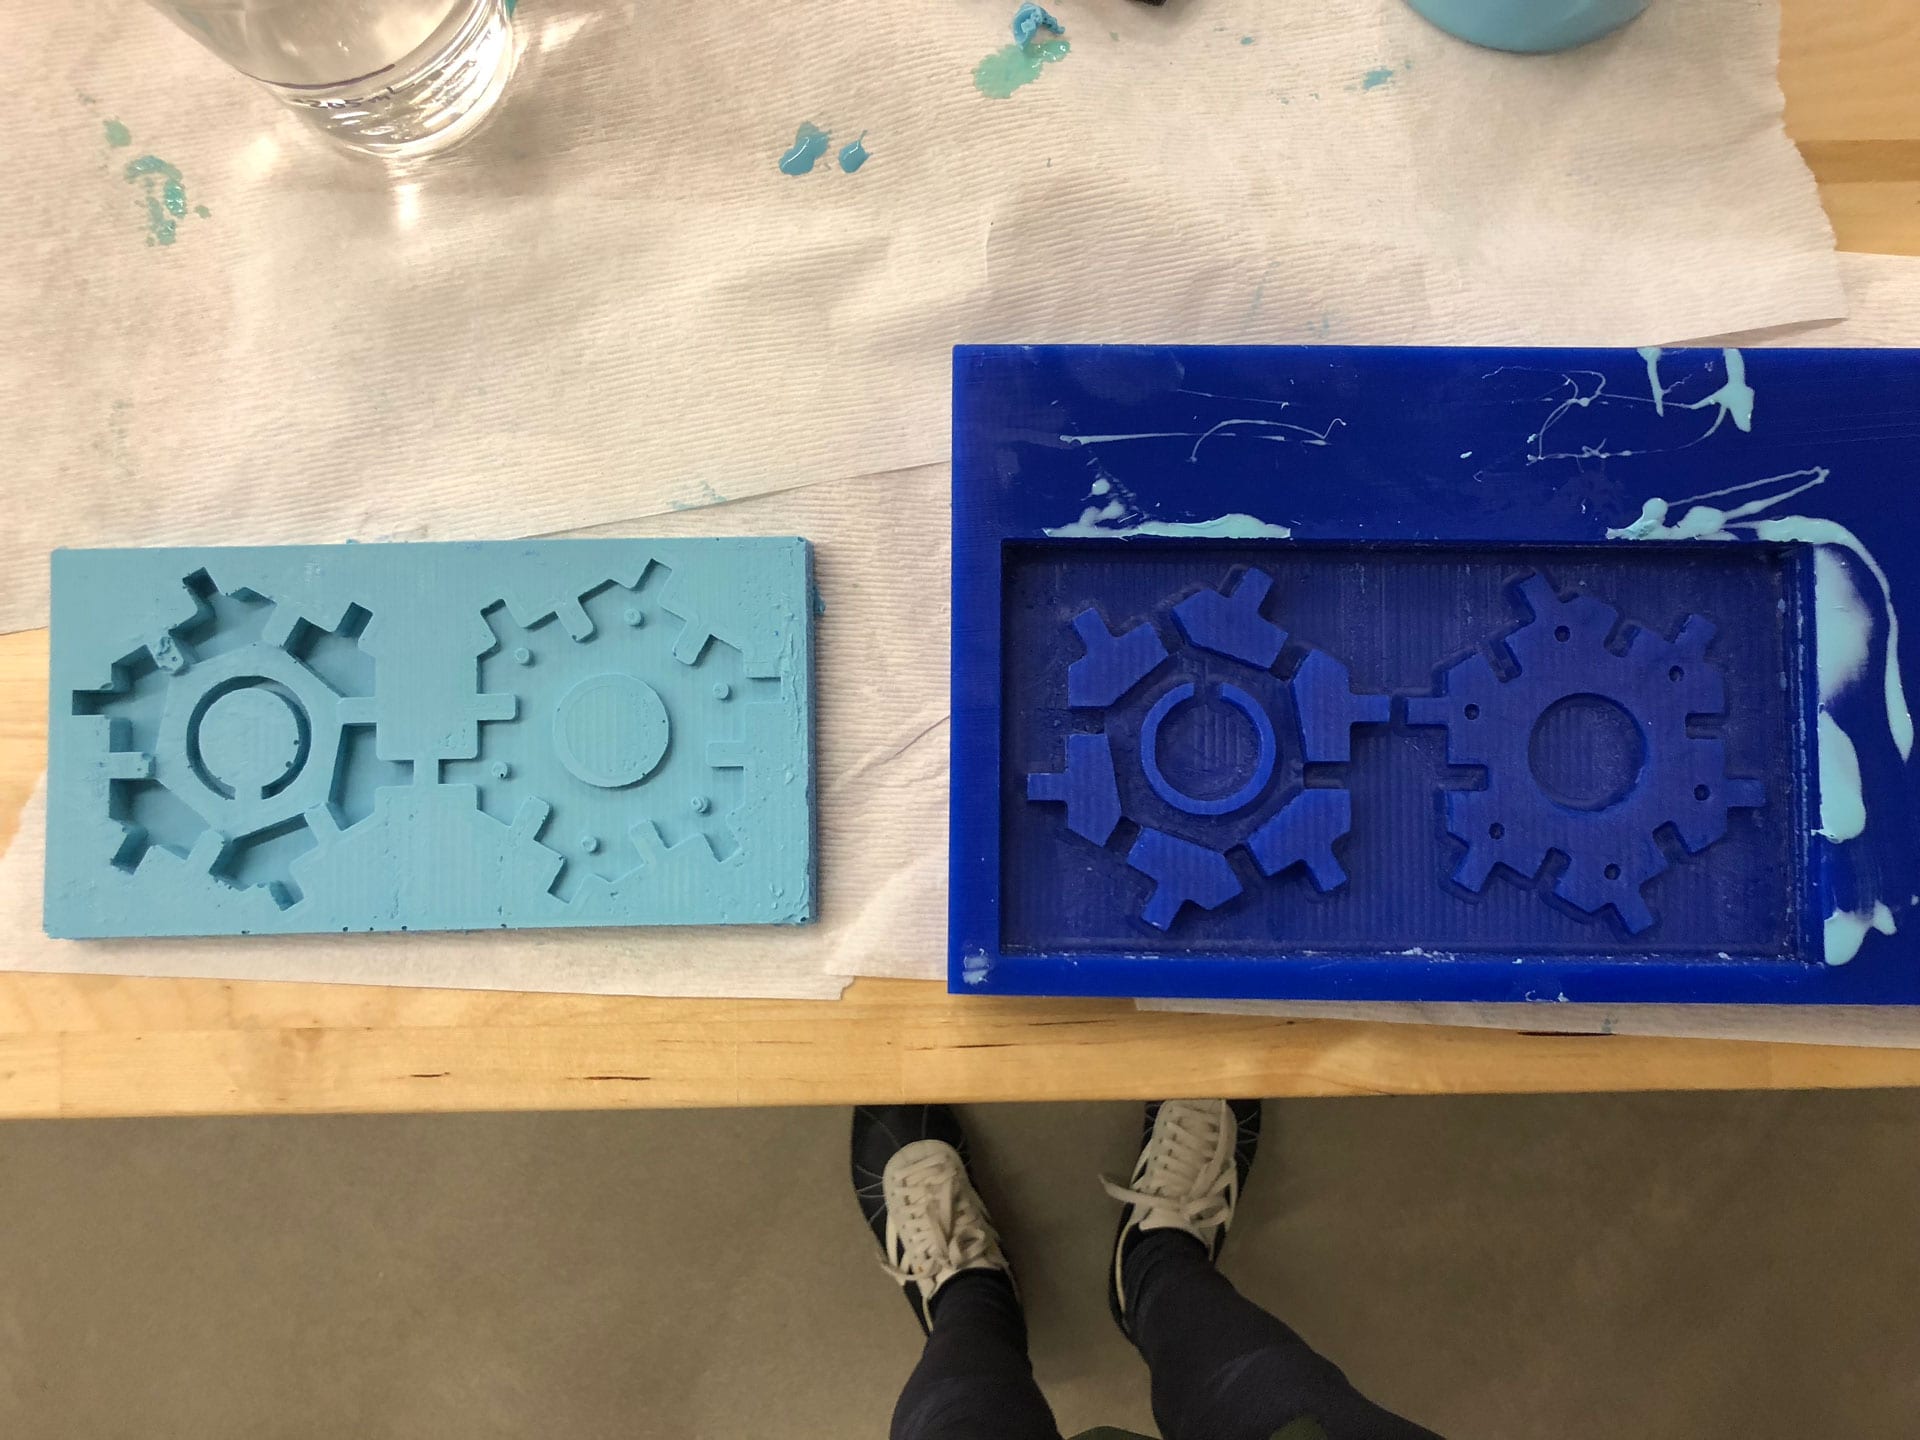
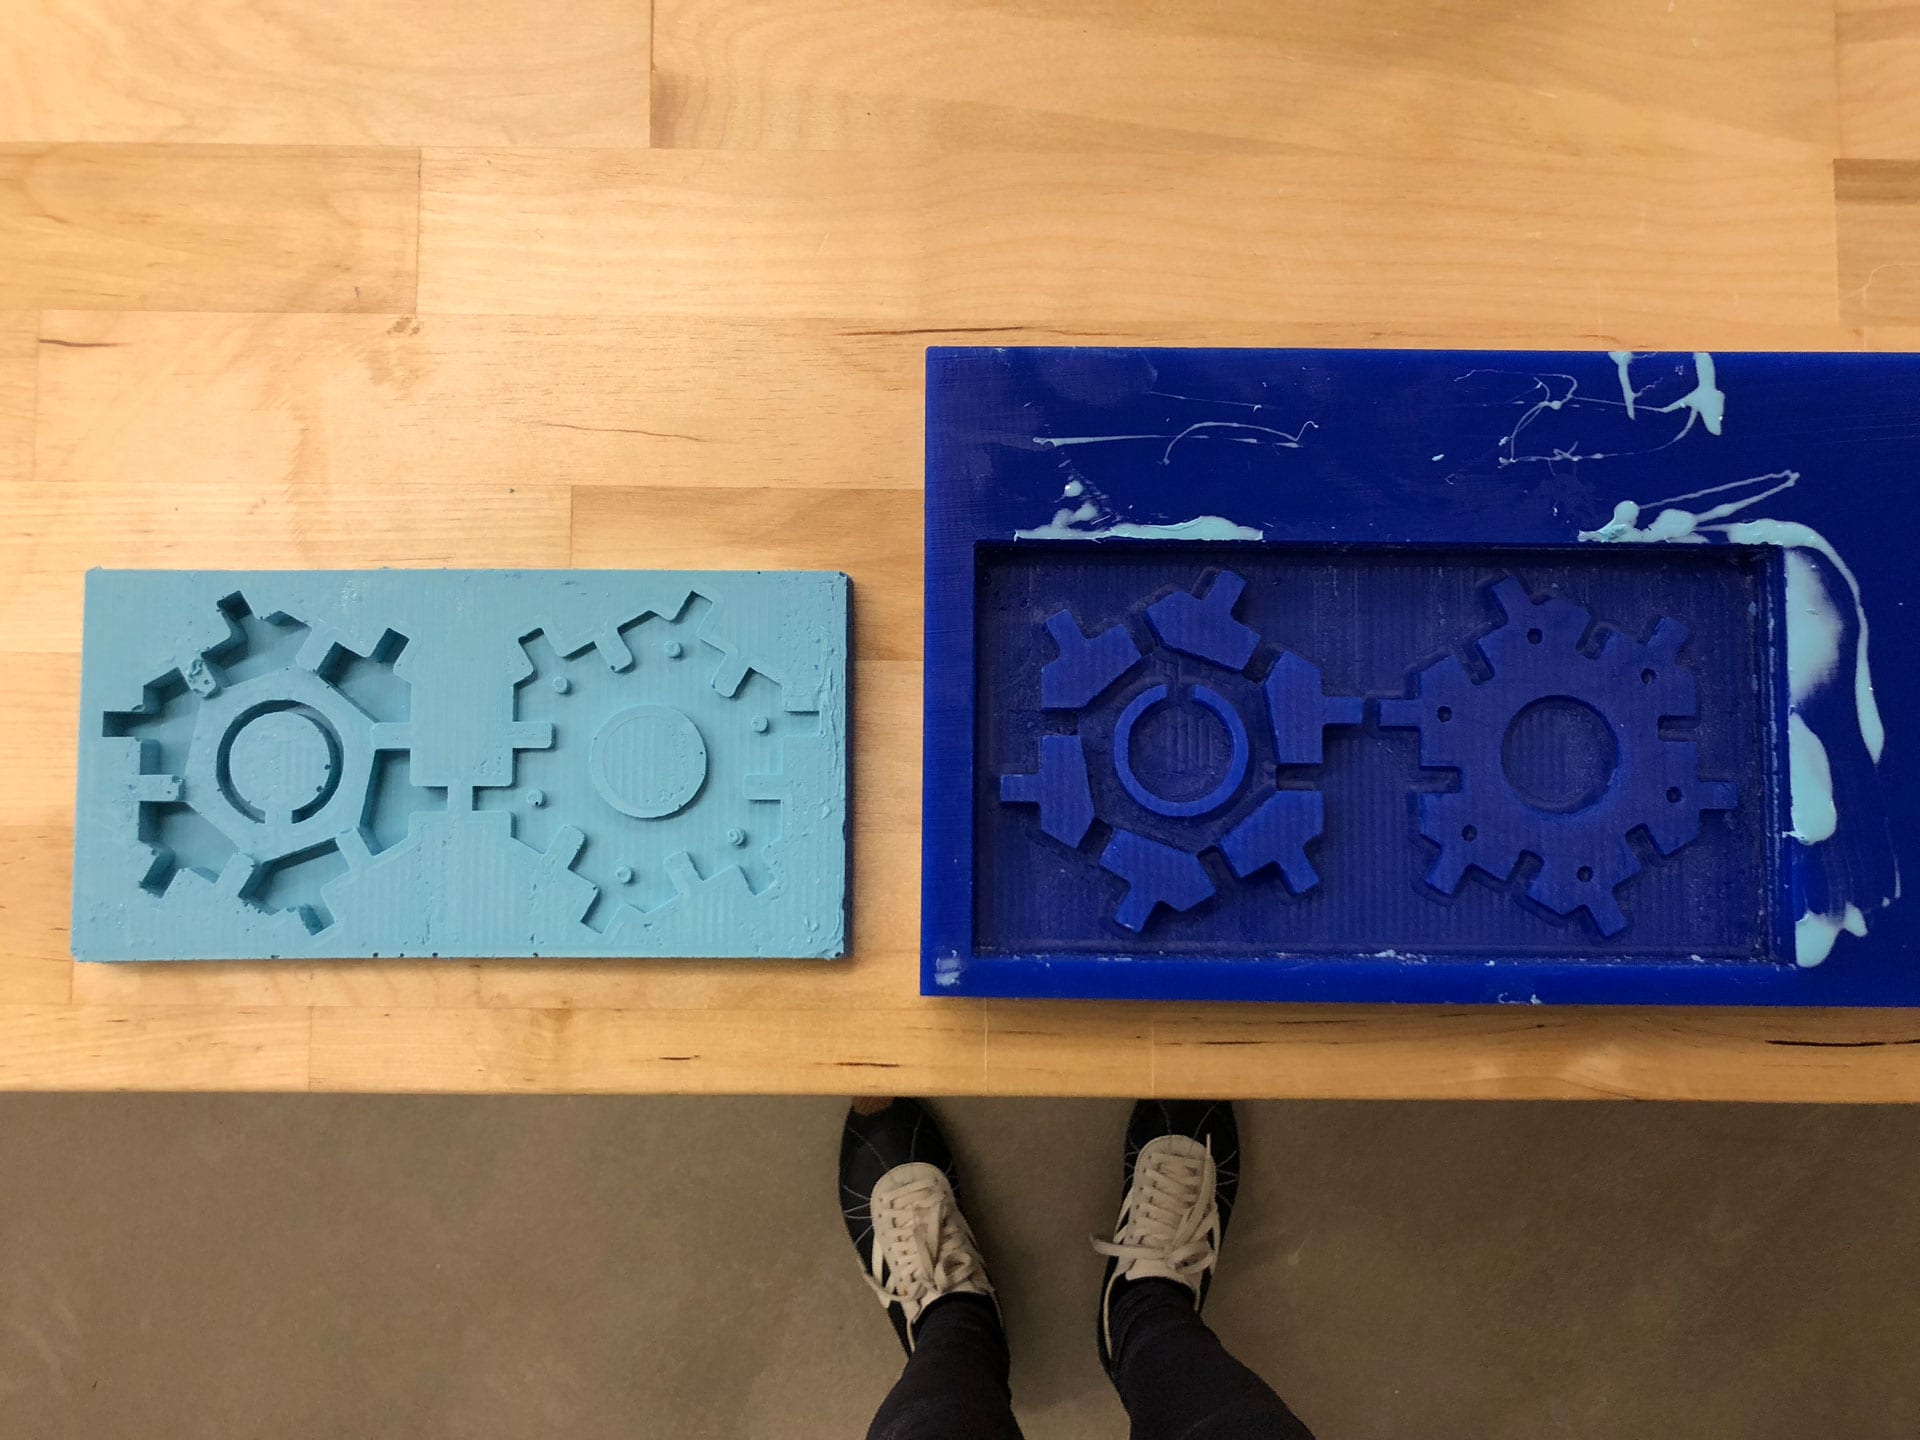
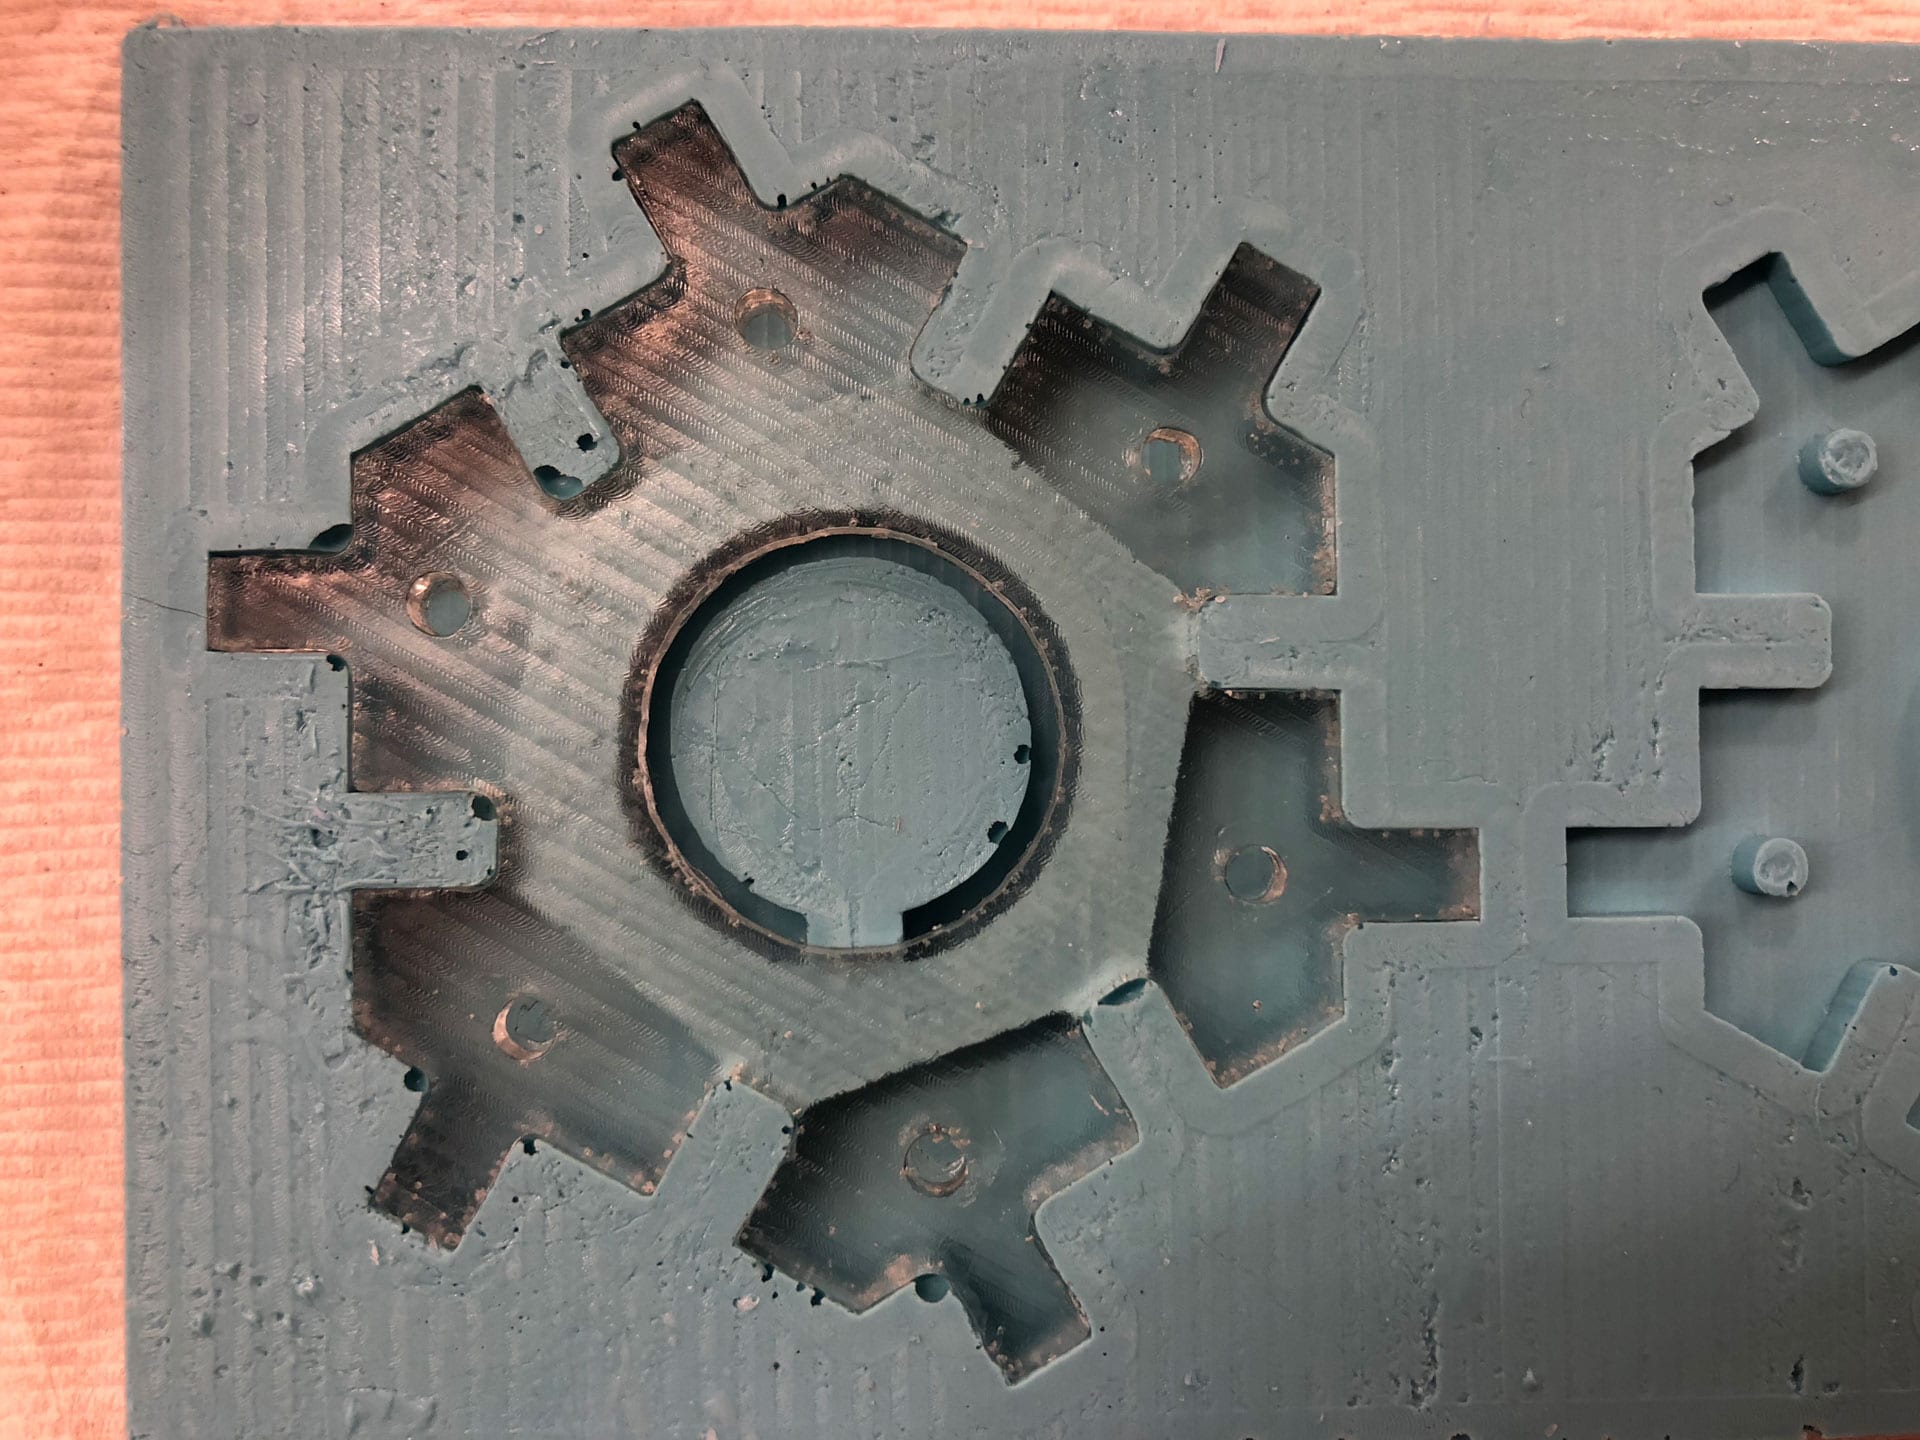
The next part of the process was milling the mold. I created a .stl file of my Hax Block in Fusion to use for the machining process. For the milling, I used the ShopBot and VCarve software at my lab. In VCarve, I updated the “Job Setup” and “Material Setup.” I then updated the “Toolpaths,” using a 3D Roughing Toolpath and saved the toolpath as an .sbp file. After setting up the right parameters in VCarve, I went into the ShopBot software and set the “home” position and zeroed x, y and z axes. I imported the .sbp files from VCarve in preparation for cutting. I then began cutting.
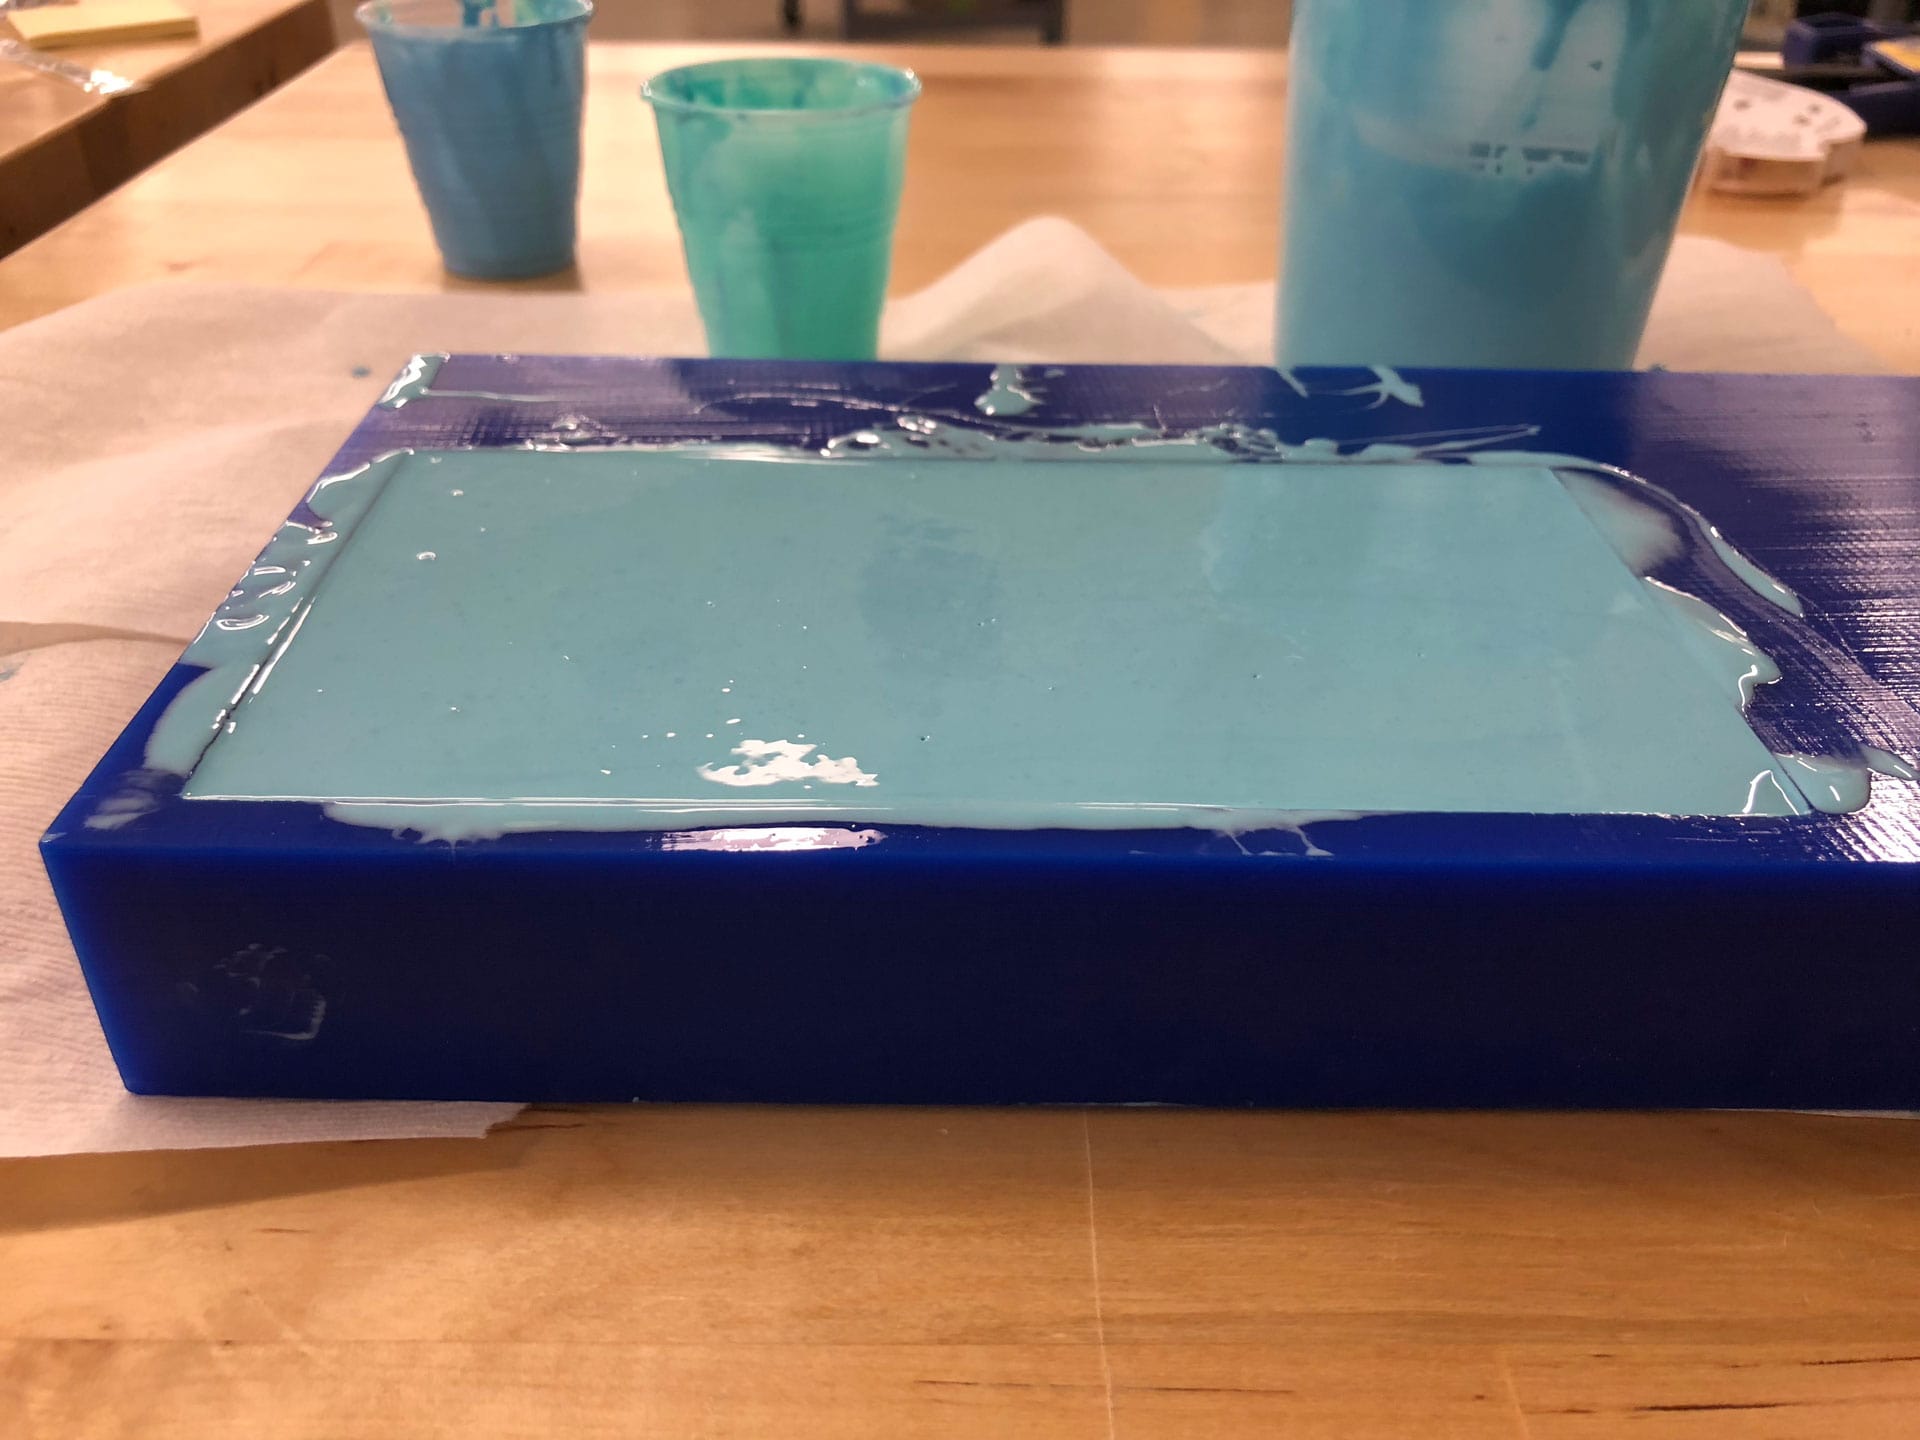
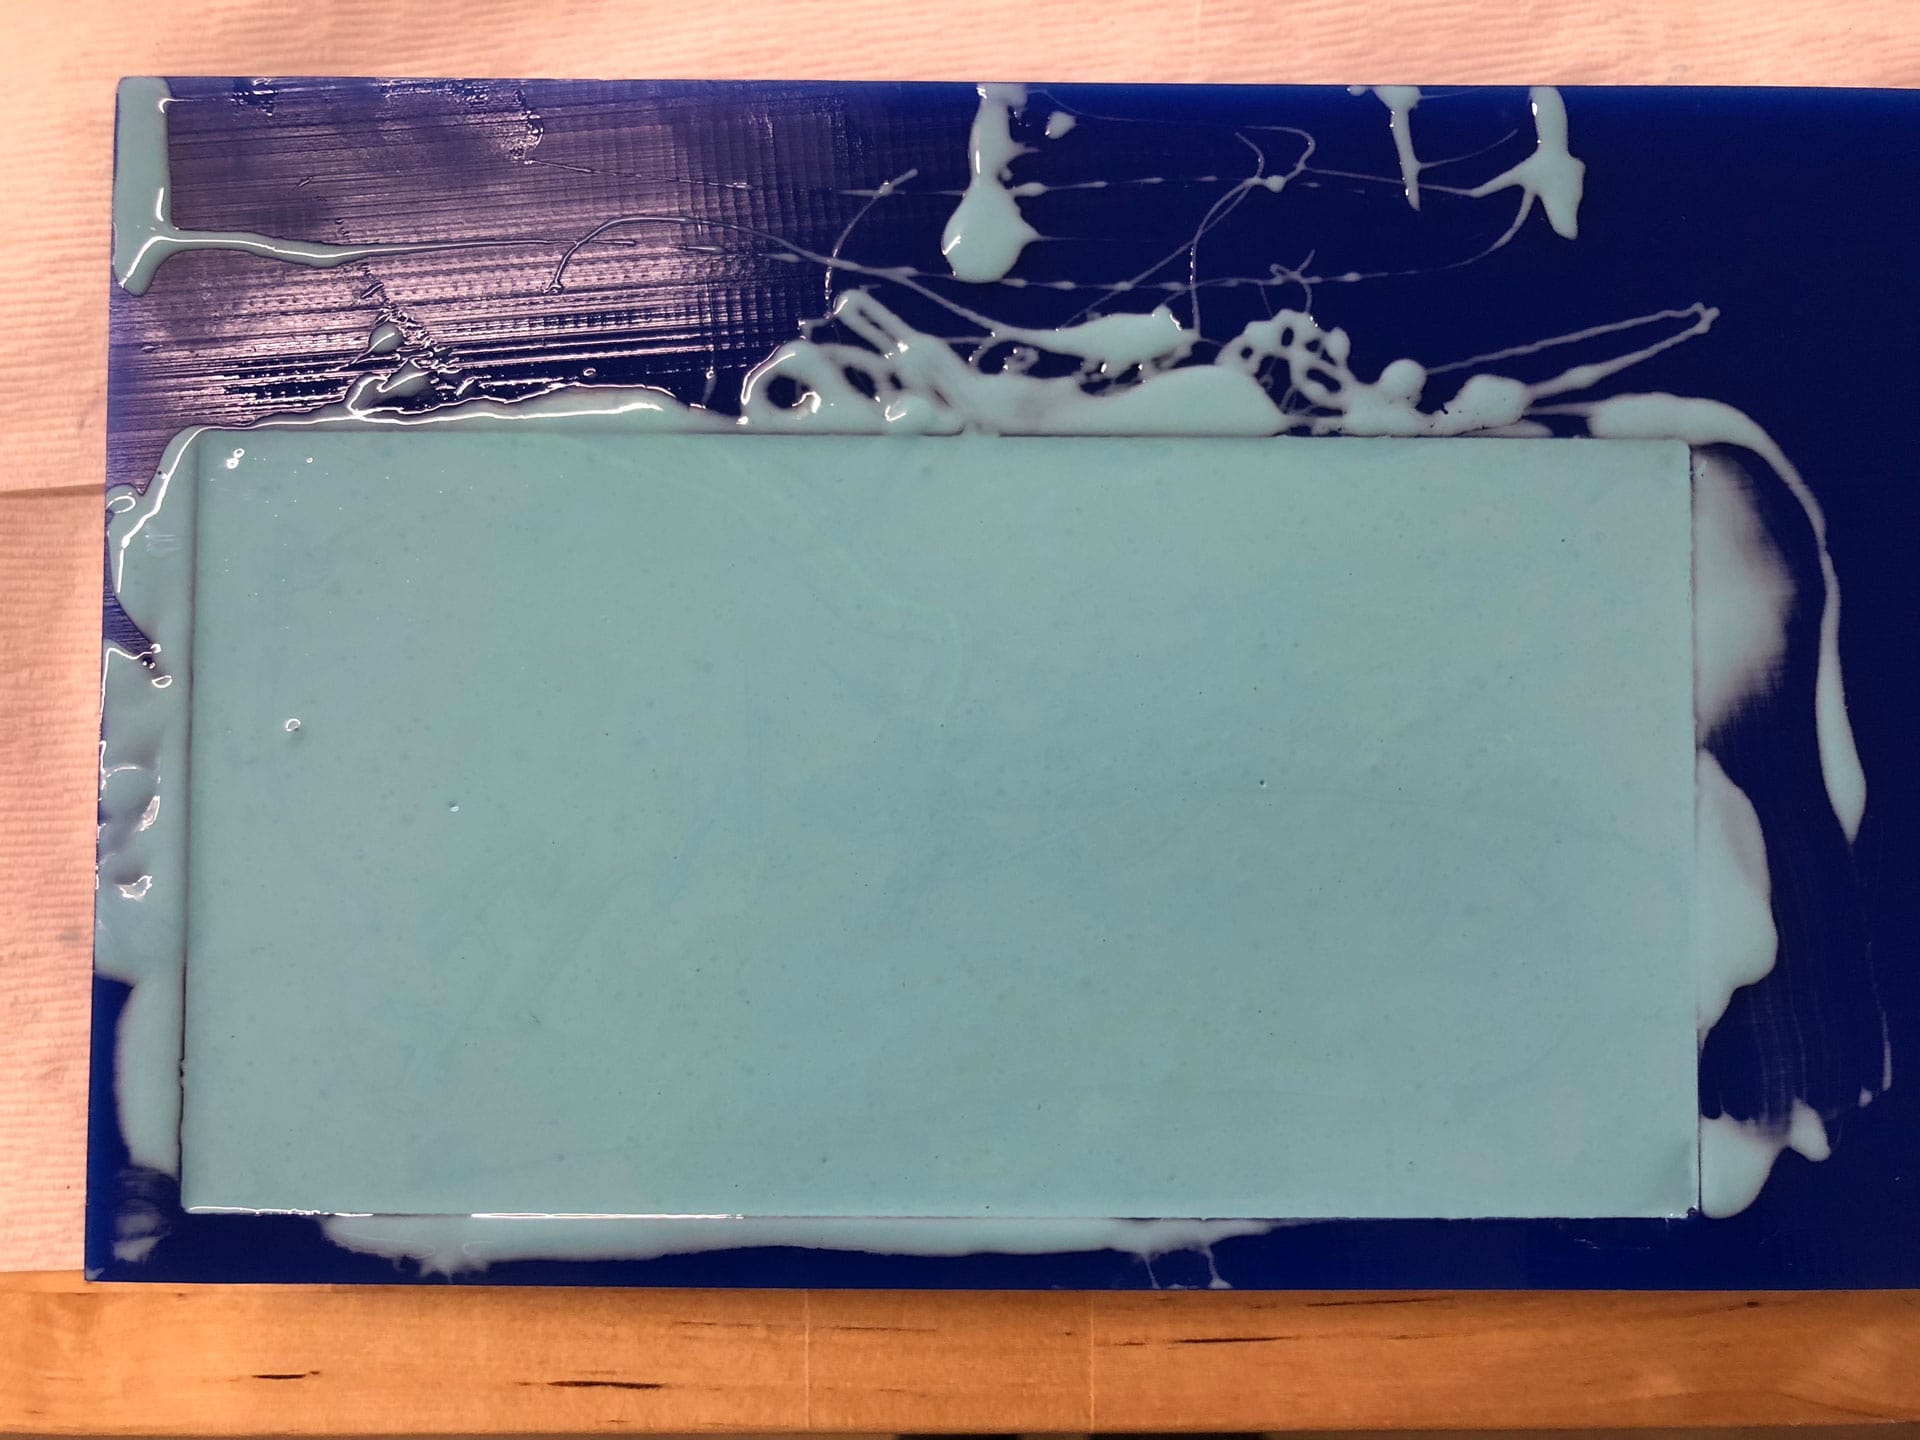
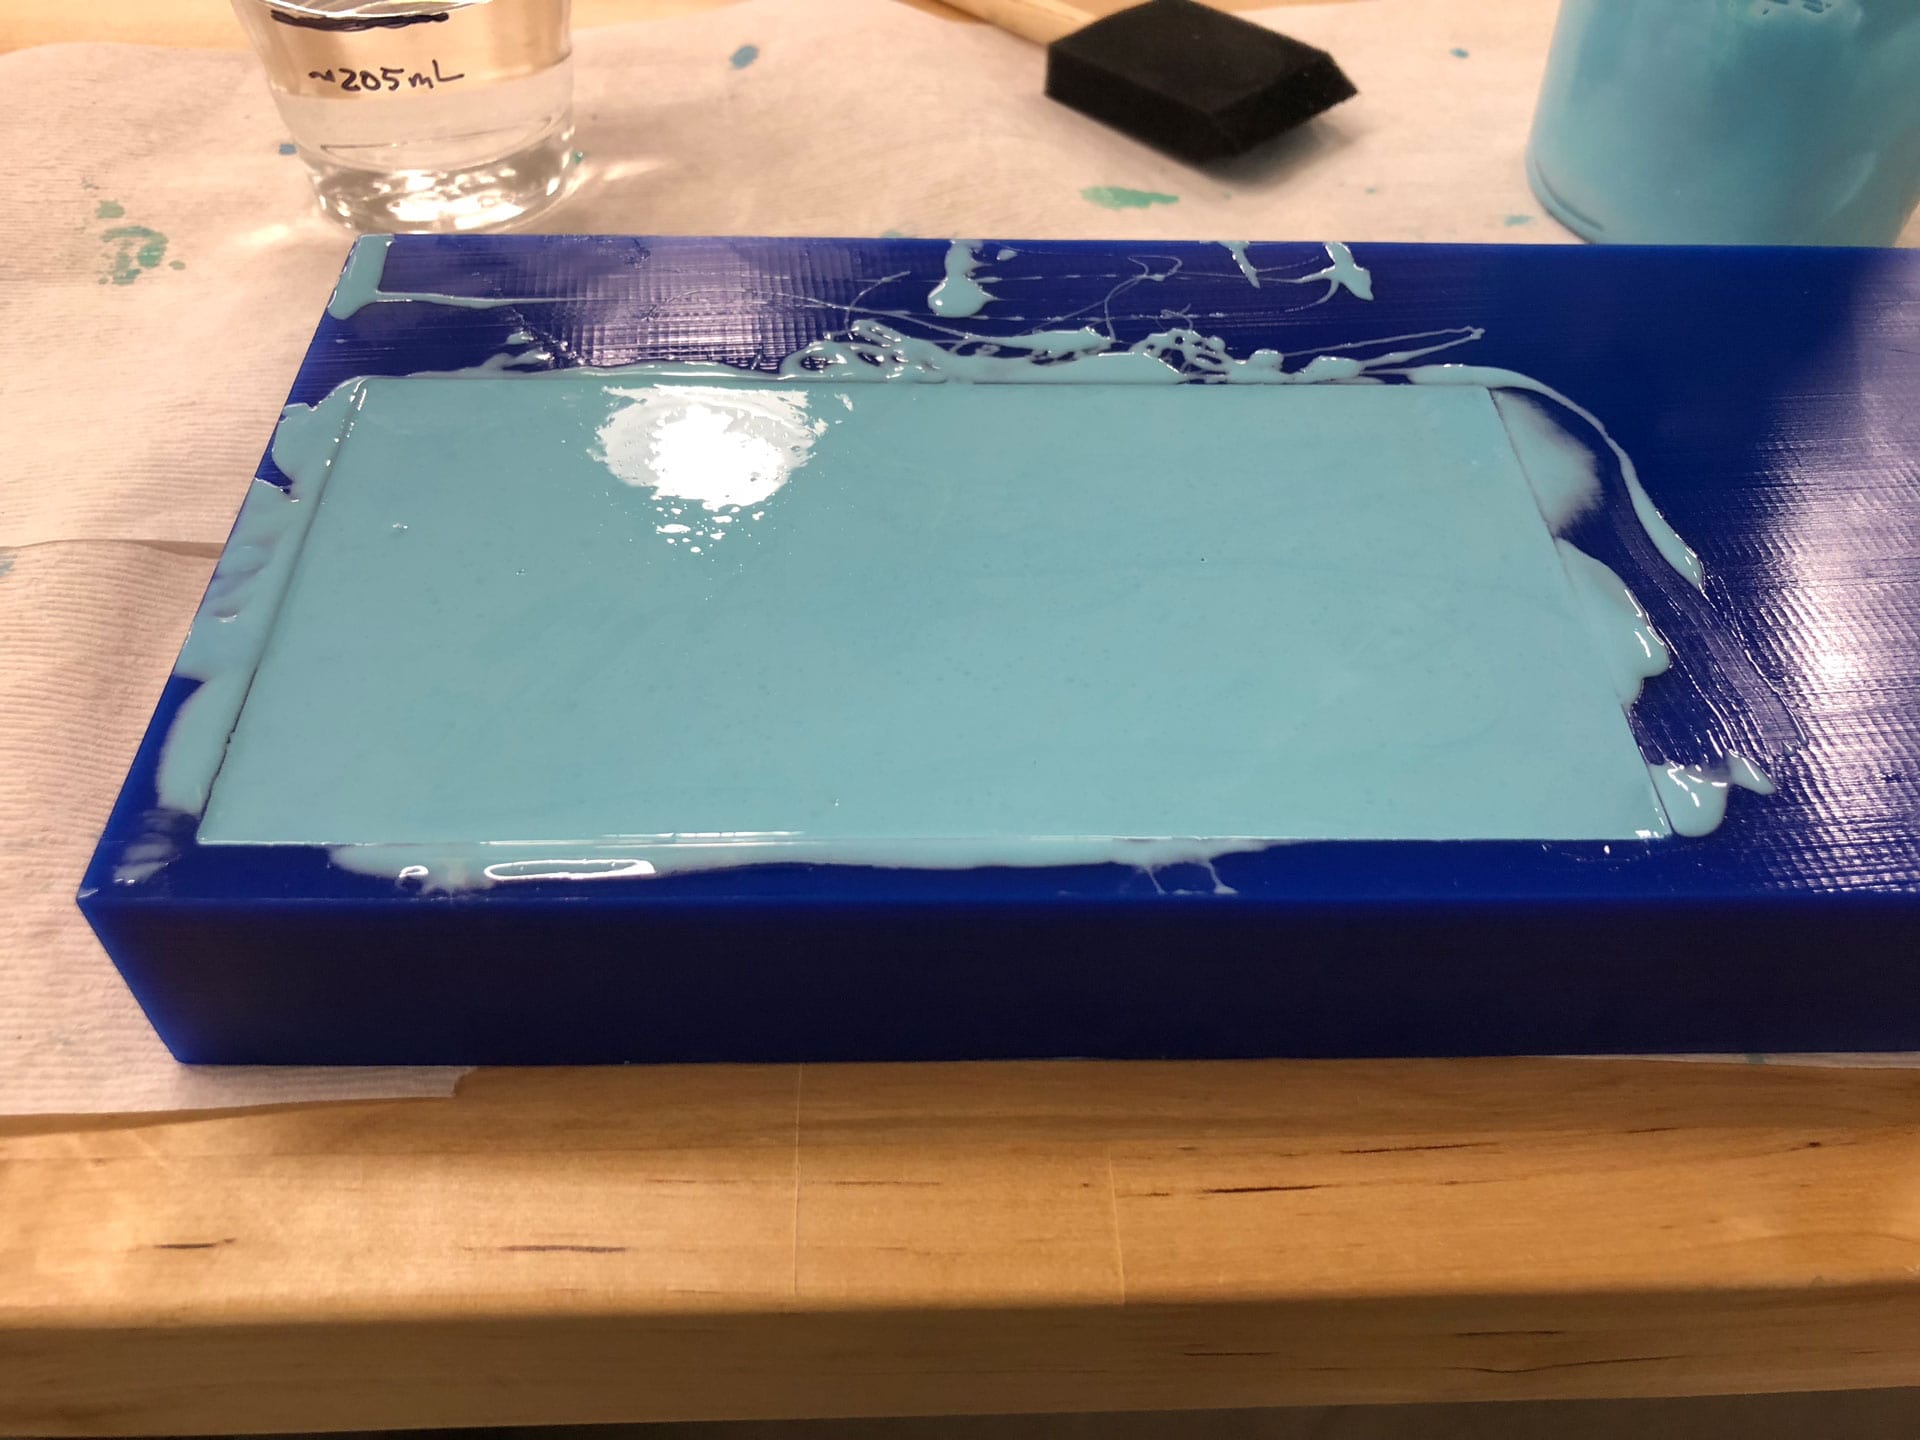
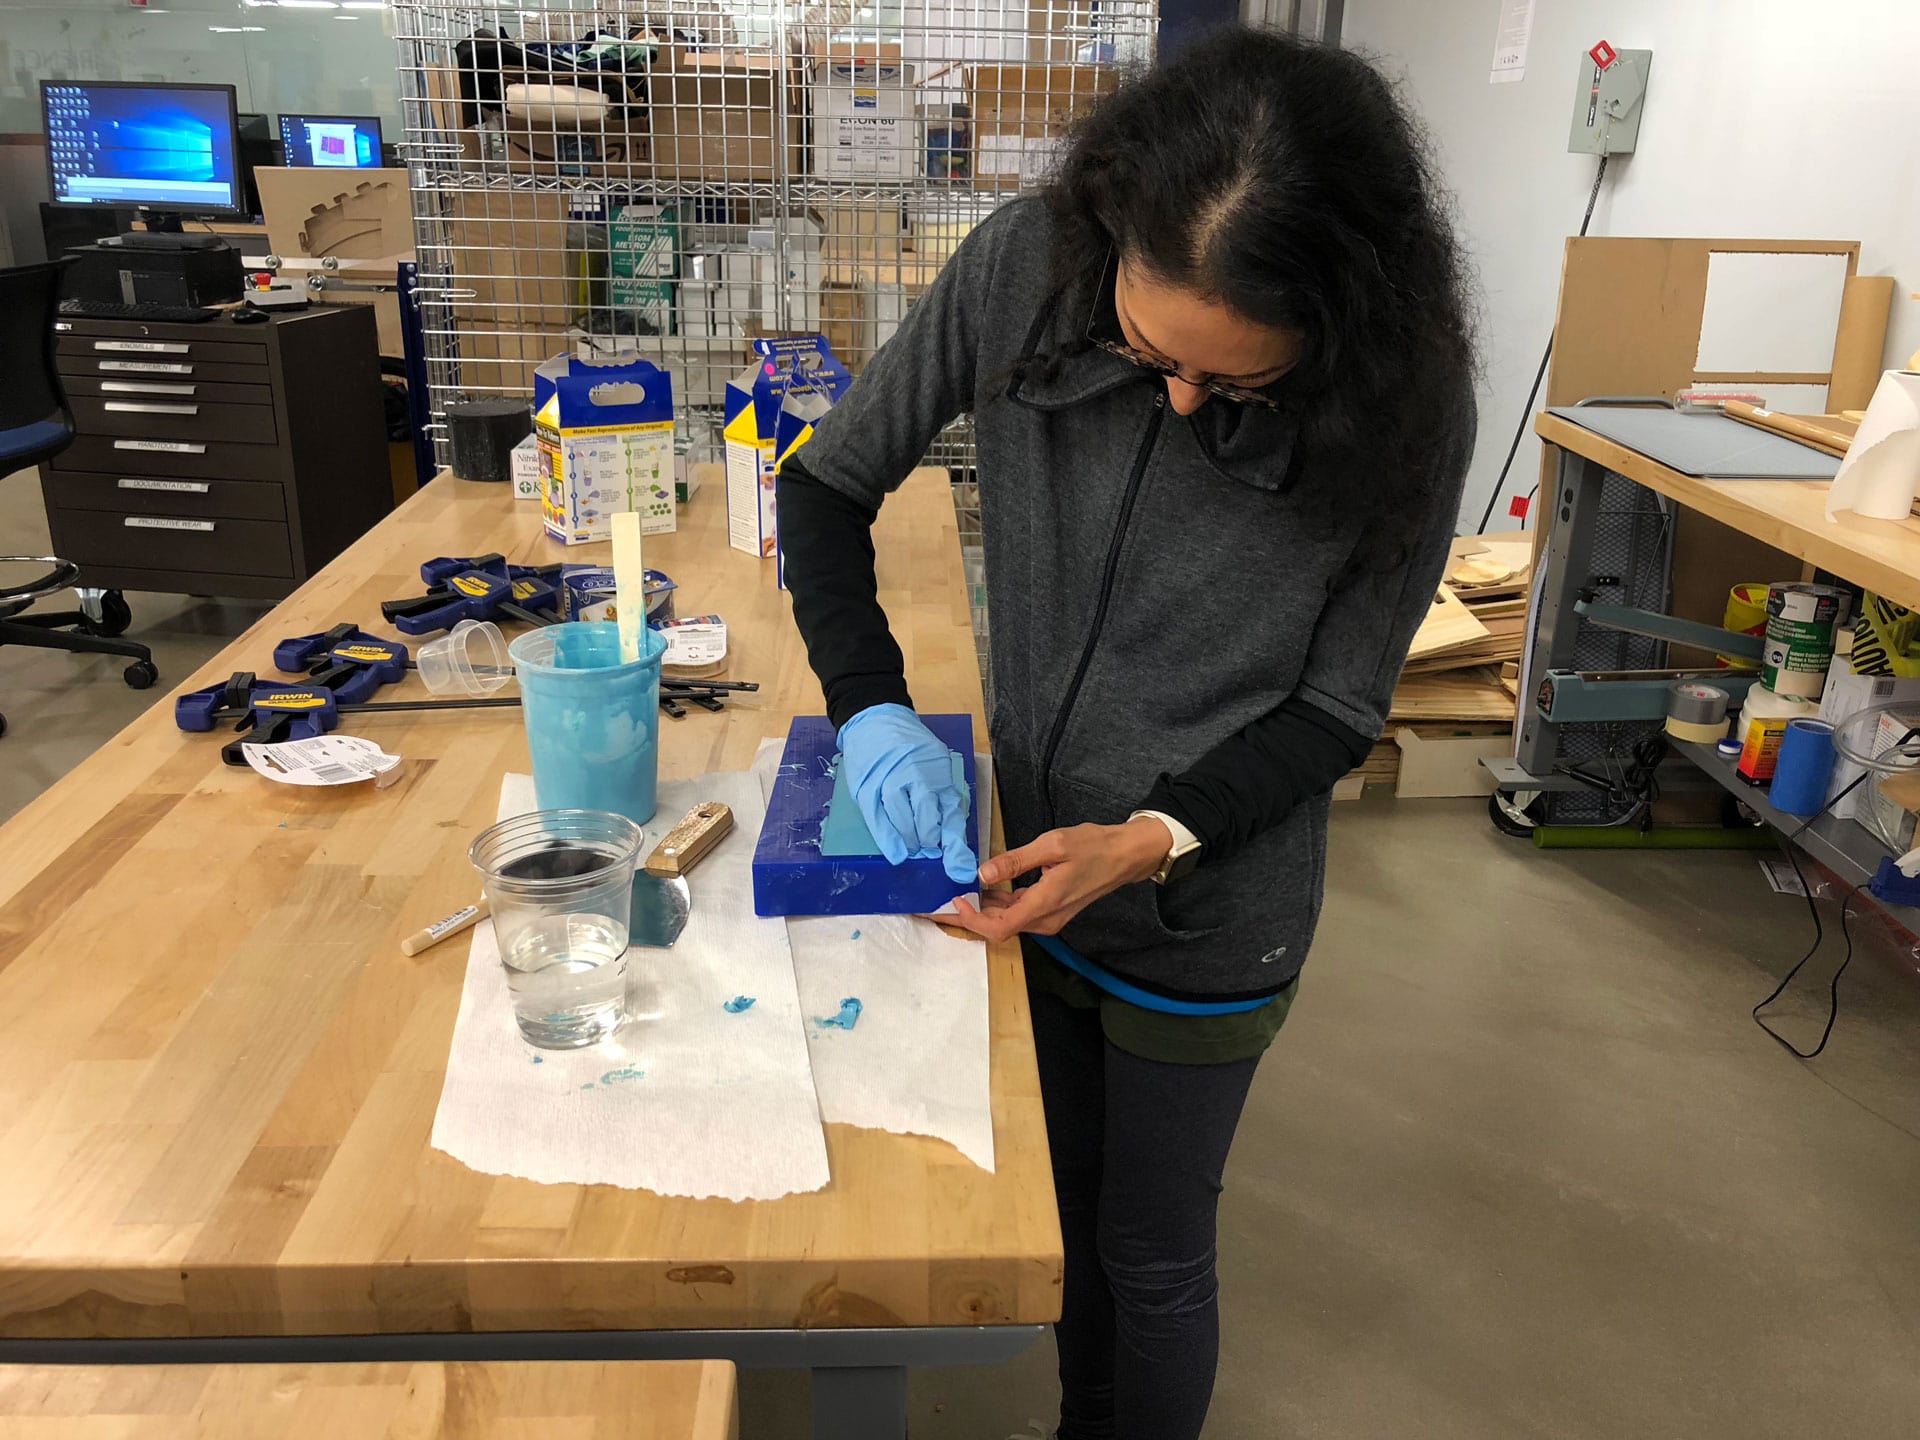
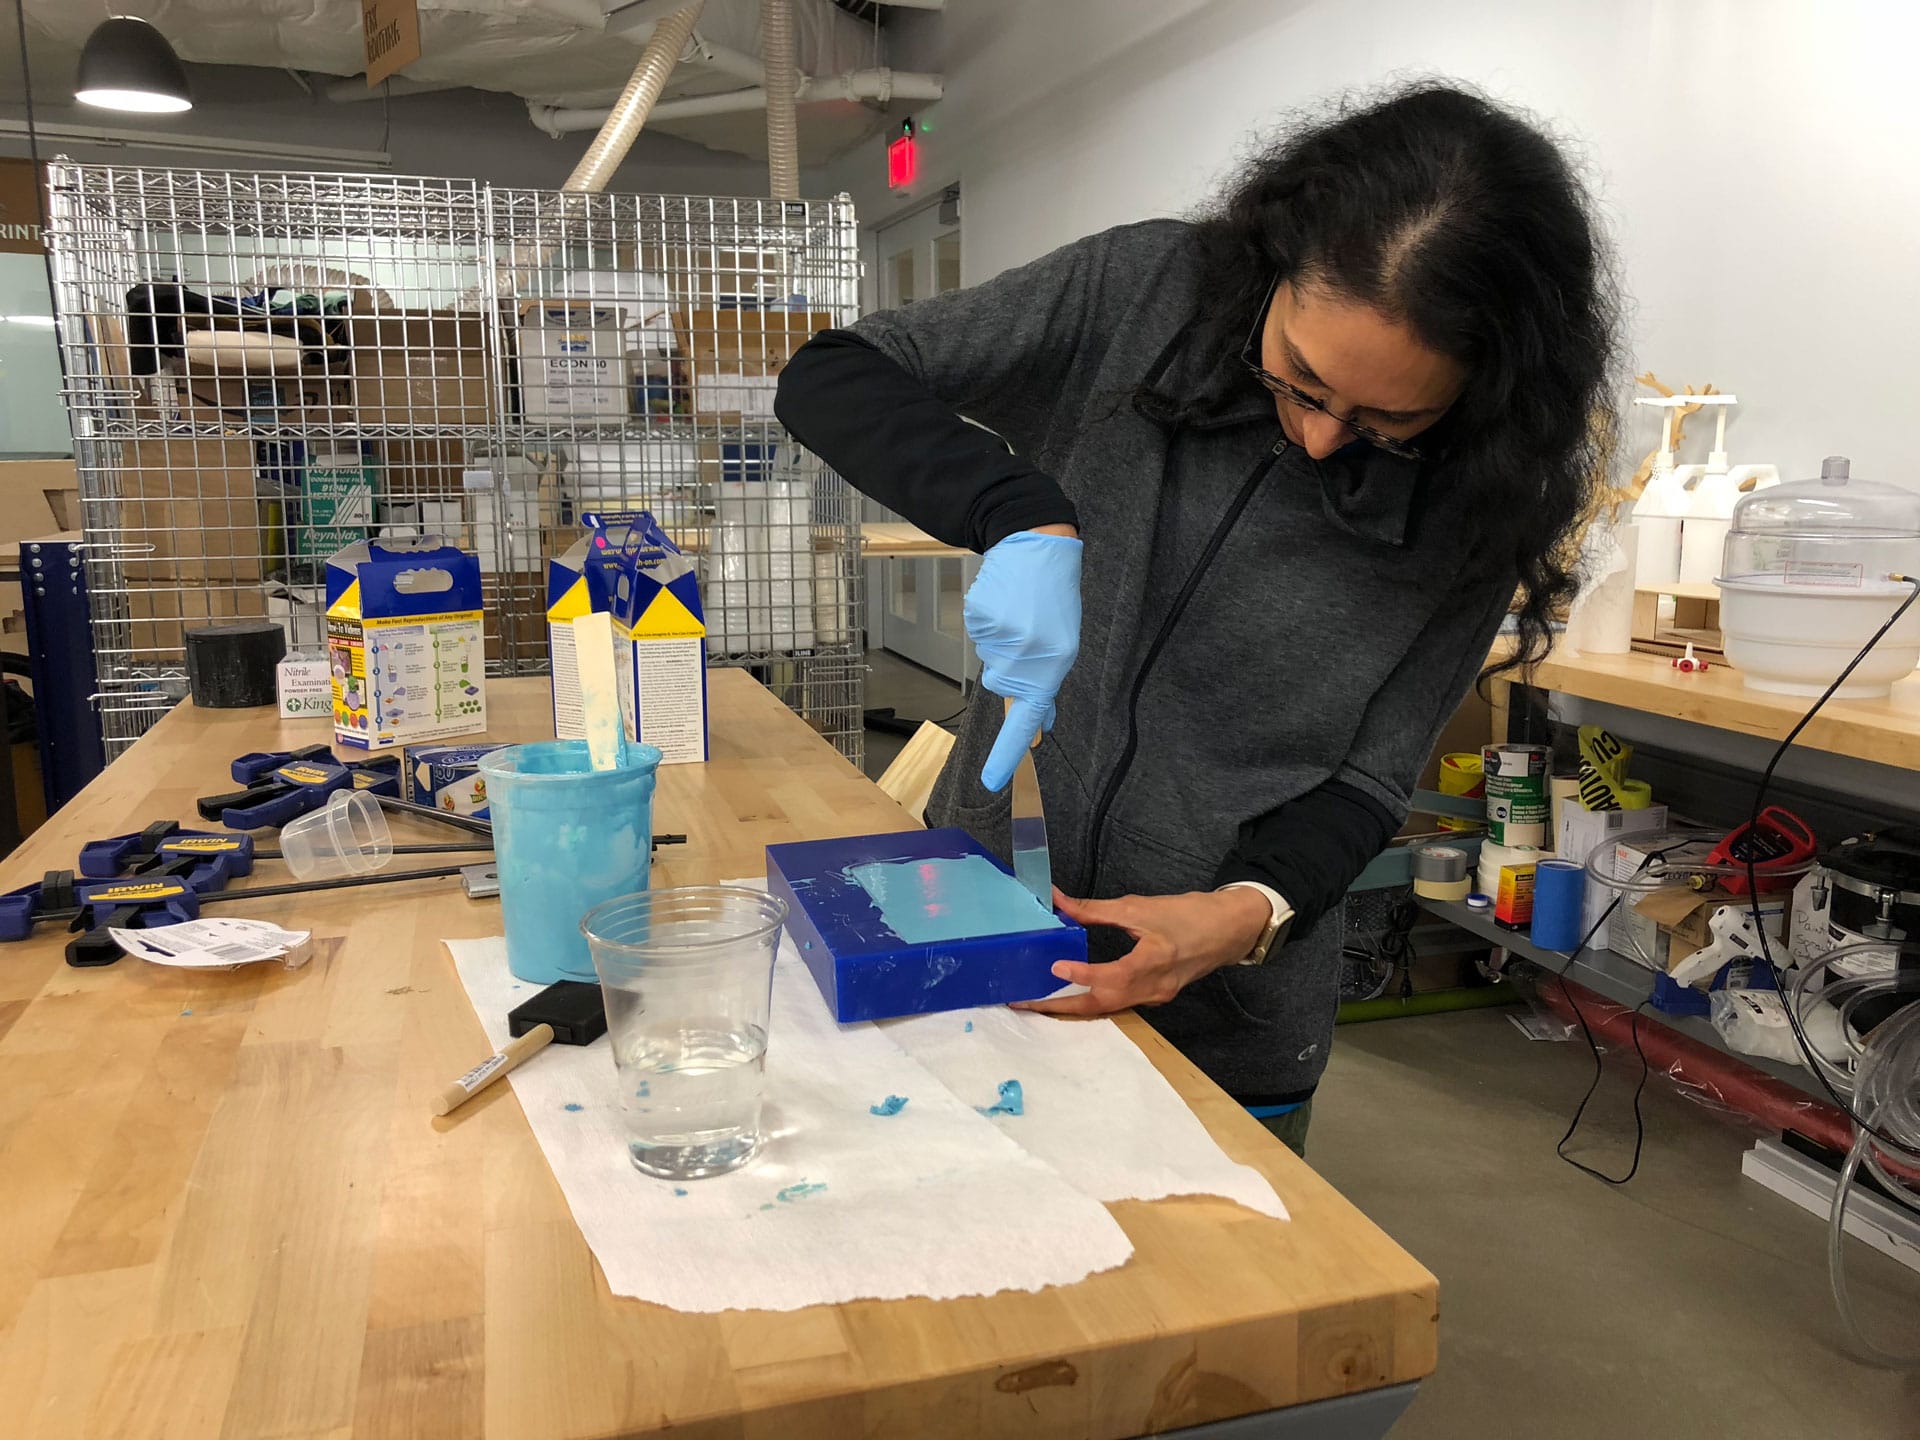
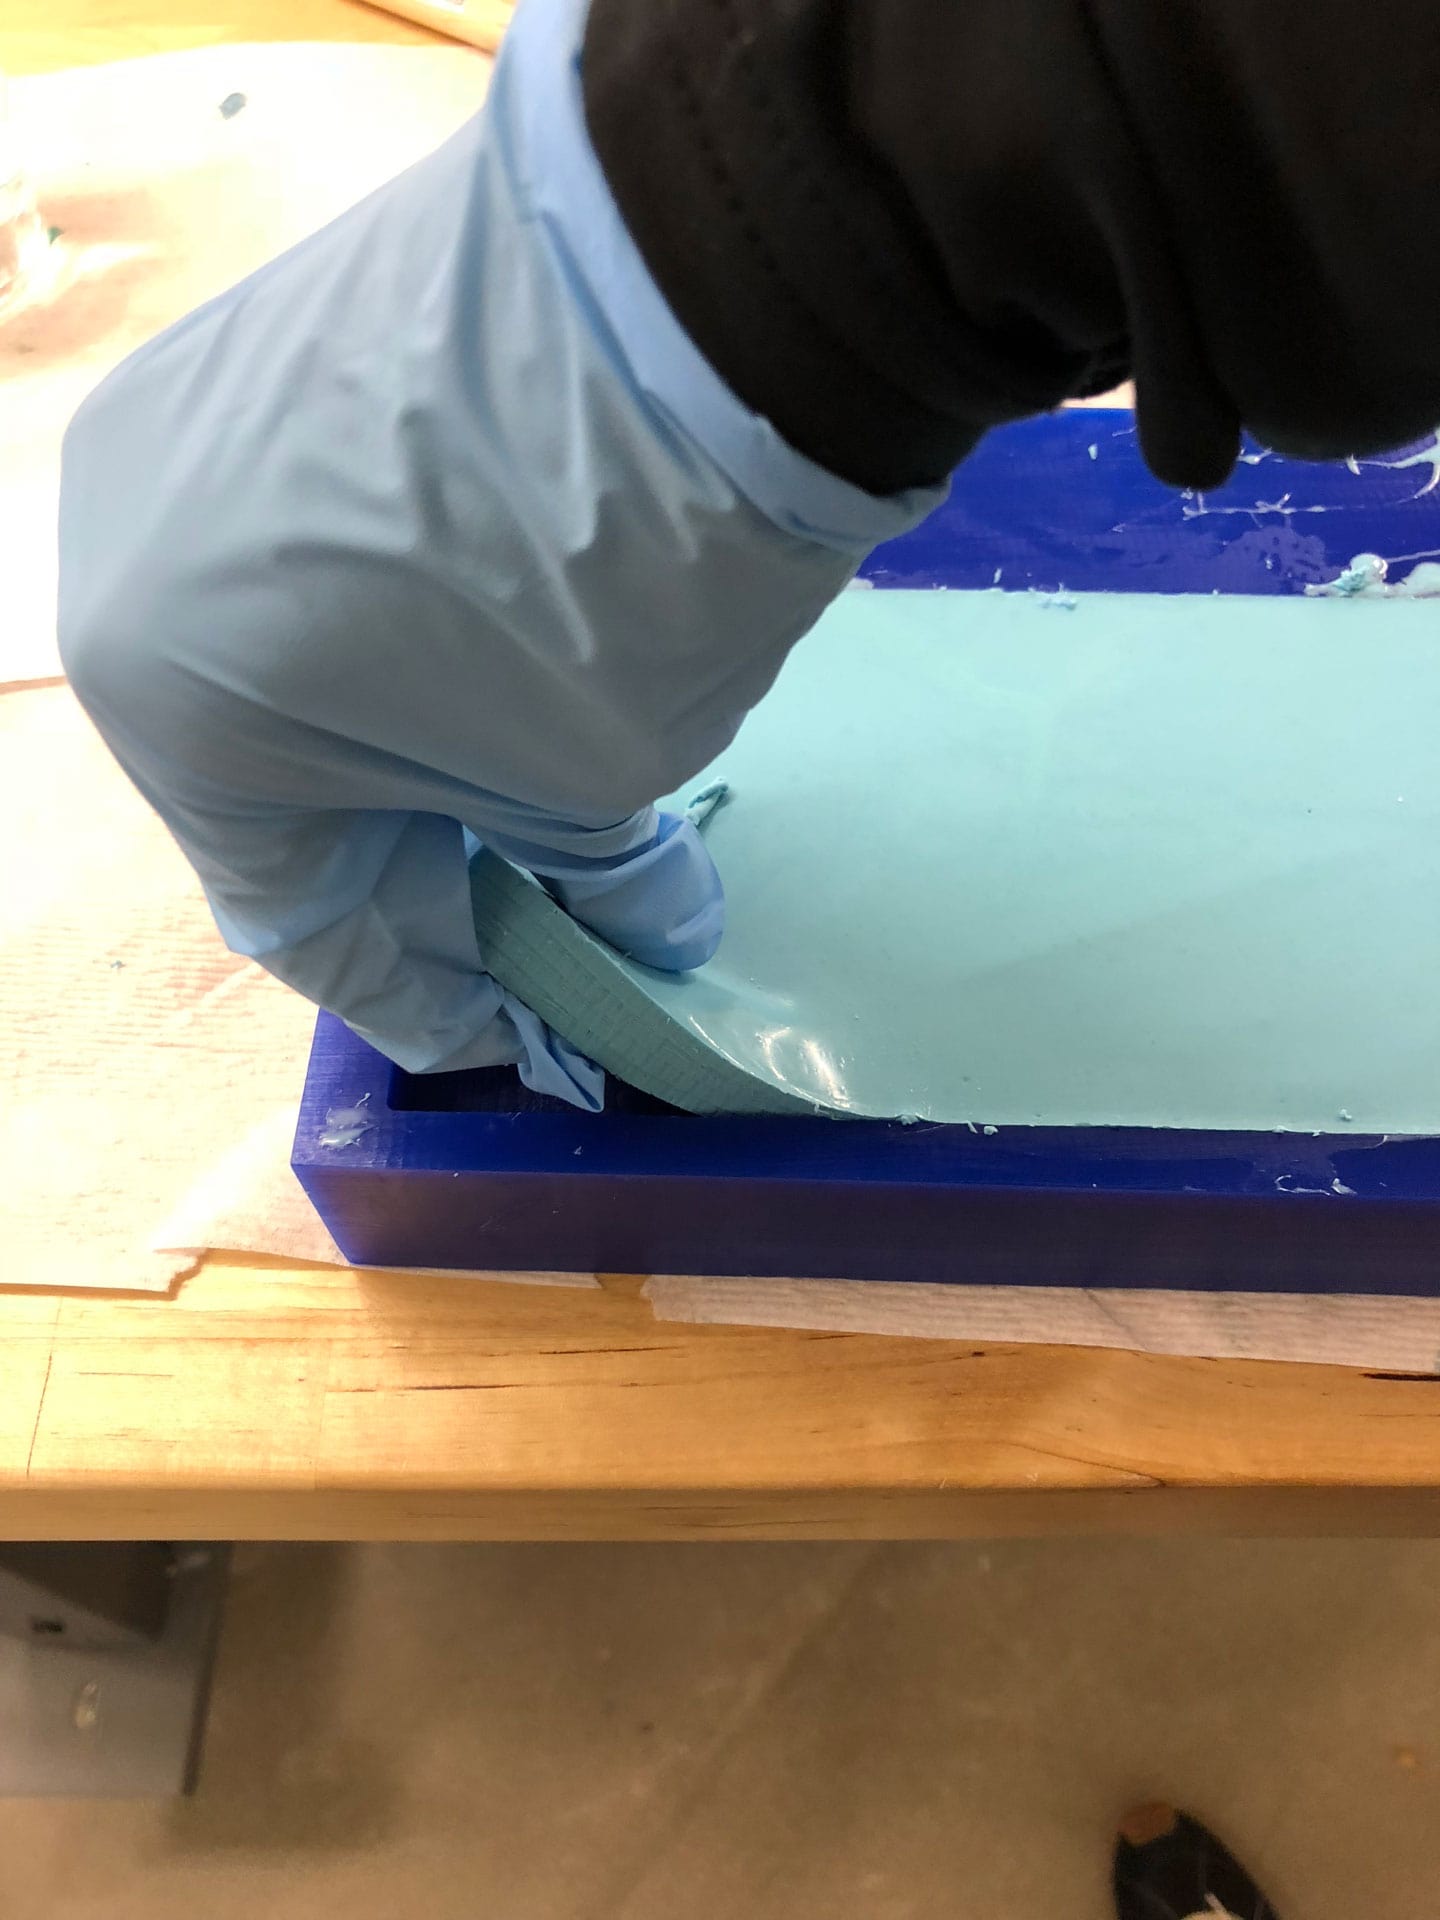
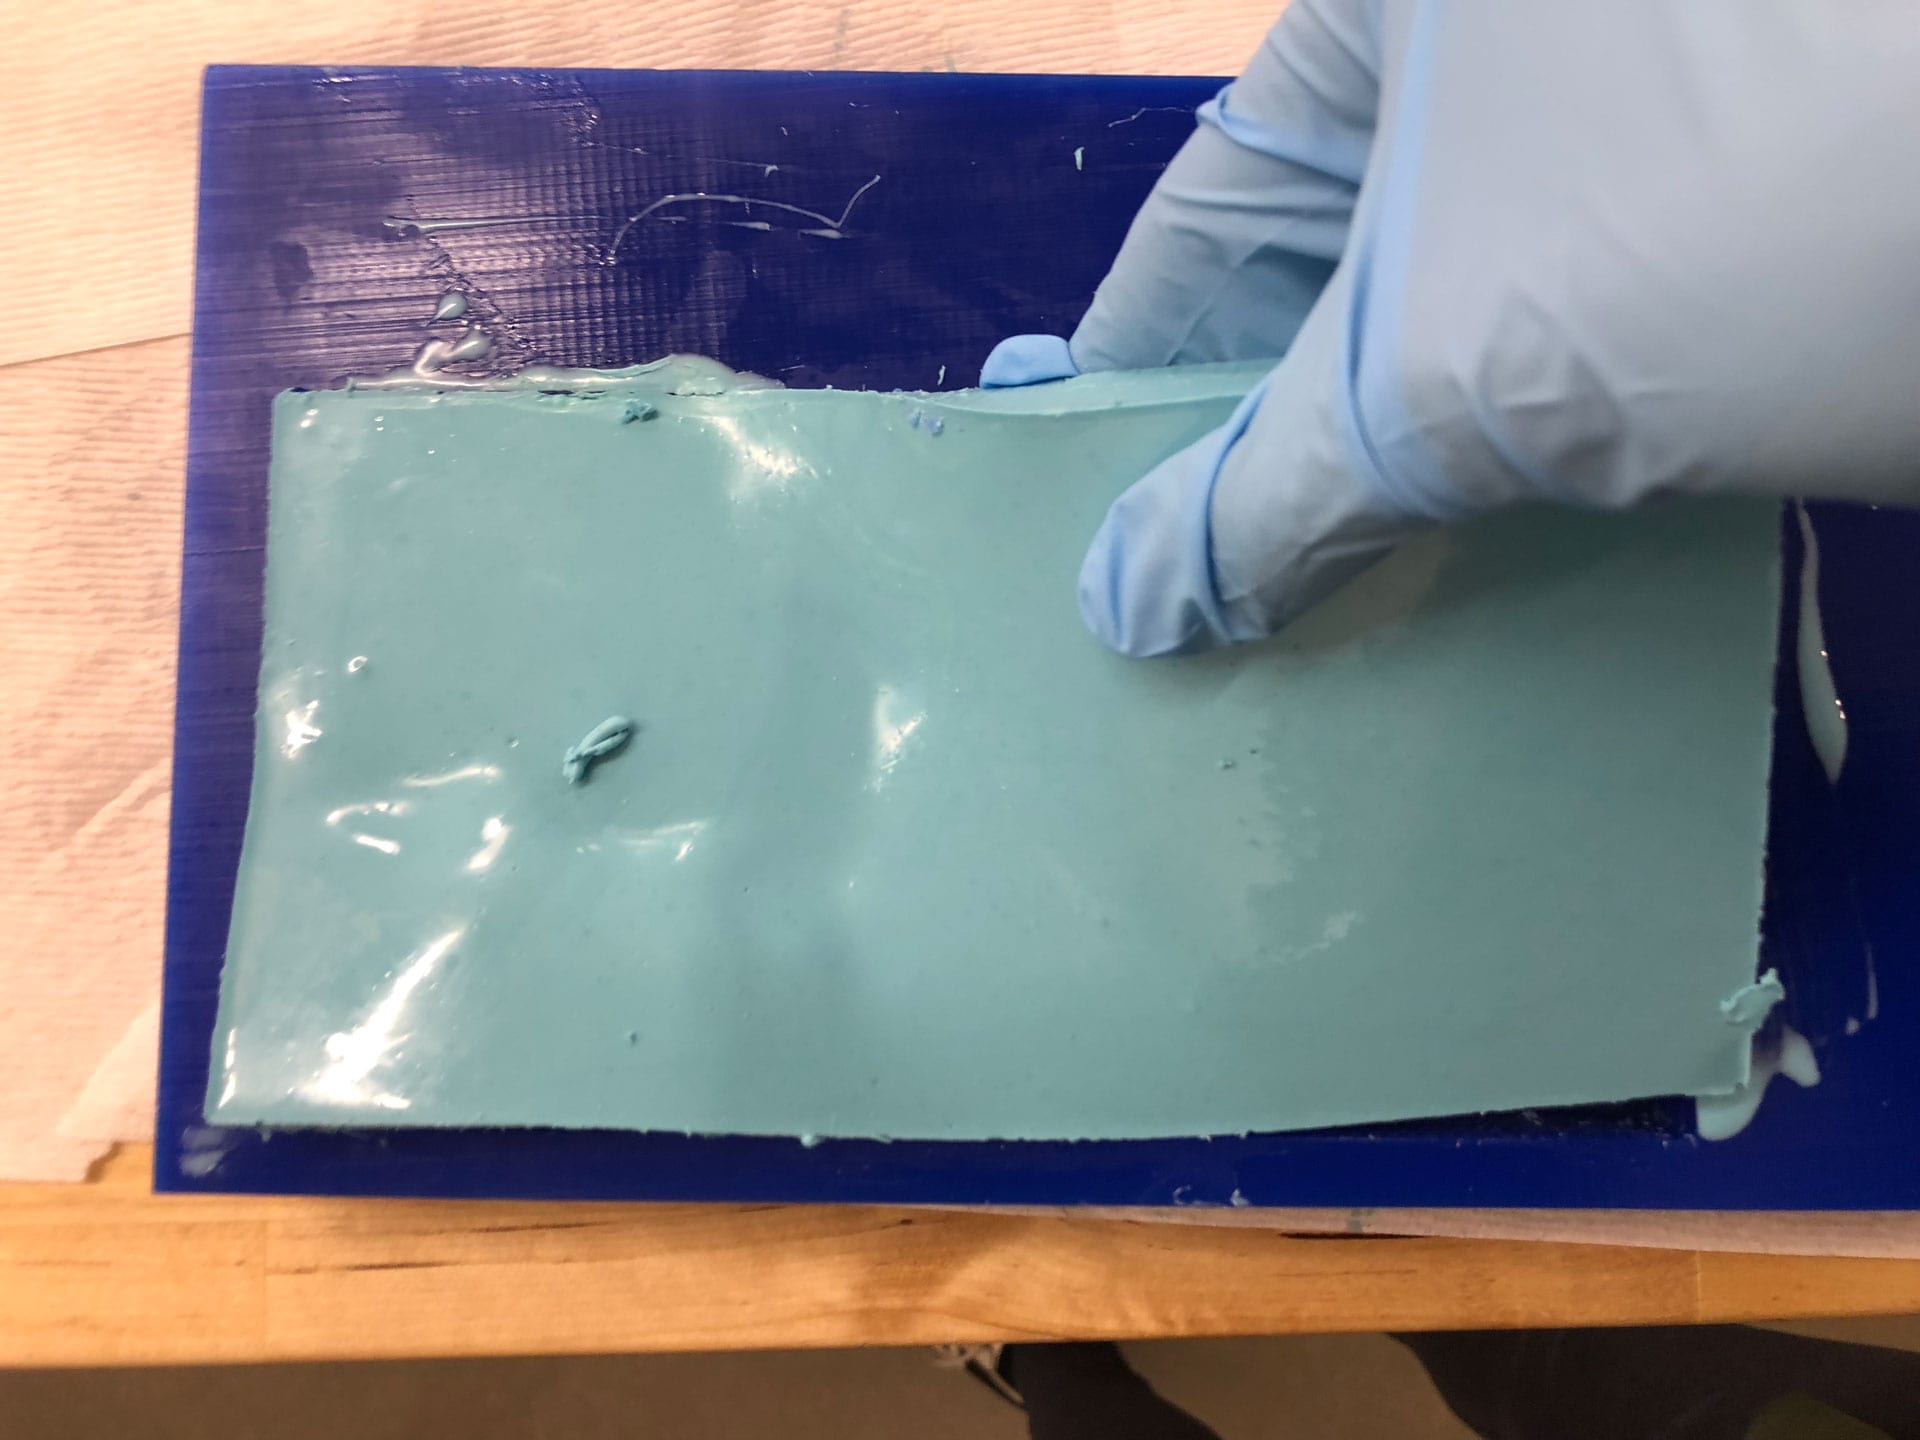
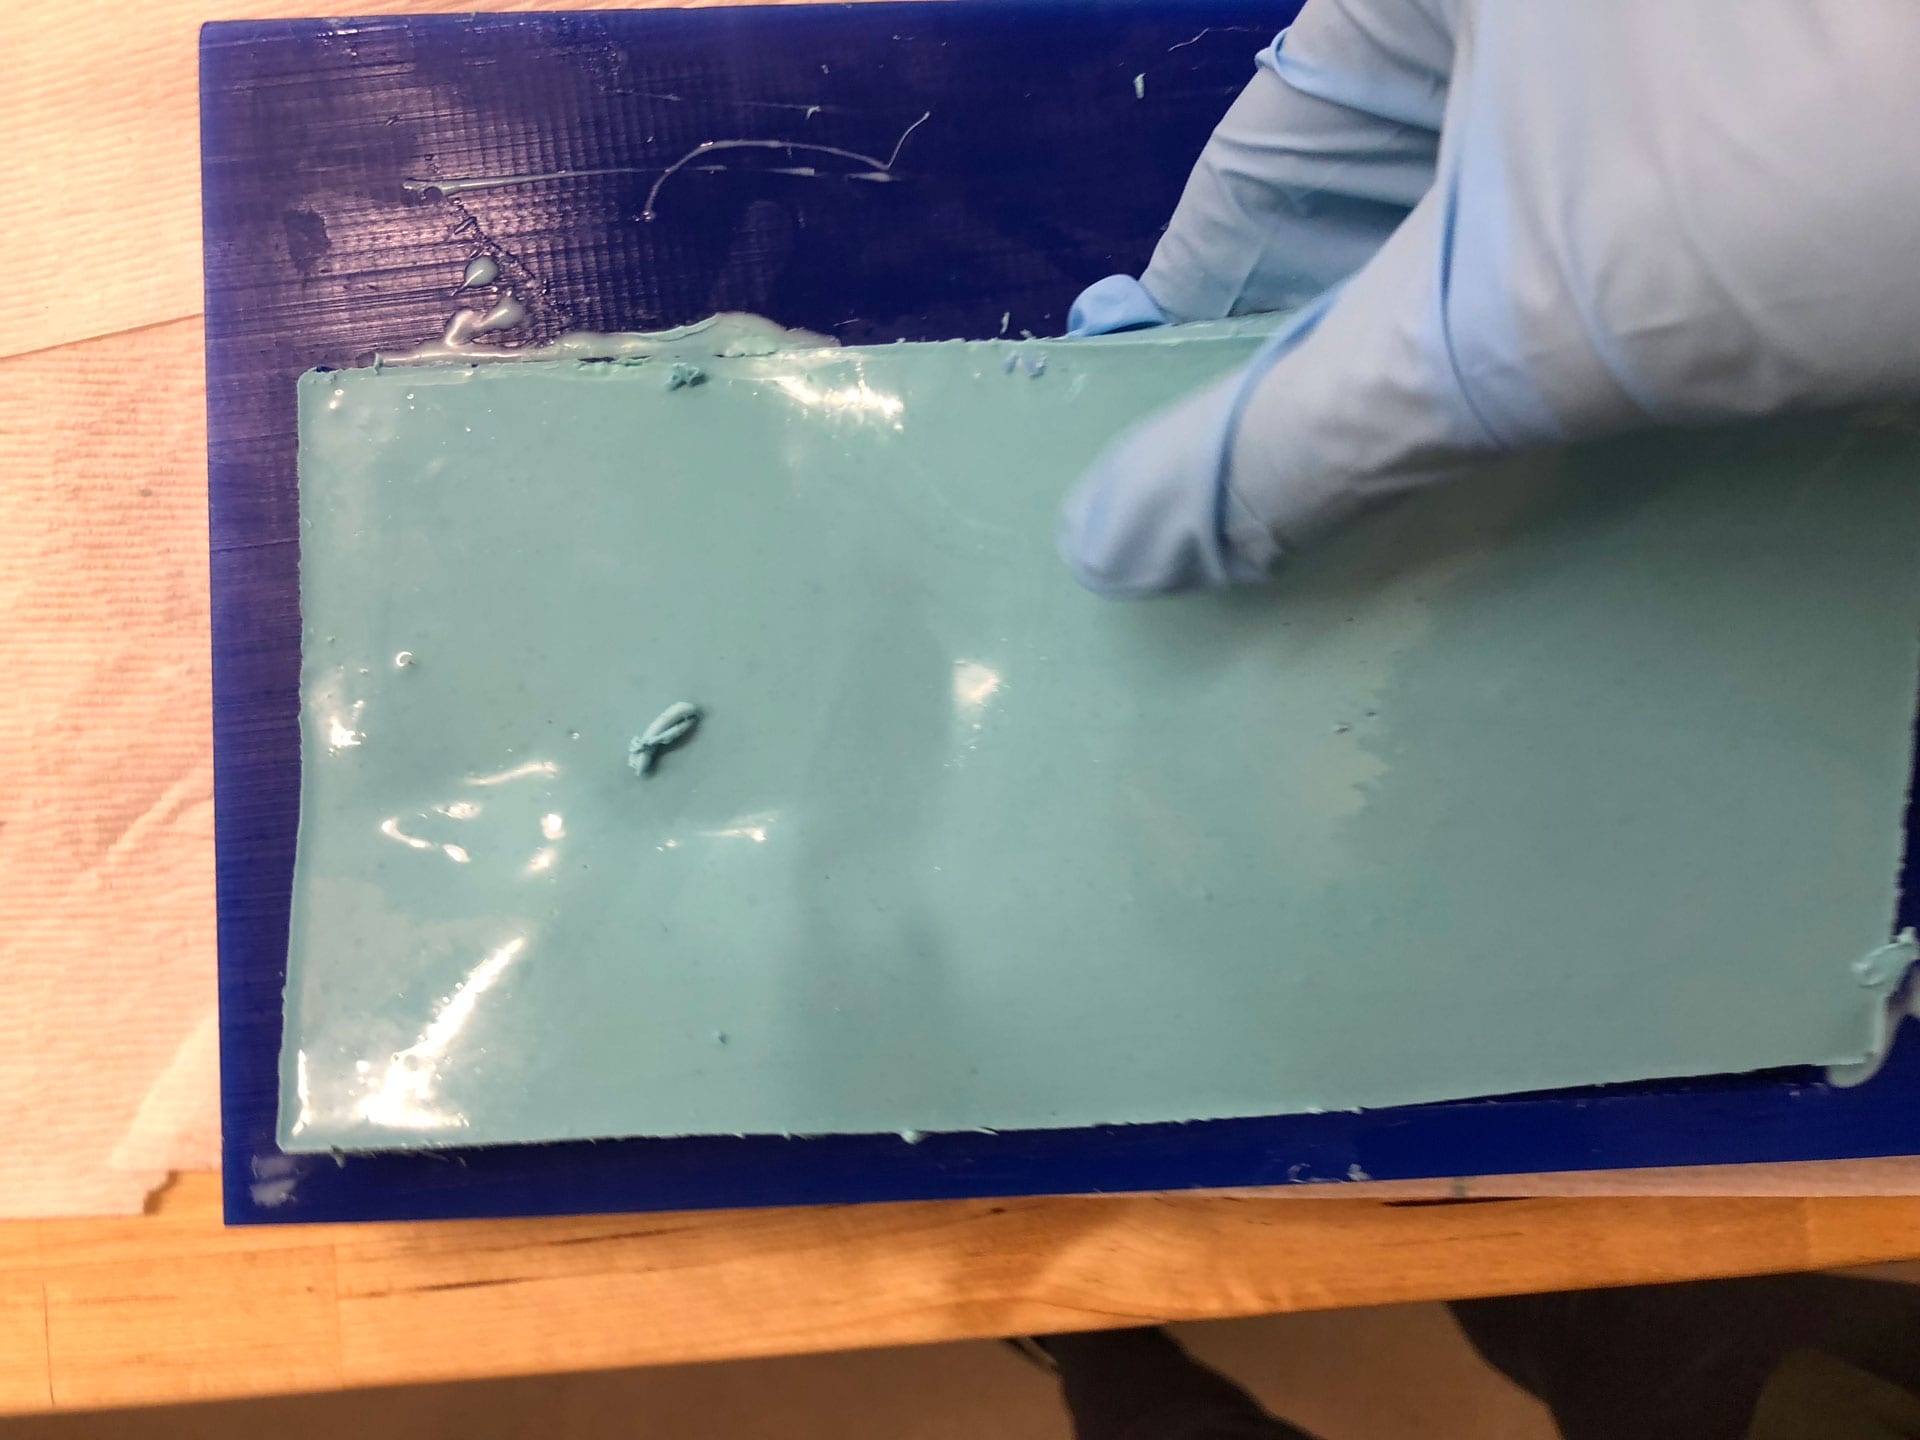
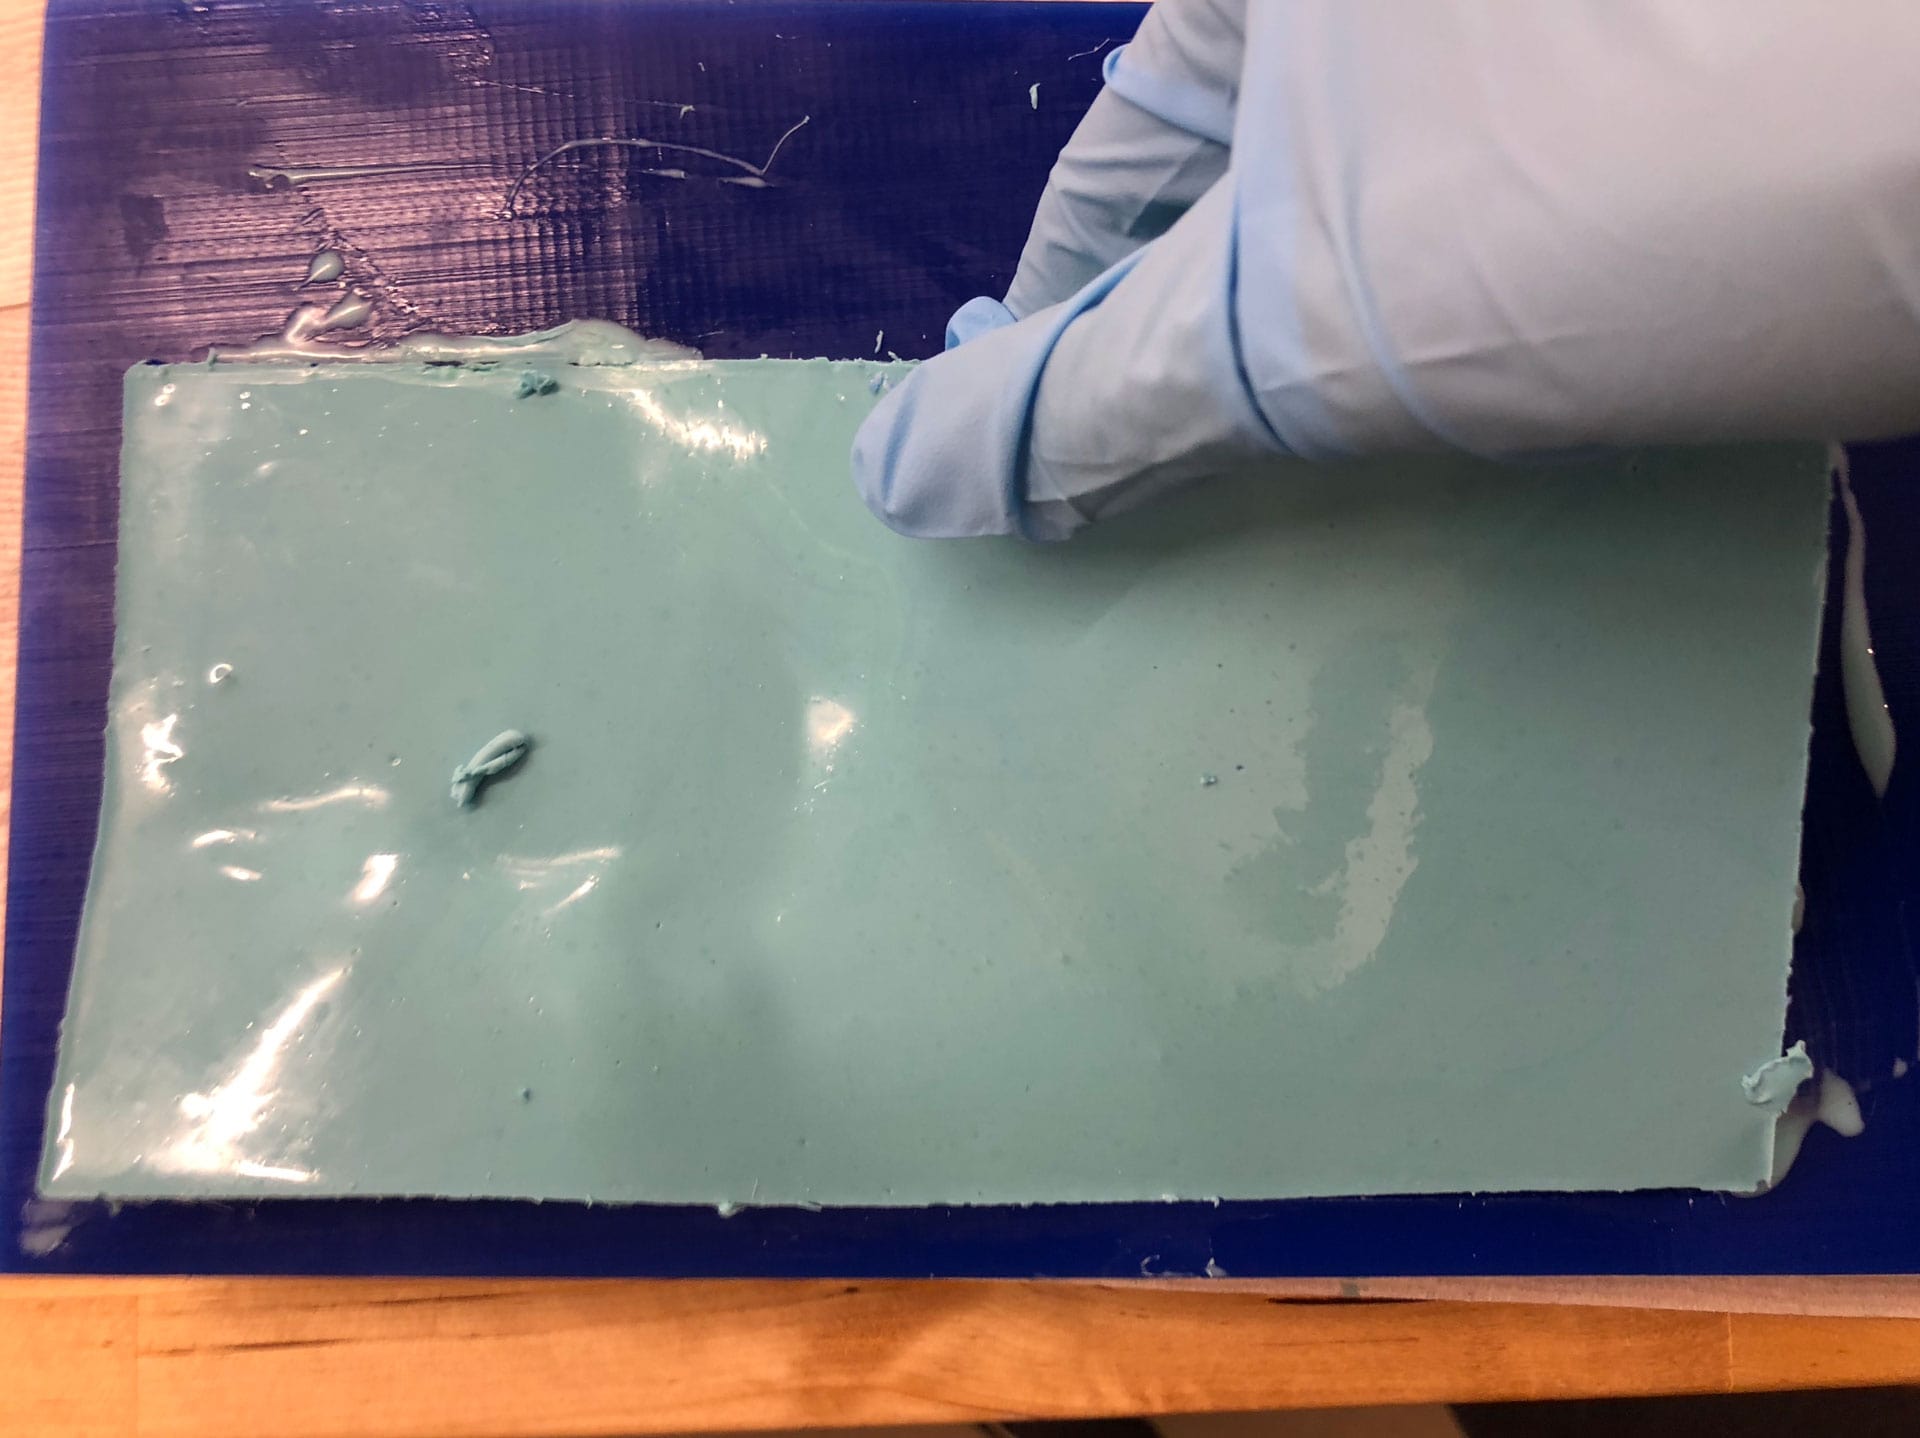
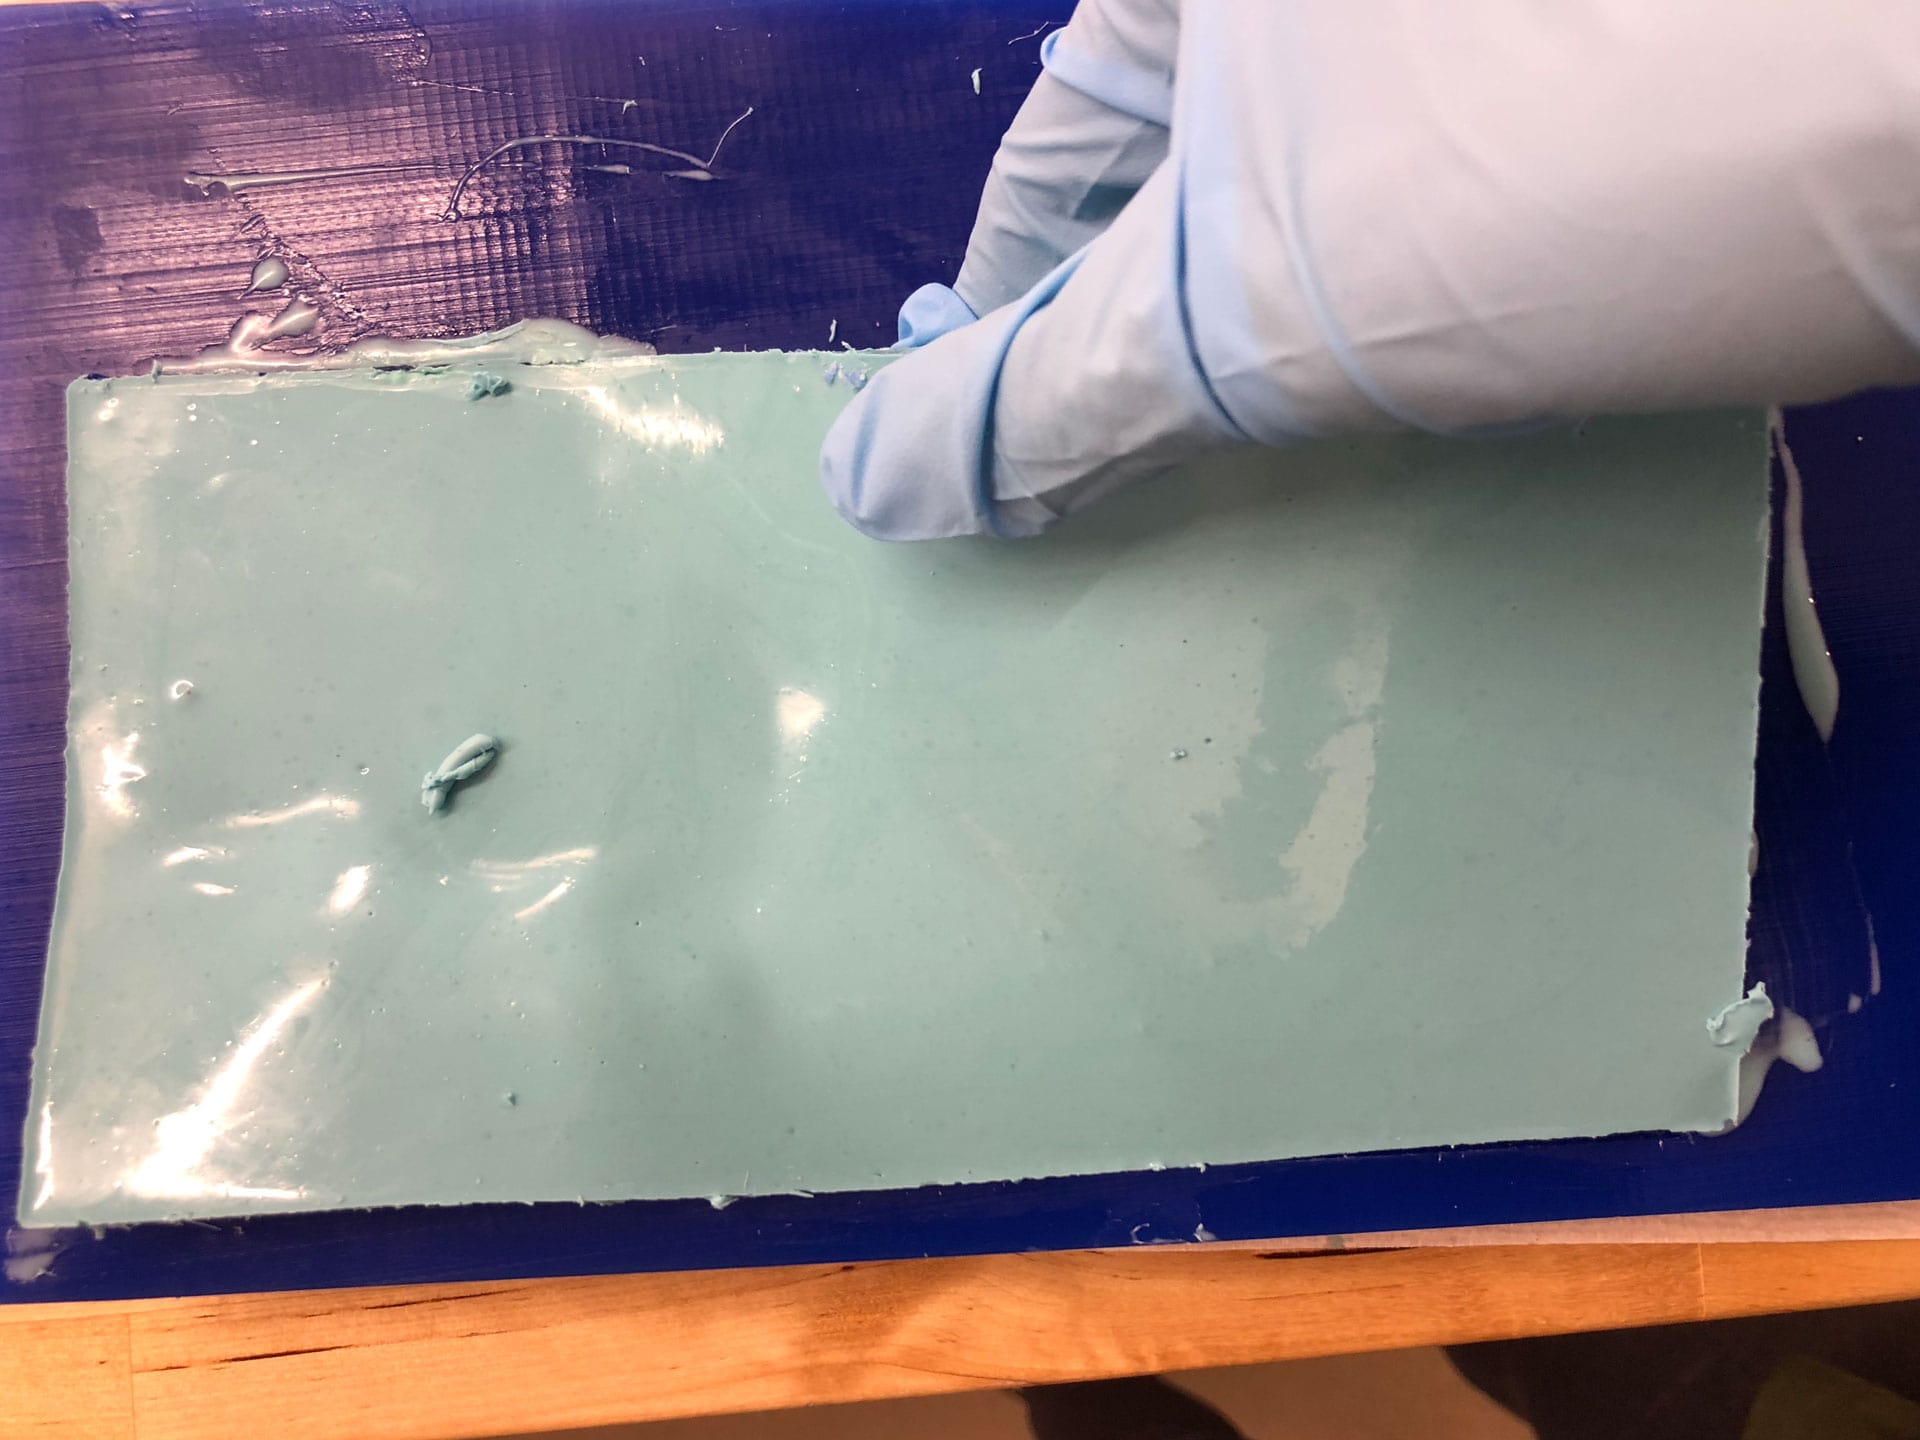
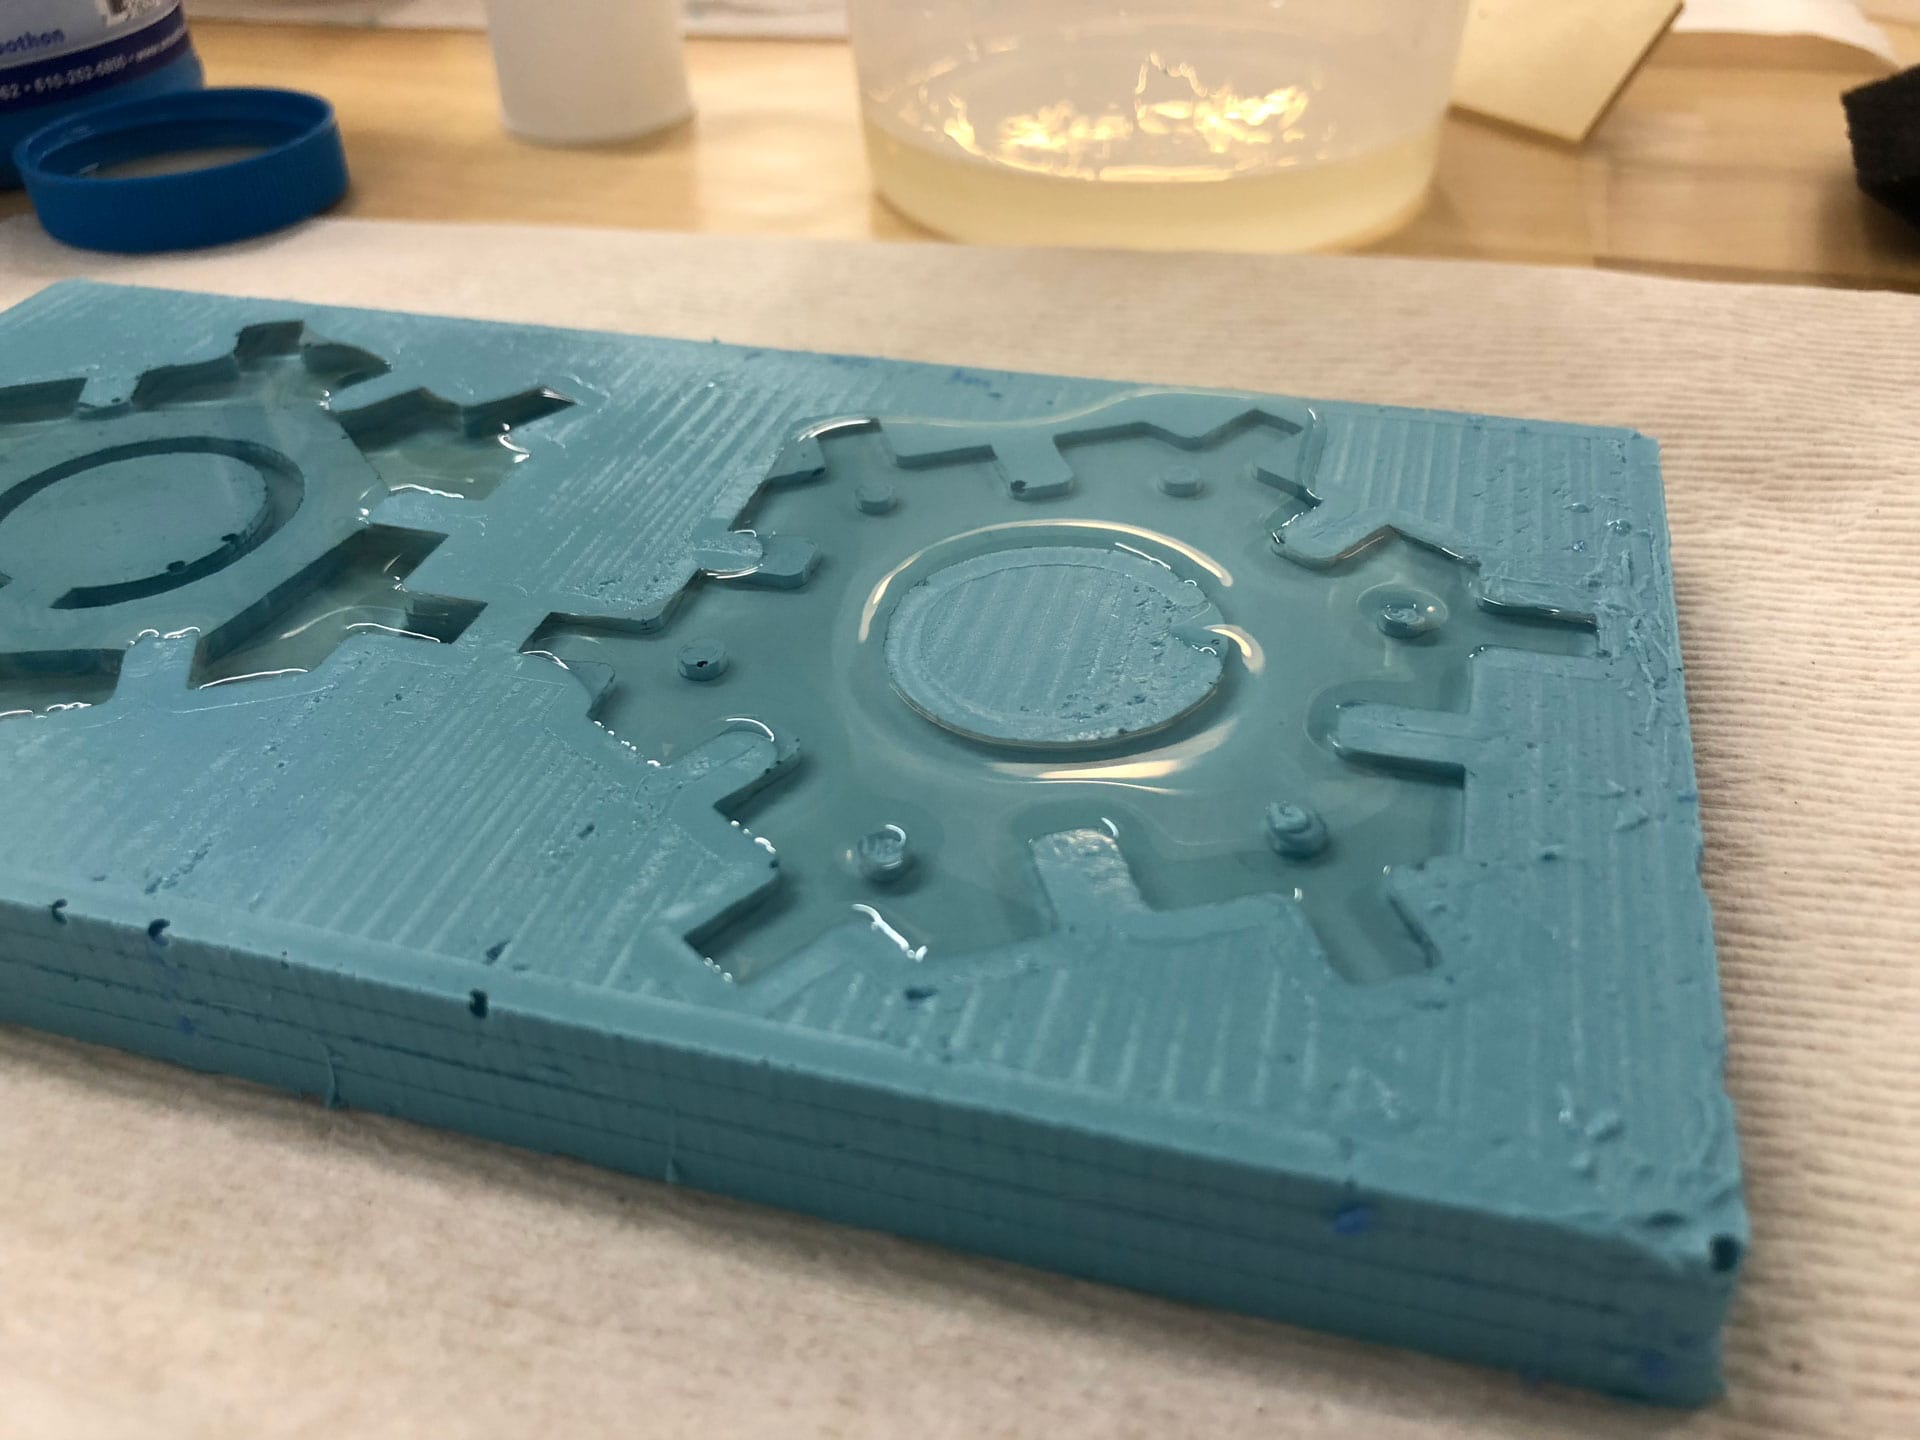
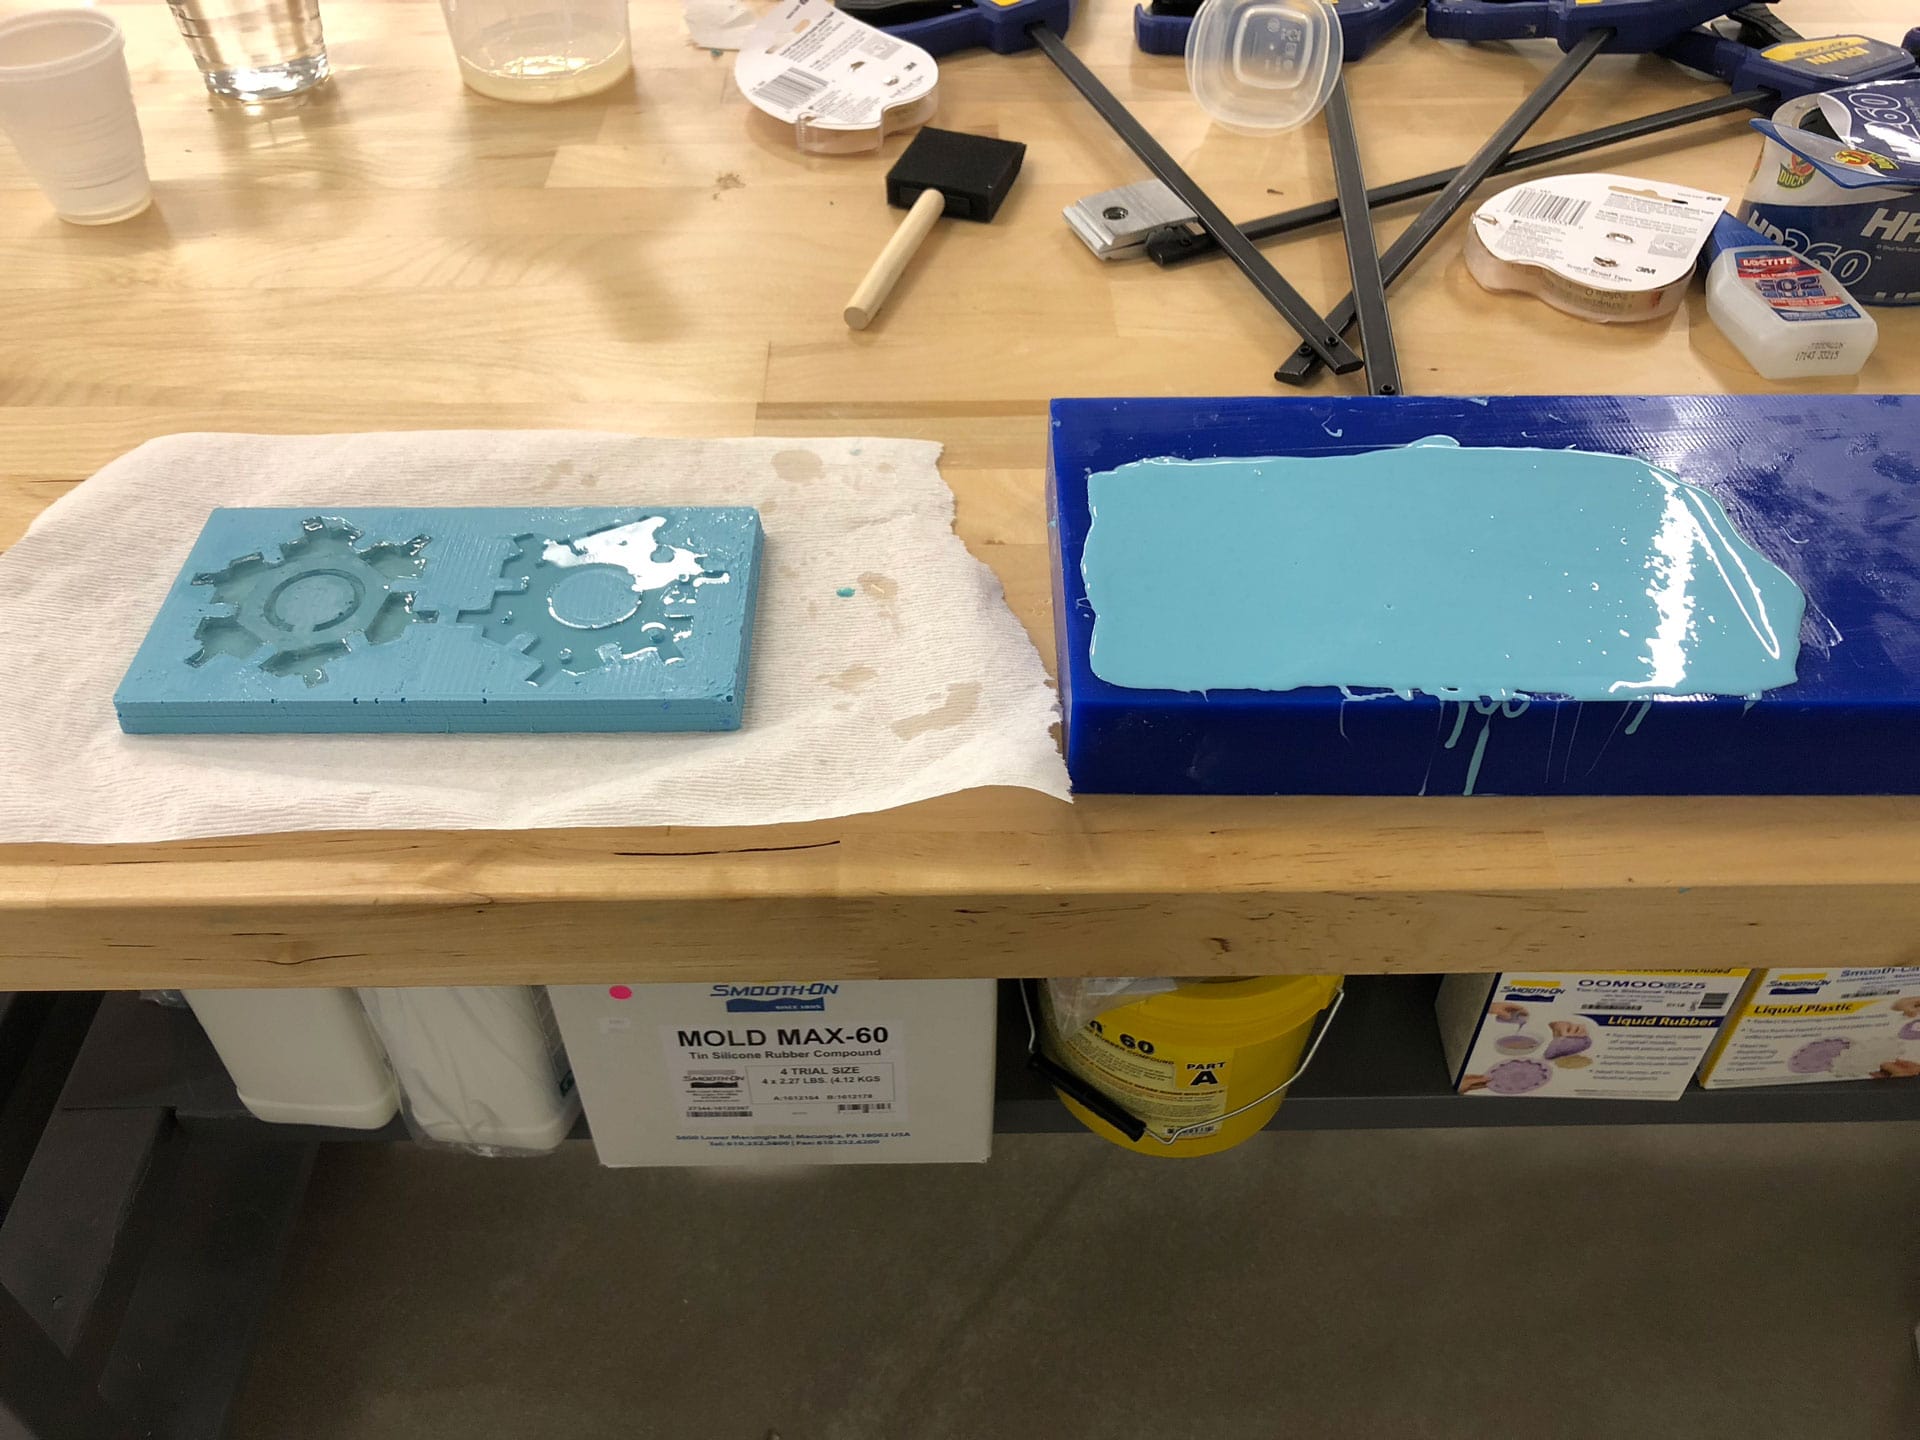
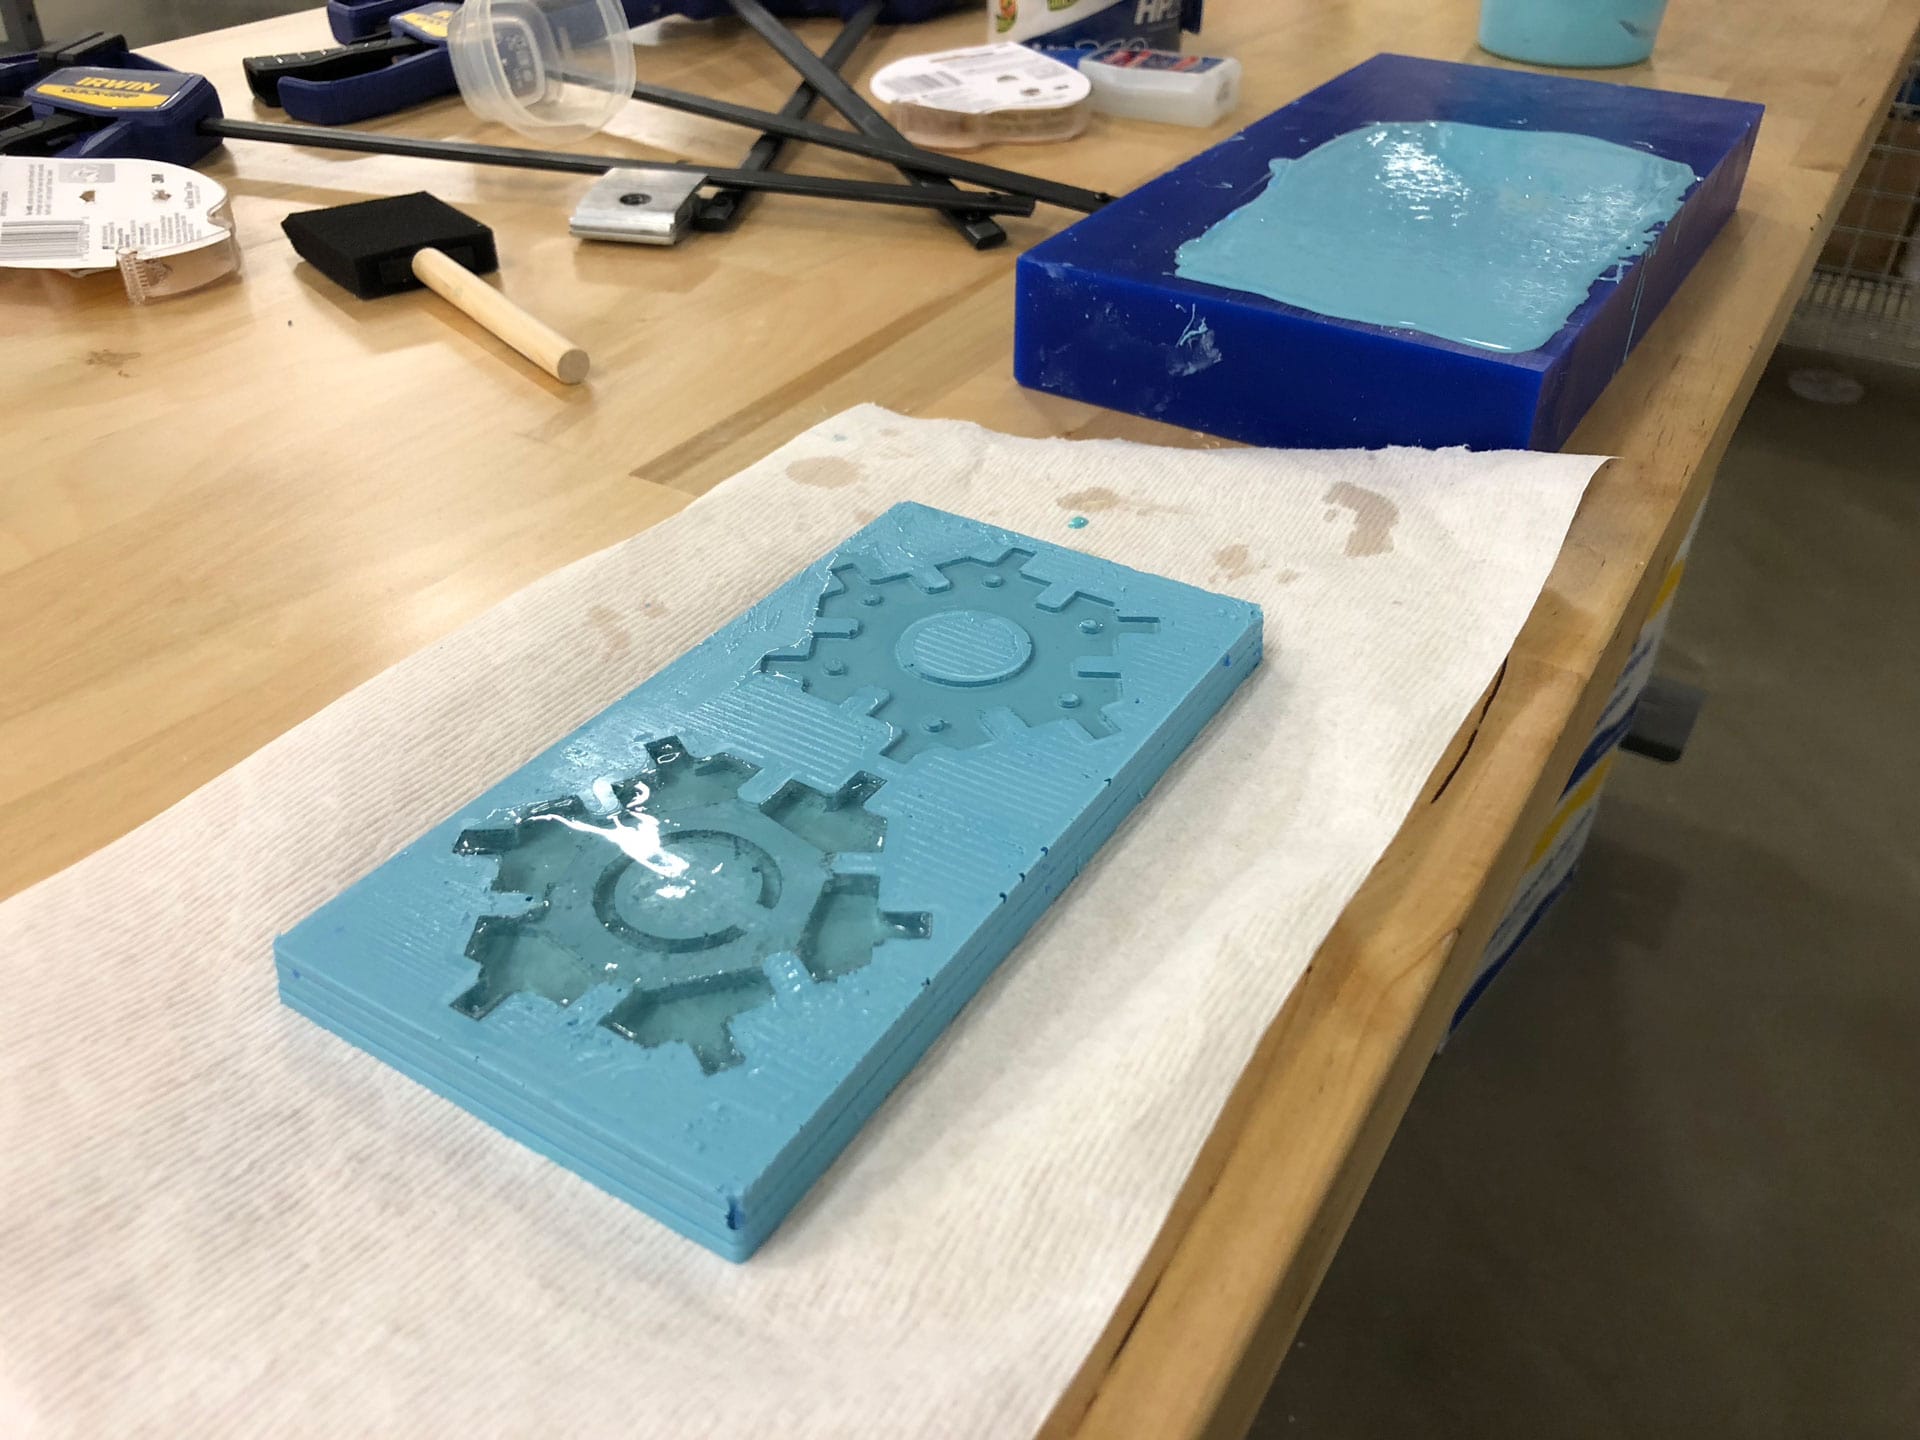
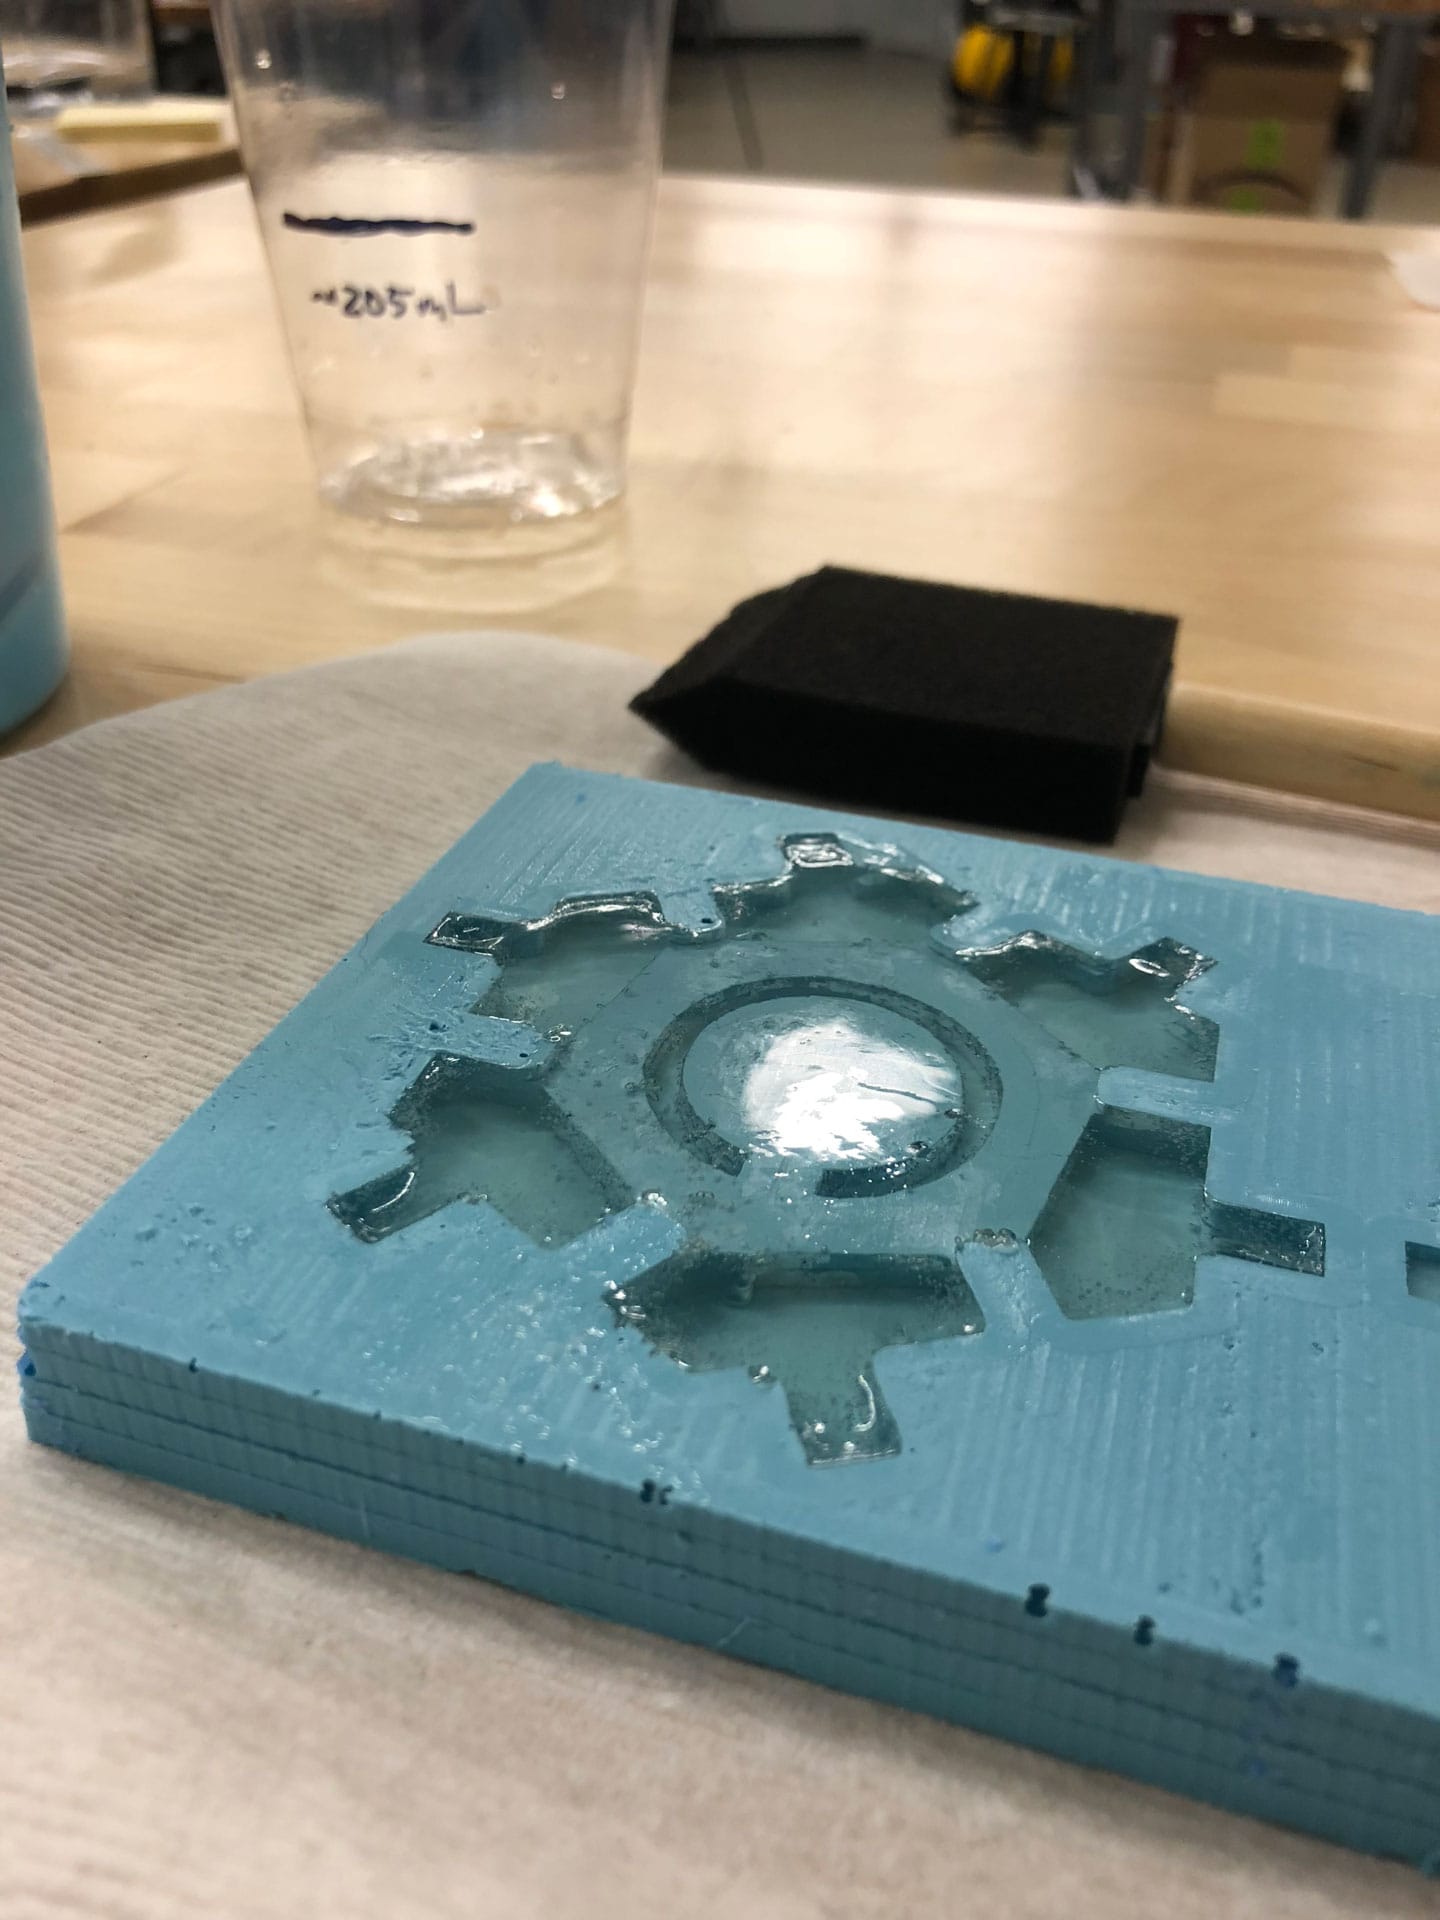
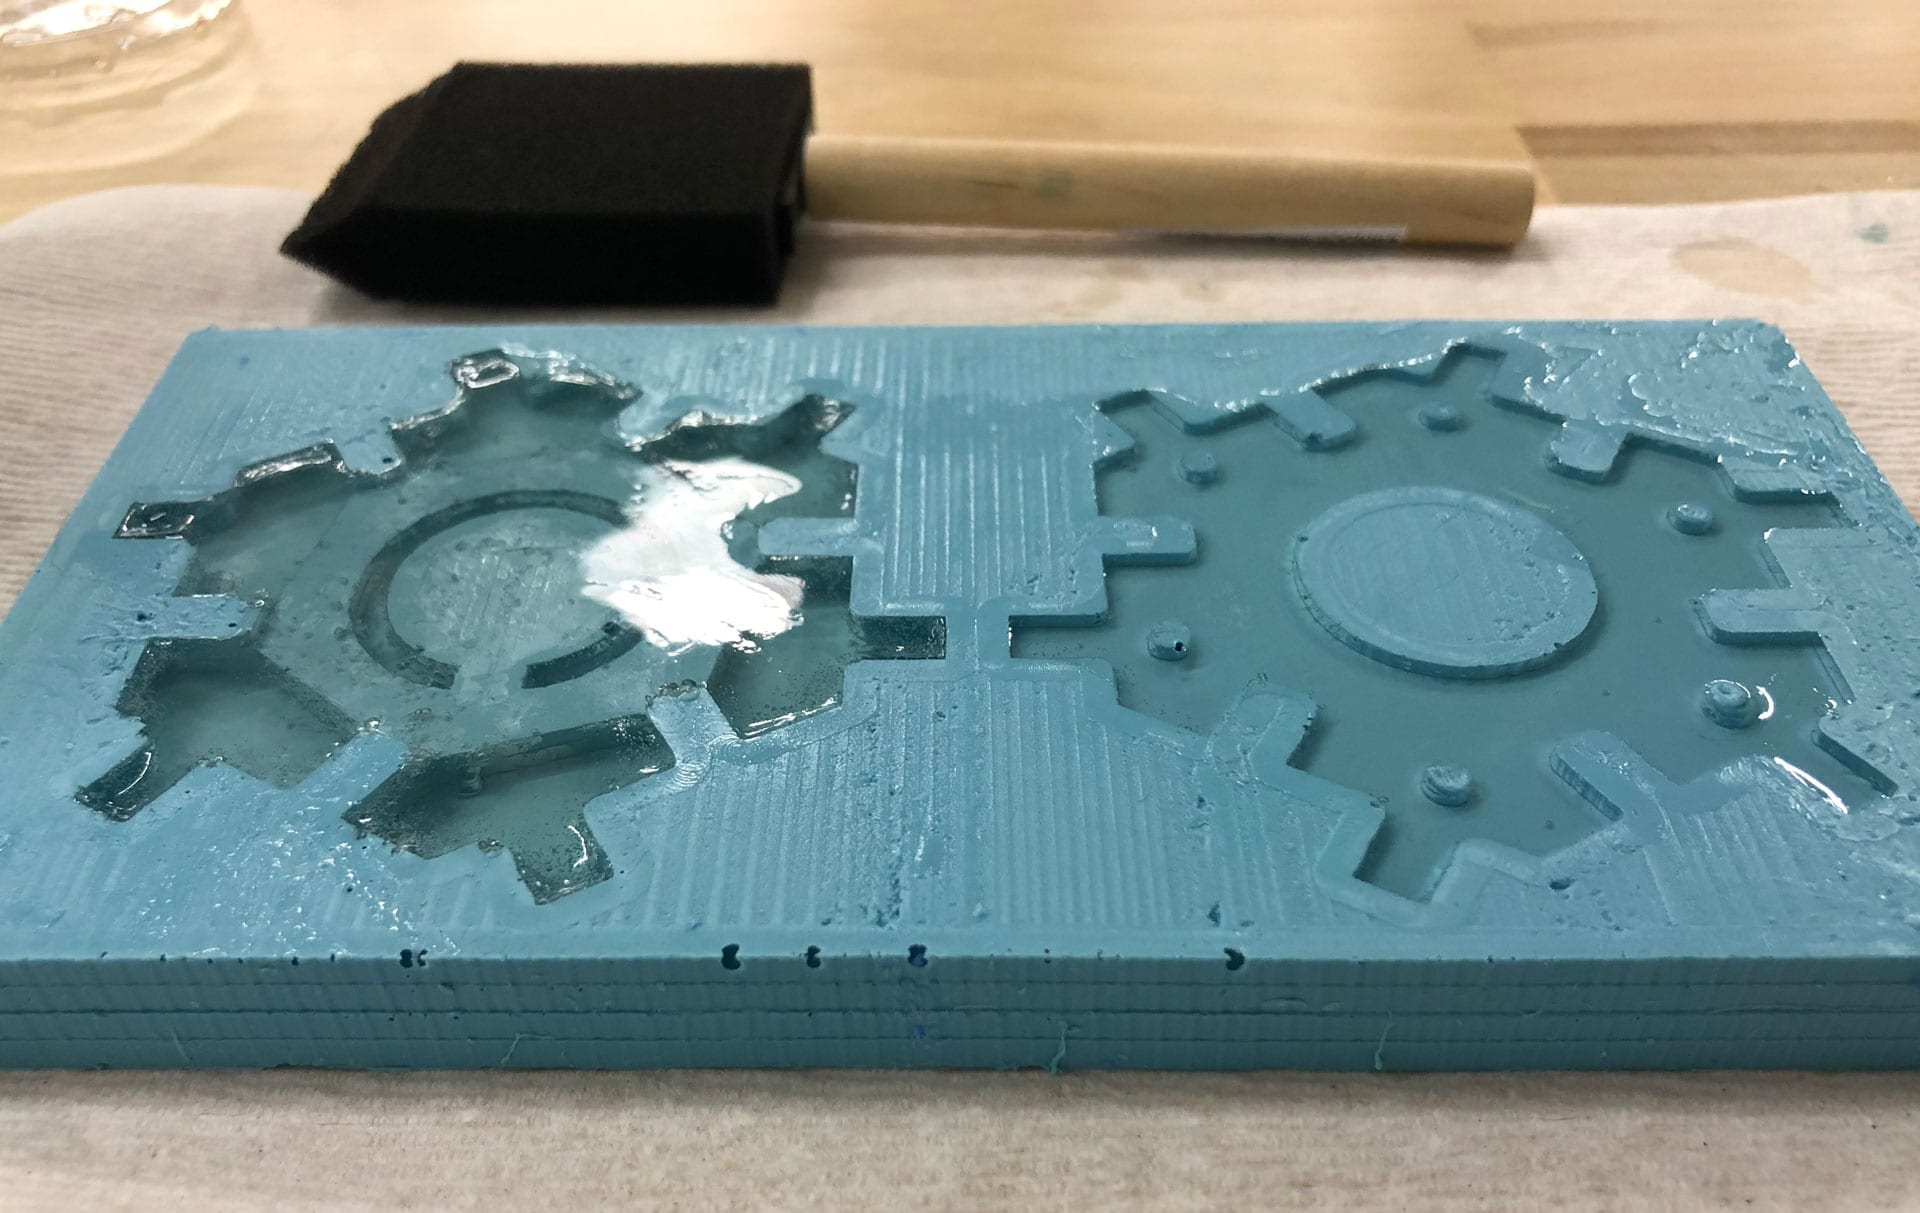
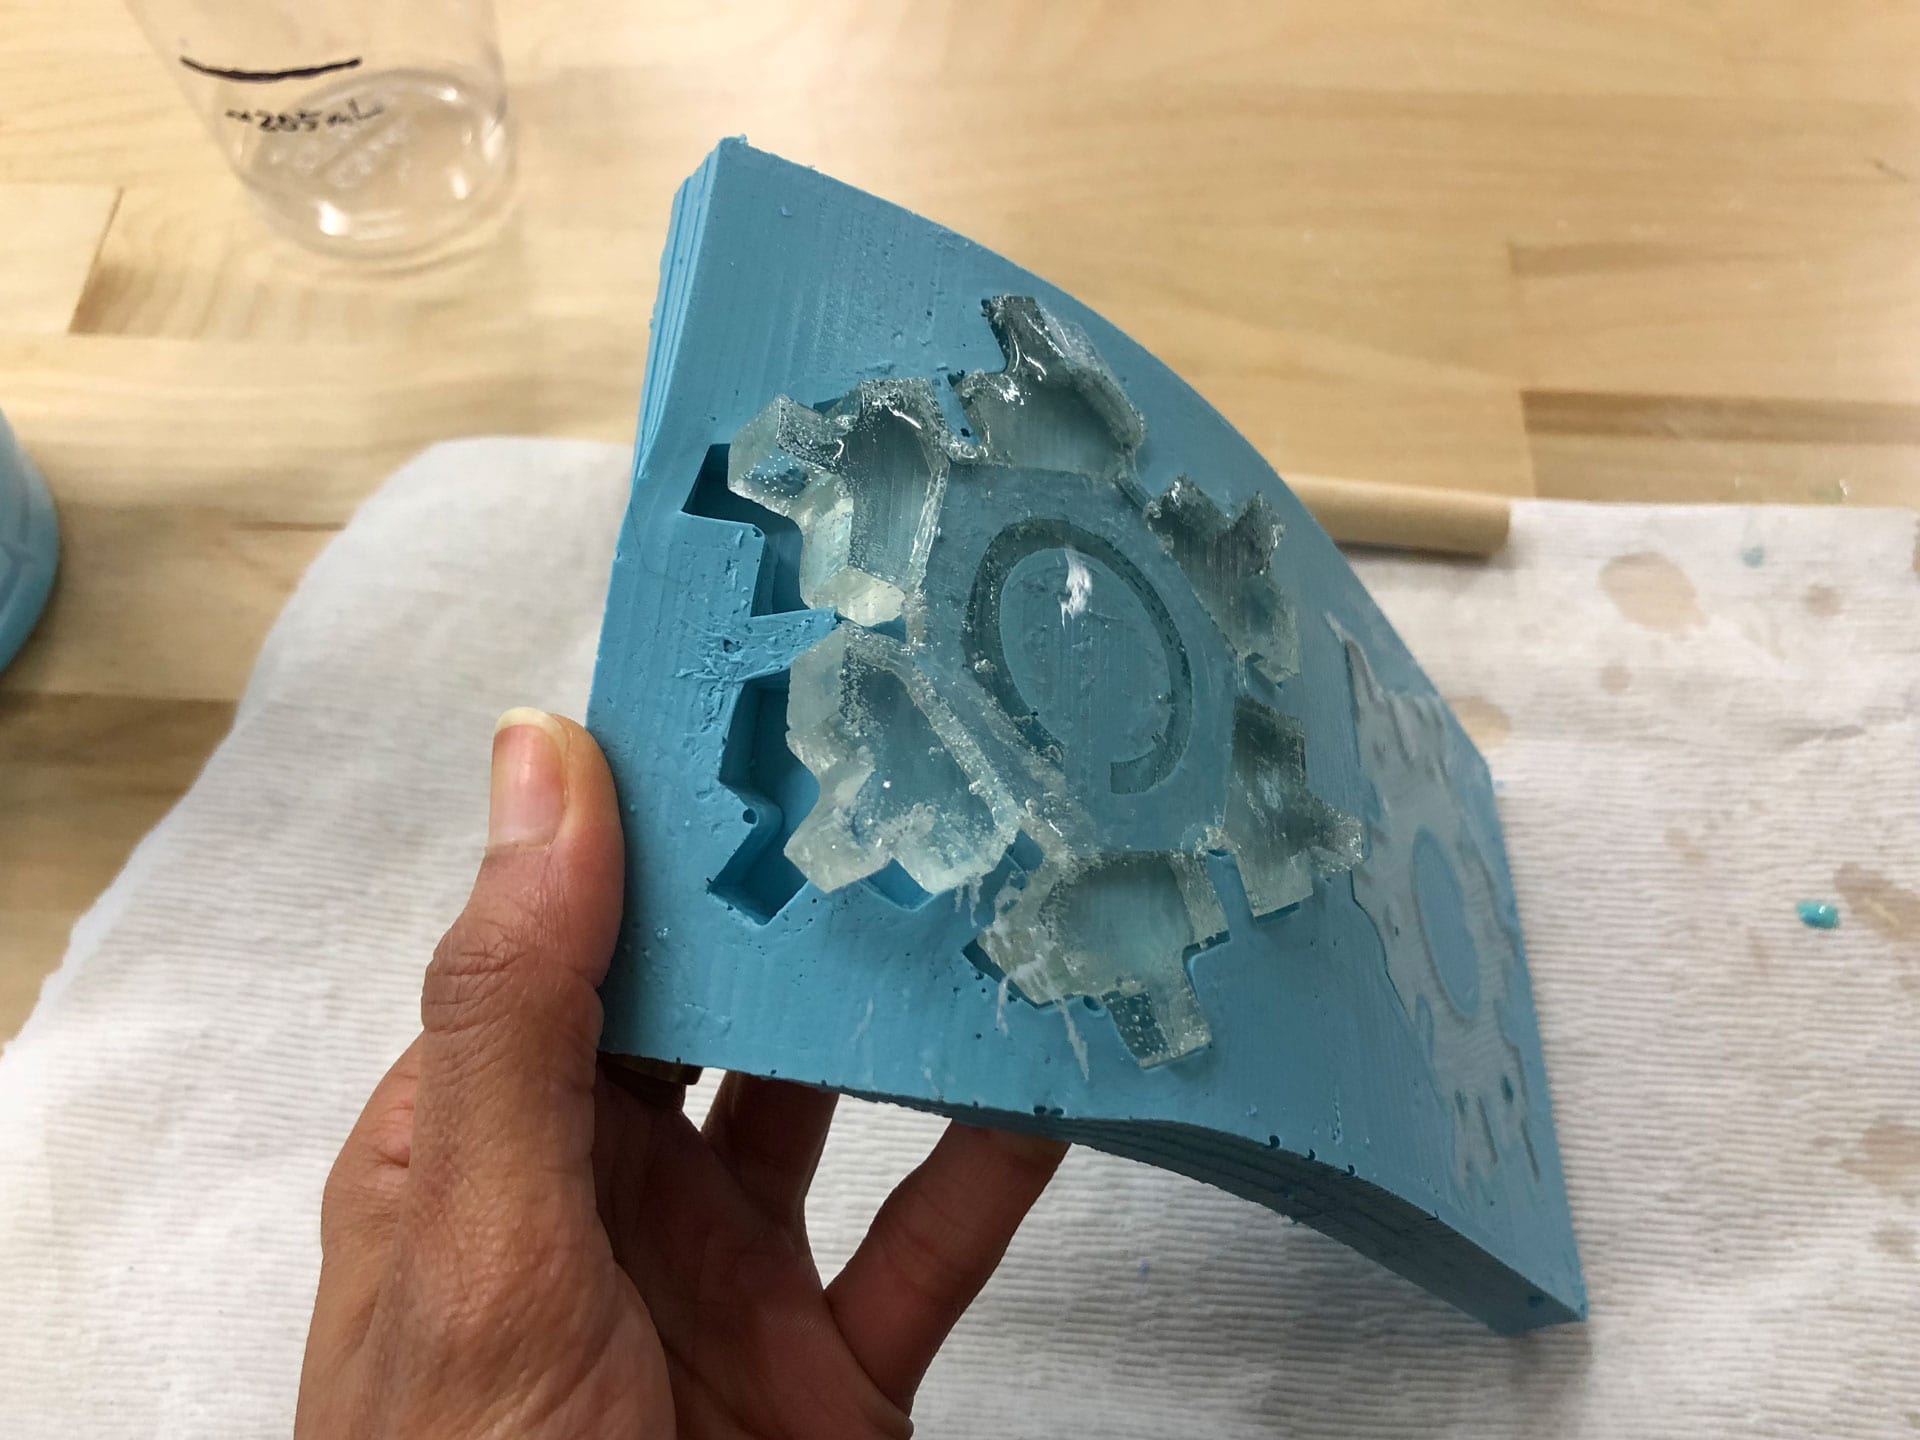
Casting Part
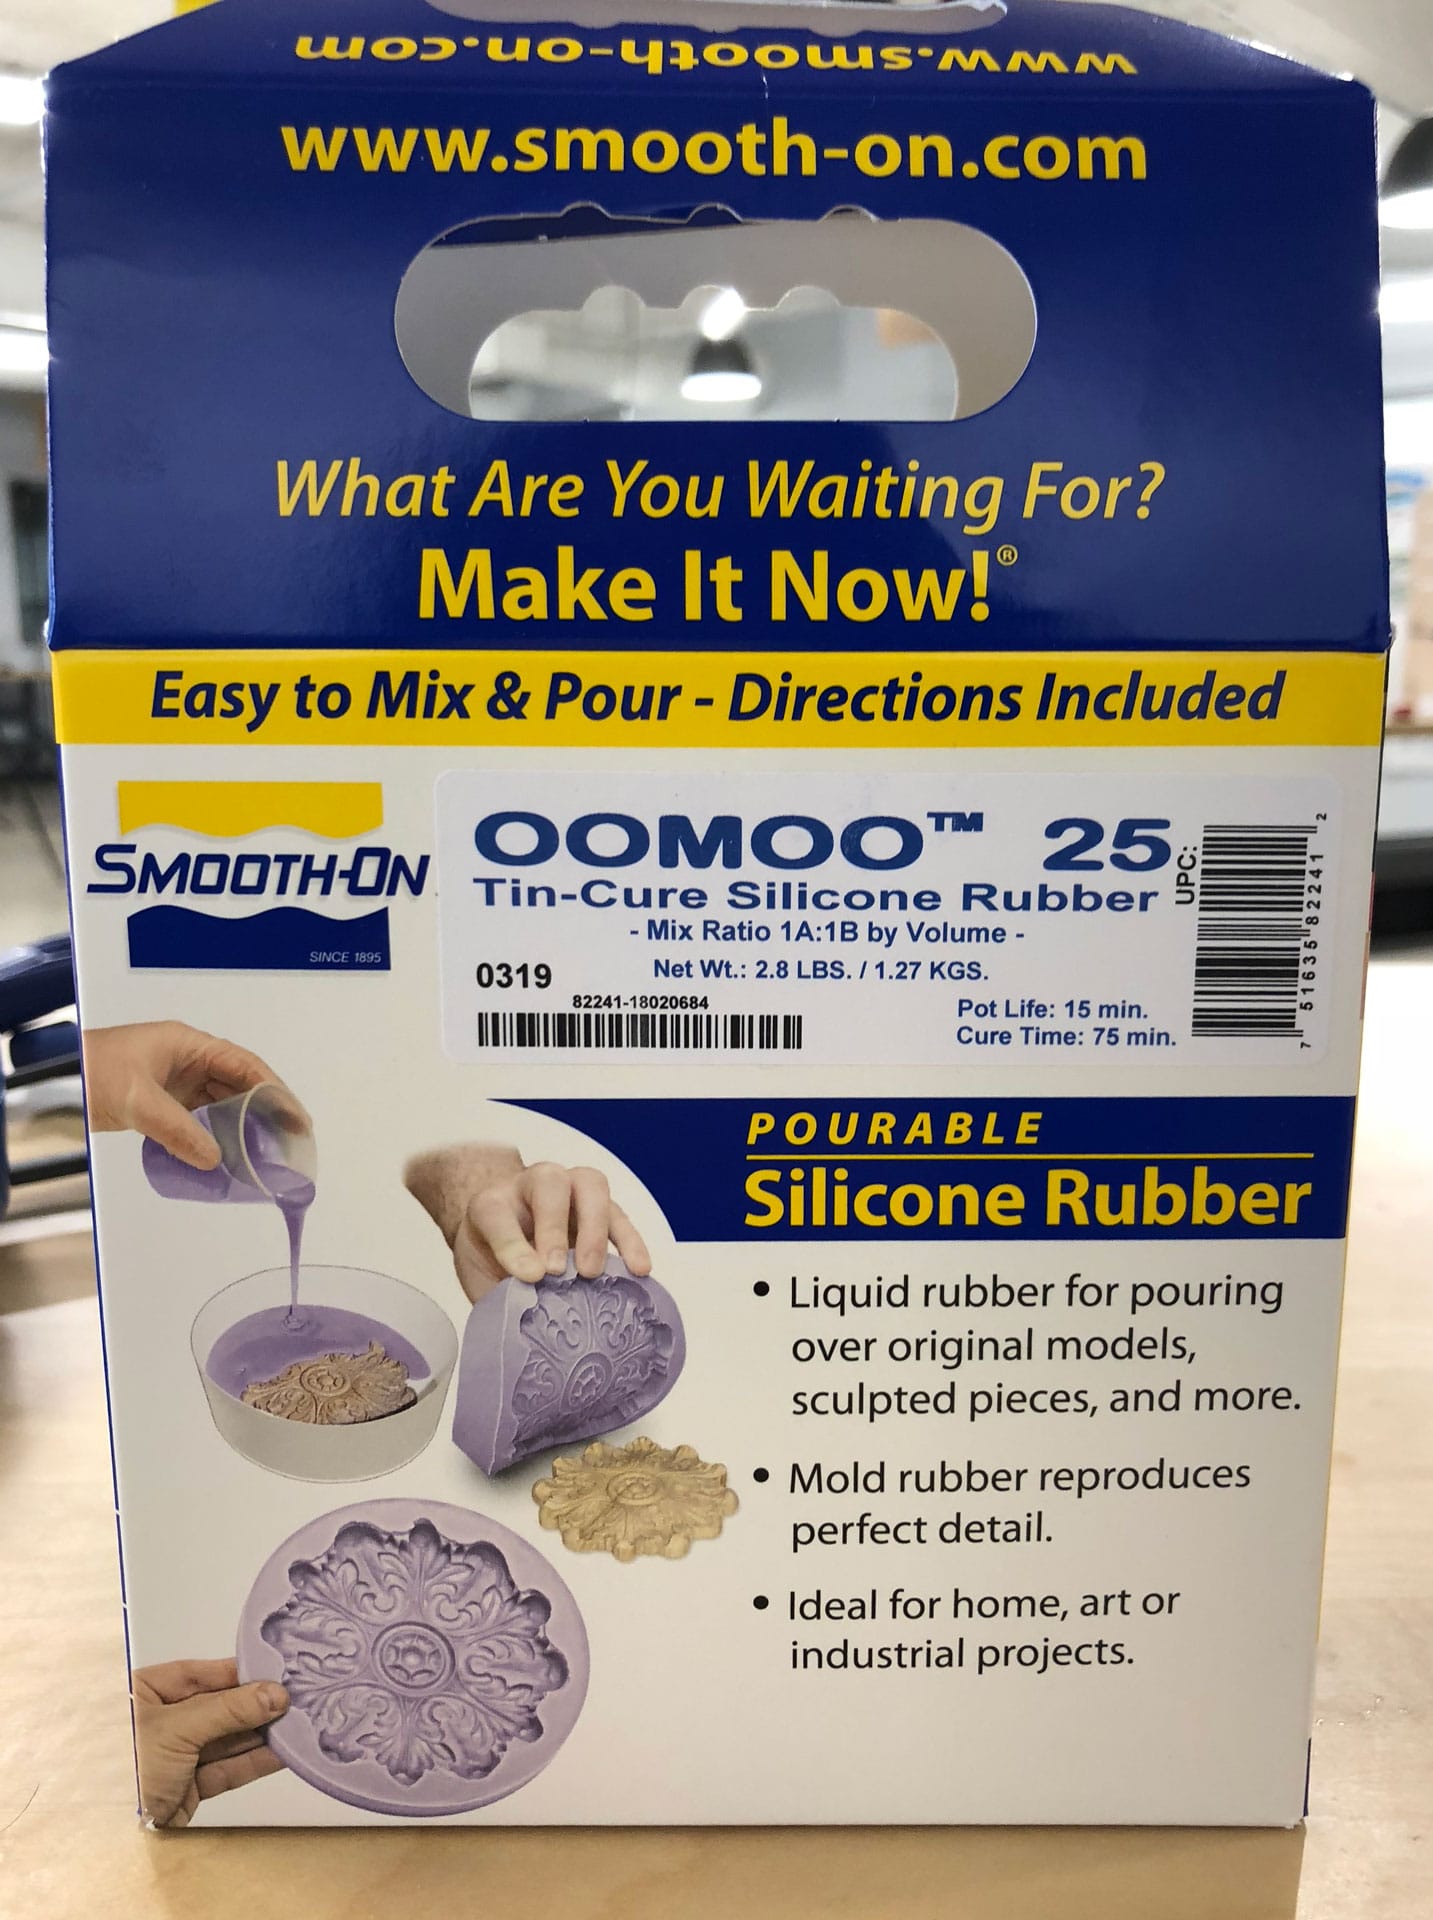
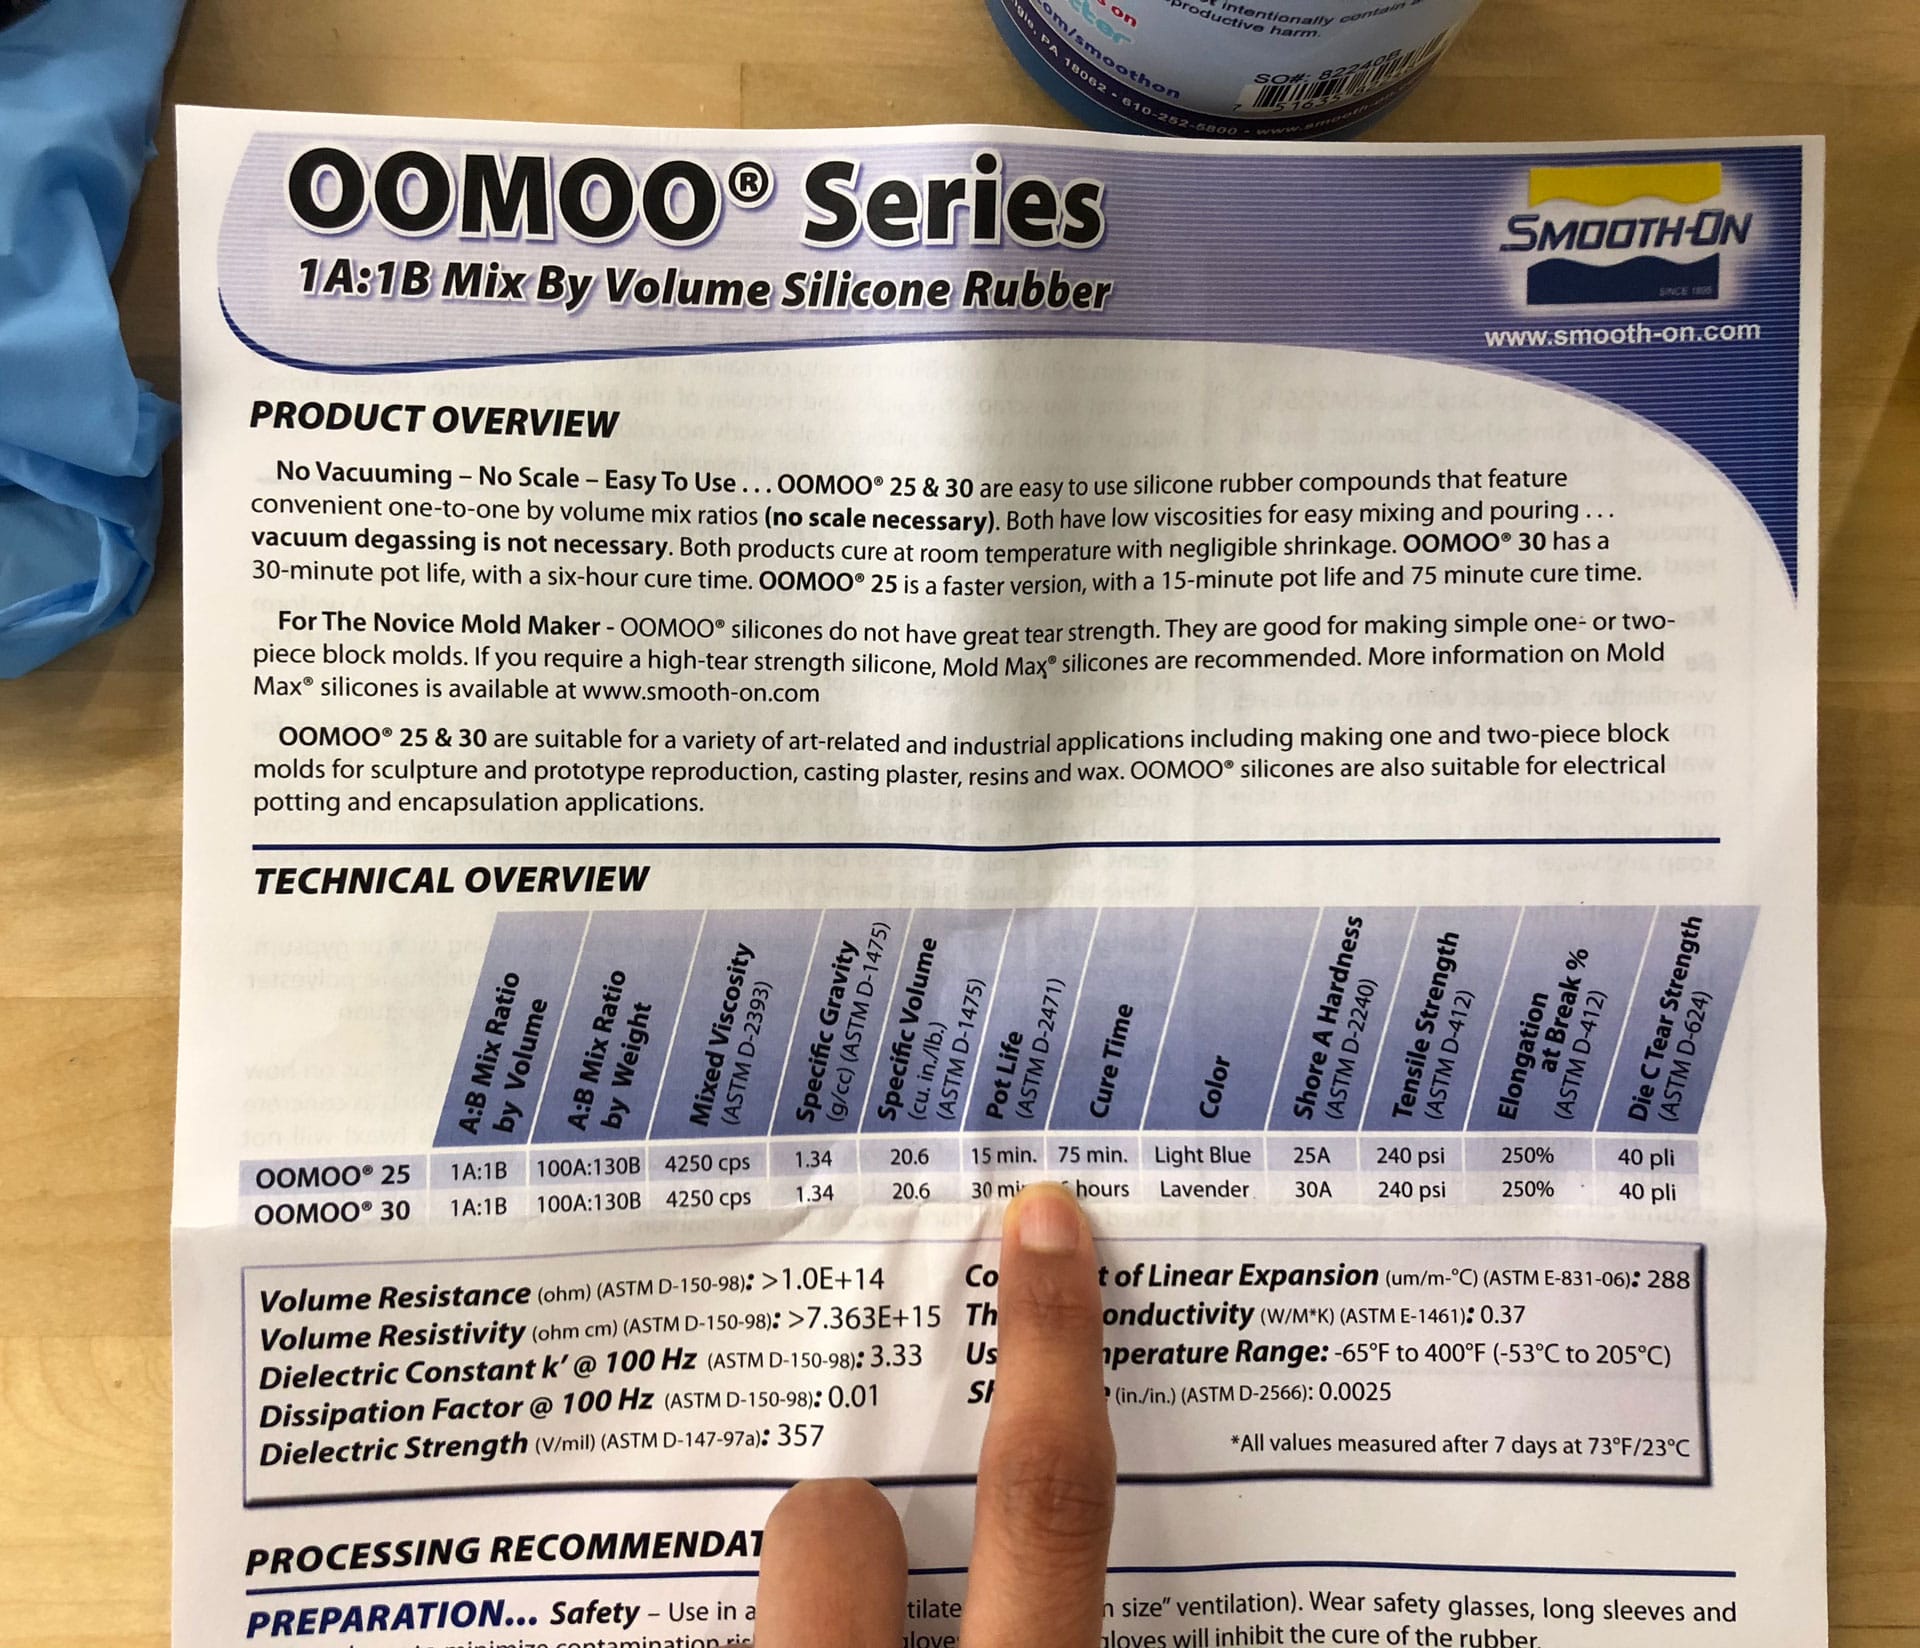
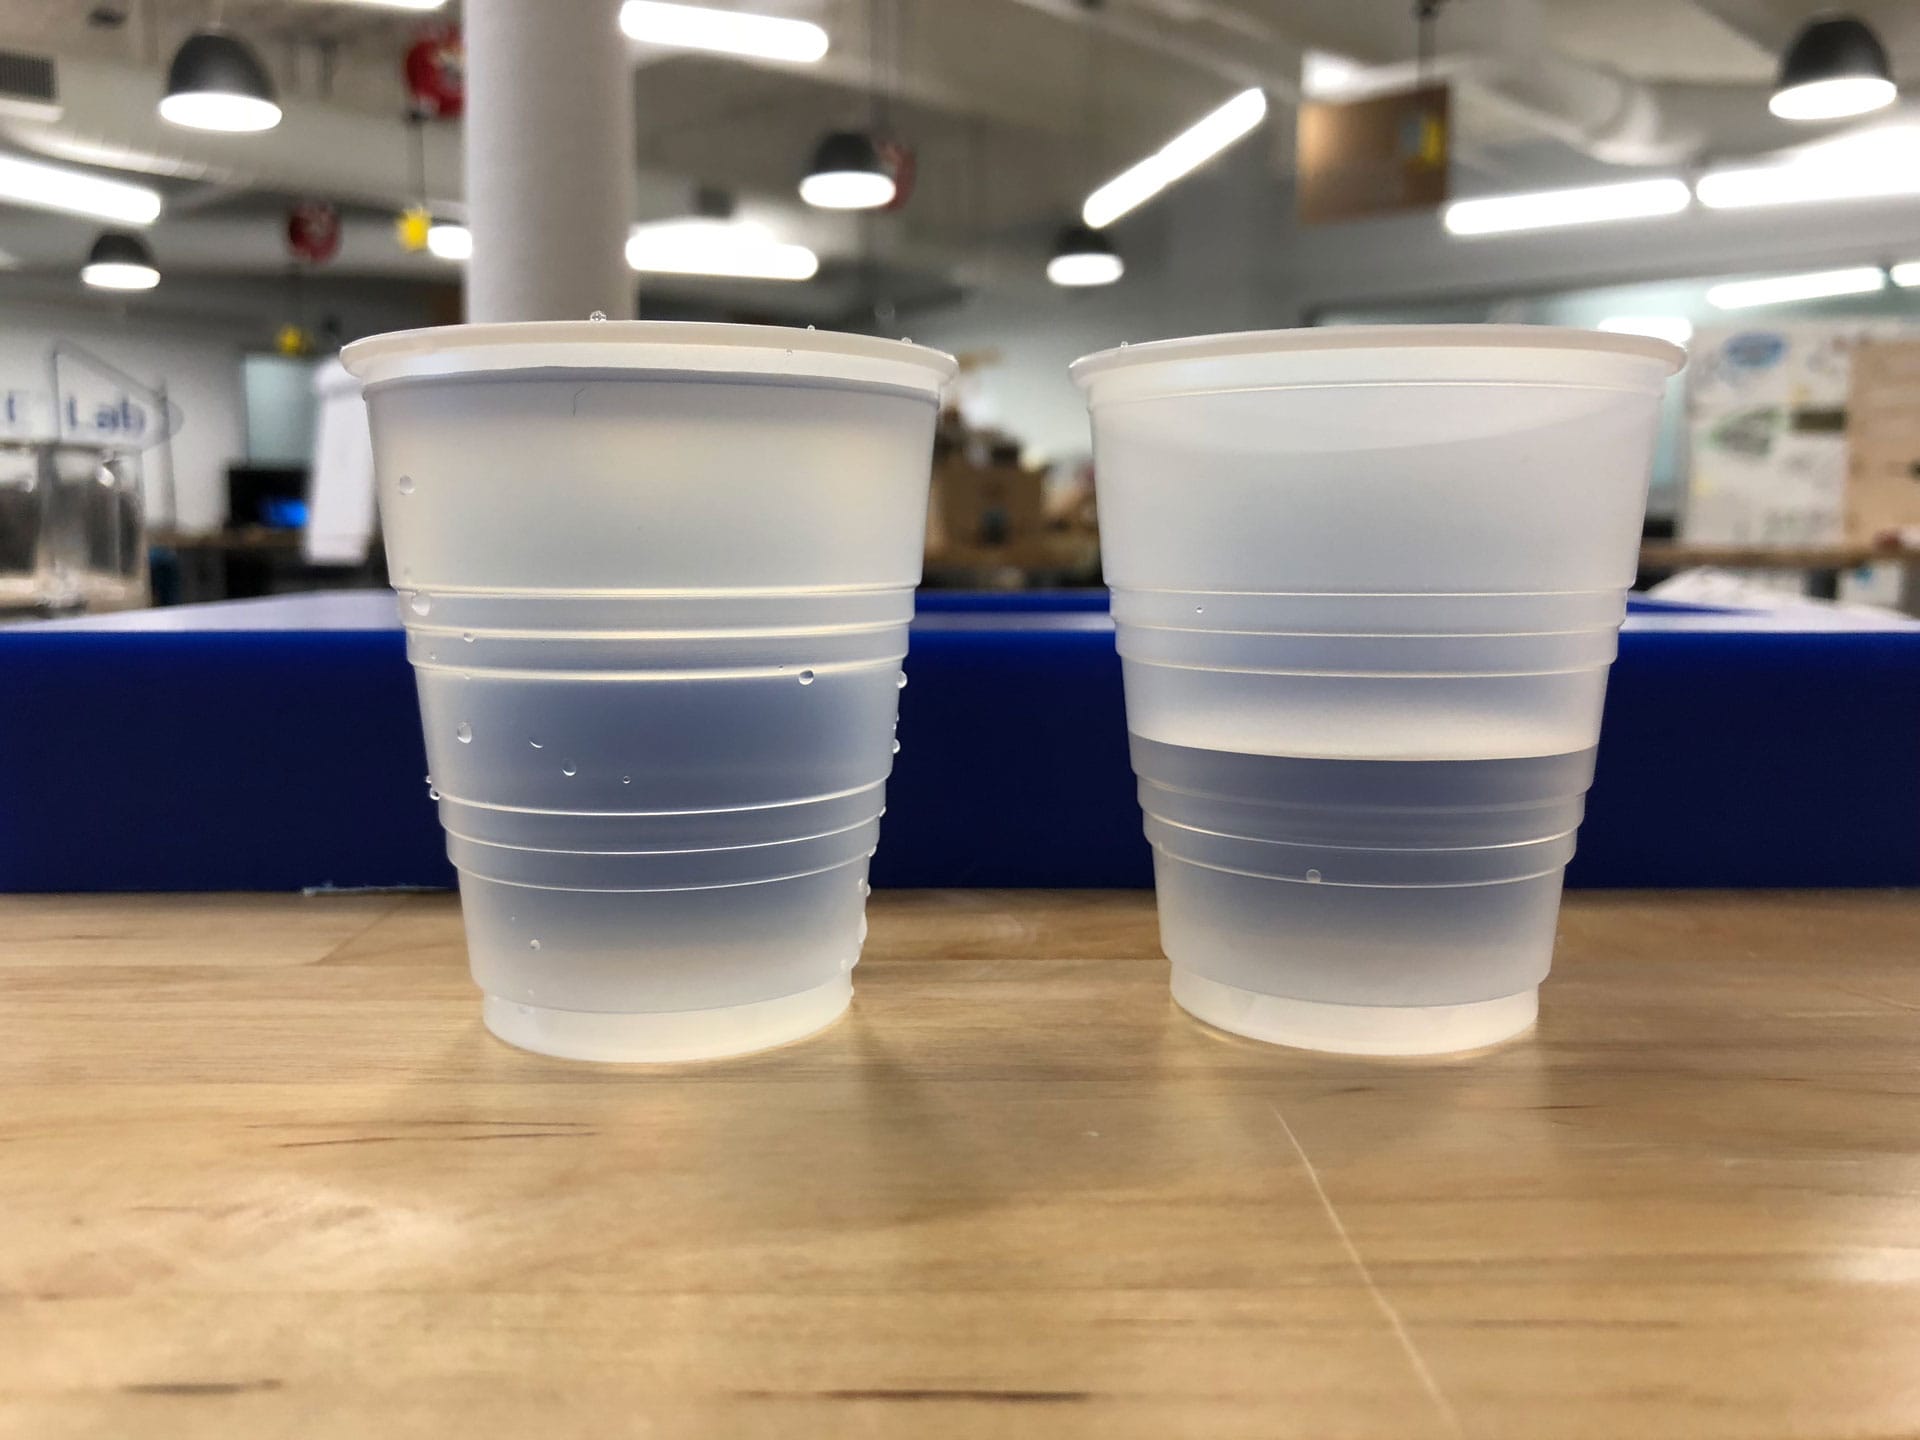
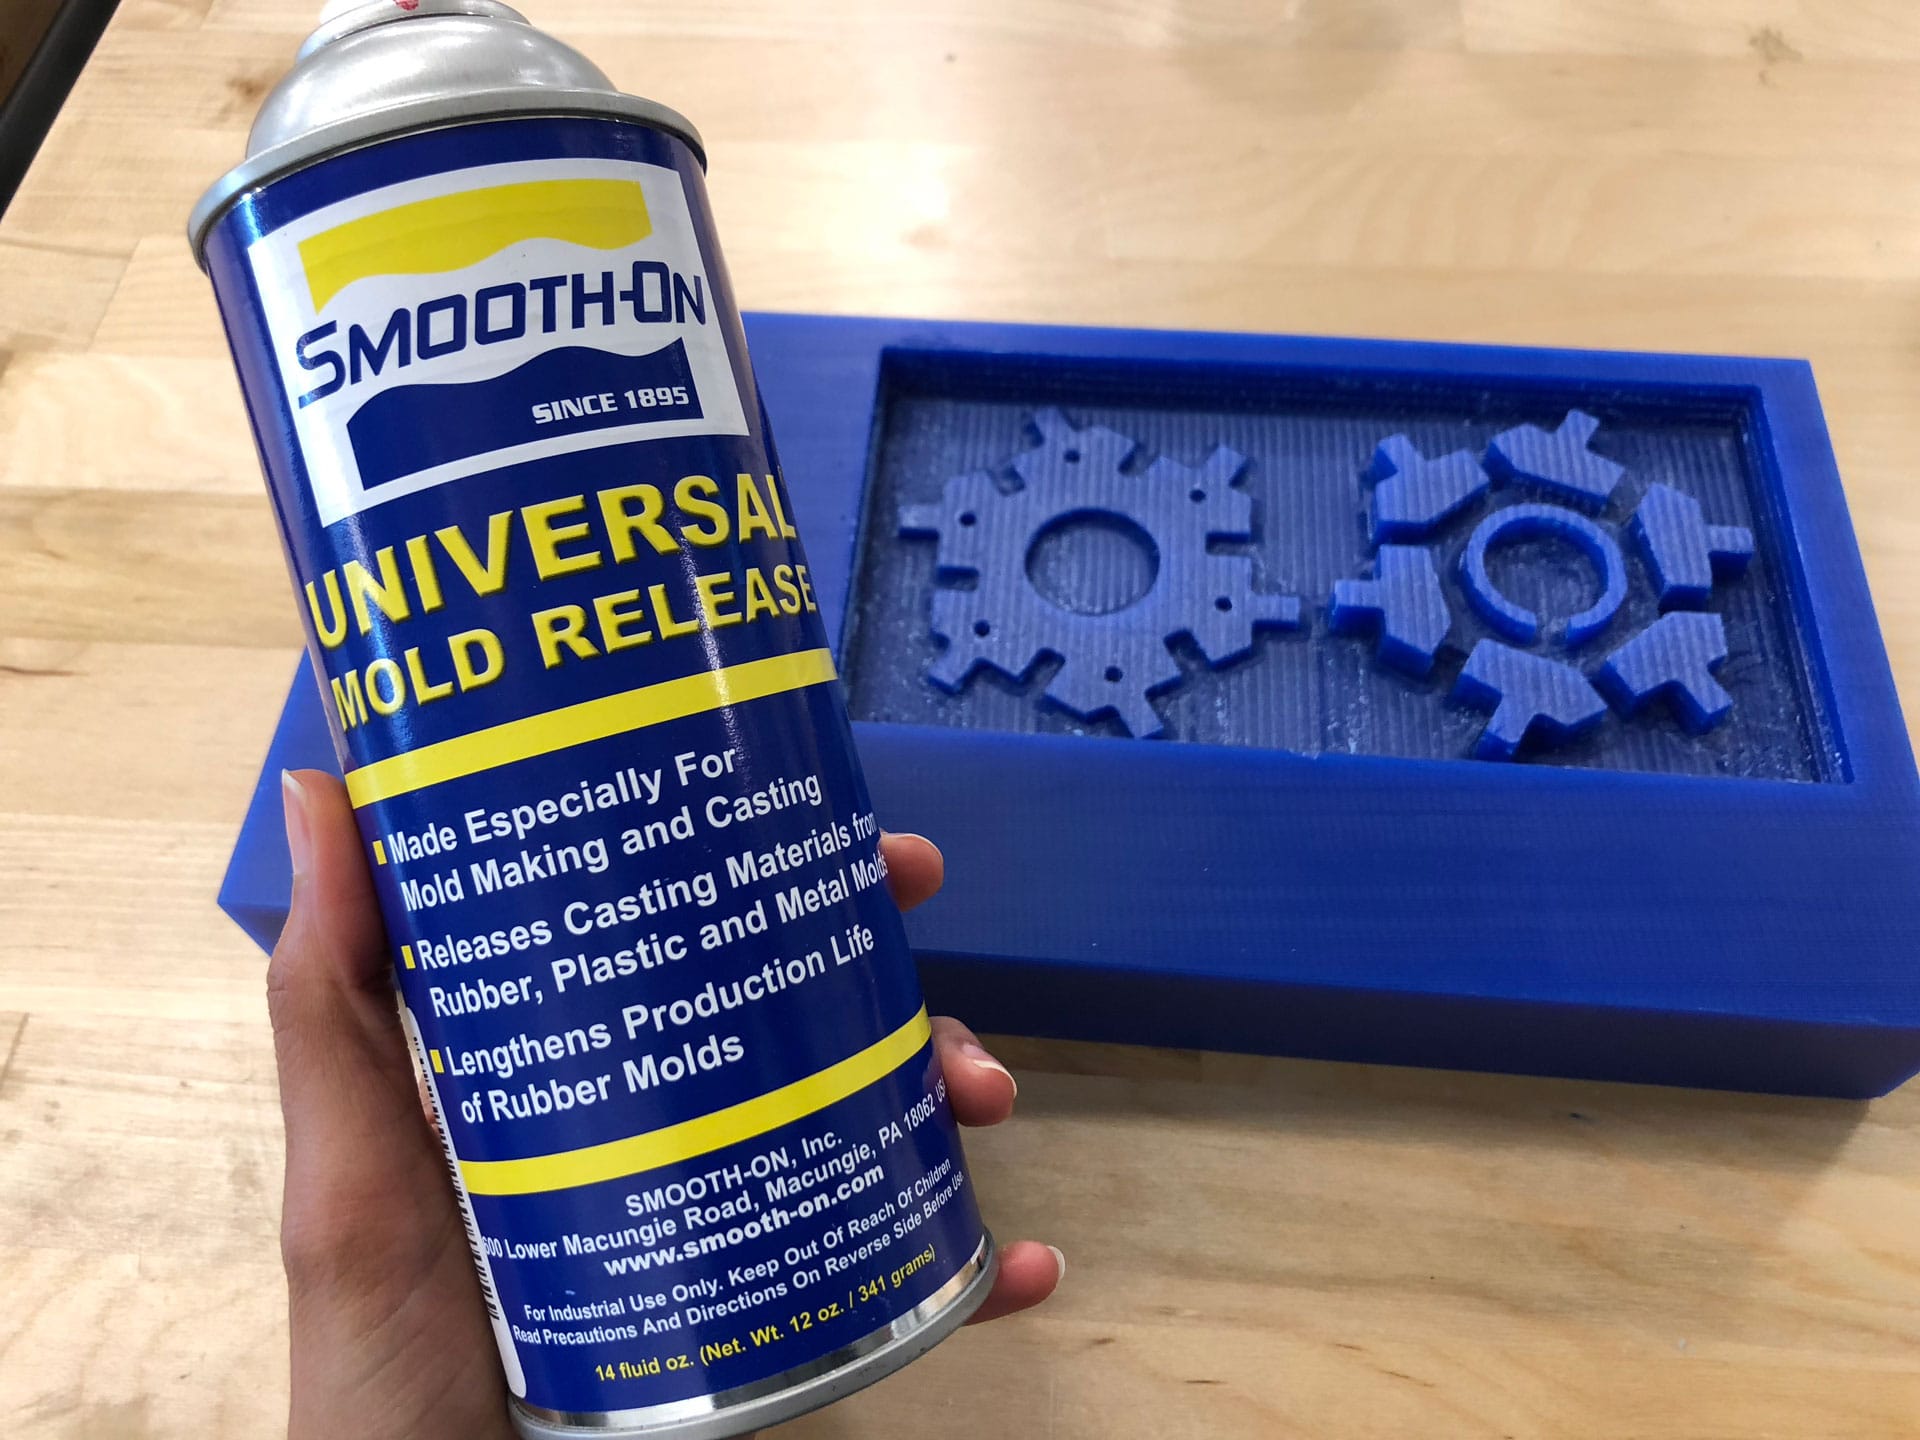
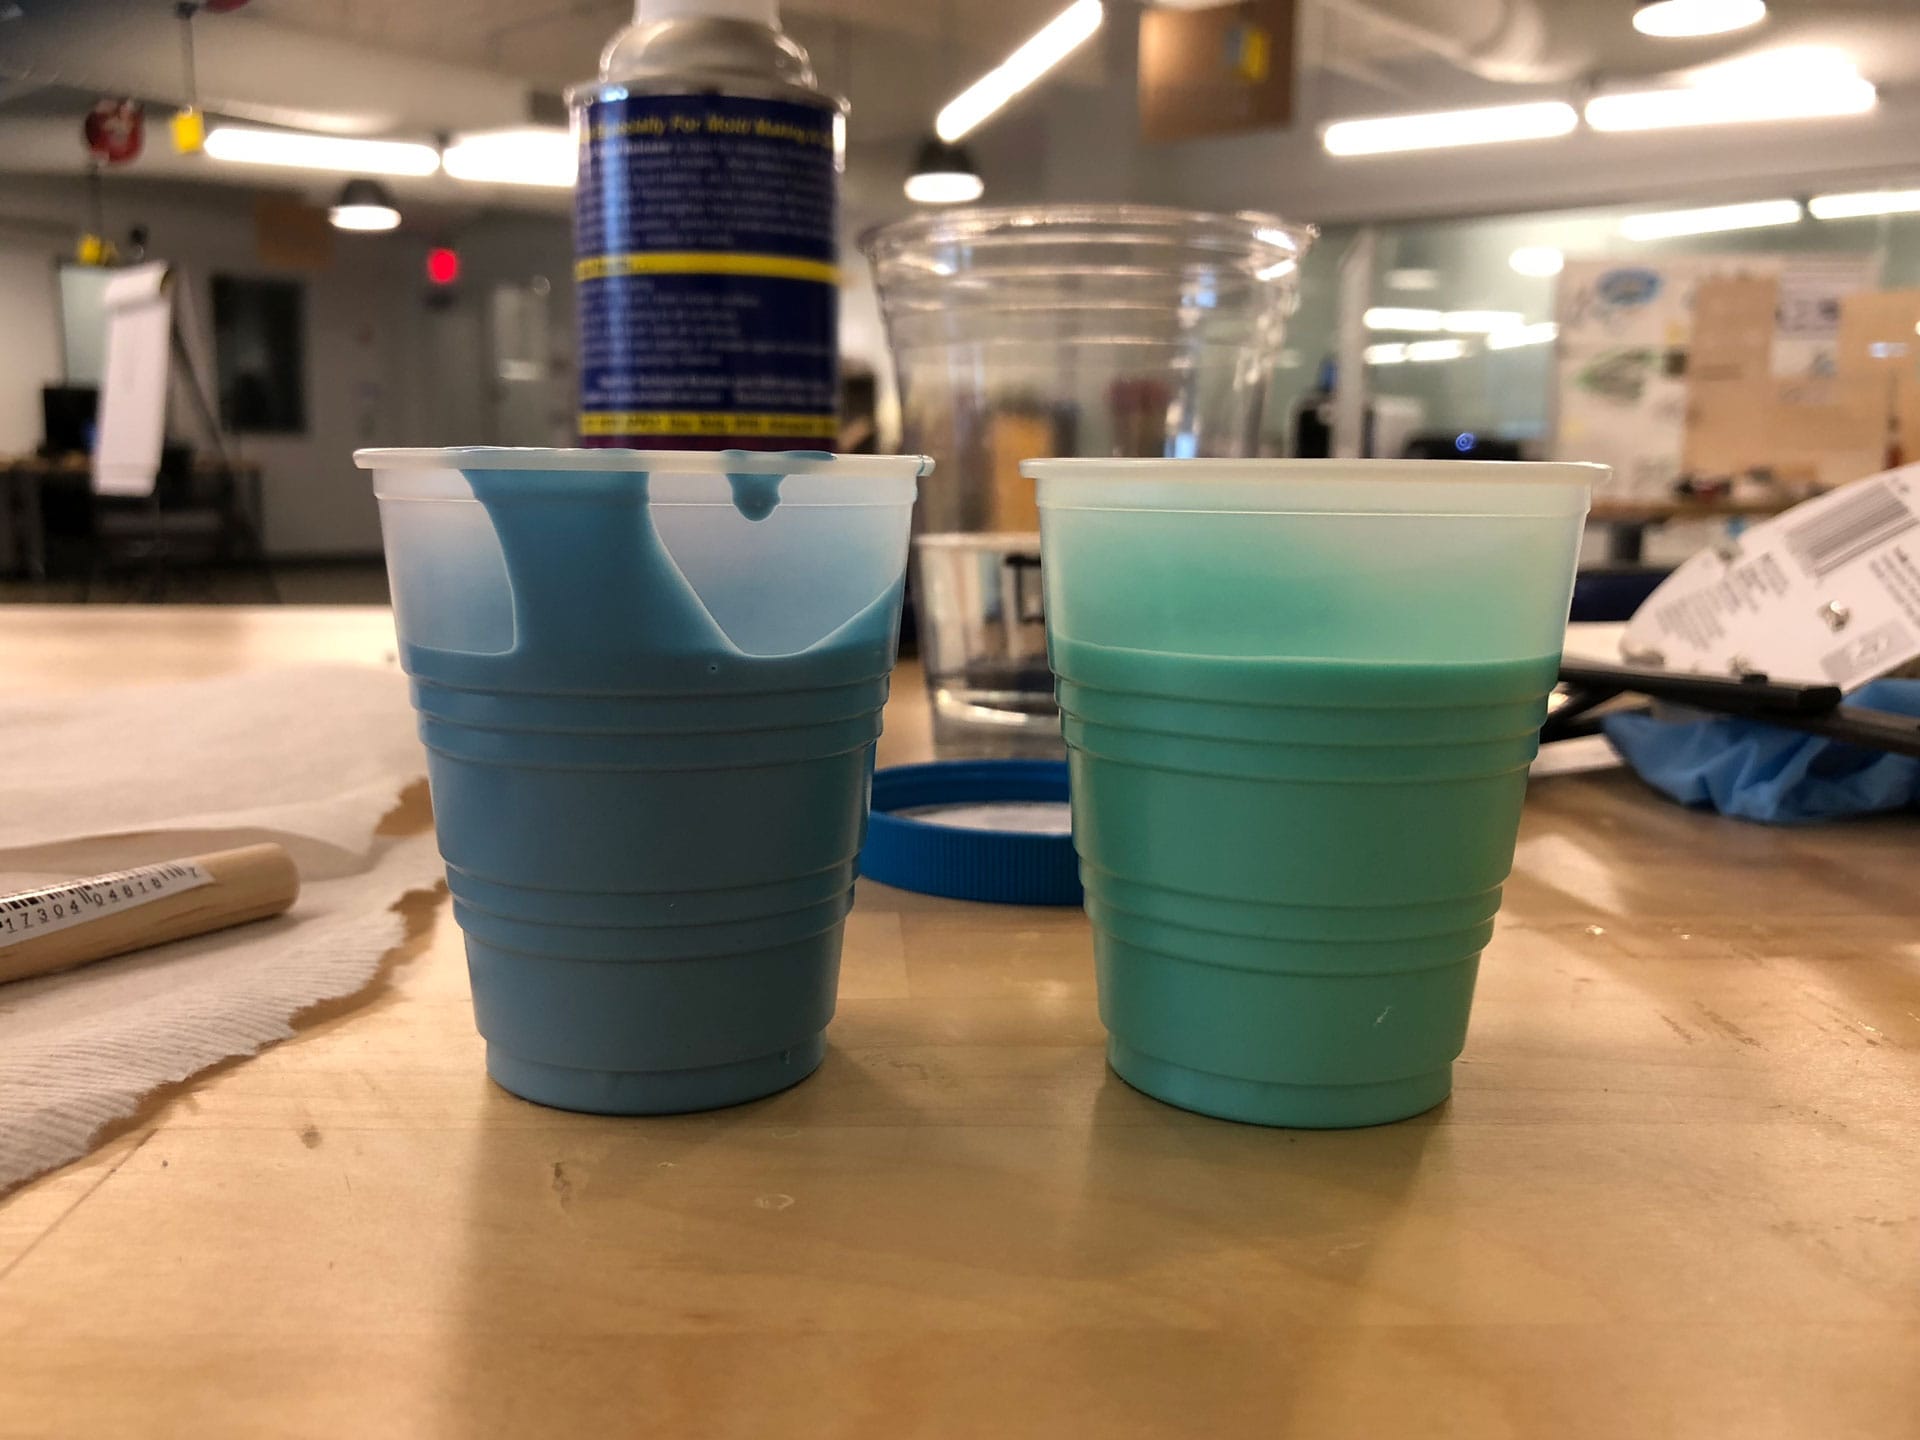
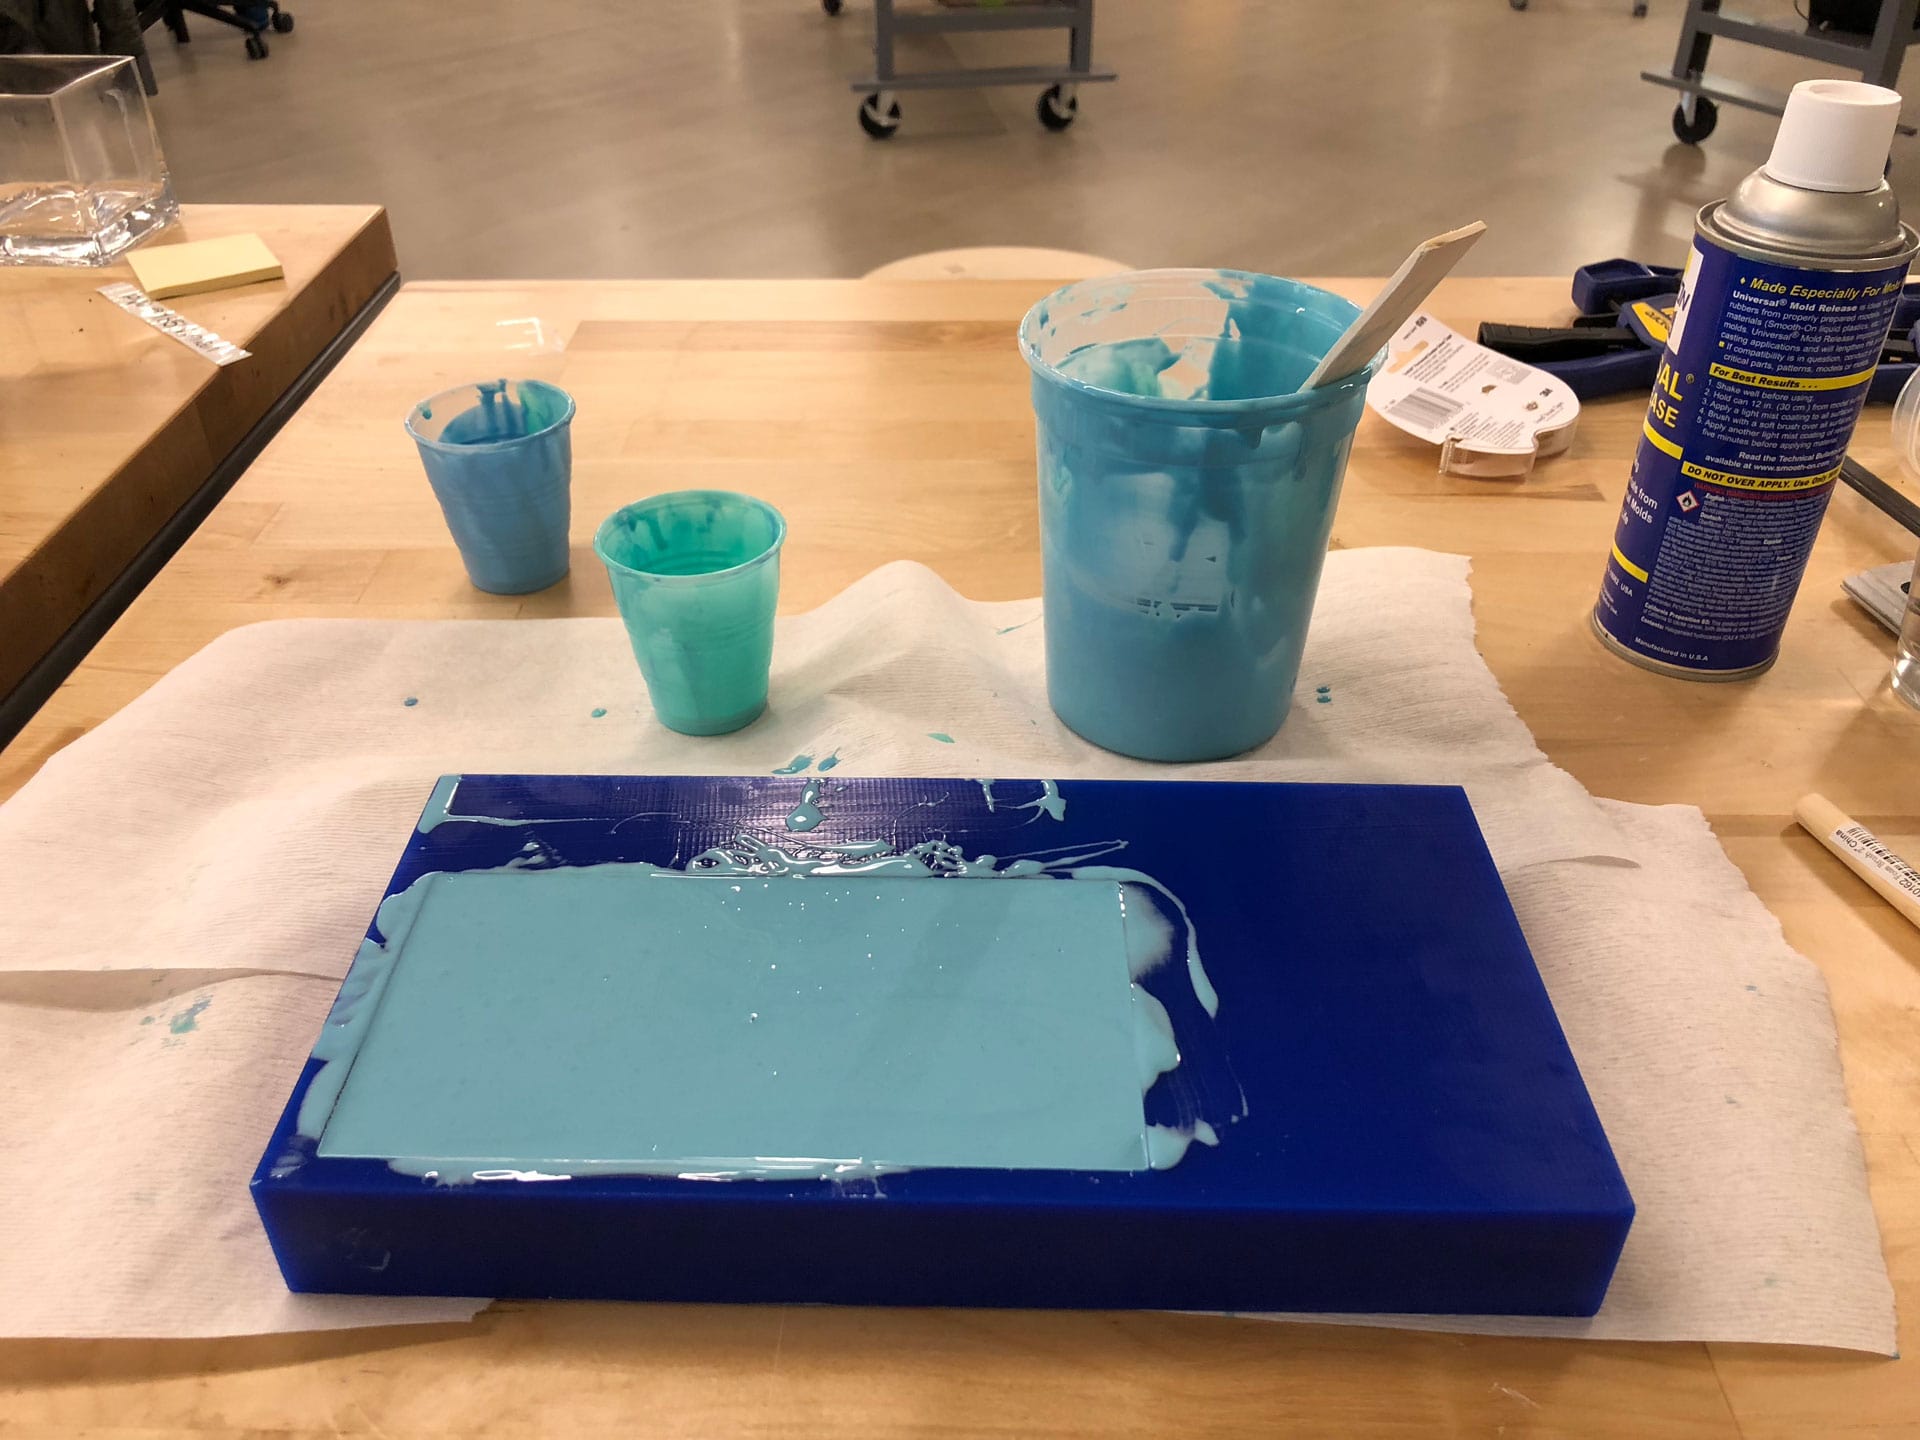
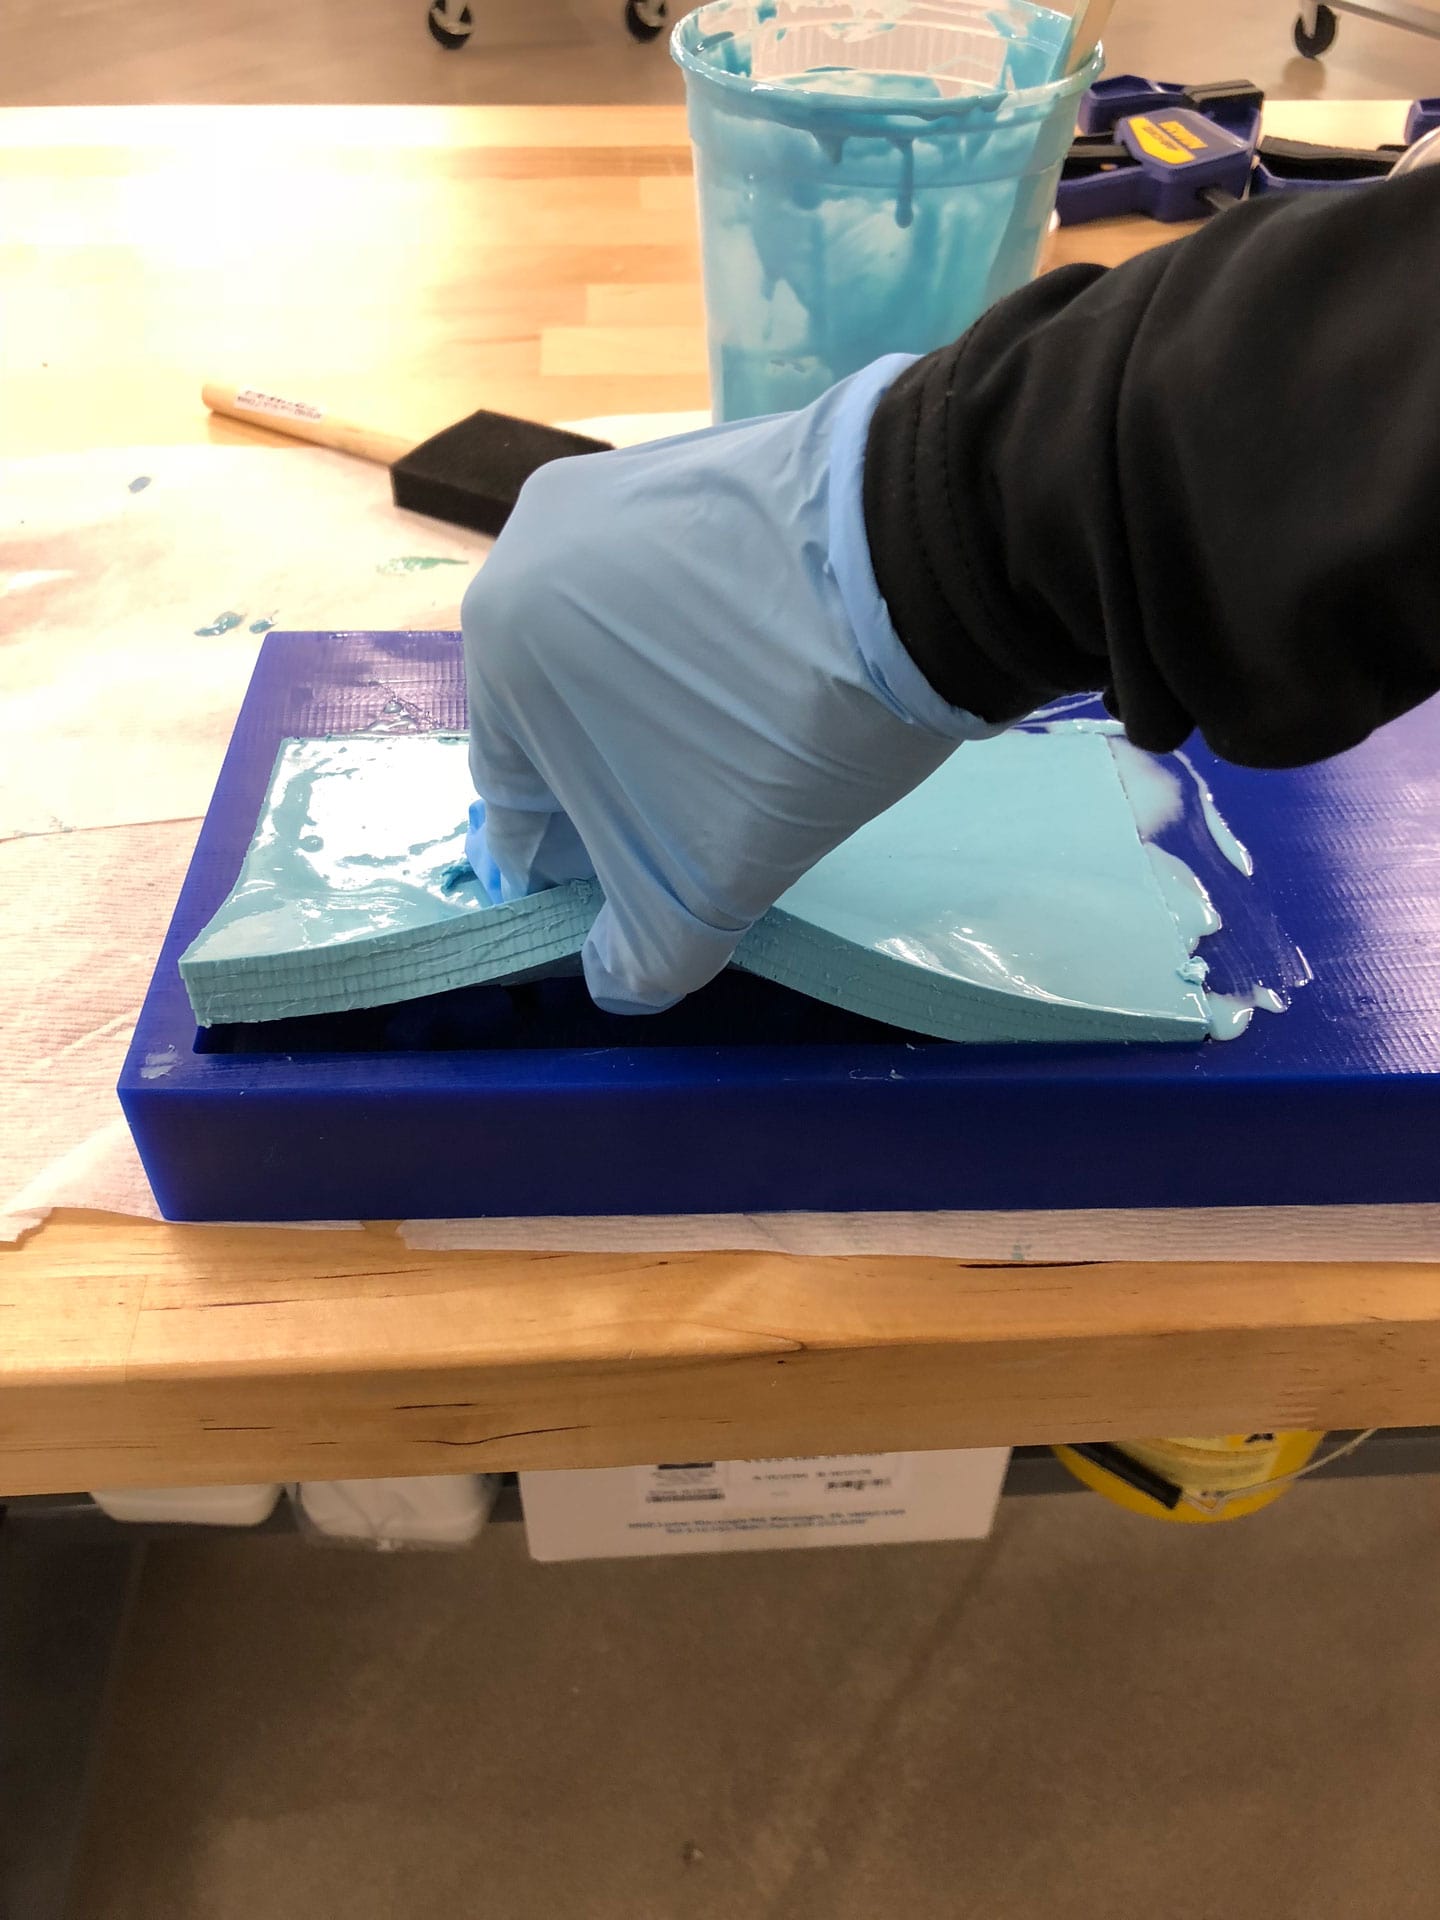
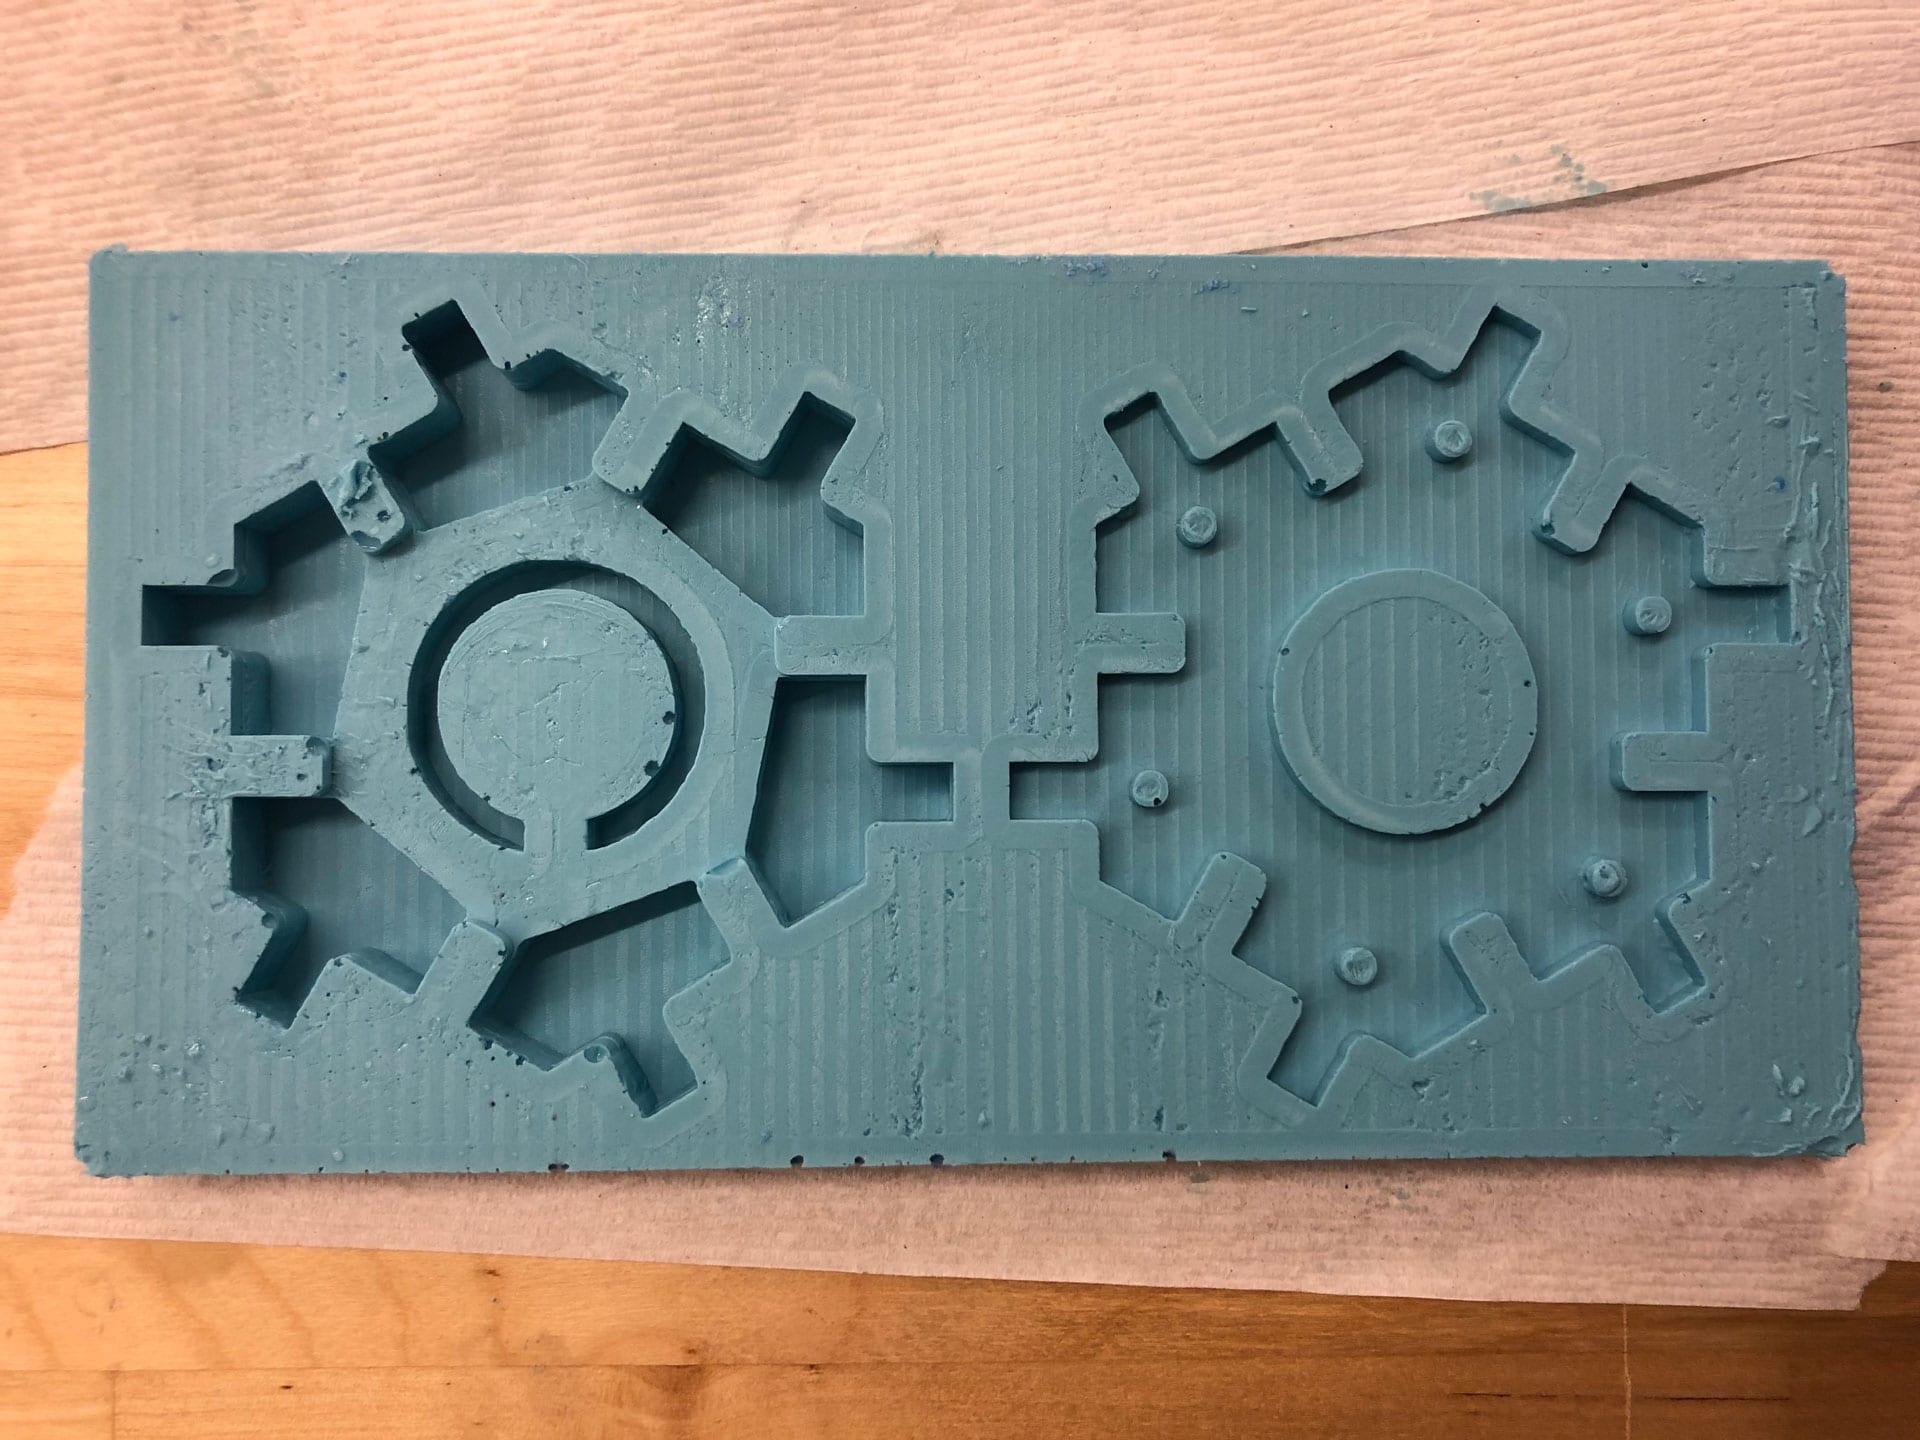
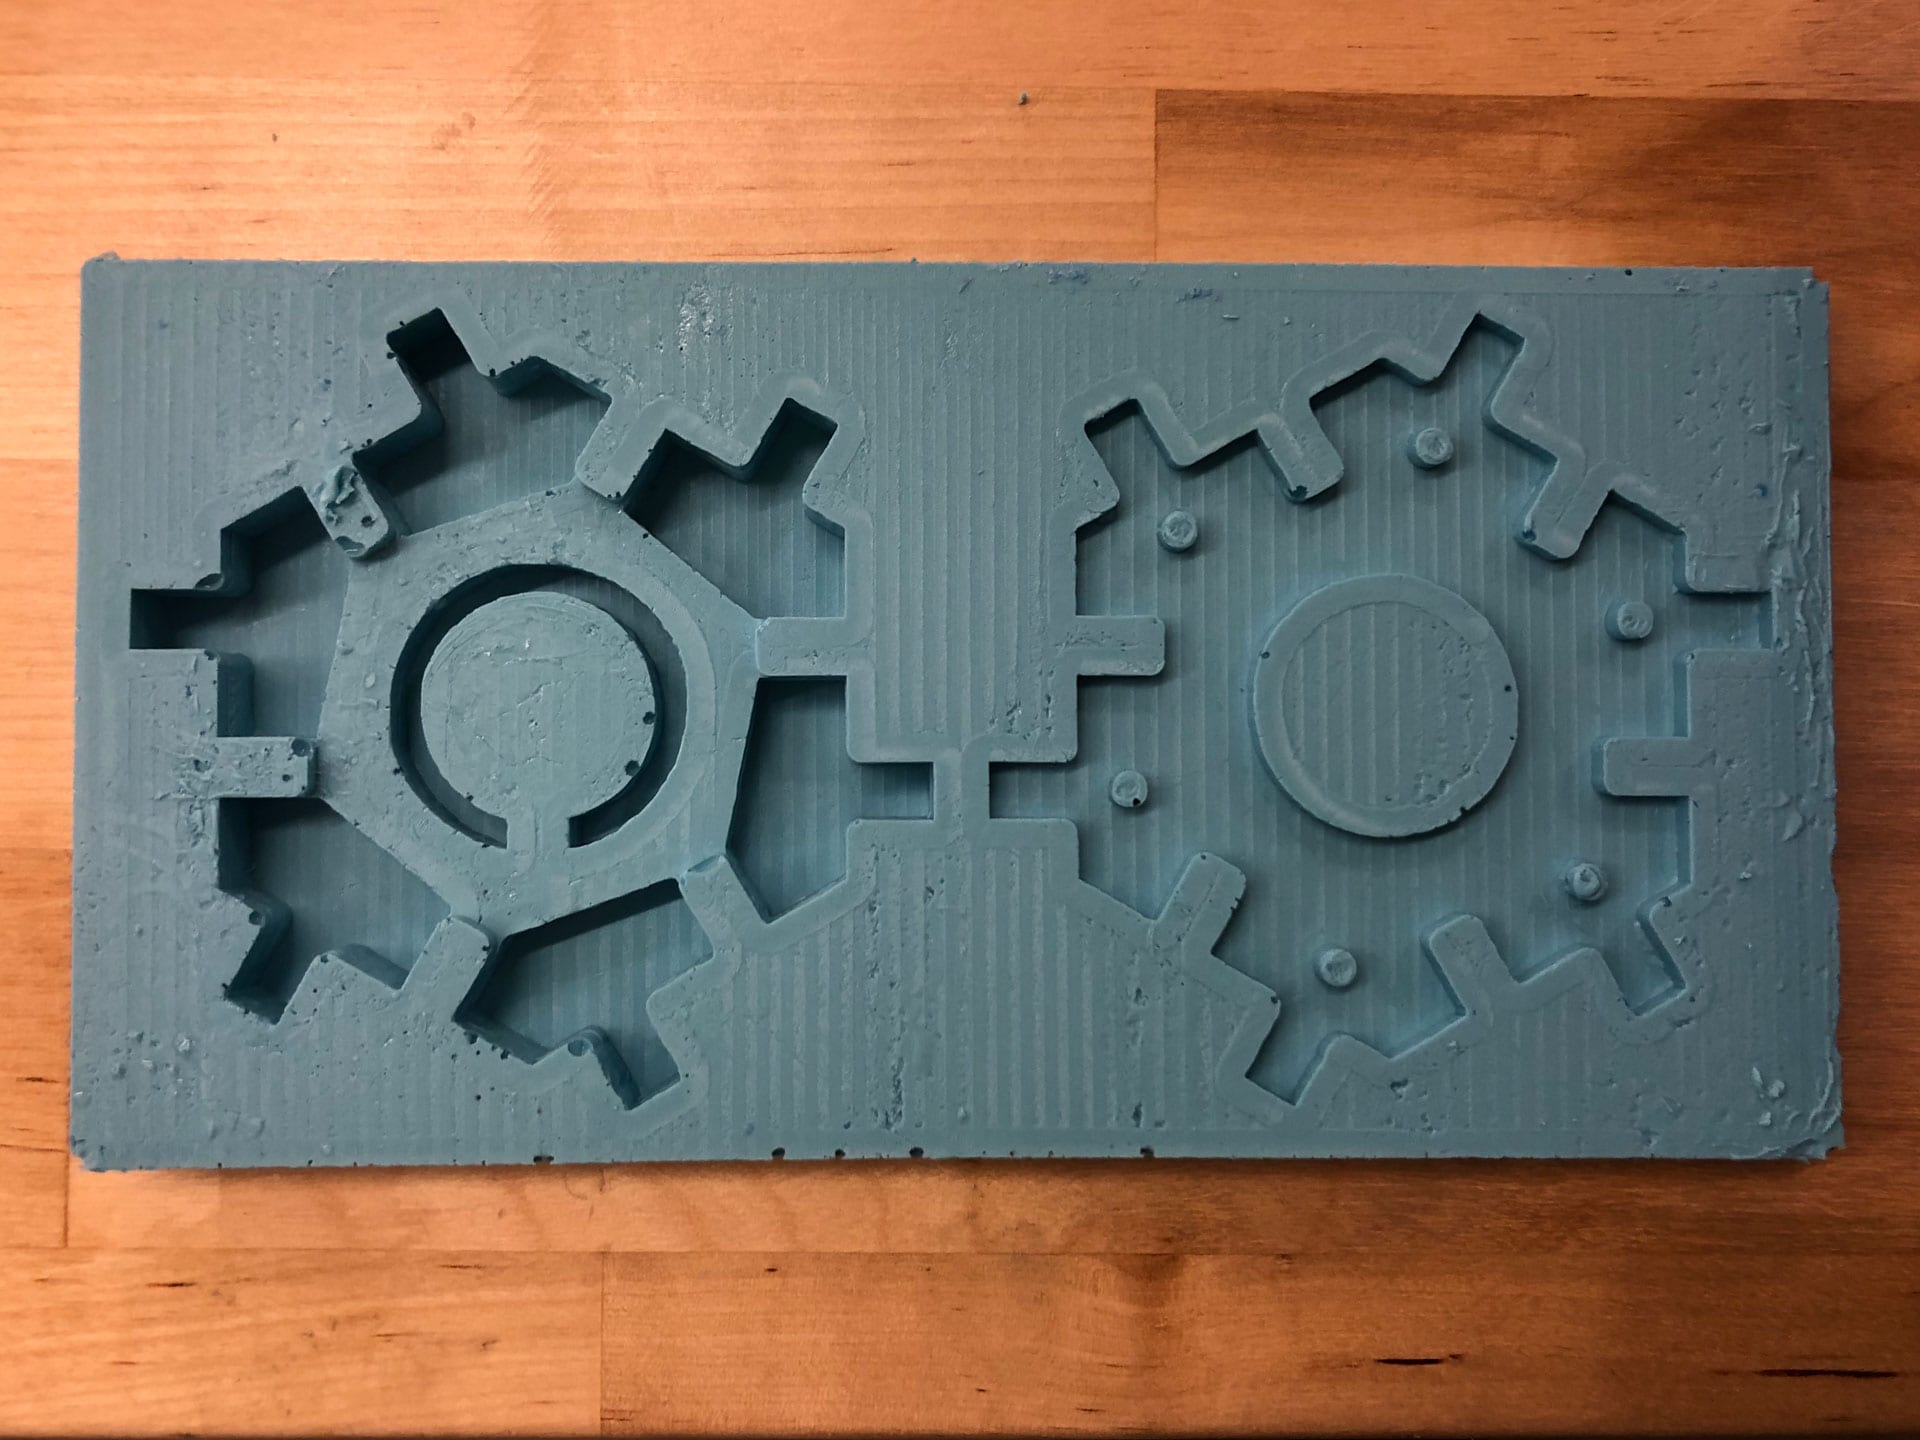
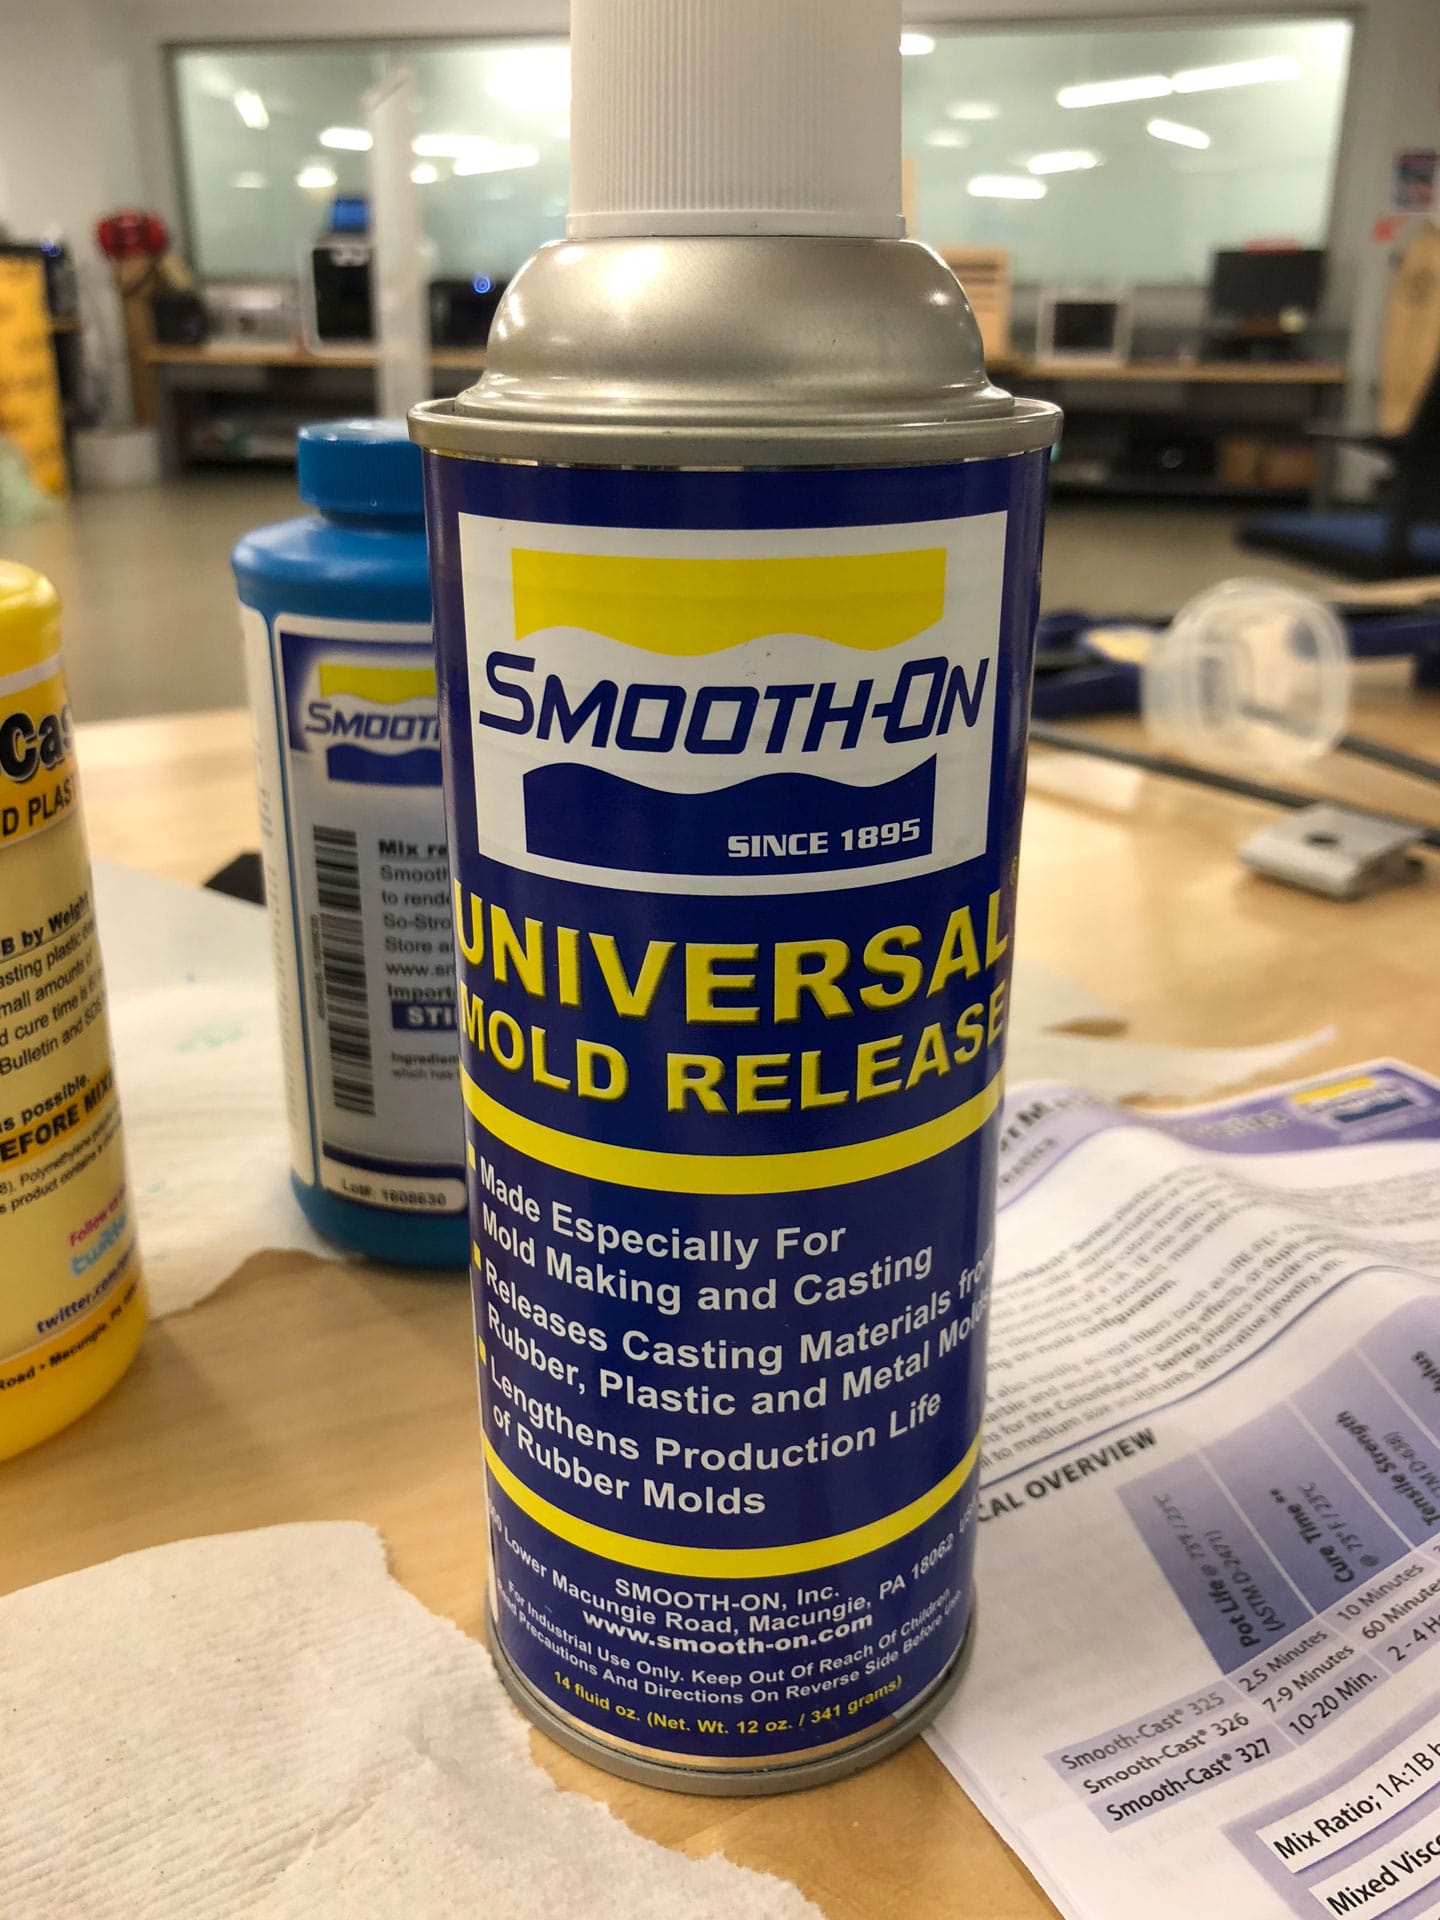
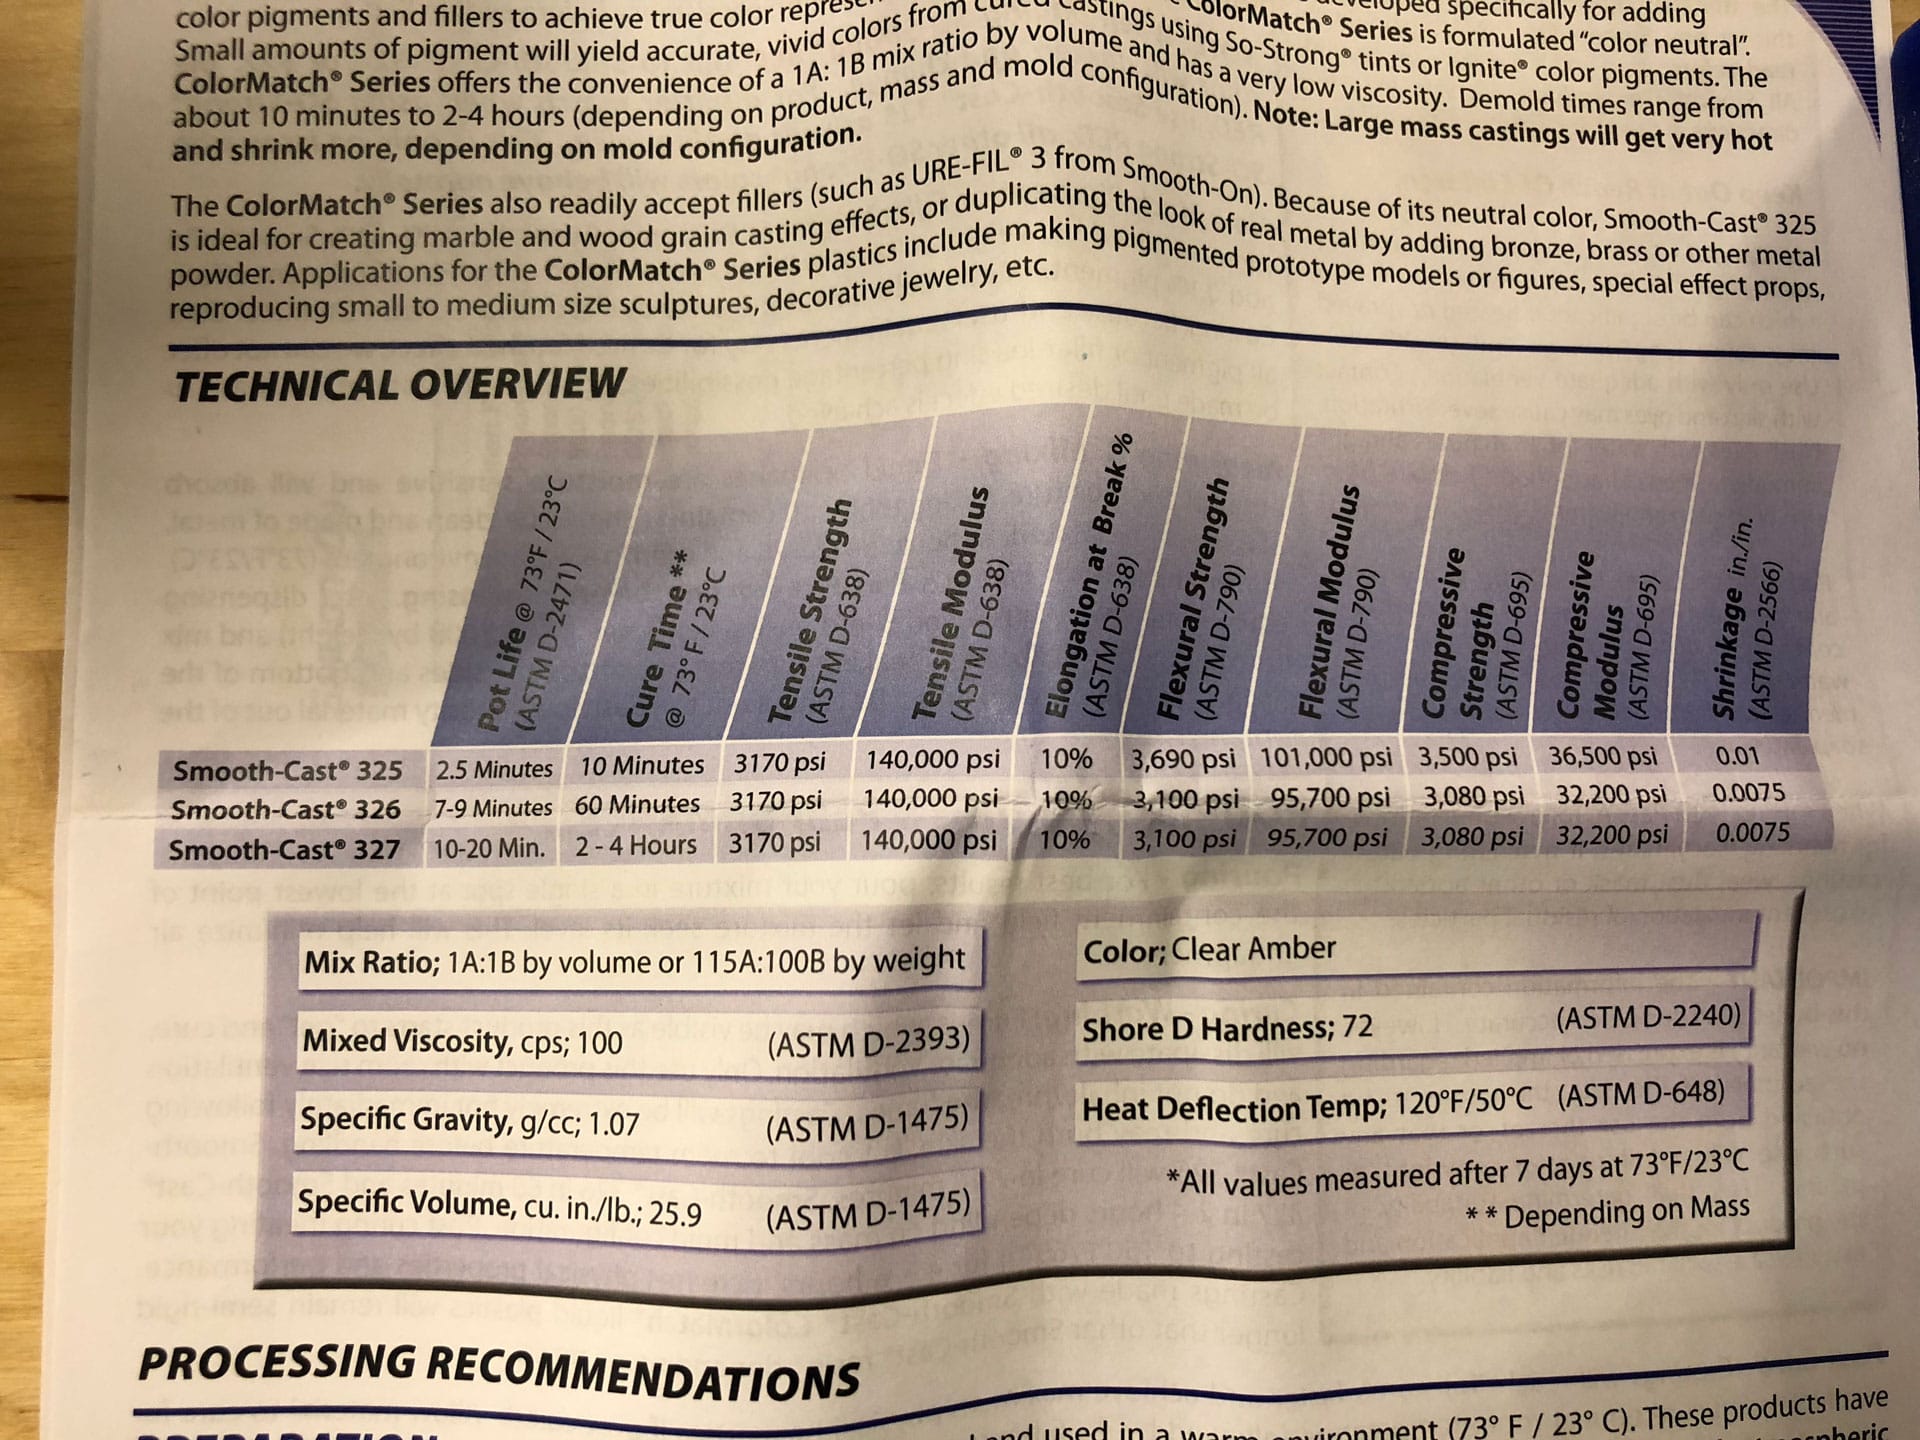
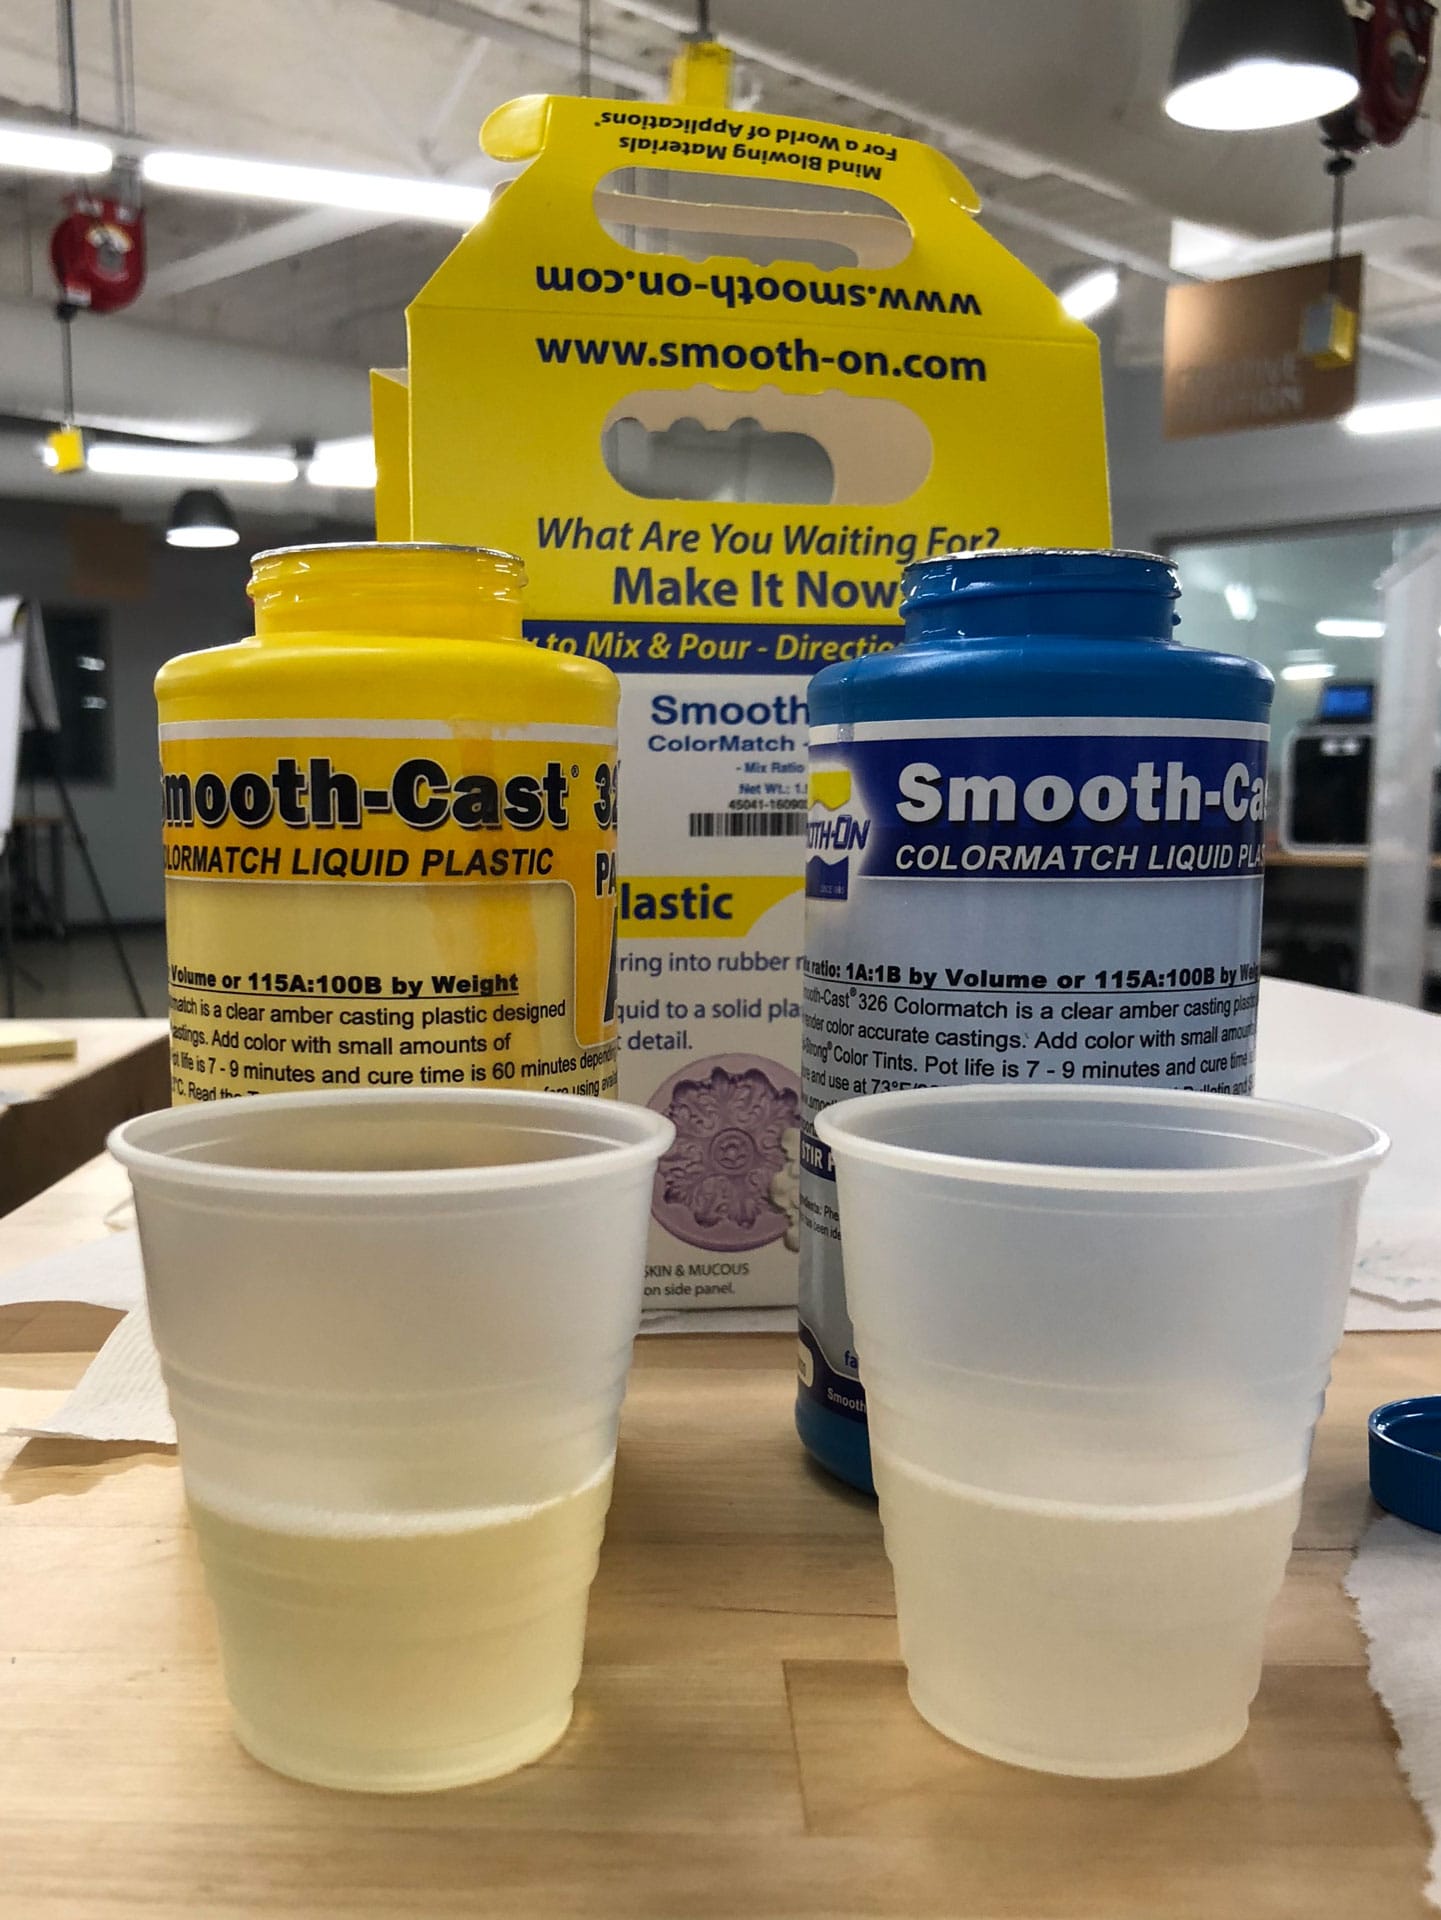
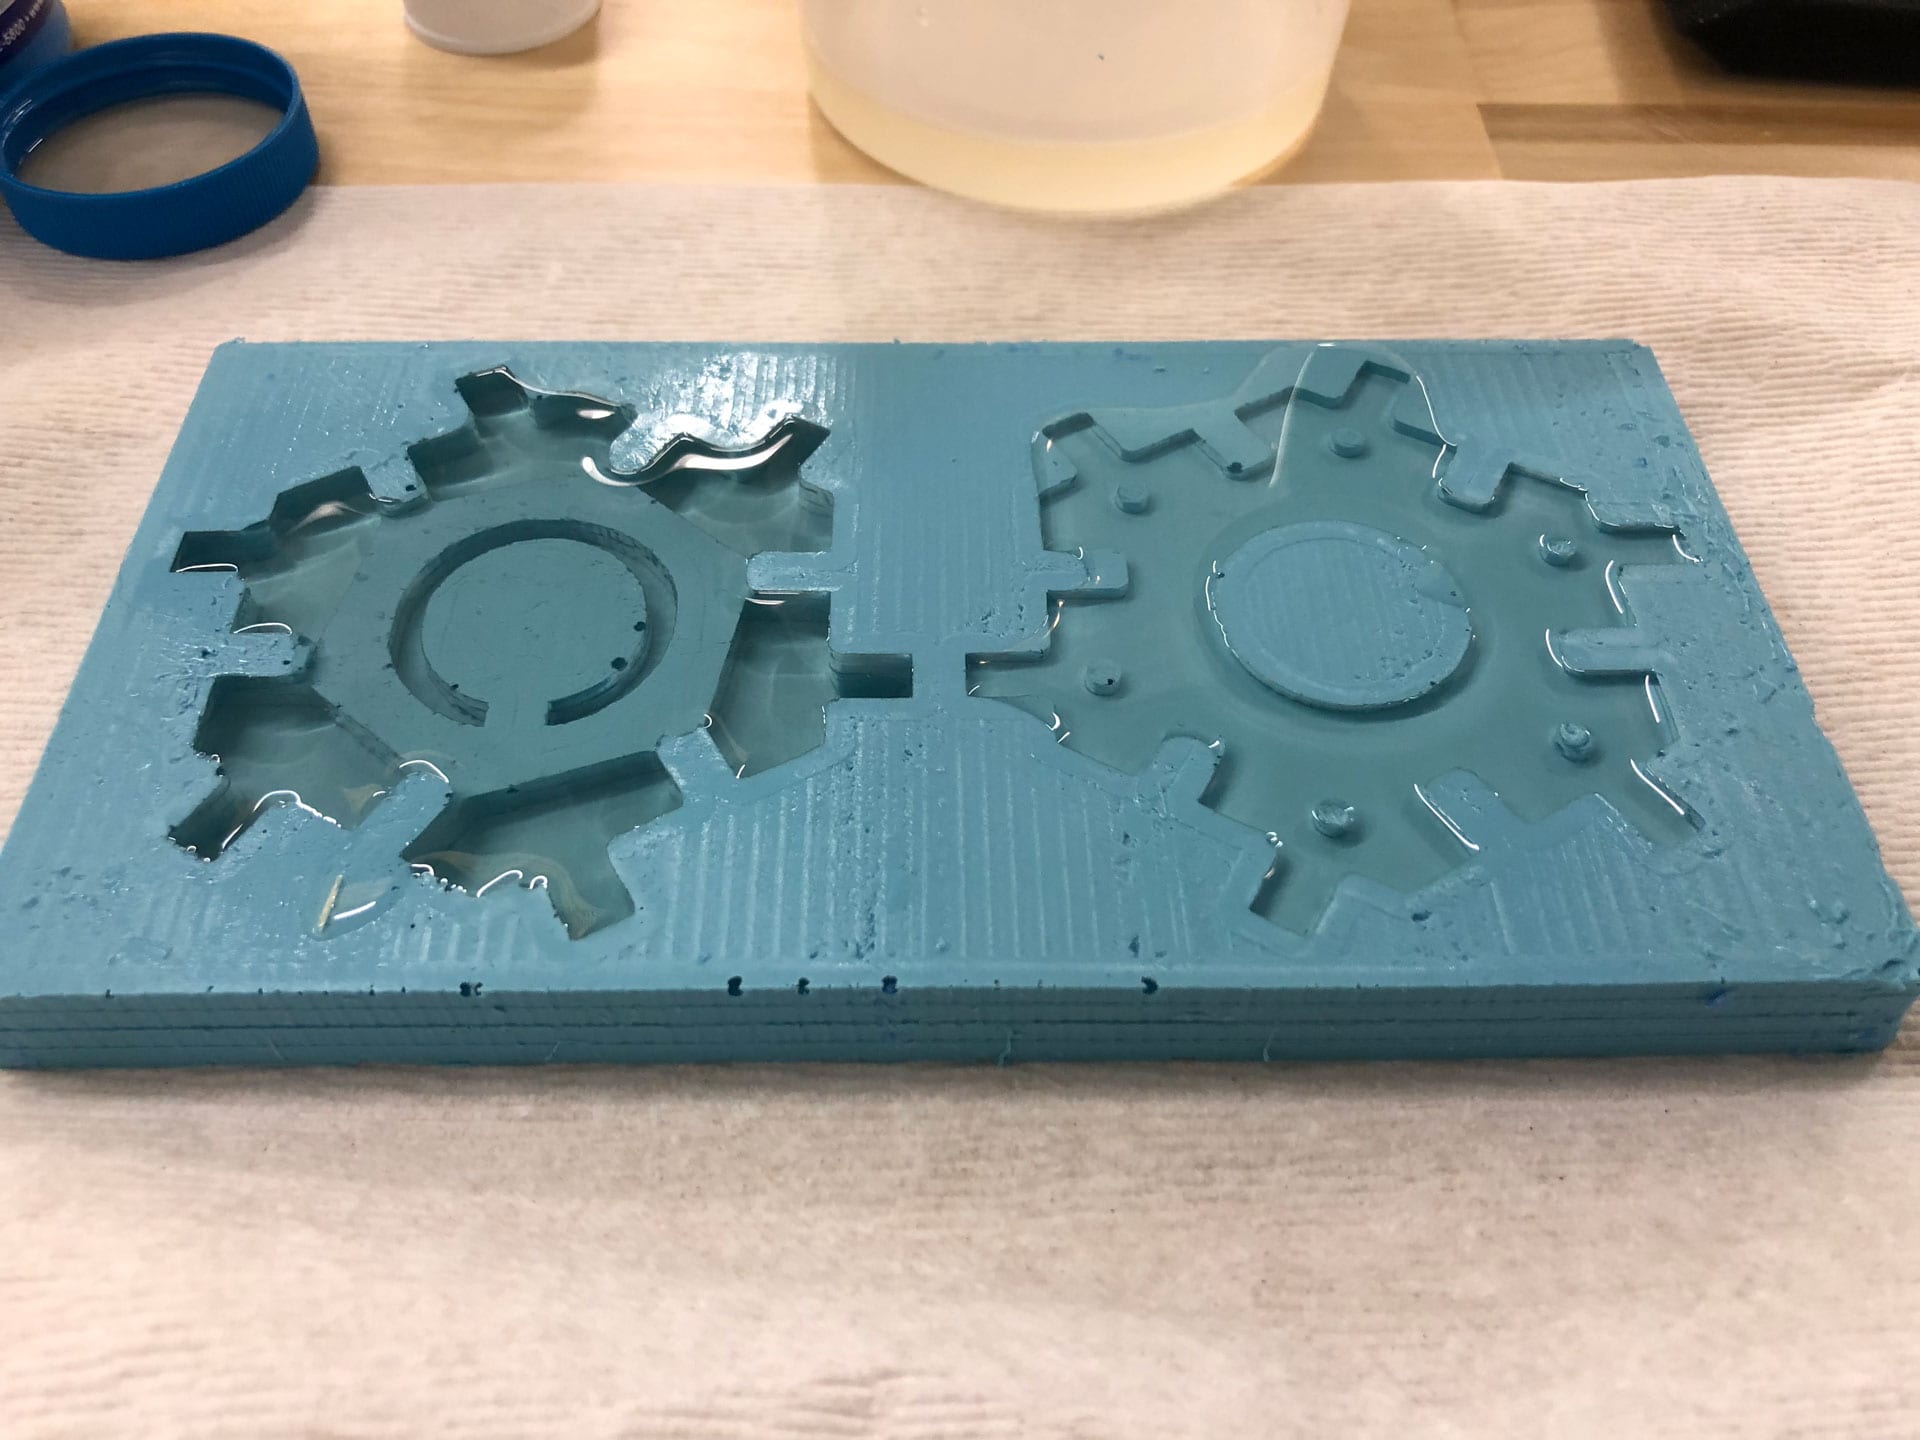
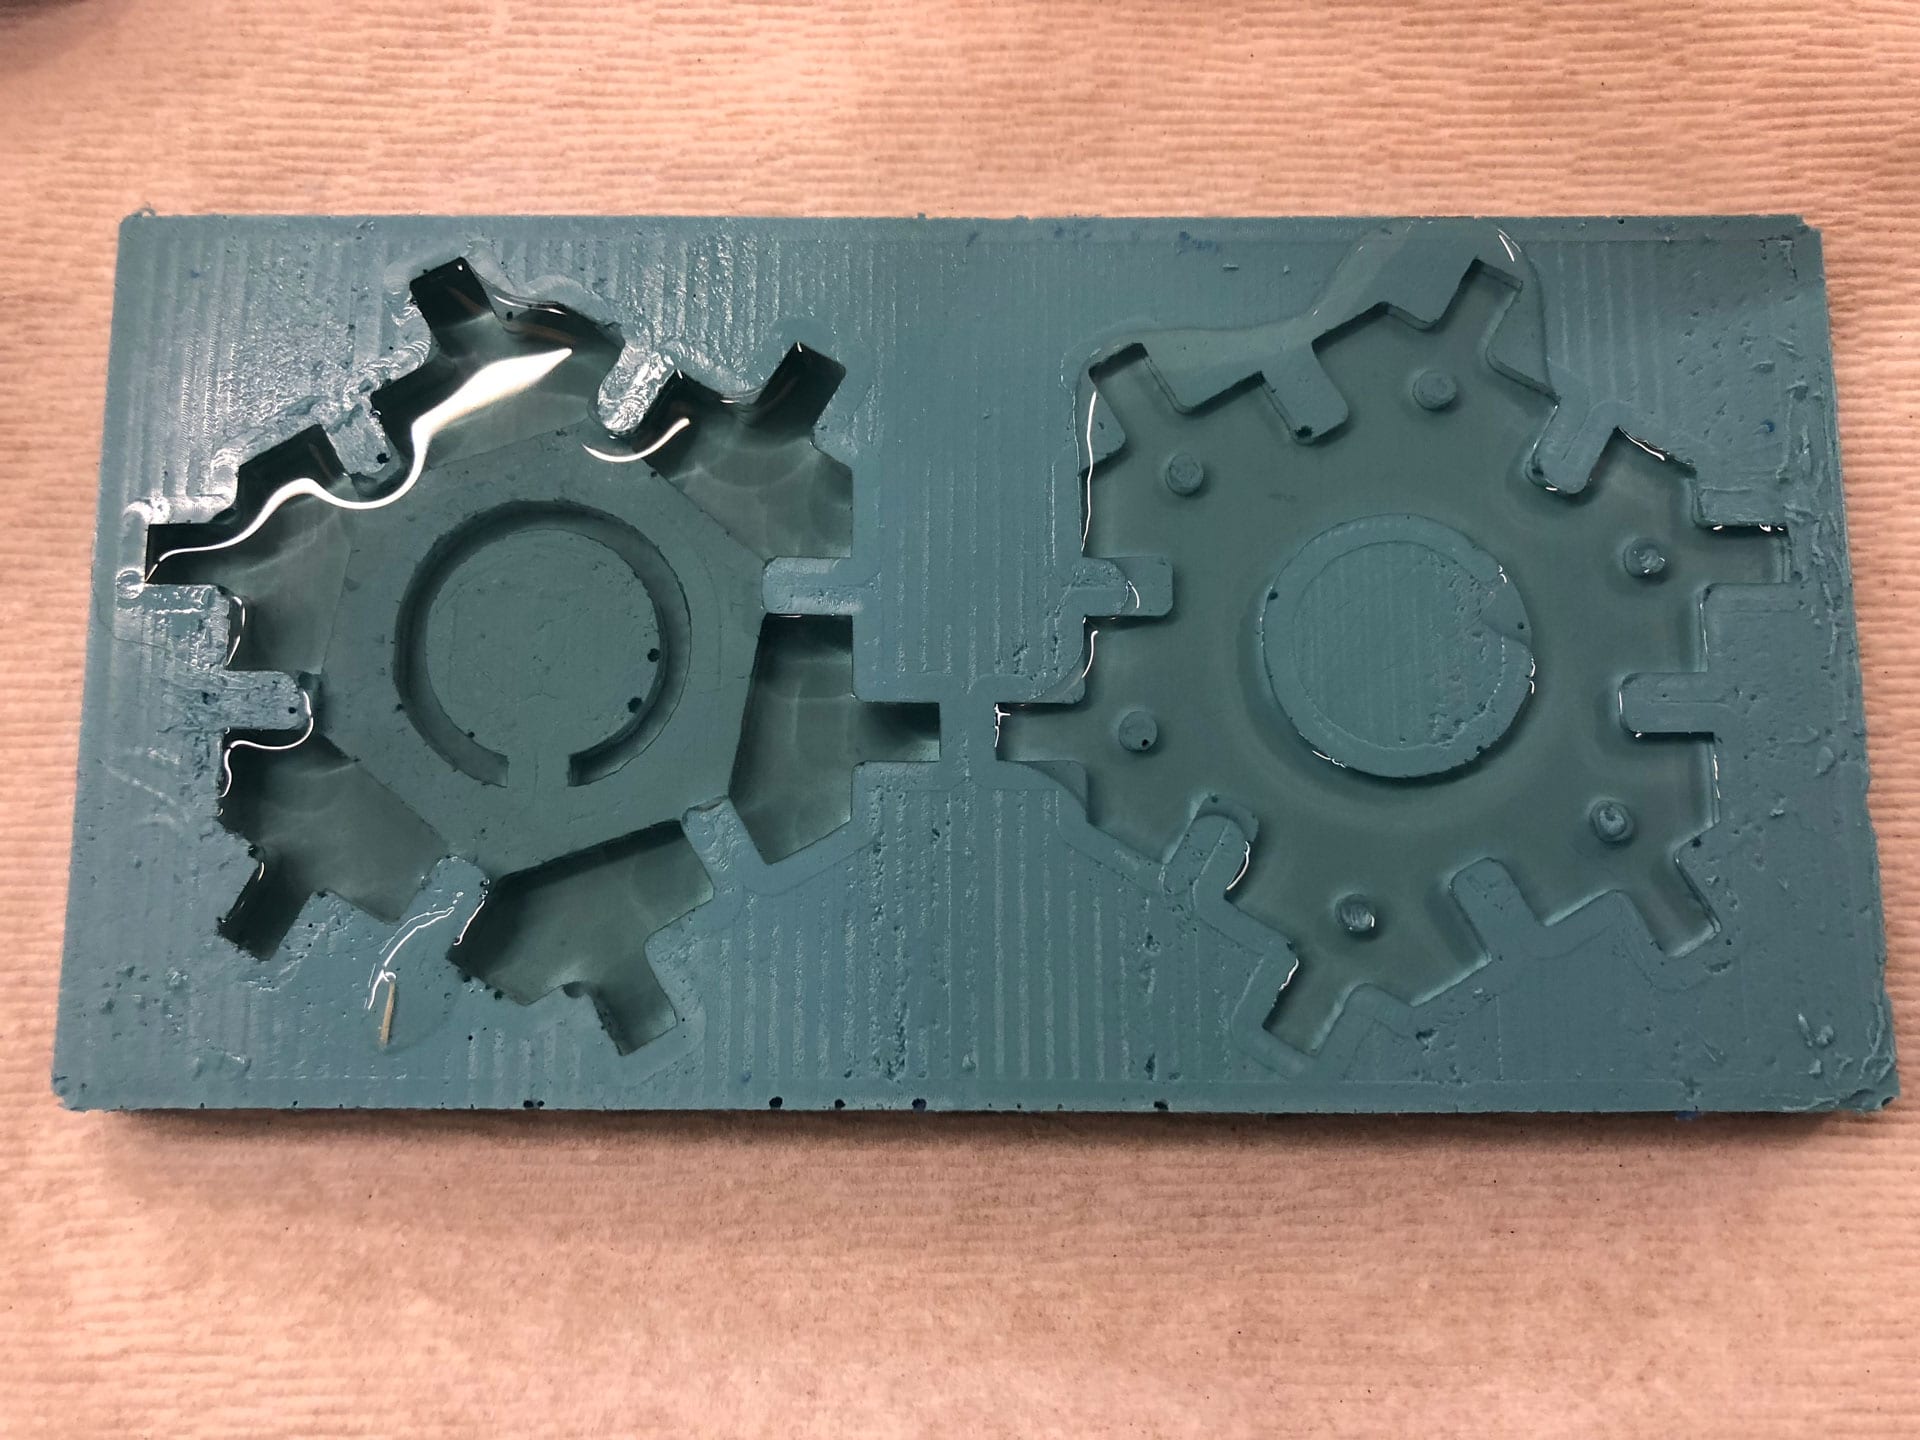
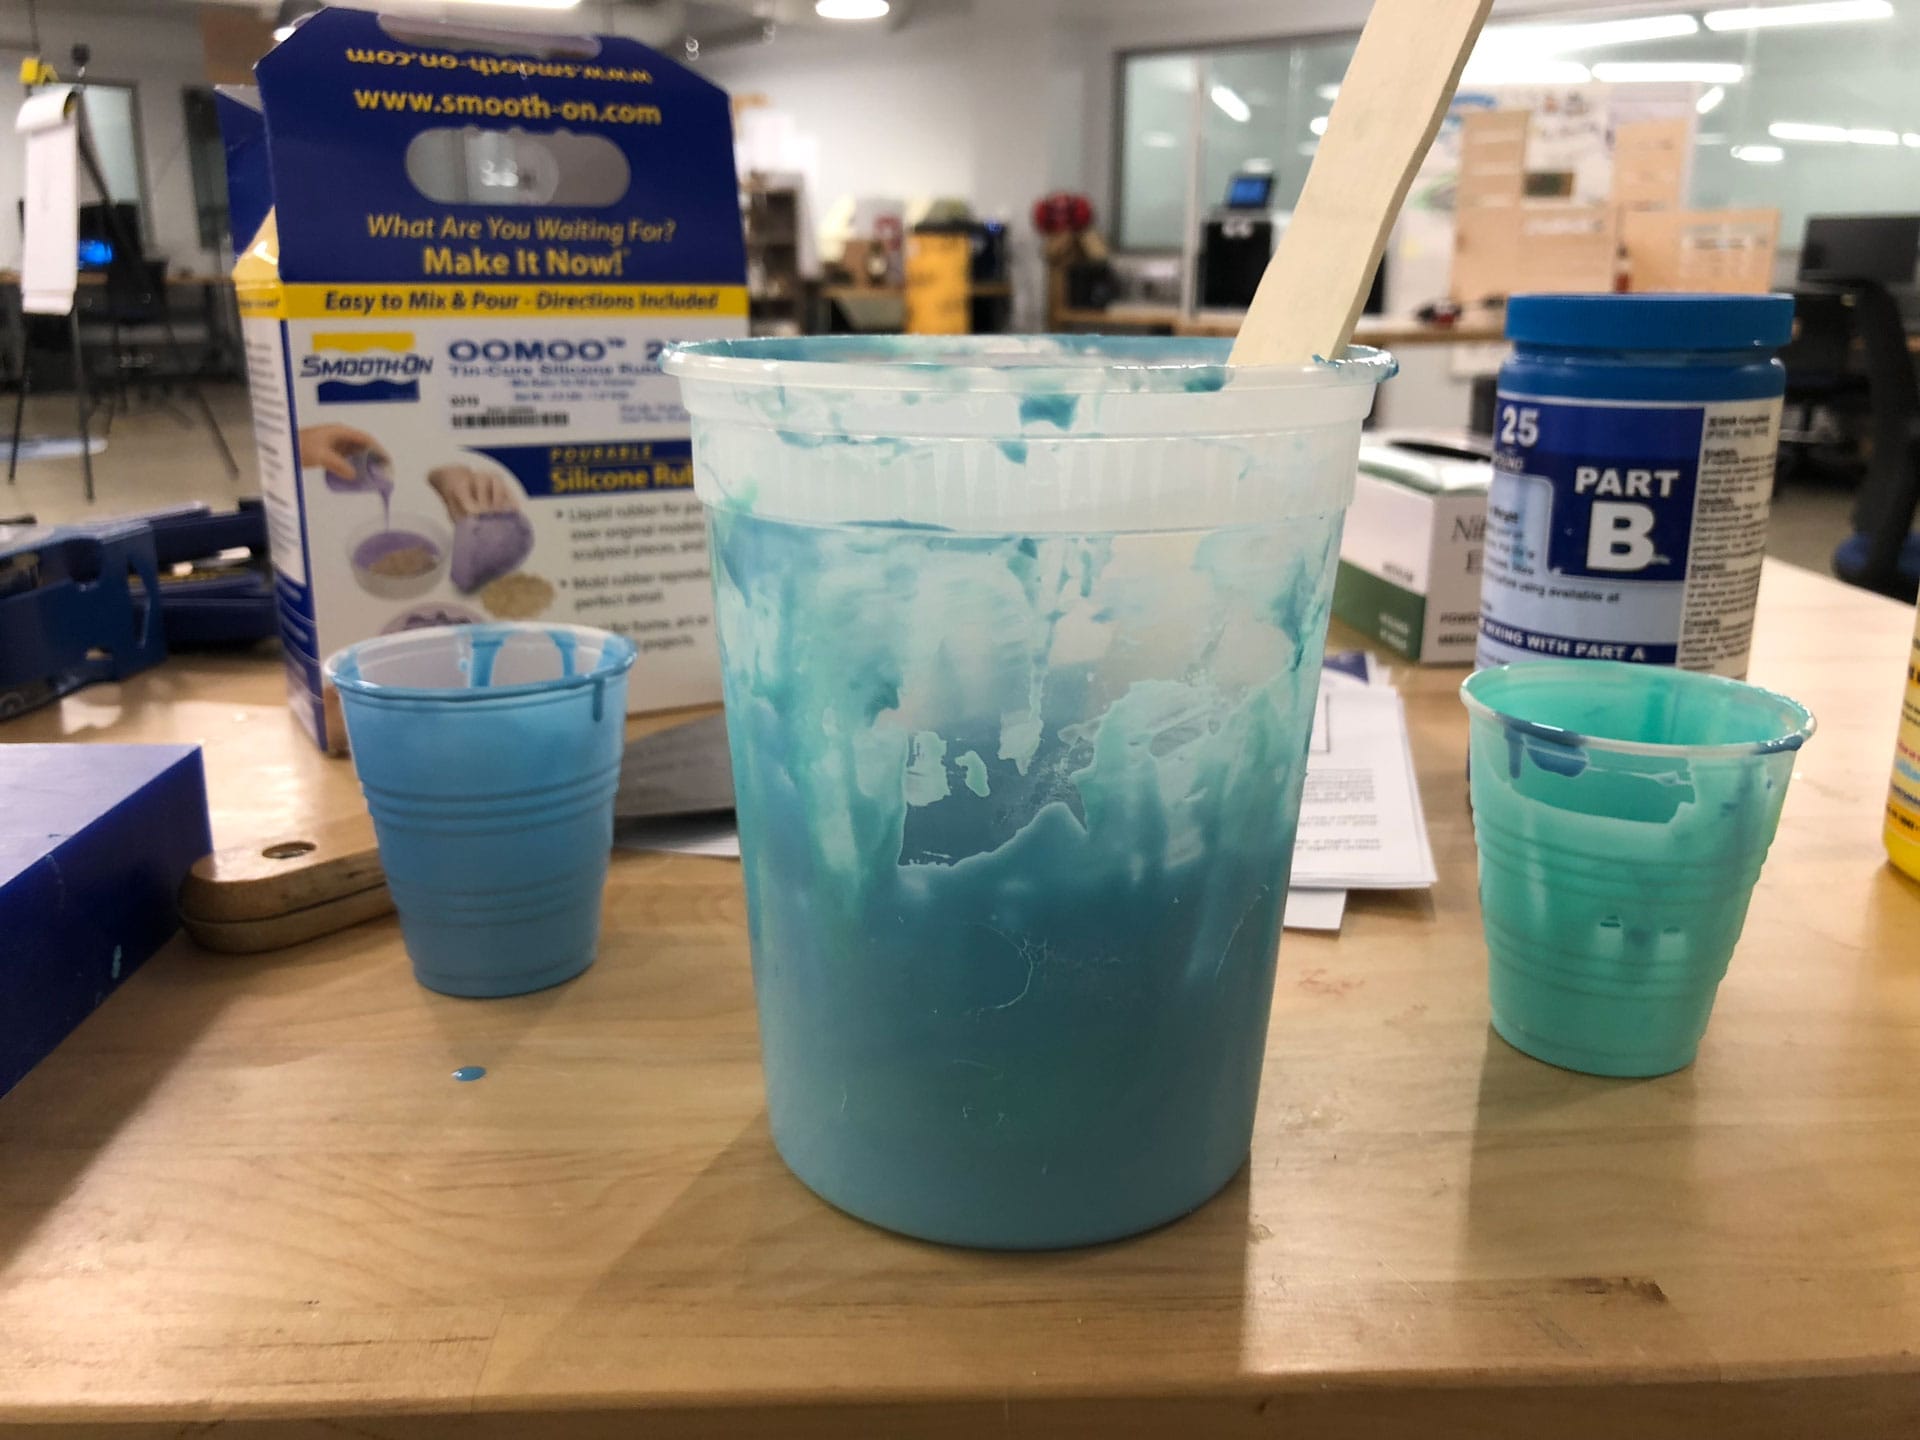
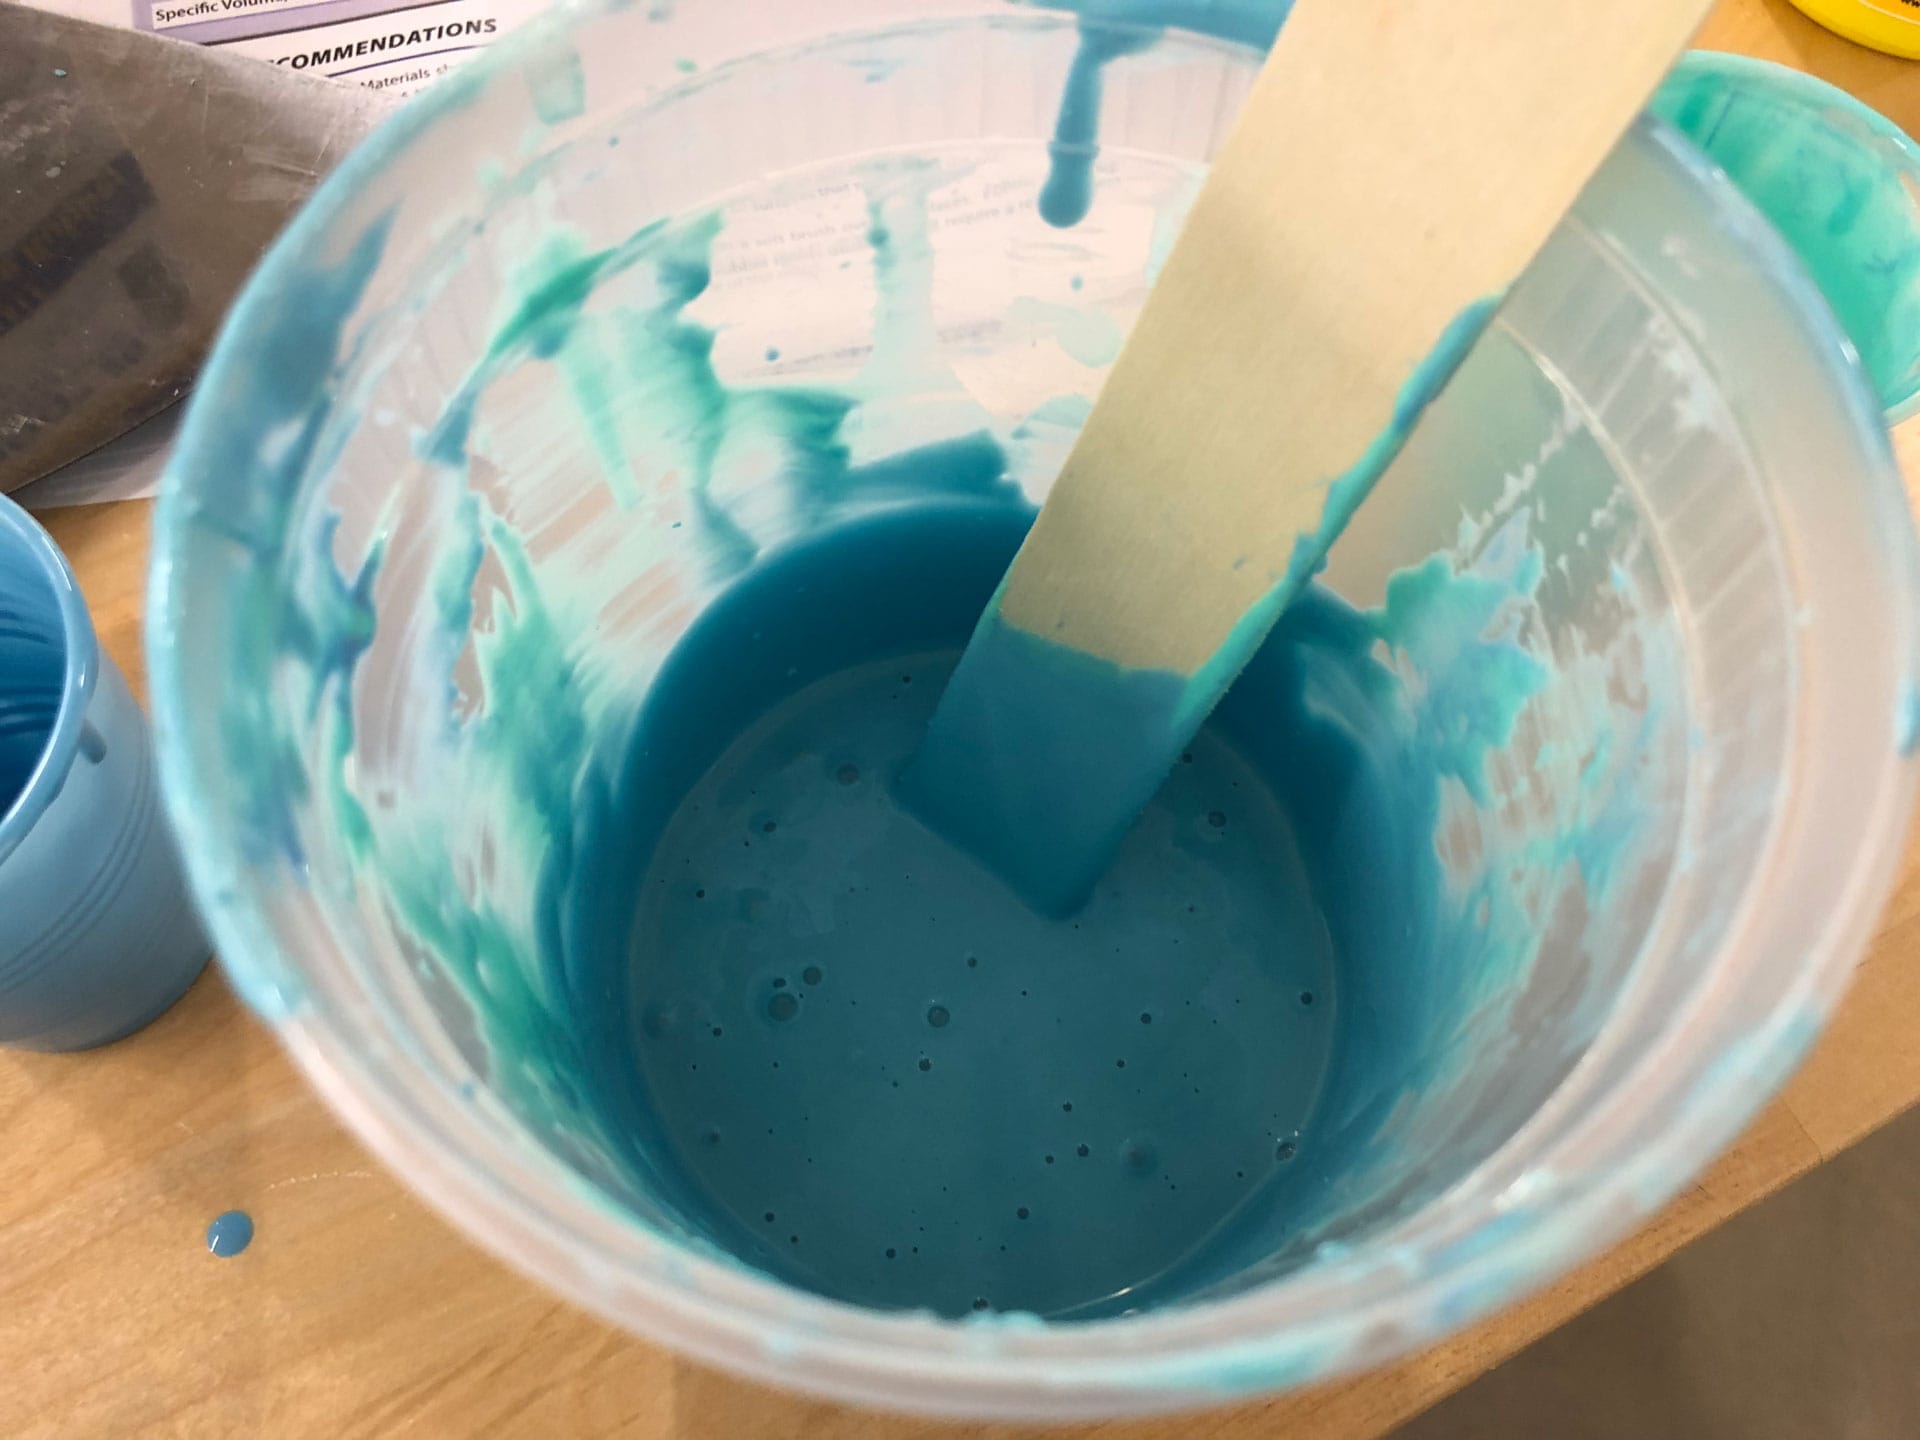
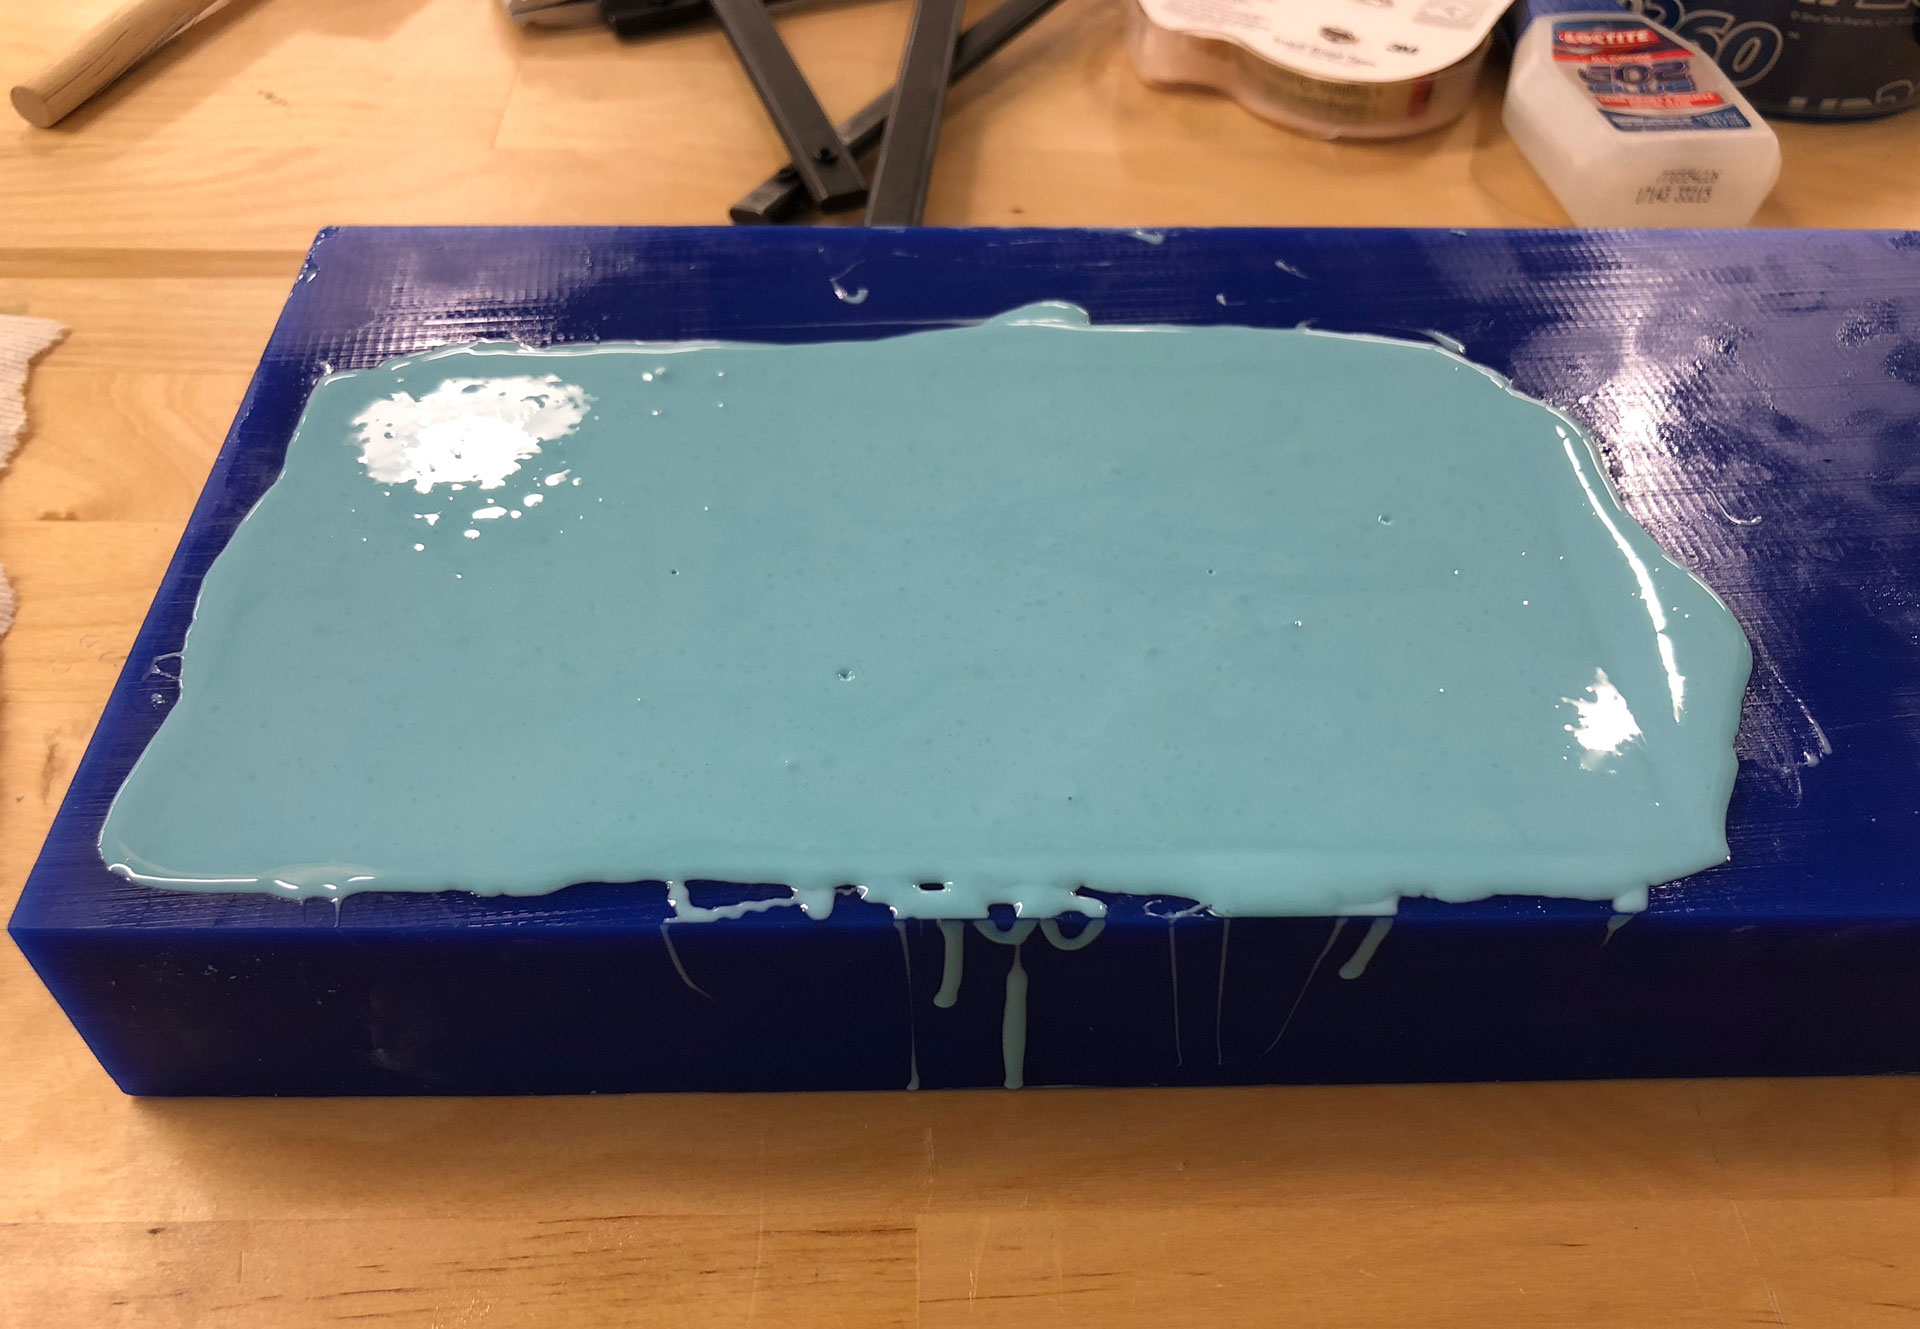
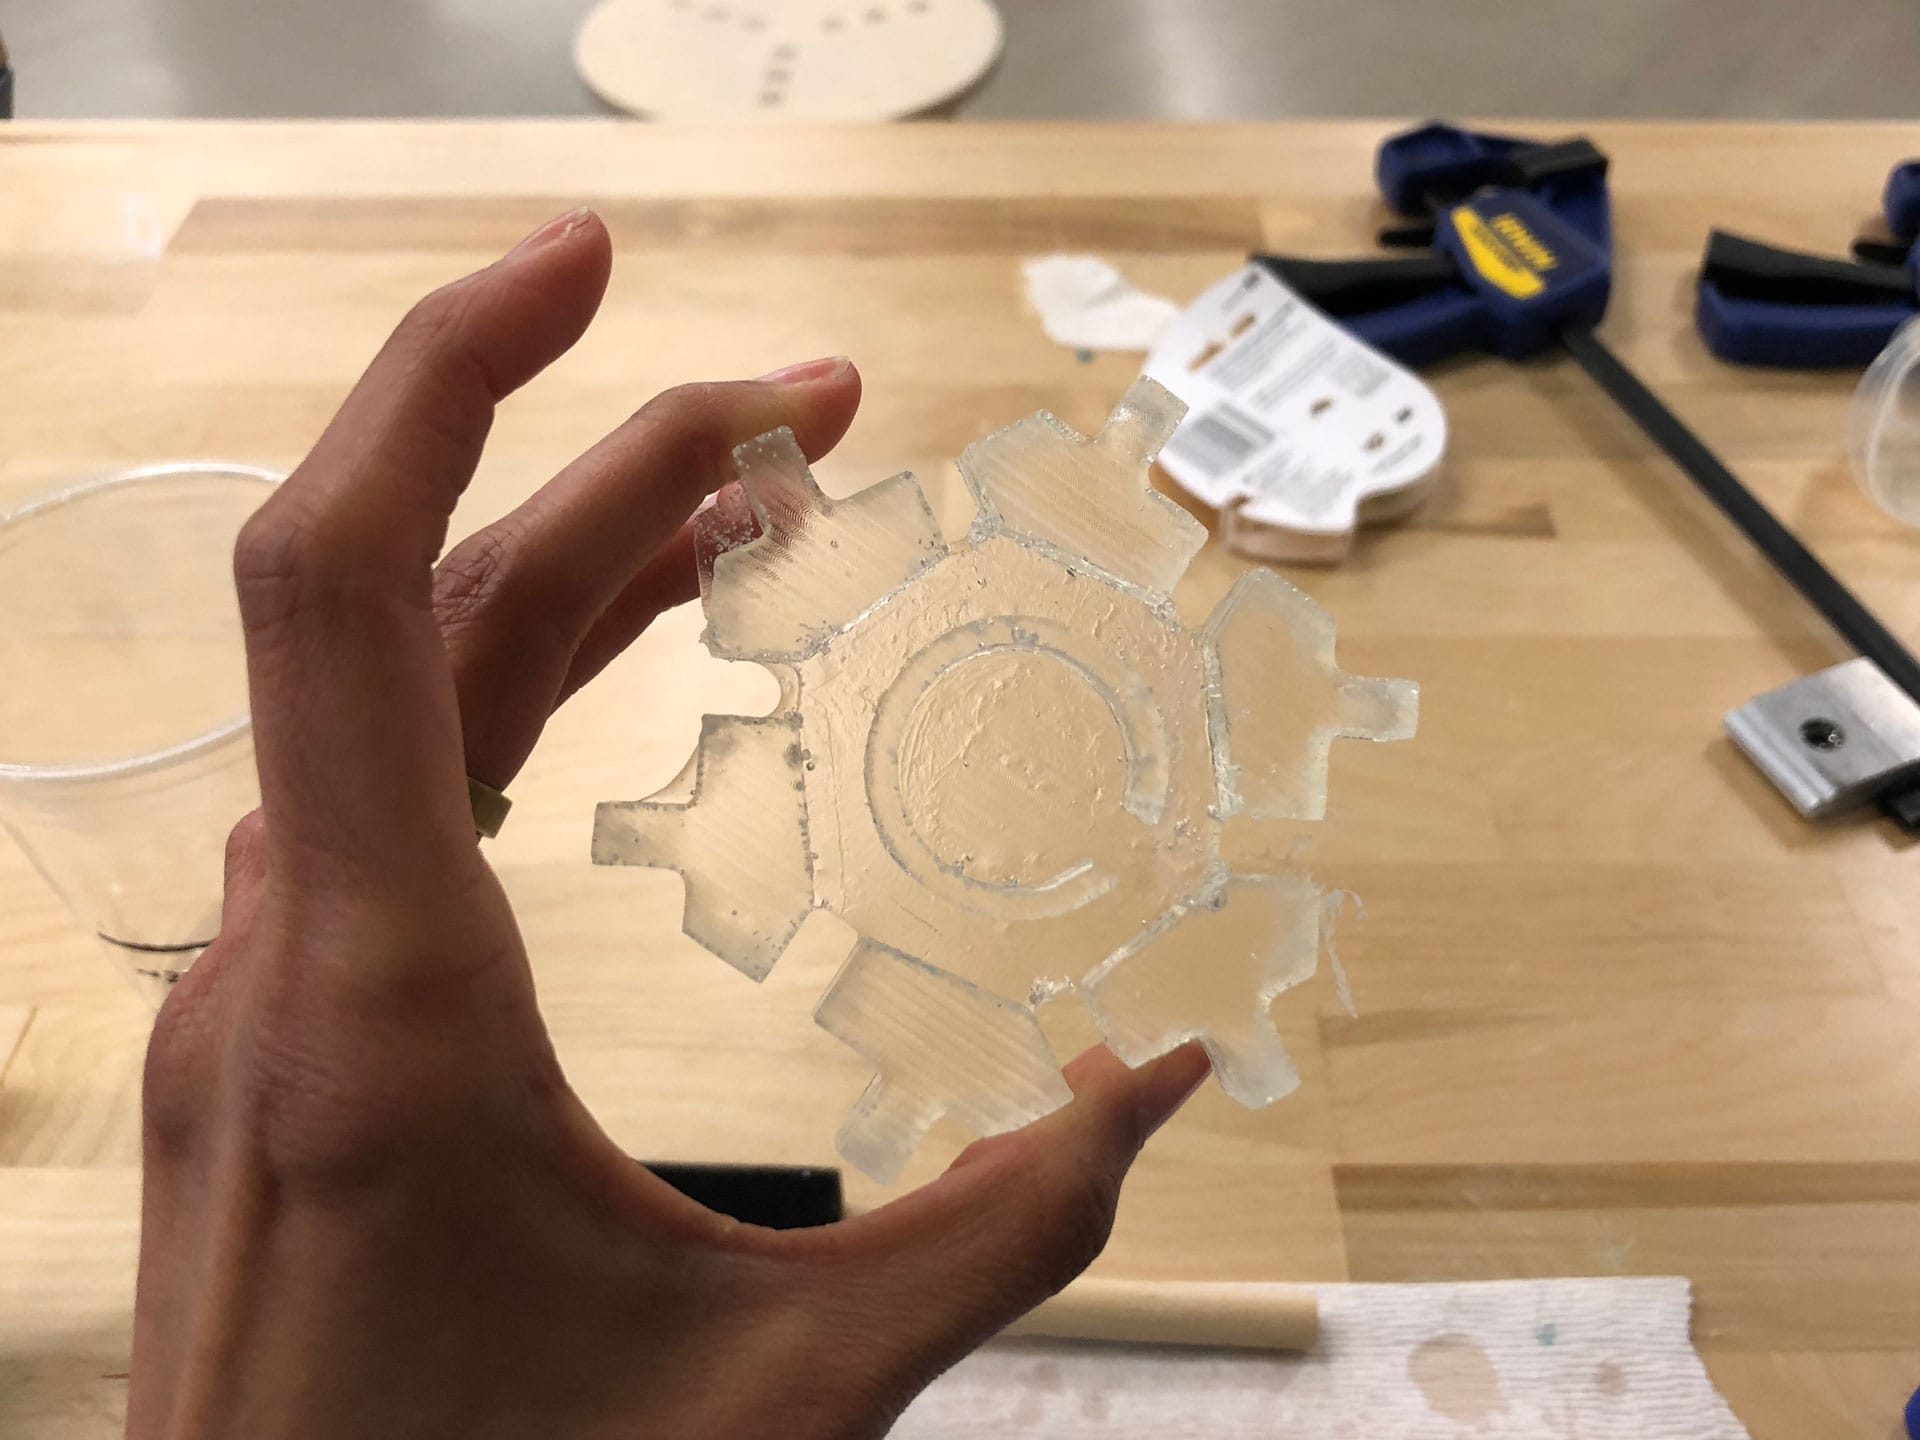
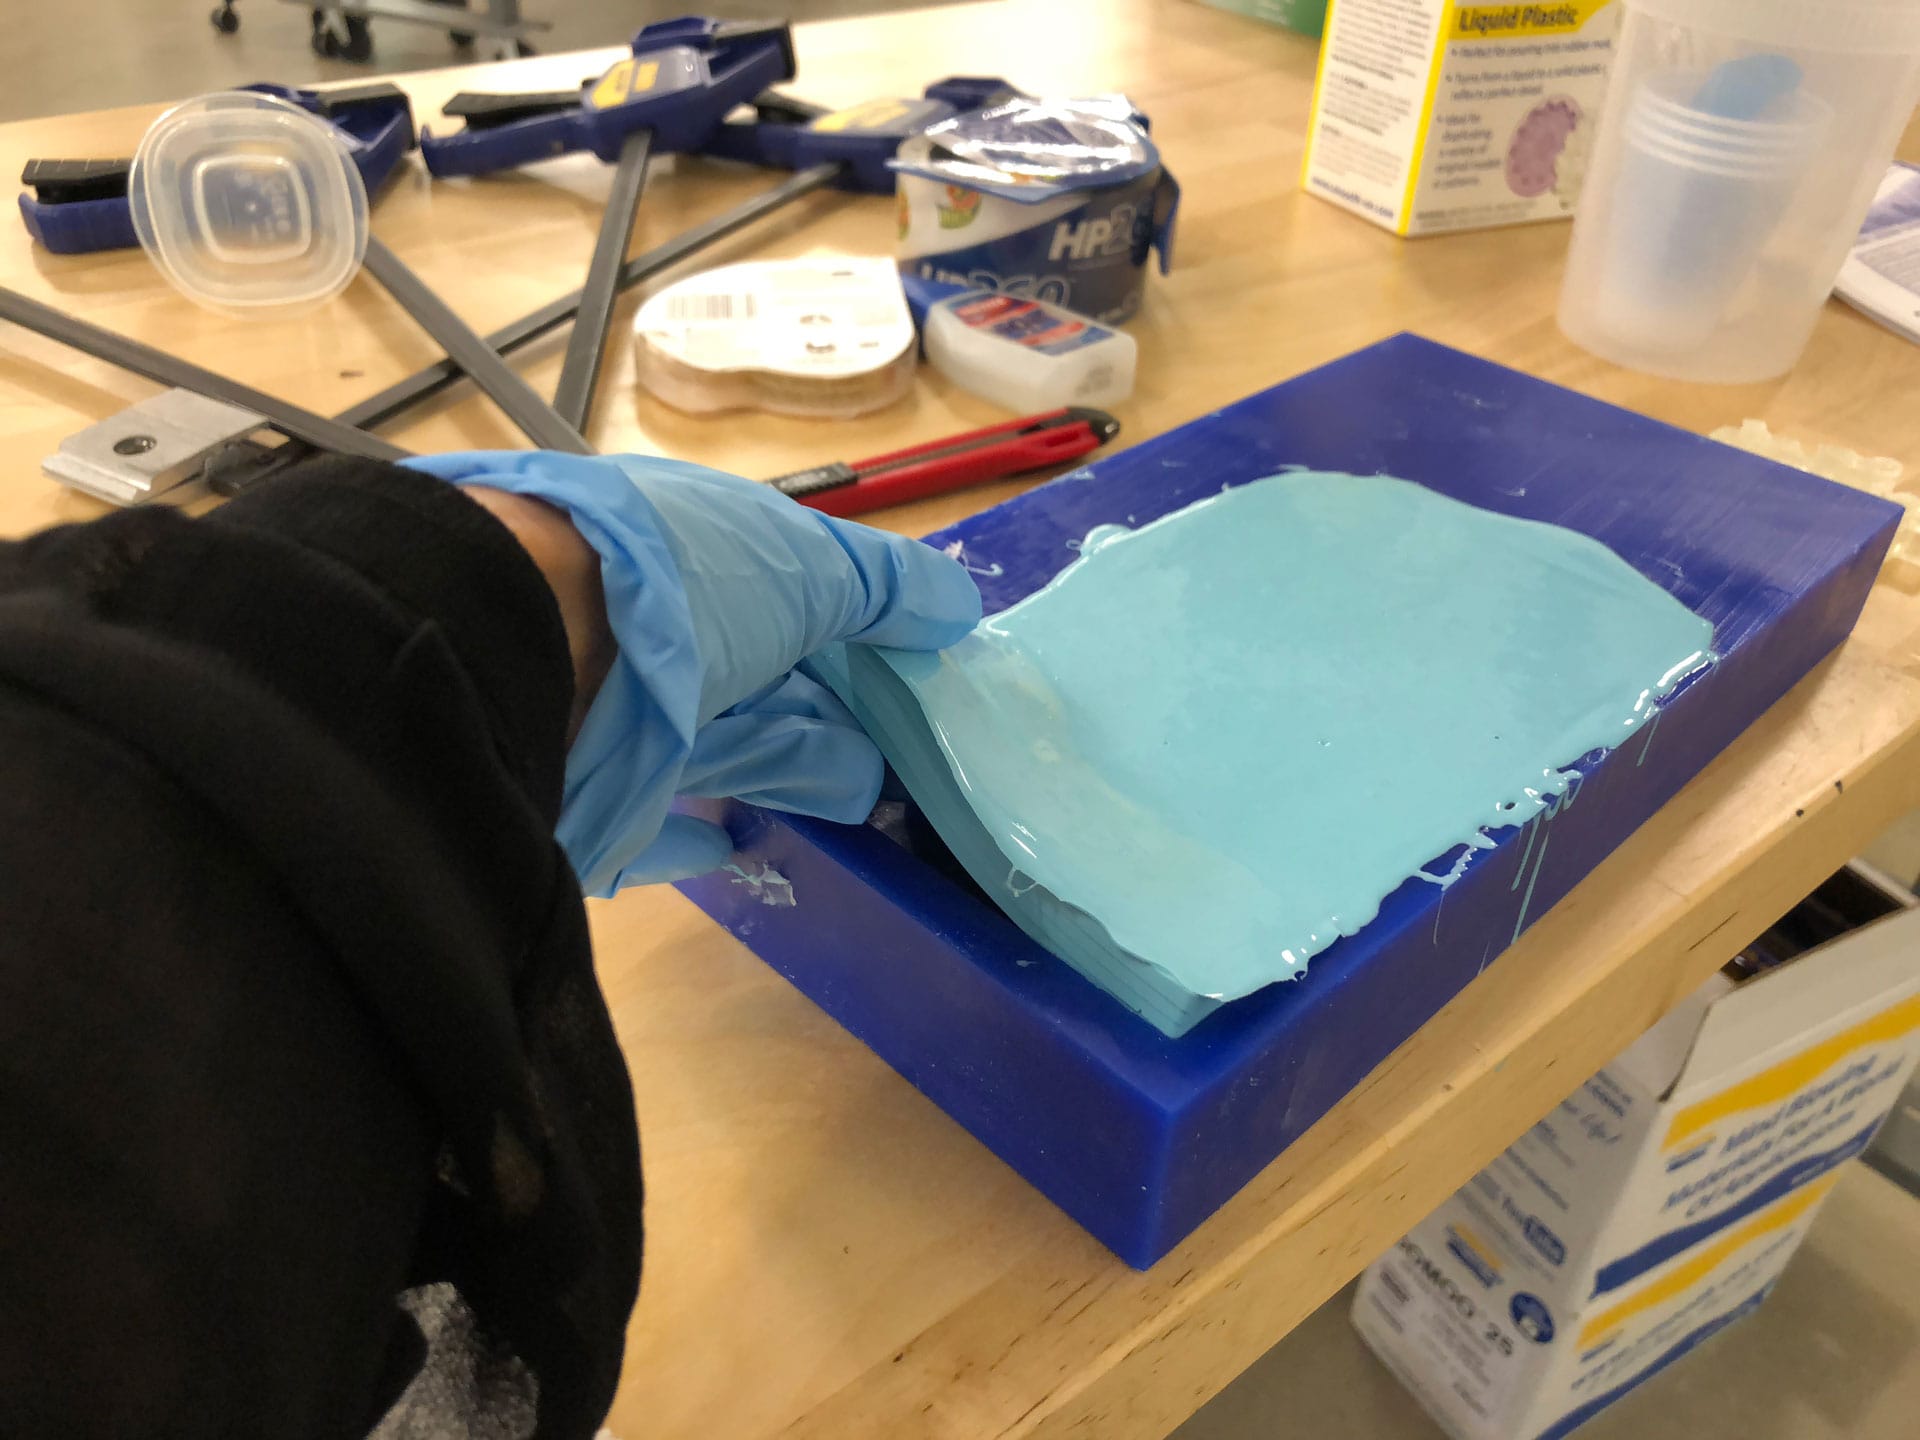
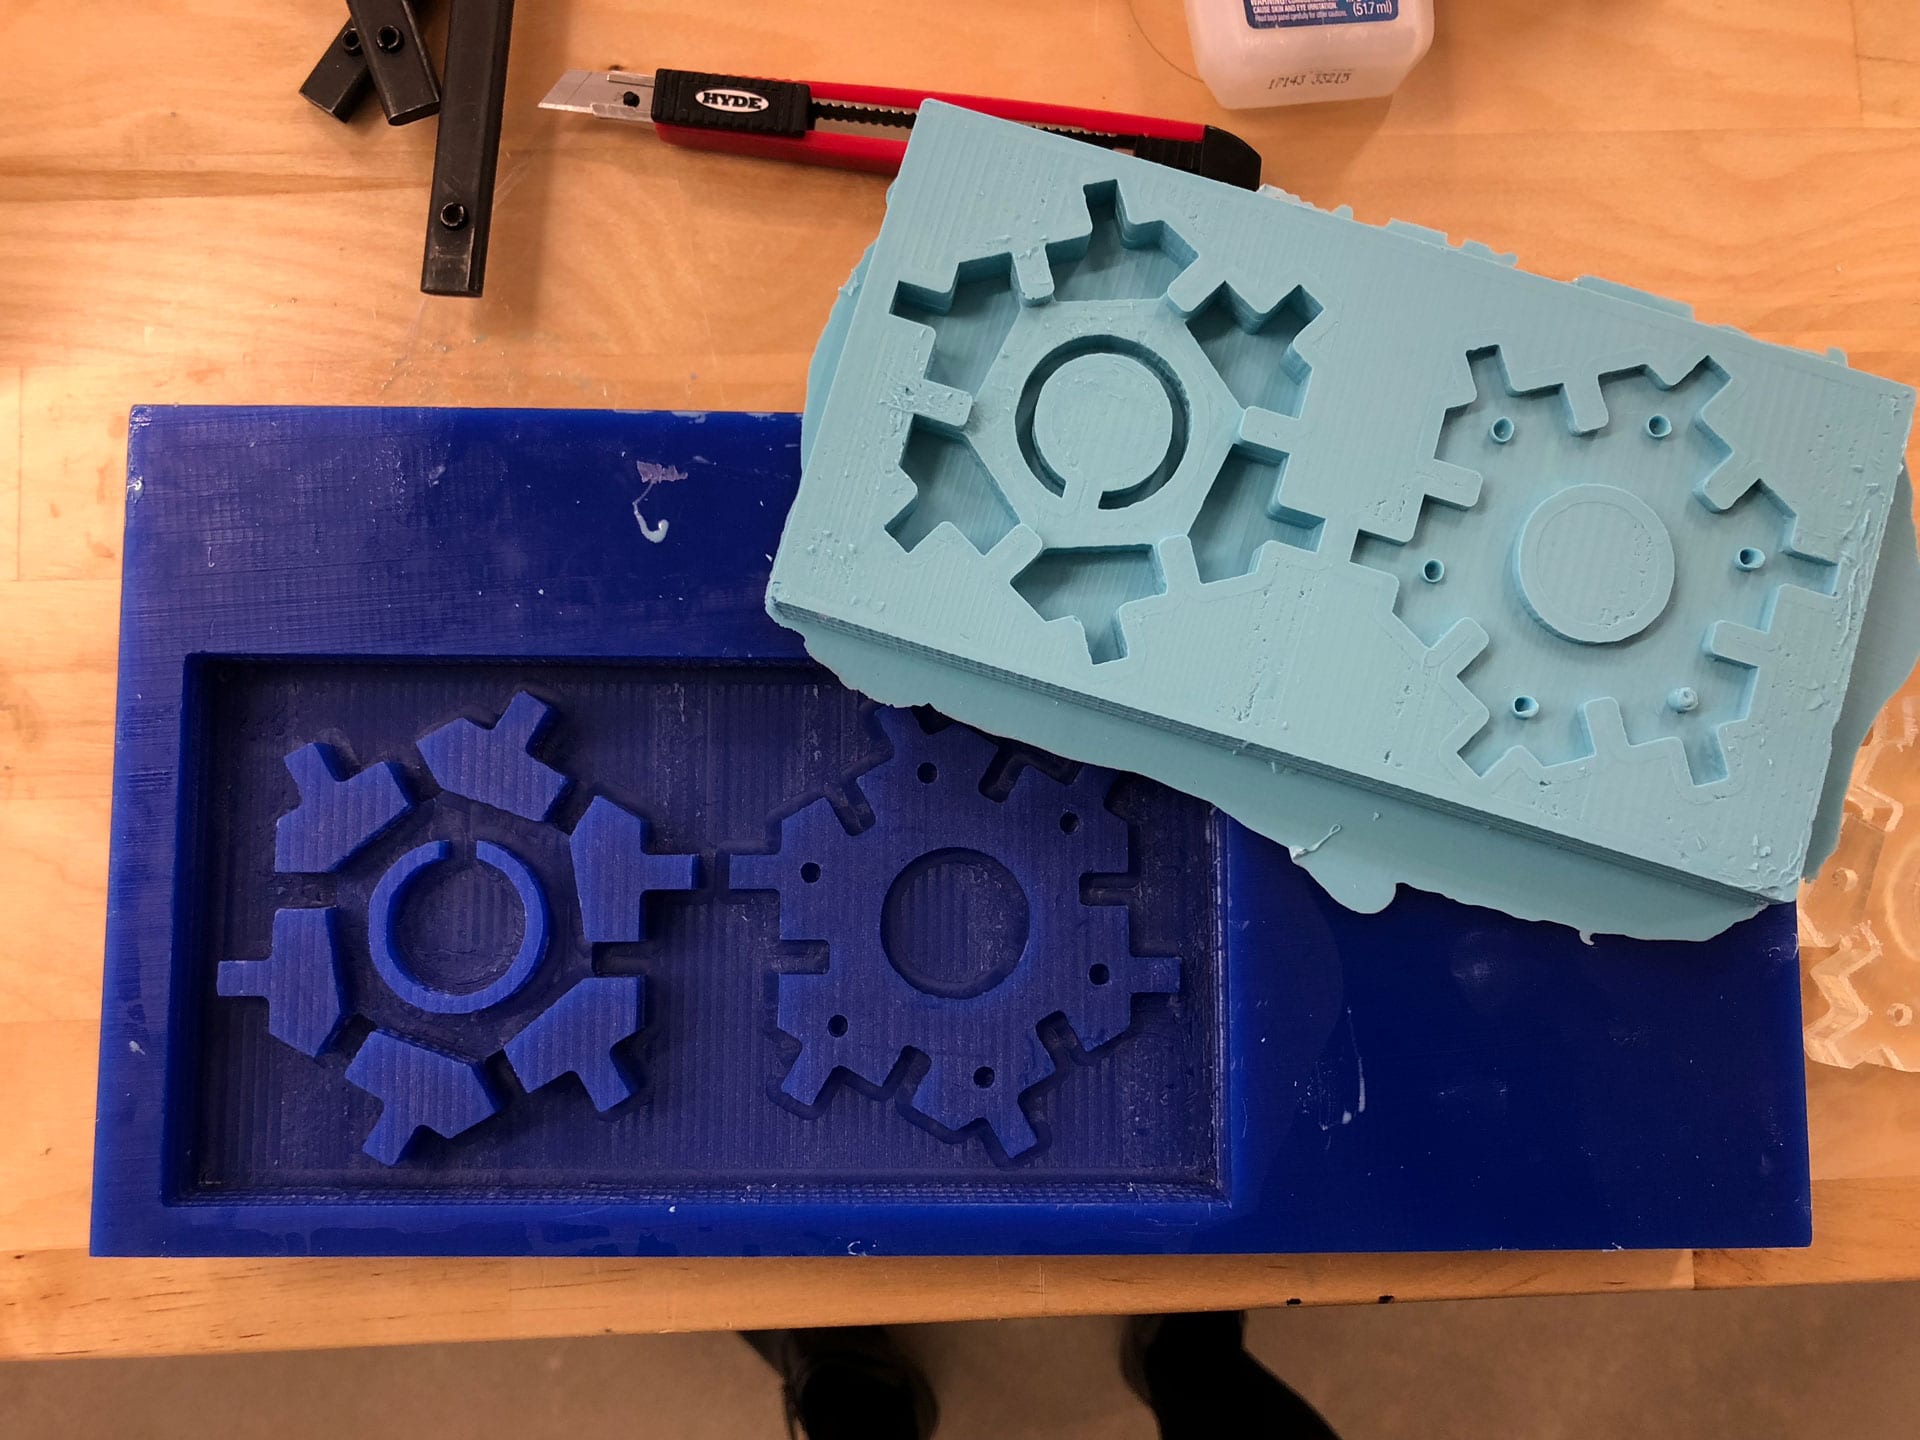
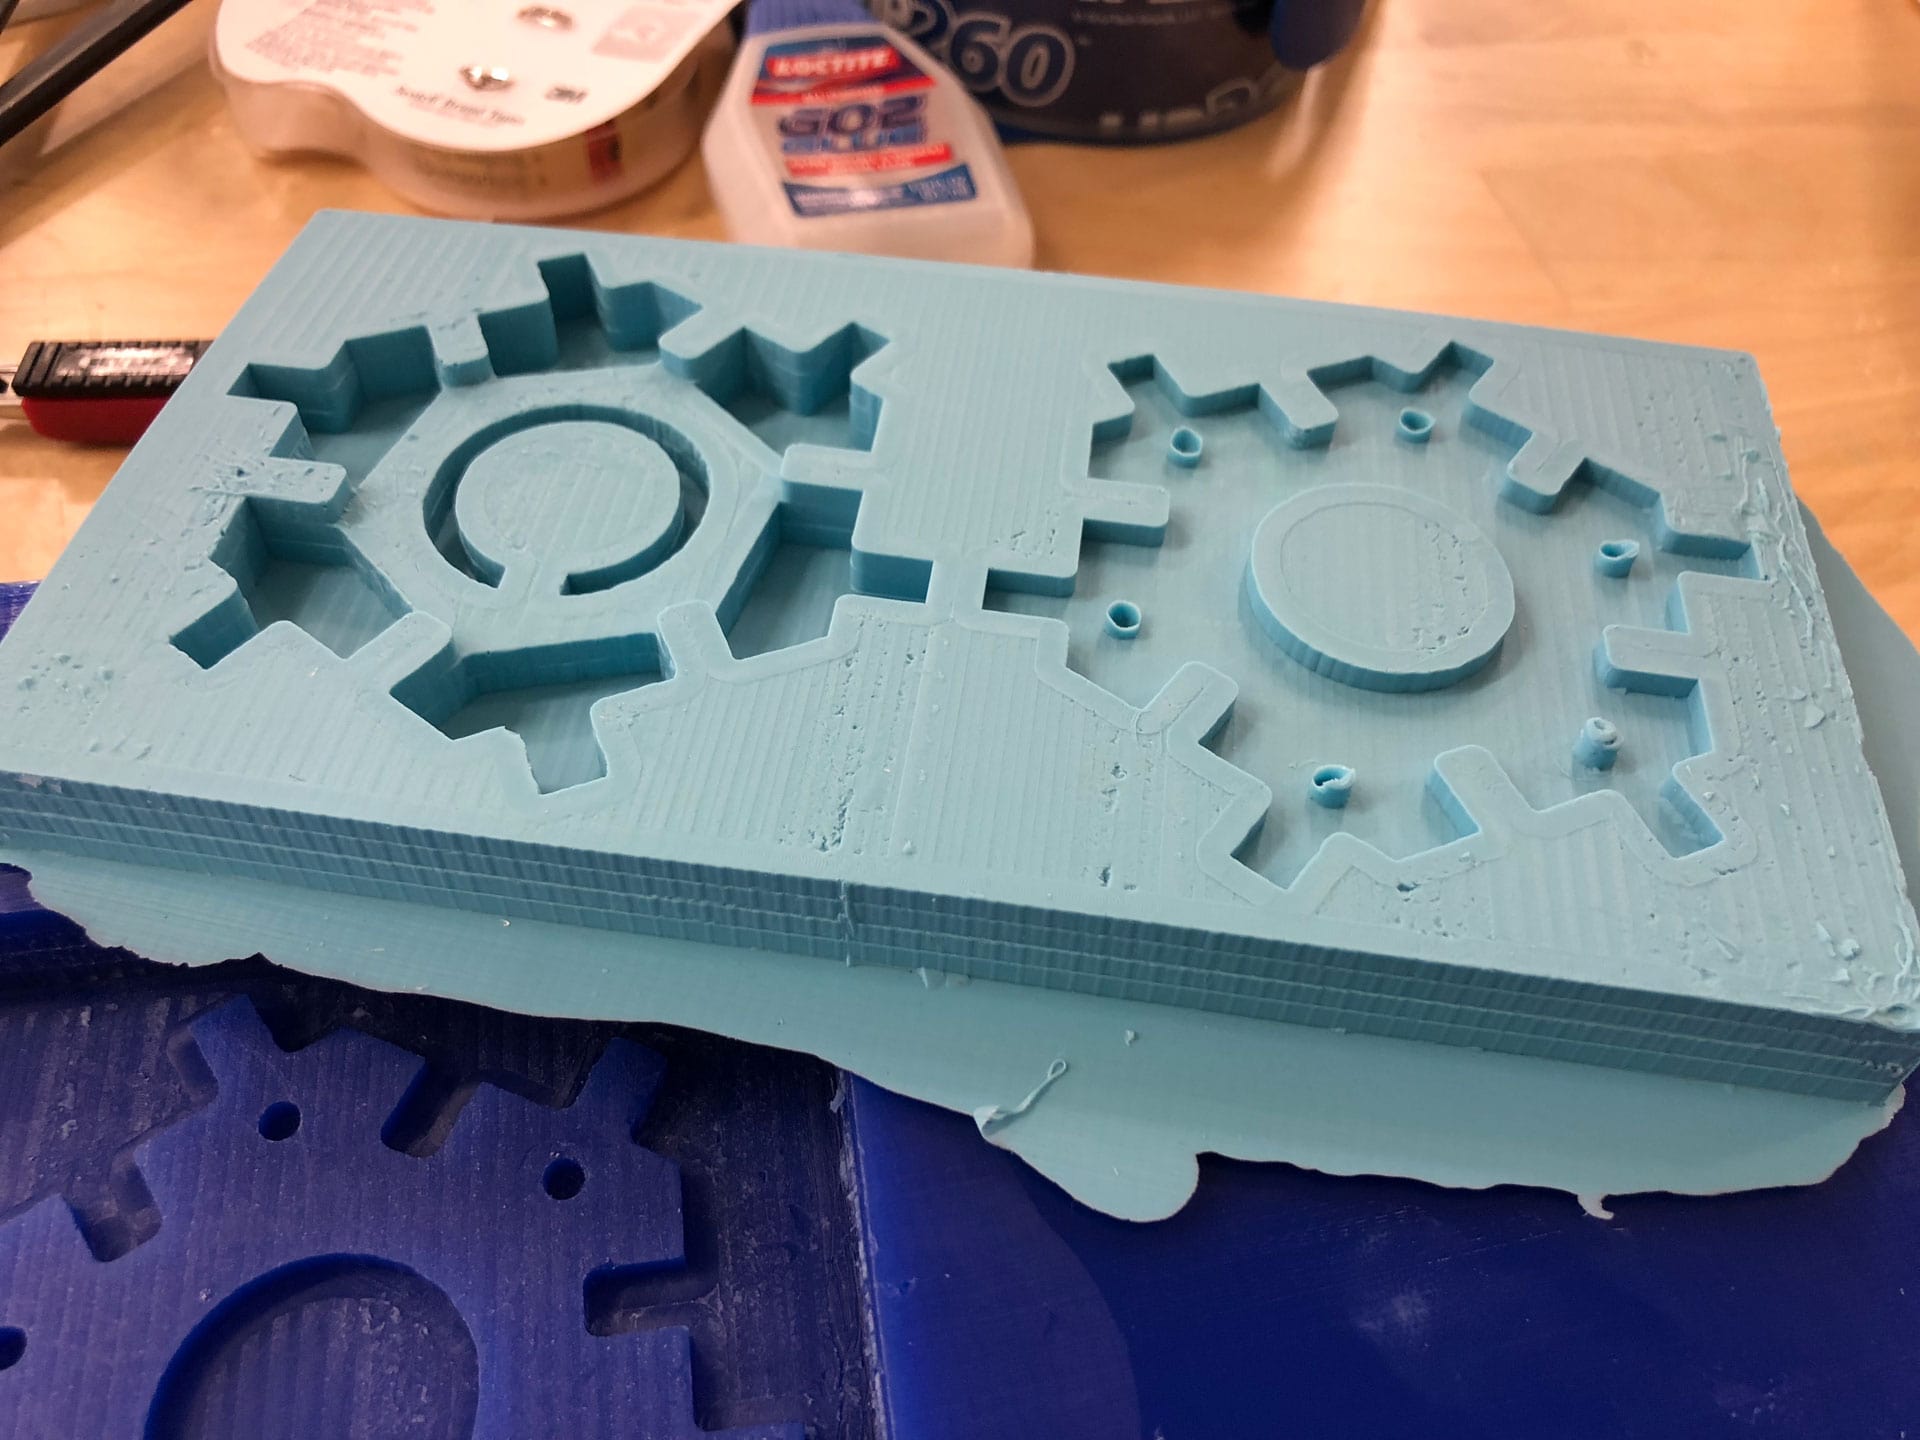
The next part was casting. I used OOMOO 25 (Tim-Cure Silicone Rubber) to cast the rubber mold to cast my final part, the Hex Block. The pot life was 15 minutes (meaning, I had 15 minutes to mix together parts A & B and pour into my mold). Cure time was 75 minutes. After casting the rubber mold, it was time to make the final Hex Blocks. For this, I used OOMOO Smooth-Cast 326 (Liquid Plastic). This was much easier to mix together due to its liquid consistency. The pot life was 7-9 minutes, while the cure time was 60 minutes. Given how long it would take to cast these plastic pieces, I decided to create two more rubber molds to quicken the process.
My finals parts came out pretty well. I will need to sand them down, but they came out great, and I am planning to create at least 10-15 of these pieces as part of my final project.


Download the Fusion 360 Hex Block Mold 3D model file.