WEEK 9
MOLDING AND CASTING
Assignment:
- Design a 3D model, machine it, and cast parts from it
Software:
- SolidWorks
- VCarve
- Shopbot UX
Skill(s):
- Concept Development
- Product Design
- 3D-Aided Design
- Prototyping
- Molding and Casting
- Shopbot
I took this week’s assignment as an opportunity to try my hand at creating Toy Figurines. In the world of streetwear and art figurines are an extremely sought out collectible item for enthusiasts, especially from highly revered artists. As a consumer of both streetwear and art, I wanted to create my own version of collectible items while also learning the ins and outs of creating one of these figurines.
CONCEPT & DESIGN
Concept 1
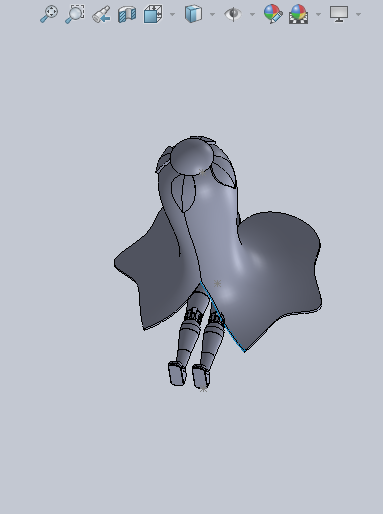
The original concept form my figure was the idea of having a guy “sitting” under a flower. The meaning behind the image was to symbolize peace and nature. Also I like using flowers throughout my designs when I can. The shape and colors of flowers are very aesthetically appealing to me. After sketching the concept I moved to creating a 3D model of the figure in SolidWorks. I was able to find a great Youtube tutorial series (https://www.youtube.com/watch?v=3IzAAx5htwQ&list=PLiKqXuECiKNJUWsJduLtqM4OWTgkws-JO) that quickly became my saving grace during the design process. When designing the flower portion of my figure I used a variety of new SolidWork features (3D Sketching tool and various surface tools) for the first time. Completing the 3D model was slightly difficult but I was able to do it in a few hours. After completing the model I realized a few things. The design was not optimal for molding and casting due to its shape. I guess this shows my lack of knowledge about the realm of casting and molding. On top of that I wasn’t a big fan of the design itself.
Concept 2
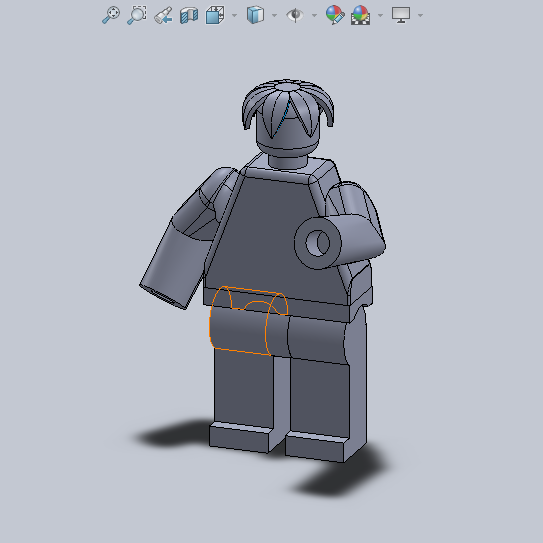
For the second go at my concept development I decided to change my approaching to designing a figurine. I realized from looking at my classmates molds and various online molds, that the shape of the object to be casted is fairly simple. The problem I had with my previous design was that I was approaching the design from a 3D printing mind. In concept 1 I include various holes, hoods and hanging ledges. This time around I kept it fairly simple. I used the Lego Man as my inspiration. I found a great Youtube tutorial (https://www.youtube.com/watch?v=VOx6xrzdaG0&list=PLfP1GxQ1lPaSjkybSMH-cKrGVKefU4XQA) that takes you step-by-step through creating the parts and assembly of a Lego Man. This made the deisgn process very smooth. I didn’t want to just copy the tutorial to the T, so I decided incorporate the flower motif somewhere in the design. I used the Surface tools I learned from concept 1 to add a flower to the head part of the Lego Man. After completing the 3D molded, Luciano informed me that there would still be some problem with creating a mold of my new design, ironically due to the flower I added on the head.
Concept 3
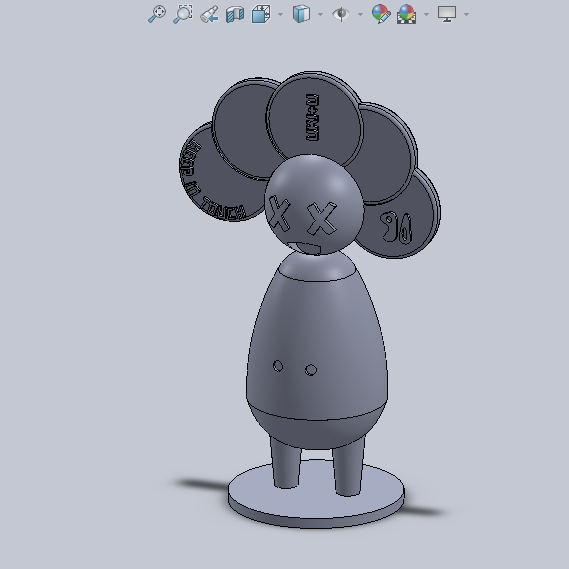
Third time is the charm. With my third attempt I used my two favorite artists Kaws and Takashi Marukami as a source of inspiration. I used what I learned from the two previous attempts and utilized it in my design process.
MOLDING
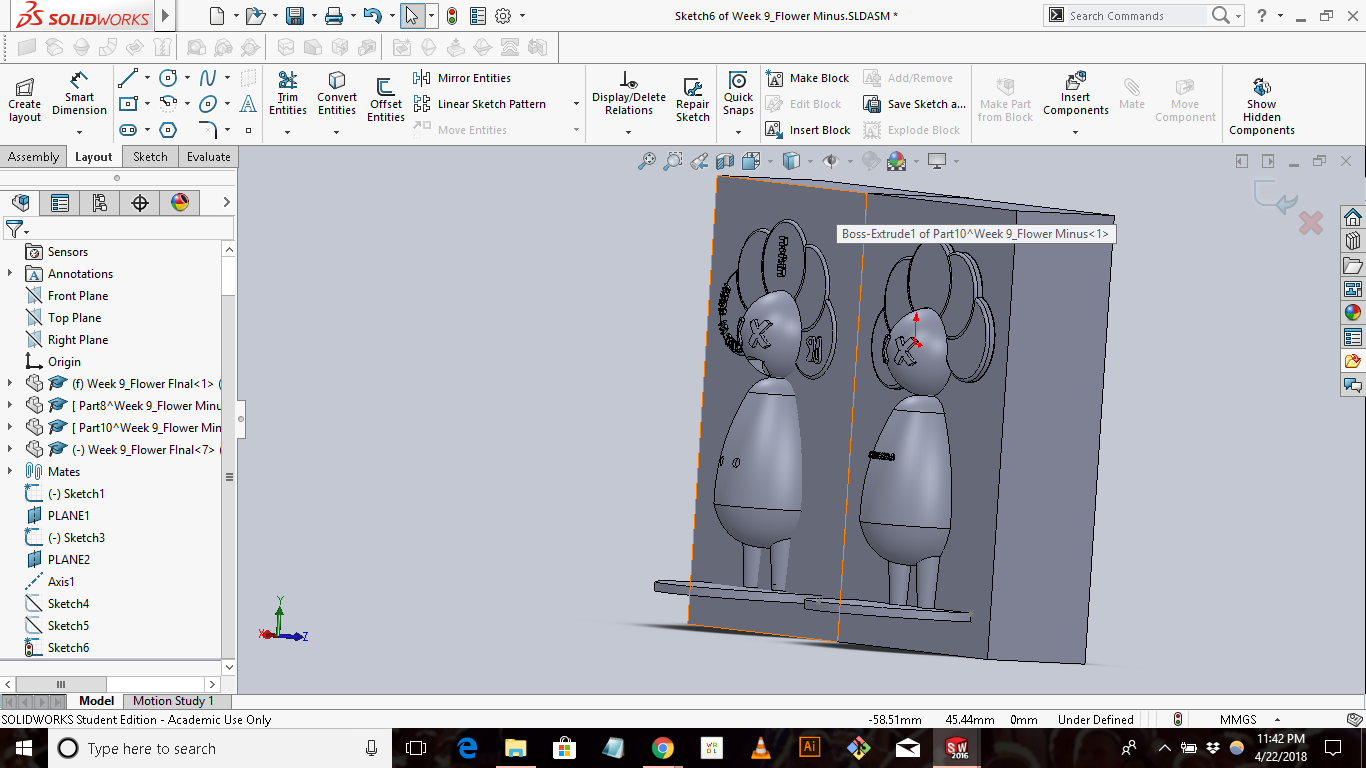
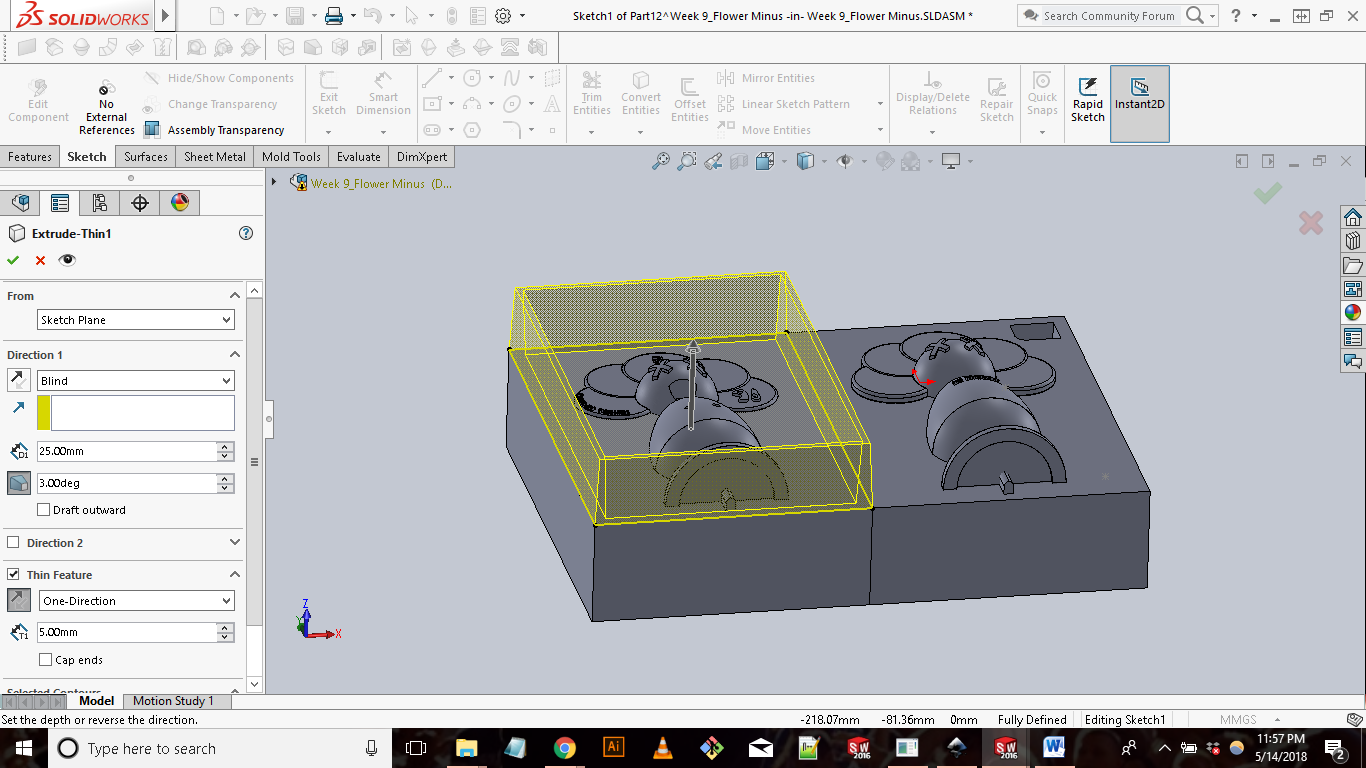
Once the design was finalize the next step was to being creating the mold. In Solidworks I created the front and back positives of the mold. This step proved to be much easier than expected. I created a new assembly file of the completed figure. With the figure in place I used the new Part tool to create a sketch a box around the design. I then extruded the box 38.18mm (half the thickness of the blue plastic box in the lab. (A quick tip, to make this process easier, I created a new plane that references that front plane and passes directly through the middle of the figure.) Once the box is extruded, I then created the boundaries that emulated the cut depth of the mold. After I then added pillars and holes to fix the mold in place. Now on to the ShopBot.
Prepping my file for the ShopBot required me to process the file in VCarve. The VCarve process was pretty straight forward. I was able to import a STL file that fed the software information like depth and position that made configuring my cut much easier. I created a roughing toolpath using a 1/4 “spiral up cut bit and a finishing toolpath using 1/8” flat ball nose bit.
I setup the wax block on the Shopbot using carpet tape underneath and on the sides. Then I zeroed the bit and ran the rough pass. This is when I started to run into some errors. The first problem I ran into was design problem. After doing the rough pass, I realized my cut depth was too deep for the finishing pass. This posed a problem because if I would run my finishing toolpath, the collar would not have enough clearance to properly cut the design. After I realized this, I went back into my design in shorten the cut depth of my file.
The second problem I experienced was a little more exciting than the previous one. During the roughing toolpath, the blue wax became loose and jumped into the drill bit. The results were a huge whole in the waxing block. Luckily I was close by and was able to stop the job from completing.
The third problem was sort of tricky to figure out. After successfully running my roughing path, I proceeded to run my finishing path. During the beginning seconds of my finishing pass my bit broke! I was not sure why the bit broke; my assumption was that I may have secured the bit incorrectly. So I reinstalled a 1/8” bit and ran the path a second time and again the bit broke within the first few seconds. This is when I brought my problem to Jean-Michael who was able to help me figure out it out. There were a few spot in my mold during the finishing pass that had too much material for the bit to go through which resulted in the bit load to be too great and snap. In order to fix this I fix some minor design features. With the fixes the roughing pass was able to go through the problem areas leaving less for the finishing pass to handle
After these few fixes things started to run smoothly. I was able to complete my finishing path and had the first half of my mold. For the second half of my mold I flipped the wax block and used the bottom side for the second roughing and finishing path. I repeated all the previous steps minus the errors.
For my mixer I used Oomoo as it has a 1:1 ratio that makes it easy to measure. Creating the silicone negatives took longer than normal since I had to do one at a time. After the first silicone was complete I flipped the block upside down and created a second batch of Oomoo and waited for the silicone to set
The negatives came out pretty well. I did notice that one of my molds was slightly chipped. I believe this probably happened during the shoptbot process. I then proceed to make the plastic using Smooth-Cast. I did face a little hiccup at this point. I was having some problem fixing the two silicone halves together. So instead I laid both silicone halves flat and filed them with the cast mixture. In hindsight I could have designed a better mechanism to secure both halves together.
I am actually really impressed by the outcome of my casts. Besides the fact that I had to glue the halves together and that the figure doesn stand due to the chipped bottom, the figure came out really well.
FILES
FlowerGuy SW Model "(.SolidWorks Part File)"