Exercise 7. Computer-Controlled Machining
Assignment: Computer-Controlled Machining
- Test runout, alignment, speeds, feeds and toolpaths for your machine (group project)
- Make something big (on a CNC machine)
Learning Outcomes
- Document the process of design and production to demonstrate correct workflows and identify areas for improvement if needed
Evidence
Group Assignment
Prepping the test sample with text, image, varying dogbone styles and cut depths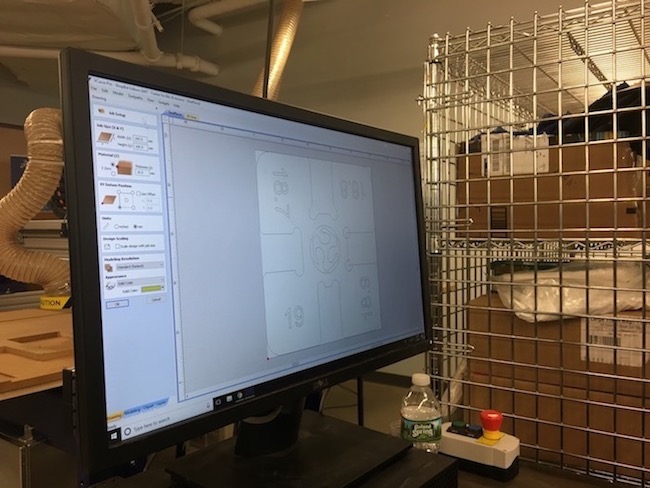
Previewing toolpaths in VCarve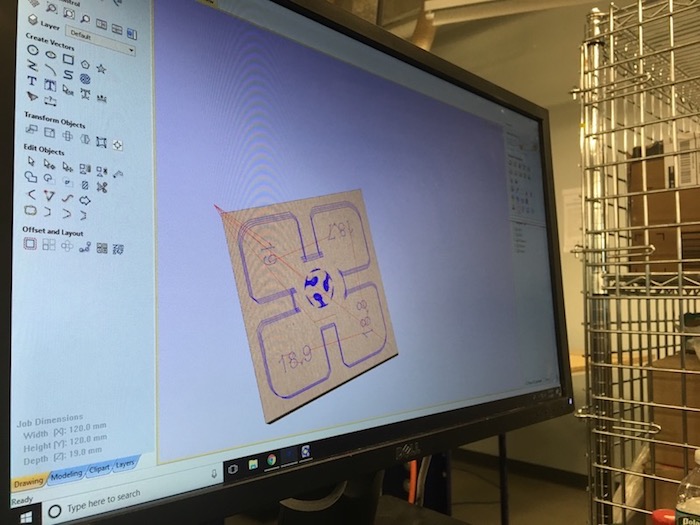
Engraving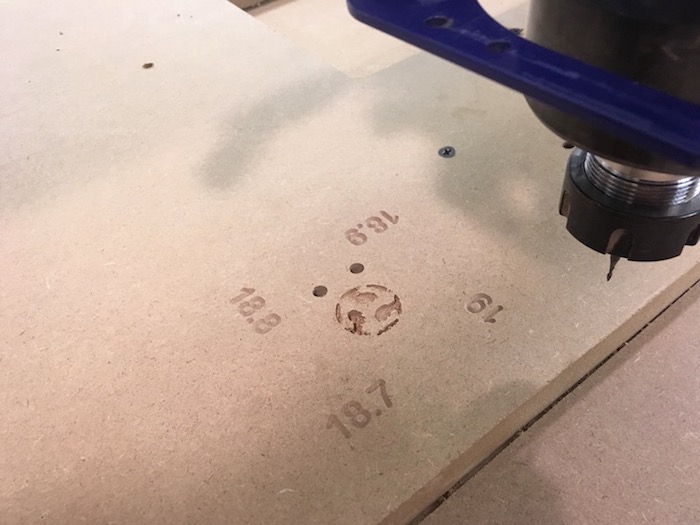
Changing tools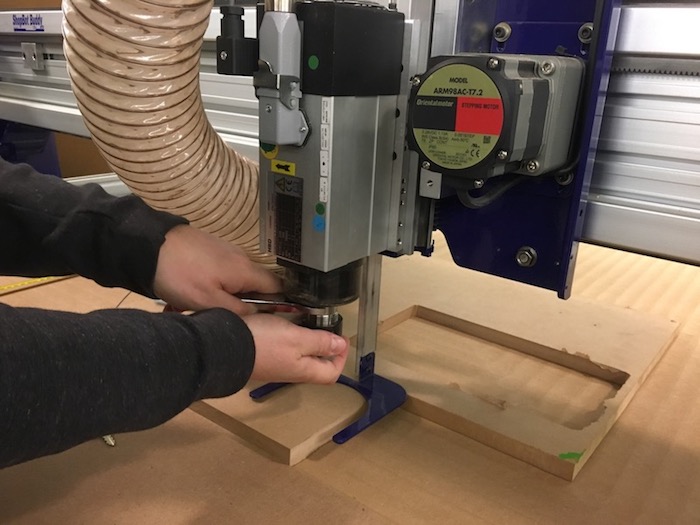
Sample piece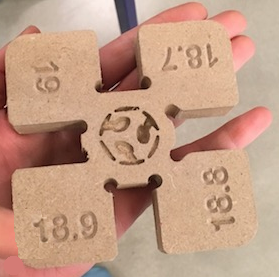
Process
I've always been curious about whether my active indoor cat would use and enjoy an exercise wheel but didn't particularly want to spend money on one of the commercial options available, only to find it collecting dust and space.
I spent a lot of time working on this exercise. It was definitely a lesson in planning or things to take much longer than you expect. Being a beginner, I knew designing, refining, and learning the tools would take time BUT you also need to take into account time that can be spent understanding why a machine isn't doing what you expect it to and how to make adjustments so that it will.
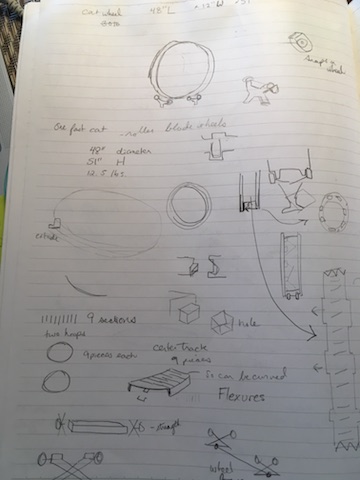
Designing
There are some resources for building your own cat wheel spinning on one axis, but for a smoother ride and stability I wanted to have it slide on rollers as most of the commercial ones do. Ultimately, I based my design on the Gocatwheel.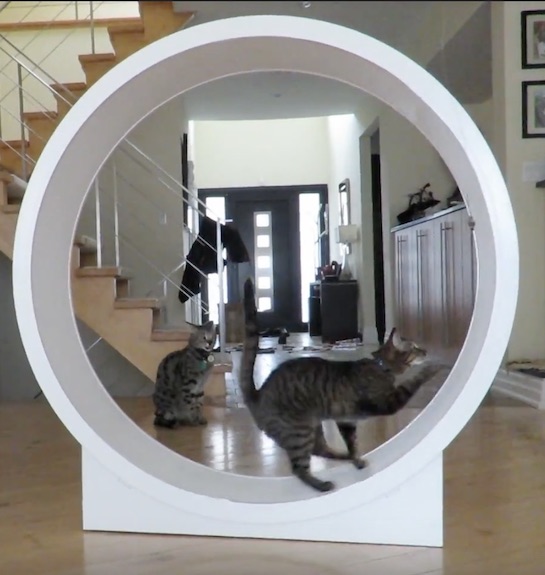
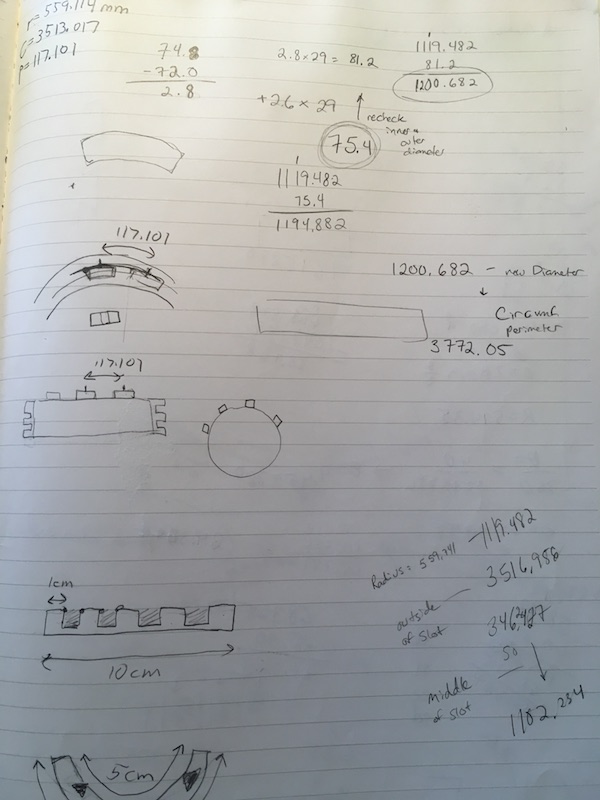
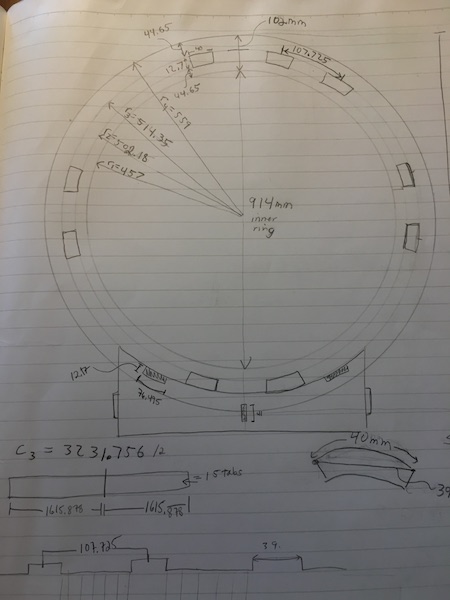
Mapping size and wheel slots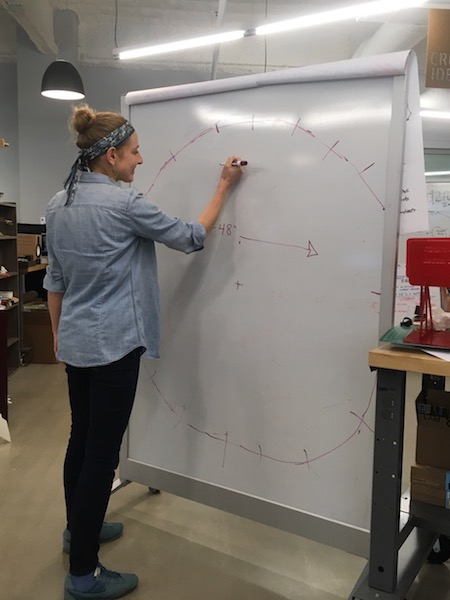
Because my cat wheel needs to spin freely on the skateboard wheels, the exterior should be as smooth as possible. I decided to try to make a kerfed inner track for the build. Based on my research, I decided to cut away 2/3 of the material on my kerfed areas.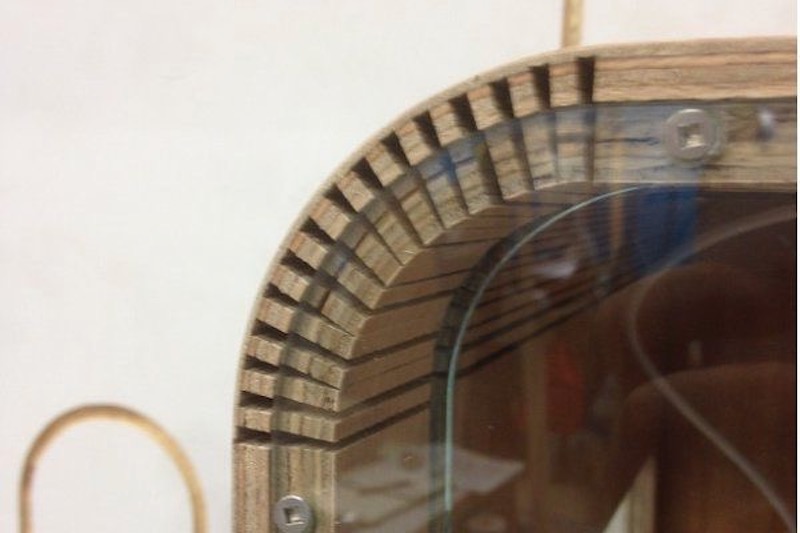
Resources on kerfing: Stu's Shed, Woodworking Archive, Woodweb, Blocklayer
Experimenting kerf with cardboard and lots of calculations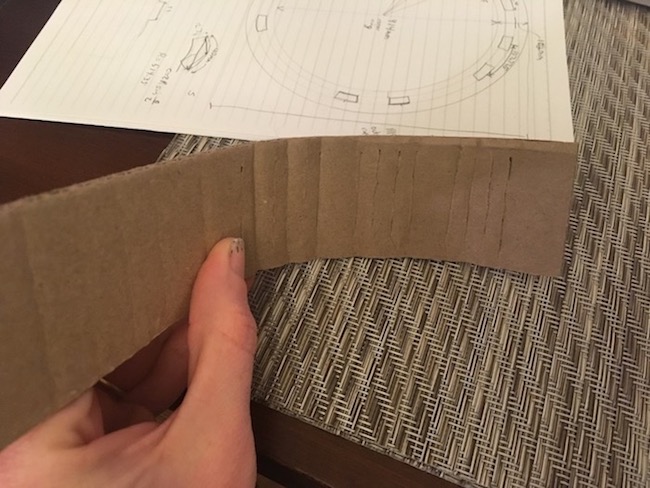
I used Fusion 360 to design the wheel and spent many hours watching Lars Christensen's Youtube tutorials on the usign the CAD tool.
Setting initial dimensions
Setting parameters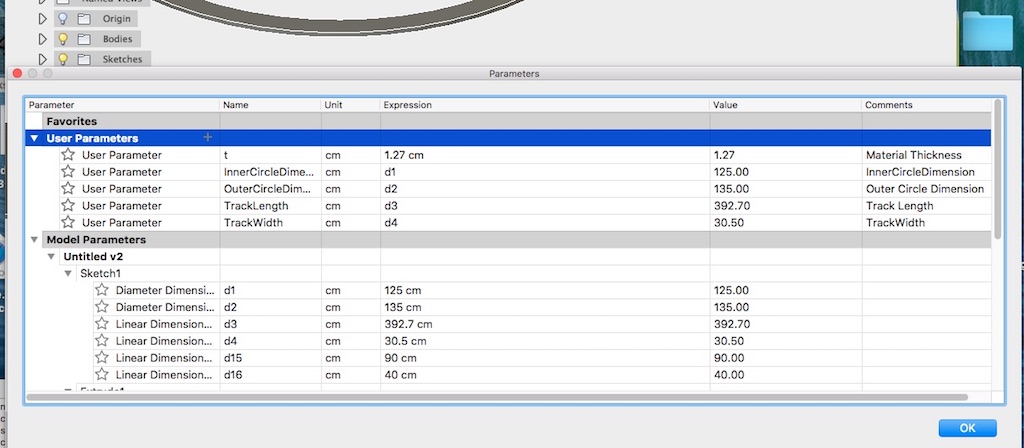
Patterning
I found that the more restricitions I put on my design, the slower the software worked on my computer. The rainbow spinning wheel of death was a common sight on my screen.
Ultimately, I changed the settings to optimize use for my computer and when that didn't work also uninstalled and reinstalled Fusion 360 to improve functionality.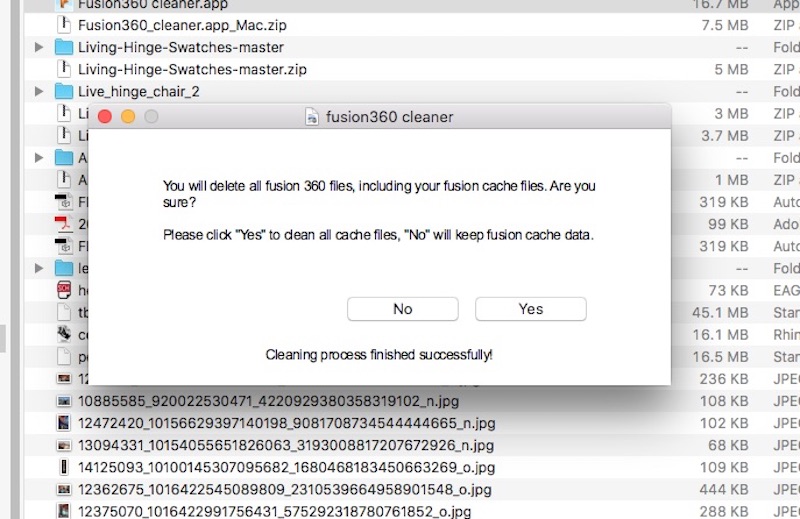
VCarve Prep
Editing vectors by hand because of Fusion360 crashes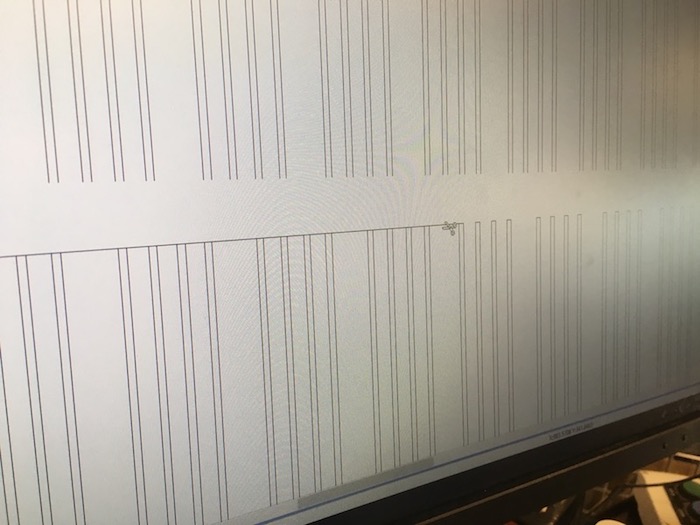
Checking settings for the ShopBot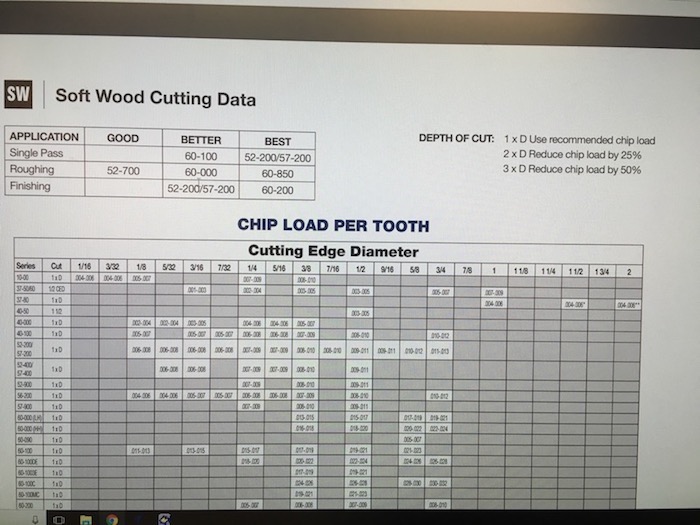
Tool settings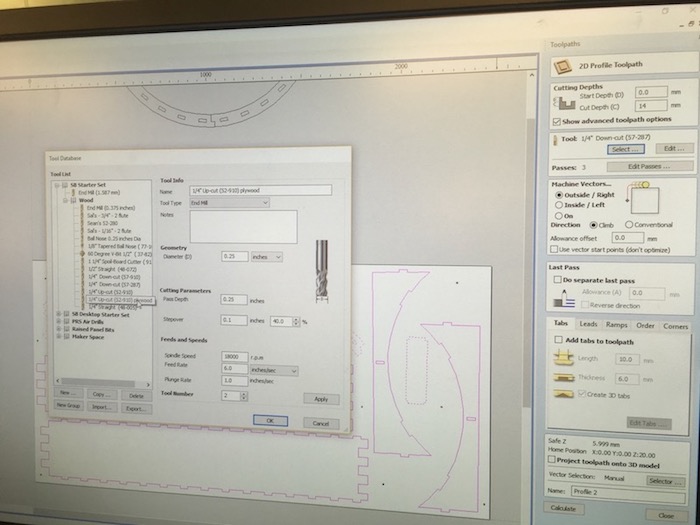
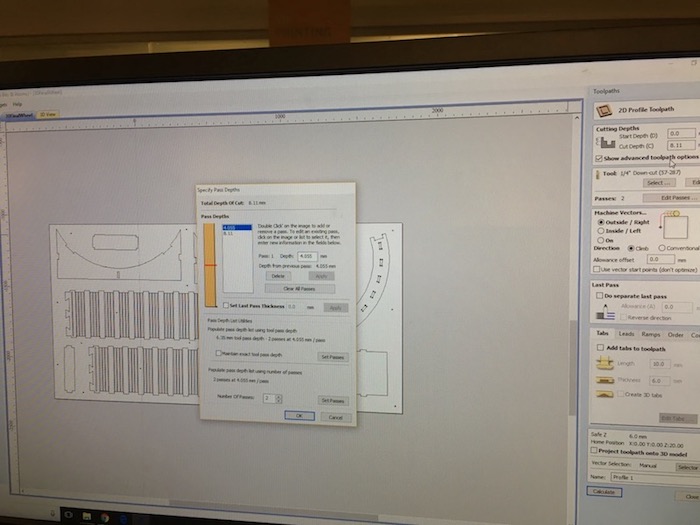
Setting pass depths- I decided on cutting 2/3 of the material on the downcut and the last 1/3 on the upcut.
Adding tabs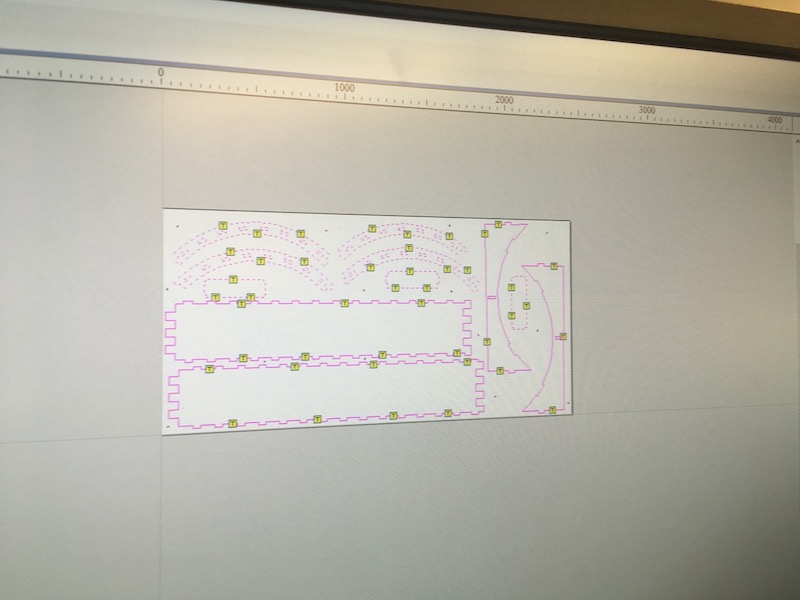
Files ready for cutting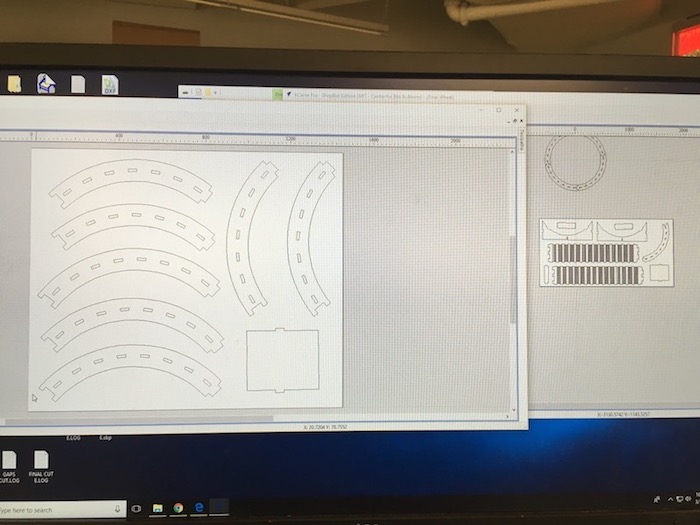
Previewing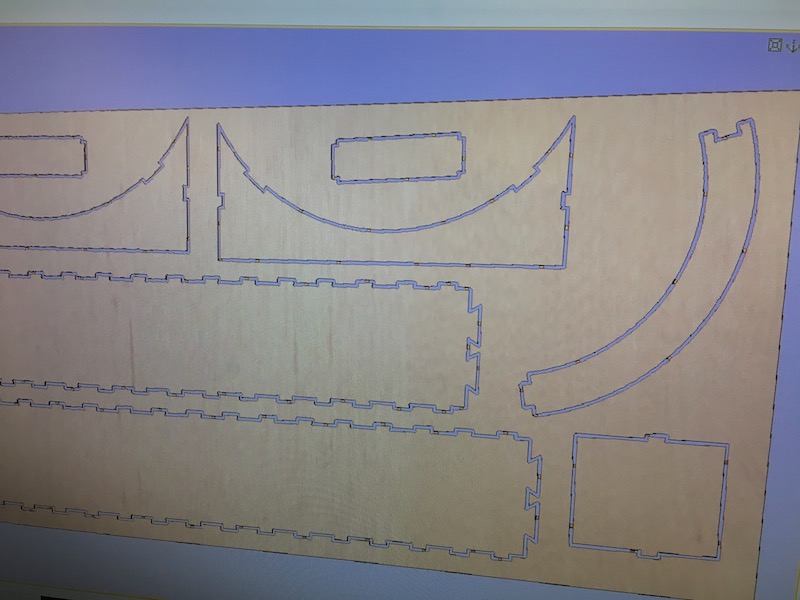
Toolpaths must be individually checked and saved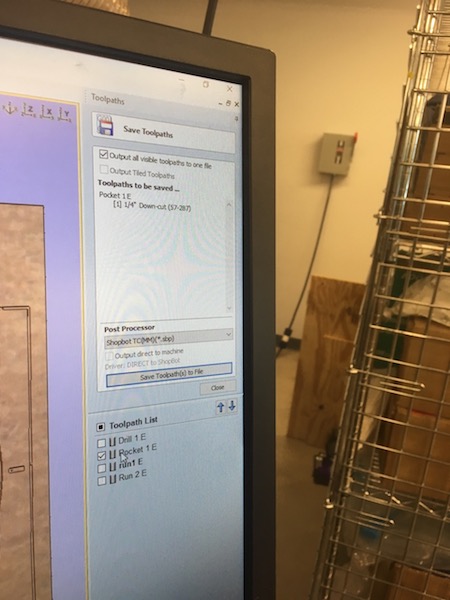
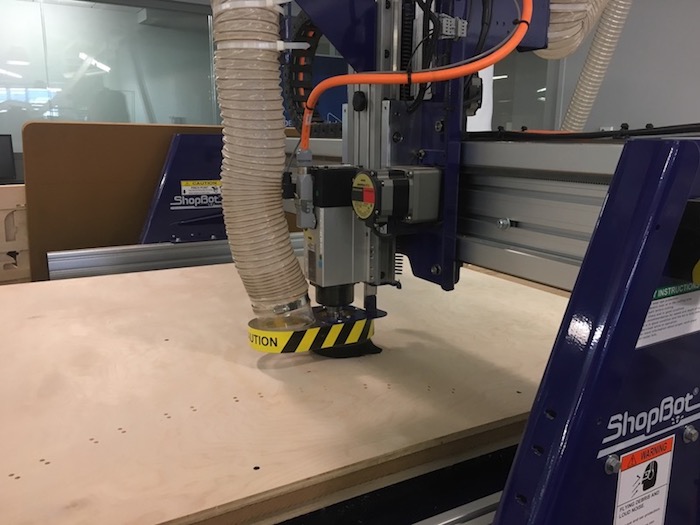
ShopBot Machining
Shopbot software interface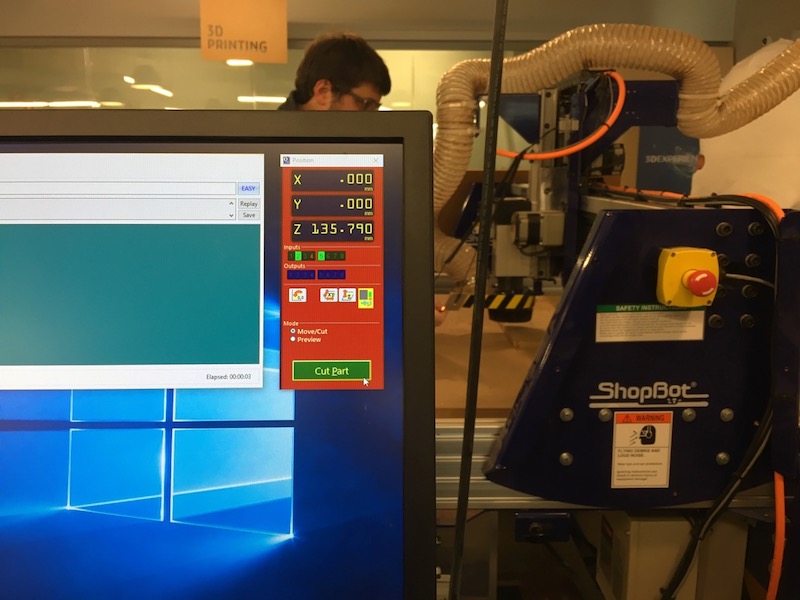
Spindle warmup routine
Setting the z axis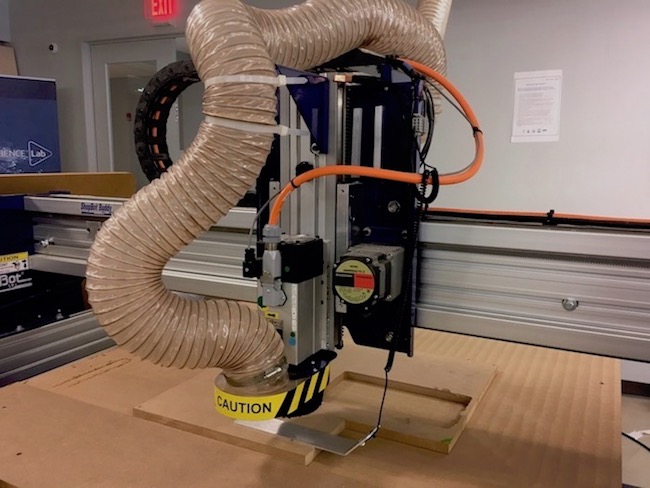
Kerfed pieces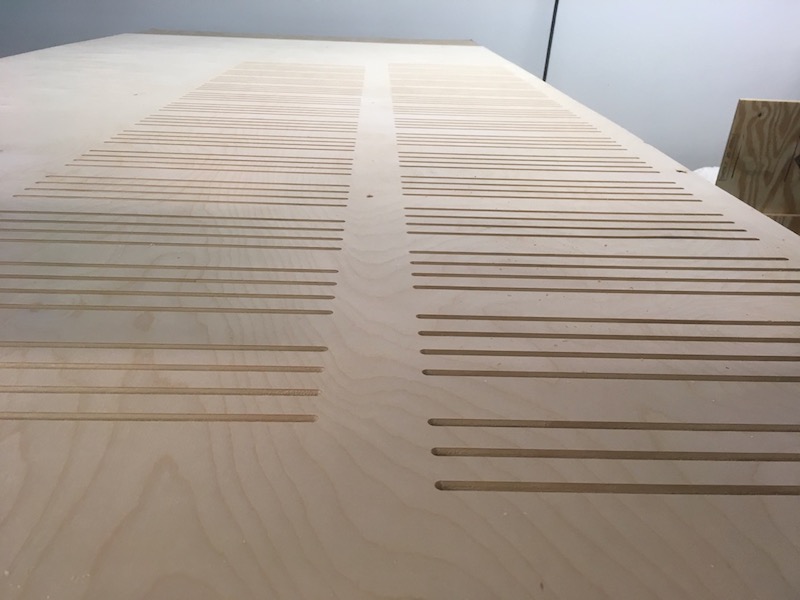
When my first piece was cut two thirds of the way through the z axis dropped and the machine lost its place.
The bit tore through my board lifting up one of the kerfed pieces until I stopped the machine.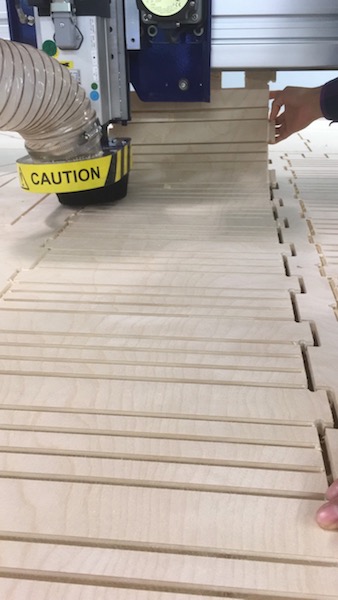
I taped down the end hoping to salvage at least one of the kerfed pieces.
Unfortunately, this was a machine problem that would take days to resolve, some expert intervention, and a phone call to ShopBot.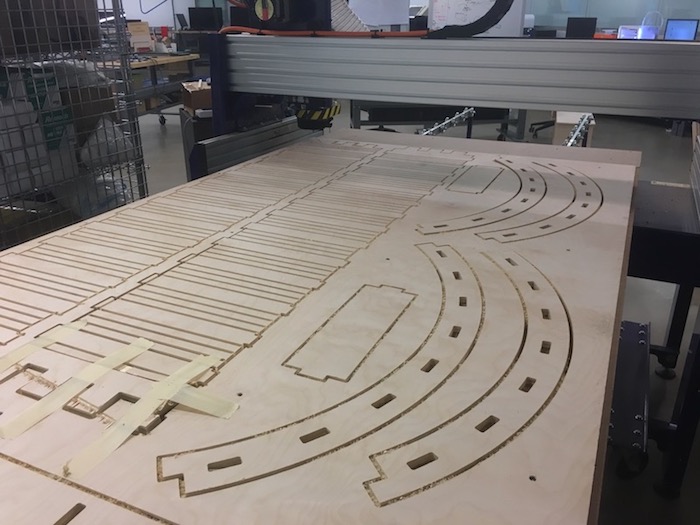
Prototyping
Even though my first cut was a fail it helped me to recognize changes that needed to be made before I attempted another cut. When I redesigned my cat wheel, I decided to prototype in cardboard first- generally a good place to start the first time around.
Before going back to my design I used measurements from my first one and examined the cut pieces to recalculate measurements to ensure fit.
I also had help checking my math.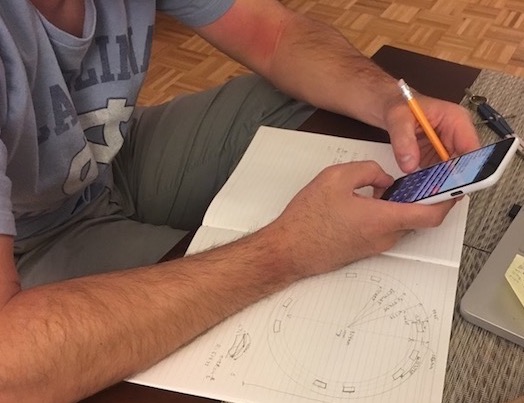
I had difficult getting my image file into Illustrator in a format where it would recognize vectors, as a workaround I opened it in Rhino and then exported for Illustrator.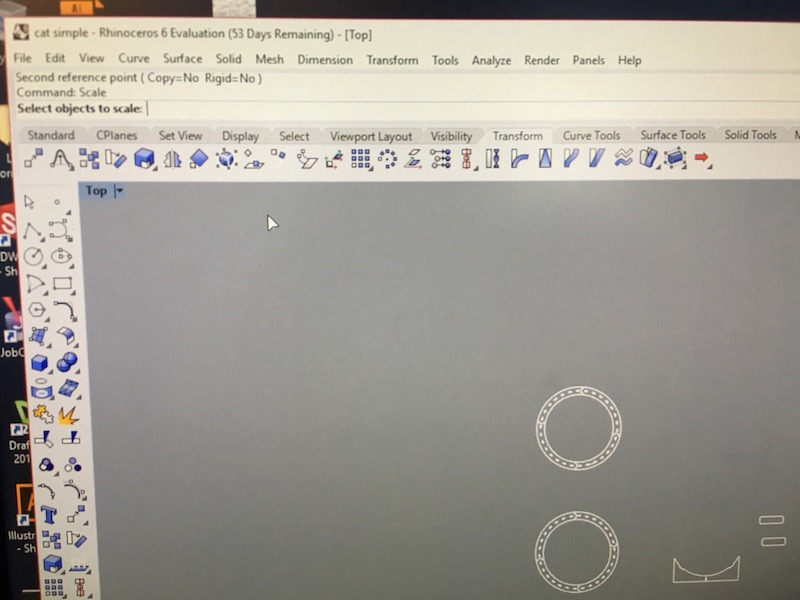
Closing vectors in Illustrator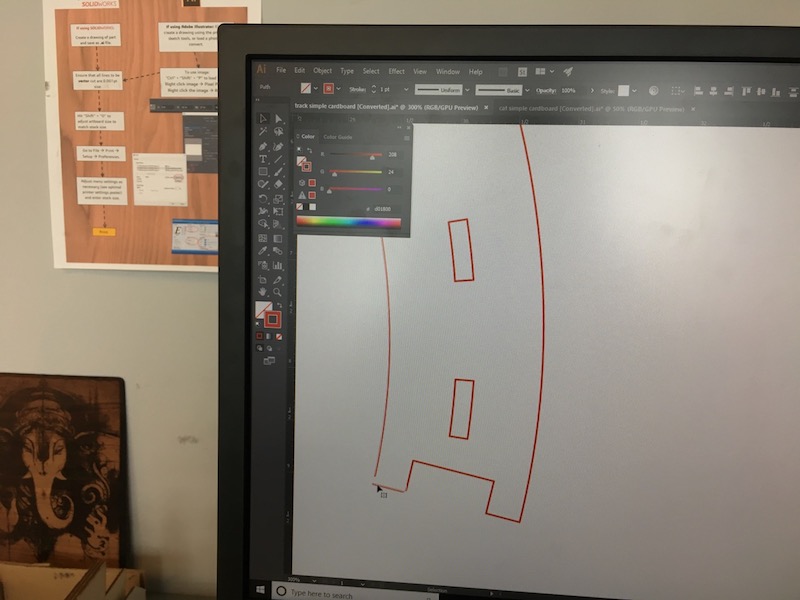
Setting up toolpaths in Illustrator
Red= cut, green= etch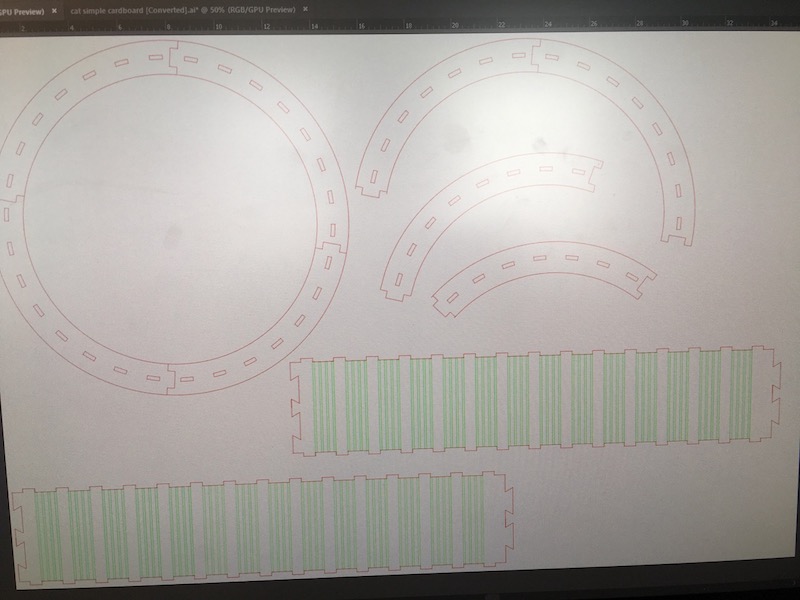
Sending print files to the laser cutter
Lasercut prototype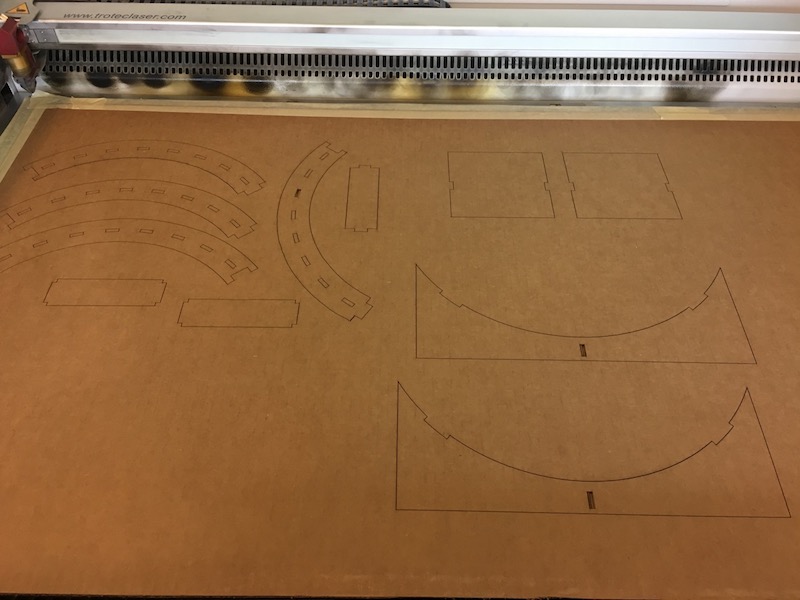
Assembling cardboard prototype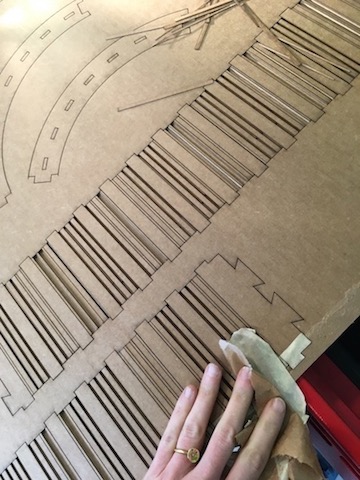
Cardboard prototype with original track in the background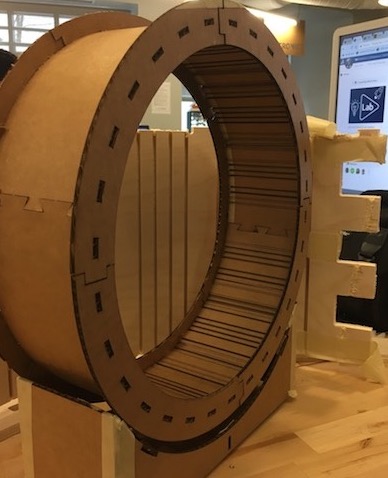
The base design needs some adjustment for a better fit.
Machining Again
After milling wax for a few days there was a lot of build up in the collar which meant it wasn't gripping the tool in place.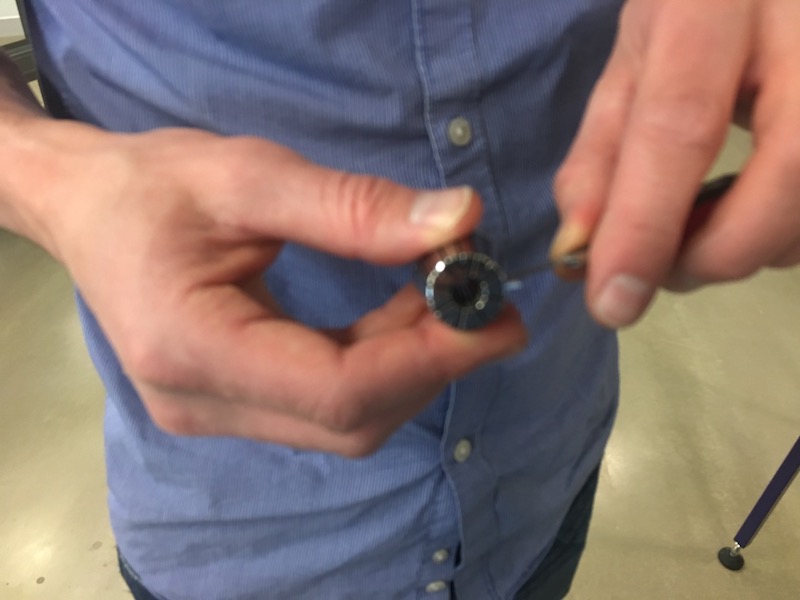
Cut Order
Full Piece
- Drill holes (add screws)
- Kerfed track
- Drill dogbone holes
- Downcut slots
- Upcut slots
- Downcut parts
- Upcut parts
Half Piece
- Drill holes (add screws)
- Drill dogbone holes
- Downcut slots
- Upcut slots
- Downcut parts
- Upcut parts
Affixing the wood to the toolbed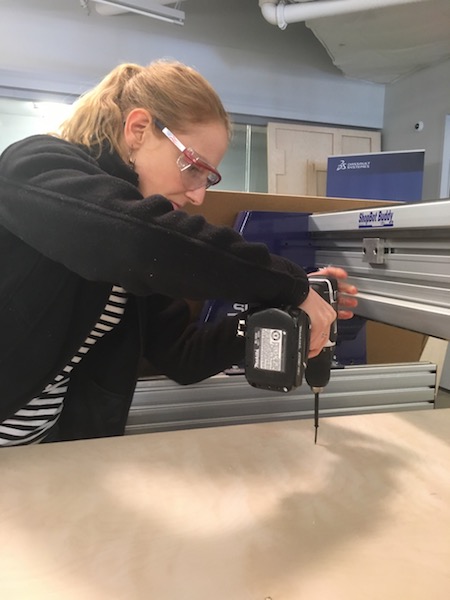
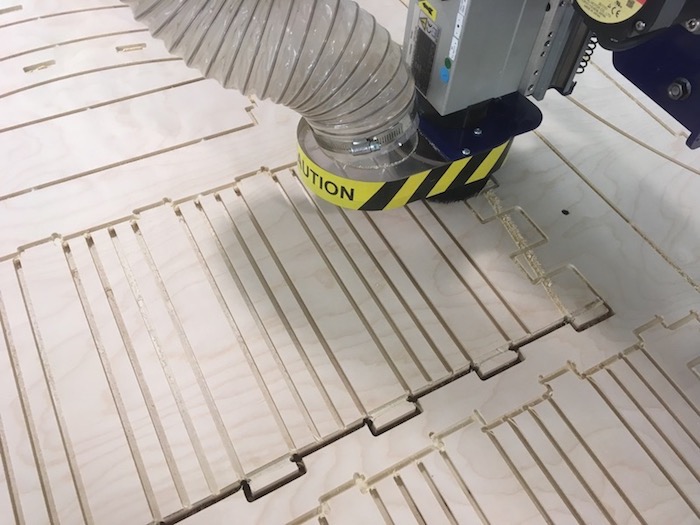
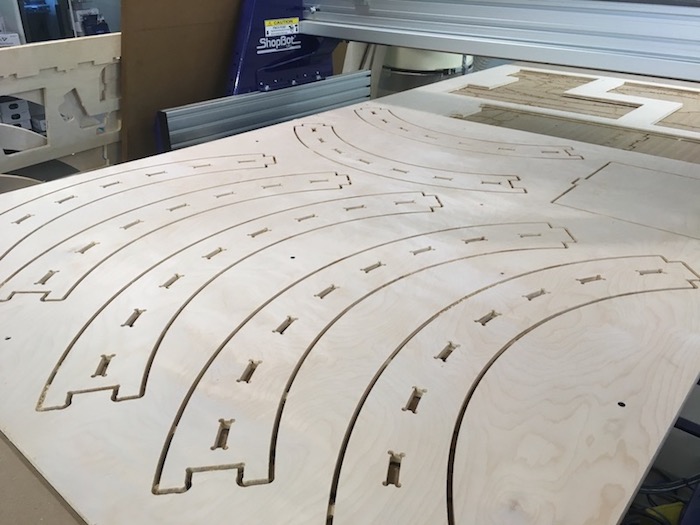
Kerfing
Successful cut
Removing from toolbed sans chisel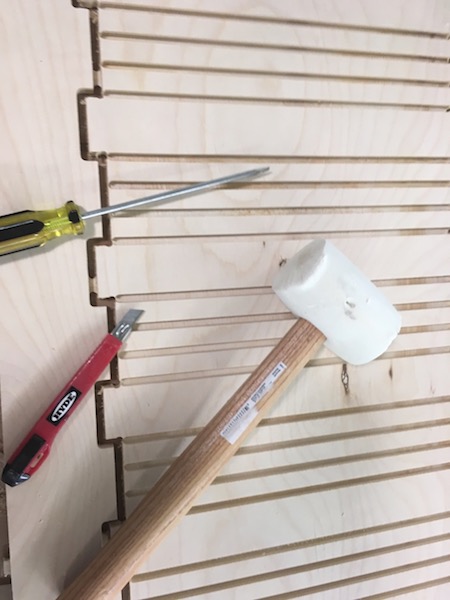
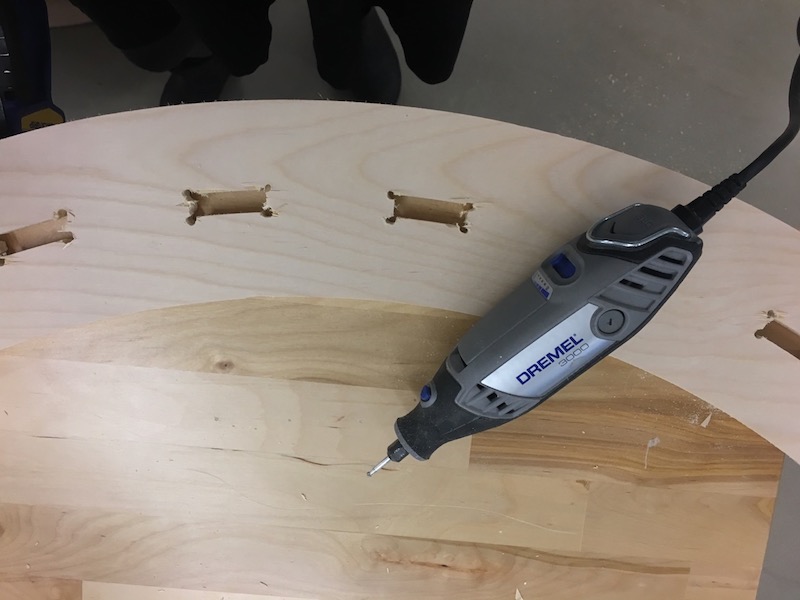
VCarve doesn't allow you to use the fillet tool on curves which meant I created dogbones one by one.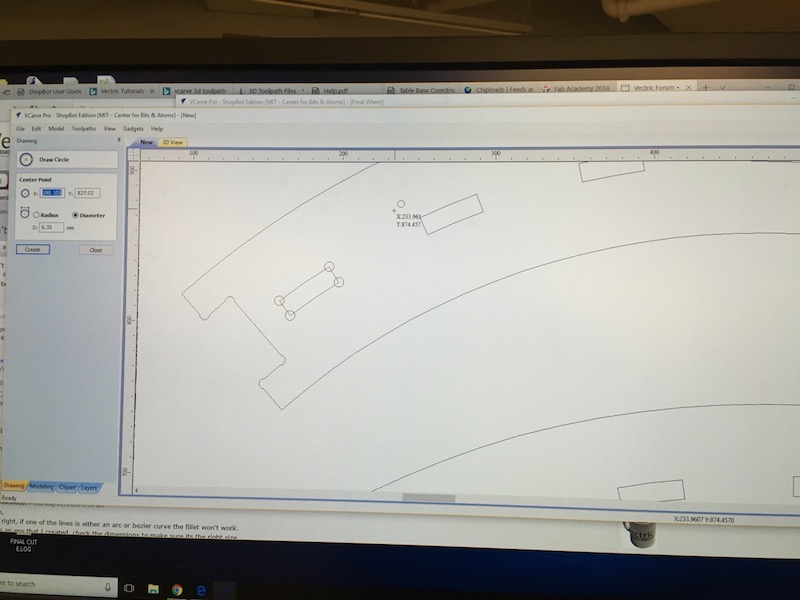
After machining my piece I cleaned up the machine itself and the area around it.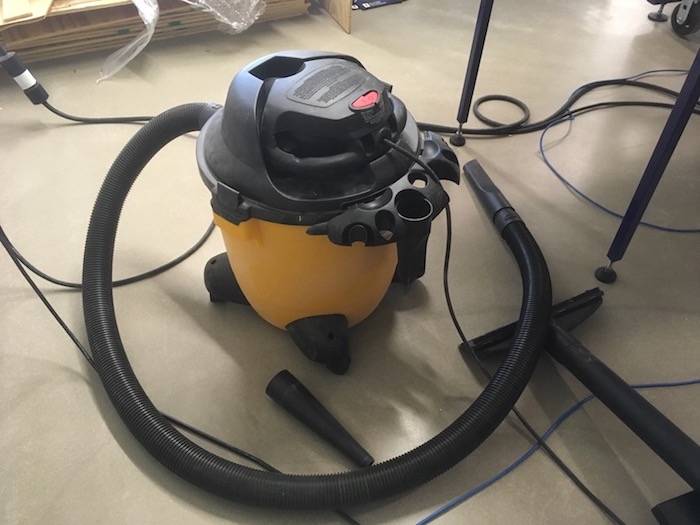
Assembling Wheel
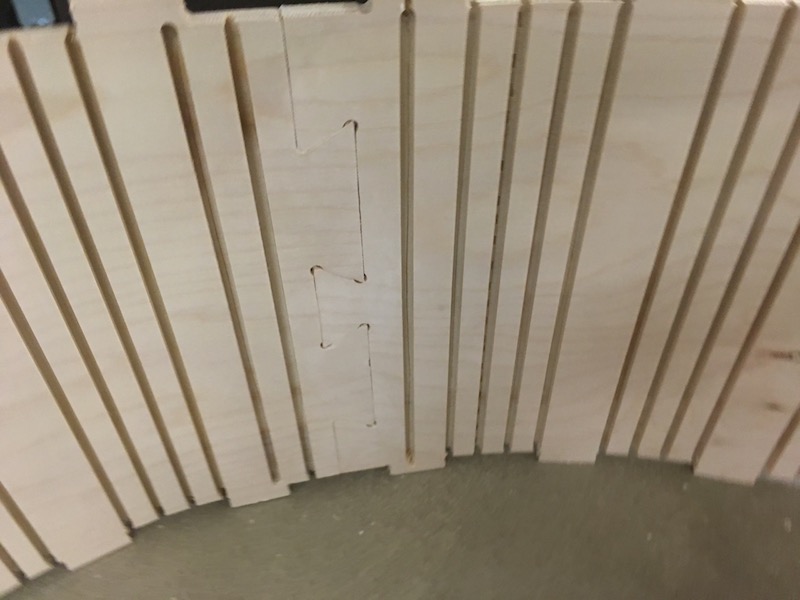
While starting to assemble I realized dogbones weren't cut all the way through. My dremel work-around meant splintered wood.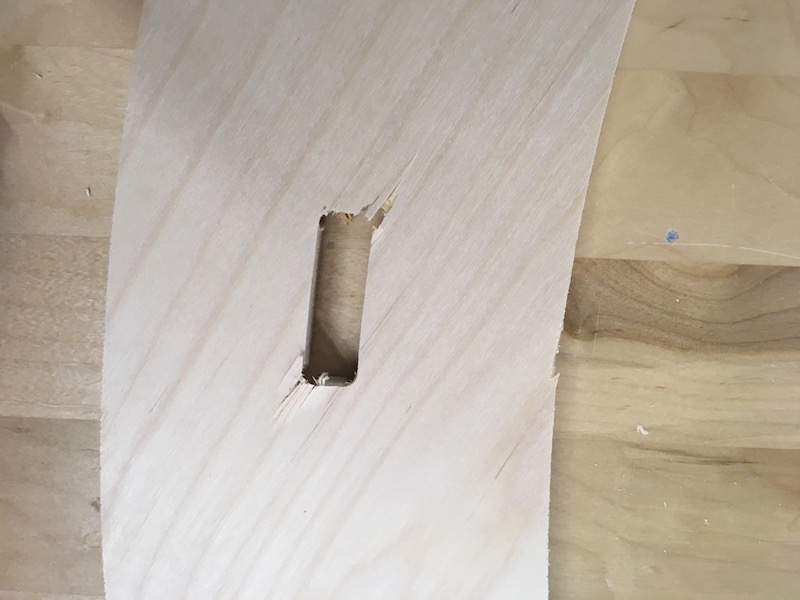
Some parts of the wood track didn't bend as well as others due to properties of the material (and in the leftmost kerf here because the cut doesn't go to the end of the material). I added flexure points by scoring kerfs in these areas.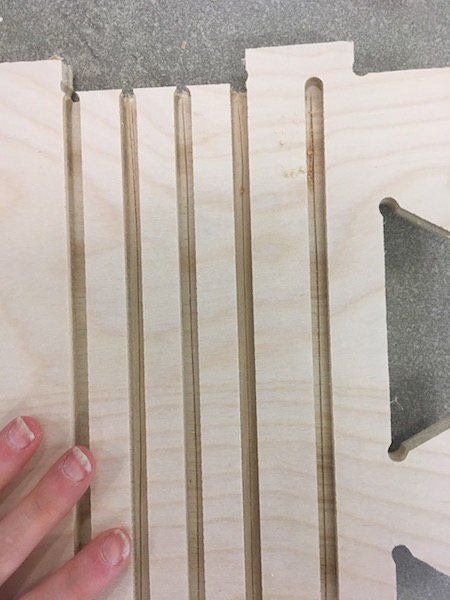
Assembling the wheel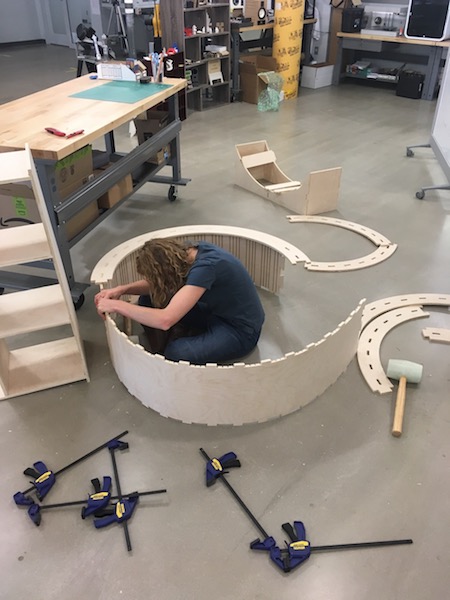
Ultimately I put the track together first then the sides.
"Cheating" where dogbones didn't mill out fully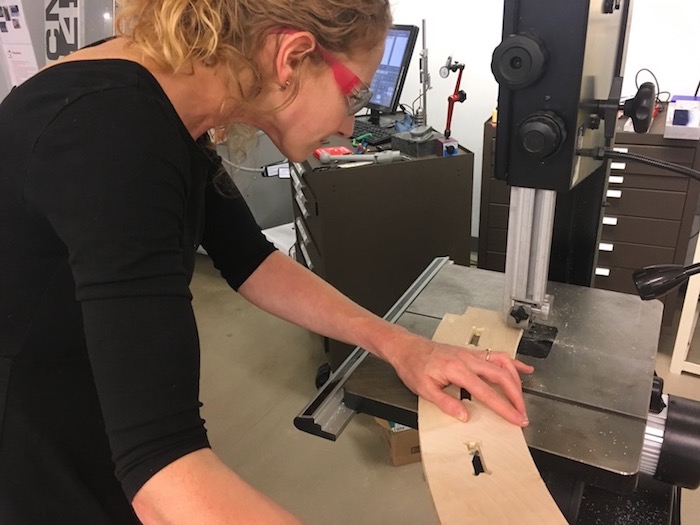
Assembling Base
Affixing wheels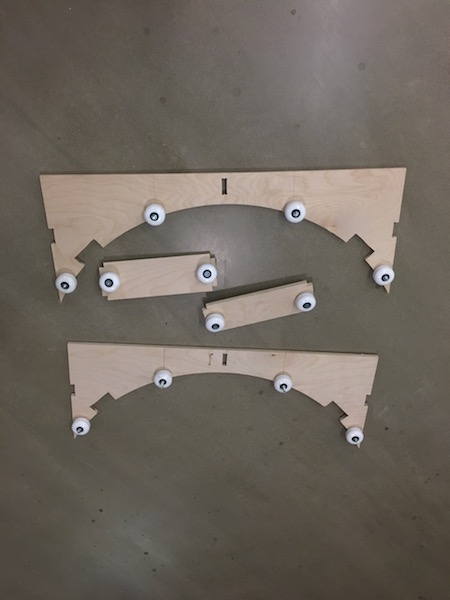
Base assembled with rollers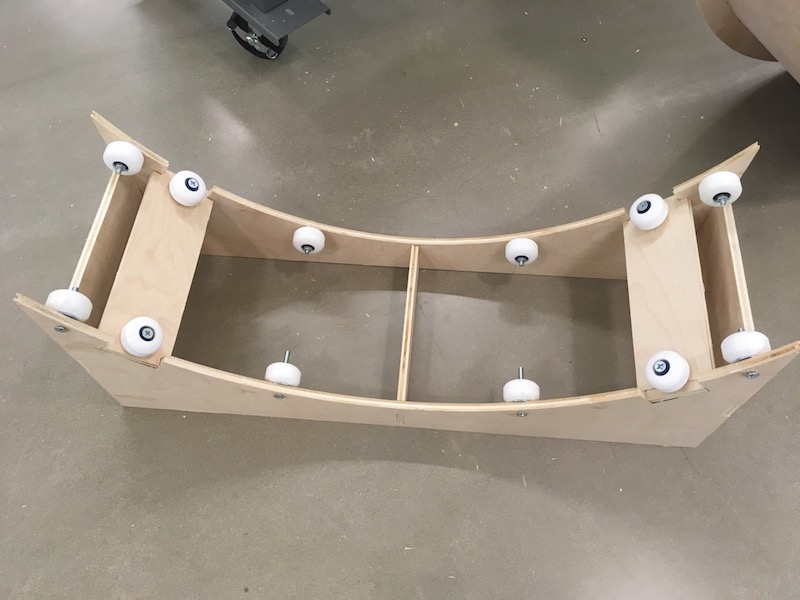
The wheel doesn't roll smoothly on the base because it is touching only 4 of the 8 rollers. The fit was still a hair too tight even after sinking the bolts. The sides also need more press-fit slots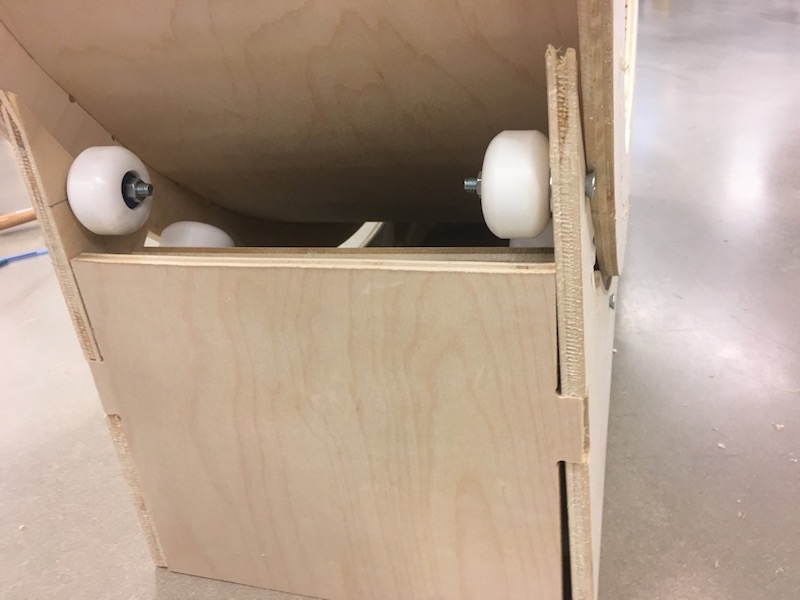
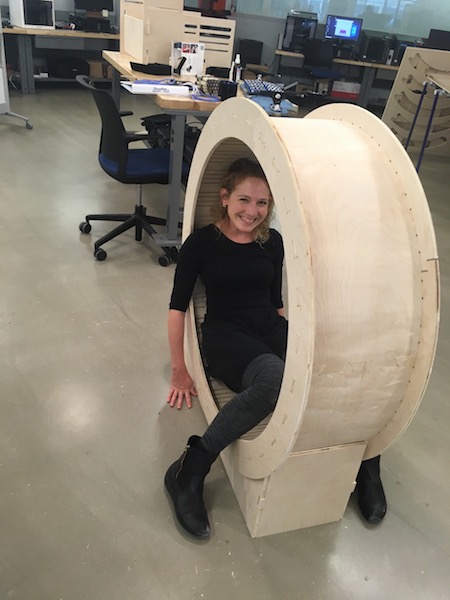
Nice spot for a cat nap! ShopBot-certified Pilar was an enormous help in familiarizing me with the machine.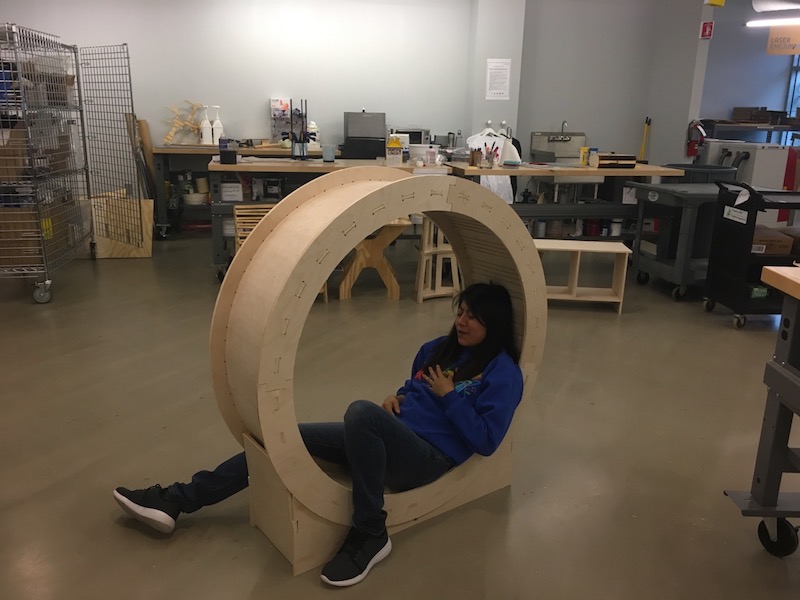
Next Steps
I need to redesign and recut the base so that the cat wheel rests firmly on all 8 base wheels. While I'm at it, I'll make changes to the way the base pieces fit together so that I have a sturdier end product. I'm very excited to take a finished product home for feline testing.
Cat Wheel 1.0