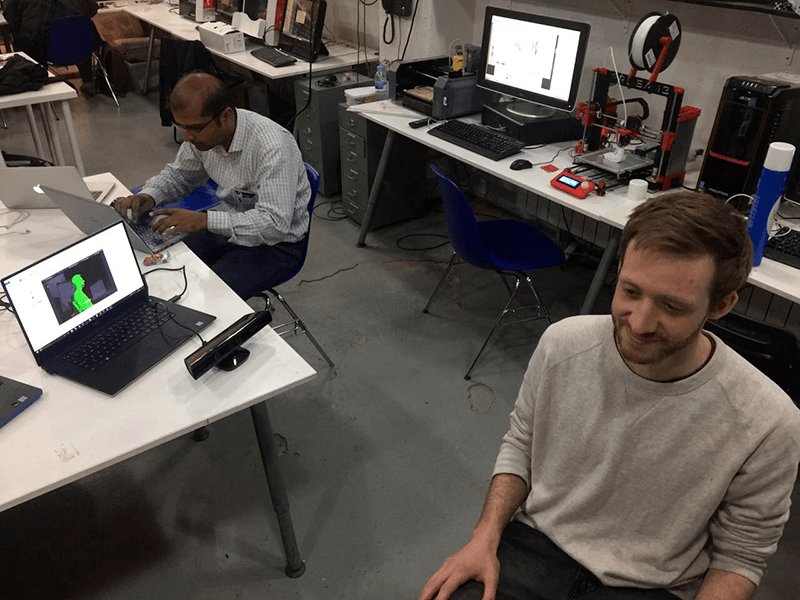
We started this week by looking at different scanning techniques from using our mobilephones to taking a bath in milk. By far the most popular in class was using the xbox kinect, which can be picked up for less than 20 euro and using a program called Skanect.
I was amazed at how succesful such a cheap tool is. The kinect looks like it has a lot of possibility for further projects with some interesting information that can be extracted.
I tried using the Trnio app on the phone also. This was a complete failure. It may have been due to conditions I took the scan in or how the photos were taken so requires some further investigation.
To test the limits of our 3D printers we used this file from thingyverse. We used Cura to create the gcode for the 3D printer. It is an interesting program with a lot of settings the really allows you to control the print quality. There are many settings that can be altered, but the main ones we looked at first were: Layer height (this will determine the resolution our prints) / Line Width (this will determine how wide each layer is - it shouldn't be a lot less than the nozzle diameter) / Percentage of infill (this sets up an internal fill of our object, this is a balance between strength vs weight and speed of print. I found 20% was often acceptable. /Supports (this creates structures underneath overhangs where the printer is hanging in space - we found we could get away with about 45 degree overhang without supports.)
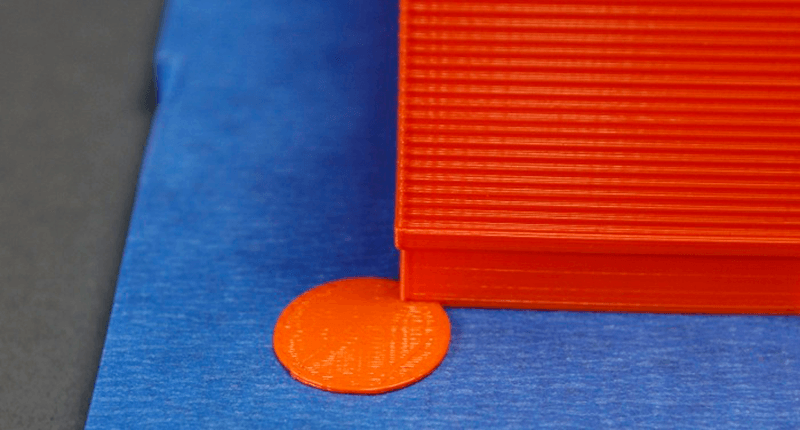
It was also pointed out that sometimes the print may warp as it cools. This is a particular problem with ABS. One way to avoid this affecting the print is to ensure proper adhesion to the bed. I have used blue painters tape in the past with great success when printing with ABS. It provides a rough surface for the initial layers to join too. I have also heard of mixing ABS with acetone to create a paste and then spreading this on the print surface, again to give a rough finish.
We are mainly using PLA here and the 3Dprint room is a big fan of a thin layer of hairspray which is good for ~5 prints.
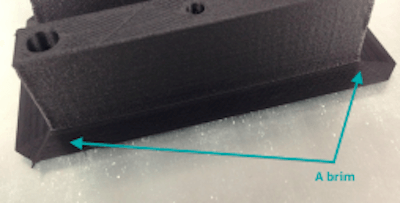
Other methods include creating a 'rim' around the print or modelling 'pads' into the corners
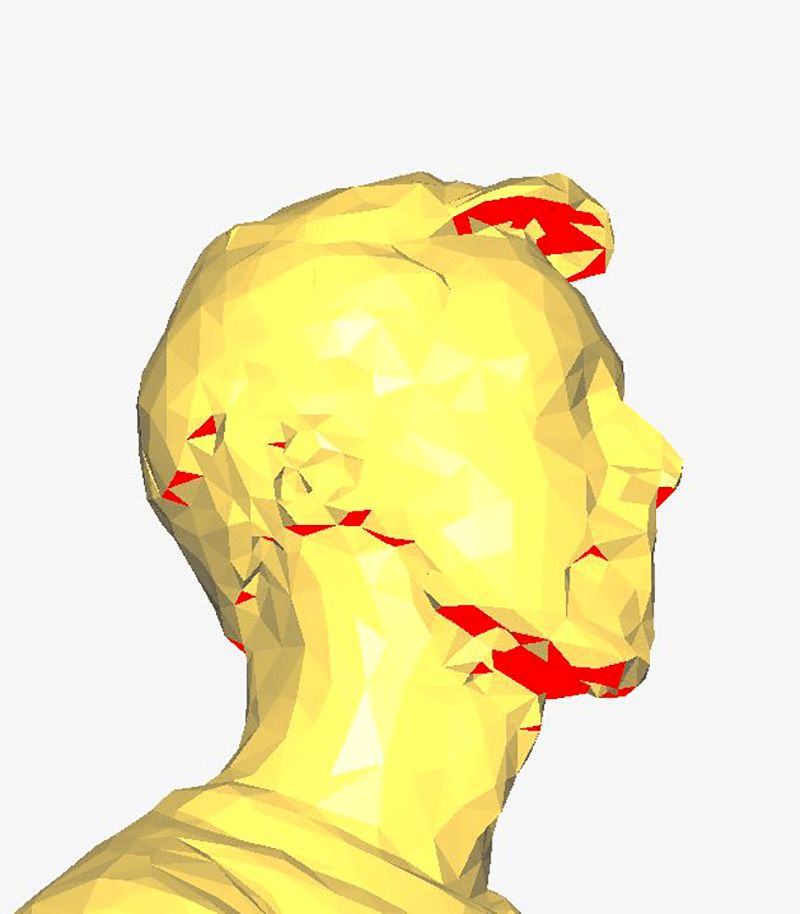
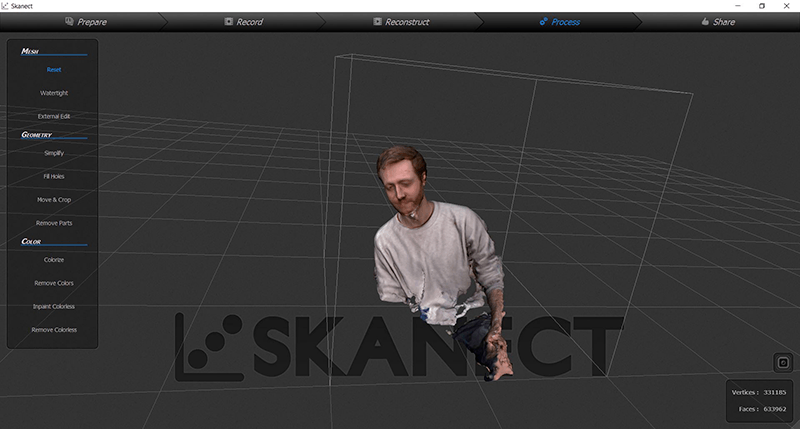
The image above is a preview of the scan I took using the kinect with the red areas showing overhang where support may be required. We had an ultimaker, a Prusa and 3 REPRAP printers to choose from. For this print I went for a REPRAP where the extrusion mechanism had been moved off the print head employing the use of a Bowden tube. This gave the head less mass and so less momentum allowing more accurate prints at higher speeds.
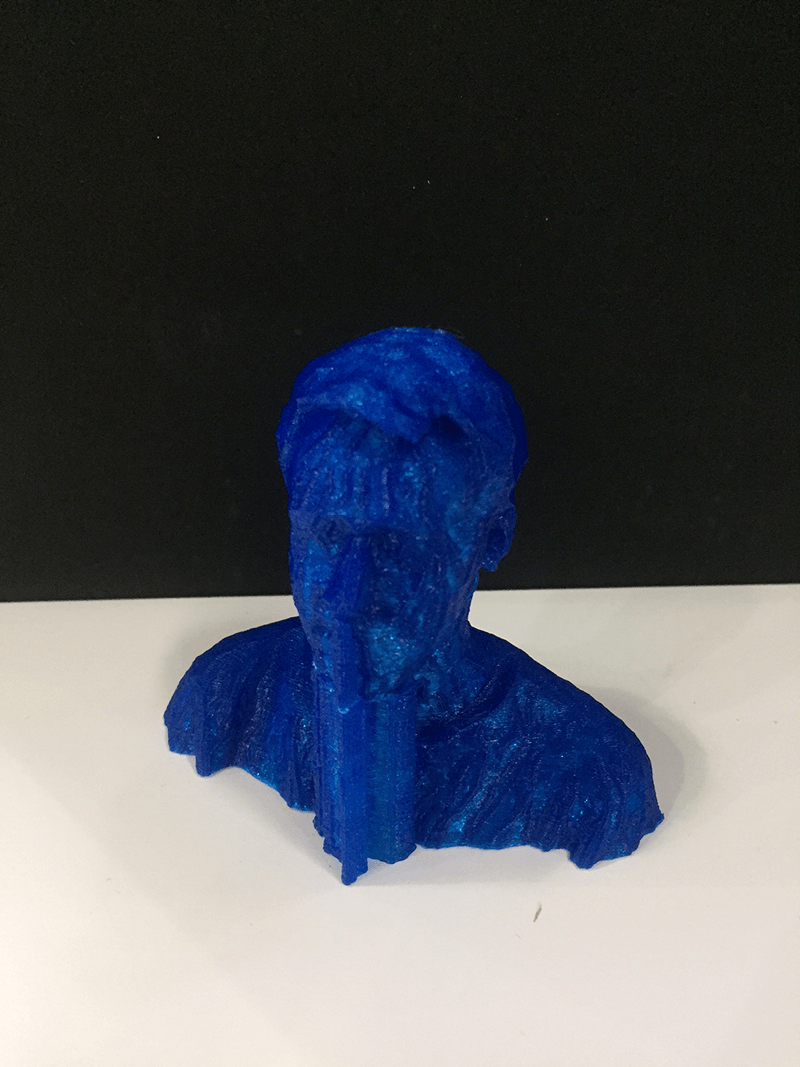
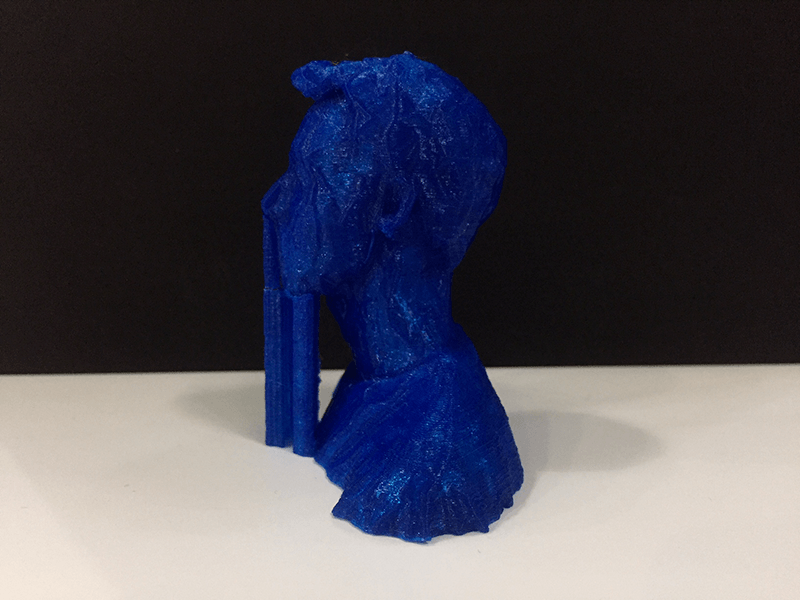
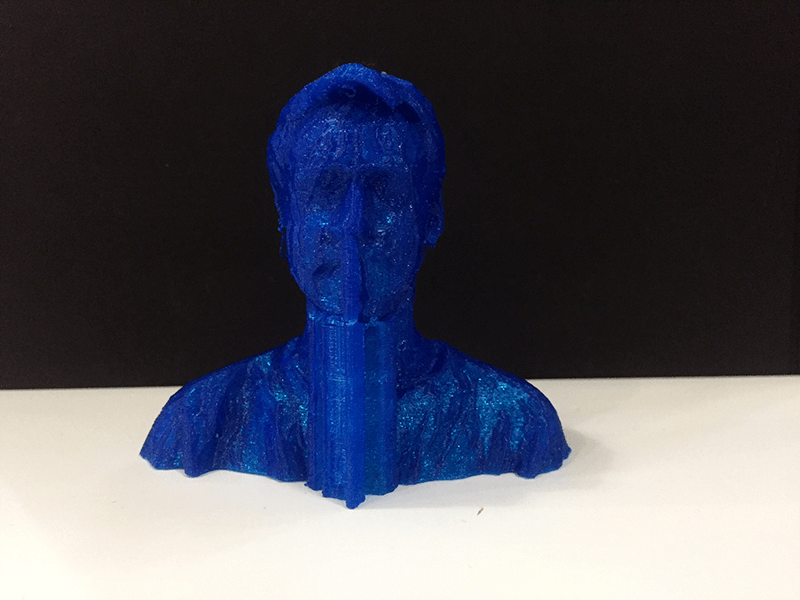
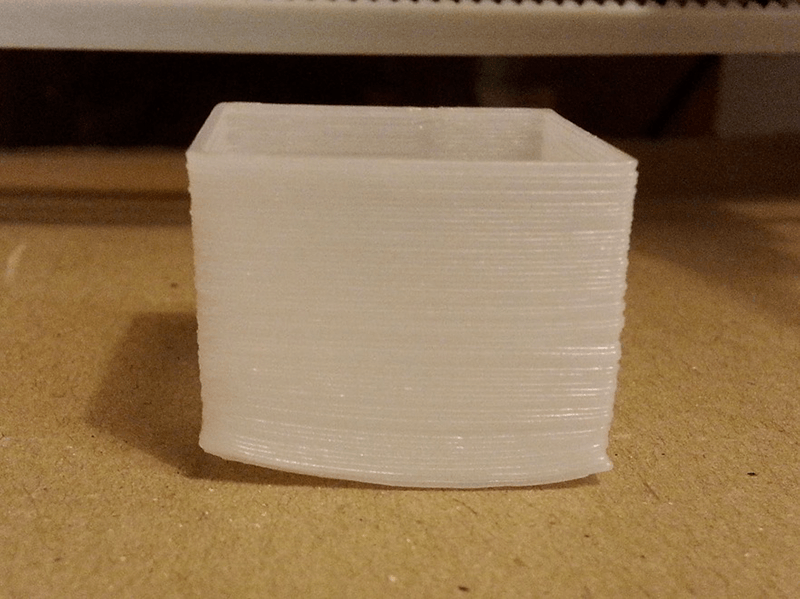
I was pretty happy with this for a first print. The material is interesting, an almost translucent blue. I really cranked up the speed (300% at one point) as the print was taking longer than I had anticipated (I have now found out Cura previews the print time). I did some supports,but not everywhere Cura suggested. Even in areas that were supposed to fail, the print came out ok, apart from a bit below my fringe, but it was a nice error to gain a curl in a place that is supposed to be hair.
The main points I would take away from this print is to always check print time and if possible avoid supports as once removed they require some extra finishing to make the print look nice.
prikly_plastic
I really like the idea of glitch art and placing in some uncertainty and analog action in what is a very digital process. I was curious about the 'hairy' experiments (on thingyverse) done by others.
These could not be made via subtractive manufacture as the outcome relies on the laying down of new material and allowing this material to lay according to its properties.
I have created a test file in grasshopper to try out before I do a large piece. I am hoping to create a lamp shade in the end as I think the light along the threads will look very interesting.
The file is basically a cylinder with rectangles coming out the side with the dimensions of (w x h x l) layer width x 2 (aka nozzle diameter) x layer height x desired length (I did a range increasing from 0 to 80mm)
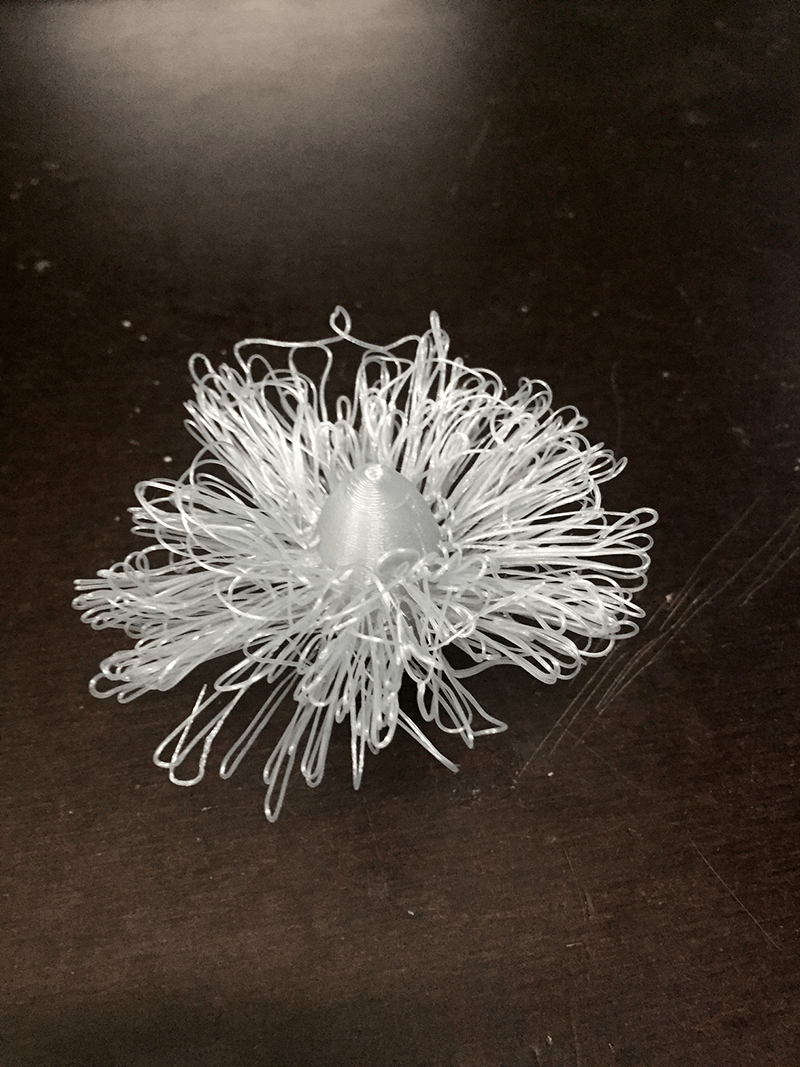
A few people at IAAC had been playing with this idea recently creating the flowers you see above. The main advice I was given was to print with the cooling fan off as it blows the hot flexible filament and influences its shape before it has cooled. Also to do multiple threads above each other which gives it a denser look and I would assume join to an extent hence making the threads stronger.
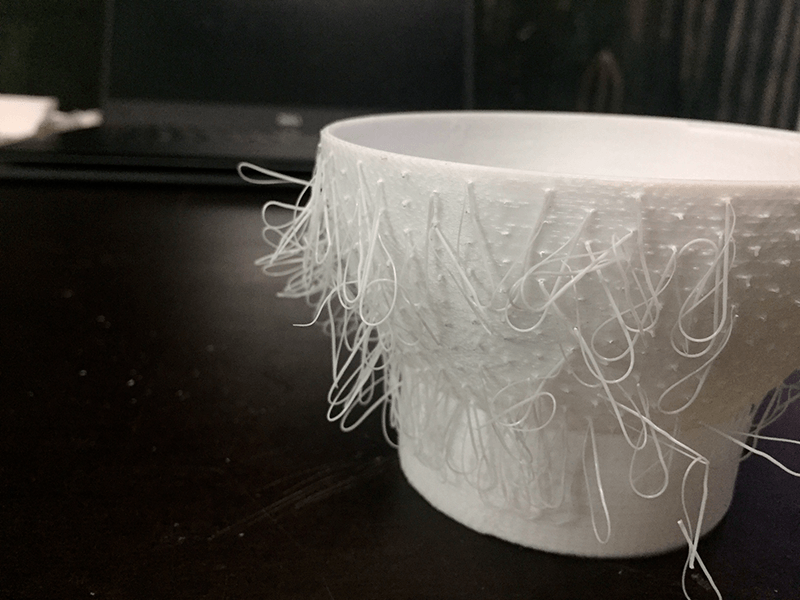
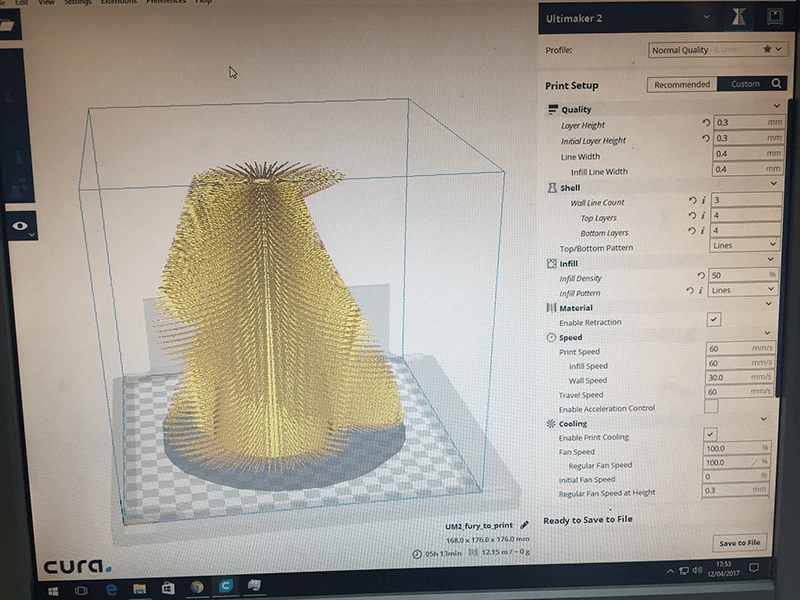
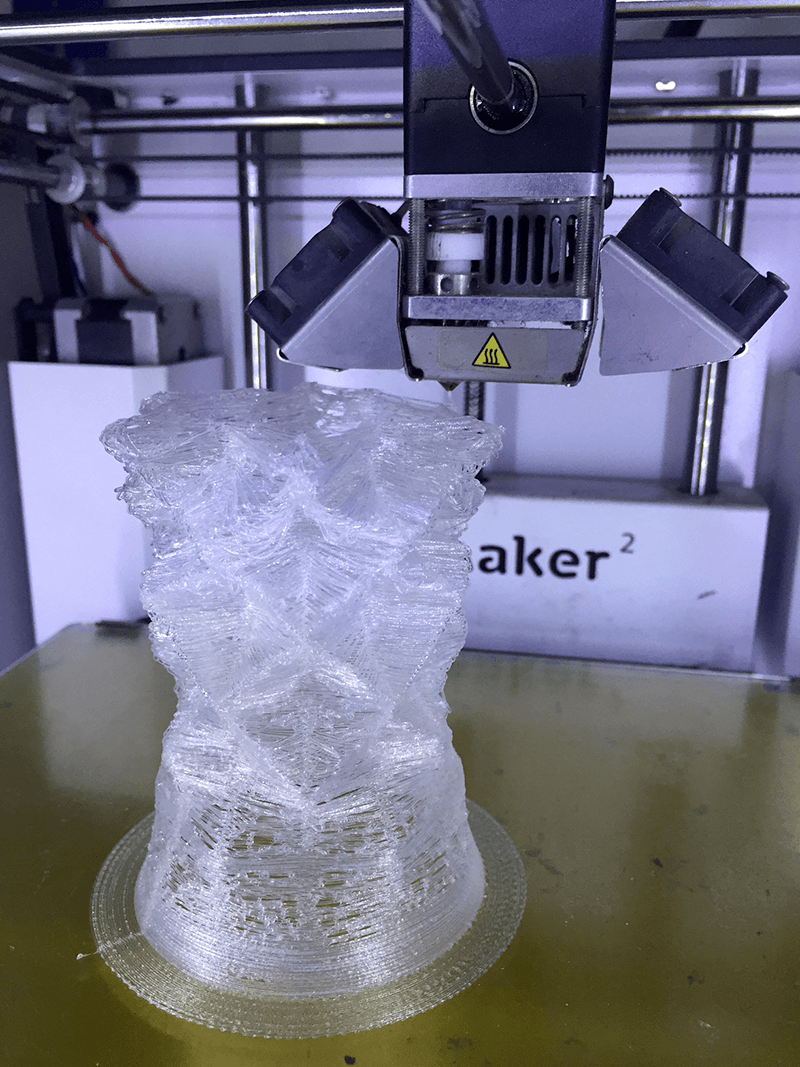
For my initial go I did just one thread at each location with the settings seen below. I left the fans on as I was using an ultimaker which has fans coming from two sides, so hopefully a more even distortion if there is going to be any.
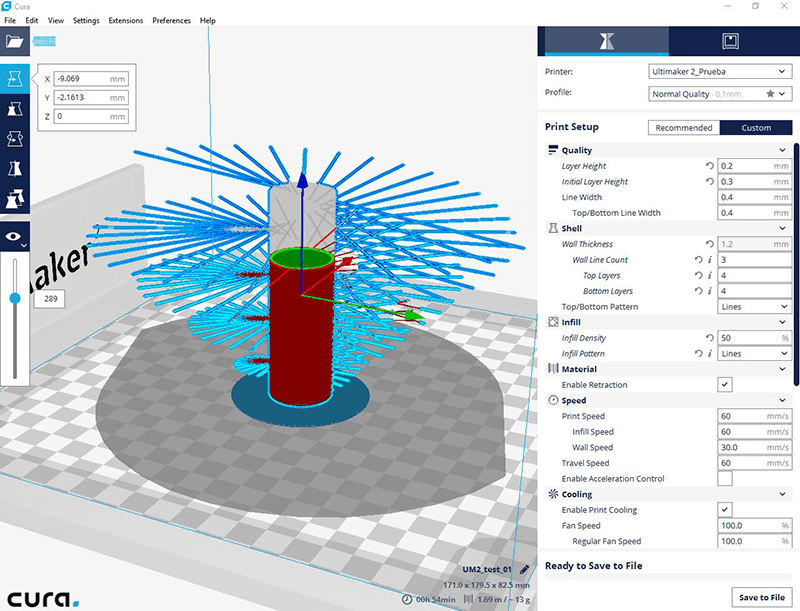
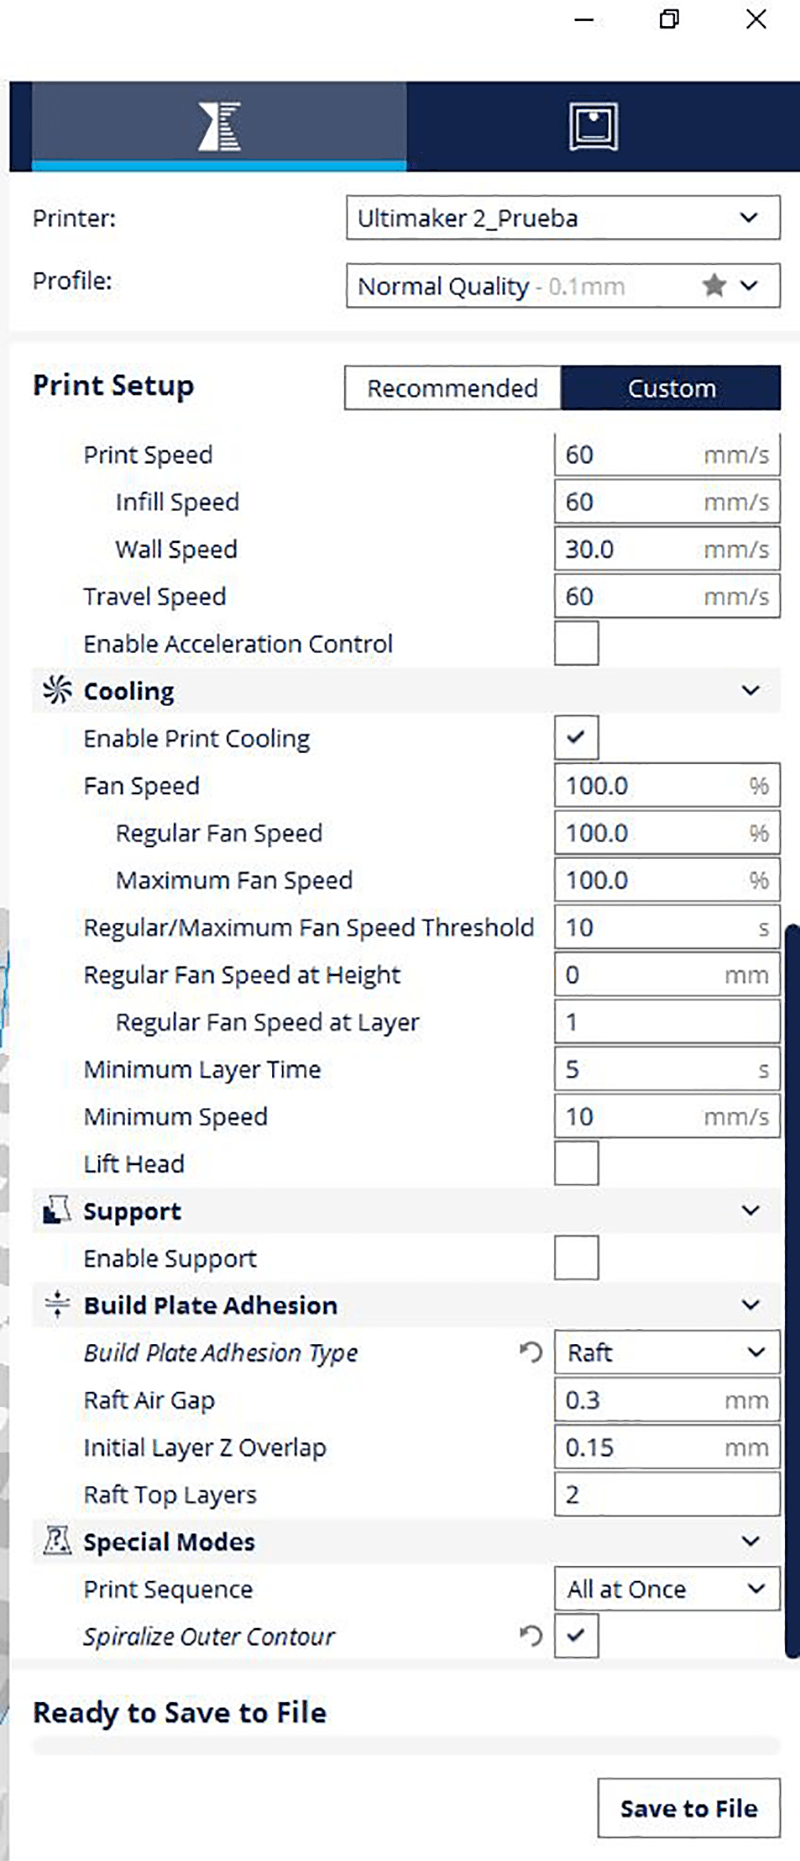
It was a nice test piece as it only took about an hour to print. I took advantage of 'Vase mode' (called 'Spiralize Outer Contour' in Cura) which allows for a faster print as it has a continuous Z-axis increase rather than discrete layers.
I sat and watched the majority of the print and noticed a few things:
- It is better to have a decent minimum length as when the hairs' are below 15mm the material doesn't have time to fall and gets tangled on the way back to base.
- The extrusion stretches the plastic on it's way out making the connection weaker at the base. For the next print I will try with 0.1 mm layer height (keeping the extrusion rate the same) and see what the effect is. I would also like to try doing multiple threads directly above each other.
- The fan speed wasn't much of an issue, although the way the hairs fell was uneven, it was easily fixed post print.
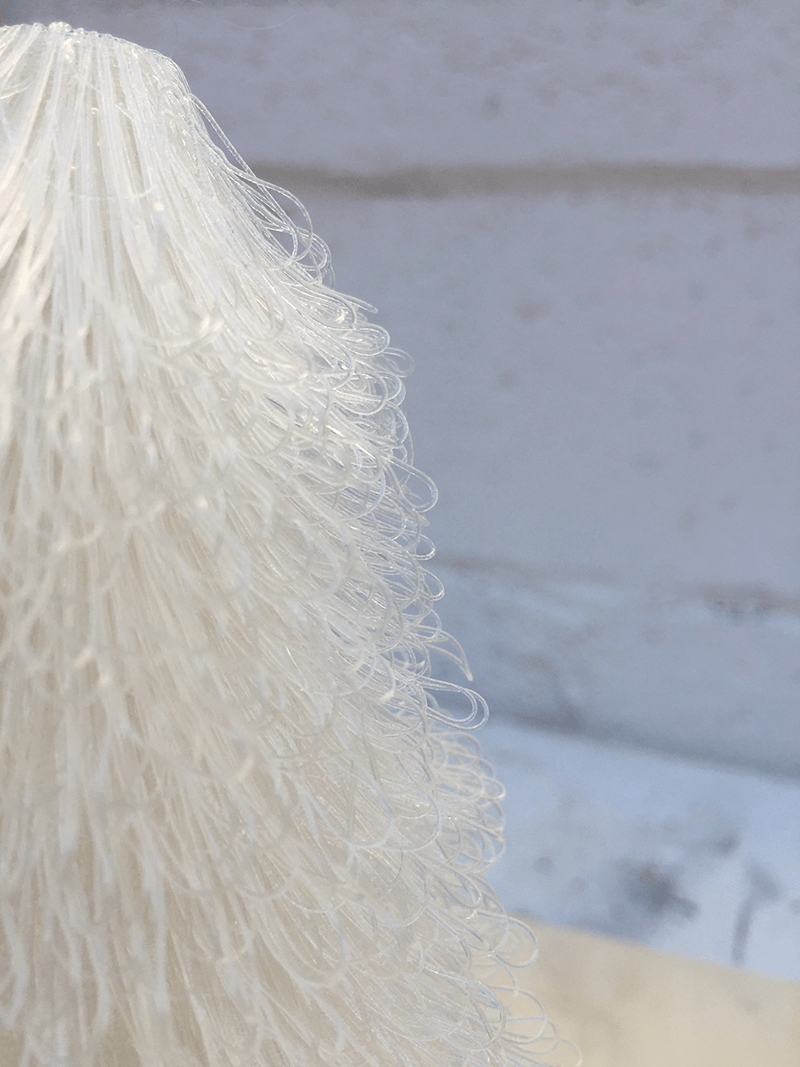
- Having said all the improvements I would like to try for the strength, I was amazed at how durable they were.
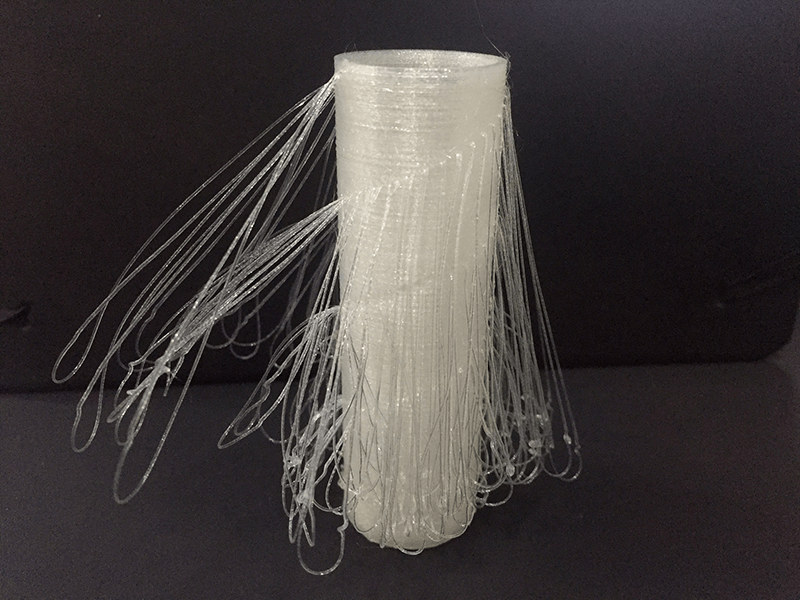
I did my next test with 1mm layers. There was apparently a problem with extrusion for this print, but I can still take away some lessons.

The Ultimaker is full of presets. So putting the layer height to 1mm thus decreases the flow of the material to. The thinner layers also meant that the 'hairs' were also a lot more fragile. The material I used was opaque too which takes away from the effect light would have on the design.
The RepRap allows you to change the extrusion rate in Cura, but for the Ultimaker I found out I am able to change this once the print starts, along with the fan speed.
As much fun as these tests are I feel I can make some educated guesses for a more developed piece.
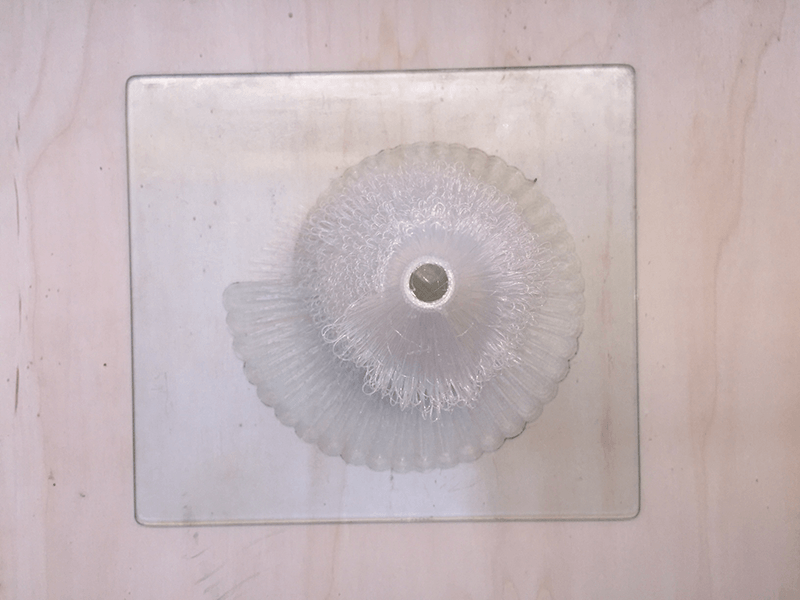
The file I created for this was a massively heavy grasshopper definition. I finally managed to get geometry in Rhino which then involved 'boolean union' on over 4000 individual polysurfaces (not the best of mornings)
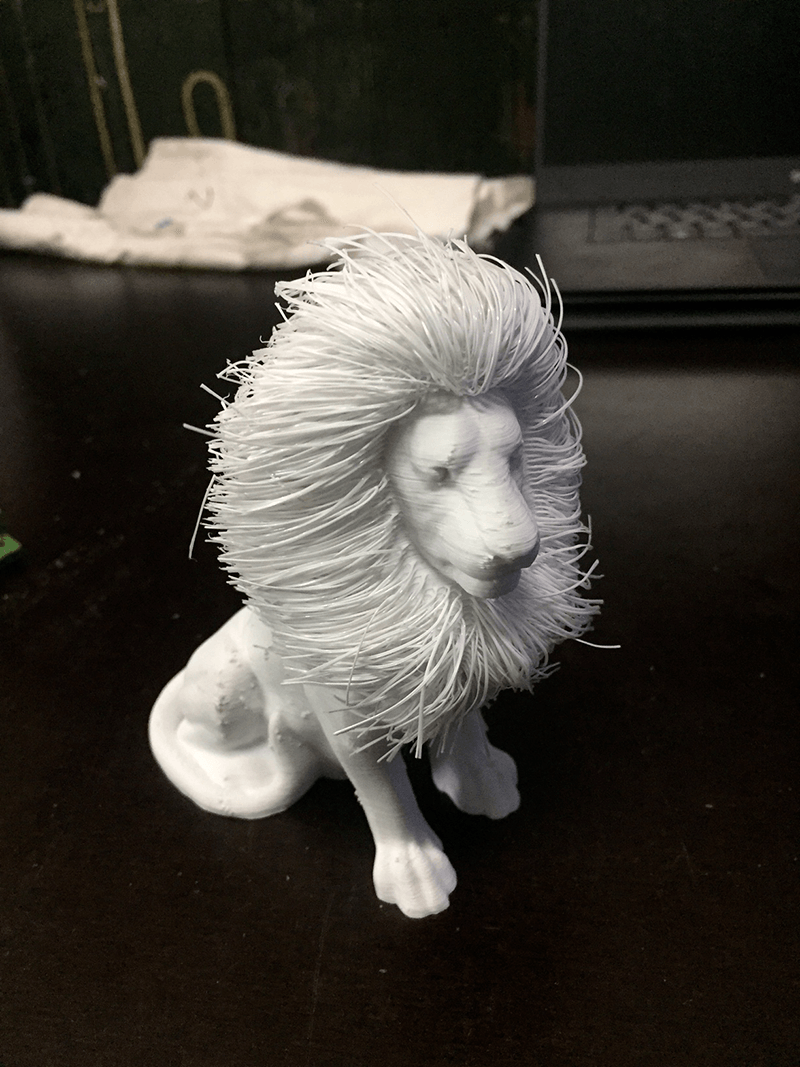
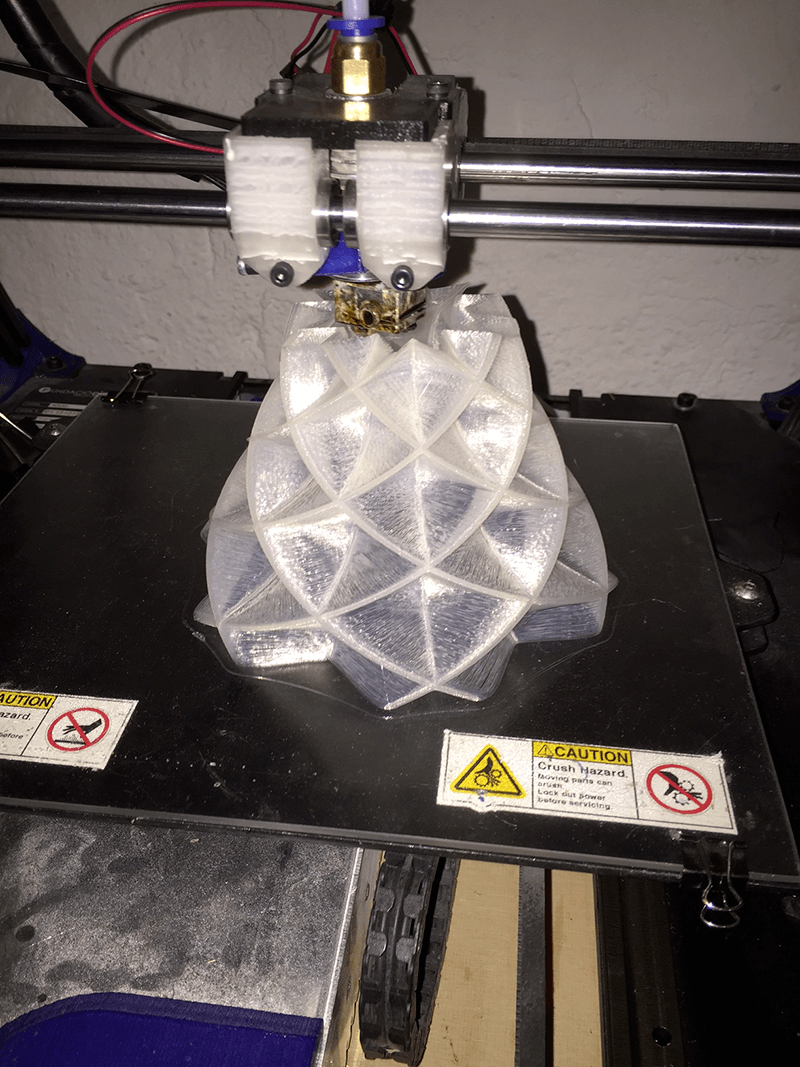
I went for 3mm layer height this time and once the print started I increased the extrusion rate to 120% and reduced the fan speed to 60%
Needless to say this was great to watch print and fantastic to come back to in the morning.
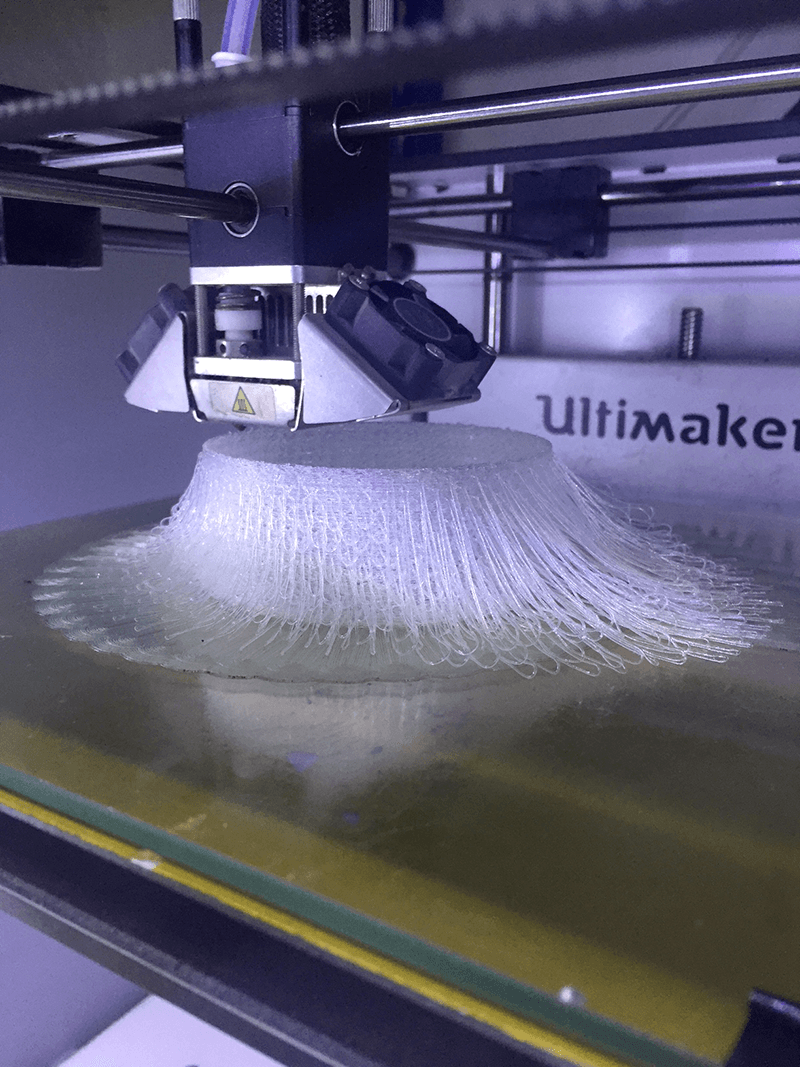

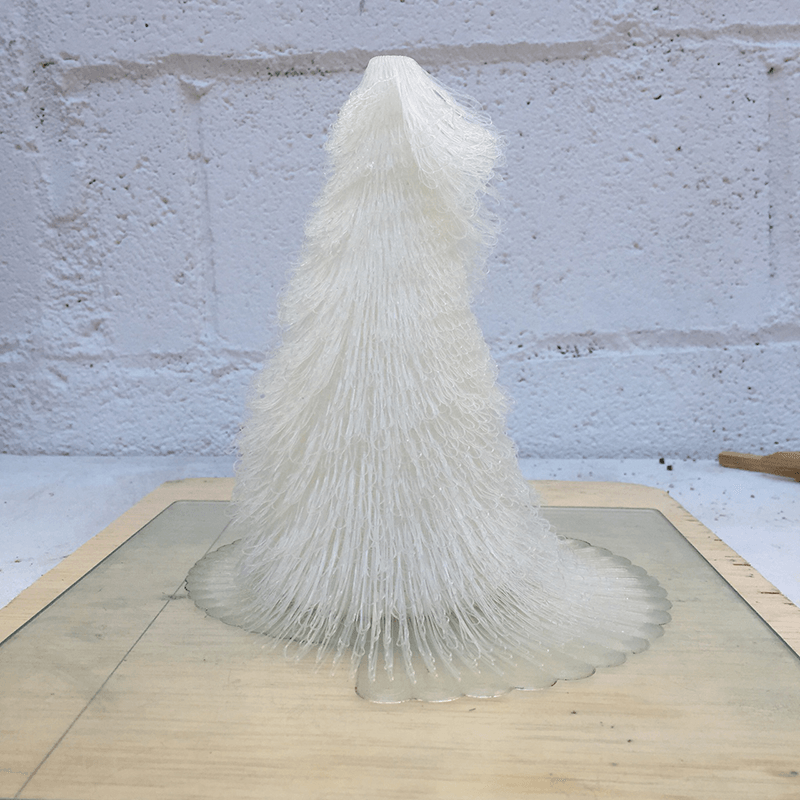
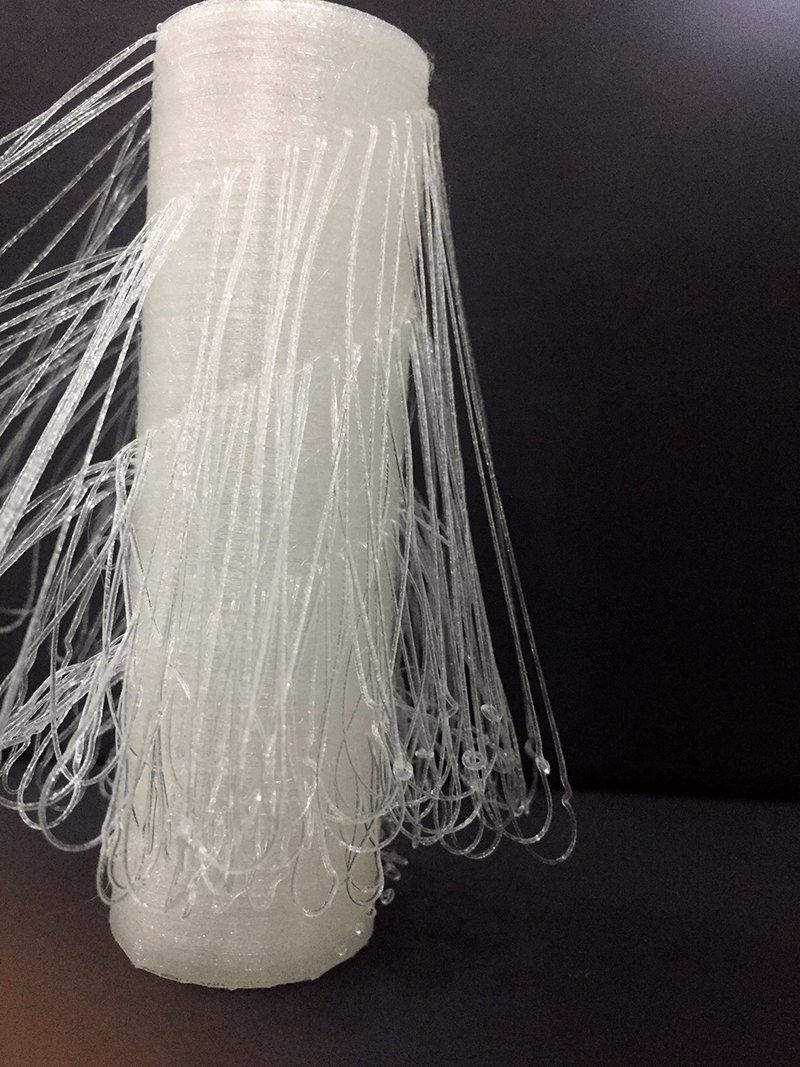
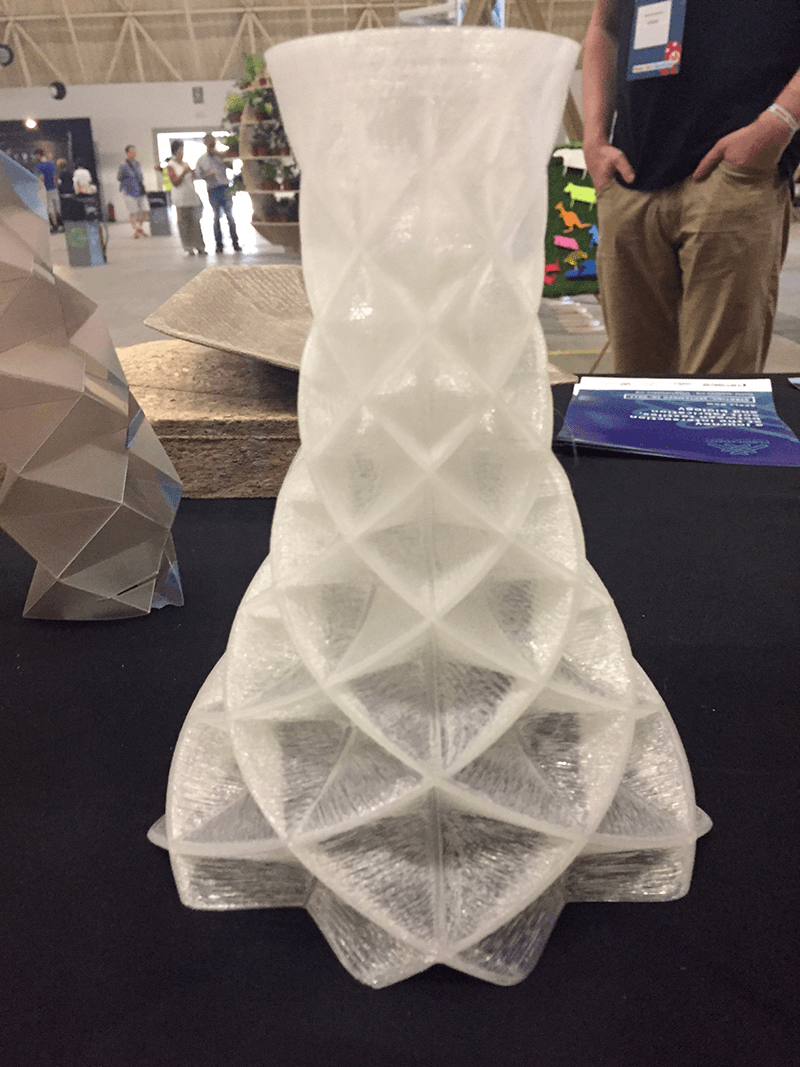
I consider this a huge success, the whole structure is remarkably stable thanks to the high hair density and increase layer height and flow rate.
I would like to do another piece after this using the flexible material that is available.I would hope this would add to the interest and strength of the model as the hairs will stretch rather than being brittle and liable to snap off.
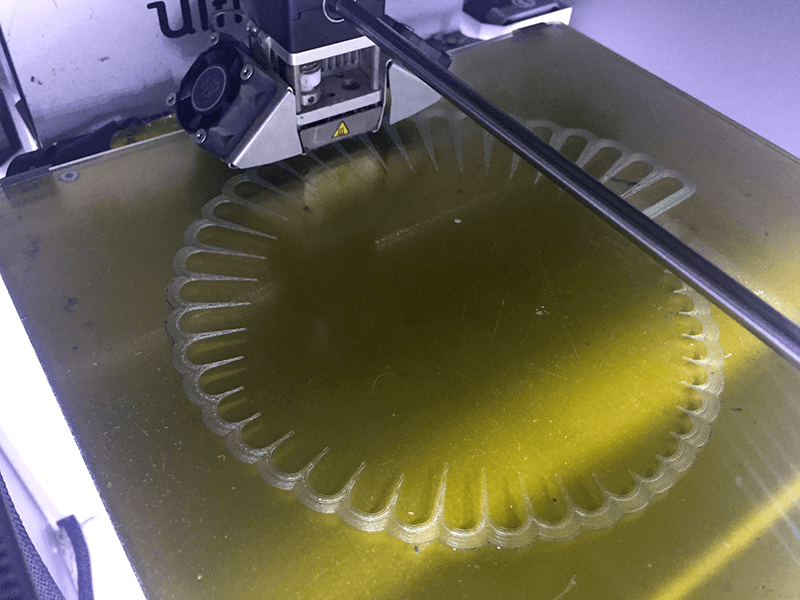
In the end I was distracted by another route and attempted another furry test, but with each layer being and individual 'hair' joining to each adjoining layer at multiple points. Unfortunately the first attempt was a fail...
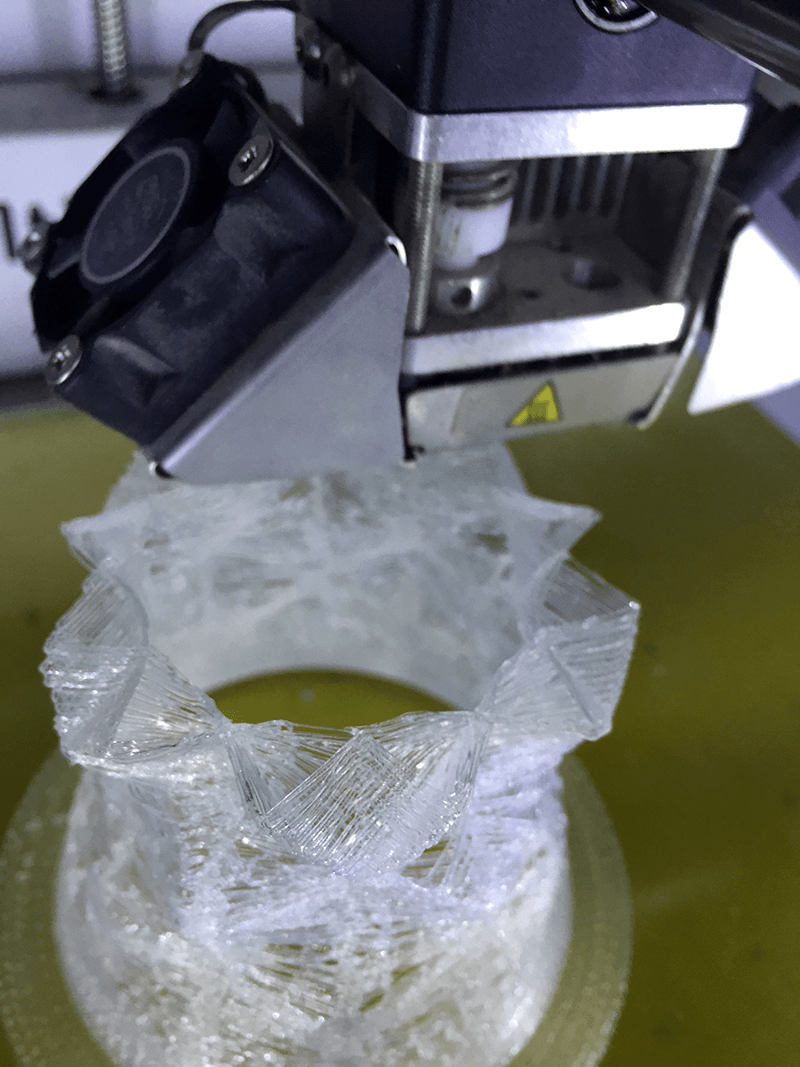
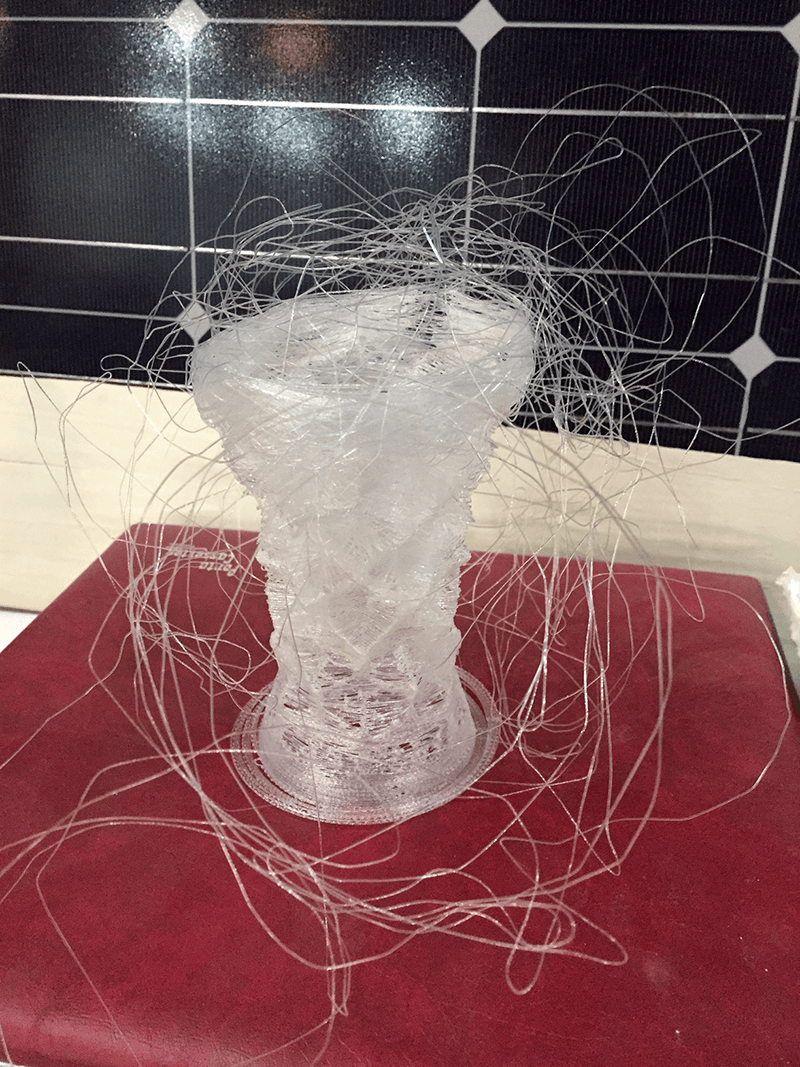
I tried this multiple times, but the layers kept collapsing which stopped subsequent layers joining and so the mess you see above. The geometry I created was very appealing to me, so I lofted the curves I used to make the piece above and ended up with a really nice vase/lamp/sculpture.

During my 2018 session of Fab Academy I didn't do anything for this week, but I did use the 3D printer we had for many functional parts of my Final Project. We had a Creality CR-10, an exceptionally affordable machine and it achieved great results when used in later weeks. Instructions and the investigation of its limitations can be found in our group assignment document.