MACHINE THAT MAKE
FABLAB BEIJING
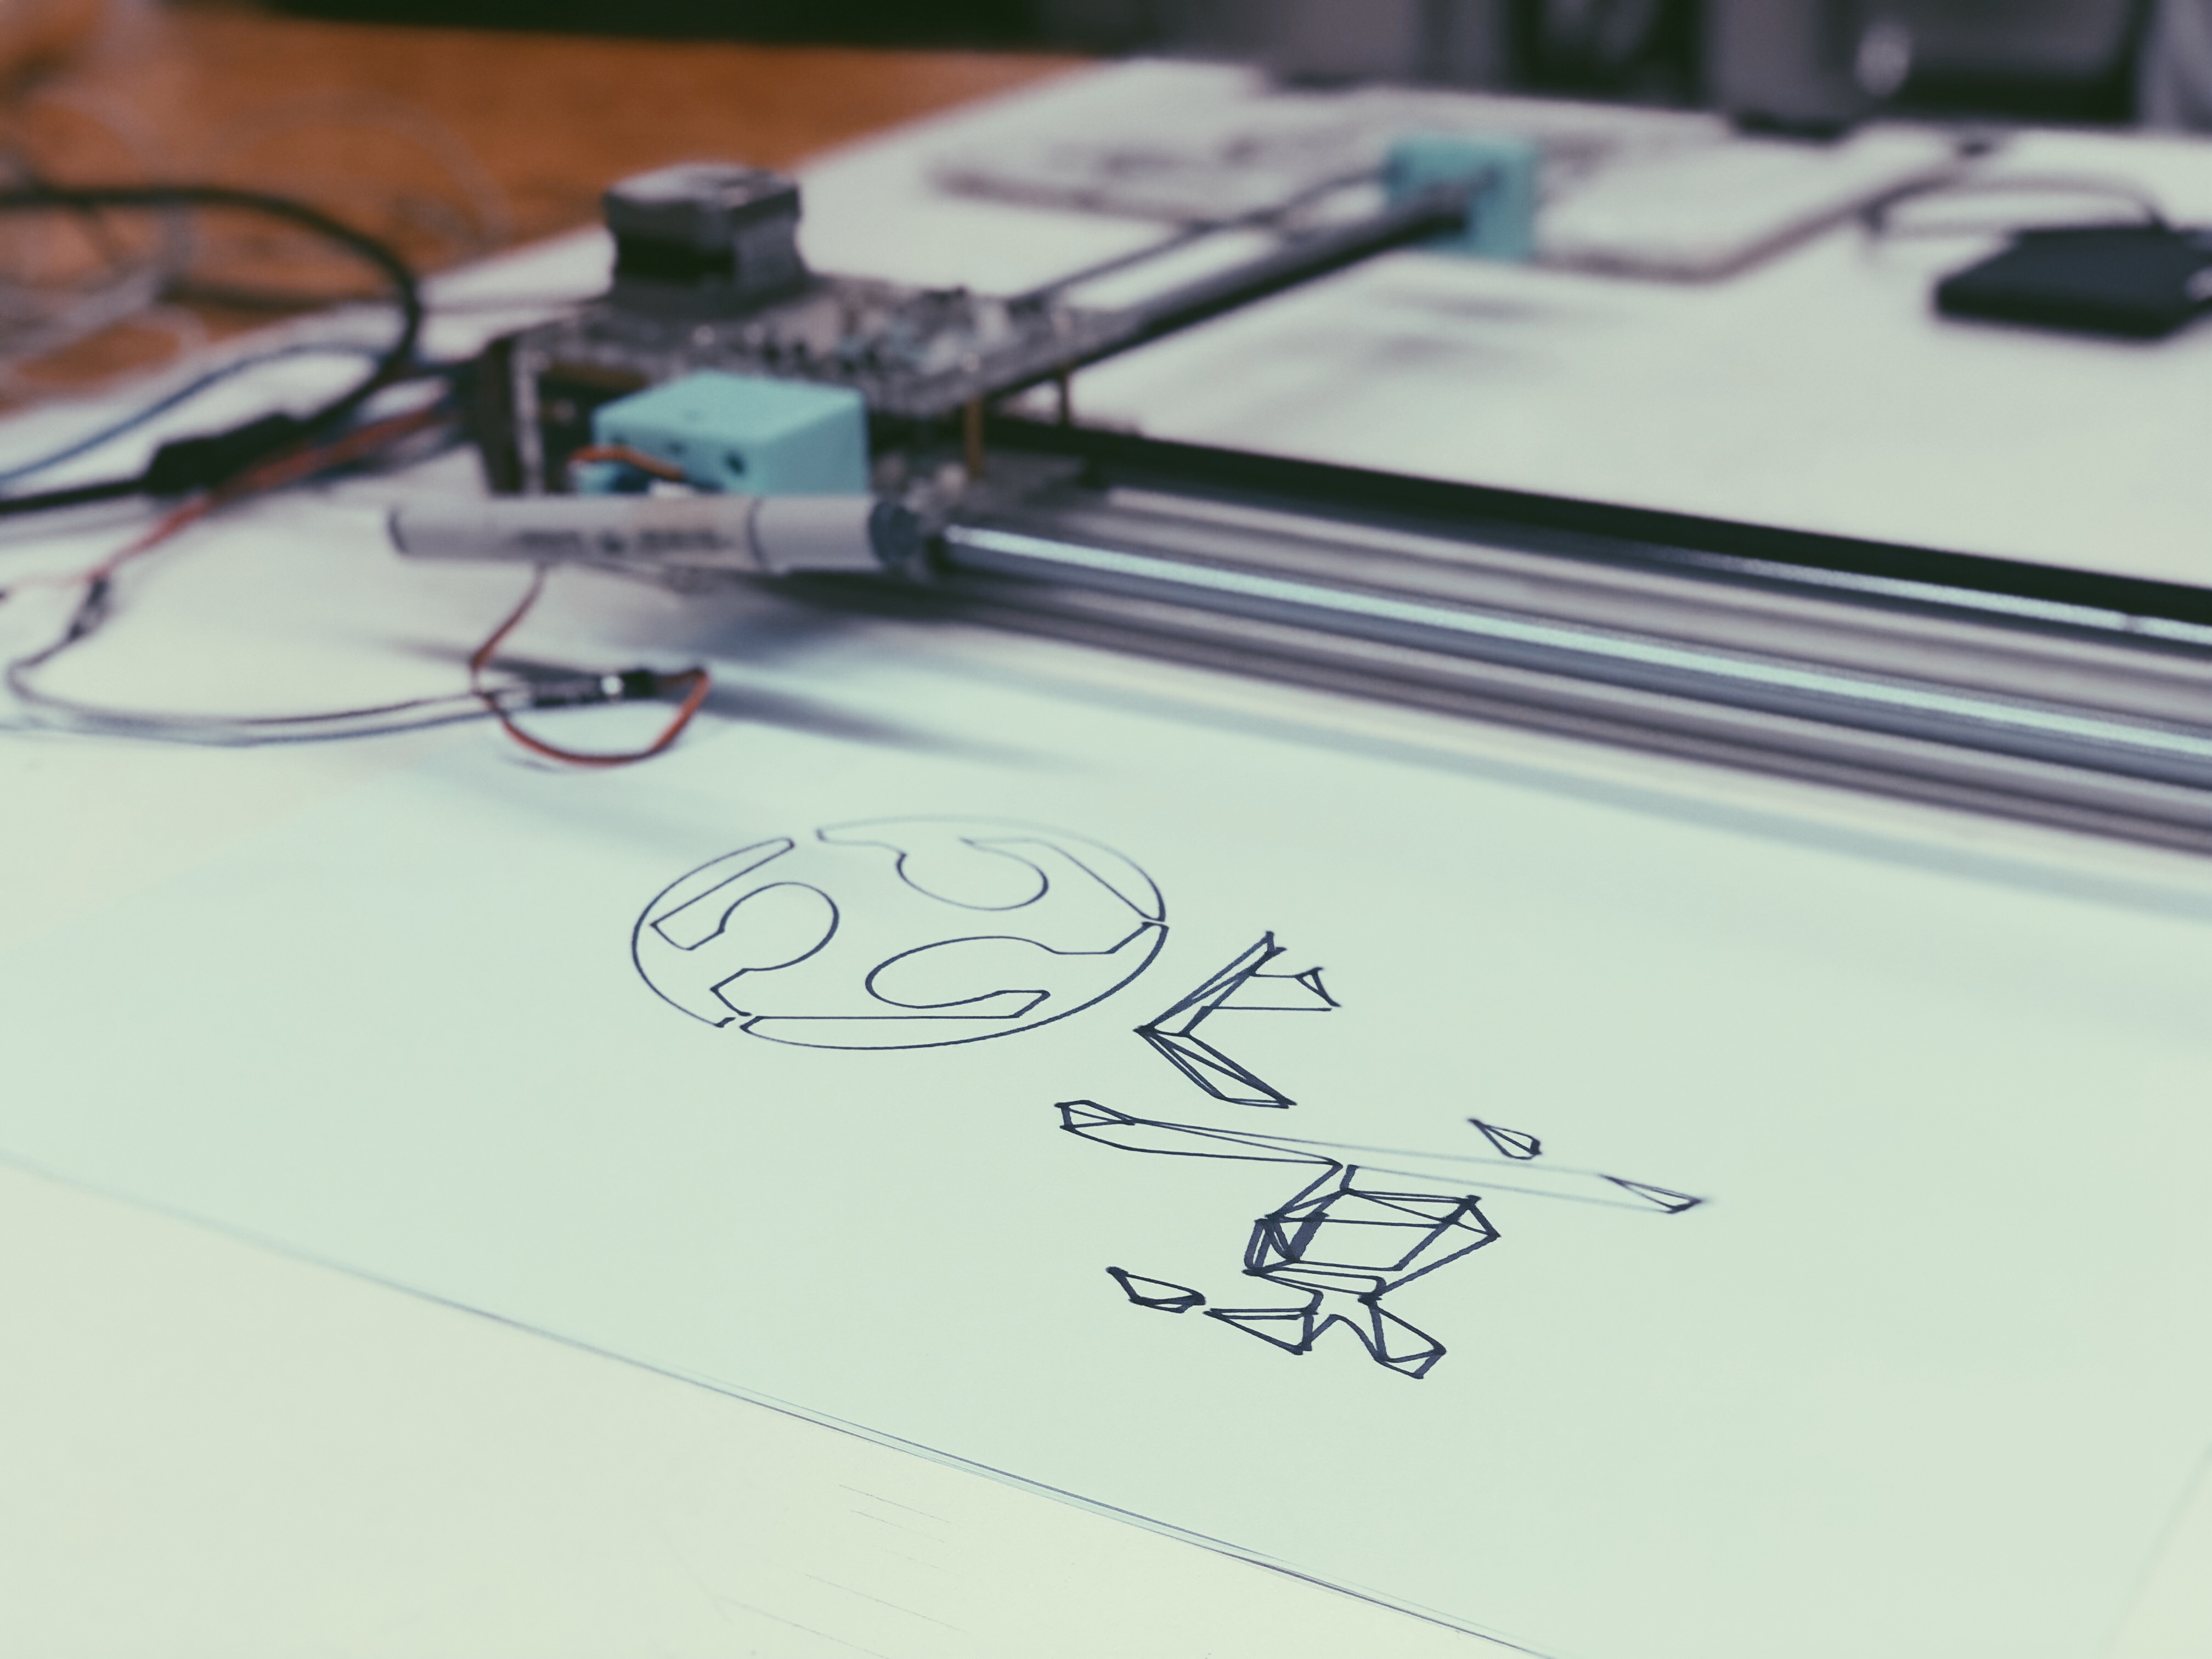
FINAL PRODUCTION - DRAWBOT
For this group project, we made a drawbot. After some research and a breif disscussion we decided to refer to this 4XIDRAW project on instructables.com. It is a drawing machine quite similar a to a pen plotter but it can adapt to any size of document. And it has a very interesting XY plotter design, where it uses a single belt and two stepper motors.
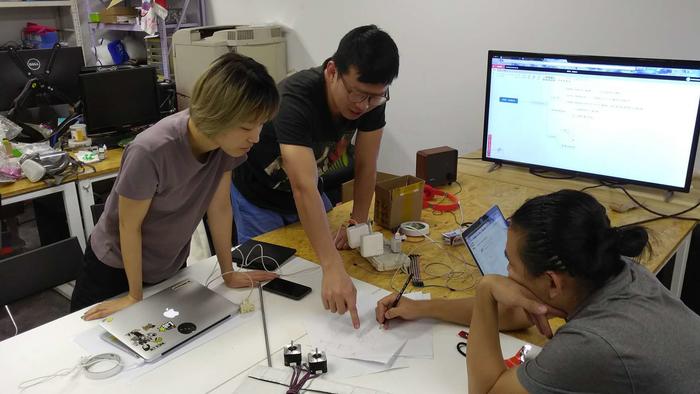
Team
- Xinyue Hou | 3D modeling and printing, website
- Dian Song | mechenical design, electronic and hardware
- Jake Zhang | laser cutting
- ALL | assembling, debugging
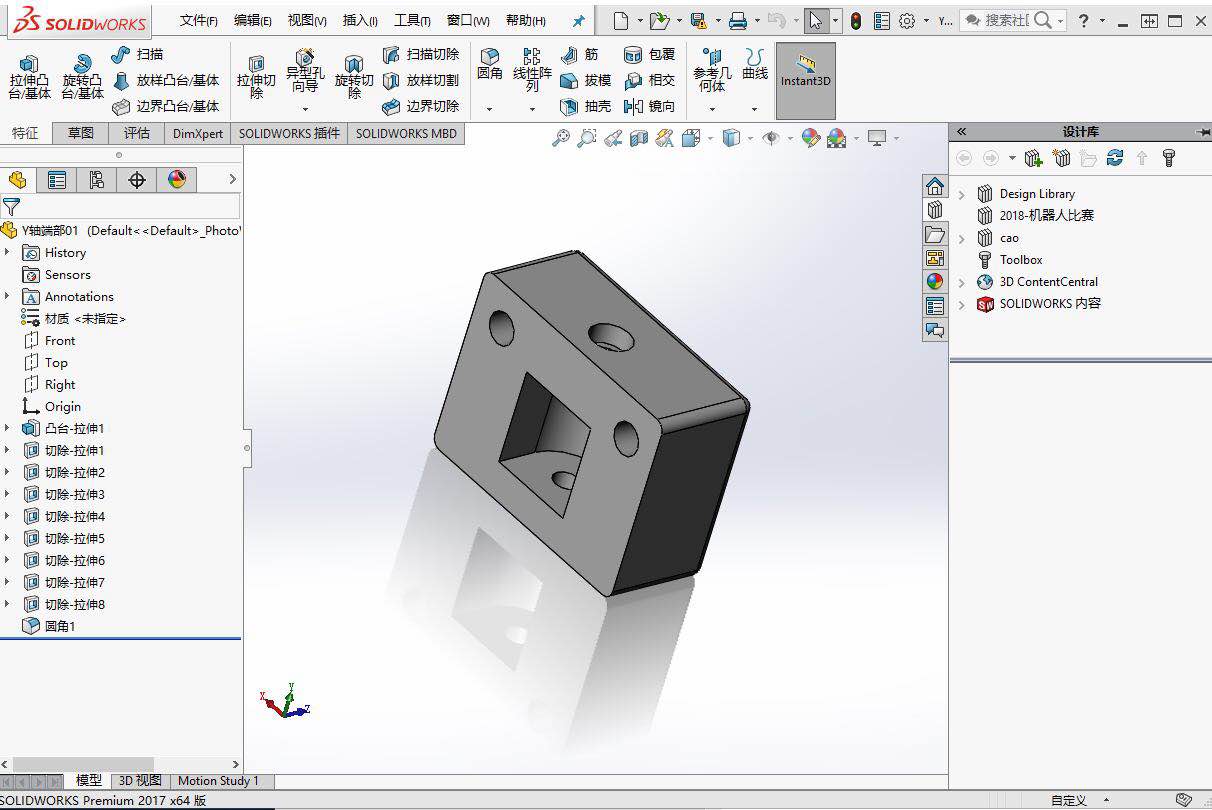
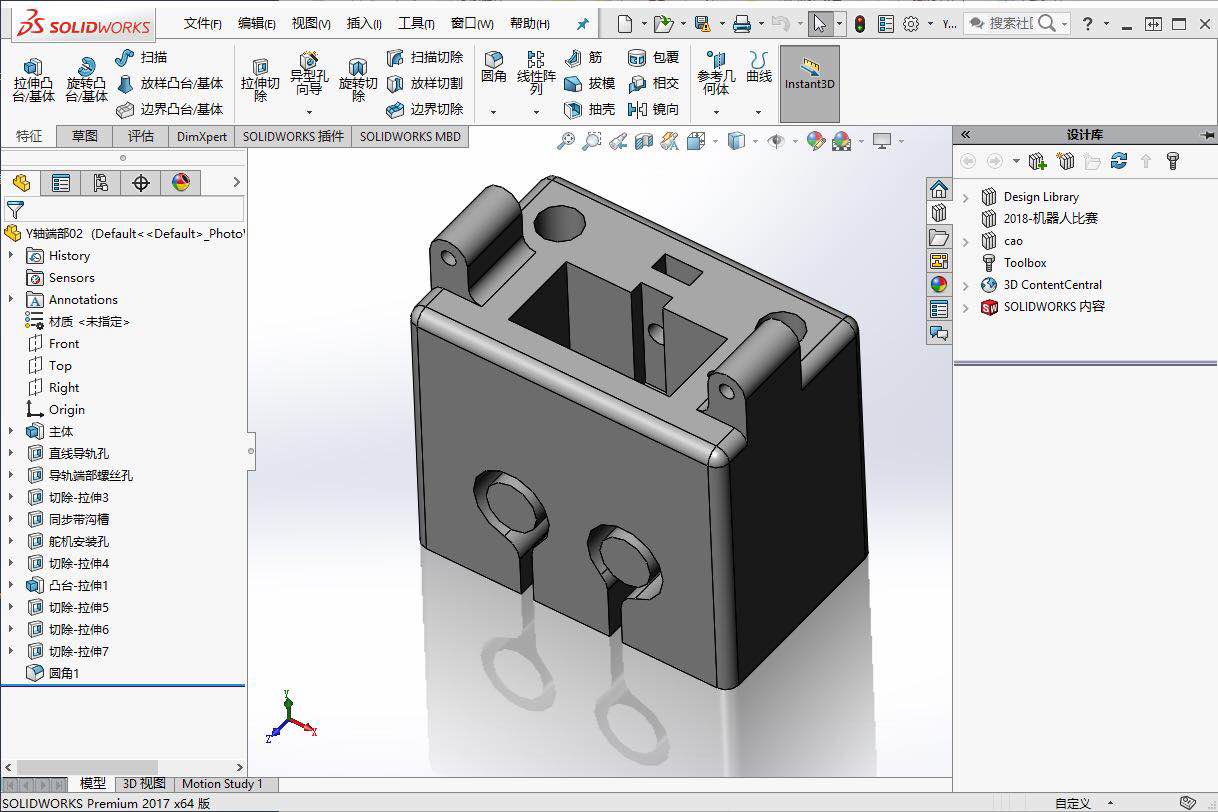
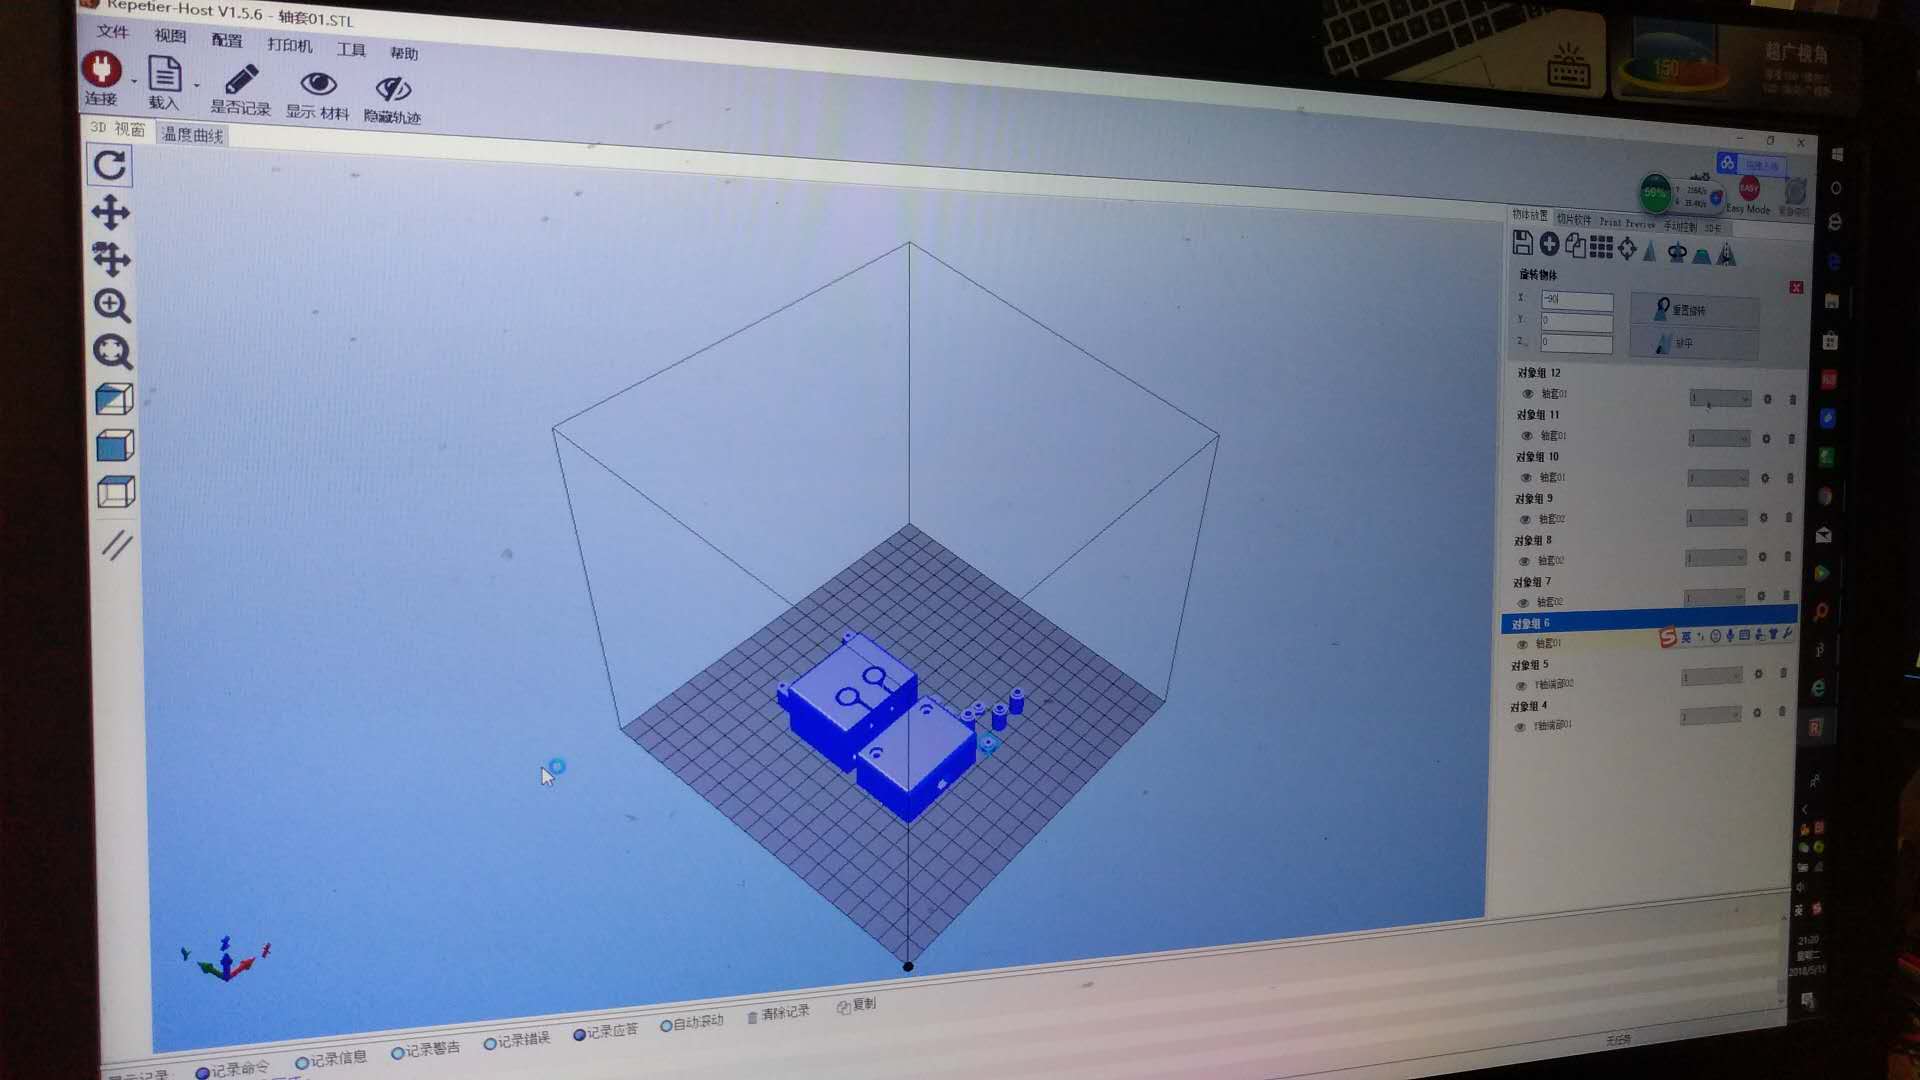
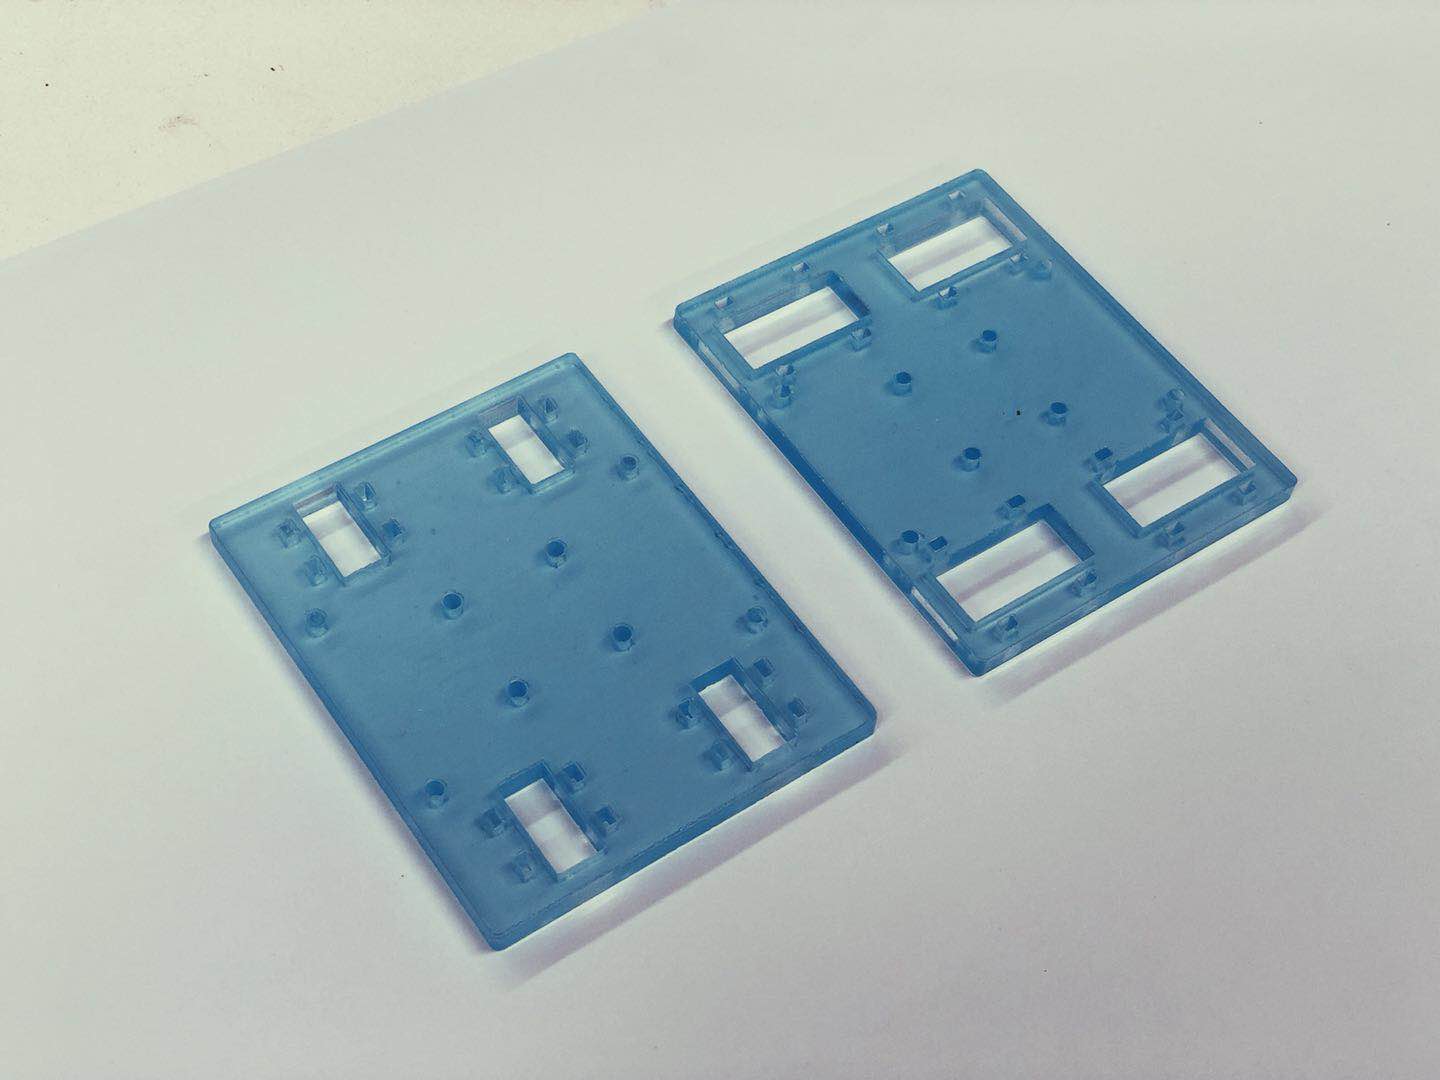
3D Design & Printing
We designed the supportive panel in Solidworks, and use 3D printer to print it.
3D Design & Printing
We designed the supportive panel in Solidworks, and use 3D printer to print it.

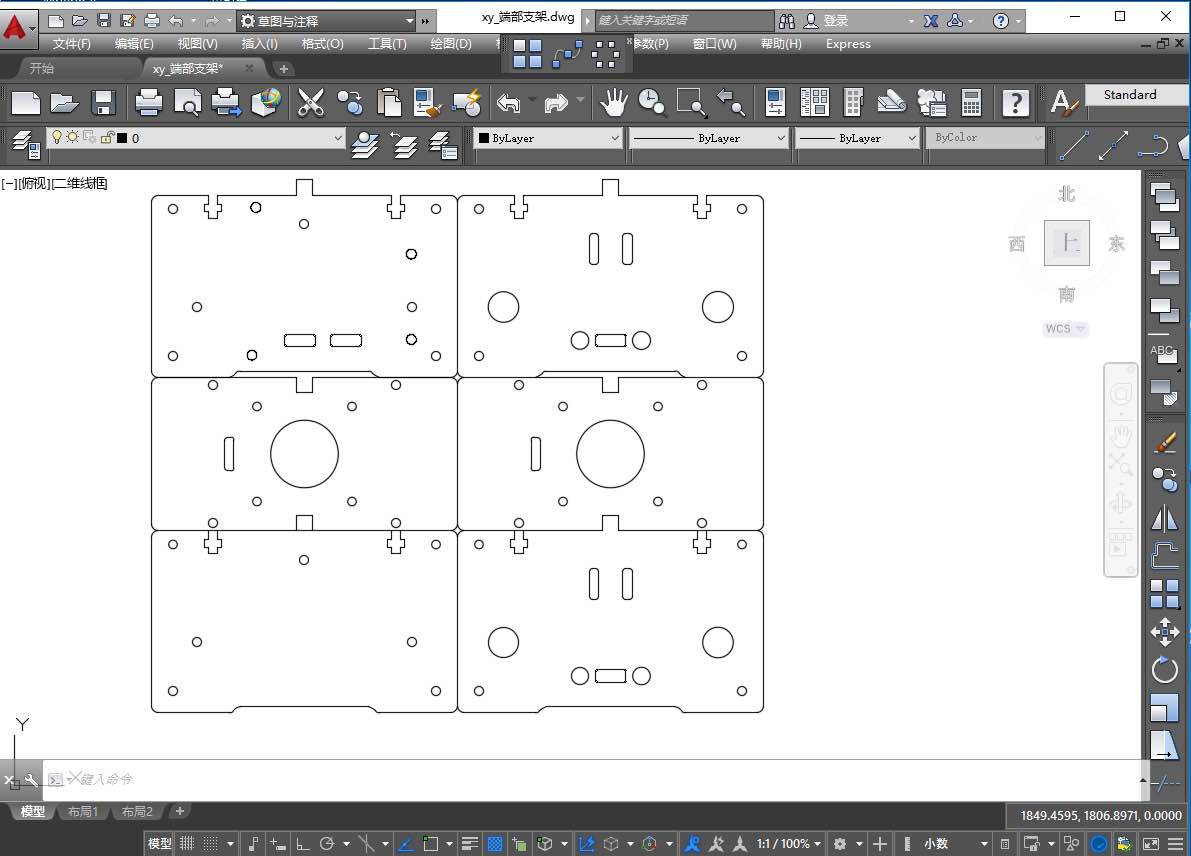
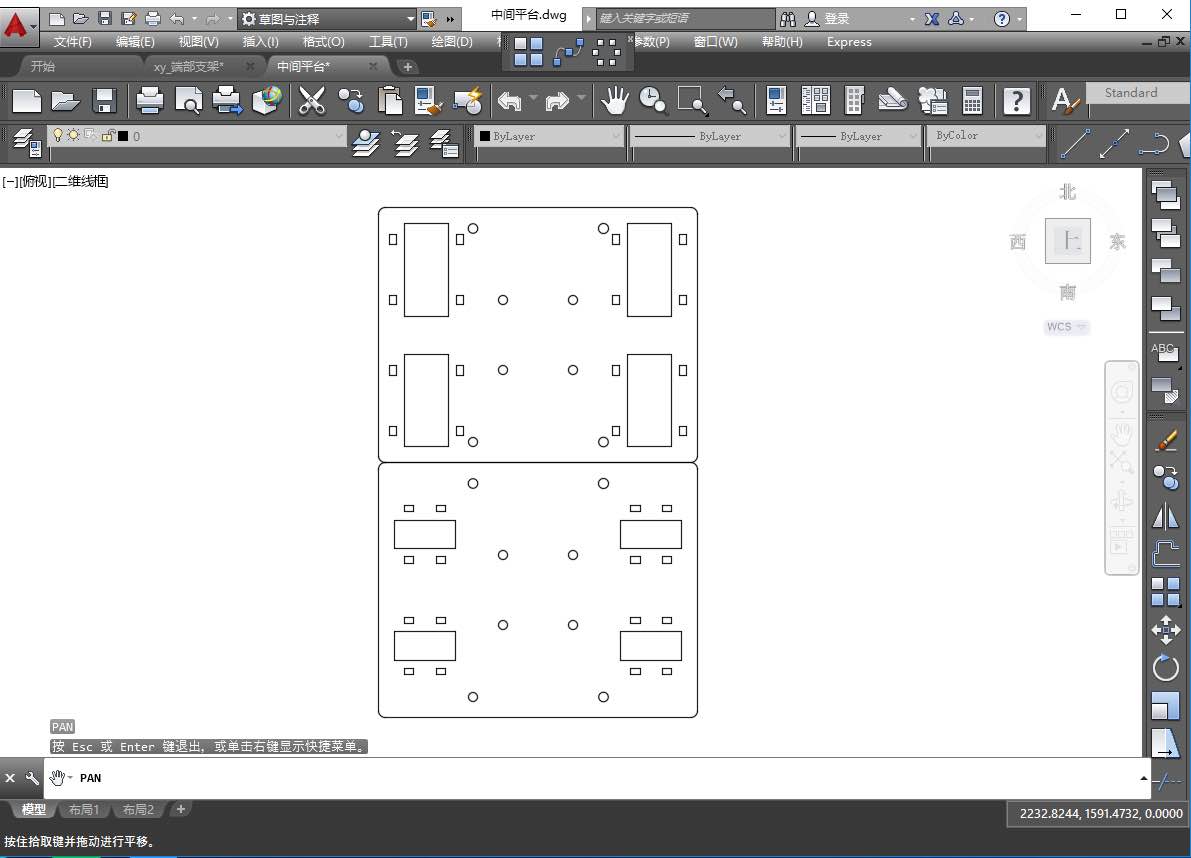
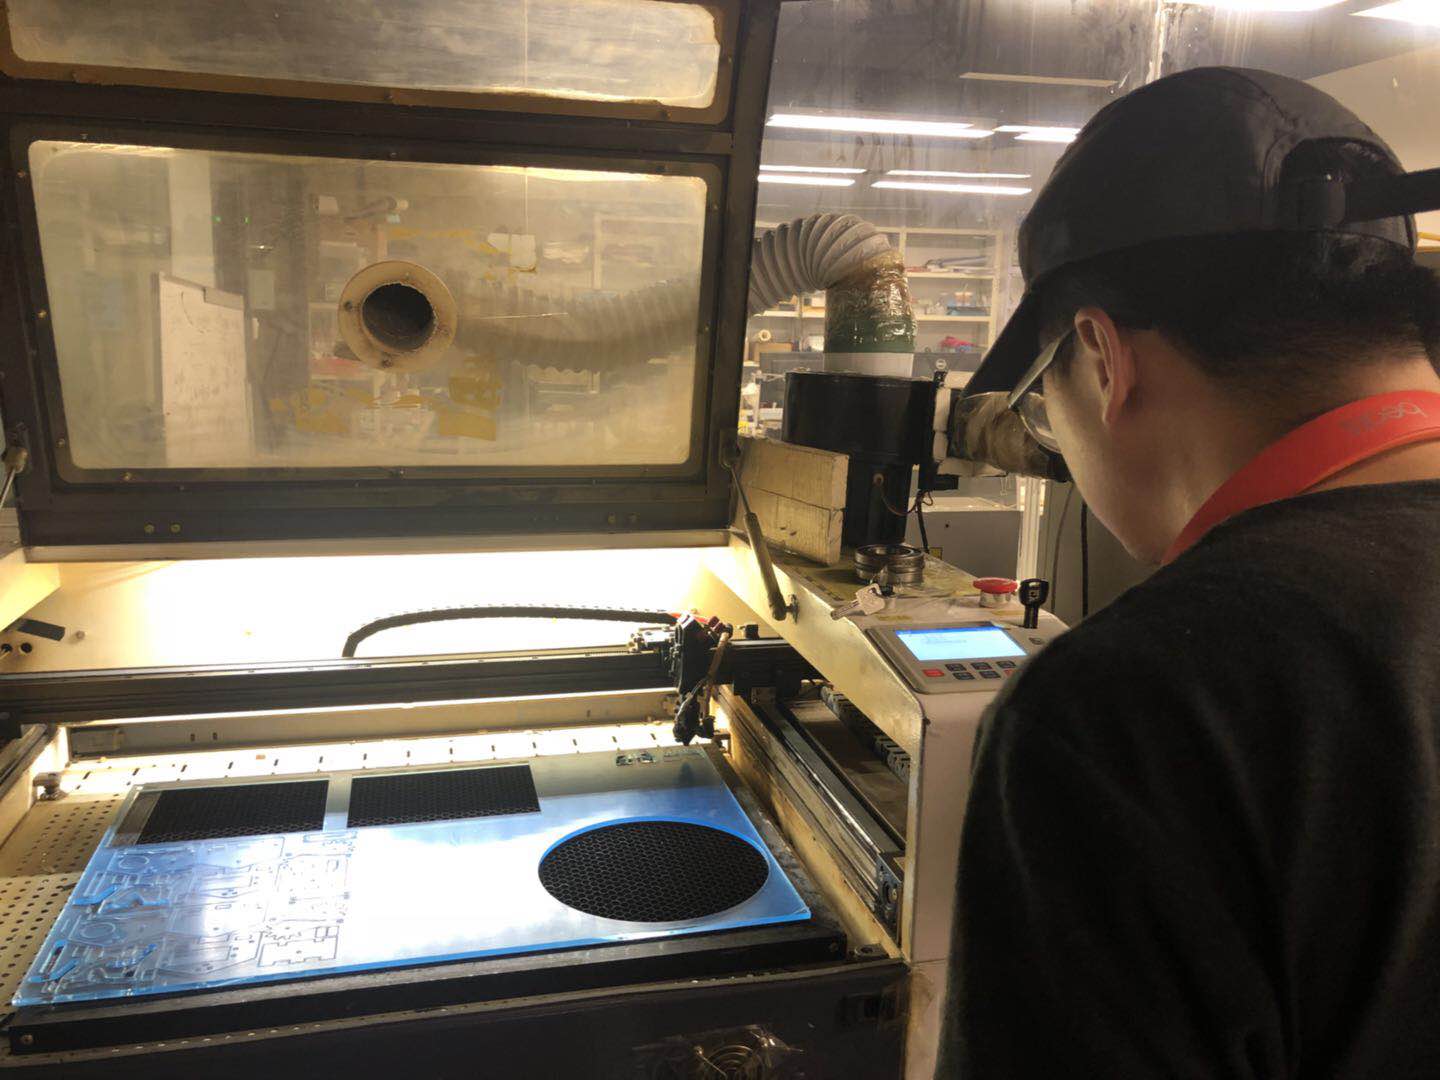
Laser Cutting
We designed the frame of the machine by AutoCAD, we use the Acrylic material.
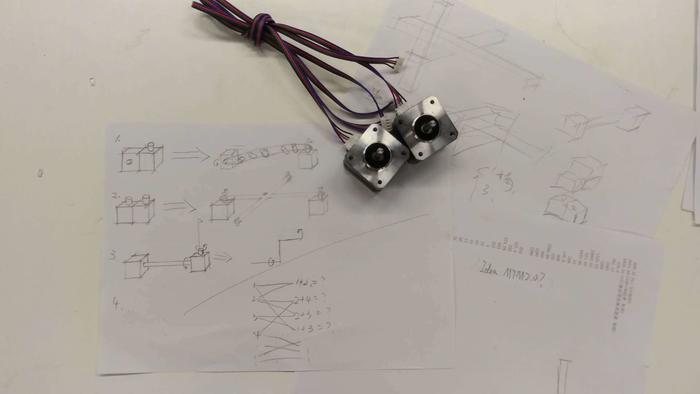
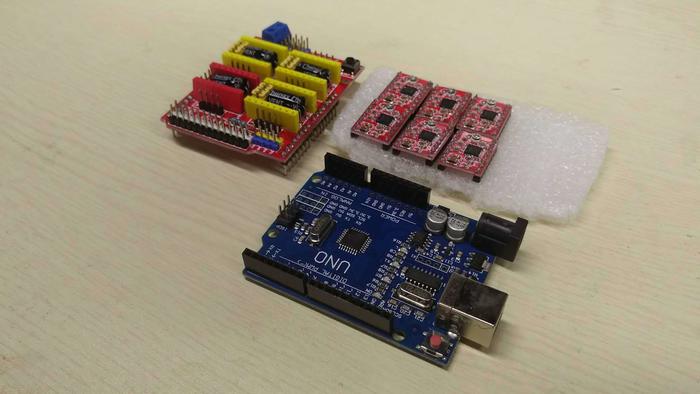
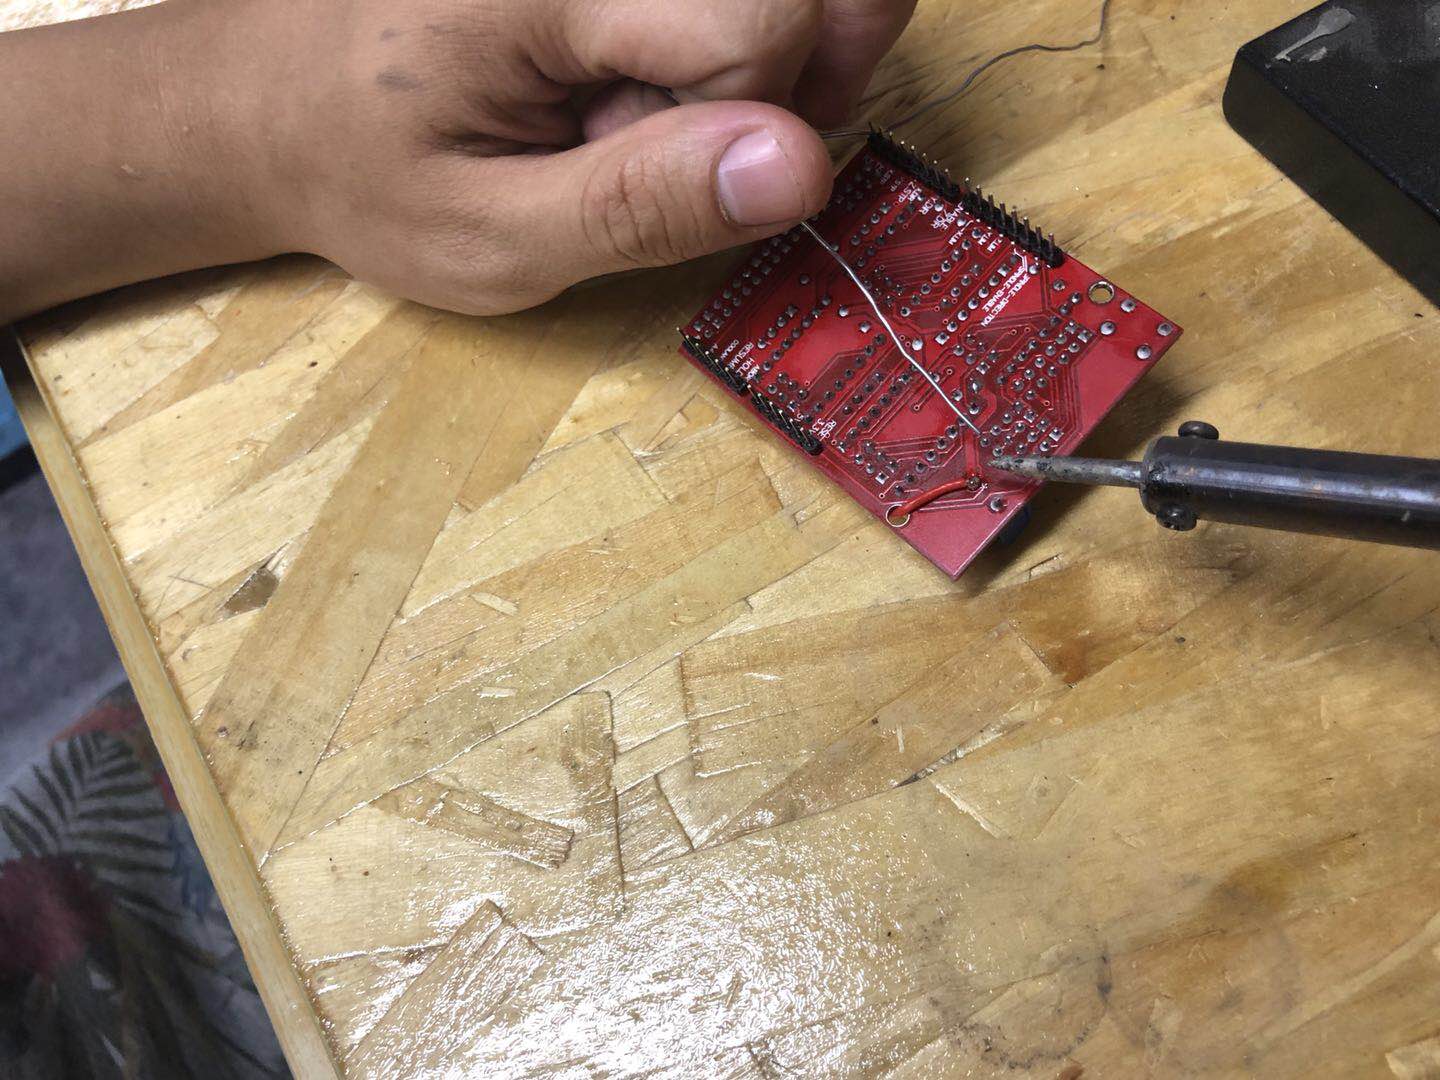
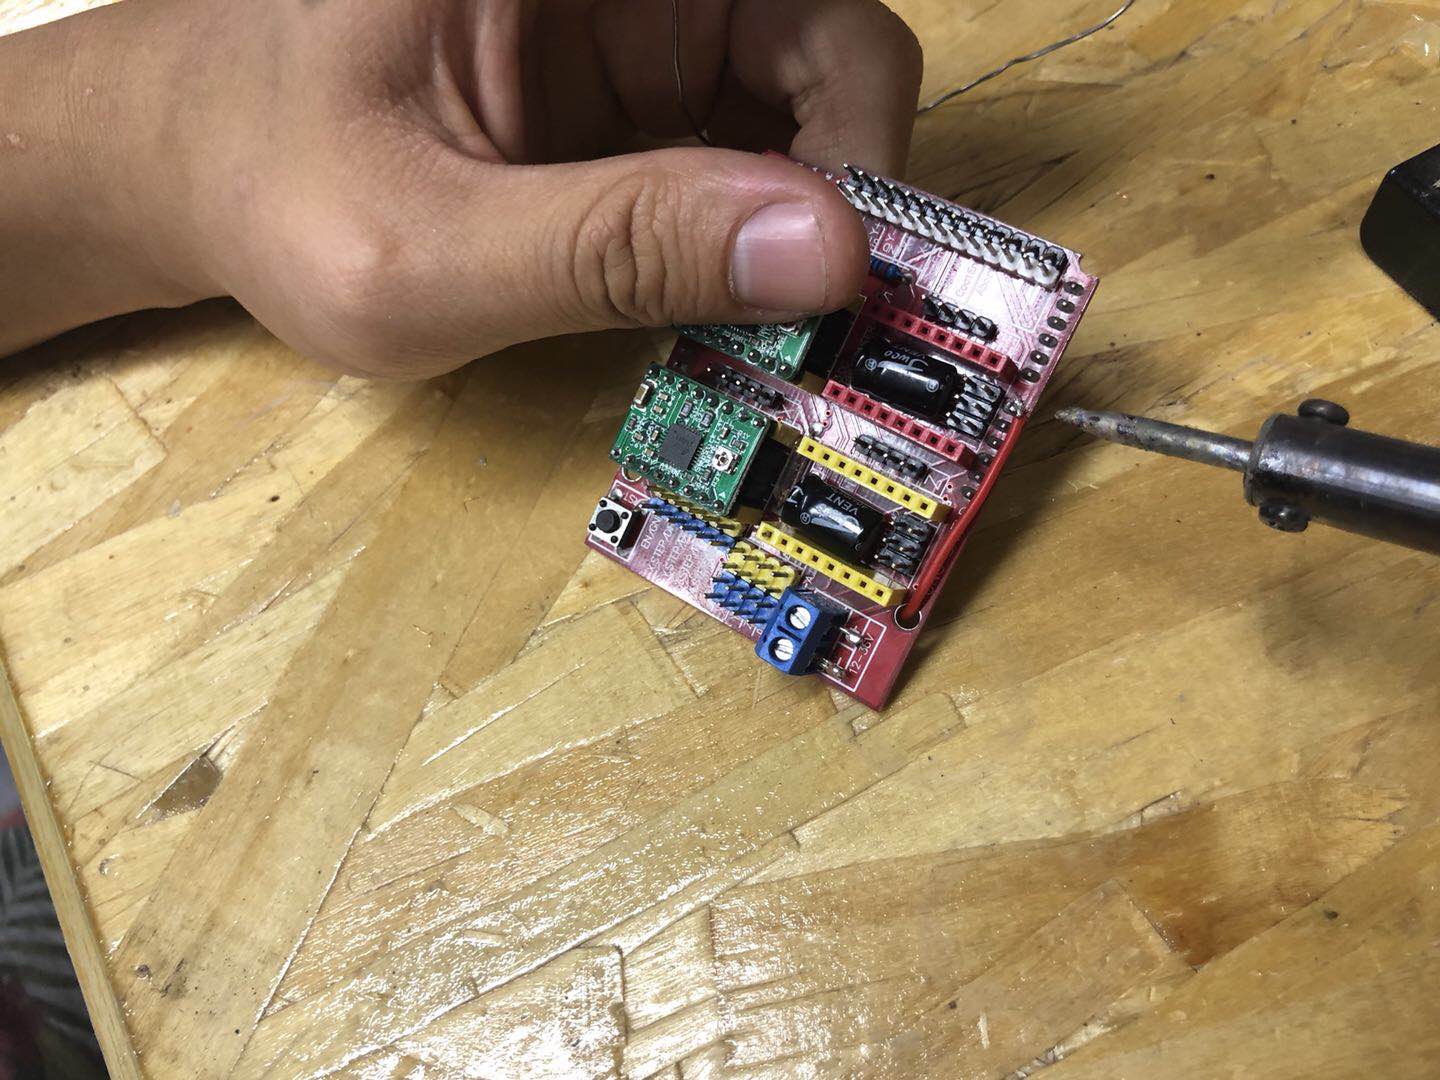
WIRING
Here are the hardware we used for this drawbot. Before inserting the CNCShield over the Arduino we do this trick, that allow to power everything from the Arduino power jack.
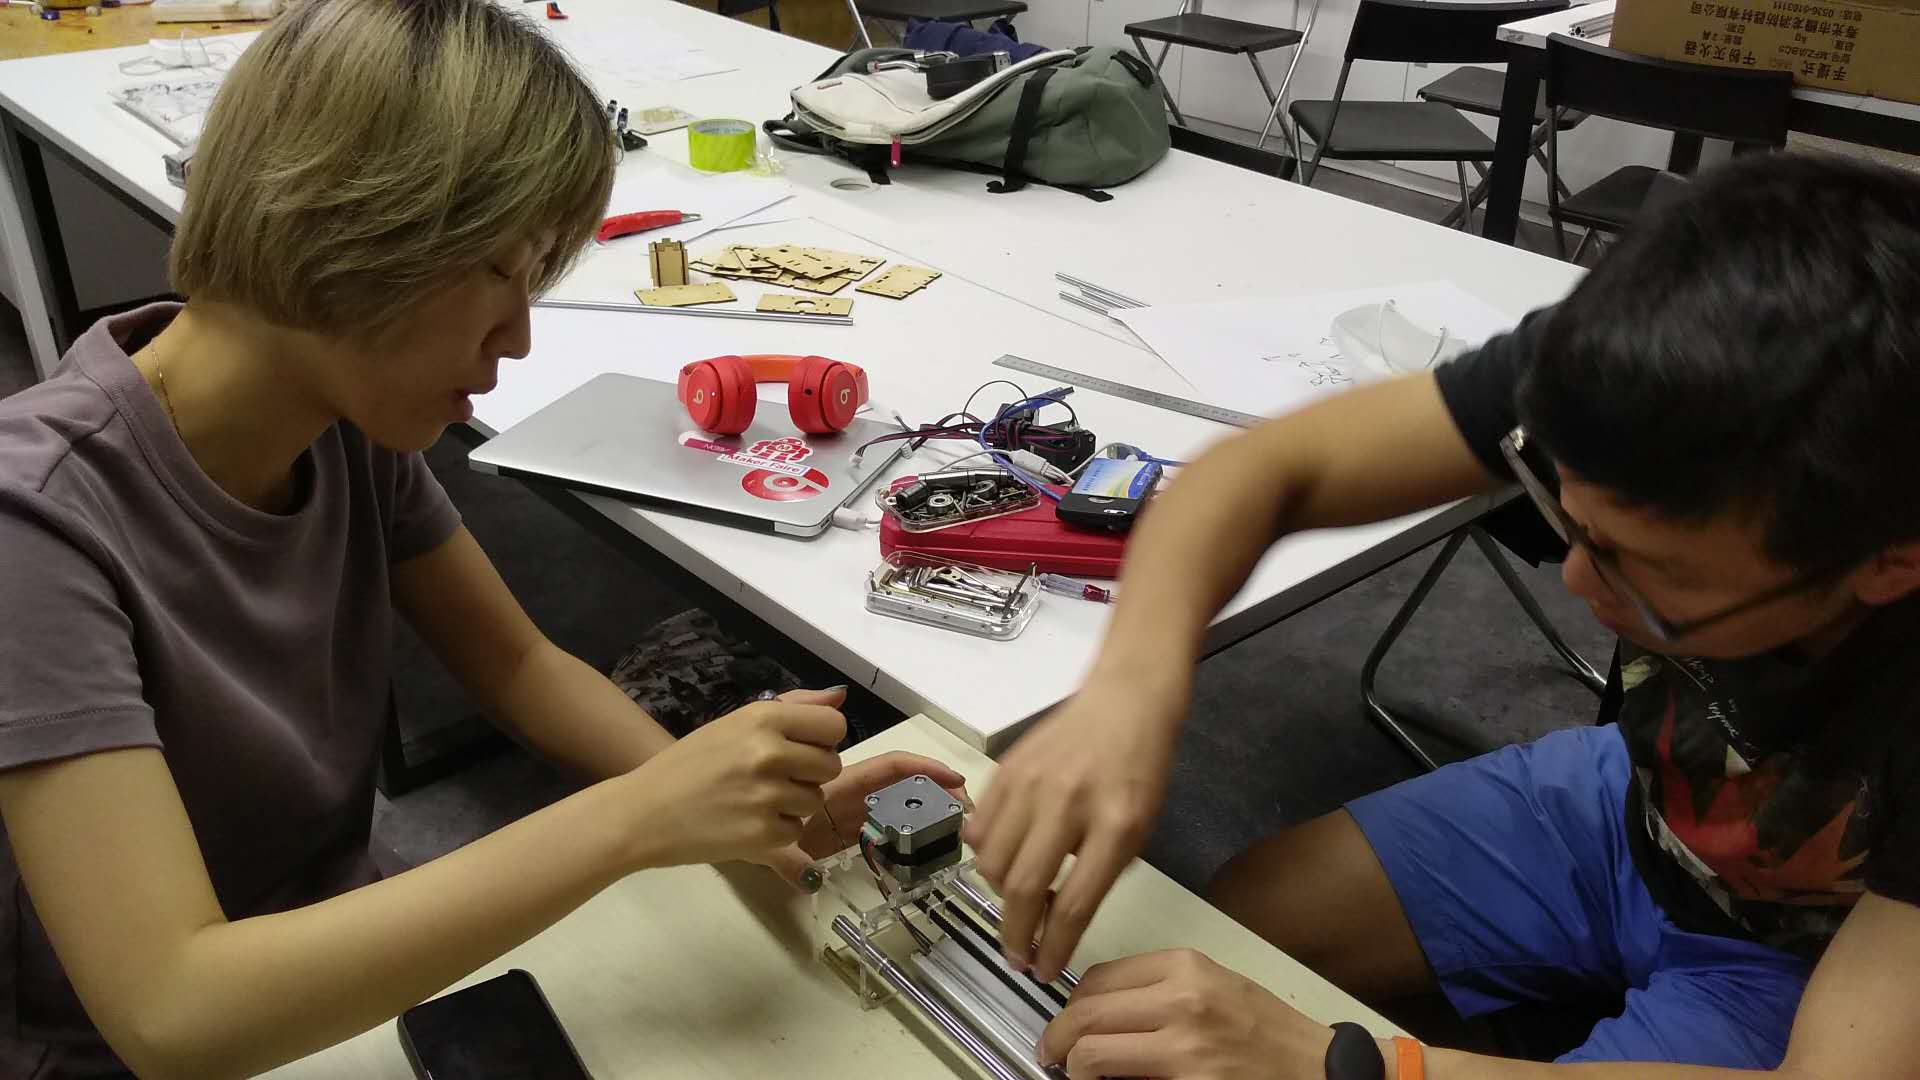
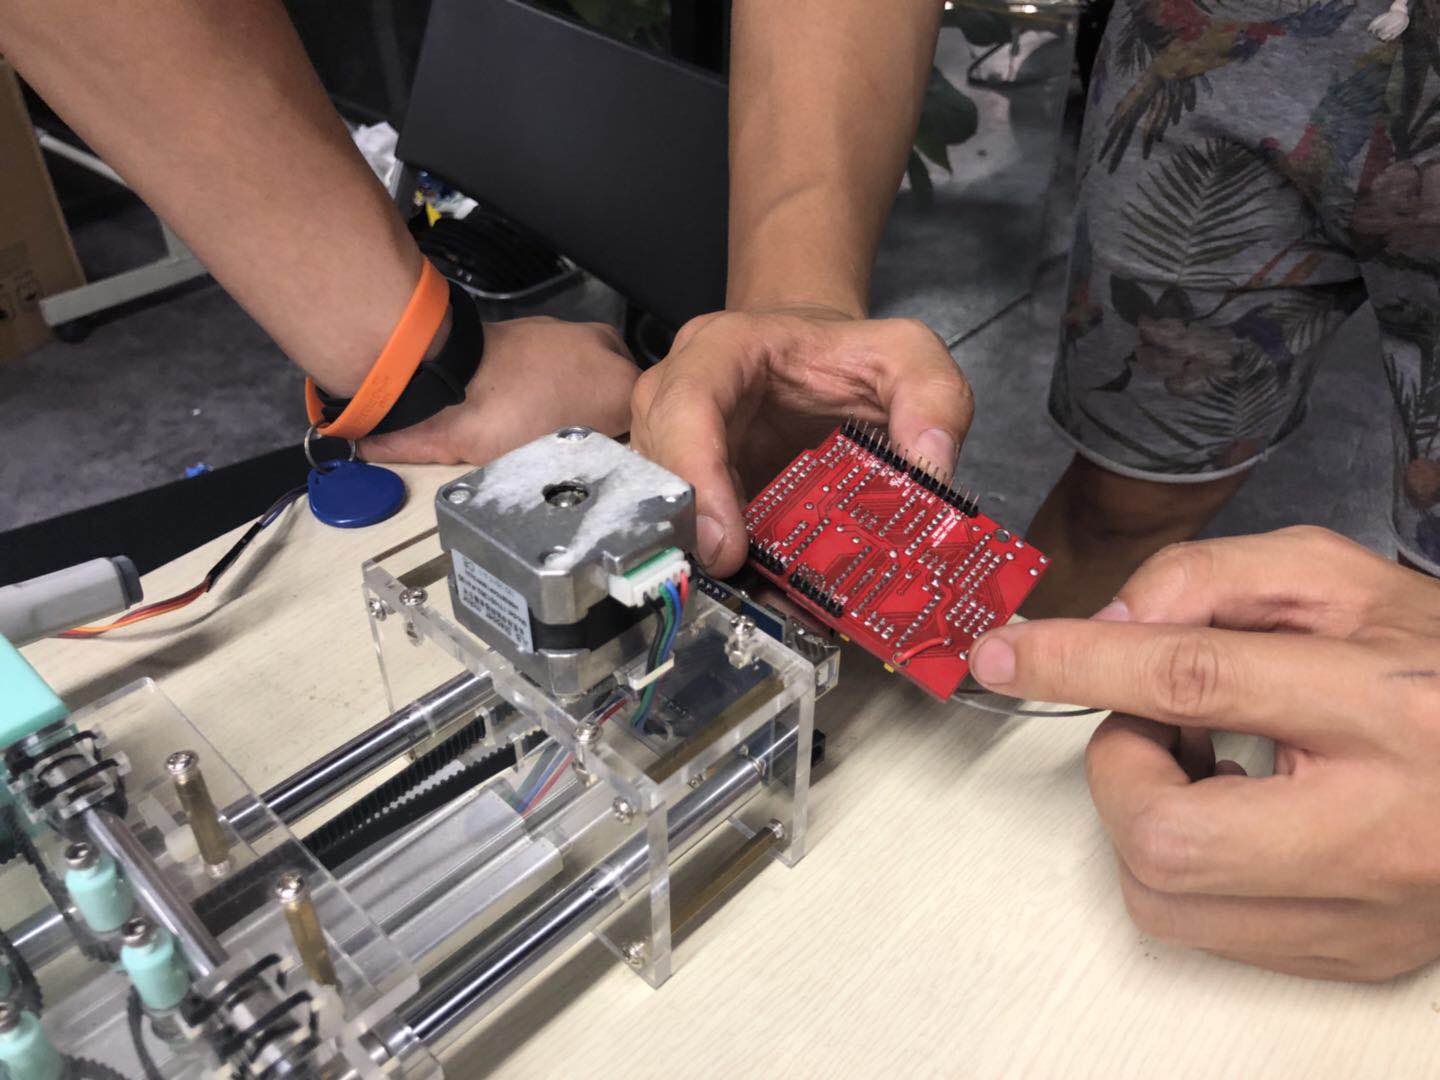
ASSEMBLY
After getting all the parts done, we put them all together. Big shout for Misan (the origional maker), whom provides a very helpful and detailed reminder of building sequence.
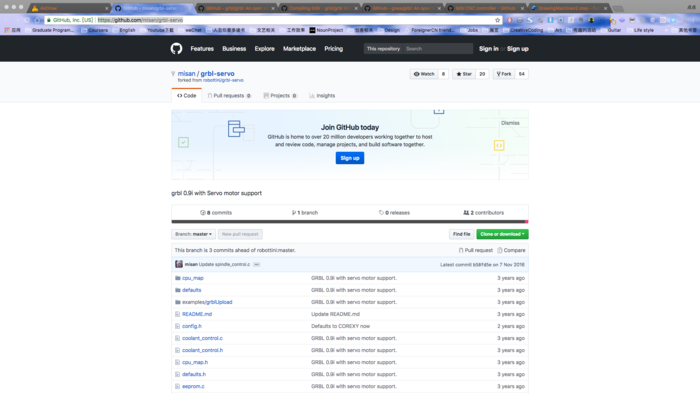
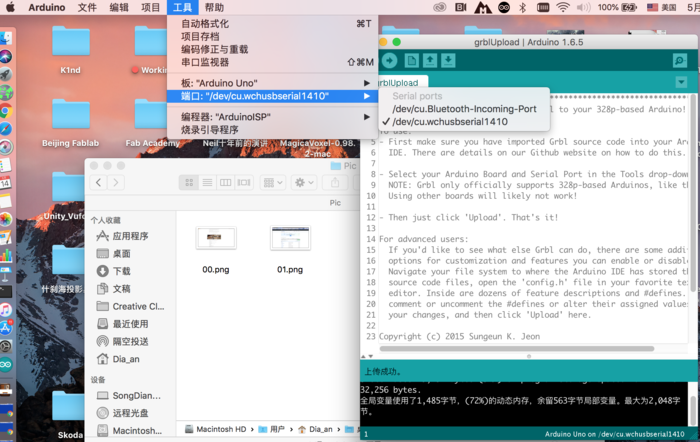
LOAD ARDUINO FIRMWARE
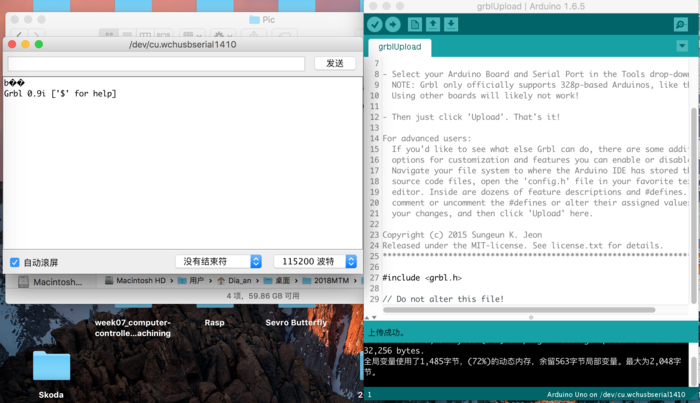
According to the blog, we first downloaded grbl-servo-master from github. The setup process was quite fluent, but after that I cannot detect any available port for my Arduino UNO. Then I found it was because I hadn't got CH340G / CH341G Serial on my mac. Two articles helped a lot during the problem shootting and their links can be seen as below:
- How To Use Cheap Chinese Arduinos That Come With With CH340G / CH341G Serial/USB Chip (Windows & Mac OS-X)
- Arduino串口配置
SOFTWARE & CONTROL
We found there are two methods available to compelet our DrawBot. After some testing and failure, we chose to use the "4xiDraw" plugin of Inkscape that will take care of both drawing and communication. Detail can be seen as below:
First Try
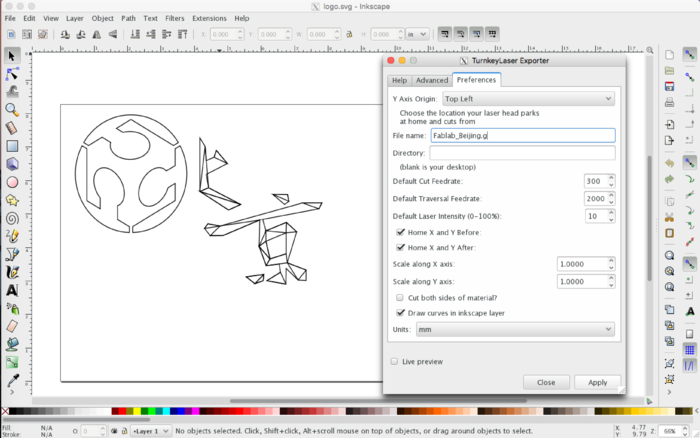
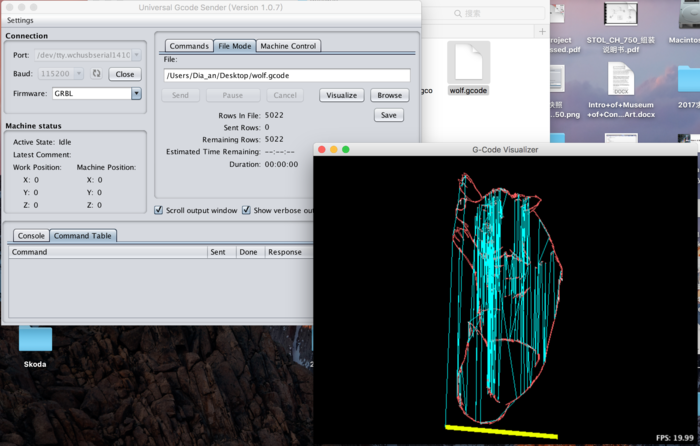
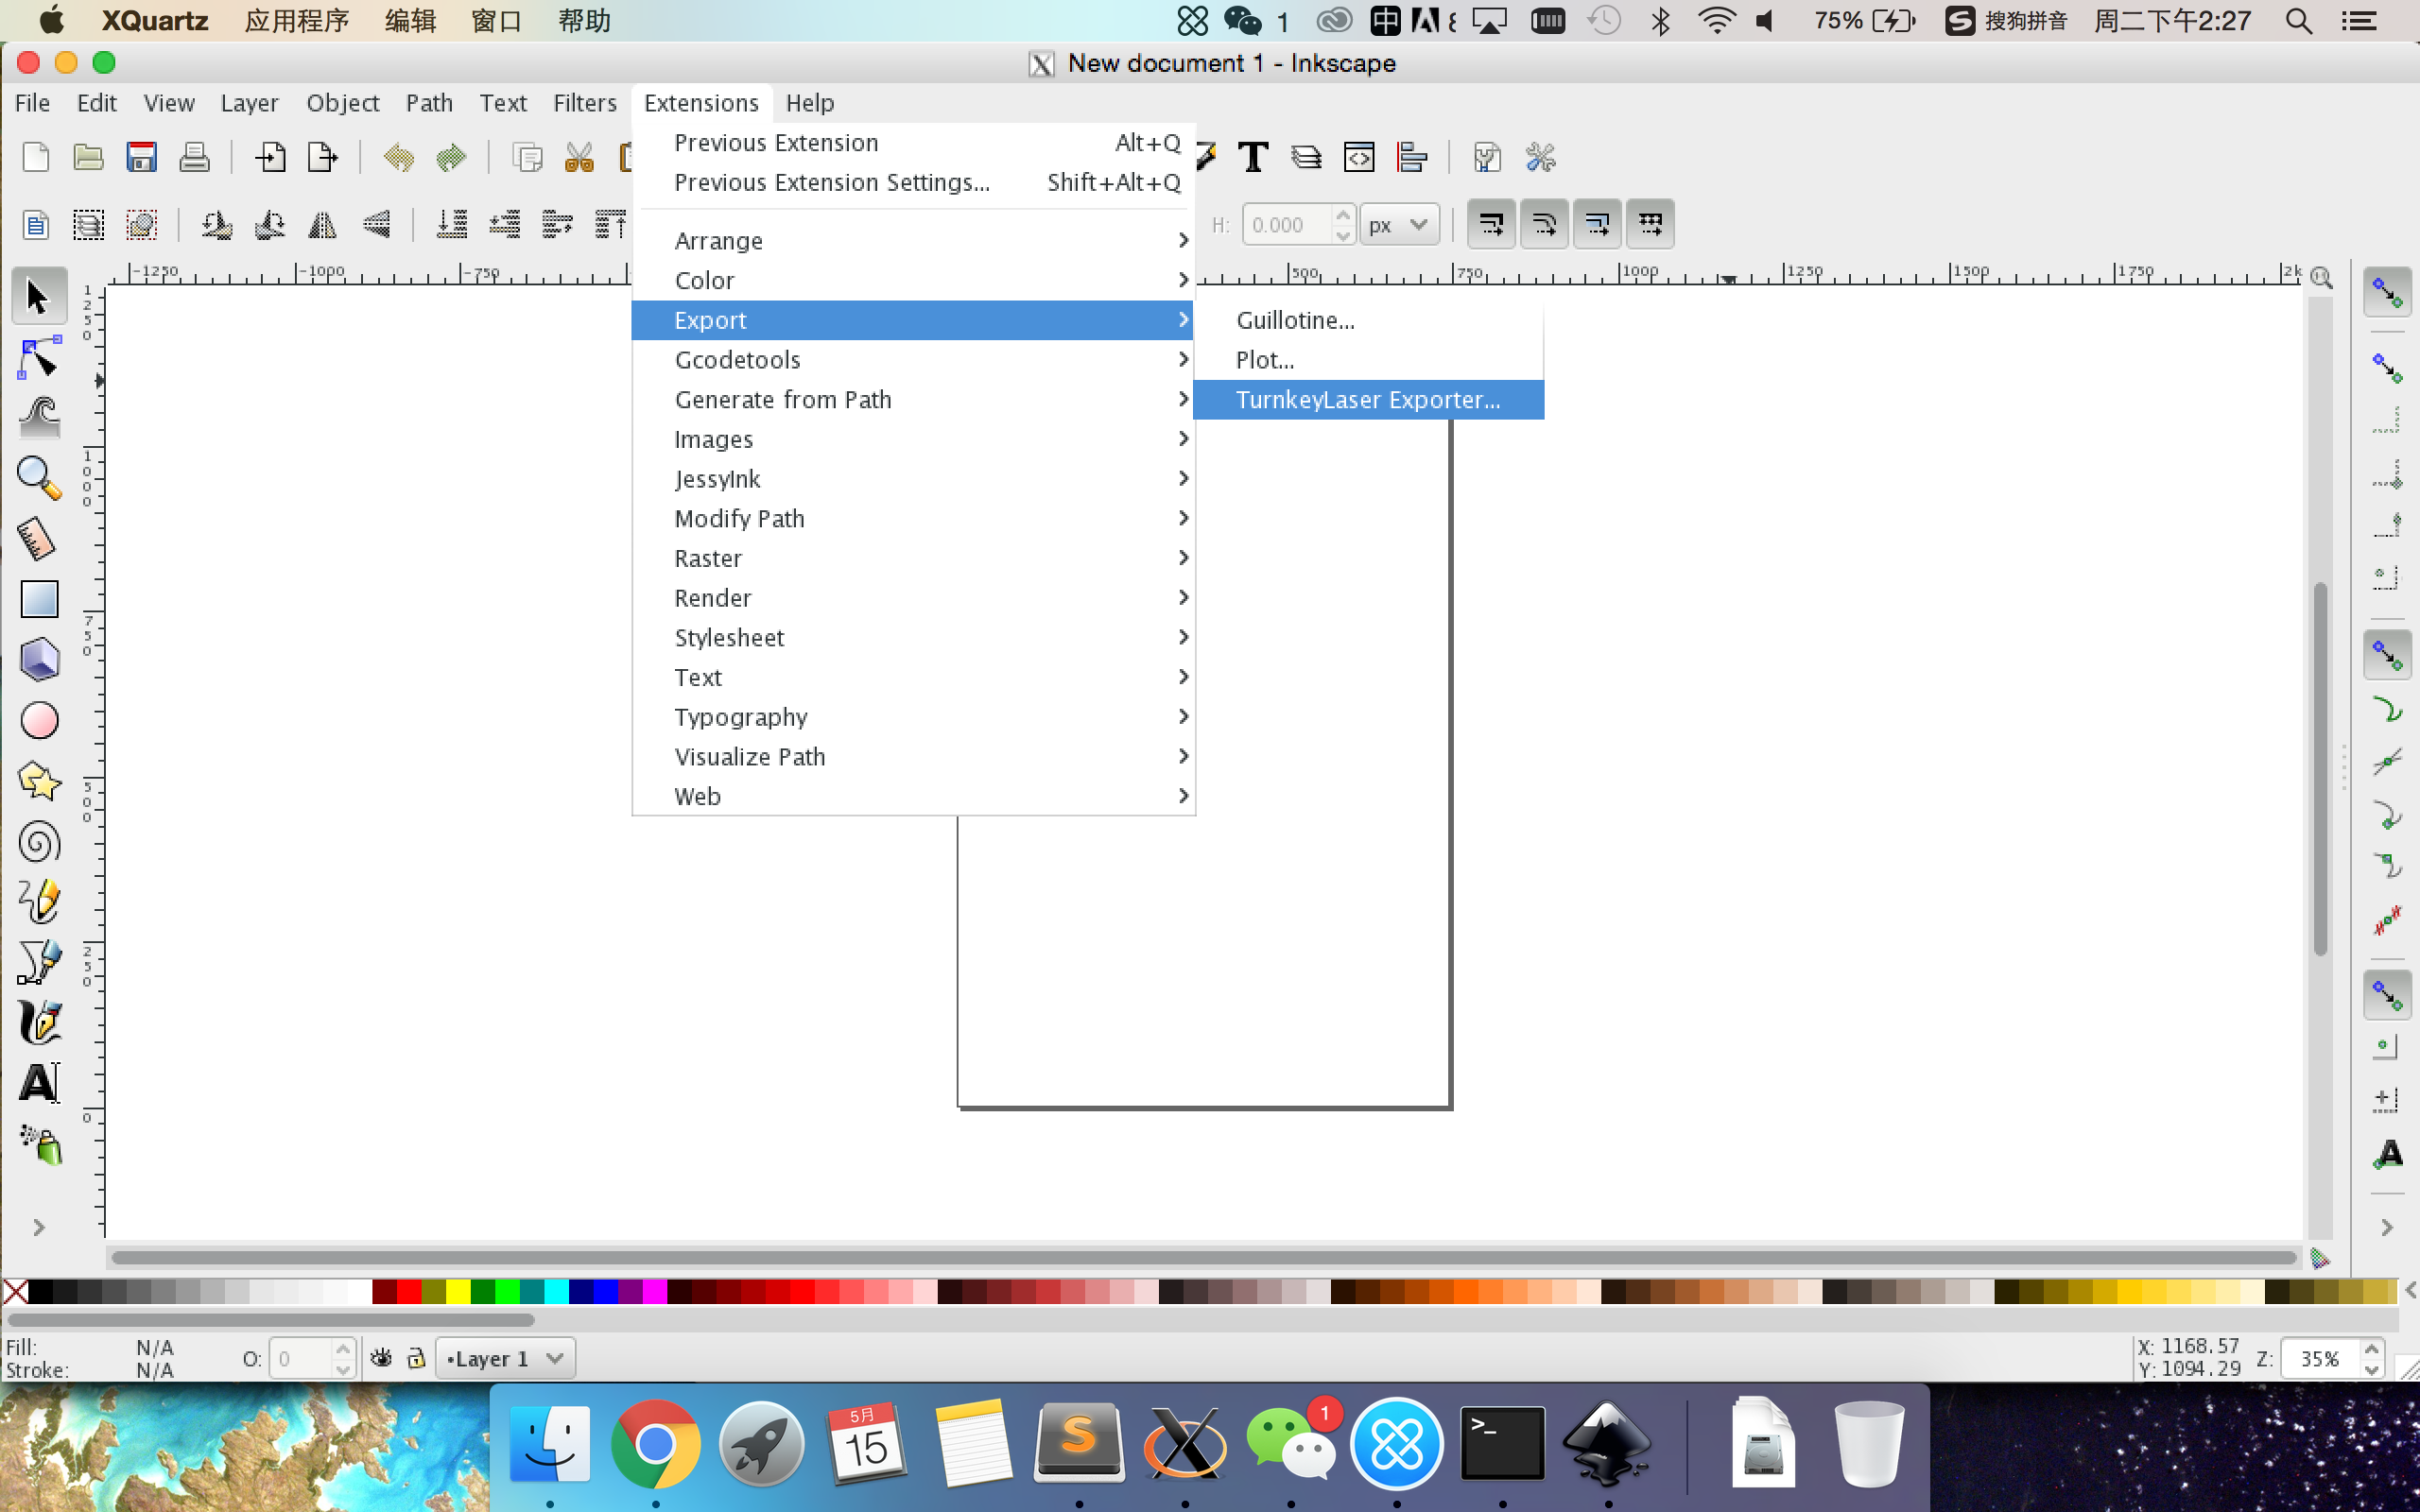
We install Misan's laser-gcode-exporter-inkscape-plugin for creating the code for a given graphical design and UniversalSerialGCodeSender to send the Gcode to the plotter. We downloaded and successfully set them up, but it didn't work as expected.
>>Trying Misan's Inkscape Plugin to load pic👇
>>Trying UniversalSerialGCodeSender to send GCode👇
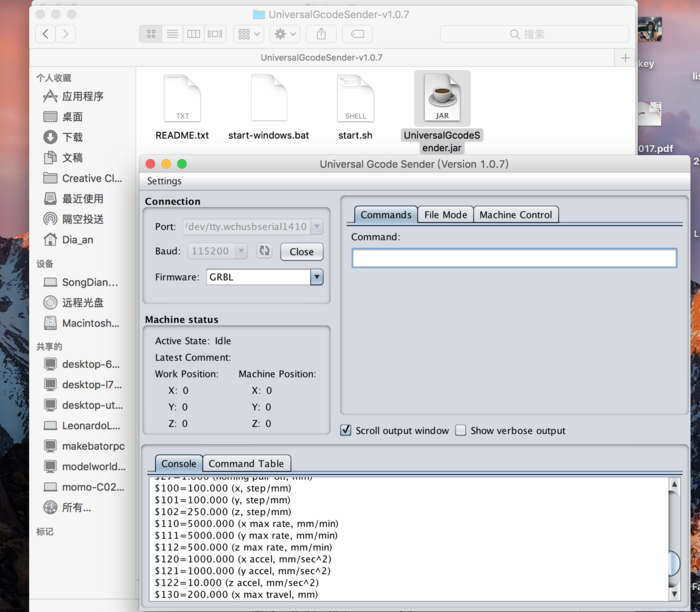
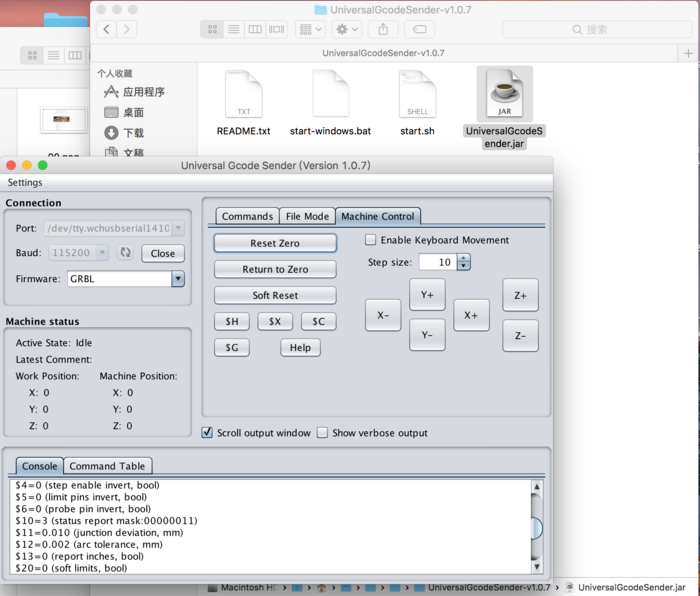
>>Loading pic into UniversalSerialGCodeSender👇
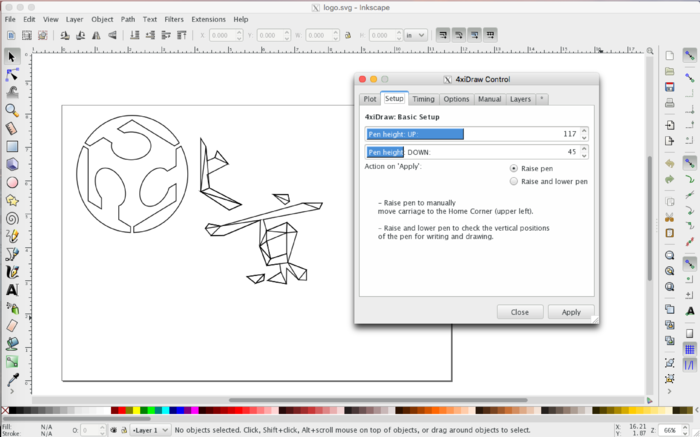
Second Try
We found another open source control 4xidraw Control Extension By Torsten Martinsen. Derived from AxiDraw inkscape plugin, 4xidraw is a Inkscape extension designed specific to drive the 4xiDraw drawing machine. We followed this instruction and successfully installed and applied it to our machine!!!!!
FURTHER DEVELOPMENT
For further development, we're thinking maybe we can replace our pen with other "heads" and even generate a whole system like the original "MTM".