Mechanical Design

- design a machine that includes mechanism+actuation+automation - build the mechanical parts and operate it manually - document the group project and your individual contribution - actuate and automate your machine
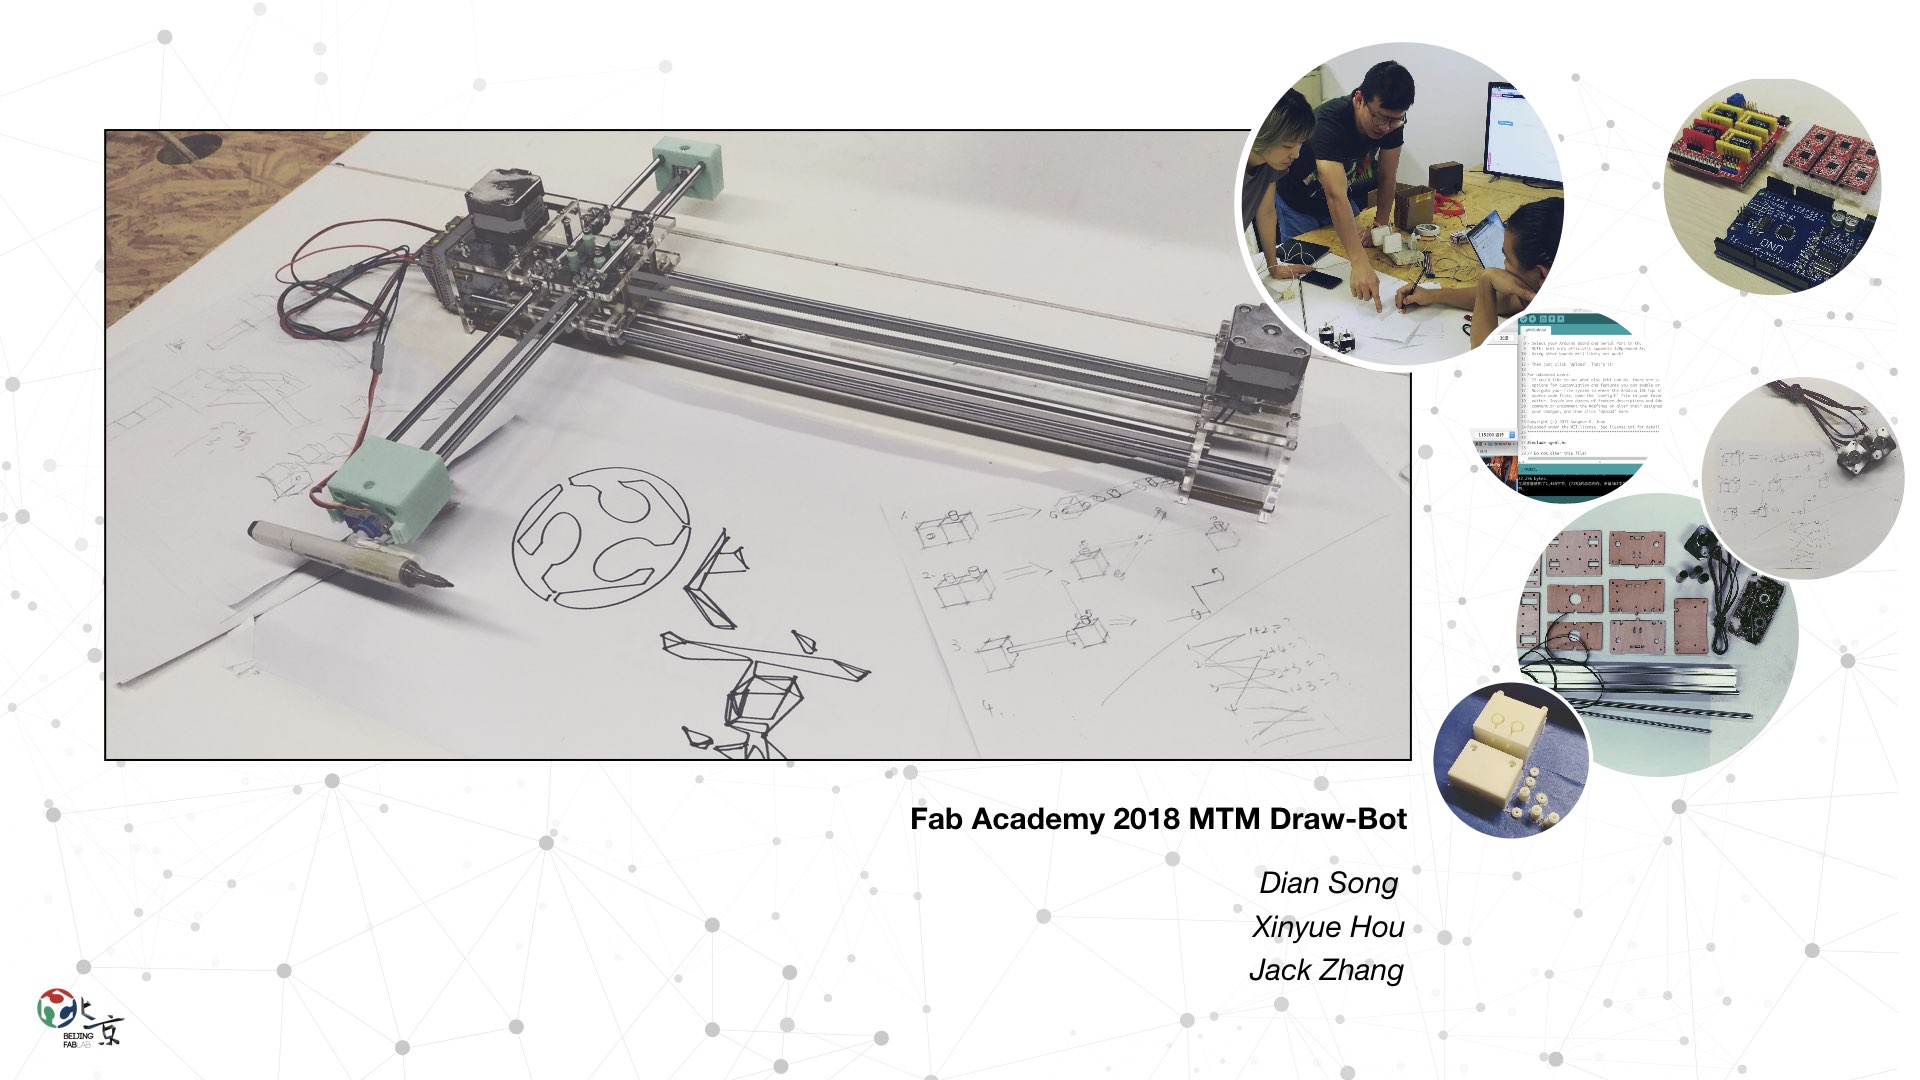
It's a AxiDraw robot But we believe it's also can be an new basic element of MTM that can expand the diversity of the 「MTM world (or series)」

We do like MTM Idea A most basic elements, copy itself and generate a variety of machines. With the increase in dimensions, and different creative ideas, you can build a lot of interesting and complex machines. This is much like 4 bases,AGCT(U),different encoding in the DNA and it evolved a variety of life processes.

So If we continue to think divergently along the direction of DNA and life.Does those machine or system derived from this ONE single basic element limit itself? A self-replicating unicellular organism up in my mind. However:
Following this line of thinking, we make assumptions: Maybe we can expand the diversity of the 「MTM world (or series)」 by adding an other basic element or by creating a few basic elements. I think this may be the key and I’ve been pondering this picture for a long time.

At this point, we plan to design a series of MTM Lego blocks with 2 stepper motors as a unit, as shown in the figure:


The time was tight, so we finally chose only the No.2 basic unit because it placed two stepper motors XY on the same plane.


We found a similar structure machine that this man, 「Misan」 make on instructable.com -- 4XIDRAW A writing robot with an elegant structure. So we decided to build a similar robot basis on that.

Before inserting the CNCShield over the Arduino I do 「this trick」, that allow to power everything from the Arduino power jack.


About the structural part of the machine, my classmates worked on the structure and hardware of the our AxiDraw robot, and realized the parts by using laser_cutter and 3D printer. In order to find a goo screw, we removed an old 3D printer. In addition, after testing and several assembly attempts, taking into account the structural strength and deformation issues We replaced the originally selected 3mm wood board with 5mm thick acrylic. We also added a metal frame to the bottom of the machine to increase the structural strength of the entire machine.


Follow the blog, we downloaded the 「grbl-servo-master」 from Github first Than I follow the steps of Compiling Grbl and install it step by step. I am using Mac, due to driver problems, the Arduino uno always couldn't find the port. It was because my computer didn't have CH340G / CH341G Serial installed. I finally solved the problem with reference to these 2 articles:


we found two types of programs use in our computer in the beginning, one for creating the code for a given graphical design. And second program to send the code just created so the plotter will draw it on paper. But in the end we chose a "4xiDraw" plugin of Inkscape that will take care of both drawing and gcode. By Torsten Martinsen so no need for UniversalSerialGCodeSender nor for another plugin this way. You can get his plugin here

We install Misan's laser-gcode-exporter-inkscape-plugin for creating the code for a given graphical design and UniversalSerialGCodeSender to send the Gcode to the plotter


Than we setup our GRBL-Settings by Arduino's Serial Monitor like this


We found another open source control by learning and searching. 4xidraw Control Extension By Torsten Martinsen. The 4xiDraw Extensions for Inkscape - Software to drive the 4xiDraw drawing machine. And it's based on the AxiDraw inkscape plugin So we follow the Axidraw Software Installation and Install the AxiDraw] too.


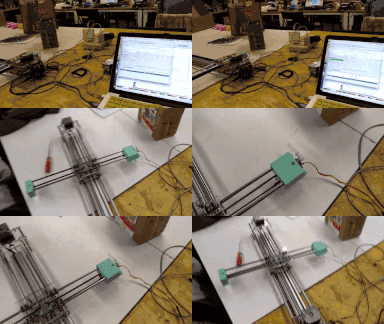
In the end adjust the position of the pen we open our logo_svg files in Inkscape, chose the 4xiDraw control and apply, Done!