printing
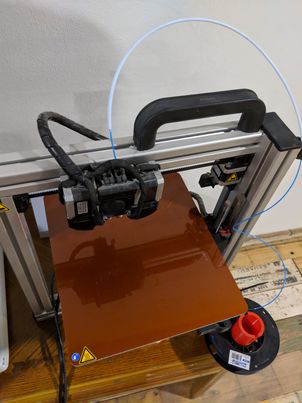
at begining, i’ve used felix printer.. it was available in our fablab, didnt find spool holder for it but fortunatily we found 3d printed spool holder to i’ve tied with cable tie it into the frame of the 3d printer

user interface
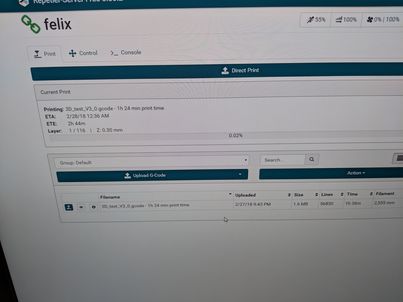
the first print was to try the heating .. the print was not sticking to the bid
because it has low temperature
felix printer has dual nozzles. however, we use only one .. when we printed we inserted the
material in the left nozzle which was little bit higher ..
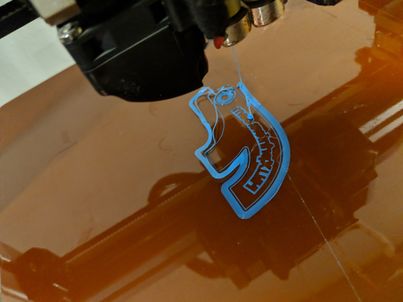
in order to fix that, we unloaded the PLA material from the nozzle and inserted it in the right nozzle
which is lower and the nozzle touches the bid surface.
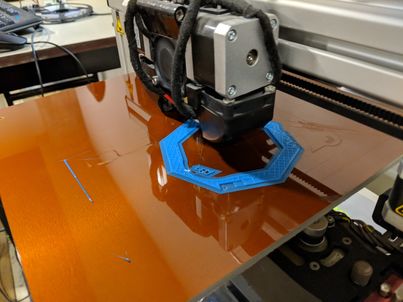
i’ve printed known size box because i’ve heard from someone that your PLA 3d printed parts get
shrink if you place them in the sun or heat.
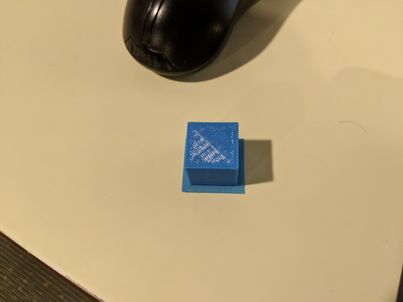 i measured the box size it was around (20.05 mm):
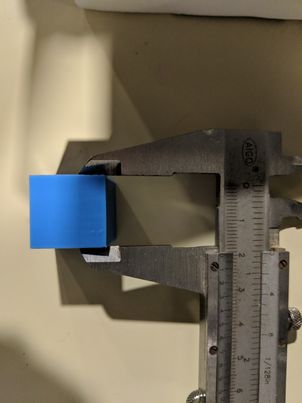
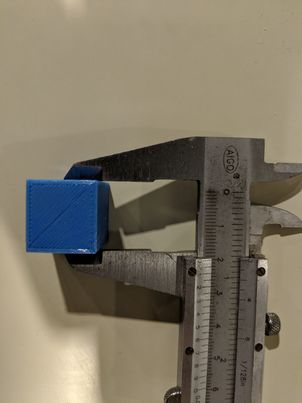 after i leaved it in sunrays i measured it again it was around (19.5 mm):
#cup holder: first try i tried to print was with felix printer .. the print went bad because the Z-axis had a problem which the nozzle was far from the part when it injects the PLA material.
the result:

so the model was printed again in MakerBot replicator :
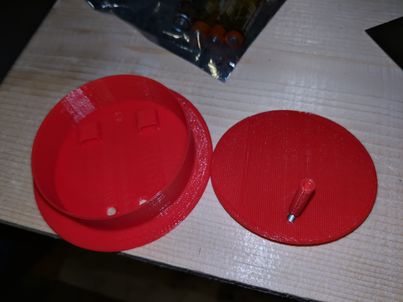
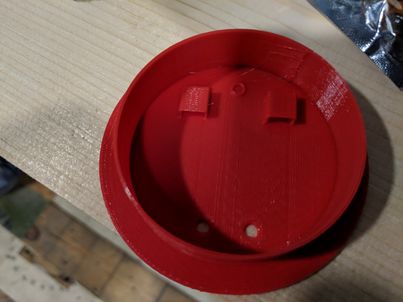
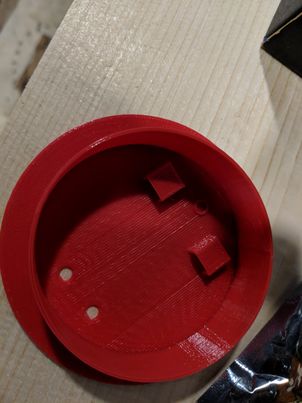 well, the design was too thin the screw holder broke ..
next time i would increase the thickness …
design 2 on prusa

i also tried another printer in the lab called prusa i3 mk2 printer. Its a cool machine and comes with heated bed can print a lot of different materials like PLA,ABS and flex filament. I used it to print another design.
additive design is a design that cant be made by milling machine or something like that so using 3d printer for it is important. i made the design with solid works with i used a lot before in university and for work so i know how to use it before and have license for it. I just made simple design
Start from sketch with simple shapes like square and circle

Then extrude the shapes to make the final shape.


This is the final shape i have and saved as stl

to print on 3d printer i have to use software called slicer. It slice stl file to layers the printer can print and makes g code file that tells the printer how to move to make the shape. Slicer i used is the default slicer for prusa and easy to use. my shape is really simple so i dont need to put high detail setting. I did very low setting to print fast with less material. I have to put support to print this and material im using is pla

i tried to rotate the model to see what will take the less print time.


This was the final form but it is not much better its small difference. i loaded the filament and started printing okay. it finished almost 70% okay then i checked on it and it came off the bed and started moving and the print was messed before finishing

its weird that is moved becuase the bed is heated and pla normally sticks okay as far as i know. I saw this trick where they use masking tape for the print so i tried that for the second try

this time it worked okay and finished in the same place. there is so much support i had to remove but it was easy with small cutter


download cup charger stl
download design 2 stl
download design 2 solidworks
what I learned
3d printers are great tools for some things only. They can make things that another machine cant make like my design that has interlocking parts so its almost impossible for cnc machine to make.
Bad part about 3d printers is they take so much time and so much plastic and a lot of it we throw away (support) Also 3d printers fail a lot like if a print moved or didnt stick to the bed it ruins everything. I think they are great but only for small parts that cant be made with cnc or laser
Scanning
in this post i’ll talk about my experiment using kinect to scan objects…
i used software named Skanect 2 which has demo version with limitations


i started with scanning myself by rotating infront of the camera easily without disturbing the result when it reconstract the frames
and after the construction
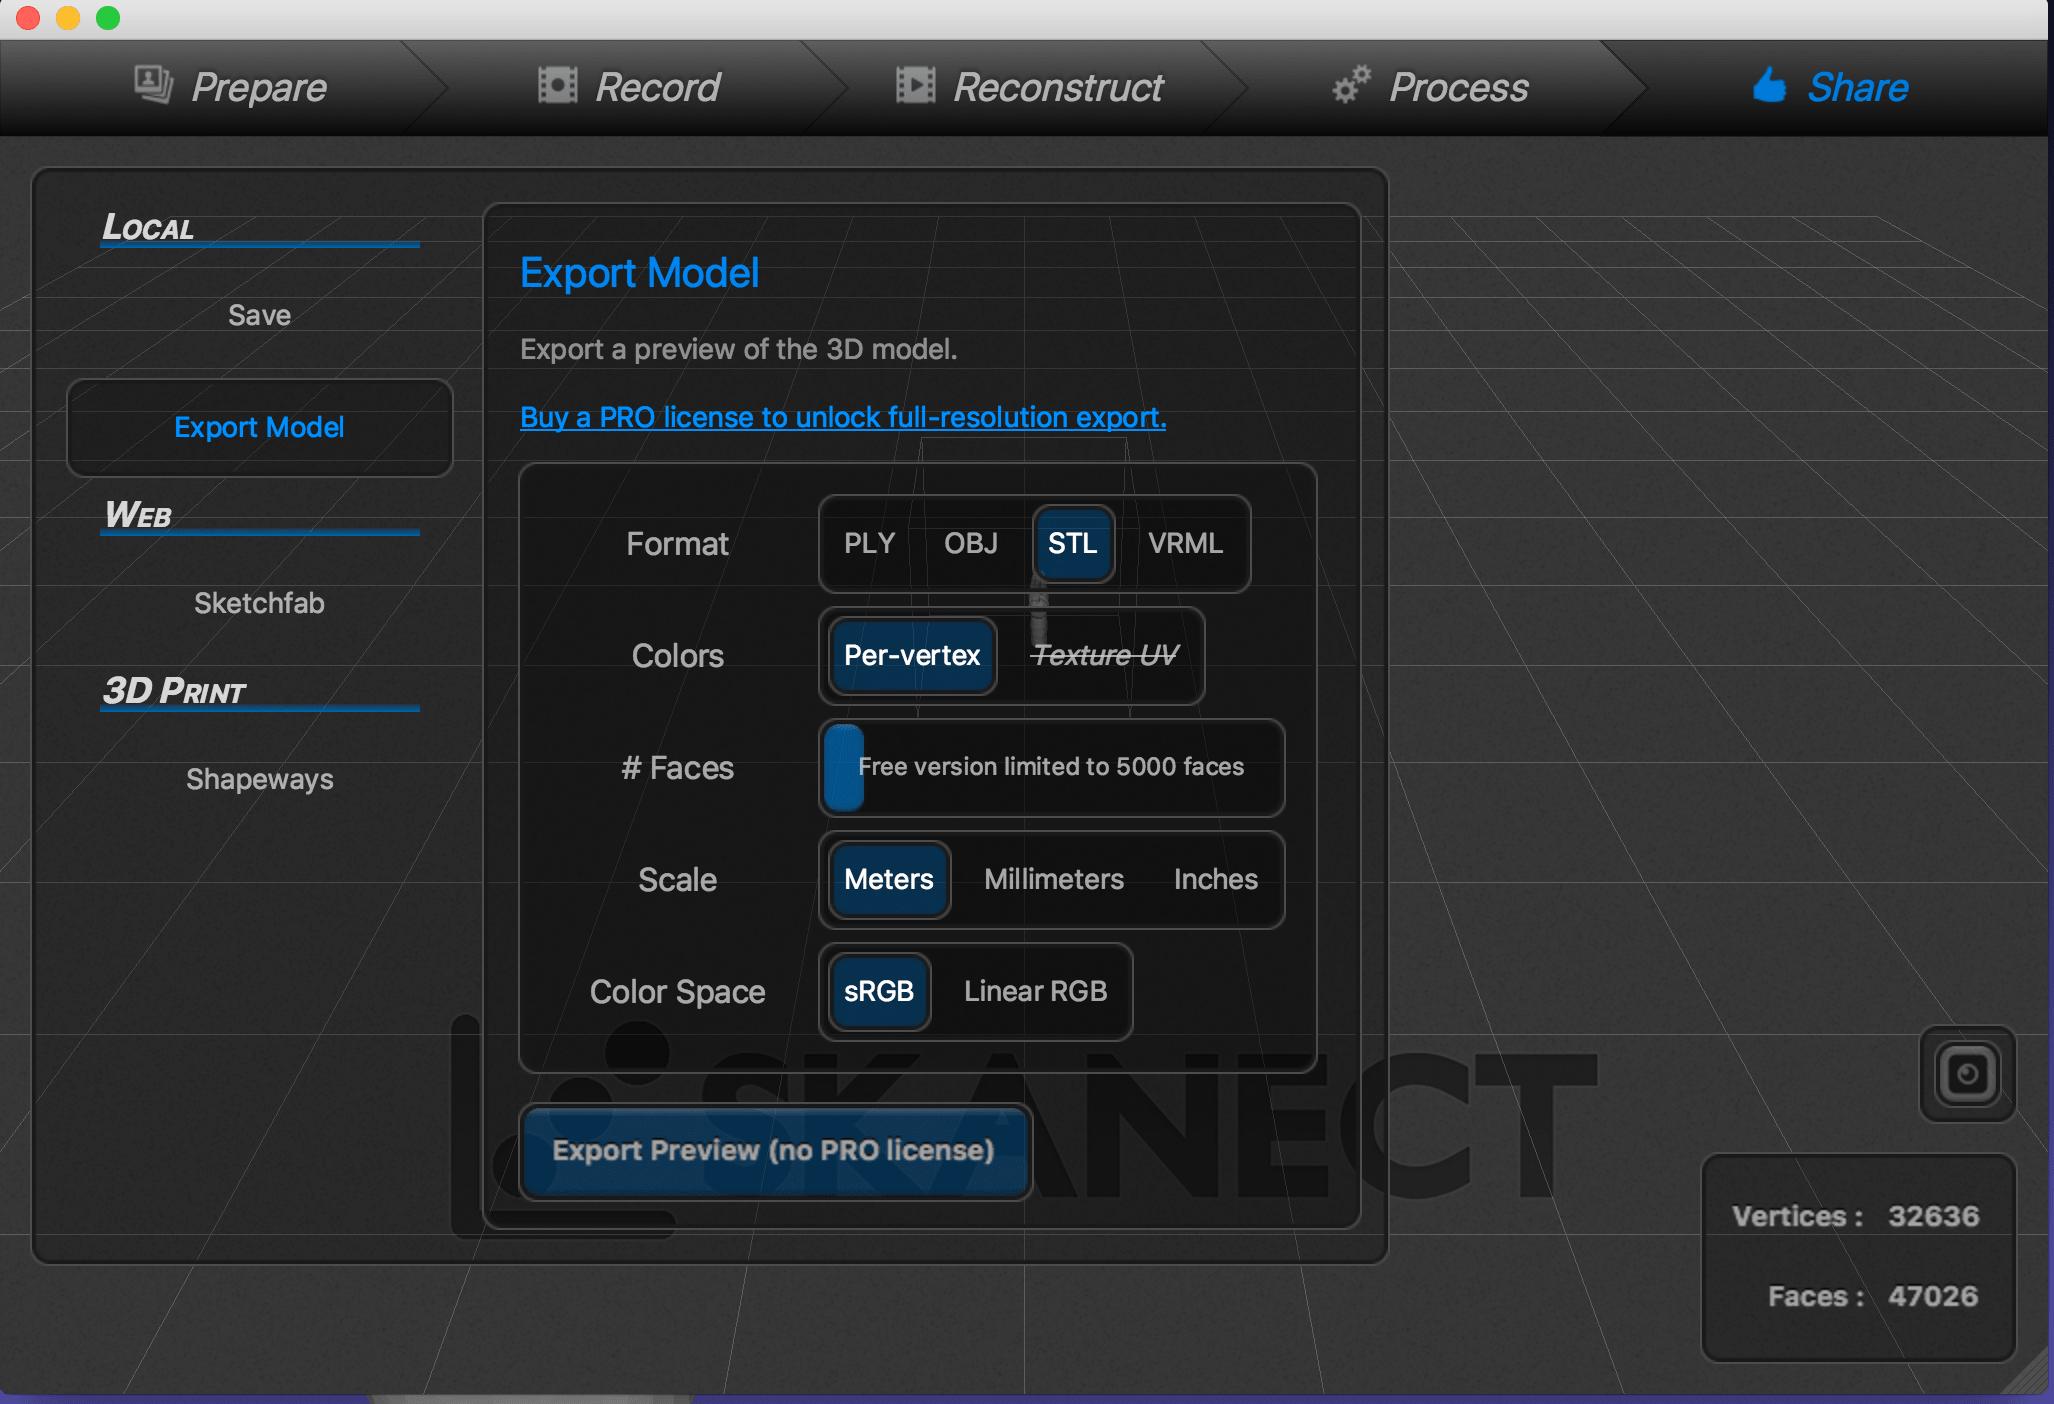
output
Scann3d

i found an app in google play store which is for 3d scan ..
Scann3d
this app allows user to rotate around the object and take more than 20 pictures and then reconstruct the frames

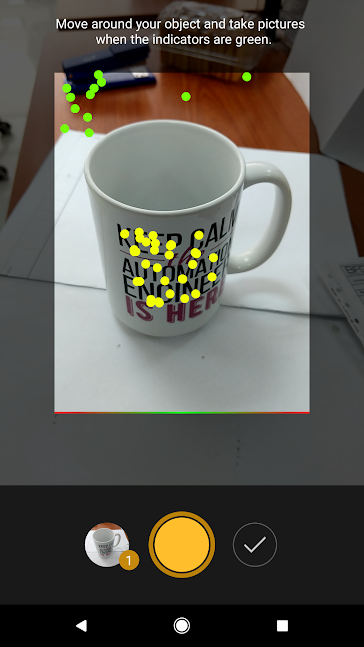 result:
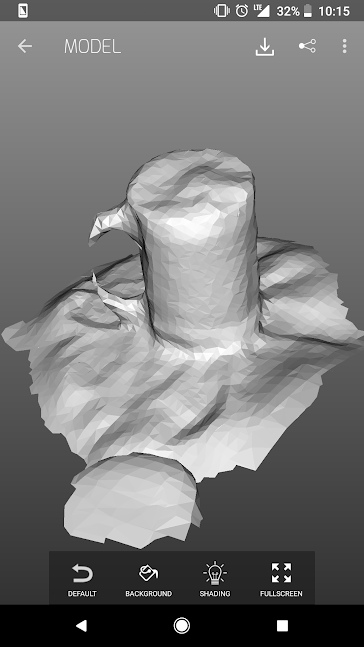
of course this app is nice although i can say it doesnt understand what is depth very well
as it construct the object from the frames detecting the color changes .. as i believe ..
and thats where the cup is solid not shelled .. (not empty from inside) ..
qlone
I found a similar app that does 3d scanning too but it is really interesting becuase it uses an extra tool to identify space unlike the first one. To use i had to print a mat and put an object on it to scan and it knows where the phone is based on the mat. Its really smart idea i like it and think it will give a better result. i used a cup to see if it has the same results as the last one and if it can sense depth (iside cup). Disadvantage of ths app is that the object has to be small and fit on the mat. I couldnt put the cup standing up becuase it is too big then so had to lay it down.


Result is good but has the top part too high. There is option to flaten the top but it flattened too much

I didnt keep the flat top. i cant put download link becuase then i have to pay for the app but i put it on sketchfab
This app didnt do depth image too but had better result than the other one. The handle was scanned ok. I like the idea and think its smart but if i want to scan big objects i cant with this app