Blender
Blender is a great Opensource project for 3d modeling, rendering, animation tool in this document i’ll try to put some of my exploring tips that i found during testing this great tool
interface:
to start with, im using laptop which has pad mouse so i think its great solution to explain my navigation through the 3d space in the program:
first, every file has its own options so even if i made mistakes in the user preferences it will be discarded the next time i open blender
to navigate through the 3d space using blender i went for:
File -> User Preferences -> Input -> [x] Emulate 3 Button mouse
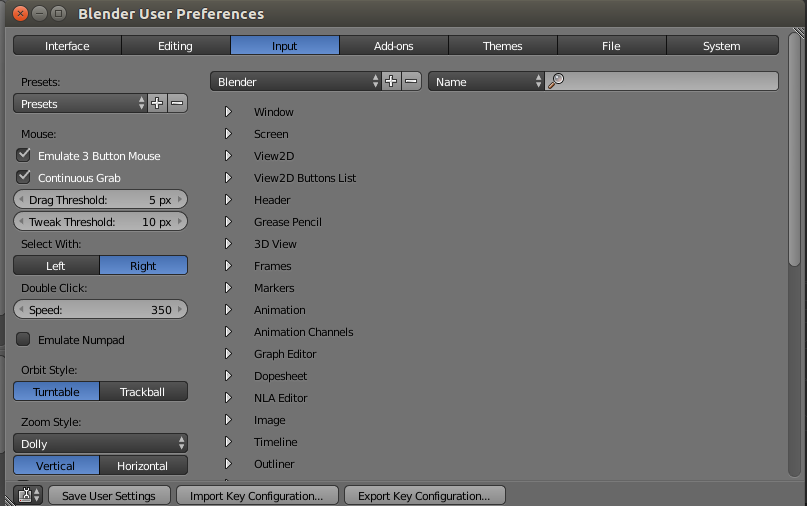
- Zoomnig `Ctrl + Alt + drag` < OR > `+ / -` buttons
- Pan `Alt + shift + drag` < Or > `Ctrl + numpad keys 4,8,6,2`
- rotate view Use `Numpad keys: 4,8,6,2`
Blender Usage
of course im not master of blender but these are the highlights that i liked in the software
Selecting Object
Right click on the object
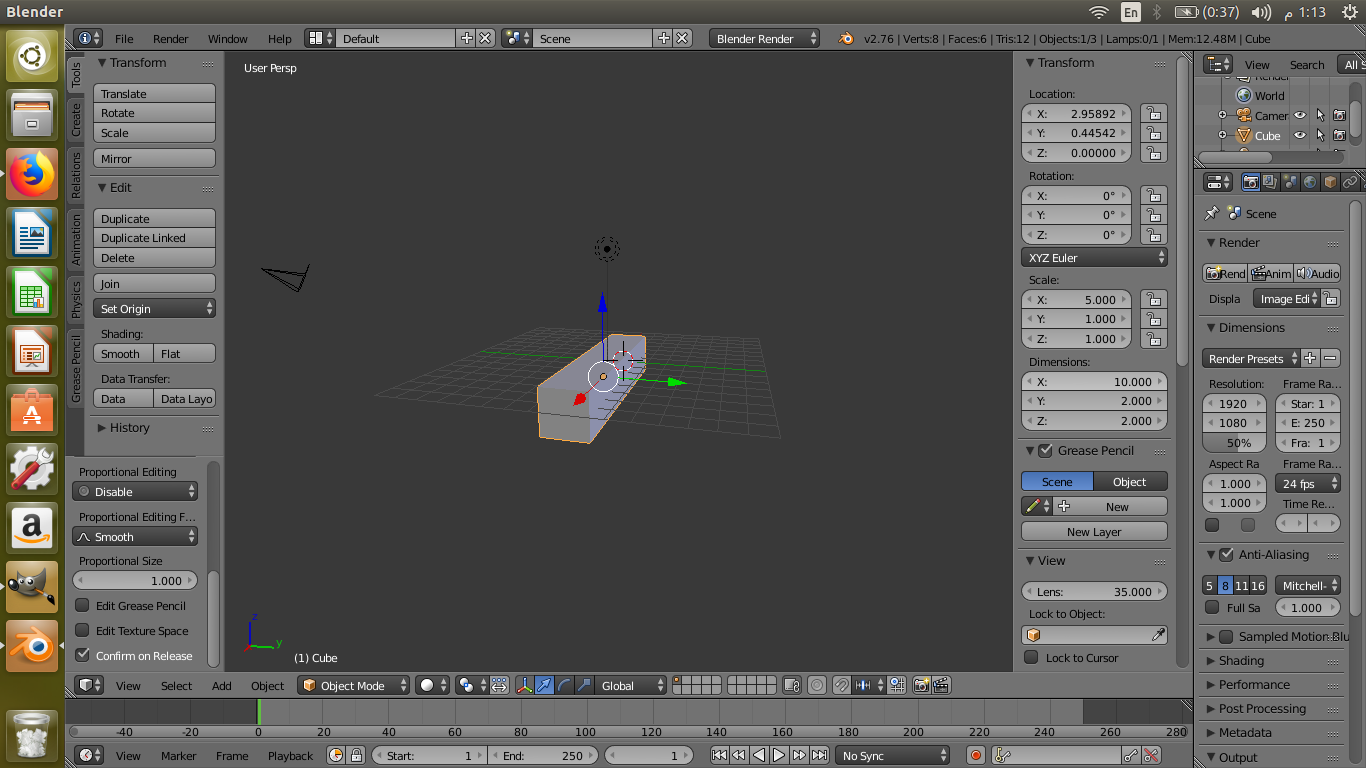
Properties
by selecting any object (ie: box) you can play with its parameters after opening the properties window
press N when object is selected
moving Shortcut key
press G in order to move objects
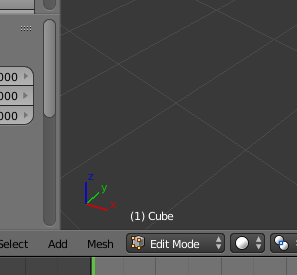
Edit mode
in order to play with objects you can play by points its made from
these are called vertices
you can change from object mode to edit mode in order to manipulate the vertices of anyobject
snapping
you can snap to vertices, grid, etc.. by turning on snapping mode ..
short cut Shift + tab
Demo Video
Render
of course you can output your file to an image

Gimp
gimp is nice image editor, i’ve tested photoshop before however my goal here is
to present a new experiment .. im using ubuntu so i’ll go with gimp as its installed by default
interface:
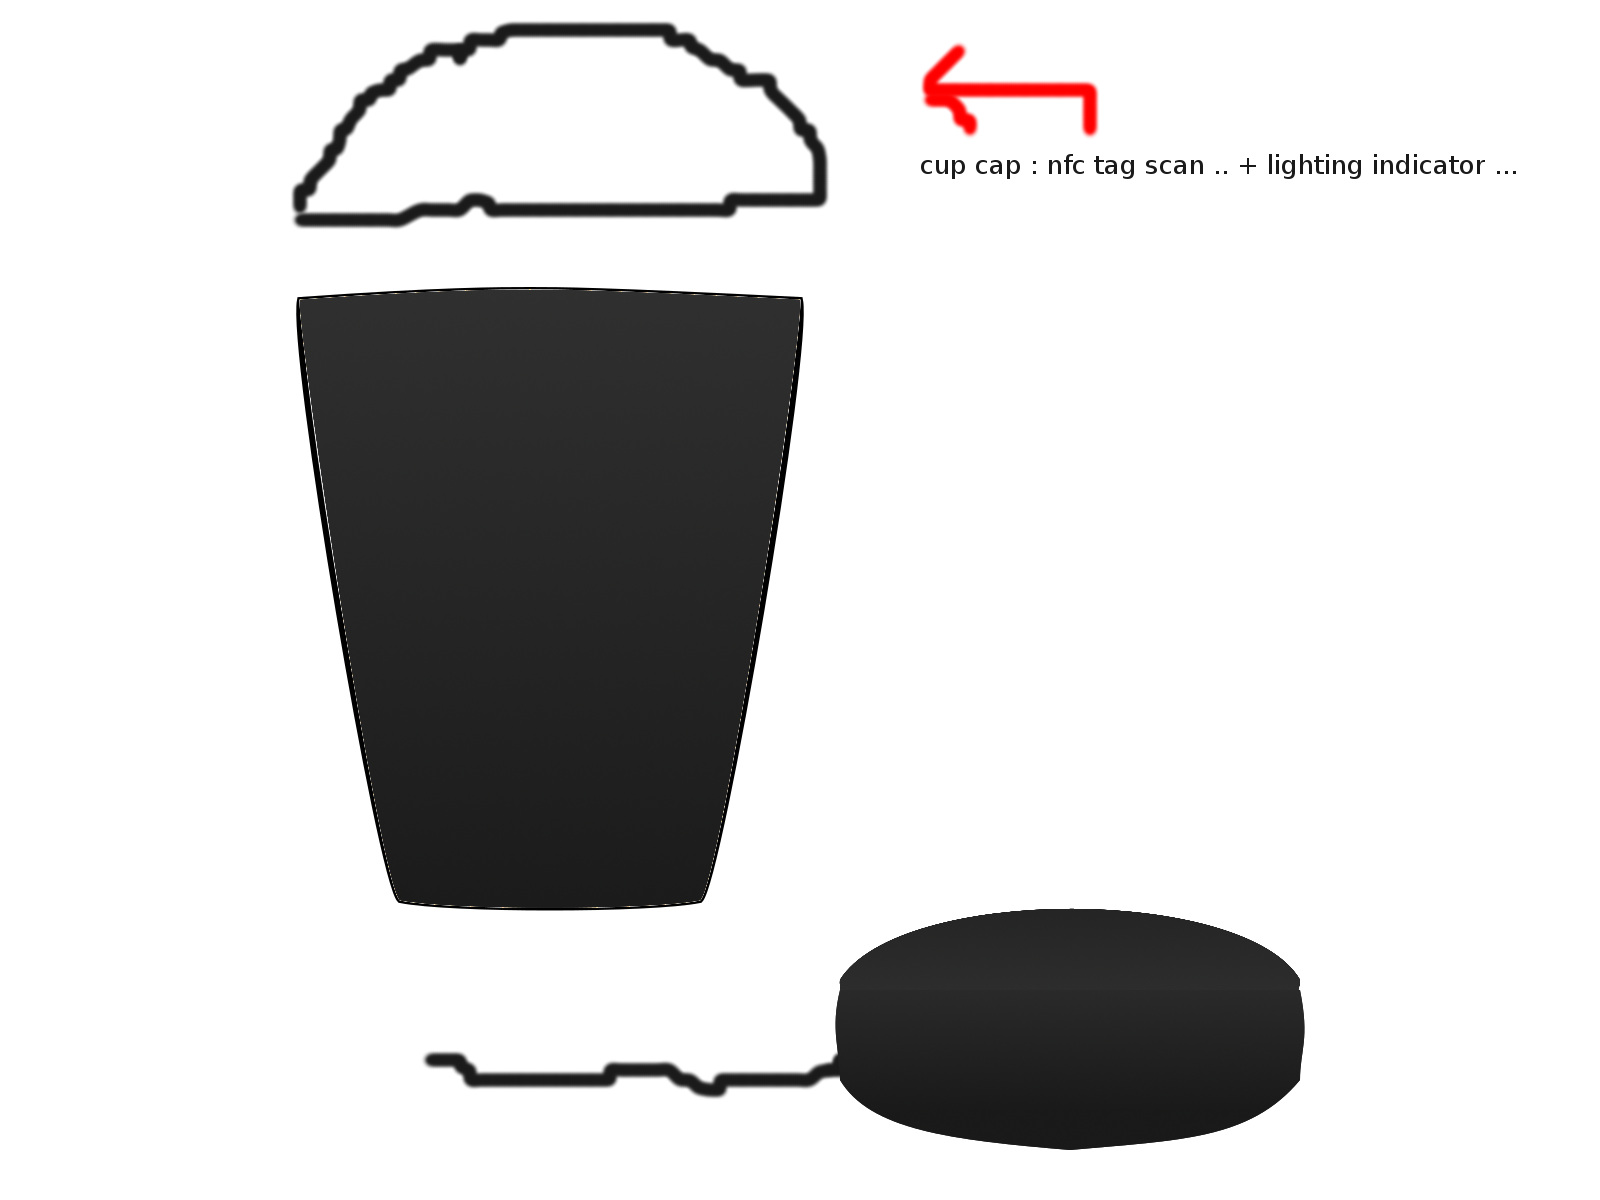
i played with the path tool mostly which is little bit complicated but its has good results for vector outputs i really enjoyed using it:
i draw an image illustrating my final project idea the first drawing path is the cup which should be colored and the right black thing on the image should be the charger for the cup
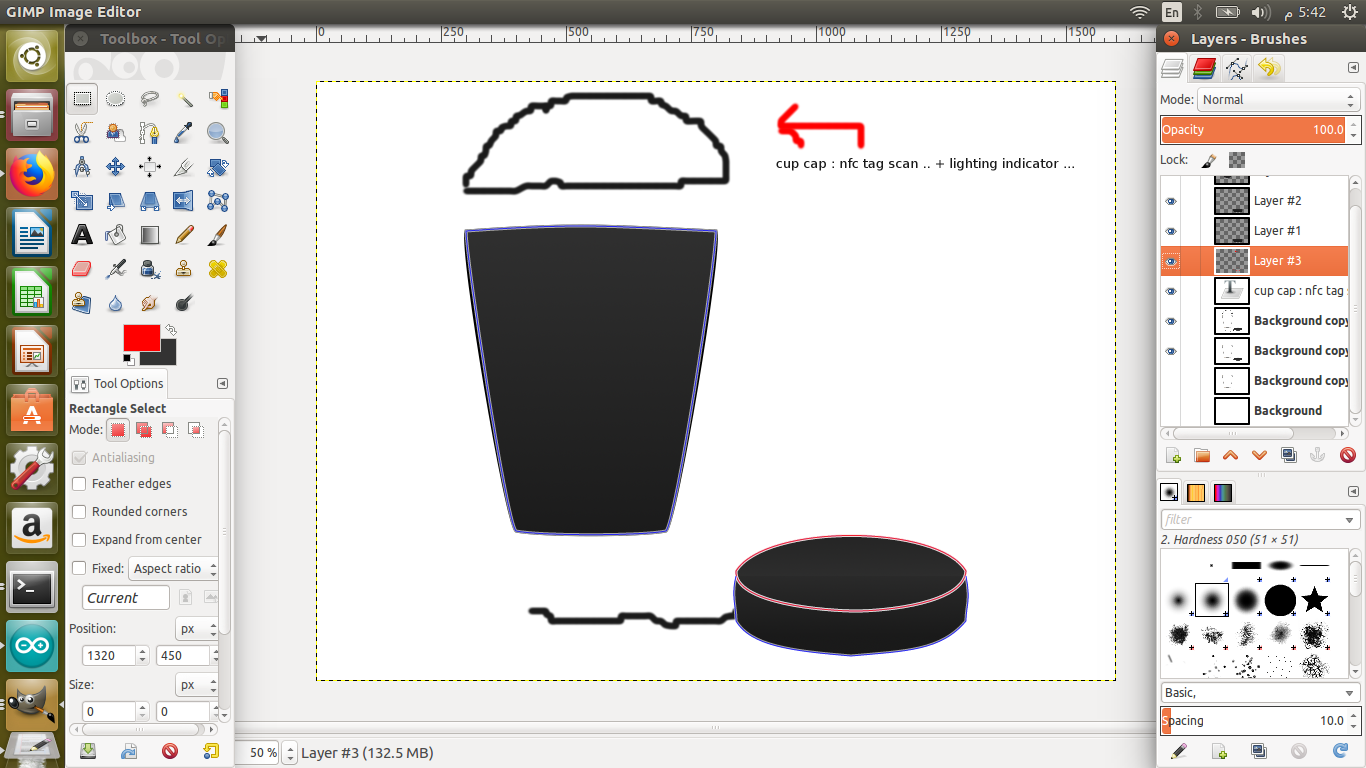
i exported the image and choose the worst compression to get the best resoloution
OpenScad
so i started writing simple code for designing the cup charger
    $fn = 64;
    // all by mm

    difference()
    {
        x();
        tube(100,3);
    }

    module x()
        {
        translate([0,0,-10])
        color([0.25,0.25,0.25]) cylinder  (h=10,r=100);
        rotate([0,0,90])
        translate([-(100-12.5),5,0]) roundedRect([25,3,0.2],2);
        rotate([0,0,90])
        translate([-(100-12.5),-5,0]) roundedRect([25,3,0.2],2);
        }
    module tube(size, radius)
    {
    rotate_extrude()
    {
        translate([size,0,0])
        circle(r = radius);
    }
    }


    module roundedRect(size, radius)
    {
    x = size[0];
    y = size[1];
    z = size[2];

    linear_extrude(height=z)
    hull()
    {
        // place 4 circles in the corners, with the given radius
        translate([(-x/2)+(radius/2), (-y/2)+(radius/2), 0])
        circle(r=radius);

        translate([(x/2)-(radius/2), (-y/2)+(radius/2), 0])
        circle(r=radius);

        translate([(-x/2)+(radius/2), (y/2)-(radius/2), 0])
        circle(r=radius);

        translate([(x/2)-(radius/2), (y/2)-(radius/2), 0])
        circle(r=radius);
    }

    }
the final result is:
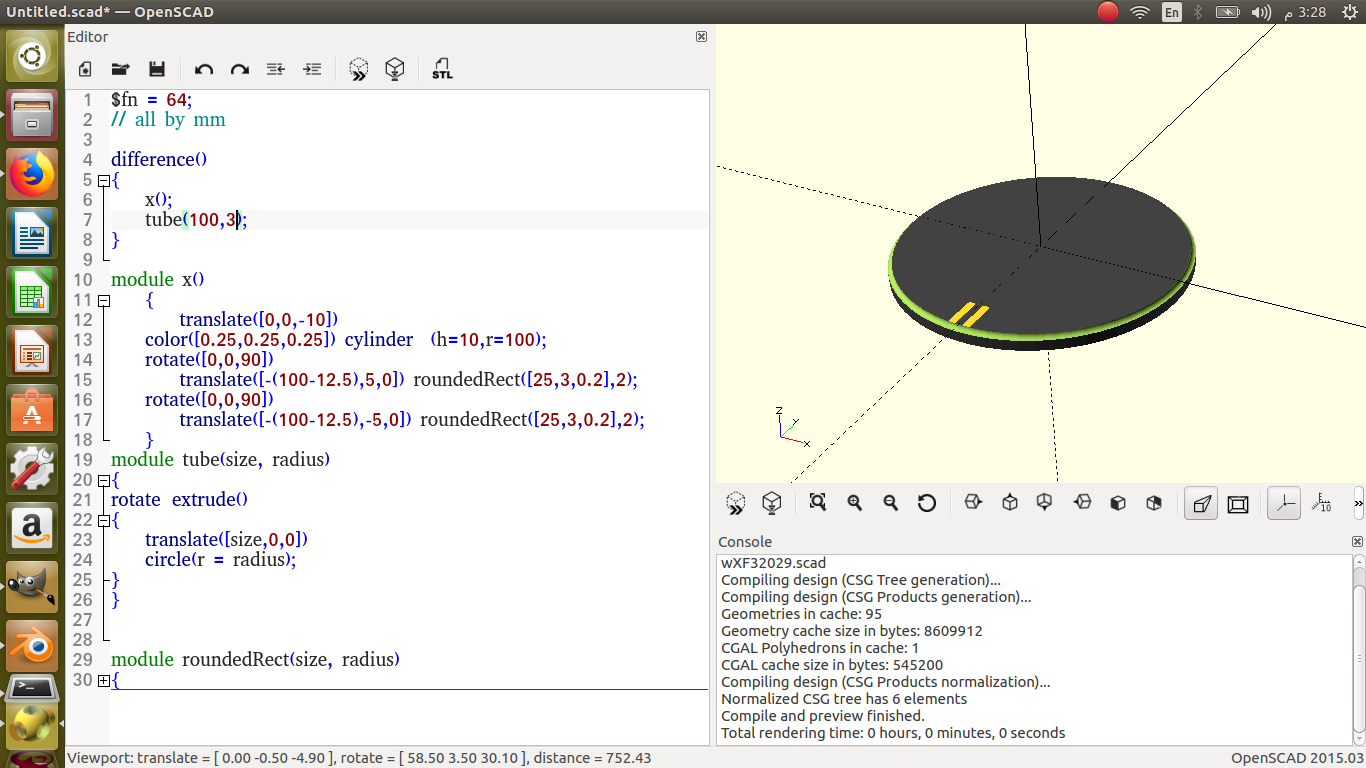
Note:
however, using sphere to cut the cylinder is not what intended ..
it should be fillet design so in order to achieve that ..
i researched online for openscad fillet found this link but didnt try it yet: