Final Project
Table of Contents
Proposal (2017 - Week 01)
My objective for the final project is to make an educational mobile robot based on modules for a step by step learning experience. Like the plan of Seymour Papert, the idea is here to experiment, not only use the robot via a computer, but also to create the robot :
Source: www.youtube.com/embed/nNzeGittVXw
For this purpose, my idea was to divide the robot in three parts, to provide a good UX for each of those stages. Meaning that you can play with your robot since the beginning :
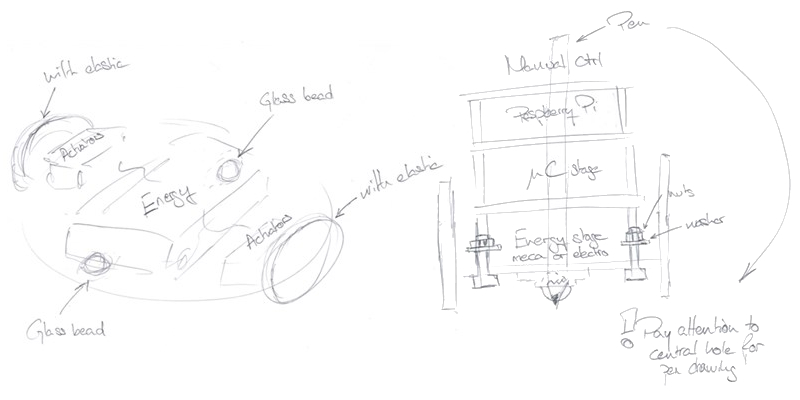
mechanic : laser cutted part to assemble, with mechanical winding as module for instance (to replace servos at the beginning)
electronics : based, for example, on the Braitenberg vehicles
computing : using scratch programming with a Raspberry Pi
Mechanical part
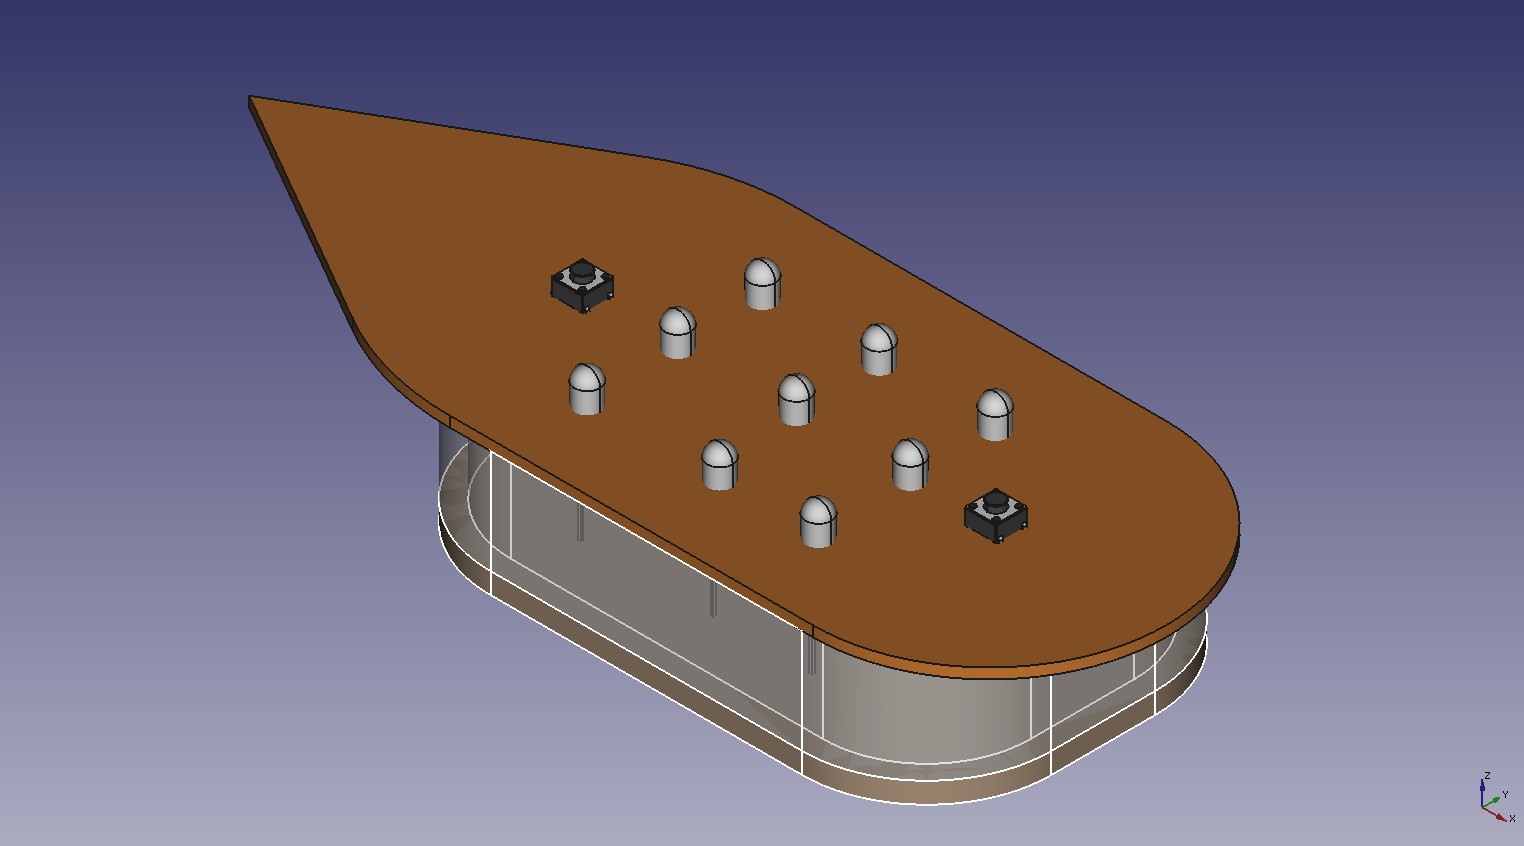
Structure could be a derivate based on SumoBots but at the end the following requirements need to be achieved :
- The outer perimeter should not exceed 700mm (R=100mm), 900mm deployed (R=140mm)
- The height should not exceed 350mm (+25mm for an emergency button)
- 2x 100 x 70 mm for flat marketing shield
- (Fixed beacon on the top)
Electronic part
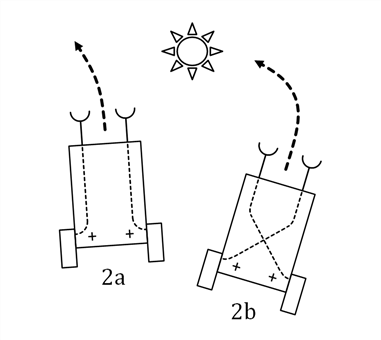
For the electronic step an idea will be to use Braitenberg approach :
A Braitenberg vehicle is an agent that can autonomously move around based on its sensor inputs. It has primitive sensors that measure some stimulus at a point, and wheels (each driven by its own motor) that function as actuators or effectors. In the simplest configuration, a sensor is directly connected to an effector, so that a sensed signal immediately produces a movement of the wheel.
Depending on how sensors and wheels are connected, the vehicle exhibits different behaviors (which can be goal-oriented). This means that, depending on the sensor-motor wiring, it appears to strive to achieve certain situations and to avoid others, changing course when the situation changes.
Based on that job and by keeping the focus on Eurobot contest the next requirement will be mandatory :
- Obstacle avoidance system
- Start by pulling on a cord
- Emergency button (Dia 20mm min)
- Auto stop after 90 sec (+stop all the actuators after 5 supplementary sec)
http://hackaday.com/2016/11/22/a-buck-boost-converter-from-the-ground-up/
Computing part
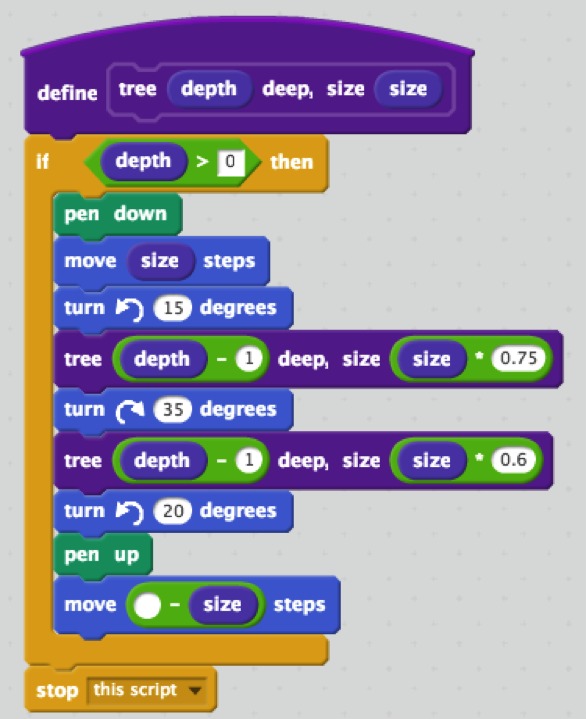
At the end the idea is to program the robot with help from Scratch which is a free visual programming language developed by the MIT Media Lab.
Other notes
Here are a few more references to look at for your interesting final projects, please check out: Littlebits, Lego mindstorms already tried Exemples :
http://microbit.org/ from Bas Witthagen
http://makeblock.wixsite.com/makeblock/neuron from Jakob Nilsson
CAD Modeling (2017 - Week 02)
http://www.robertcailliau.eu/Lego/Dimensions/zMeasurements-en.xhtml
First assembly :
Ultimaker assembly principle :
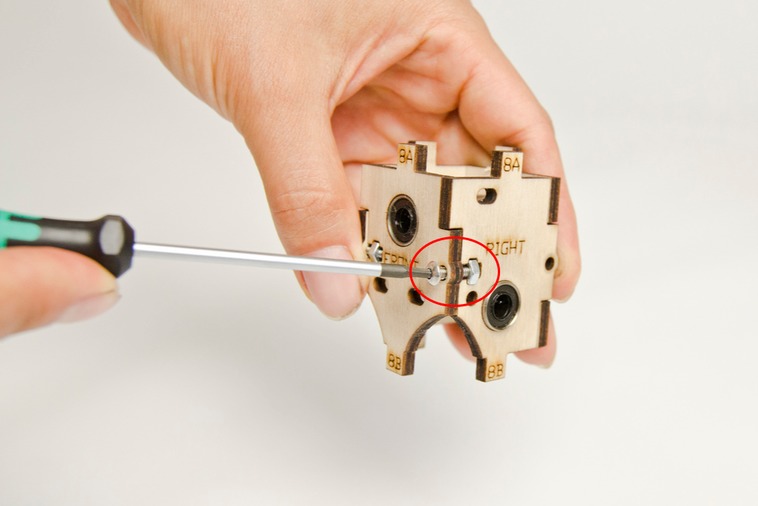
With intermediate part :
New design philosophy (2017 - Week 12)
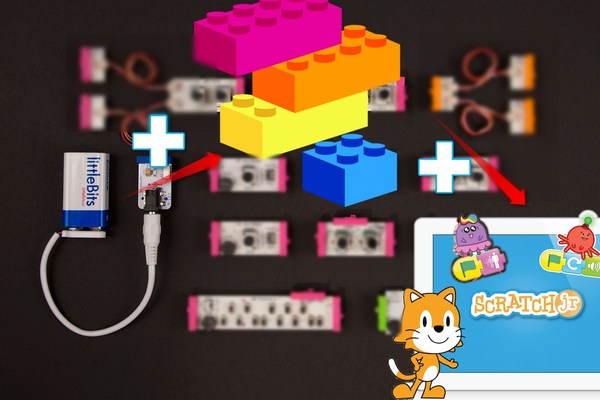
Lego (Mechanical) + Little Bits (Electronic) + Scratch Jr (Software) :
Discovery of the Topobo toy (2017 - Week 15)
Source: www.youtube.com/embed/nNzeGittVXw
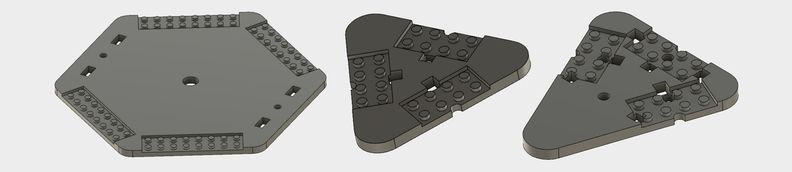
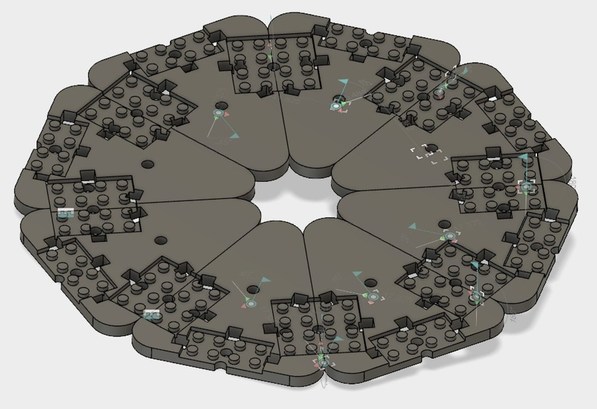
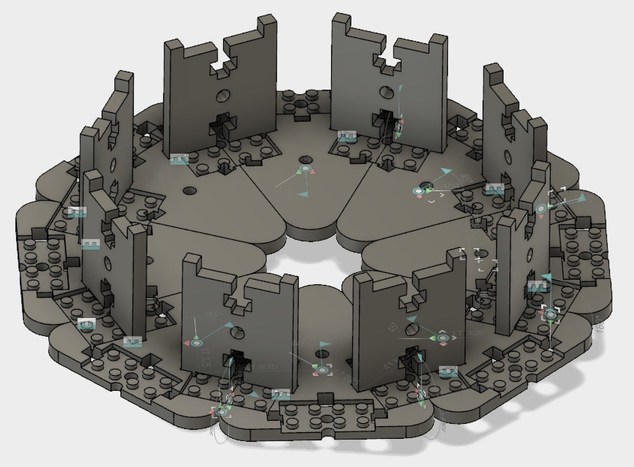
Design parts (Maybe a good alternative to Lego(c)) :

Proposal (2018 - Week 01)
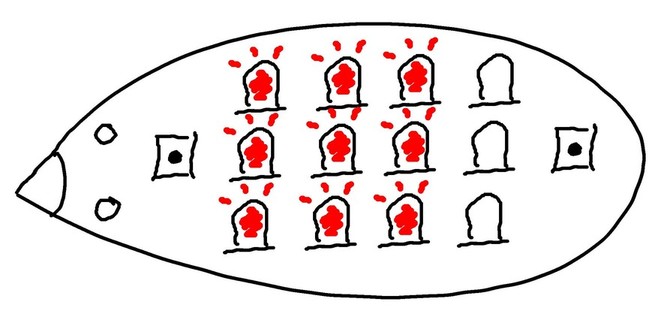
The idea is to create a simple electronic project for workshops with child. The basic concept is to have a matrix of 3x3 leds + 3 leds (or sensors-actuators let’s see further during the Fab Academy), plus 2 button.
With this project the goal is to explain to children how to :
- Soldering components
- How to design a simple case 3D print or 2D Lasercut
- How to load and programm Arduino boards
- How to play with the matrix led (via an app)
- And many more…