Week 9: Mouldy casting
Download this week's code
Small stuff
I changed my image-processing script again. PNGs were not always compressing well. Because ImageMagick has a flag to limit the maximum size of a JPG, I decided to convert the PNGs to JPG and limit their size. Voila. Ça marche. Here is the new code:
mkdir smaller
mkdir smaller/thumbnails


# Add flag to specify a specific file (or pattern of files). If empty then it operates on all images in the folder.
if [ $# -gt 0 ]; then
	FILENAMES=$1
else
	FILENAMES='*'
fi

# Shrink the image
mogrify -auto-orient -path smaller/ -format jpg -resize "800>" -define jpeg:extent=100kb $FILENAMES
# Create a square thumbnail
mogrify -auto-orient -path smaller/thumbnails -format jpg -define jpeg:size=400x400 -thumbnail 200x200^ -gravity center -extent 200x200 smaller/$FILENAMES
Assignment requirements
The first checklist
- group project: review the safety data sheets for each of your molding and casting materials, then make and compare test casts with each of them
- individual project: Design a 3D mould around the stock and tooling that you'll be using, machine it, and use it to cast parts from it.
The second checklist: Learning outcomes
- Design appropriate objects within the limitations of 3 axis machining
- Demonstrate workflows used in mould design, construction and casting
The third checklist: Have you…
- Explained how you designed your 3D mould and created your rough and finish toolpaths for machining
- Shown how you made your mould and cast the parts
- Described problems and how you fixed them
- Included your design files and ‘hero shot’ photos of the mould and the final object
Reading the materials' sheets
I first looked at the materials that Emma had bought. Browsed the smooth-on website to see what I needed to know. For fun I watched Martha Stewart make candles using Oomoo.
Here are some observations:
PMC 121
- Has a built-in release agent.
- PMC 30: Pot life of 30min, cure of 16 hours, hardness of 30A
- PMC 50: Pot life of 30min, cure of 16 hours, hardness of 50A
Vytaflex
- For casting concrete! Coloured concrete!
Smooth-cast 305
- Can be rigid or semi-rigid
- can be coloured
- Low-viscosity resin
- "bright white, tough, durable, machinable, paintable, and virtually bubble free"
- Pot life: 7 min, cure time: 30 min, hardness: 70D
- A release agent is necessary
I looked at the safety sheets. In Vytaflex it lists "Acute toxicity, inhalation-Category 4 ", so I googled that, to see what it means. The American EPA had this document, which stated two different systems for toxicity. The GHS (Globally Harmonized System of Classification and Labelling of Chemicals), and OPP (Office of Pesticide Programs, I think). Both have different inhalation toxicity levels, so it is unclear which the safety sheet is talking about. Can we just assume that it's bad for you if you breathe it in?
Deciding what to make
Looking towards the final project, I've been thinking a lot about what the interface is. I spent some time looking at Michel Waisvisz The Hands. I think, though, that I am not necessarily interested in reinventing a musical interface. The question really becomes, at some point, is a new interface needed? Or can I use an existing interface? The keyboard, the guitar, the trumpet, the sliderbox, the Wiimote. All of these are interface paradigms that can be appropriated. I am much more drawn to Waisvisz' Crackle synth, as an interface, but maybe its success lies in the intimate connection between the soundmaking and the interface, like acoustic instruments. There is no mapping. So what would I cast for the interface? Rings? Keys?
Modelling
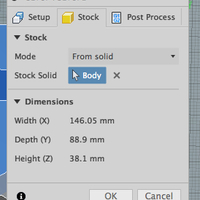
For my reference: Wax dimensions: 146.05 x 88.9 x 38.1 mm
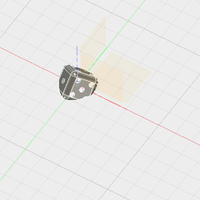
I decided ultimately to cast the hollow die that I had printed. I assumed that all surfaces could be milled if it was positioned on its corner. Once again, I couldn't let it be boring. I decided to do the baby face on the die's faces. I ran into the limits of my CAD skills, and couldn't get the baby head shape I wanted. So I did a kind of cop out with the baby head profile, and did circular rotations to get it around the cube (which was a first for me). One of the faces, as a result, has an amazing double-ear pattern. I'll take it! So no creepy baby face, just a kind of Golem-head outline around the cube. I assume that the tool won't be able to reach some of the corners of the feature, but I'm trying my luck, and we'll see what the limitations are.
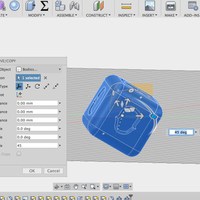
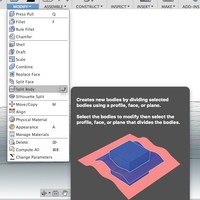
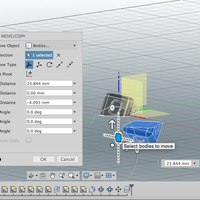
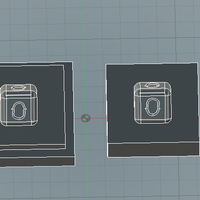
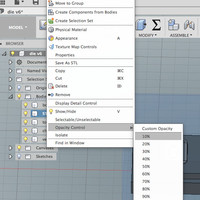
Once it was fully modelled, it became clear to me that if you place a cube on its corner, there will be some overhang, meaning that the shape in that orientation cannot be milled. I should have tested it out with a real die before imaging that it would work. I am always telling me students to do this, and I made the mistake myself. My compromise was to lay the die resting on one edge, and two faces will not have features milled into them. Here are some images of the model, rotating and splitting it, and moving the two halves.
How else could I have done this? I could have done a multi-sided mould, in this case, I think four sides. Two mould pieces would each cover two die faces, and a single mould piece for each remaining face. I'm not going to do this.
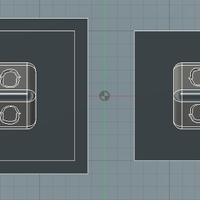
I tried to do registration along the perimeter, as Neil suggested. Let's see if it works! Let's also see if I rotated the objects correctly. I think I did! One side of the mould has a lip along the perimeter, the other should fit inside the lip. Here is the properly-rotated model, showing a cavity into which the smaller mould half will fit. Later, I'll explain that I removed the modelled stock material and just left the inner surfaces.
3D machining CAM
Learning!
I was determined to see if I could do machine paths in Fusion 360, so I followed this tutorial by bubbly American millenials. It is a great tutorial. They explain just the basics to get you started, as well as explanations for why they do it they way that they do.
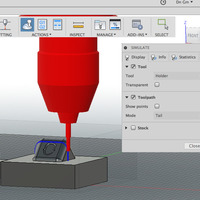
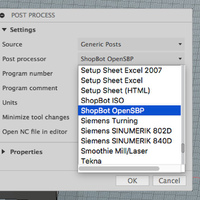
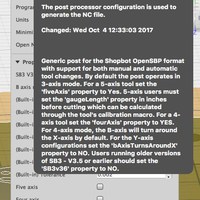
When working alongside their video I discovered a great feature of Fusion 360. When simulating the toolpath, sections are highlighted in red, and the tool holder changes colour to red, indicating where the tool holder will collide with the stock. Cool! Also, when you select the post processor (the setup for your machine), I found out that once you've selected it, you can hover over it for more information. For example, I learned that the ShopbotISP post processor is deprecated, and to use the Shoptbot OpenBSP post processor. They are also listed on this webpage.
I watched this tutorial on mould-making in Fusion 360, and found some nice tips, like how to calculate the volume of material needed, and other tidbits about toolpaths.
Doing!
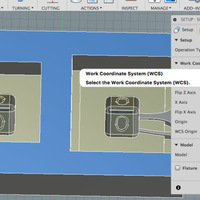
To begin I selected CAM mode in Fusion 360. Created a new setup. Hovering the mouse over any settings will often give a detailed explanation of what the setting does, even with illustrations of its effect. Selected stock size from body, since I had modelled it. Selected the Z and X axis in ways that made sense to me for the milling, with the origin at the bottom left.
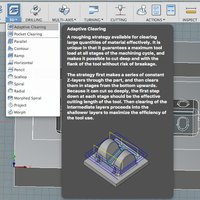
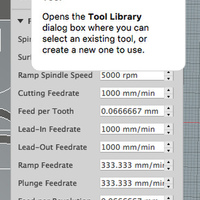
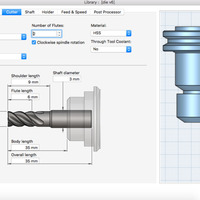
I set up an adaptive clearing toolpath, to rough out the shape of the model. I set up a new tool in Fusion using measurements from the caliper and the tool, and feed and speed settings in discussion with Bas. Fusion 360 says that the adapative-clearing toolpath should use the entire cutting surface of the tool, which makes sense to me, but this contradicts everything I've been told. Bas suggested we increase the cutting area slightly from what he was using, but not too much. Using Fusion 360 to generate toolpaths was new for him, and he didn't want too many unknowns to deal with, understandably.
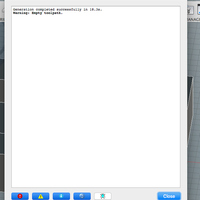
In the beginning Fusion kept generating empty toolpaths. Tried changing things based on various forum posts. No dice, figuratively and literally. I wondered if it was because I modelled the whole model into the stock. I went back and removed stock from the model, leaving only the faces that are to be milled. I tried many, many things. In the end what seemed to work was this:
- create a block for the stock wax as a separate component
- model only the internal, horizontal faces of the mould (not any vertical faces, like the walls of the mould).
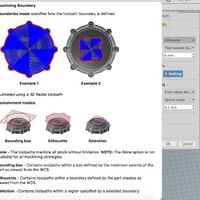
- set the machining boundary to Silhouette, this means that the machine will only clear the forms that you've created
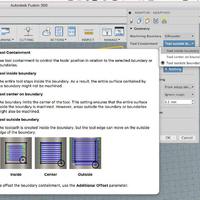
- set the Tool Containment to Tool Inside Boundary, otherwise the tool will eat beyond the boundary of your model (this was a problem later on).
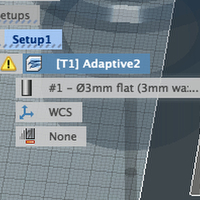
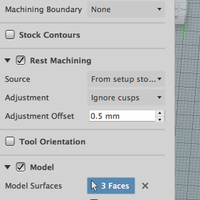
Success! Then I set up a parallel toolpath to refine only the die pieces of the mould. Now I am getting my refining toolpath giving me collision warnings, even though it's cutting as deeply as the adaptive clearing… I realised that I should have set Rest Machining to "from previous operations", otherwise it thinks that all the original stock material is still there. Now it knows that it has been cleared by the adaptive clearing.
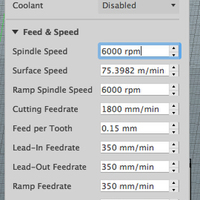
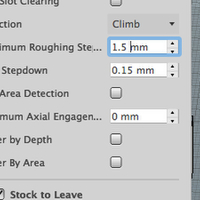
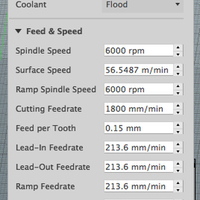
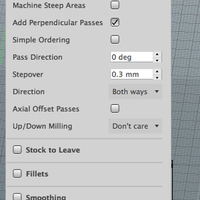
Here are my feeds and speeds and pass settings for the two toolpaths. They are a combination of defaults, plus discussion with Bas. First, the adaptive:
And the finishing parallel path:
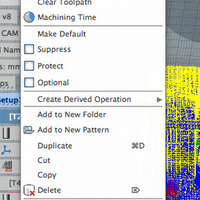
To export the toolpaths for the Shopbot, right-click on each individual toolpath, and select Post Process. There are post processors for many different machines. For the Shopbot, Autodesk says not to use ShopbotISP because it is deprecated, and to instead use ShopbotOpenBSP. Click OK, save the file and bring it to the Shopbot computer. Alternative, you can right-click on the entire setup in the browser and go through the post-processing export. I didn't do this, but I assume that it puts all toolpaths into a single file.
Milling the mould
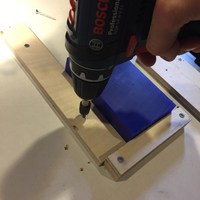
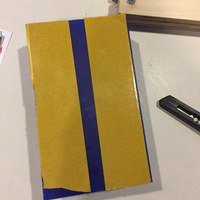
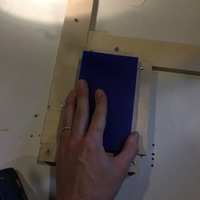
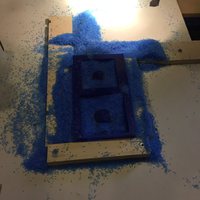
I drilled two right-angle wood supports into the sacrificial layer. I then placed double-sided tape on the bottom of the piece of wax, and placed it as flush to the corner as possible, stuck to the sacrificial layer. I drilled in two further supports for the opposite corner of the wax, holding it snugly in place.
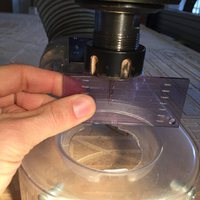
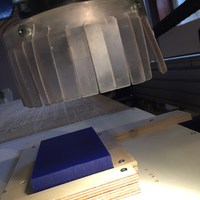
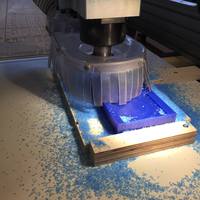
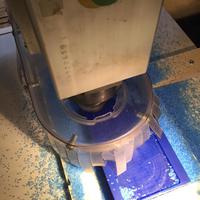
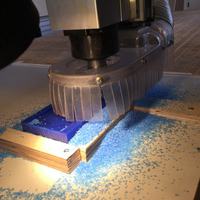
We measured the depth of the endmill from the collet to make sure that it was the same as the tool body length set in the Fusion toolpaths. Because the toolpaths were already set, I didn't use Partworks 3D like my colleagues, so I opened Shopbot and did the standard configuration for CNC milling. The XY origin was set to the bottom-left corner of the top face of the block of wax. Because it was the first time anyone in the lab had used Fusion to generate toolpaths, we cut in the air to make sure that it did what it was supposed to. I calibrated a fake Z zero high above the material. I loaded the adaptive clearing toolpath, and clicked "start". This was repeated for the finishing path. Both appeared to behave as expected. So we decided to mill the wax! Here's the endmill measurement, and the machine cutting in the air.
The milling took about two hours, I think. I don't know, I lost track of time. I learned that GCODE has an internal scripting language, because the Fusion-generated toolpaths included prompts, asking me if the Z was calibrated, and if the correct endmill was in the machine. We milled the adaptive path with a 4mm flat endmill, and then switched to a 3mm flat endmill for the parallel path.
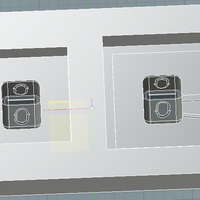
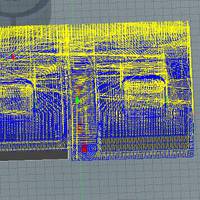
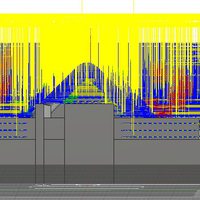
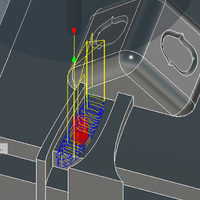
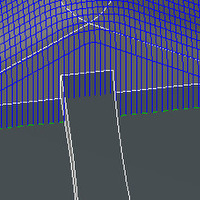
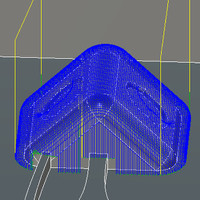
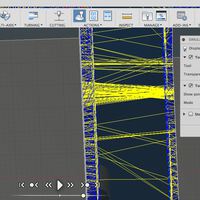
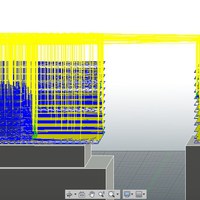
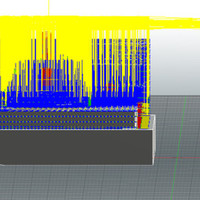
After inspecting the adaptive toolpath, it looked like the space between the channels was not milled. This didn't show up when I was first making the toolpaths, because I did my inspection using a 3mm endmill, but we regenerated the toolpaths with a 4mm endmill, and Fusion obviously didn't want to mill in that space. Inspect your toolpaths before milling! The solution was to create a new adaptive toolpath only for that face, using the same 3mm bit that I was going to use for the finishing path. Because toolpaths begin where previous toolpaths finished, I had to regenerate the finishing toolpath also, and make sure that in the setup in Fusion they were executed in the proper order. Here are two images from Fusion, the first is looking at the channel from the side, about a third from the left, you can see that the toolpath doesn't go deep into the channel. The second image shows the new toolpath to clear that space.
Upon further inspection of the milling… everything seemed fine and then… oh horror of horrors, our finishing path cut through the two channels in the model. Why is that a good idea? The solution, it turns out, is that if you suspect that another face might be cut, you can select Touch/Avoid surfaces in your toolpath, and select the faces that it should avoid. The first image is of the channels definitely cut through, the second is of the finishing toolpath definitely cutting through the channels, the third is of the corrected finishing toolpath (which I never got to use, because I opted to patch the model by hand).
Also, the detail of the mould was terrible. Bas said "the shopbot just isn't made for this kind of precision. If I'd known that, I would have just modelled a cube.
Casting the mould and the die
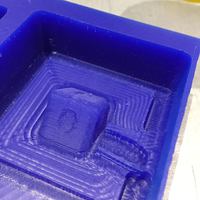
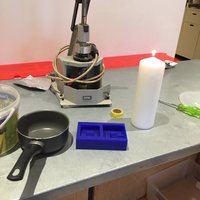
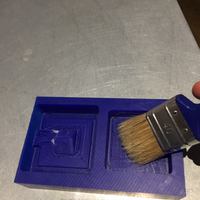
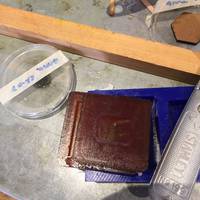
I fixed the mould by melting some candle wax, and using it to patch the unfortunately milled parts of the channels. I then used a brush to clean the mould of any stray junk. The candle also made everything much more romantic.
Casting the mould
I cast the mould in PMC 121/30, a soft material, assuming that I was going to cast the die in a hard material. Details about this product:
- Pot life: 30 minutes
- Cure time: 16 hours
- Use a release agent (some materials say it has a built-in release agent, some say it needs a release agent—be safe and use one).
- Pre-mix the B material.
- Mix equal parts A and B by volume.
- Mix for at least 3 minutes.
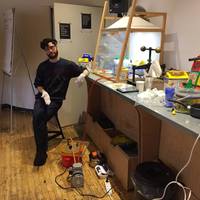
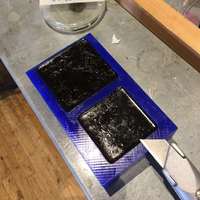
I calculated that my mould was made of two pockets comprising about a total volume of about 200 ml. I put a plastic cup on the scale and measured 100 g, and marked that level with a permanent marker, knowing how much material I would have to pour into each cup. Because Johanna had problems with not properly pre-mixing the materials, I endeavoured to do so. And Frank was like, "why not just shake the bottles", and I was like, "yeah, you're the expert."
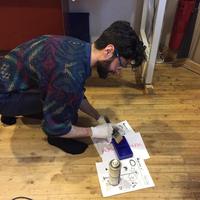
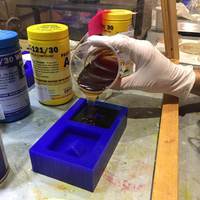
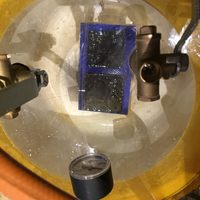
So I shook them. Then I poured and mixed and, guess what. Lots of bubbles. I sprayed the wax with a release agent according to its instructions. I then poured the material carefully into the mould, and Frank had the genius idea of using the vacuum chamber to pull the bubbles away. We had it under vacuum for as long as the pot life allowed, and then removed it. There were still bubbles in the material, but we hoped that at least the bubbles had been drawn away from the mould surface at the bottom. I then waited 16 hours for it to cure.
I came back 18 hours later. The surface looked a little tacky. Emma said it was fine to remove.
Guess what, something went wrong and the inside mould piece won't fit into the outside mould piece. They differ by 8 mm. Wtf? I checked my model to see if I'd modelled it wrong, it modelled fine. I checked the machine paths, and sure enough, the endmill went outside of the bounds of the model. In the adaptive path settings, you can set the boundary to inside, on, or outside the boundary. I should have selected "inside". Now when the toolpath is generated, it doesn't go outside the boundary, but neither does it go down to the bottom layer. When I select a 3 mm bit for the adaptive path, it still doesn't go down. Perhaps the "stock to leave" of .5 mm is enough to make it impossible for the bit to travel down. Here are some images showing 1) my model dimensions are correct, 2) seen from underneath, the toolpath definitely goes outside the model edges, 3) an explanation of toolpath boundary settings, 4) tool contained inside the boundary with a 4mm bit wouldn't go deep enough, 5) things are great with a 3mm bit.
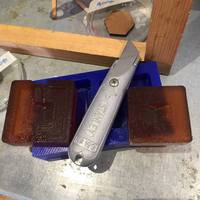
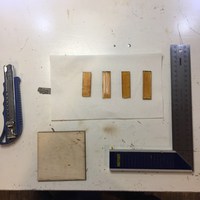
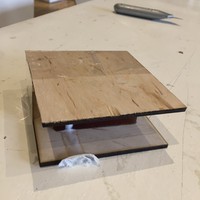
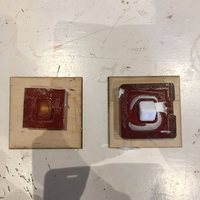
The solution, since this is all about learning, was simply to measure and cut the inside mould small enough to fit in the pocket of the outer mould. I measured a different of 8mm on all sides, so using a ruler and t-square I cut 4 mm off every side. And it fit! Here's an image showing that the mould pieces wouldn't fit, and the parts I cut off.
Casting the die
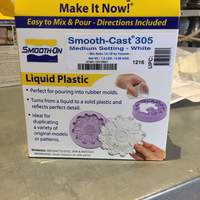
I decided to go for a classic die, so I chose a hard, white plastic. Smooth-Cast 305. Things to note about this product:
- Pot life: 7 minutes
- Cure time: 30 minutes (!!!)
- Mix 100A : 90B by weight
- Avoid contact with eyes, lungs and skin
- Apply a release agent beforehand
- While curing it will get hot enough to burn skin (!!!)
I sprayed on the release agent, brushed it, sprayed again, and waited for 5 minutes, like I did with the mould. When that was done I shook up the A and B bottles (it says to shake with this one!). Because the ratio is 100:90 by weight, and the scale only does a resolution of 1 g, then I mixed 10 g of A with 9 g of B, and mixed them thoroughly. I tried to pour down the channel in the mould
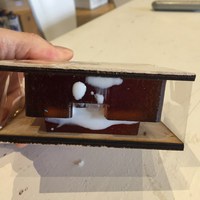
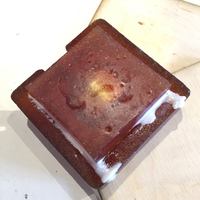
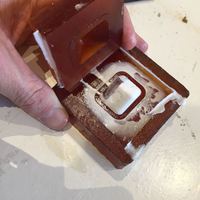
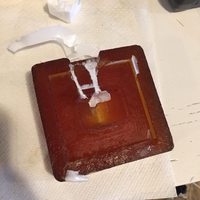
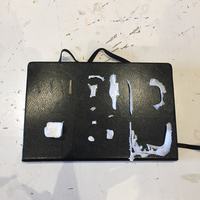
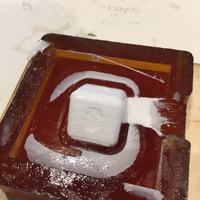
Final result. There was some bleeding around the edge, but really I just didn't fill the model enough. There was a huge pocket of the mould that was unfilled. Emma suggested cutting the channels in the mould bigger with a knife. I also did not spray enough release agent, apparently; I thought I did. Some of the mould surface was destroyed when trying to peel out the model. Still, even though I cut the mould down to fit, the seam on the die is very tiny, which was impressive.
I cut the channel completely open, and sprayed a lot of release agent, and cast again as before.
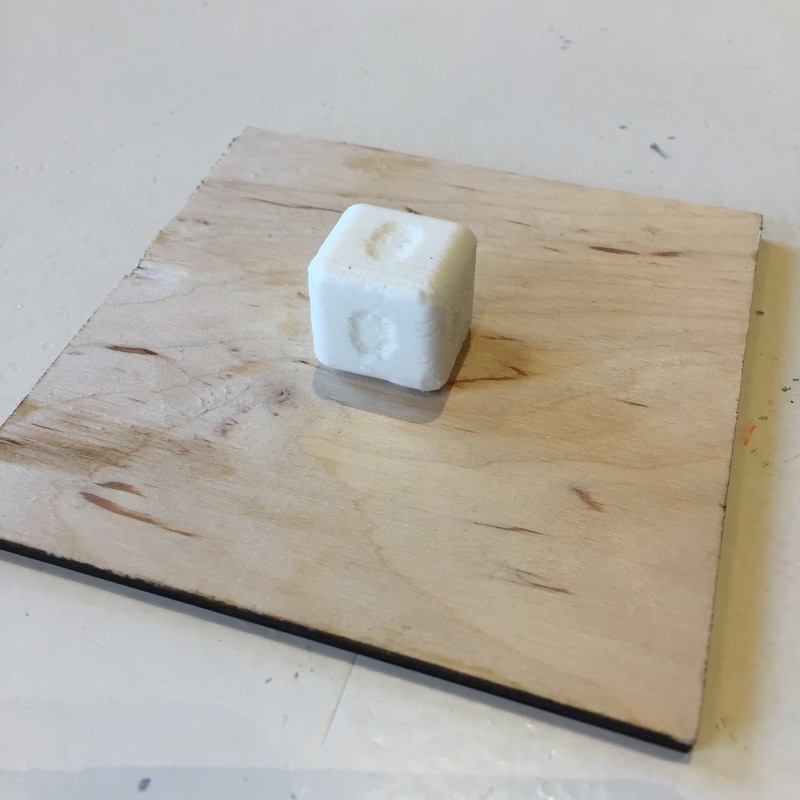
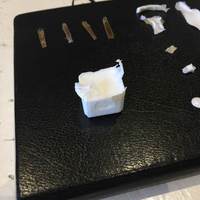
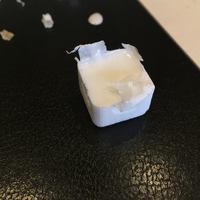
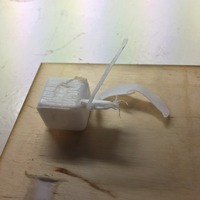
Not too bad. It's a white plastic cube. Good job, David.
Problems and solutions
For my setup: creating a model and milling toolpaths using Fusion 360 to mill a two-part mould in machinable wax, to cast a soft negative mould, to cast a hard positive thing.
Problem: The finishing toolpath cut the floor of the mould around the model.
Solution: Maybe it's not such a big deal. The area around the model should still have a tight seal when the mould halves are placed together. We'll see when we mould.
Problem: The corners of the inside mould are rounded, but the corners of the outside mould are square.
Solution: Not actually a problem. The rounded corners will fit into the square corners, and the long edges of the moulds should still register with each other.
Problem: Fusion generates empty toolpaths.
Solution: I tried many different things. In the end, I adapted what the bubbly millenials did in the Youtube tutorial earlier in this page, where only the thing to be milled is modelled, and the stock is modelled as a separate component. The toolpaths should be set to Silhouette boundary, and should not exceed the outsides of the silhouette.
Problem: Simulating the finishing toolpath says it's colliding with stock that should have been removed by the roughing toolpath.
Solution: The Rest Machining setting should be set to From Previous Operations, so the toolpath generation knows to take into account the things that have been done previously, otherwise it doesn't understand that the stock material has been cleared away.
Problem: Finishing toolpath cut through the vent and casting channel.
Solution: In the Geometry tab of the toolpath, Enable Avoid/Touch Surfaces, and select the surfaces that the toolpath should not cut through. (I think this is kind of dumb, shouldn't the software by default not cut through areas of the model? I guess it assumes a workflow different from mine.)
Problem: the resolution of the cutting is not very fine.
Solution: this depends on what part of your model looks terrible. Bas says that the Shopbot is not made for fine work, so there's only so much it is capable of. Don't use it for models with superfine features.
Problem: Areas of the model are milled near the top, but not lower.
Solution: In an adaptive-clearing toolpath, Fusion will leave some material, assuming that you will do a finishing toolpath. The default is .5mm, which means that any channel areas in the mould will be 1 mm narrower, which can be a problem when we're using milling bits that are already tiny. Either unclick "Stock to leave" in the Passes tab of the toolpath, or set a smaller amount of stock to leave, or use a smaller milling bit, or clear that deeper material with a finishing path with a smaller bit.
Problem: the milled dimensions don't match the model's dimensions
Solution: Perhaps your milling toolpaths had a boundary set in a way the didn't match what you wanted. Set it probably to inside the boundary; mine was set to outside, and that was dumb.
Problem: Model sticks to the mould.
Solution: you should have sprayed more release agent!
Problem: I love you, David.
Solution: Give me a call.
