Week 5: 3D scanning and printing

Download this week's code
Group assignment: characterise one of our 3D printers
See the results of the group assignment here.
Little things
My thumbnail shell script kept changing the thumbnail image rotation. I found the imagemagick flag "auto-orient", and that seems to have fixed the problem. The code is now:
mkdir smaller
mkdir smaller/thumbnails [ $# -gt 0 ]; then
	FILENAMES=$1
else
	FILENAMES='*'
fi

mogrify -path smaller/ -resize 500x $FILENAMES
mogrify -auto-orient -path smaller/thumbnails -define jpeg:size=400x400 -thumbnail 200x200^ -gravity center -extent 200x200 smaller/$FILENAMES
Printing!
I decided to try to work on the die model from the CAD week, and maybe fix the problem with the parameters. The design for this is the same as it was in the early week, with a few modifications. This could not be made subtractively. It is a hollow cube with only a few small holes to access the inside.
I thought I would model it from scratch to see if I could learn something, and I ran into the same bullshit problem where the parameters didn't lock and the pips slid to other positions when the die was resized. So I revisited the original die model, after having seen a Fusion 360 tutorial that pointed out the difference between blue (unlocked) sketch components, and black (locked) components. I looked at every face on the die, made sure that all the components were locked to the model face that they were on, and voila, changing the parameters worked elegantly. Export the object as an STL file by right-click on the body and selecting Export as STL. Next step, printing.
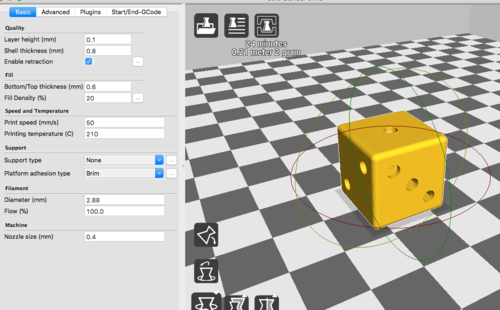
I decided not to use the Ultimaker 2+, since it won't always be available to us in the lab. Better to learn on a machine that we have access to. So I used the BCN3D Σ.Preparing your file in Cura
- Download and install Cura BNC3D for your operating system.
- Run Cura BNC3D
- It will ask you some questions to identify your machine.
- Load your STL file (drag and drop it into Cura)
- It's a good idea to select "brim" platform adhesion type. It allows for extra material to be garbaged while the printer is starting up.
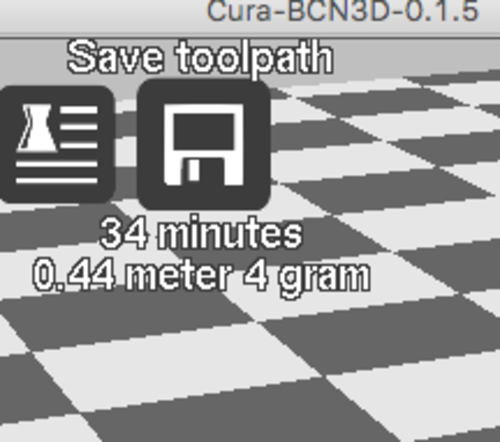
- Does it look good? Click the Save to toolpath icon to save the gcode!
- Remove the SD card from the printer, insert it into your own computer.
- Save the gcode to the SD Card.
The print settings in Cura were the default:
- Layer height (mm): 0.1
- Shell thickness (mm): 0.
- Enable retraction: yes
- Bottom/Top thickness (mm): 0.6
- Fill Density (%): 20
- Print speed (mm/s): 50
- Print temperature (°C): 210
- No support.
- Platform adhesion: brim
- Diameter (mm): 2.88
- Flow (%): 100.0
- Nozzle size (mm): 0.4

Printing
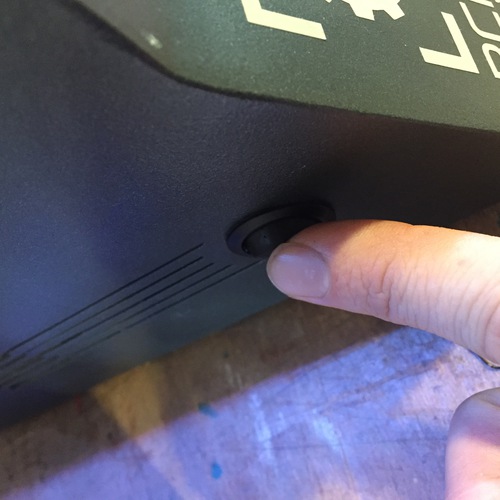
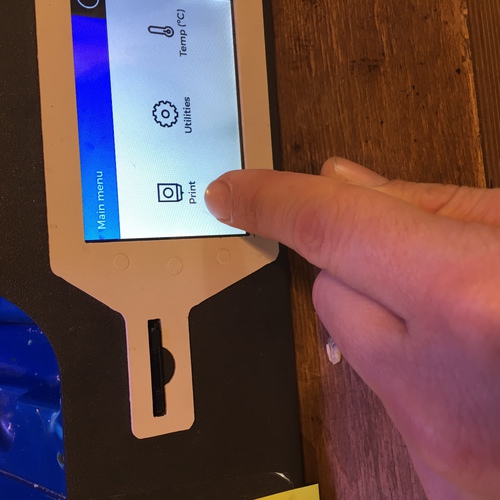
- Turn on the machine
- Insert the SD card
- Press Print
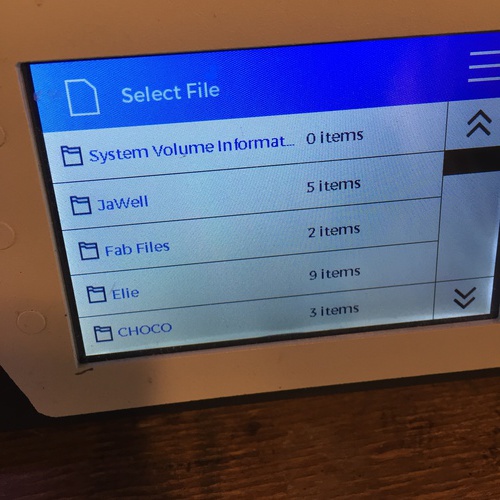
- Navigate to your file
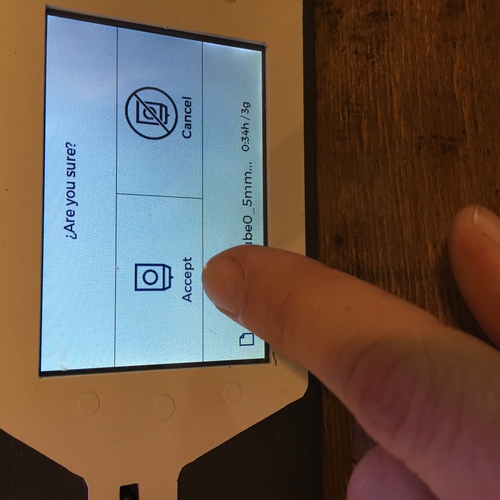
- Press Accept
- Yay

Calibrating the bed
If things go wrong in your print, or you're just not sure if the machine's been treated well, align the print bed.
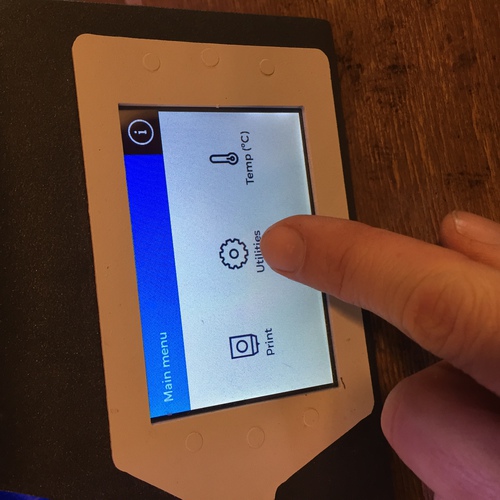
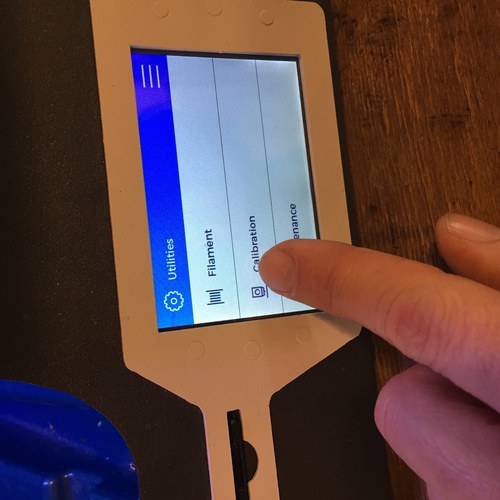
- Press Utilities
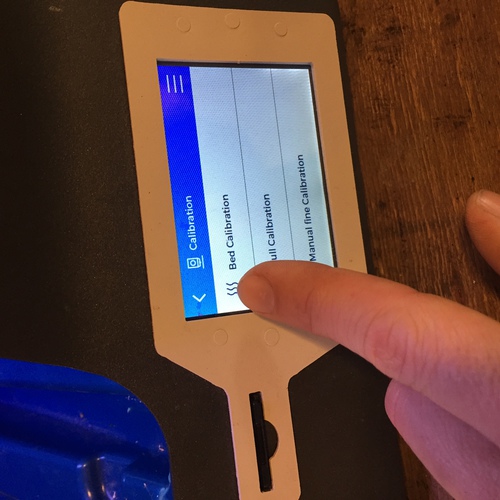
- Press Calibration
- Press Bed Calibration
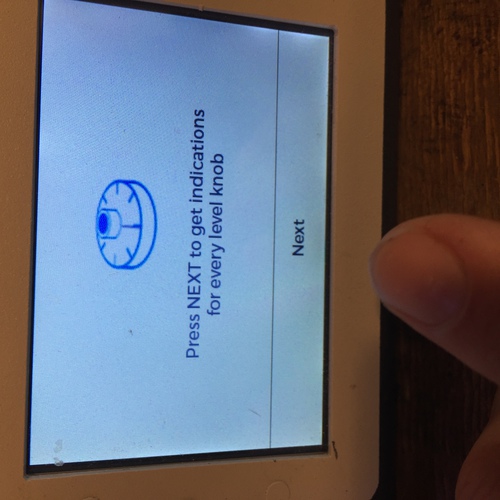
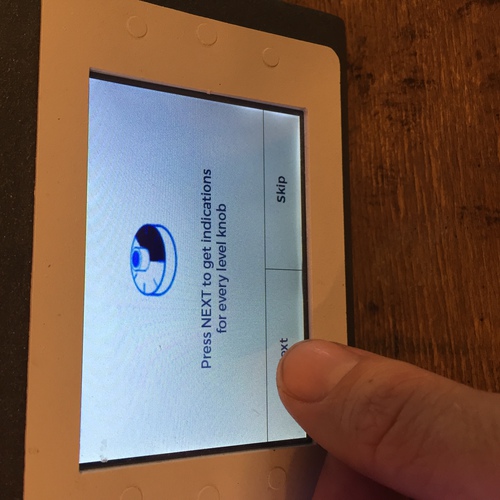
- After the machine moves, press Next
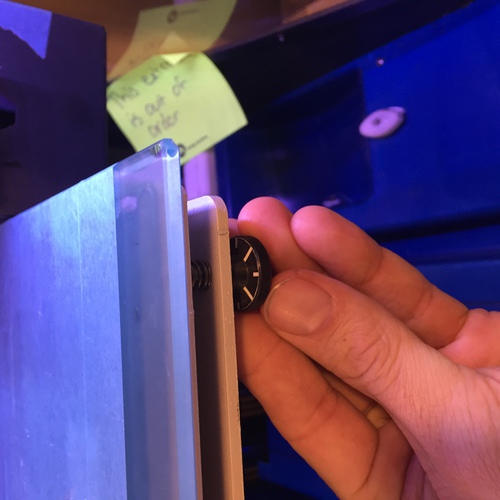
- Follow the directions to turn the two screws at the front of the bed
- Press Next
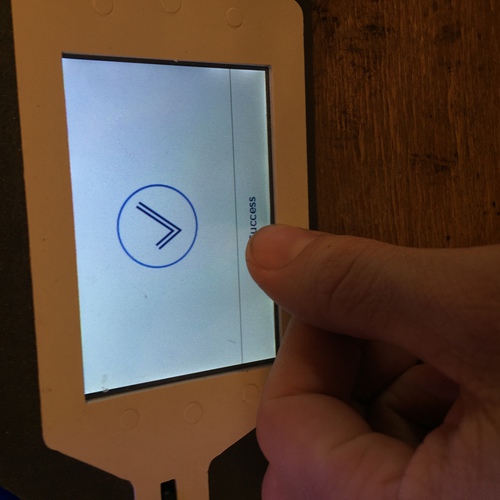
- Keep going until it says "Success". Press Next.

Changing the filament
Would you like a different colour or material?
Loading
- Press Utilities - Filament - Unload - L.Extr (or whichever you want to change)
- Press Next
- Roll the spool to take up the extra filament as the machine unloads.
- Remove the spool.
- Press Success
Unloading
- Clip the end of the new filament sharp.
- Place the new spool in the machine.
- Press Load - L. Extr (or whichever you want to change)
- Select the material (press PLA)
- Press next
- Feed the filament into the hole until it stops
- Press next twice
- Press purge until the new colour comes out of the extruder head
Printing challenges and solutions
Make sure you're using the right version of Cura for the printer. I started for the ultimaker, but I was going to use the BCN3D.
The bottom layers of the dice are thicker than top. Frank says, like the brim, it's a calibration problem. He doesn't know how to fix it, so I'll have to find out myself. Some day.
Changing filament. If the new filament is not taken up by the machine, cut an even sharper point, even like a spear point.
Printing again
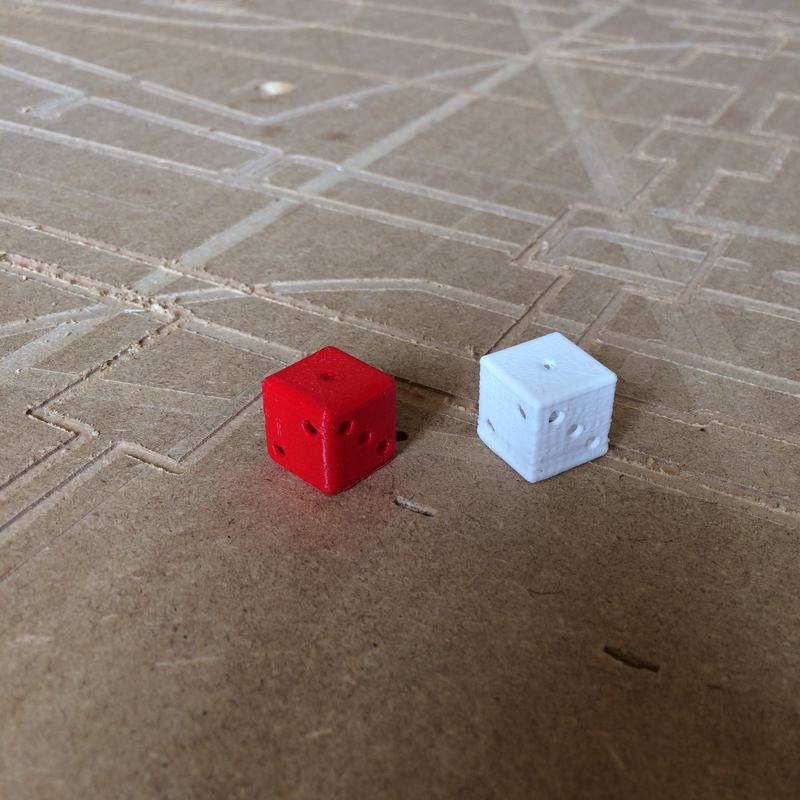
After consulting this page about common 3D printing problems. I identified "elephant's foot" and perhaps "lines of side of print" or "inconsistent extrusion". The page said that the elephant's foot is a common "feature" of 3D printing that arises from the lower layers being squished to the bed to ensure adhesion. They say that it is hard to eliminate this entirely "without sacrificing bottom layer quality and bed adhesion". They do say that with small prints one could try applying a chamfer to the bottom edge. Frank had already adjusted the bottom of the bed to be raised by .1mm to increase adhesion, this may have made this problem worse. I will try to increase the fillet on the bottom. The new fillet is the dieLength/8. Emma suggested changing the layer height to fix the messy sides.
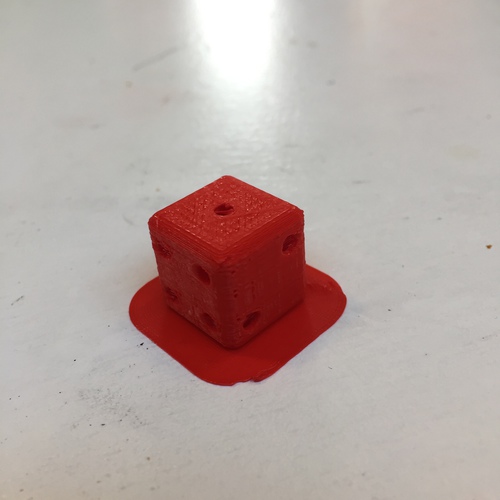
I reprinted the die on the same machine, using red PLA that was already loaded in the machine. I changed the layer height to 0.15mm, and doubled the fillet amount in the model in Fusion 360. The result is marginally better. The walls are still weird, and there appears to be a vertical strangeness that appears even under a hole in the wall, which makes no sense. The elephant's foot is also marginally better, but not enough to make a difference. 3D printing is hard! Here's a picture of the new die right out of the printer, and the new die beside one of the original dice.
What I find interesting is that 3D printing is often touted in the media as a push-button solution for fabrication, as though we have already reached some kind of Star Trek replicator. My experience here has shown that this is not the case. I had previously heard that digital fabrication processes were still a kind of craft process, and this has definitely proven to be the case. As with all craft processes, there is a large amount of acquired knowledge that comes from using the process, that is then applied to decisions made when engaging with the process. I assume that solving problems such as the elephant's foot become second nature. For my own practice I understand that I may not be able to CAD a design and print it without any flaws, that it will be an interative process to achieve an end result that matches my expectations. It appears, at the very least, a medium that allows you to quickly analyse aspects of scale and relationships in a CAD design. I find myself having a difficult time understanding the scale of the things I design on the computer, and also the physical and spatial relationship of the features. I am writing this paragraph while working on my final project, and I have already used the printer to create one object of varying sizes to evaluate its spatial relationship to the hand, which is important for this project.
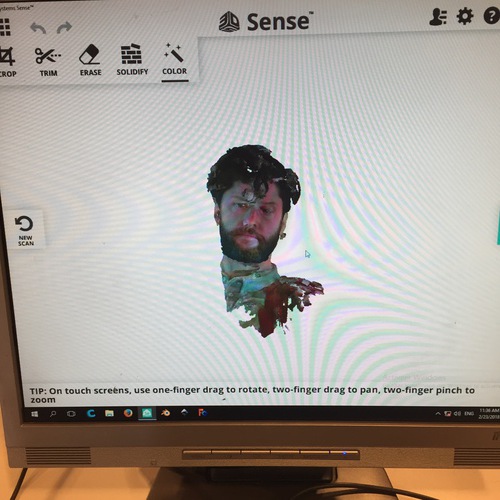
3D Scanning with the 3D Labs Sense
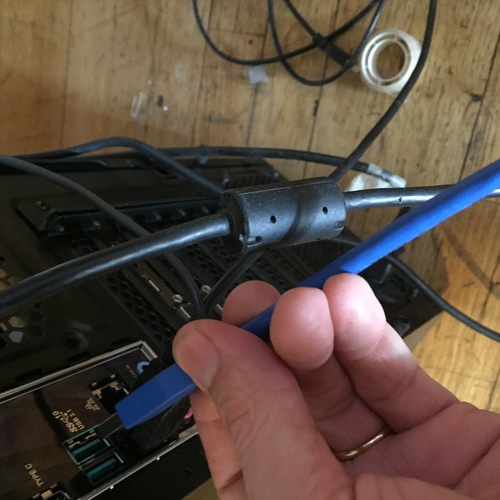
- Fetch the scanner
- Plug it into the blue USB port on the computer
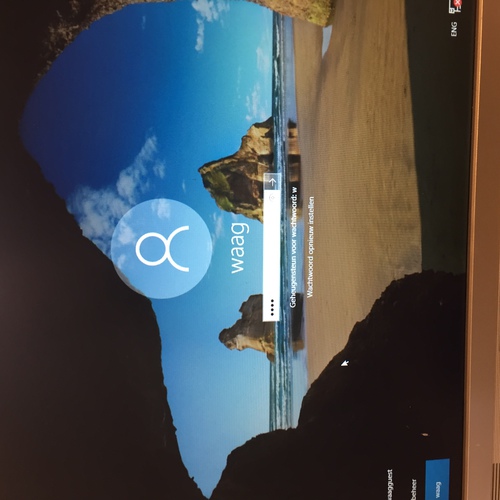
- Turn on the computer and log in to waagguest (the image below shows the wrong username)
- Ask someone for the password
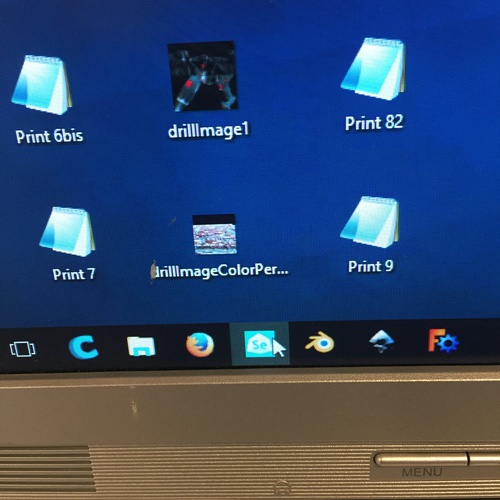
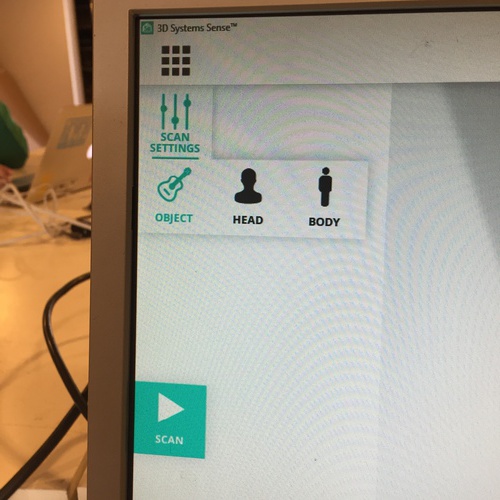
- Run the Sense software
- Click Scan
- Aim the scanner at your object, slowly going around it until you think it's been mapped. Grey bits are those that have been scanned. Follow its directions in case you are moving too quickly.
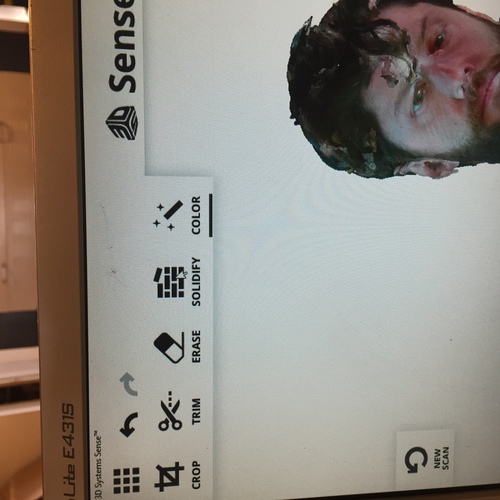
- Click Finished when you're finished
- Click Solidify to fill in the gaps.
- Export as OBJ for your pleasure!
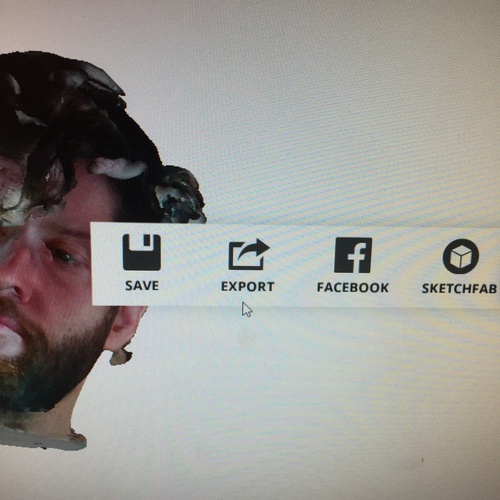
The exported files (available for download at the beginning of the page) are comprised of several different kinds of files. The actual 3D scan is the OBJ file, containing vertices to contruct the object's shape. All of the other files (MTL and PNG) contain texture information, taken from a camera on the Sense, to add colour to the 3D model specified in the OBJ. Here is a more detailed answer about what an MTL file does.
3D scanning problems and solutions
I first tried scanning my walkman. It kept having problems keeping track of the object. I've been told that shiny things are problematic. I don't know what the solution is, so I abandoned that walkman and tried scanning my head for fun.

Reflections on scanning and its process
The process of the scanning arose as a kind of ad-hoc improvisation from the problems trying to scan the walkman, what I thought was a "simple" object. It showed me that the appropriate 3D-scanning technique should be chosen for the object. Perhaps the "speckle" scanning technique used by the Sense is not appropriate for these kinds of shiny objects.
I decided to scan my head, which I assumed wasn't shiny like the walkman. I understood that scanning a living thing, especially yourself, is difficult because you can't ensure that the object stays still (which is important for scanning). Still, I sat in a chair and moved the scanner slowly around my head until I thought I had a relatively complete scan. I was fairly impressed with the scan. It wasn't perfect, because I couldn't stay perfectly still, but the scan even managed to catch my bangs hanging over my forehead.
Next time I scan? Research what might be the best technique for doing the scan. Use a turntable or something similar to keep the environment as controlled as possible.