☢ ☢ ☢
Characterizing the machine
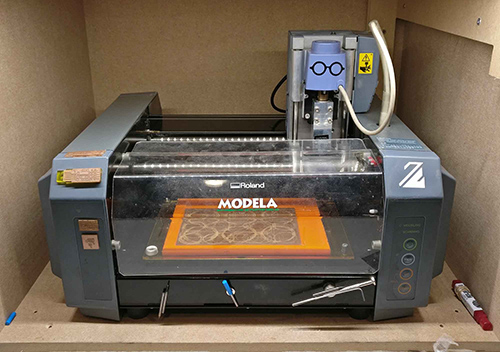
For this week's group assignment we had to characterize the specifications of our PCB production process on our small cnc milling machine. The machine in our lab is Roland MDX 20 and the software that we used for milling was the latest version of Fab Modules, called Mods.

Too high resolution
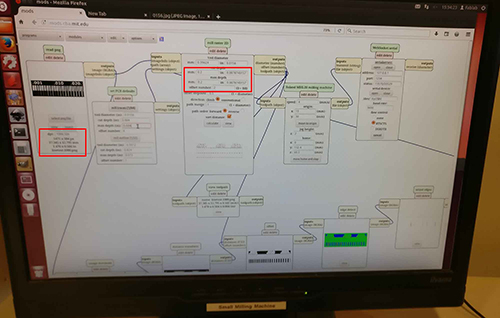
We uploaded the png image file into the Fab Modules software, kept all the default settings for the milling and pressed "calculate" to convert the png file for milling. However, the file kept calculating and we discovered that the resolution of the file was too high. We changed the resolution from 5000 dpi to 1000 dpi, and offset number from 4 to 2, and managed to calculate the file.
The tilted bed
We got two different end mills, an old and a new one, for testing the procedure and comparing the final results. We managed to finish the process with the first end mill successfully.

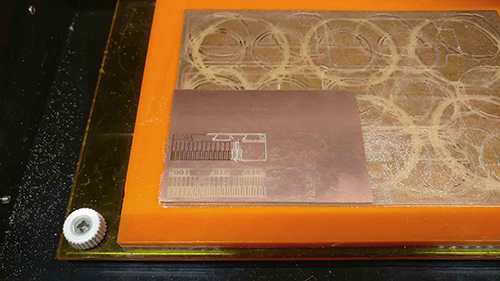
However, when using the second end mill, we noticed that the machine was milling correctly on the reight side of the board, wheras the left side was only weakly engraved. We concluded that it was due to the copper plate being slightly tilted which caused the differences in cutting depths on both sides.

Our solution for this problem was to set the cut depth and the max depth (in mm), slightly higher (or deeper if you whish). We set it both from . 1mm to .2 mm. and managed to complete the job successfully.
The machine going nuts
For the second mill we had everything setup, but forgot to set the origin and the z-axe. So when the parameters were set into the Fab Modules software and the job was send to the modela, the milling was done way above the copper plate and starting from home (0,0). It looked like the machine was going nuts, but we soon discovered what went wrong. After adjusting the settings in the Fab Modules software and on the modela, the milling went fine.
The result
This is the result of the test of two different end mills; an old one and a new. The cutting on the top is the result of the old end mill and the lower is of the new. It is clear that a new end mill performs a better result and sharper edges.

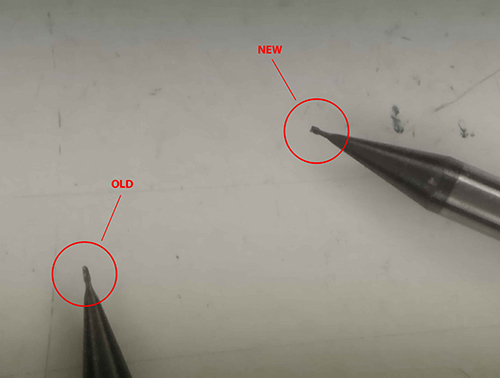
This picture showers the tips of the two end mills. A new end mill has sharper edges while a used, old one has lost its edges.

Conclusion:
- Make sure the resolution of the png is suitable for the software.
- Press the copper plate hard to the bed, avoiding some part being slightly tilted which may cause differences in cutting depths.
- The origin need to be set for new cuts.
- Use a new end mill if you want to make sure the work is done properly
Font: Manifont