FABACADEMY
OUTPUT DEVICES
Welcome to my week 12
OUTPUT DEVICES
Learning Outcomes:
Brief
- This week i connected Joystick as my input device and servo motor for my output devices on my self designed microcontroller board. This is related to my final project where whenever Joystick works it will turn servo motor and otherwise. I read about different input on Fab Academy , went through all the videos mentioned in the input devices.
My Assignment:-
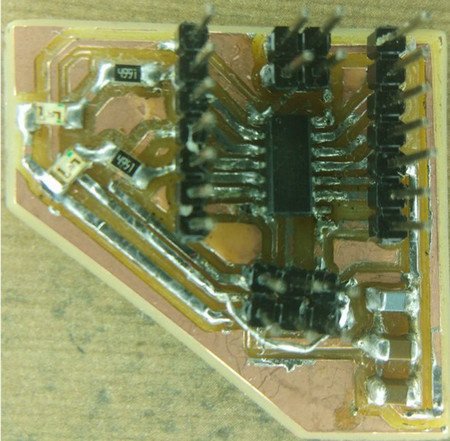
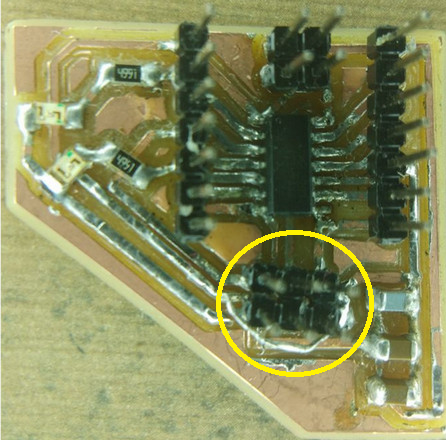
In this week literly I dont know what to design in the board so I got help from my friend and the I edited his design and then i milled the board.
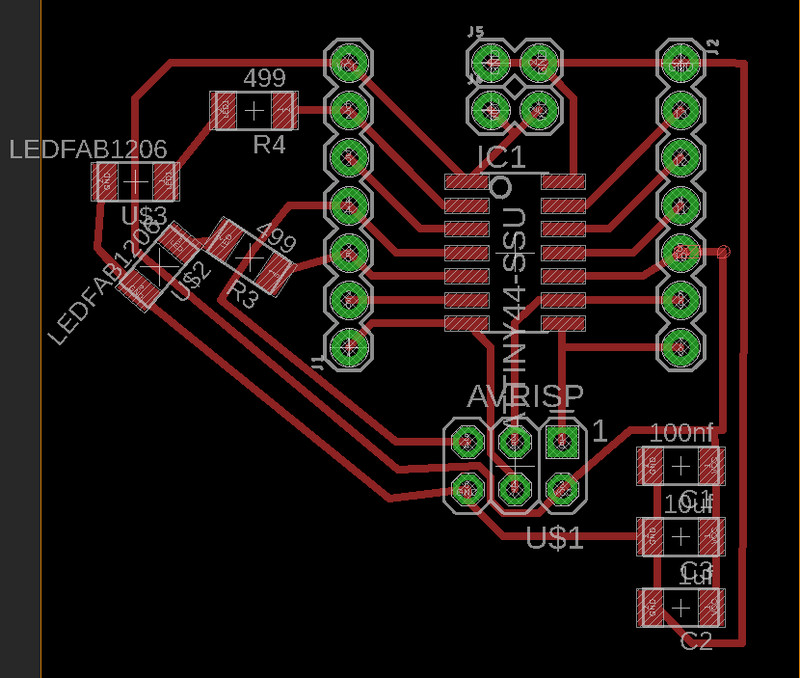
You can download my design files here


// Arduino pin numbers #include#include Servo myservo; Servo esc; SoftwareSerial BTSerial(10, 11); long int var ; String data; String valys = "0", valxs = "0"; int valy, valx; void setup() { myservo.attach(8); BTSerial.begin(38400); Serial.begin(38400); esc.attach(5); esc.writeMicroseconds(1000); if (BTSerial.available() > 0) { data = BTSerial.readStringUntil('\n'); } //Disregard the first reading data = "0"; } void loop() { if (BTSerial.available() > 0) { data = BTSerial.readStringUntil('\n'); } String payload = ""; if (data != "0") { int offset = data.indexOf("U*"); //This is the header (0x552A) if (offset >= 0) { payload = data.substring(offset + 3, data.indexOf('\n')); char value = data.charAt (offset + 2); switch (value) { case 'A': valys = payload; break; case 'B': valxs = payload; break; //Add more case as the project grow } } } //convert strings to float valy = valys.toInt(); valy = map(valy, 0, 1024, 110, 255); valx = valxs.toInt(); Serial.println(valx); Serial.println(valy); myservo.write(valx); esc.write(valy); }

