Week 5 - 3D scanning and printing
Assignment
Group project: Test the design rules for your printer(s)
Design and 3D print an object (small, few cm) that could not be made subtractively
3D scan an object (and optionally print it) (extra credit: make your own scanner)
Group project: Test the design rules for your printer(s)
I live in another city and also I run a FabLab -FabLab Terrassa-., I invited some students to do the work in my lab but there was no success, it seems that it is very far away. It's a shame since my intention was to teach them everything I know about 3d printing. I have a lot of experience working whit 3d printers, making some machine improvements, making maintenance of the machines and configuring printing files (gcode)
3d printing is a solution for small quantities (for the moment), the different technologies of additive manufacturing are still very slow and the vast majority very expensive, I dream of having a 3d printer for metals but this is very expensive. It will take a long time for the prices to go down and make this technology more accessible as it happened with the FDM printers. In terms of design solutions, 3d printing allows manufacturing objects that with other technologies would be almost impossible to achieve. In terms of materials there are a lot of solutions and more and more. Innovations in the field of 3d printing are divided into 3 groups. Innovation in printing technology, innovation in materials and innovation in the interface
3D Printing
How to get good results
There are many factors that determine the final result of a 3D printing object.these can be grouped into three main topics
- The printer works correctly
- Model Designed to be printed
- Printing Parameters
Machine Problems:The printer must be well calibrated, this is what seems to be the most complicated. When a 3d printing work starts to going wrong, we must review certain things. Here is a list of common problems.
- Extruder cleaning. The material may not come out evenly and may be a reason, the extruder may be dirty and have remains of crystallized material inside. You can clean the extruder unsin nylon filament or removing it and clean it manually using acetone or a very fine metallic filament for urging, you shoul heat the extrusor to do this.
- Correct distance between the bed and the extruder. The correct distance should be the same in all corners of the bed, this is more noticeable when we make large prints occupying a large extension of the bed. If the extruder is very close we can obtain a very smooth surface but run the risk of plugging the extruder. Excessive distance will cause the filament to adhere poorly in the first layers and also have an incorrect finish
- Good condition of the mechanical components. All the mechanical elements must be well, a failure or break in some of them can make the displacement of the extruder on the axes x, y and z are deficient. It is important to know the printer and be alert to any changes in the way the printer sounds. Each printer has its tone and its "music".
- Good temperatures.Apart from the configuration of printing according to the material to be used, it is important to be aware that these are met or maintained. It is difficult to check if the terministor works correctly so we must look at the result and compare it with other results. We can use an extreme thermometer but its damages will never be the same as those recorded by the machine because we would have to make equivalences. This point is important for the material to flow correctly through the extruder. Another temperature to check is that of the bed, this will help us achieve a good adehesion during the printing process. Last but not least is the room temperature, a change in temperature can cause the piece to take off. Printers like warm environments
- There are many other factors related to the proper functioning of the printer but these may be the most important.the printers must be calibrated constantly, it is necessary to be attentive to the functioning of the printer and to detect changes in its operation, any noise or strange finish is a signal.
Design Problems: What are we printing for?
- It is not the same design to make a mold, a milling or other processes than design something to be printed. Printers also have their limitations and their tricks when it comes to printing. It will also depend a lot on the type of material and the type of printing technology.
- We must be clear on what we want the printed object for. Will we do tests with the printed model? What kind of prototype is it? Is it a functional, aesthetic, formal or ergonomic model? The design must be linked to the function it will perform.
Printing Parameters: What are we printing for again?
- Here is where we link the function of the object to be printed and how we want it to be done. Depending on the print manager used (i use CURA) , the variables can be related to the material we use, how the machine in going to work and the quality (finish) of the result. To may variables to explain here, it is the experience that will tell us how to set all these variables.
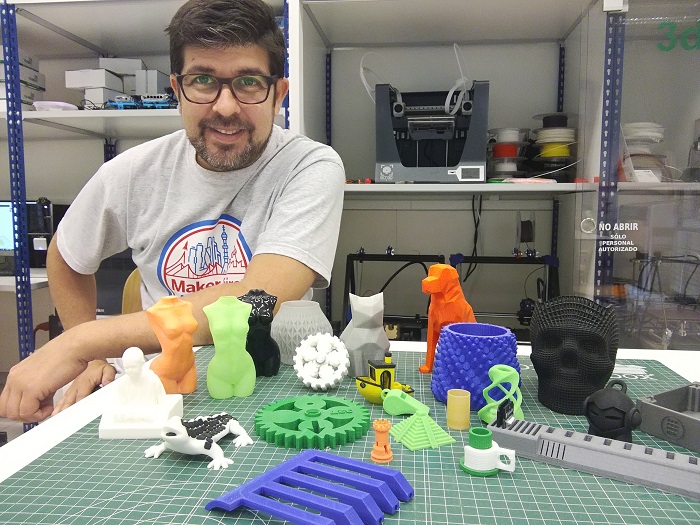
As FabLab we offer 3D printing service and for this we have printers FDM open source as Reprap BCN3D +, Zigma printers BCN3D Technologies and MJM Objet 30 Printer.
To ensure the quality of service we performed different tests and printed different models to show our customers what you they expect from our machines. We also have a brochure explaining how to prepare ther files for printing and show what can not be done.
Test the design rules of your printer
This suposed to be a group assignment but i did it on my lab for difficulties to be in FabLab BCN at the same time my partners does, they were invited to my lab.
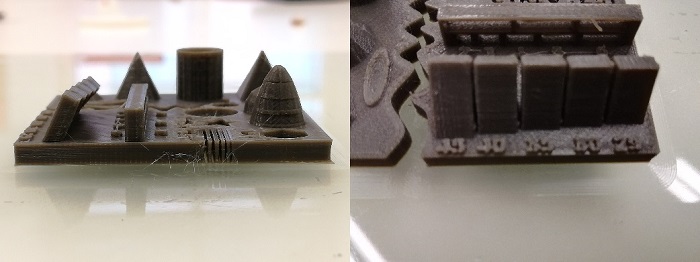
I downloaded this 3D printing test STLfrom thingivers
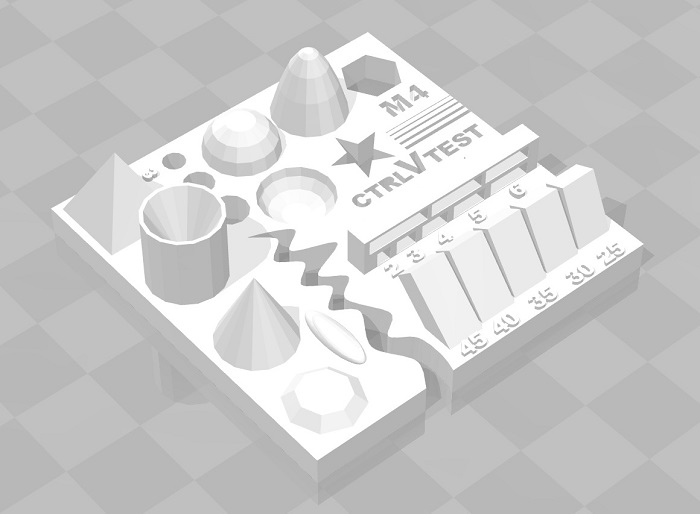
This STL contains a set of elemnts to test the precision of a 3D printer and play with the parameters you set on the gcode generator software, in mu case is CURA
More about Cura.Tutorial
3D Printing Settings
Let's make some Cura glosary:
- Layer Hight: The hight of the layer in mm. Higher values produce faster prints in lower resolution, lower values produce slower prints in higher resolution
- Wall thickness: The thikness of the wall in the horizontal direction. This value diveded by the wall line width defines the number of walls.
- Top/Botton thickness:The thikness of the Top/Botton layer in the print. This value diveded by the layer hight defines the number of Top/Botton layers.
- Infill density: Adjust the density of infill of the print
- Printing Temperature: It should be defined by the material you use.
- Build plate Temperature: It should be defined by the material you use
Support: Structure generetad to support part of the model which have overhangs.Of course thre are a lot more seetings bet maybe this are the most important
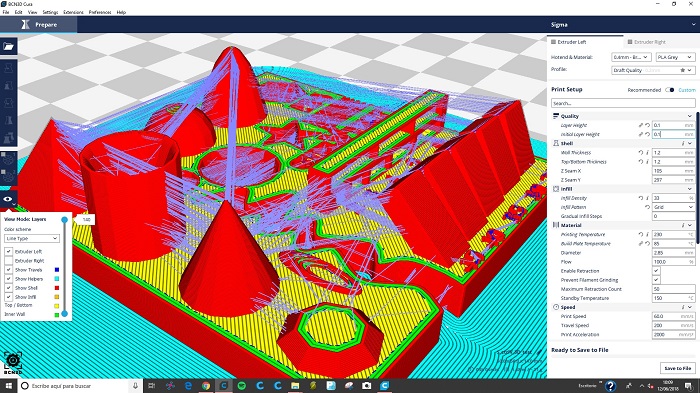
For this printing i made the next setup.
Layer hight: 0.1
Wall thickness: 1.2
Top/Botton thickness: 1.2
Infill: 30%
Material Temperature: 220º (PLA)
Build plate temperature: 65
Diameter: 2.85mm
Speed: 60
Travel Speed: 200
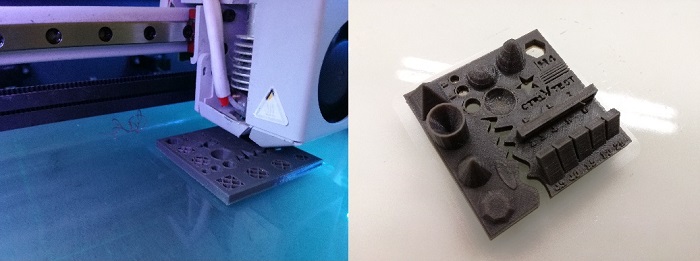
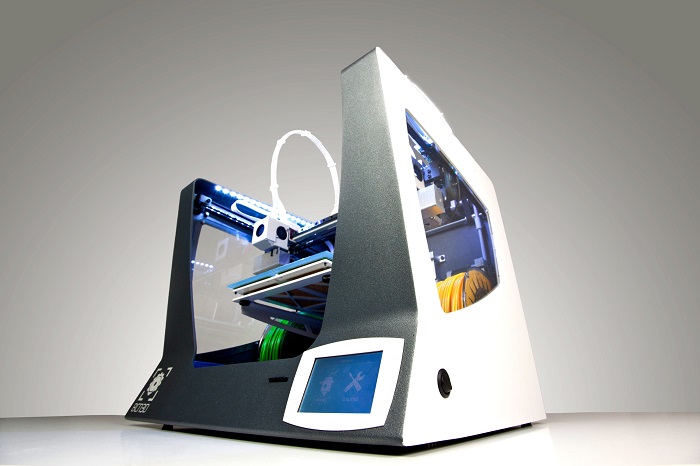
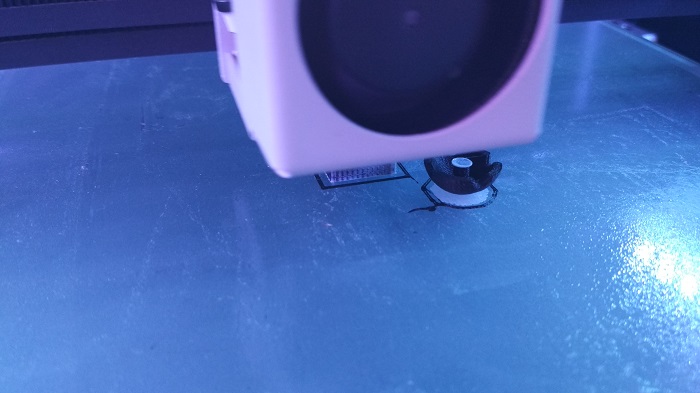
For the 3d printing excerce i will use de Zigma 3d printer fron BCN3d Technologies. It has two extruders!
Designing for 3d printing
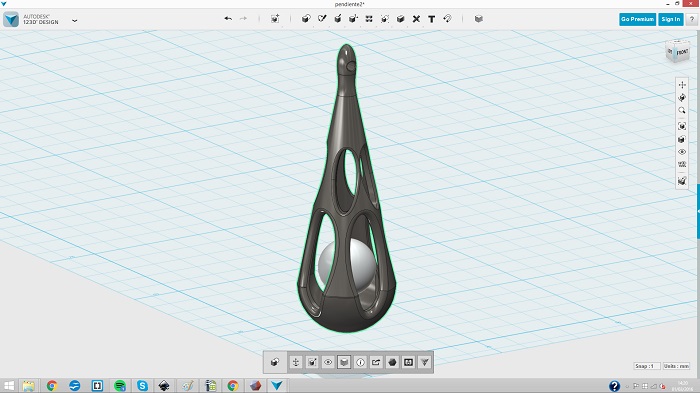
I designed a earing pendant using the design software 123D design. I think it's important to show that with a simple software you can design nice objects.
123d Design is a 3D desing software based on basic figures which we transform in different ways. To make the design use the most basic tools. Place primitive elements such as a half sphere, a cone and cylinders. Although we can determine the size of these we can also scale them as necessary. Join or subtract objects, round or chamfer vertices.


Design steps
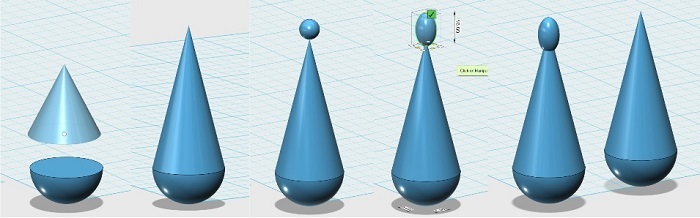
Place half sphere and a cone with the same radius, scale the cone and put it on the half sphere, place a small sphere on the top of the cone, scale de sphere in the z axis and move it down, Make a copy of the half cilinder and the cone (we will use it later)
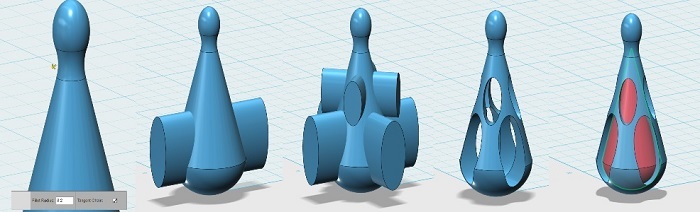
Combine and join the small sphere with the cone and the half sphere. Now the three elements will be one and we can measure them as a whole, round the union between the small sphere and the cone, Place a cylinder which we scale with the scale tool so that it is elongated, copy and paste, rotate 90 degrees, join the two cylinders with the "merge" tool and then copy, paste, rotate this object, move it upwards and scale it until it looks good, subtract the cylinders from the main object using the "subtract" tool. Now we will use the figure of the half cylinder and cone that we had previously copied, it should be scaled to subtract it from the main object .
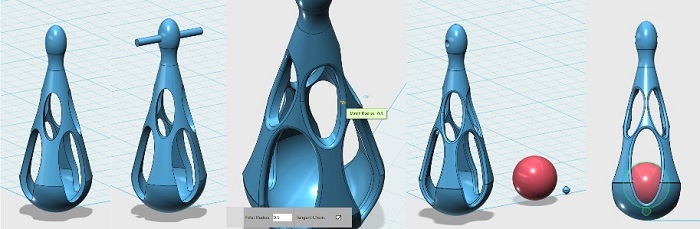
place a small cylinder with enough length to go through the figure to create the hole using the "subtract" tool that we will use to place a wire to hold the earring, Round up all edges using the "Fillet" tool. Create a sphere and a support for it in such a way that we can get rid of it after printing, place everything in its place to generate the stl.
Easy !, a sphere cut in half, a cone, join these two pieces, duplicate, and scale the duplicate and then empty the larger object, finally subtract some volumes and insert a sphere.The design steps below
I am using the Cura software to generate the Gcodes files, Cura is an open source 3D printer slicing application. I decided to make an impression in 2 colors so I had to make two stl files

I decided to make an impression in 2 colors so I had to make two stl files, the objects will keep the same position in space x,y,z.
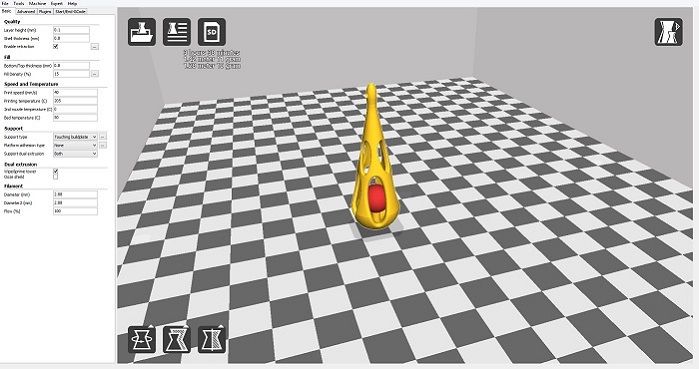
In Cura we most define the printing characteristics, like:
Layer high. 0,1 it's ok an 0,3 it's not to good but still fine.... all depends on what are we printing for, the lower the layer hight the best quality we have. In this case 0,1.
Shell Thikcness. Thickness of the walls, top and bottom, in this case 0,8
Fill density. How dense is the interior pattern, this can reach up to 100% making the piece 100% solid
Print speed. Dpends on the kind on material we use and the size of the nozzel. In this case the nozzel is 0.4mm and the speed set to 60 mm/seg.
Print temperature and bed temperature. It depends on the material we use. in this case PLA 220º
Enable dual extrucion. Enable the second extruder
These are the main ones but there are many more printing features, it's a matter of playing with them.
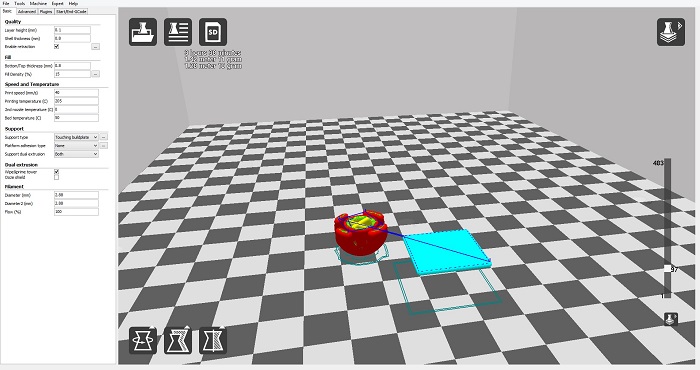
To print in diferents colors or material this printer needs an extra element to clean the extruder and to ensures the continuity of the deposition of the material, this extra elment is like a tower but its to big for the object i will print so i will change the size of the tower.
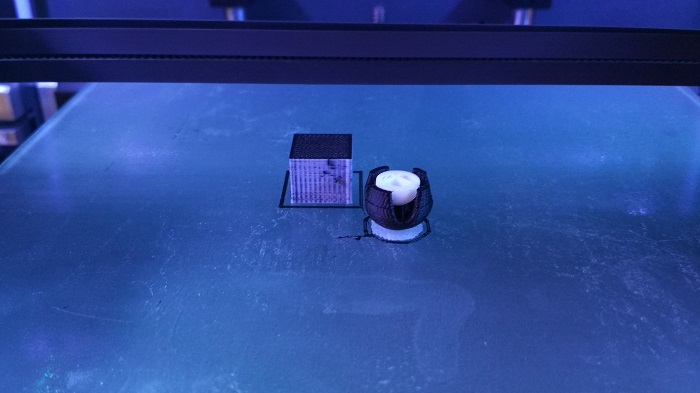
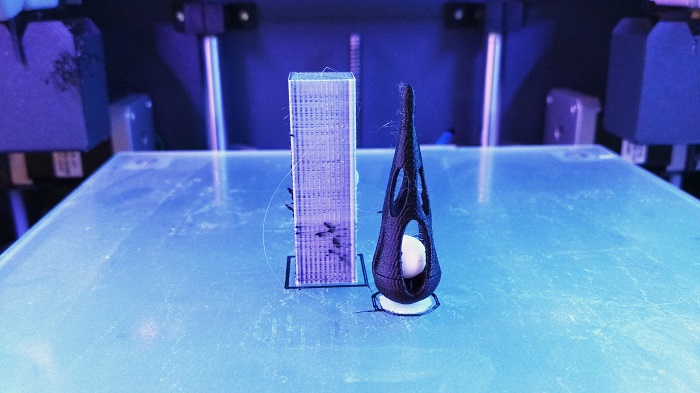
Final result!
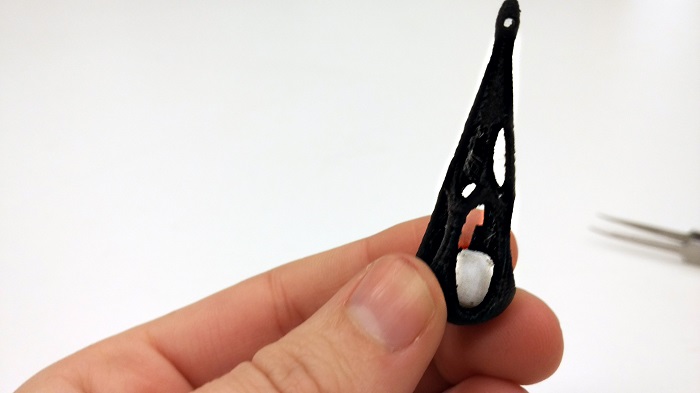
Now I need remove the extra element to release the sphere
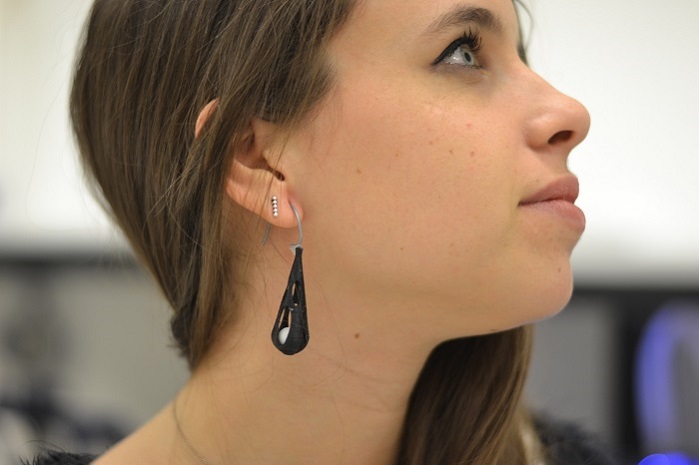
my colleague using the pending
Este objeto no podria haber sido fabricado por medio de tecnologias tradicionales en un solo proceso, la esfera en su interior se puede mover, es un elemento independiente.>
3D Scanning
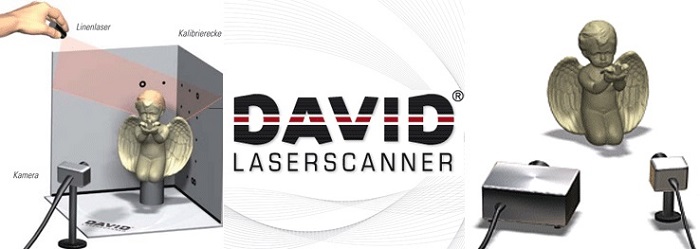
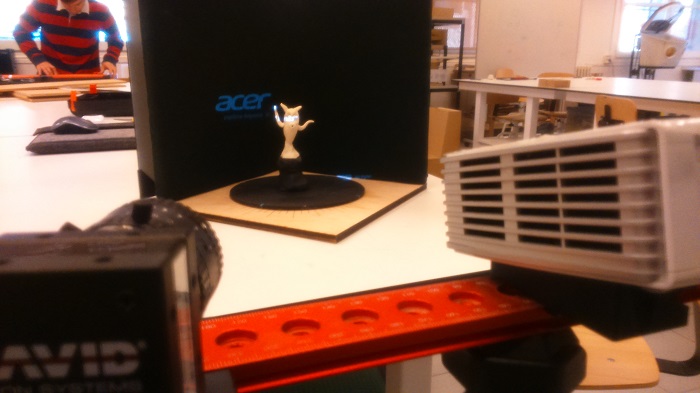
To do the 3d scanning exercise I will use the structured light scanner David SLS-2, this is one of the scanners of my lab and have not had enough time to prove it. This is a good opportunity to evaluate their usability and results
Scanning objects must have some practical purpose. In many cases it is a matter of reengineering. The result of a scan can be very complex or get errors which must be edited with a 3d design software like Blender, and this is not easy, sometimes it is better drawing than editing.
I have some experience printing with 3d printers with FFF technology and although it is true that there are different configurations that can be set from a printing software like CURA but the most important thing is to have the printer very well calibrated.
This scanner software is open source and we had to pay for it. It is visually friendly and uncomplicated. I will follow the instructions to run it. The configuration of the screens is a little complicated but this is a matter of Windows 10.
The basic elements of the scanner are:
LED video projector
Cámara
Base camera rail with camera slide
Tripod
Glass calobration pannel
Cables
Scanner 3D David SLS-2 Data sheet
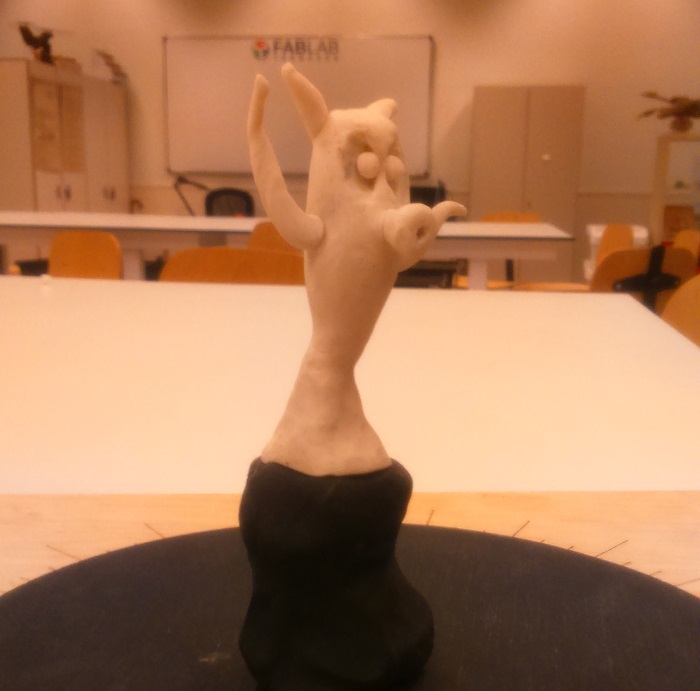
I will use a model made of clay by one of the kids who come to the school activities we do in the lab, I sure he will be happy to see his monster digitized
we have manufactured a basis for manually rotate the object
we added a clay podium to raise the object and get better results
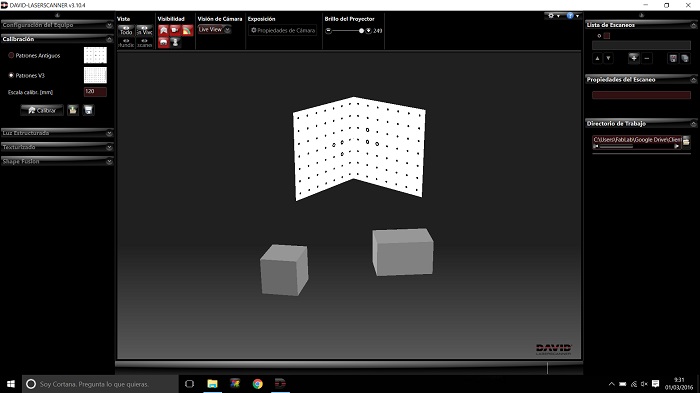
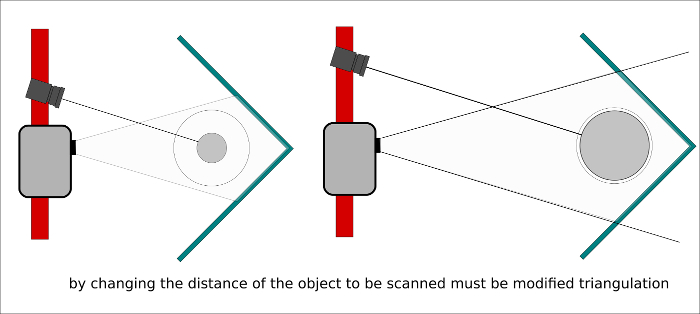
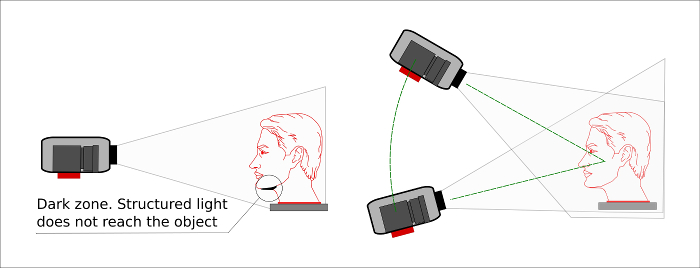
It is time to calibrate the scanner and here intervenes different factors that will make the result is good or bad.
Working distance, Projector focus, Position of the camera, Exposure time, Camera focus, Camera brightness, Select the pattern ( it depends on the size of the objet to be scanned)
There are many more settings to configure but I decided to leave the default values to see what happens. I set the resolution and alignment mode, setting the resolution to 1000 and the alignment as Free(so I will decide how many shots i will do)
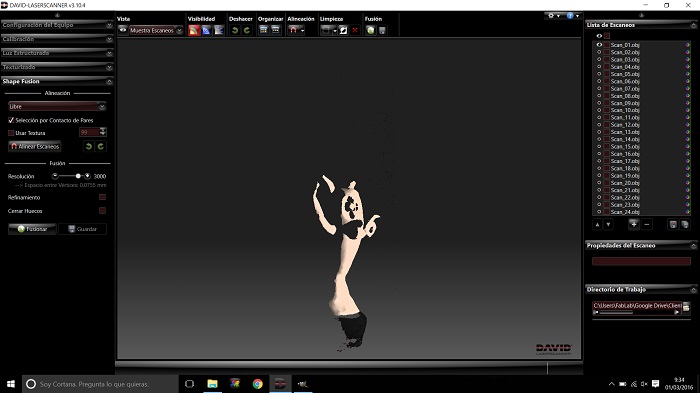
first shot of 24

This is the scans fusion result, now i need to save the obj file
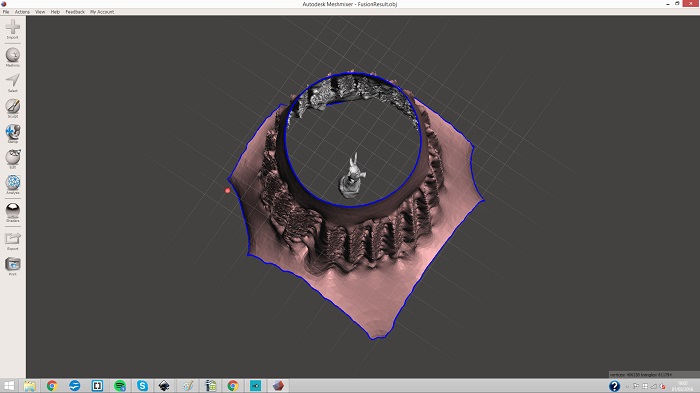
Last week we work with blender, I found it a very complete software with many options to work. In this case I will work with meshmixer, understand that it is easier software to be use by children or people with less experience.

This is the result
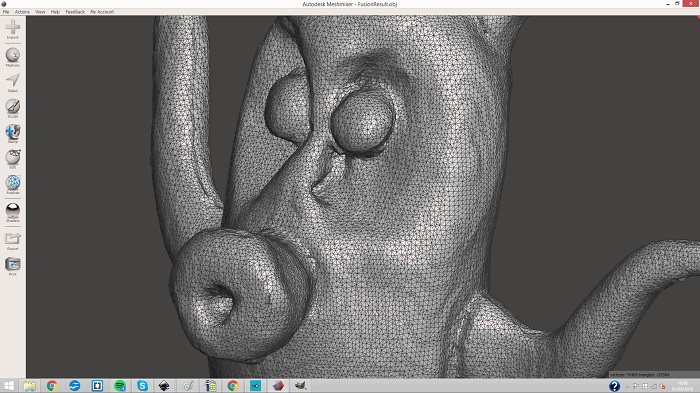
Nice quality