week 9 - molding and casting
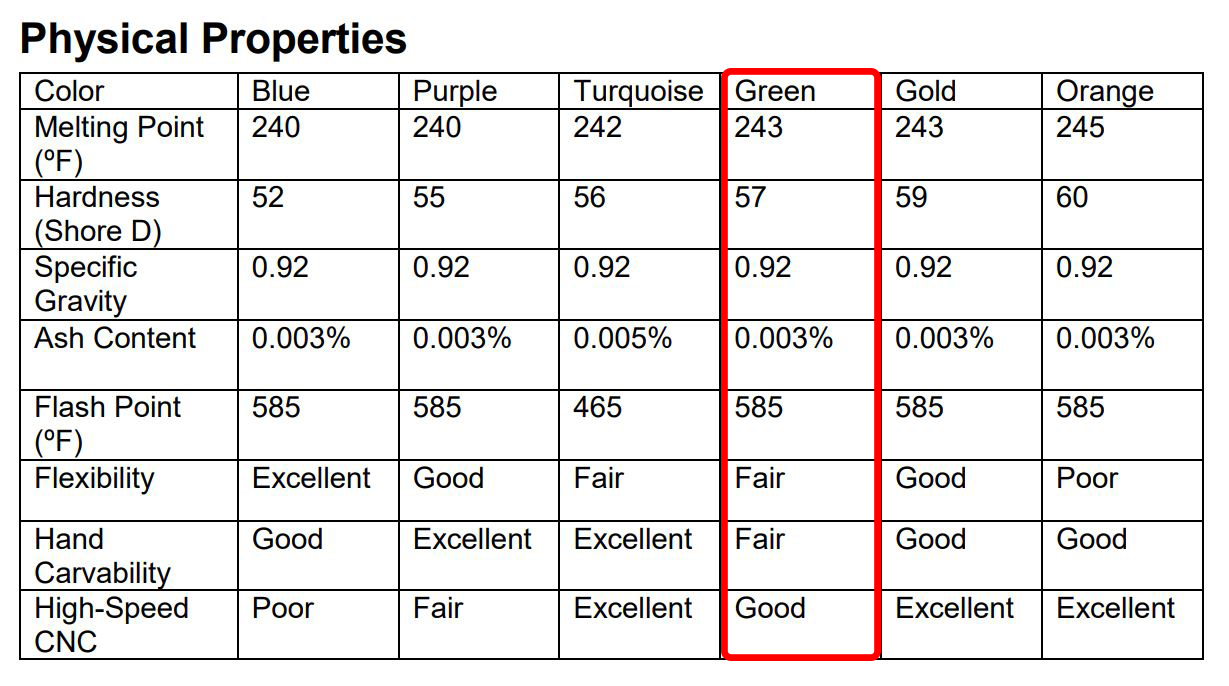
-group assignment: review the safety data sheets for each of your molding and casting materials, then make and compare test casts with each of them
-individual assignment: design a 3D mold around the stock and tooling that you'll be using, machine it, and use it to cast parts
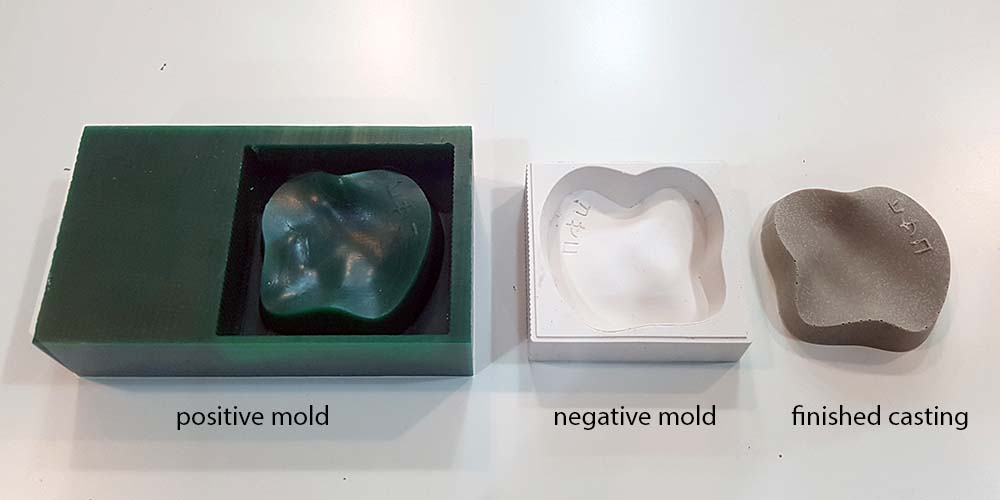
This week assignment is for learning how to mold and cast. Basically we'll design something in 3d and mill it in a block of carving wax to obtain a positive mold. From that, we'll use rubber to obtain a negative mold. Once it is cured we can cast our desired object, in my case with cement.
I used a green One-pound wax block (File-A-Wax Standard Shapes (-3/4" x 3-1/2" x 1-1/2") or (146.05 x 88.9 x 38.1 mm)).
Design
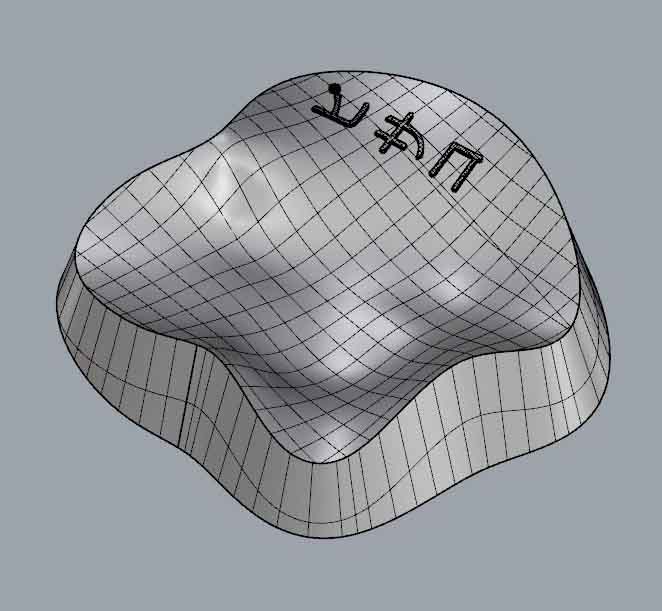
I decided to design a soy sauce dipping dish. In Rhino I designed a random curved profile and made a 'patch' from it to create the surface. For the side walls I used the 'extrude curve tapered' with a 15º angle. That is because for the wax milling we will use two kind of tools: 3.175mm for the roughing and 1/32 (0.79mm) for the finishing. The bigger tool has a flat end but the smaller one has an angle shape around 10º. By making the model with angled walls we will ensure the smaller tool will not break when doing the finishing. Now we have modelled the final casting we are looking for.
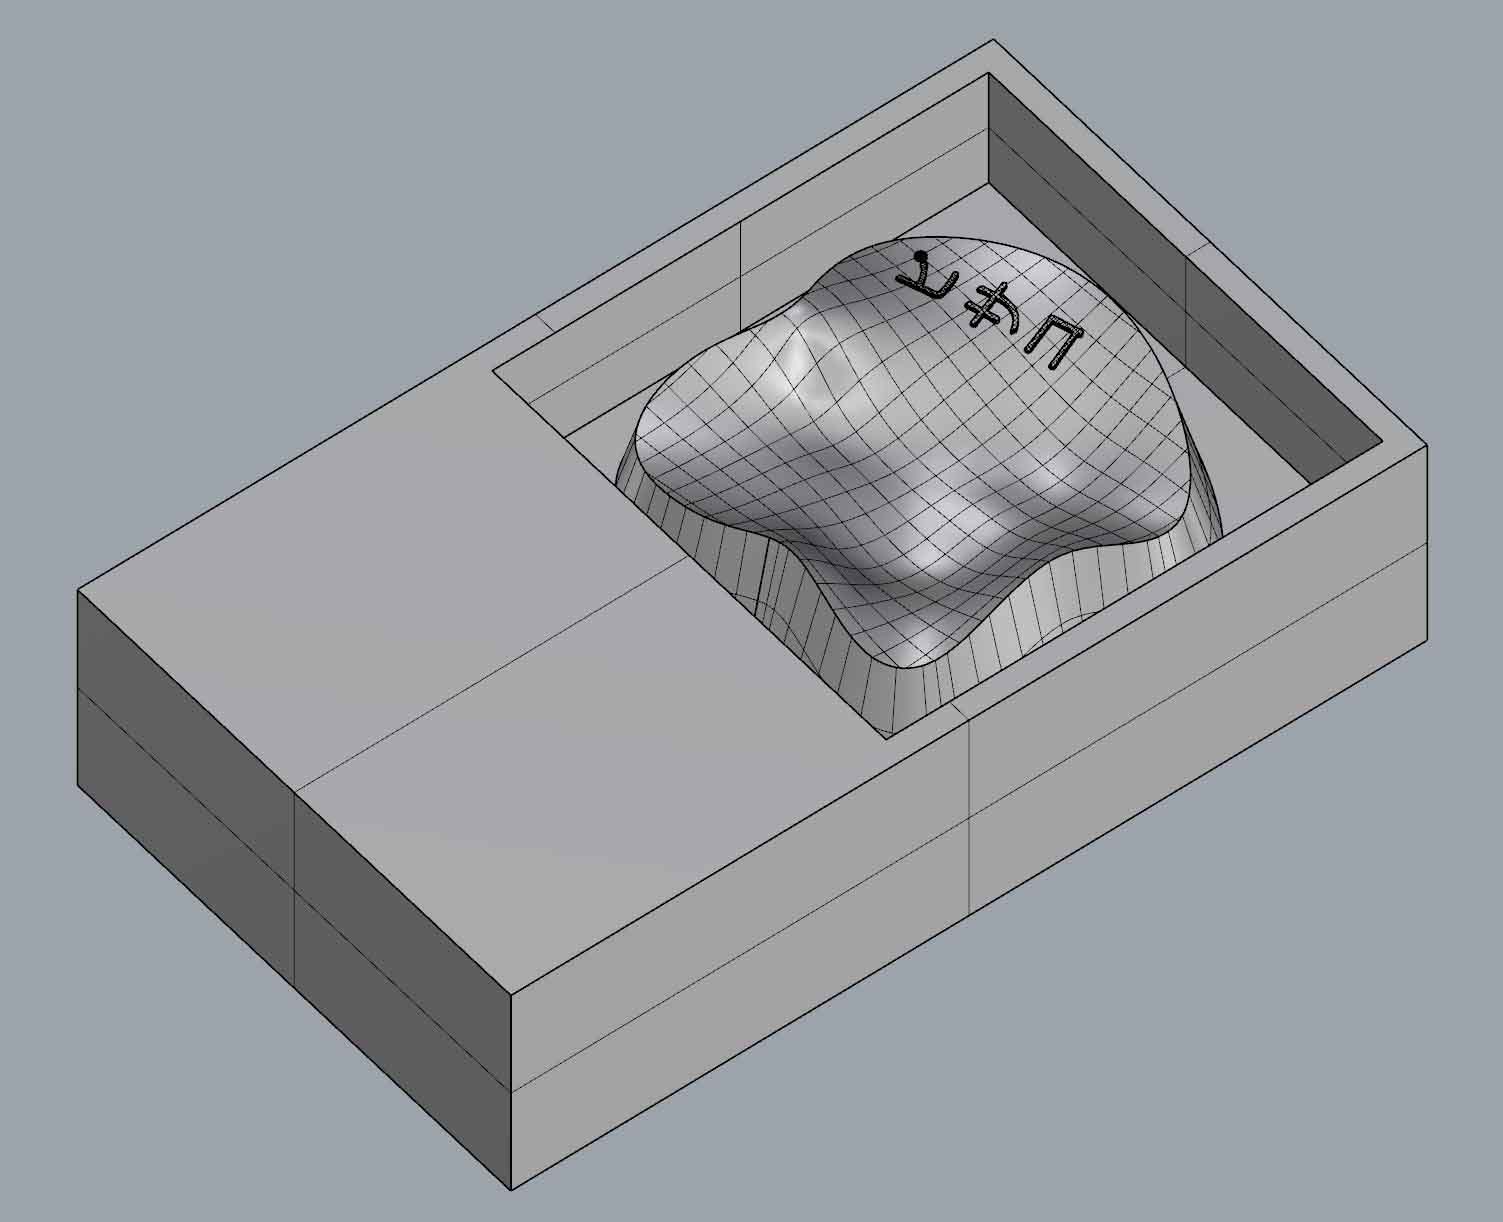
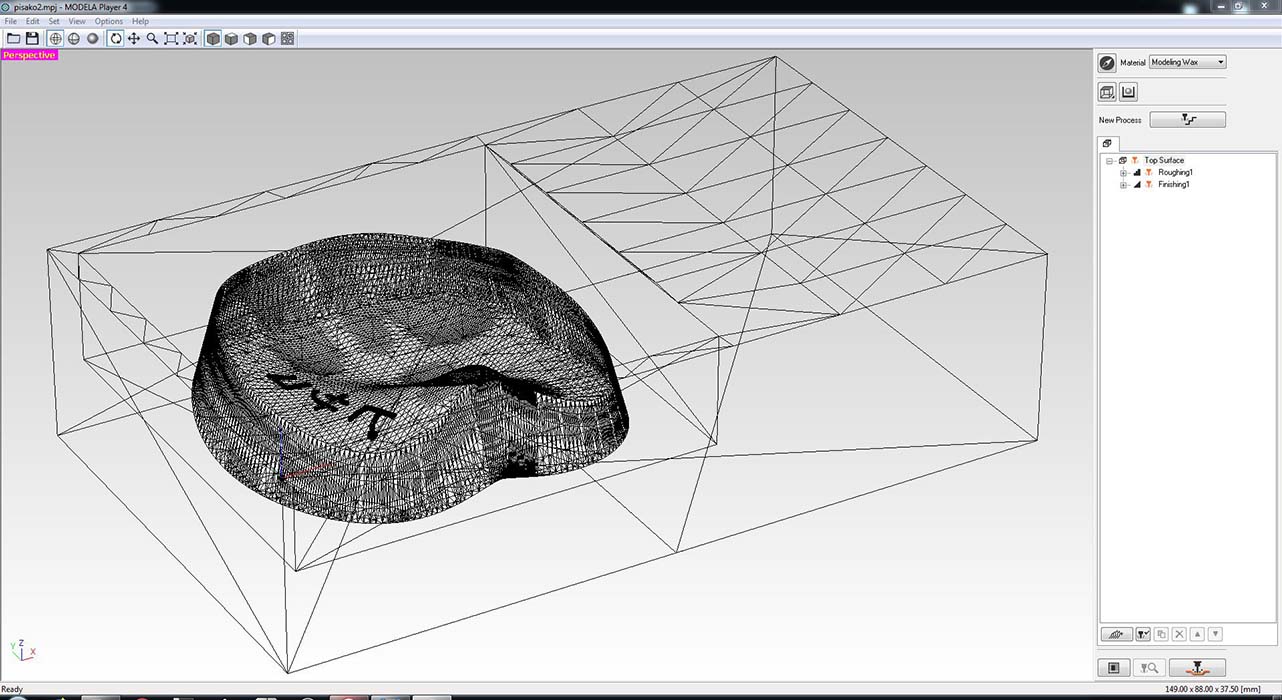
We then need to prepare the 3d mold for our desired object. We need to model the block of wax we will use for the positive mold. We somehow need to carve a 'pool' inside the wax block and place our desired object in it, as seen in the picture below.
Machining
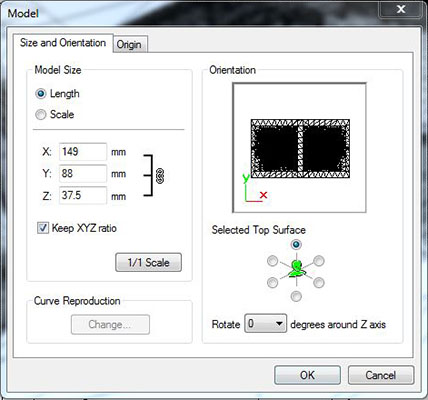
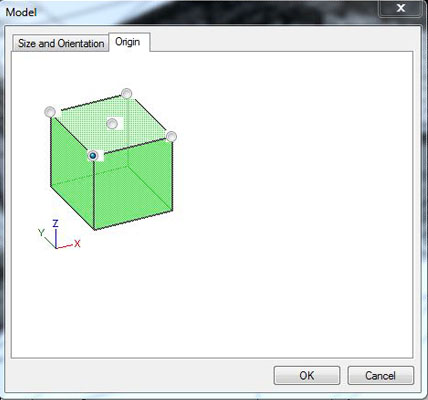
Once the 3d model is done, we can export it as a .STL in order to be opened by Modela 4 software. With this softare we'll set the parameters for milling the wax. We'll set the material to 'Modeling Wax' and proceed with the settings for the stock and the milling strategies.
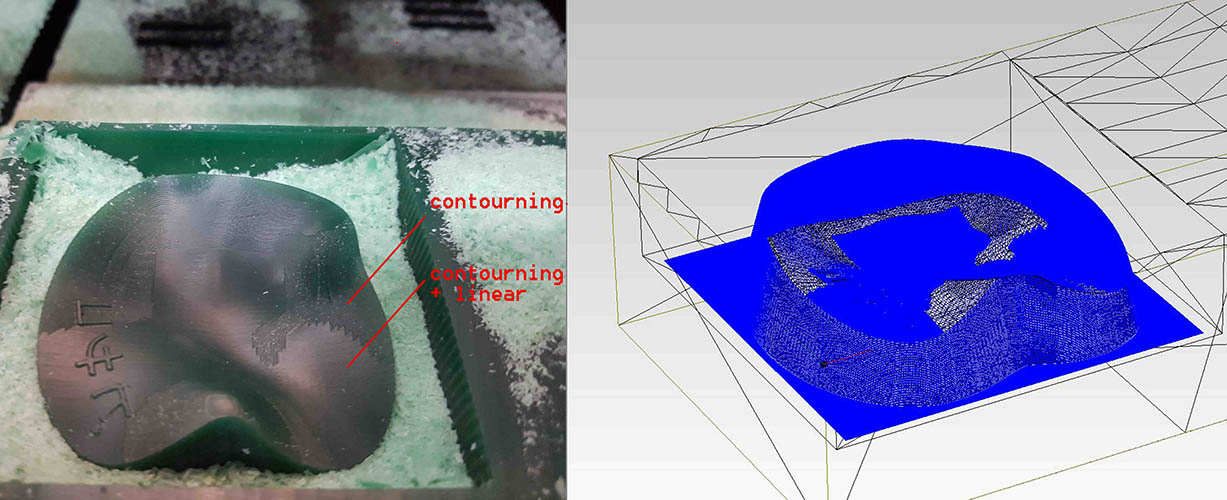
For the roughing I chose a linear toolpath and for the finishing I chose a contorning toolpath. For the finishing I set the cutting area avoiding the vertical walls, because I don't need good uality on that and because the finising bit (1/32") would break if the walls are not sloped.
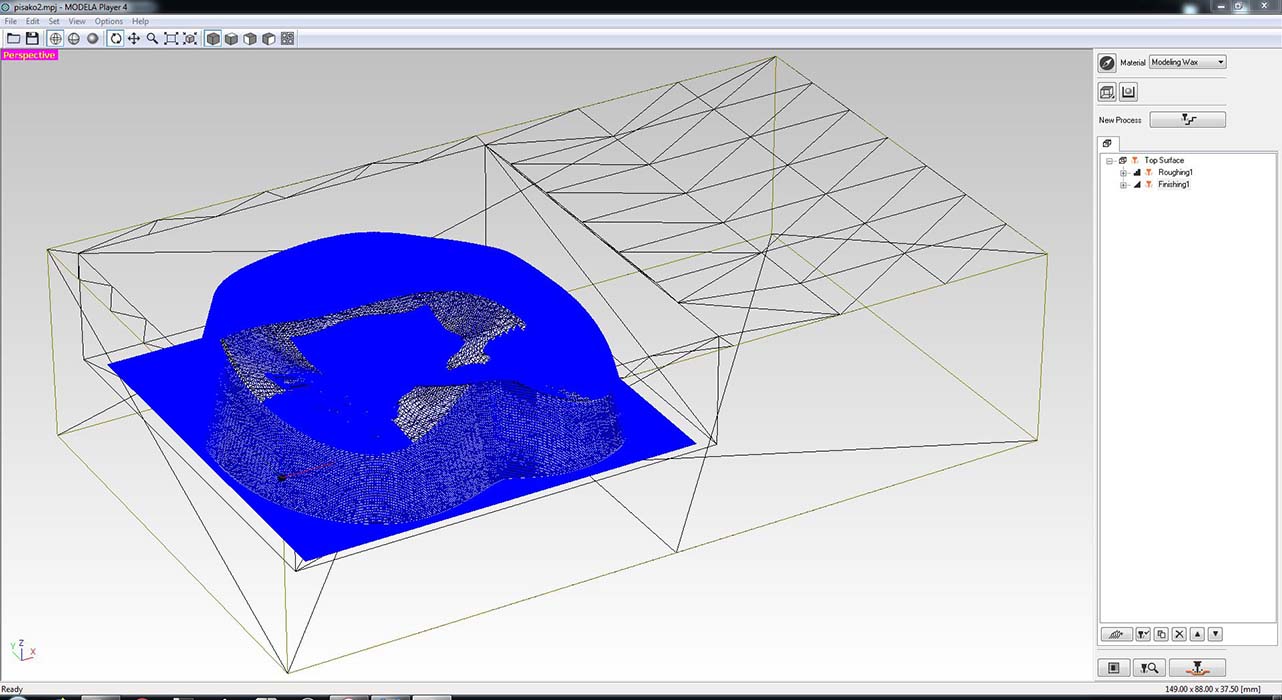
Here is the previsualization for the milling strategy.
We will use the Roland SRM-20 milling machine. We need to use a strong double-sided tape to stick the wax to the acrylic plate in the milling machine. We'll set up the milling bit and the x/y/z origin, like we do when milling the pcb's. If the wax is not completely flat, we'll set the z on the lowest point of the wax surface.
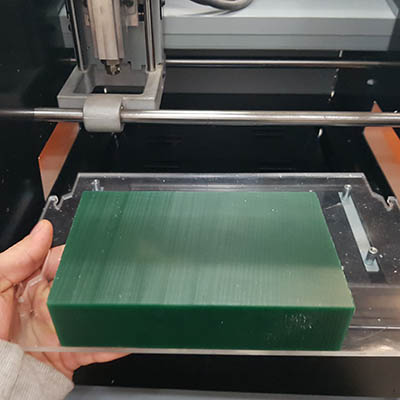

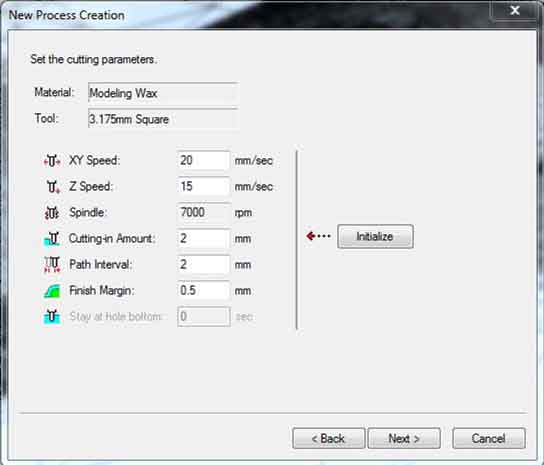
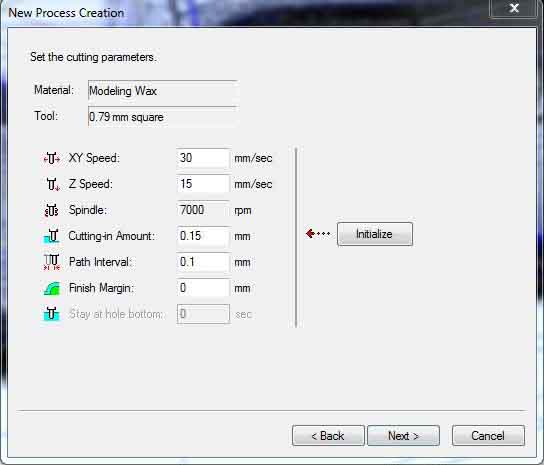
We'll then run the Roughing job with the 1/8" (3.175mm) flat-end bit. Next, we'll set the 1/32" (0.79mm) bit and run the Finishing job.
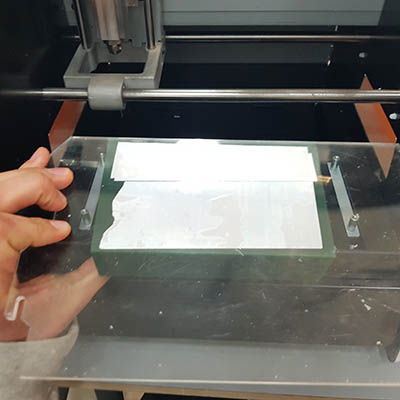
roughing

finishing
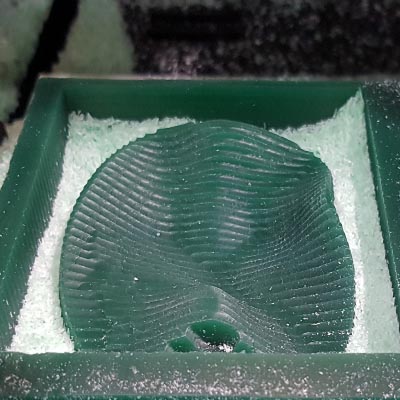
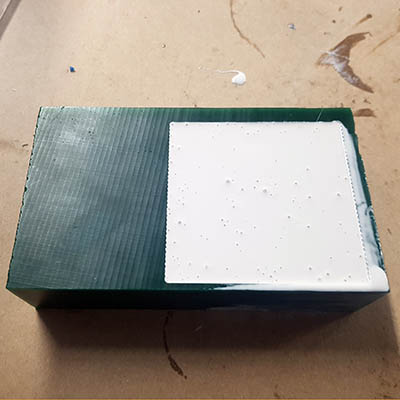
There was some kind of error with the finishing job. In Modela4 I chose to do a 'Contourning finishing', which the machine did. However after that the software decided to add a linear finishing in some areas of the model. The two finishings can be appreciated in the final result of the wax.
The error actually came from Modela4 and the way it interpreted the mesh. If I looked closely into the contourning previsualization, the darkest areas were not a simple visualization interference but the superposition of two patterns: the correct contourning finishing and the bugged linear finishing. This bug didn't appear if I chose to do a linear finishing instead of a contourning one. (Update: maybe I could have avoided this by turning the design into a mesh before exporting it to .stl)
I was not very satisfied with this and decided to do another linear finishing to the whole model. However this didn't smooth the whole thing, just some parts. Maybe I should have lowered the Z just a little in order to smooth everthing. Anyway, since it's wax I finally decided to smooth it with my fingers as much as possible.
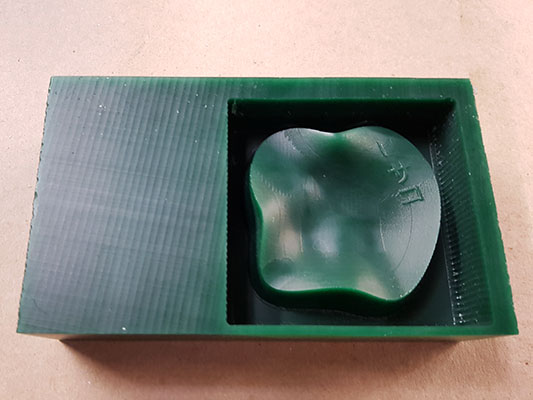
Molding
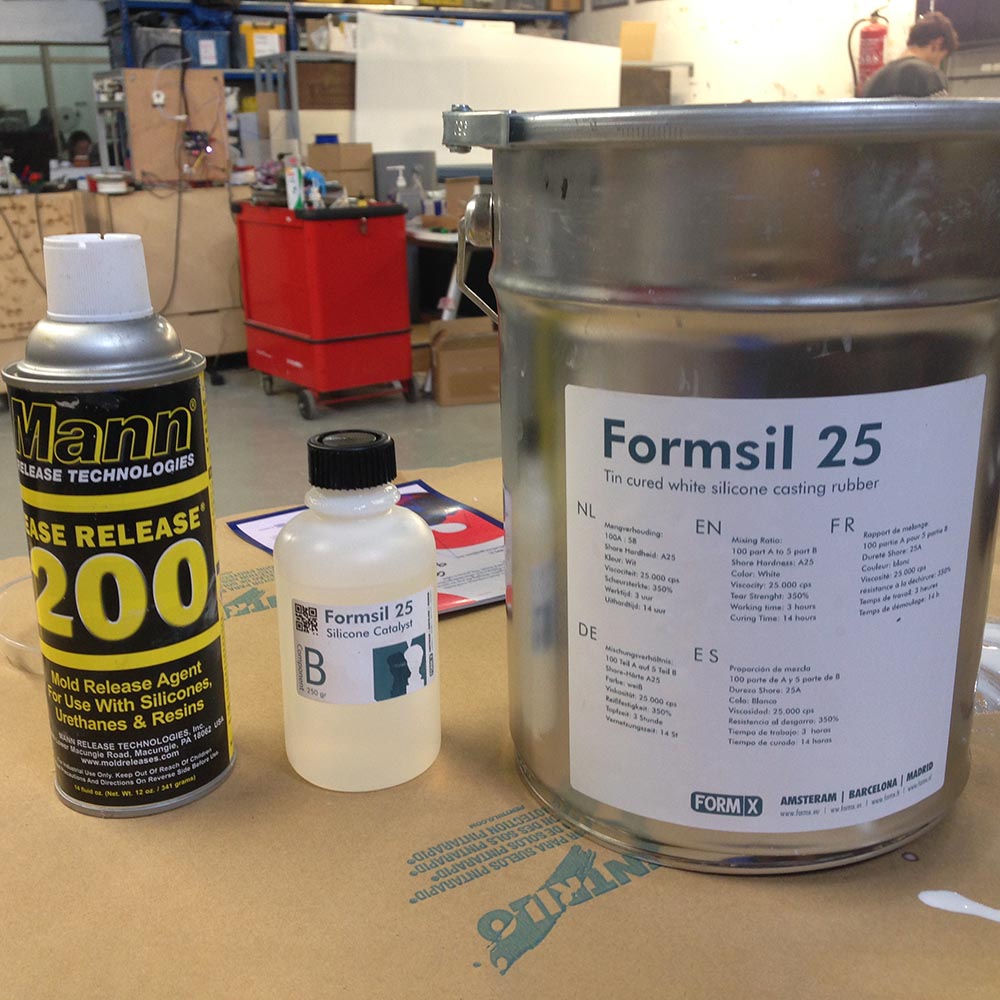
Now that we have the positive mold, we'll make the negative mold, which actually is the mold we want. We'll make it with flexible silicone, since it's easy to release and has a good quality surface finish. We'll use FormSil 25. It comes with a catalyst that will activate the curing. The mixing weight ratio is 100 parts of silicone to 5 parts of catalyst. The working time is 3h and the curing time 14h. We will also use a demolding spray on the wax that will ease the releasing of the silicone mold once it is cured.
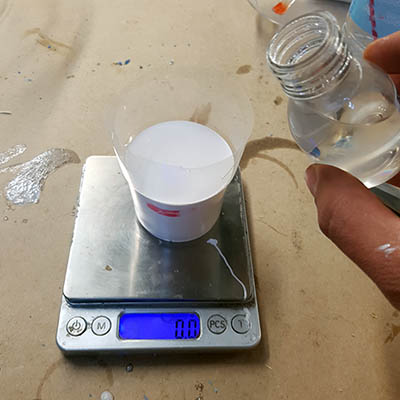
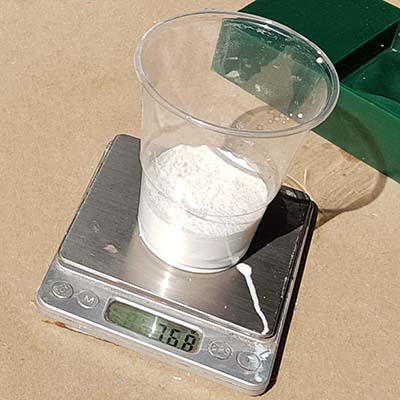
To prepare the right amount of silicone we'll measure the volume of water that can be filled in our wax mold. We'll fill the wax mold until it's full and we'll pour that water into a recipient (plastic cup). Now that we now the volume of molding mixture we need, we'll take another cup and will pour about the same volume with silicone and catalyst (100 parts silicone to 5 parts catalyst). For calculating the ratio, it can be useful to use a scale.
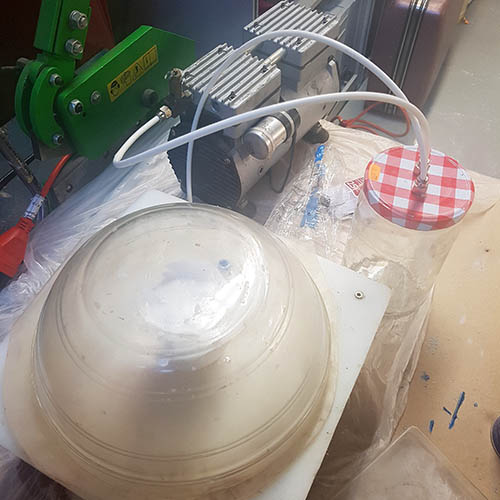
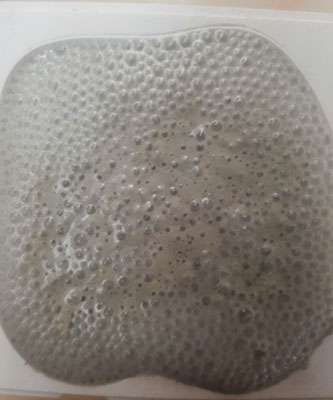
When the mixing is done (styr for a few minutes), we'll have 3h to work with it. Now we need to take out the air inside the mixture as much as possible. In the FabLab we have a super cool DIY vacuum machine that sucks the air out. We put the mixture inside the compression bowl and press in order to seal any air entrance. We'll start seeing bubbles coming out of the mixture. The more time you spend sucking out the bubbles, the better your mold will be. If the mixture starts growing and is about to spill, decompress the bowl, let it go down and compress again.
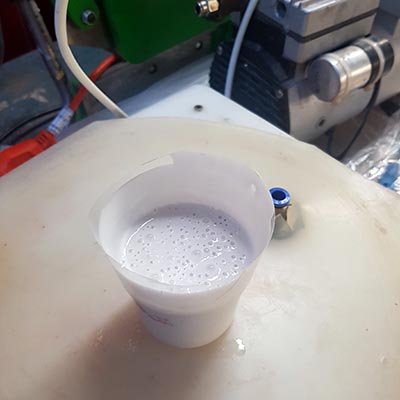
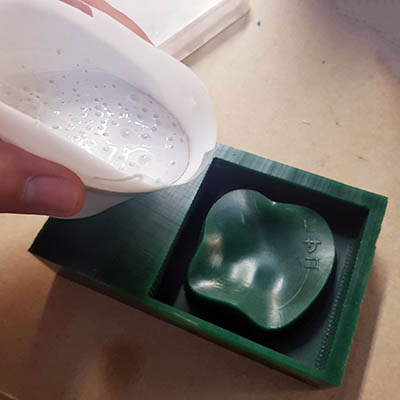
Once we have taken out as many bubbles as possible, pour the mixture in the wax mold (remember it is recommendable to use the demolding spray on the wax). Put your wax mold filled with the silicone inside the vacuum bowl again and extract as many bubbles as possible.
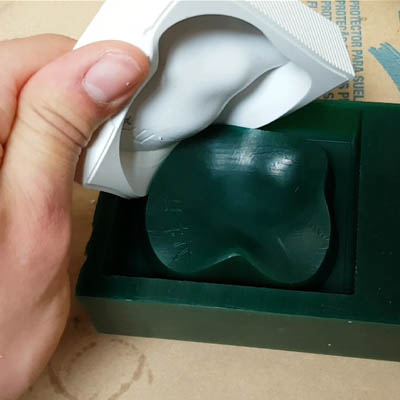
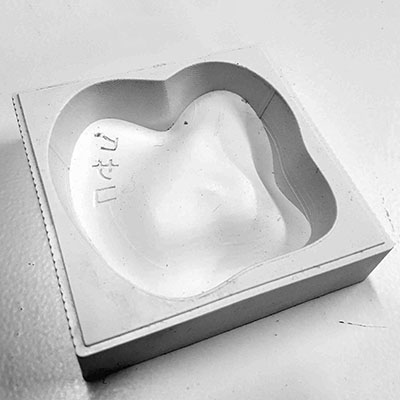
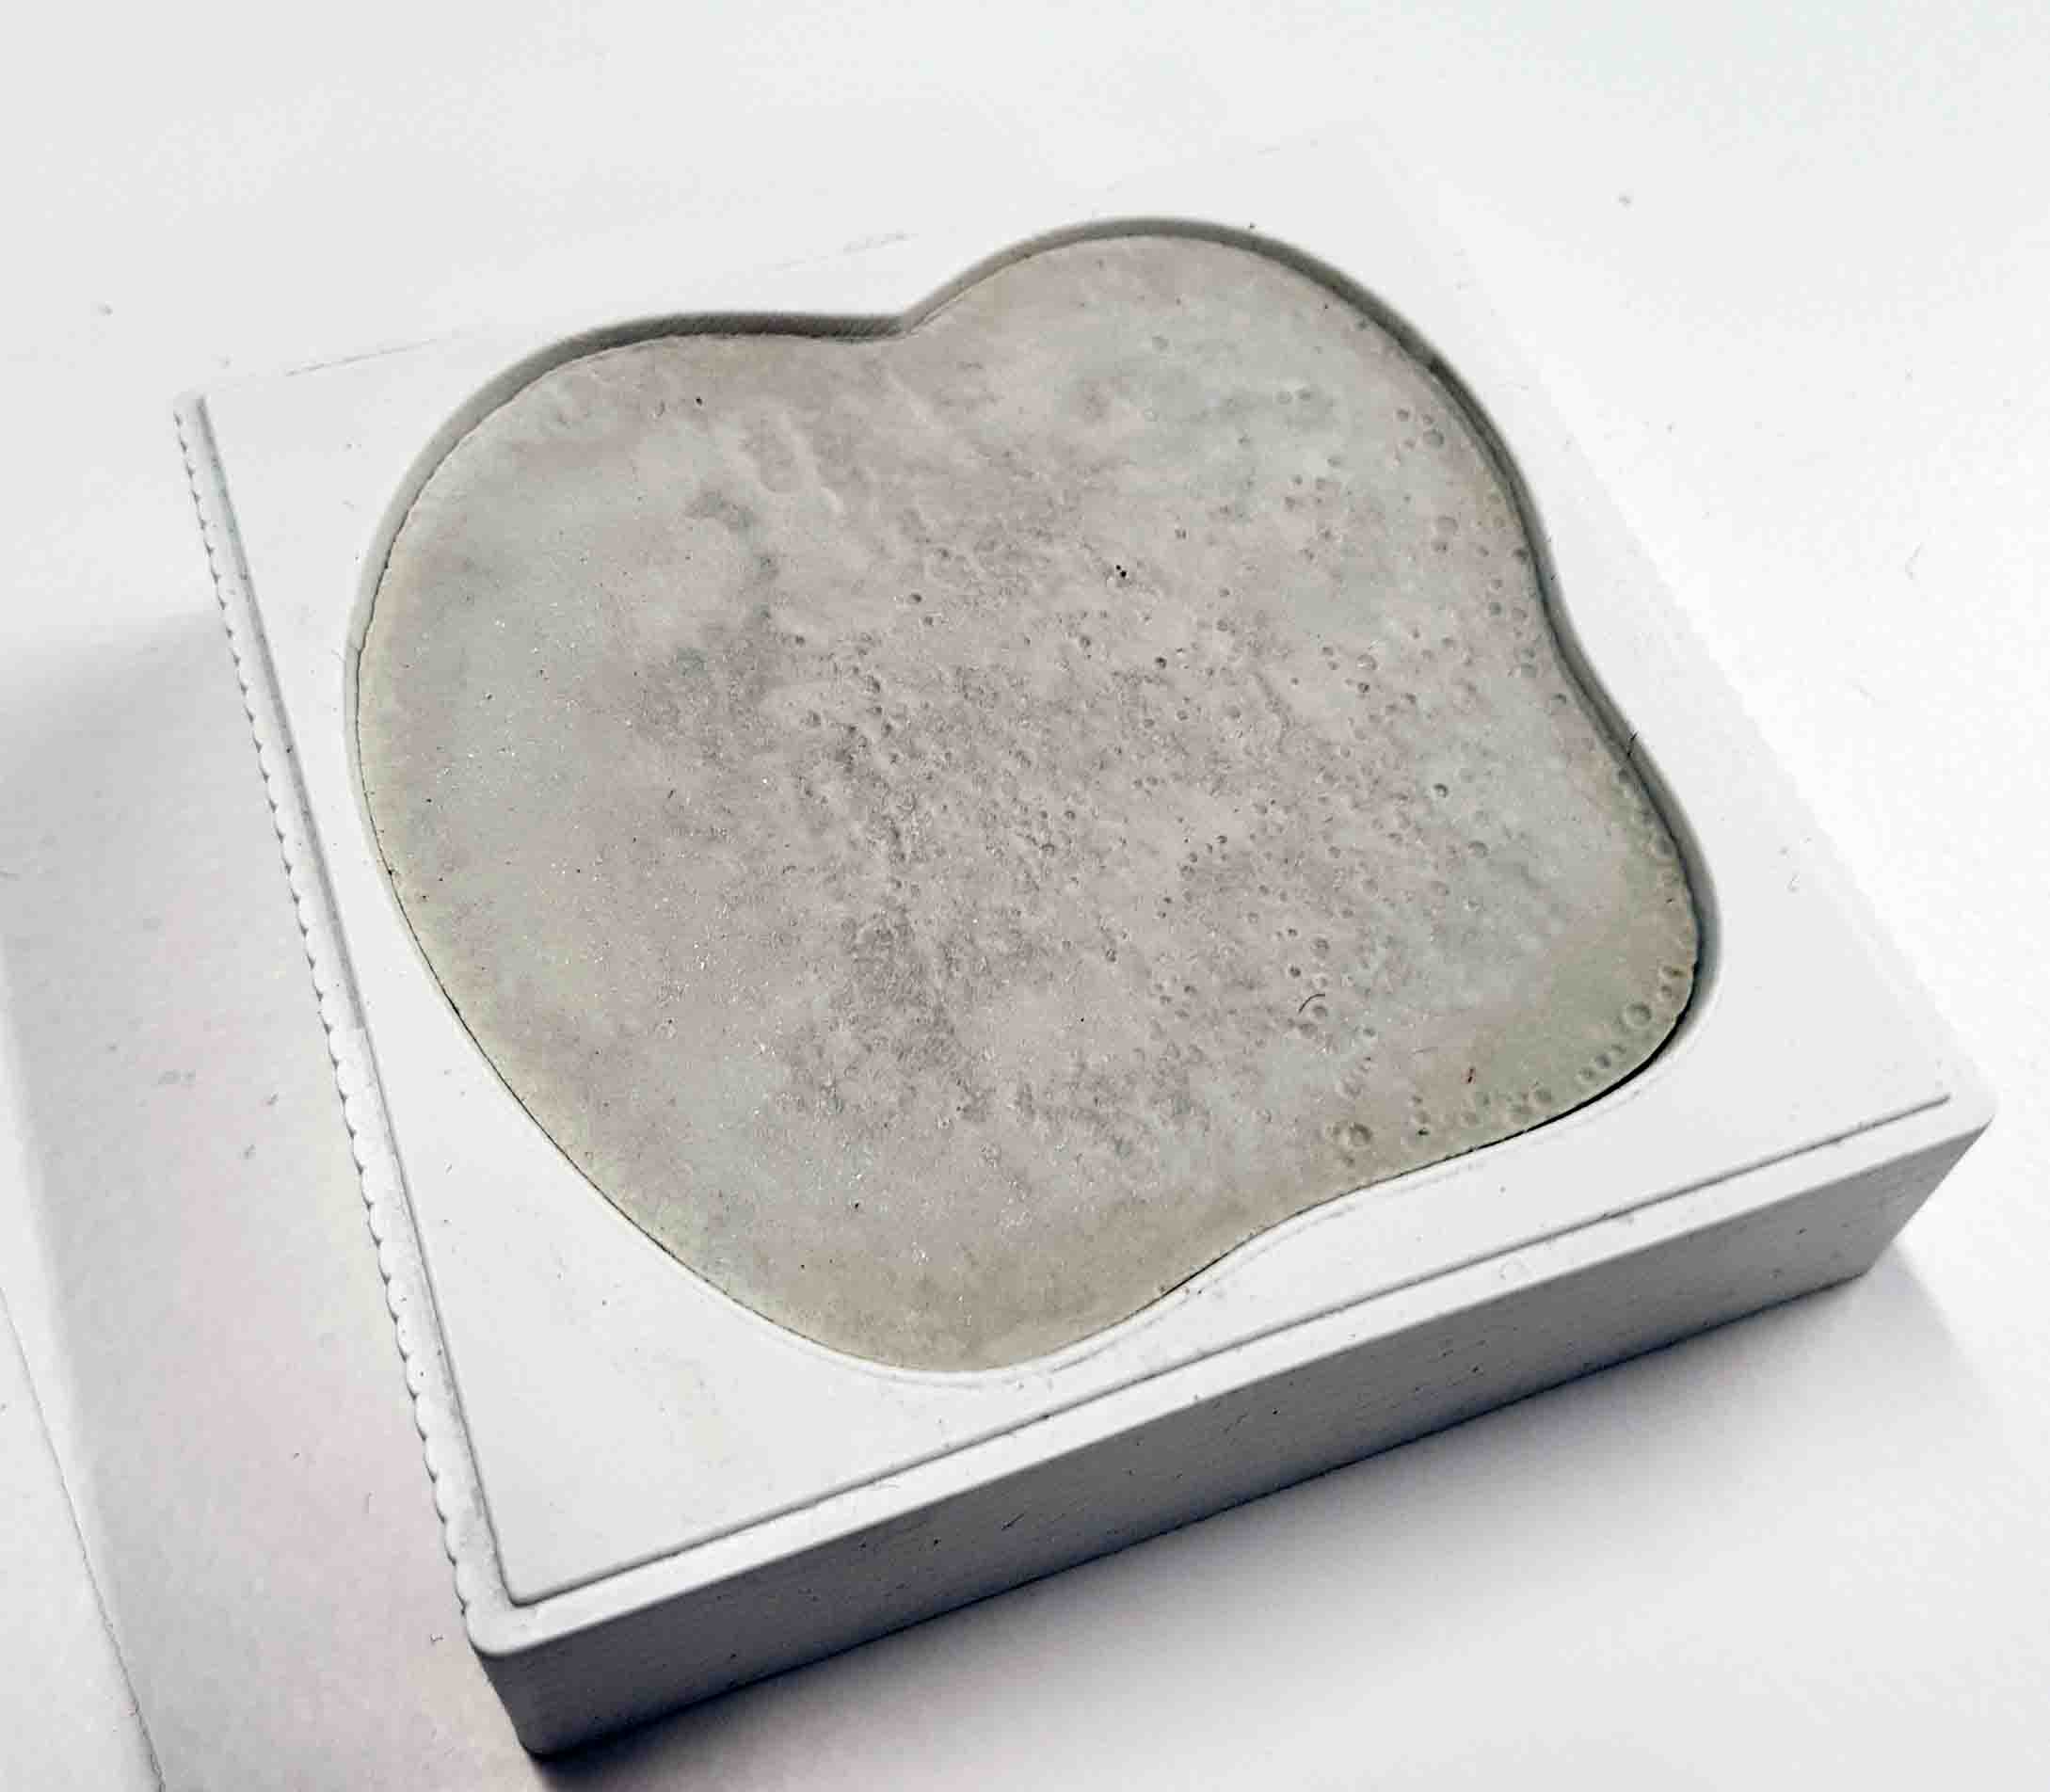
Let it cure overnight (at least 14h) and take it out. Now you have the negative mold.
Casting
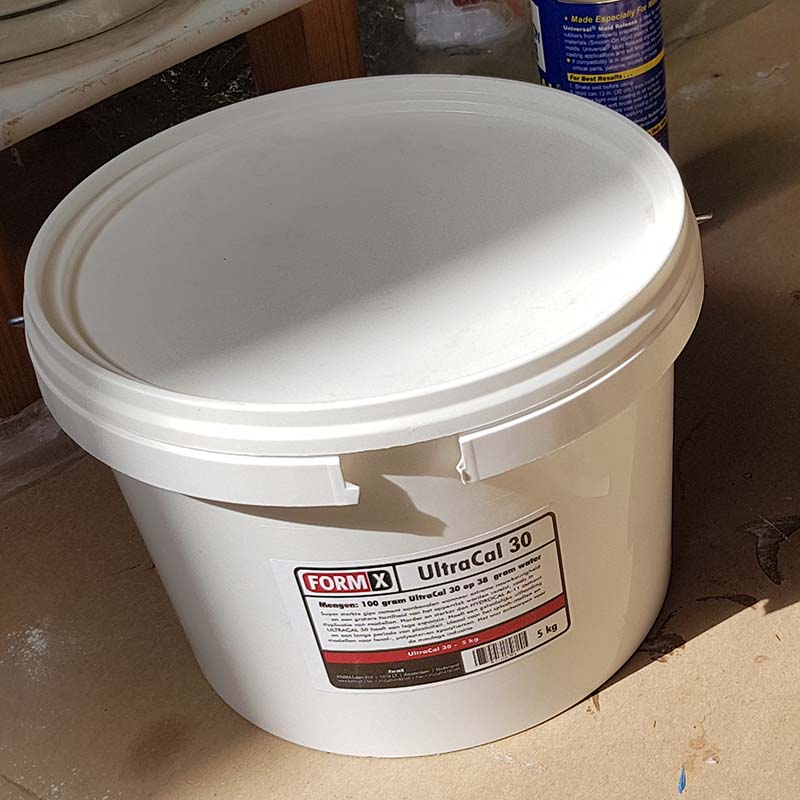
For the casting I will use UltraCal 30, a super-strength gypsum cement. The mixing ratio for this material is 100g UltraCal30 to 38g water.
Once the mixture is done, pour it into the silicone mold. You need to take out the air bubbles again. It's a bit annoying but it is important, as you will avoid future errors in the quality of the casted piece. Gypsum cement cures quite fast, in a matter of a few hours you will be able to demold it.
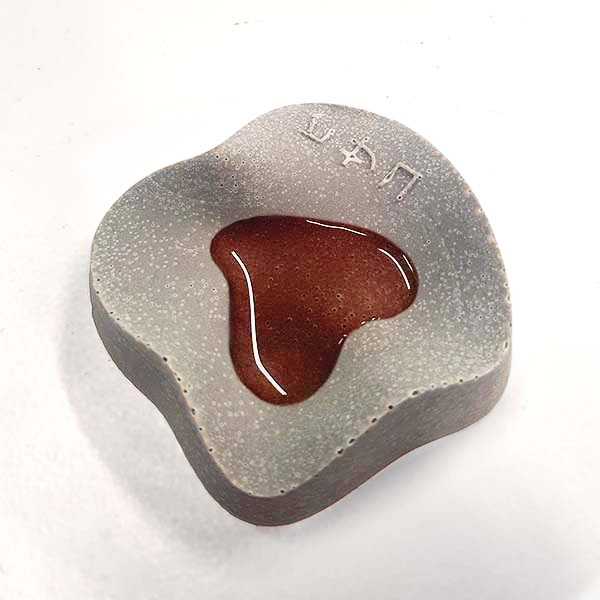
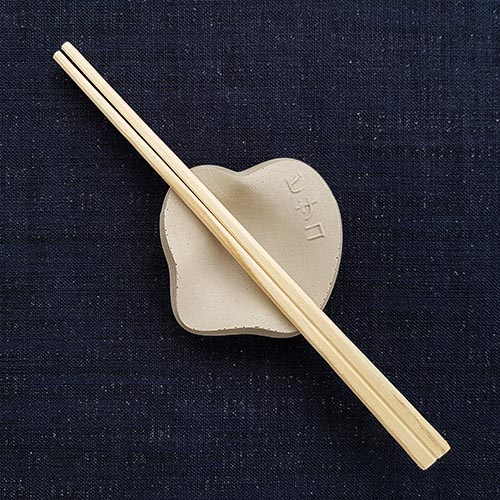
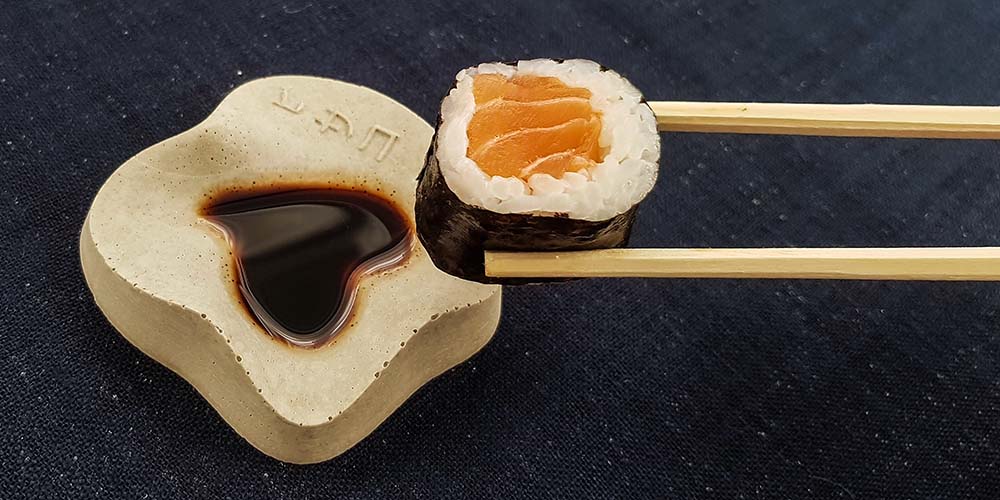
It's a soy sauce dipping dish, but notice this material is still not safe for food. I guess I would need to give it some protection lacquered layer or use another material.
download files

This work is licensed under a Creative Commons Attribution-NonCommercial-ShareAlike 4.0 International License.