Files
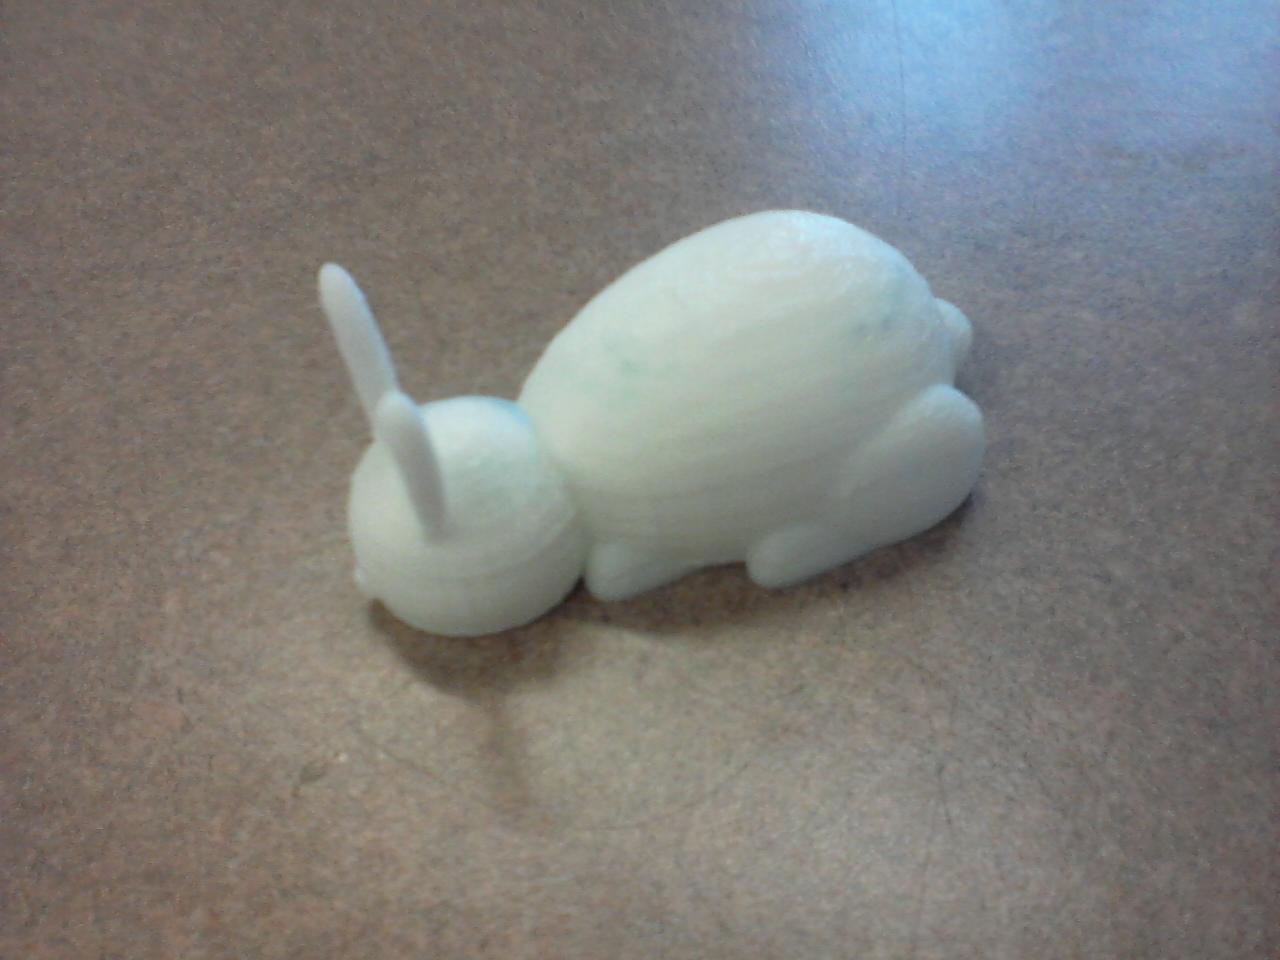
Bunny For Molding stl
Fab Lab Pendant png
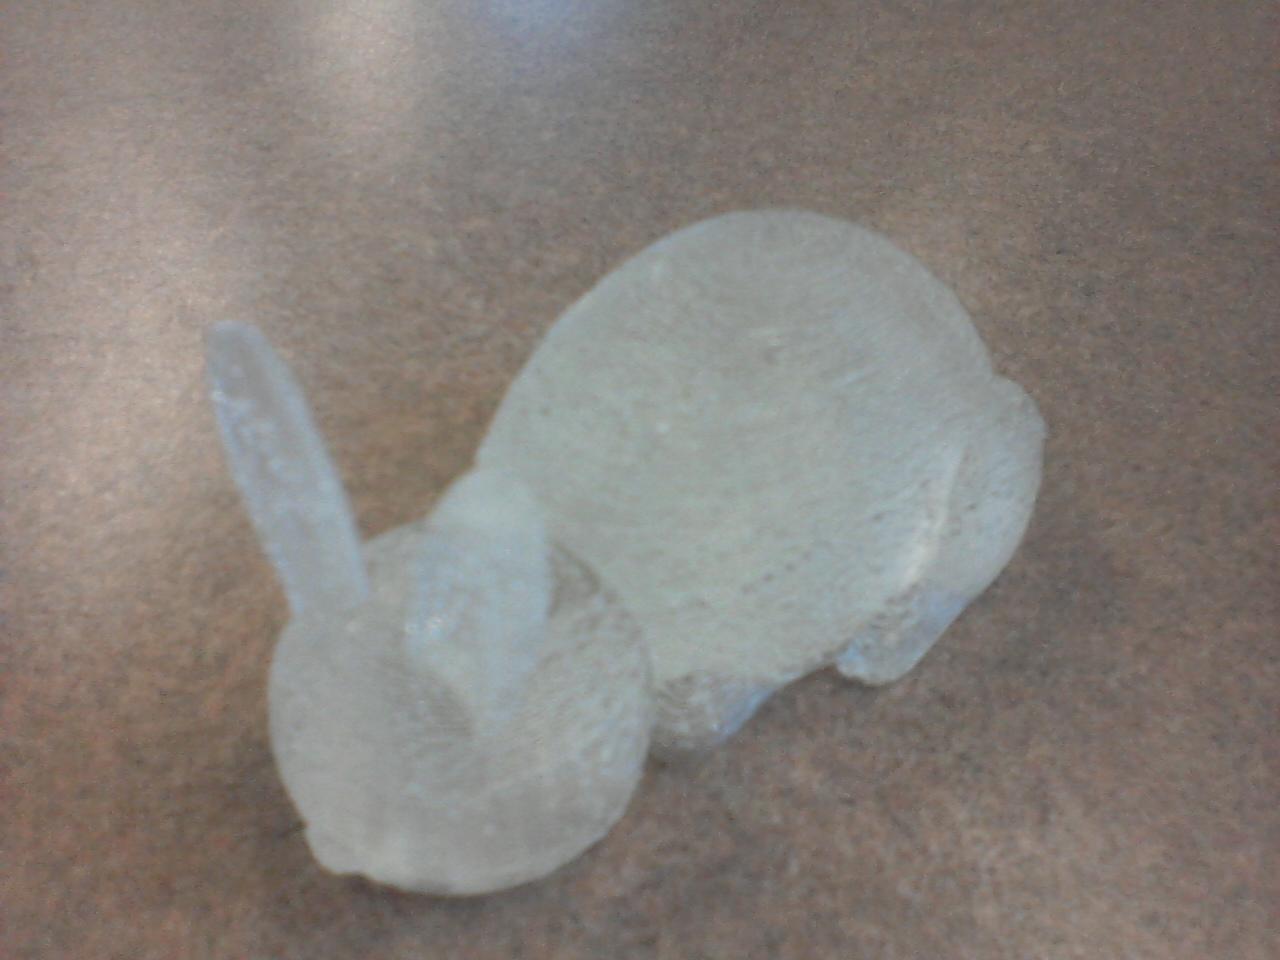
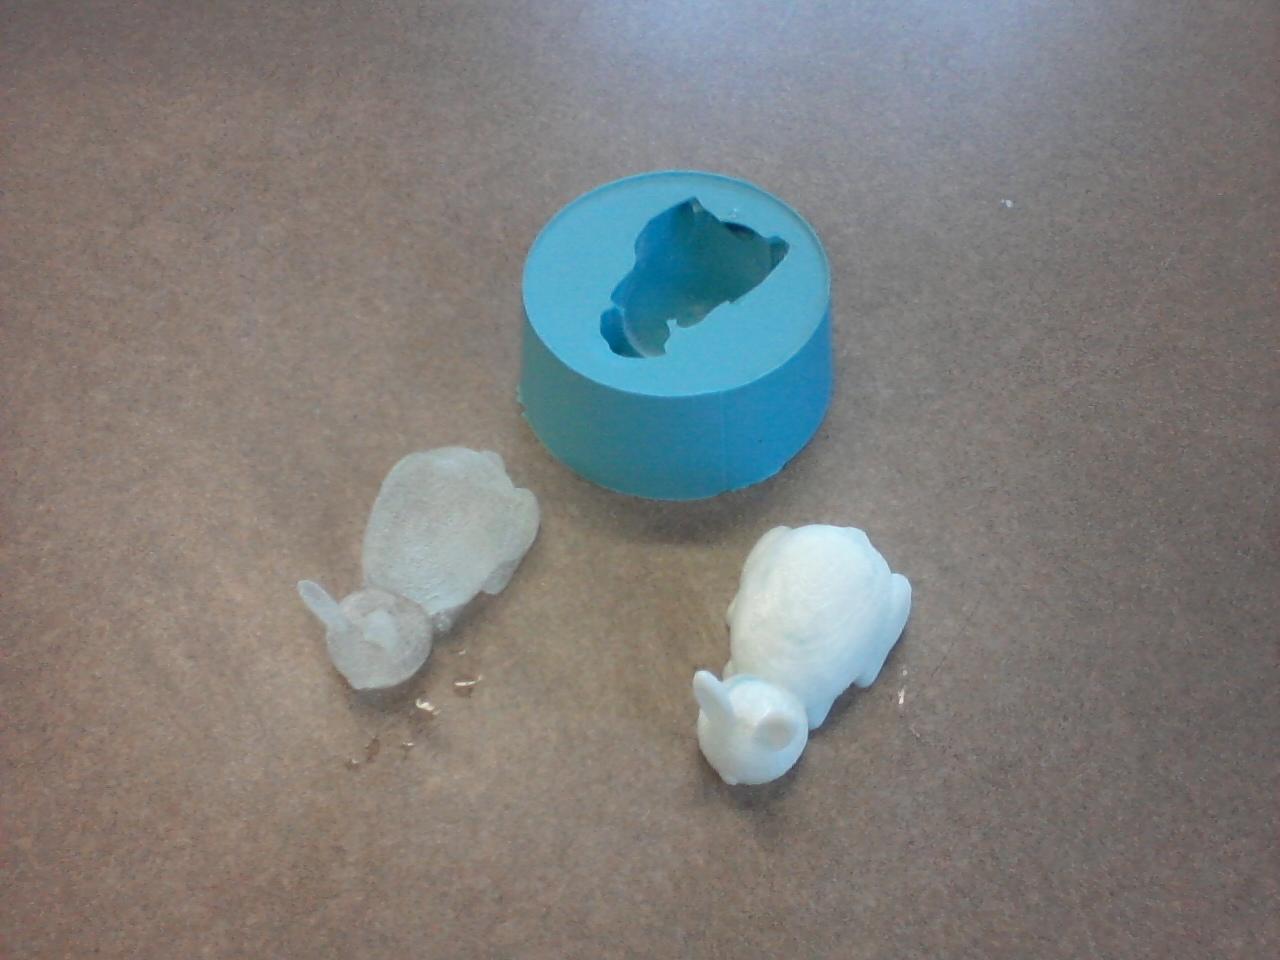
Note, Originally I did a bunny 3d print and casted using the bunny. I come to find out later that maching a mold is part of the weekly tasks, and milled out a sperate design that was not cast in the documentation.
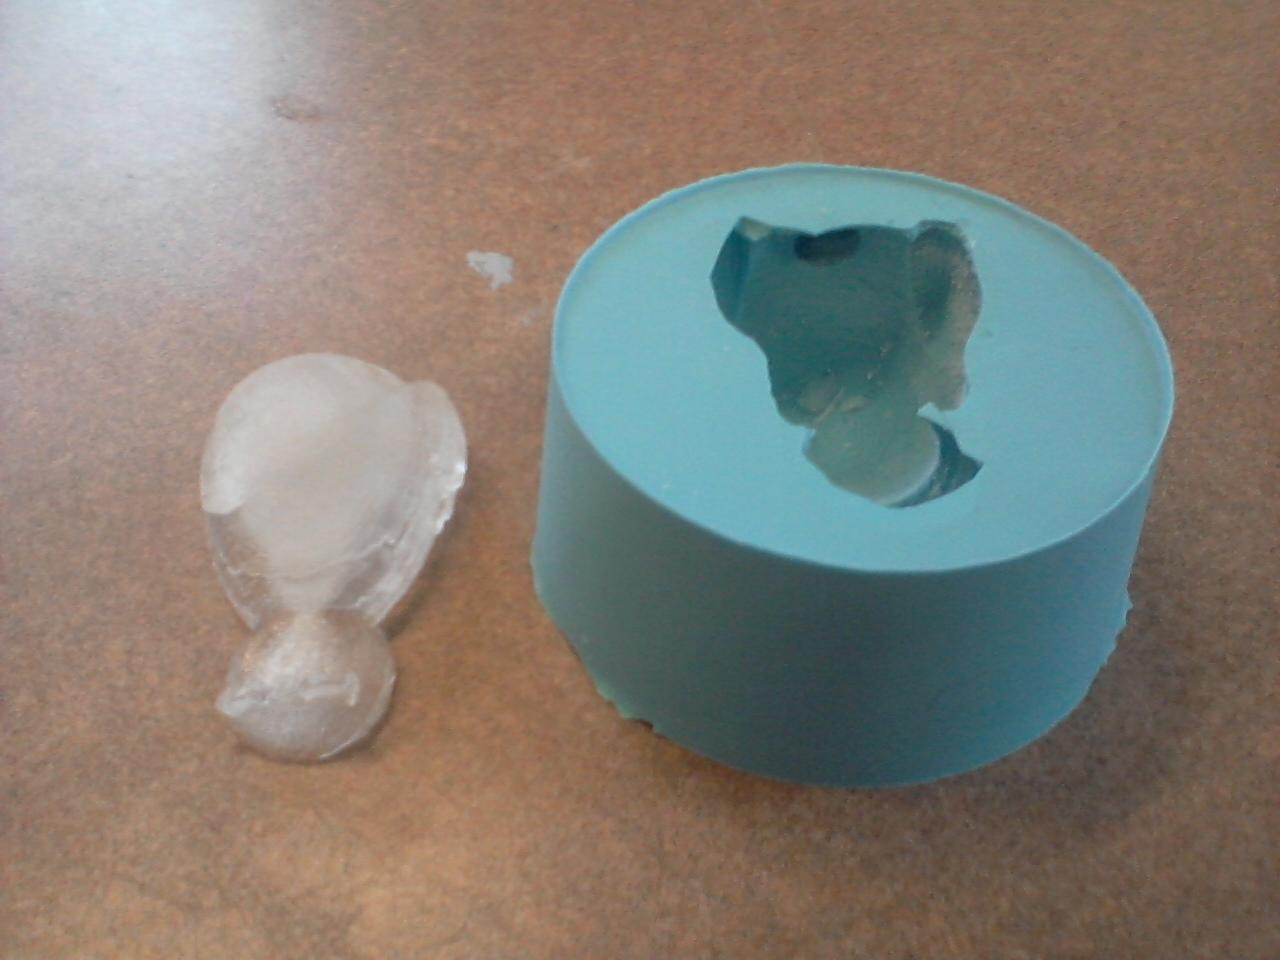
Entropy Resins Super Sap CCR was used. The sap is prepared as per the instructions on the bottle, combining the resin and the hardener, stirring for two minutes, and then it is ready. Roughly two ounces of resin is poured into the rubber mold and allowed to set overnight. The next day, the entropy cast is removed from the mold, ears intact.
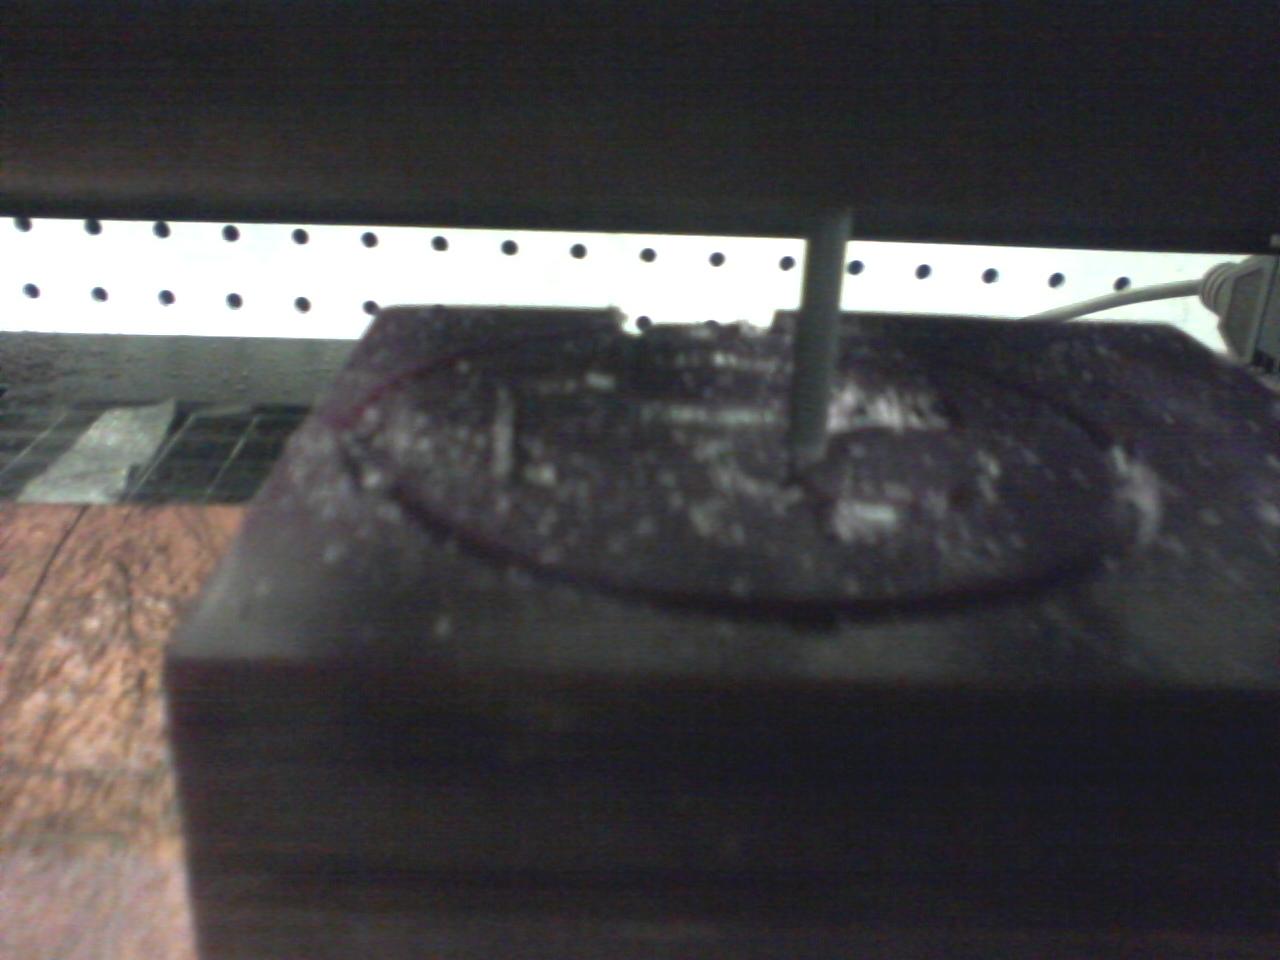
Machining a Mold using the Modela
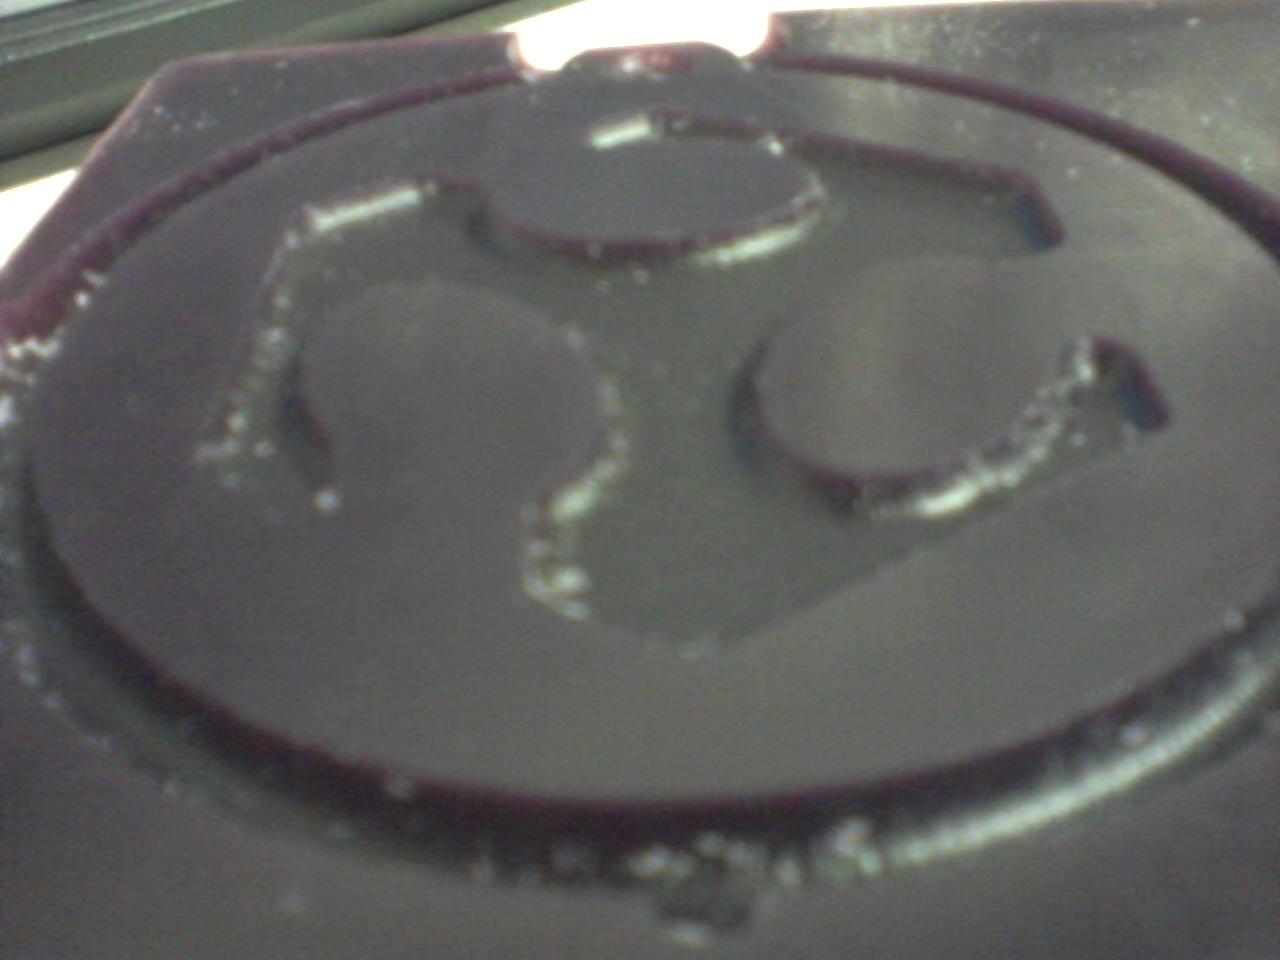
Starting with the Champaign Urbana Community Fab Lab logo, I designed a pendant in Inkscape. The black will be the deepest cuts, and form the outline and the hole in the pendant. The grey is the intermediate cuts, and will form the lowered areas in the pendant. The areas in white will be raised.

The modela was used to mill the form out of machineable wax. Workflow is very similar to setting up a board to mill, however, "wax rough cut" and then "wax finish cut" was used with a 1/8" bit. In the 3d settings, I set the depth of the form to be from -0.1 to -3 mm in 0.2mm increments.