Week 5: 3d Printing, Scanning
This week has a focus on 3d printing and scanning.
File
Crescent Wrench
Raw Scan
Repaired Scan
3d Printing: Crescent Wrench
I want to see if I could design and print a functional crescent wrench. The most interesting part of this project was reaching the end of tinkercad, which, up till now, has been my preferred 3d design tool. I have run into 2 difficulties with tinkercad and this project. First, a crescent wrench has a screw, and I was not able to design a screw myself. I had to download one. Second, it becomes incredibly difficult to make small changes on a finished piece in tinkercad. I often find myself ungrouping shapes many times to reshape a piece by two tenths of a millimetre. This makes working with small but important details troublesome, time consuming, and prone to error.
The first 3d printed cresent wrench (pictured below) had a few problems and did not function. A second iteration has been designed but has not been print yet. I do not know if I will ever get the screw-rack and pinion machine to work from a 3d printer, at least not a design this small.

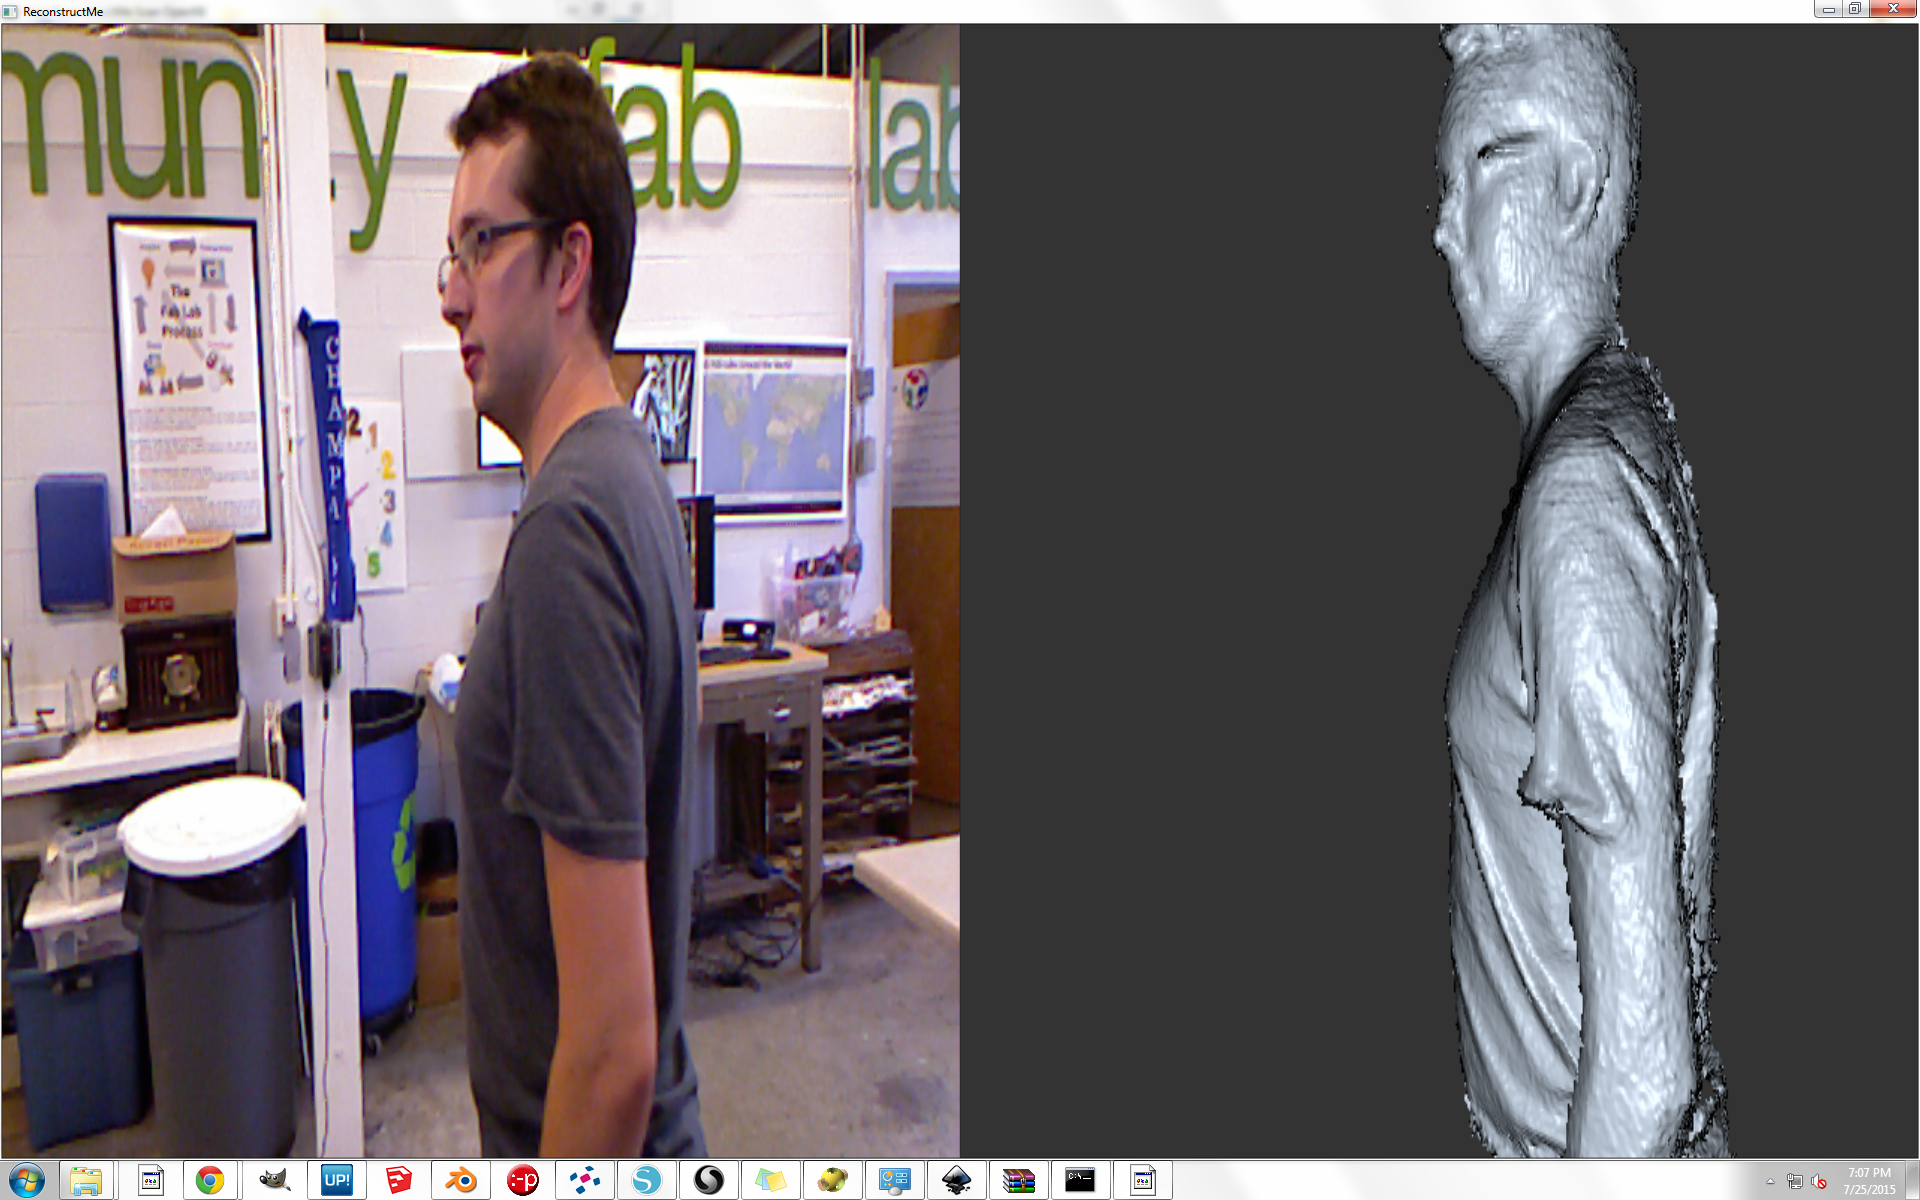
3d Scanning: Self Scan
We started by using Reconstructme and a Microsoft Kinect to get a scan.
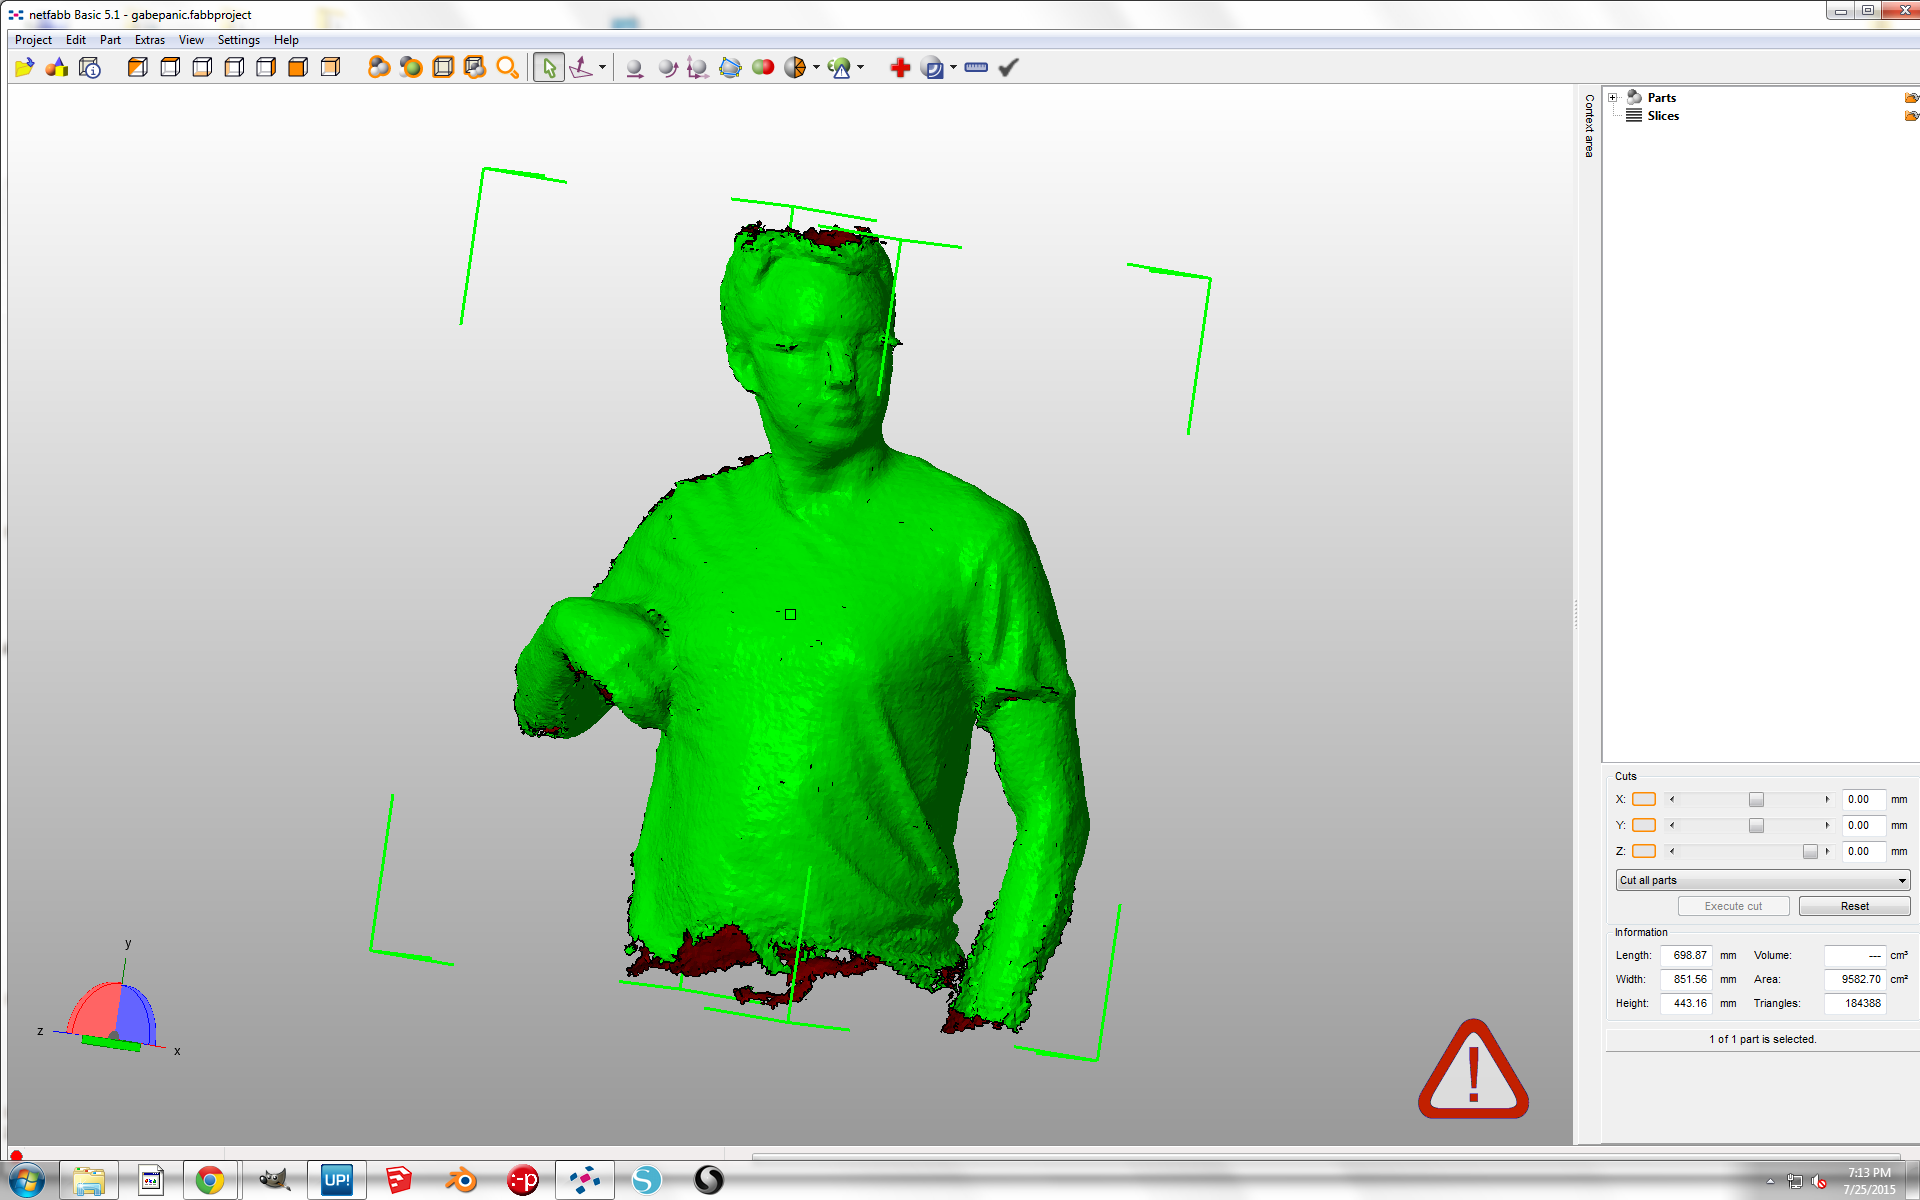
I then used netfabb to repair the scans. Netfabb has a cutting tool used to take off the garbage at the bottom of the scan, as well as a repair tool to stitch up the holes.
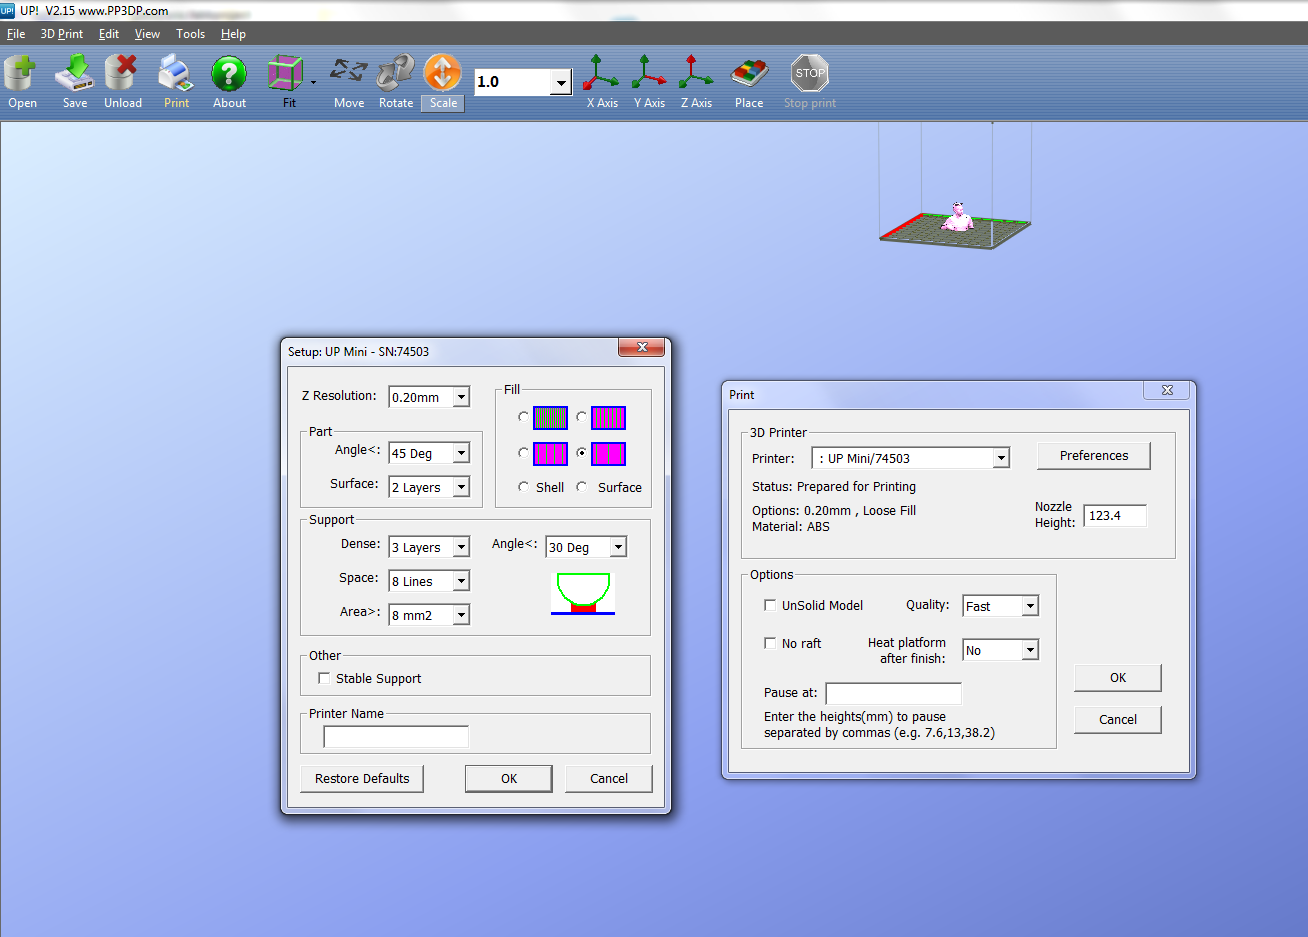
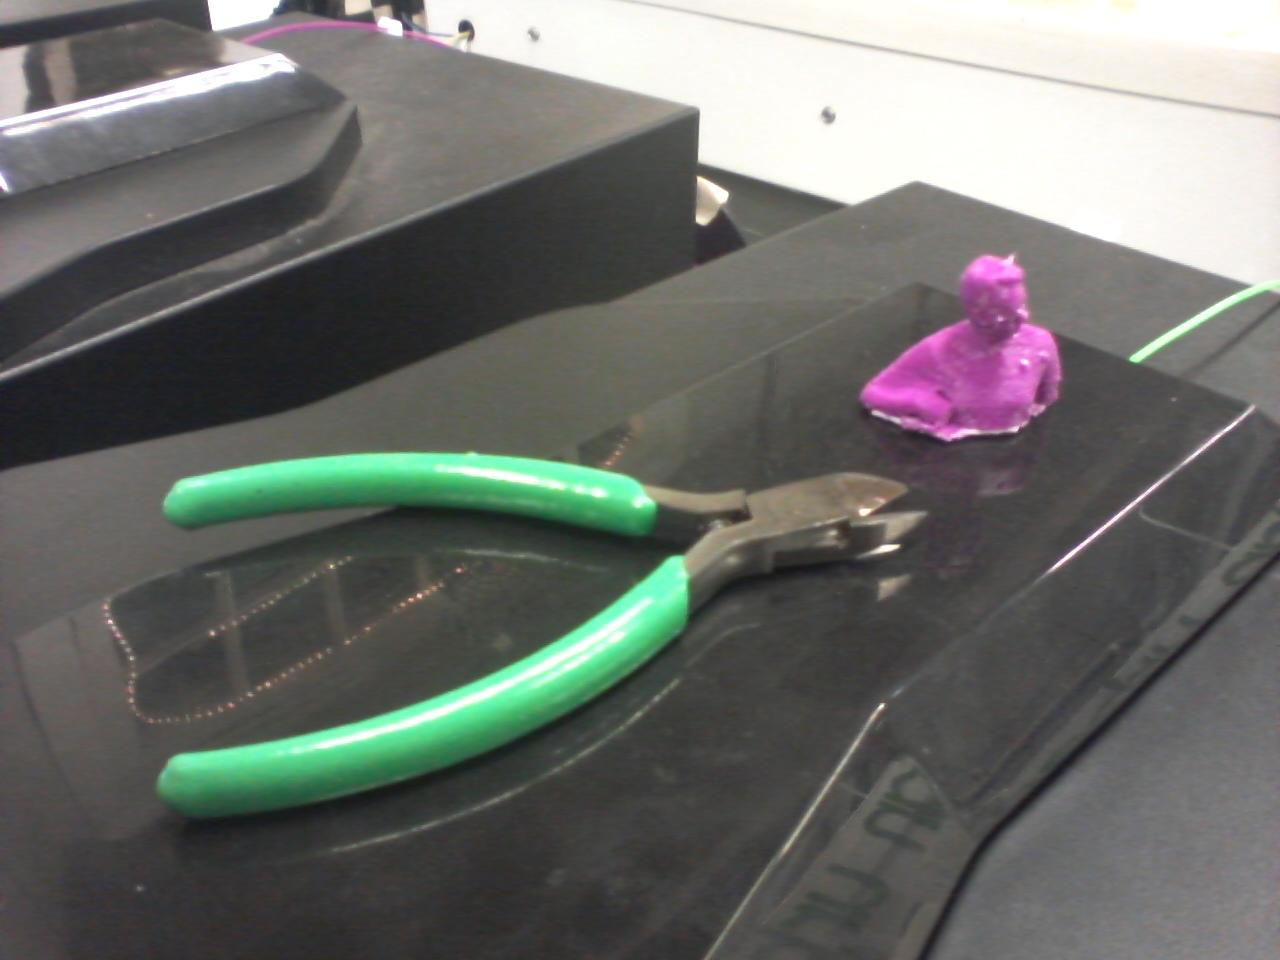
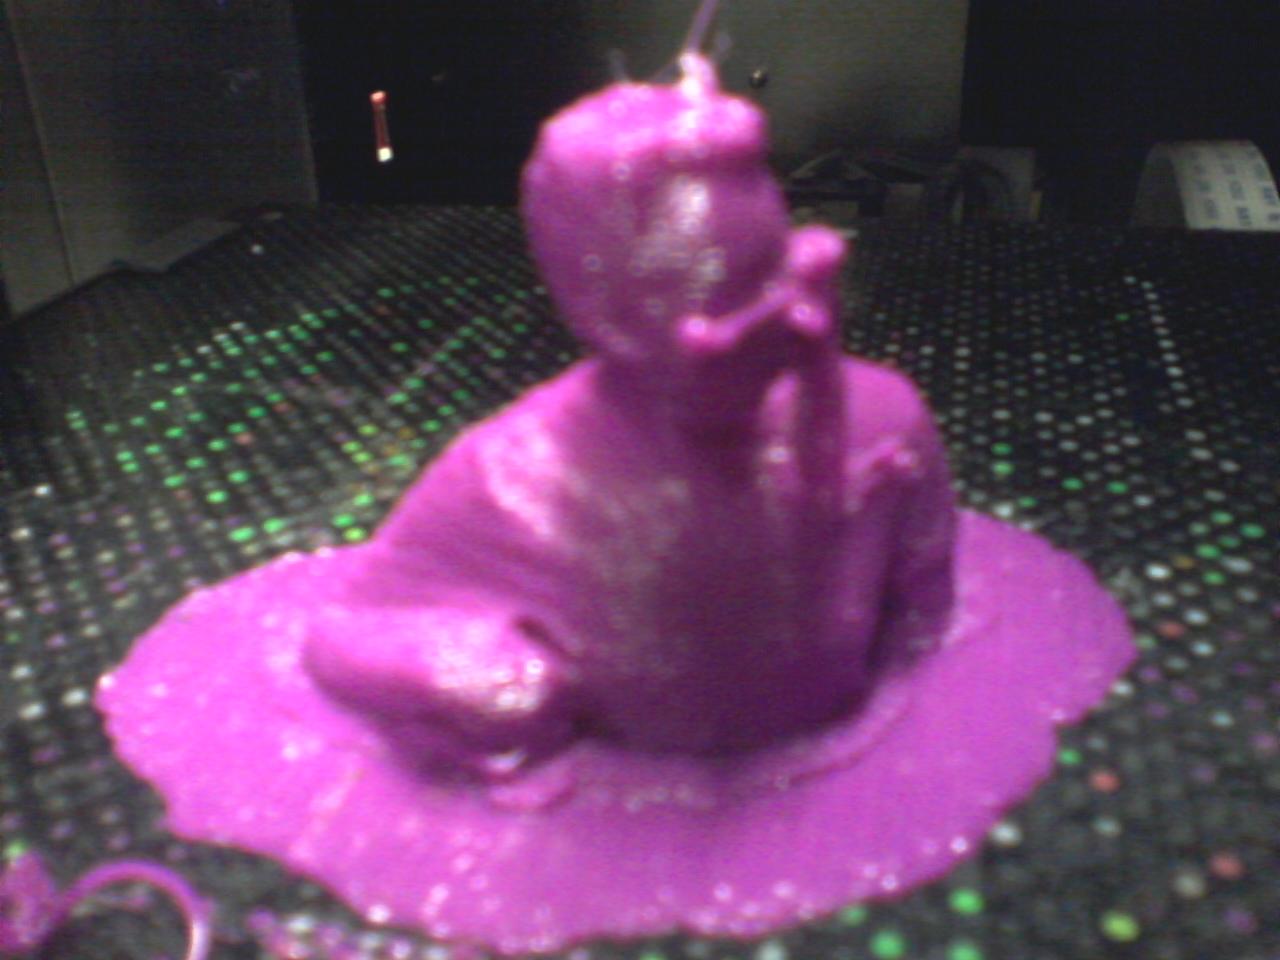
After repairing the file, I printed the head on an Up Plus Mini 3d printer. Settings pictured. Flush cutters were used to snip off the supports at the end.
3d Scanning: Minecraft Adventures
This week I led our minecraft camp through the 3d scanning part of the curriculum, available here. We started by using Reconstructme and a Microsoft Kinect to get a scan of individual campers.
Then campers used netfabb to repair the scans.
The repaired scans were then put into BinVox to create minecraft schematics. Part of the lesson is for kids to manually edit the script in text edit to get it to read the file name, a skill most of them have never done.
MCedit was used to place the schematic into a minecraft world.
Finally, campers tricked out their effigy in minecraft proper.
Here is mine:

Home
Projects