Feeds n Speeds
Frisbee STL file here.
Gcode for Neuromaker.
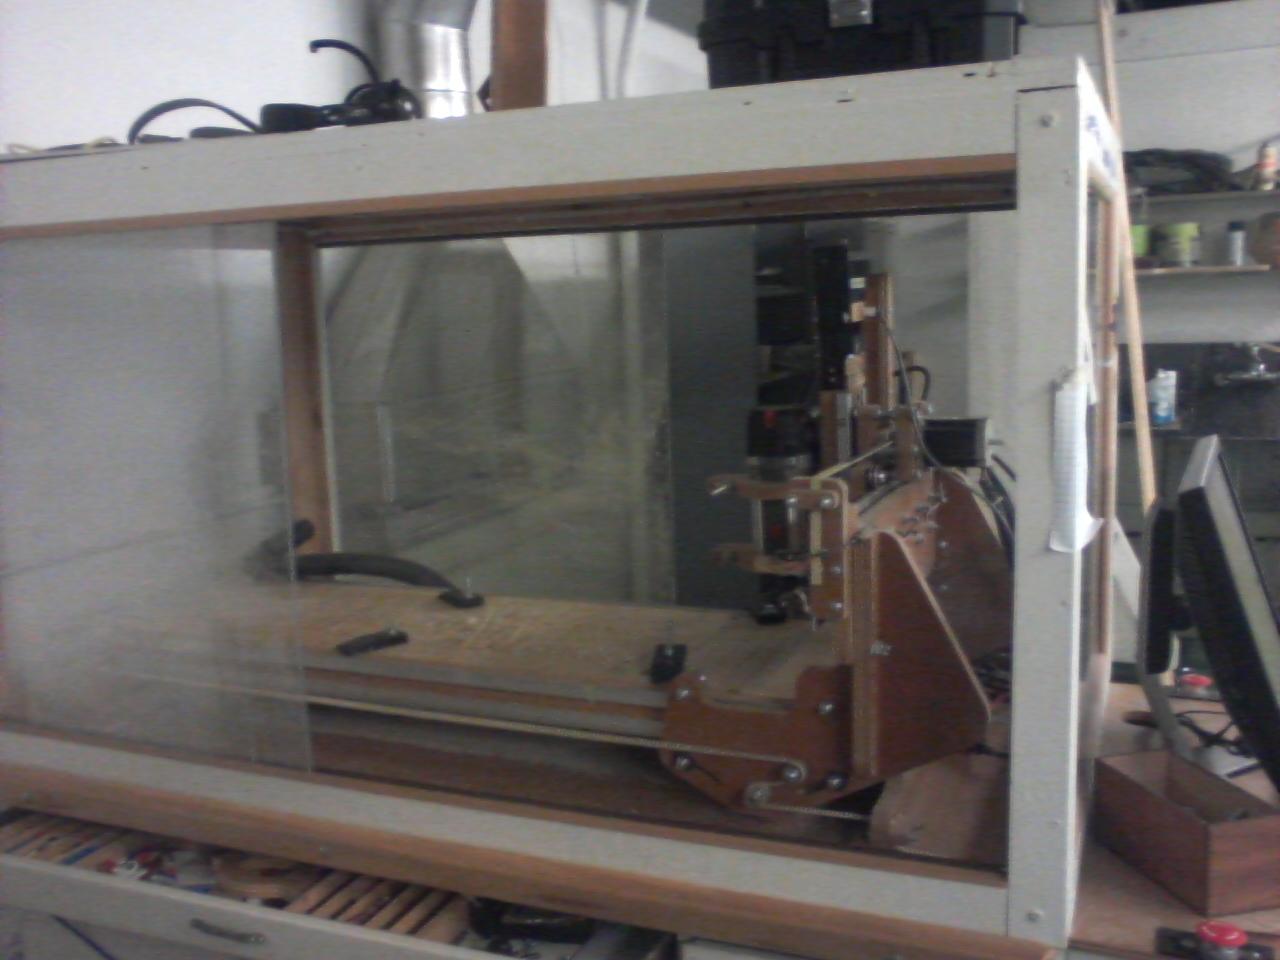
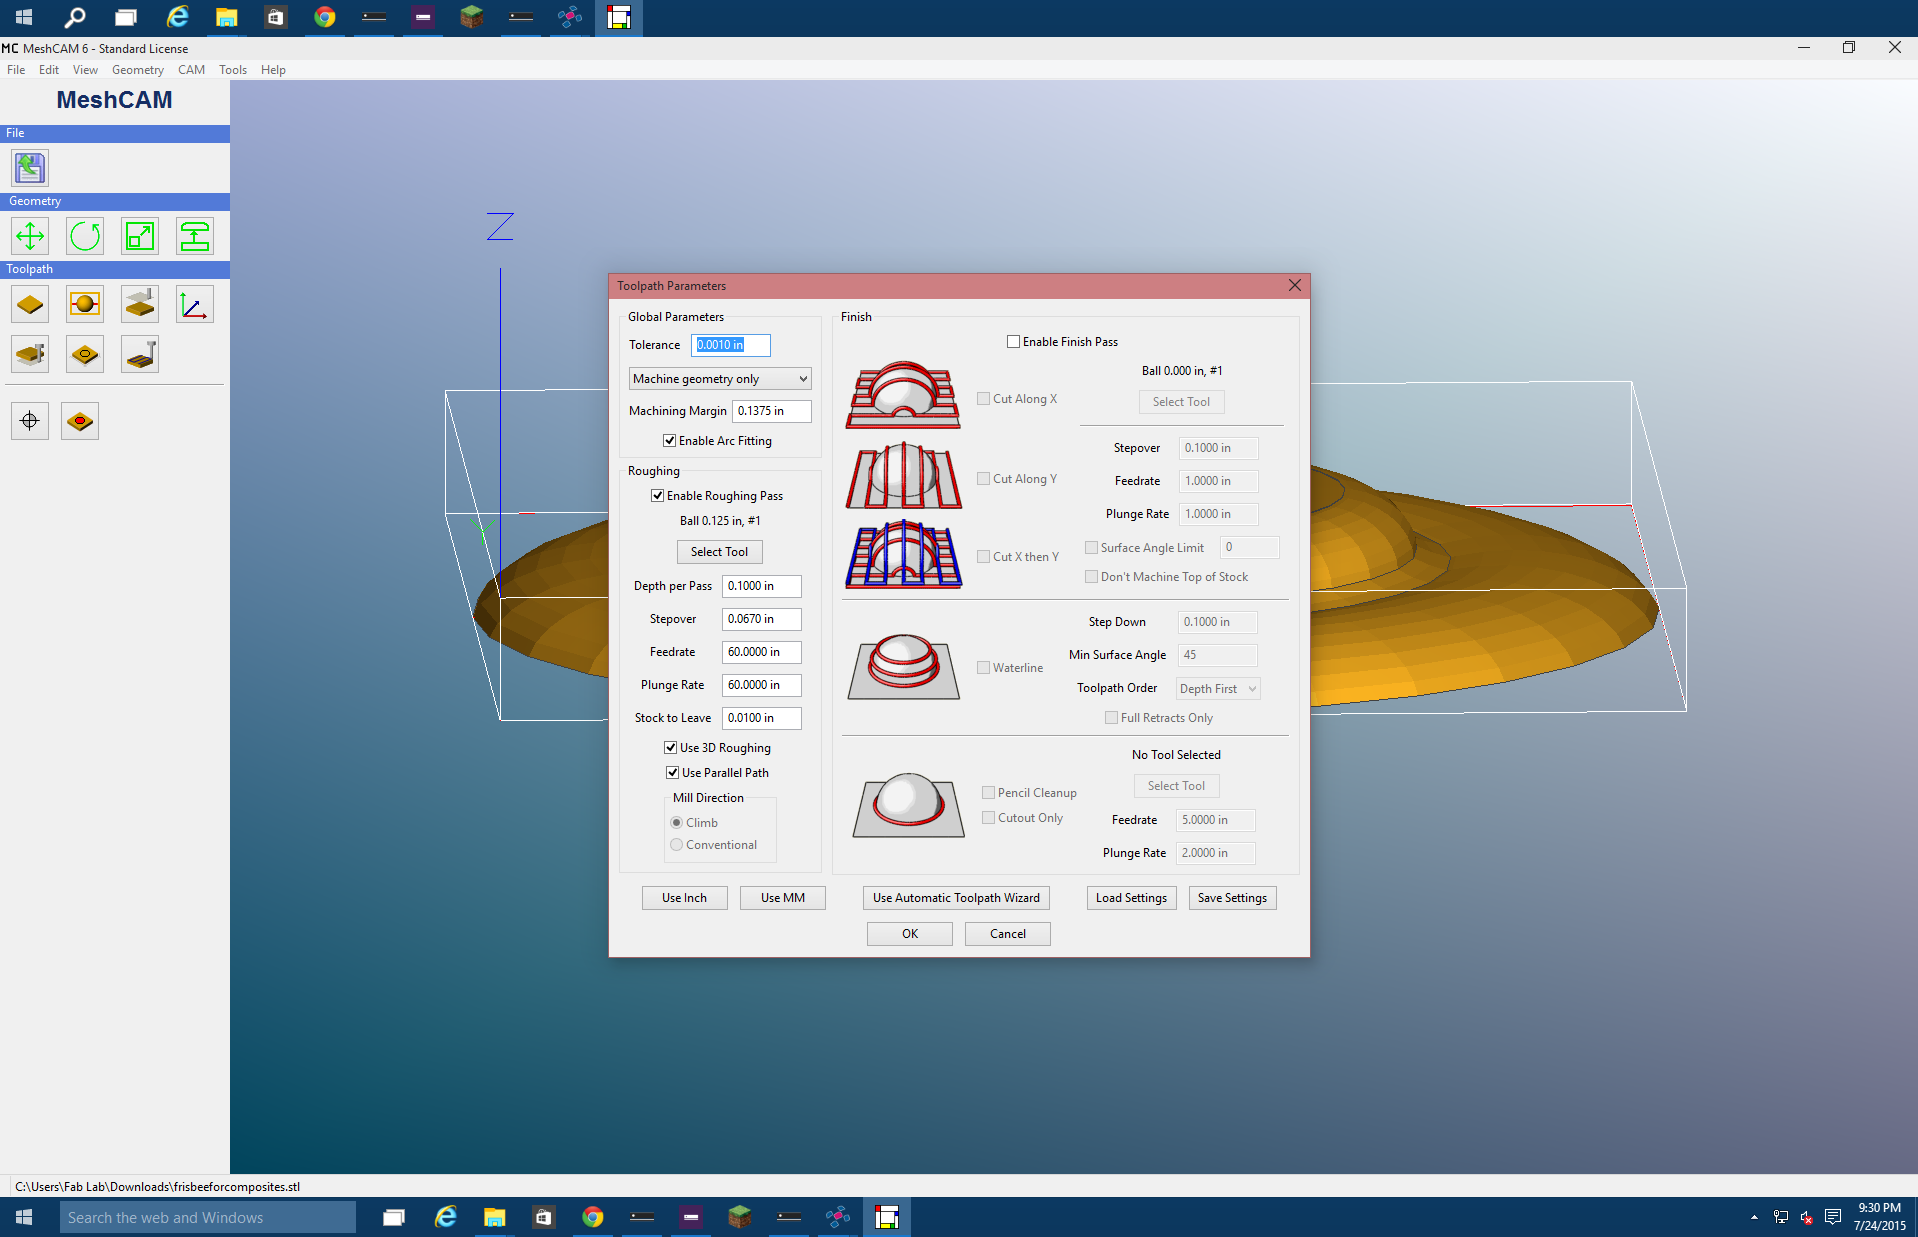
Machining the Mold
First, a frisbee was designed in Tinkercad. The stl file was then loaded into MeshCAM for the purposes of creating Gcode for our Neuromaker, a custom CNC machine that was once used to map brain signals into a mill and was gifted to the Lab once the designer, Johann Rischau, finished his PHD.
Feeds n Speeds

Frisbee Staging
The frisbee was placed right side up at the bottom of an old plastic ?cake dish? lid. Excess resin was allowed to run off the side up against the lid. This would later prove troublesome, this resin would harden and create a large bulge on the outer rim of our frisbee.
Water Compaction
Having the composite layerd on top of the frisbee in the cake dish lid, it was time to apply pressure. The dish was put in a large tub, and a heavy duty garbage bag filled with ~5 gallons of water was placed on top. This was allowed to sit overnight, and the water weight was removed roughly 24 hours later.
Rough Composite
A putty knife is used to extract both the composite from the cake dish lid and the initial frisbee from the composite. The initial frisbee was not strong enough to survive this process. The composite shape is excellent, conforming to the contours of the frisbee better than anticipated. However, significant excess resin built up along the sides. Also, wisps of resin were pulled up along the surface where the composite interfaced with the bag. Finally, excess burlap chunks rode up along the sides of the container and hardened into place.

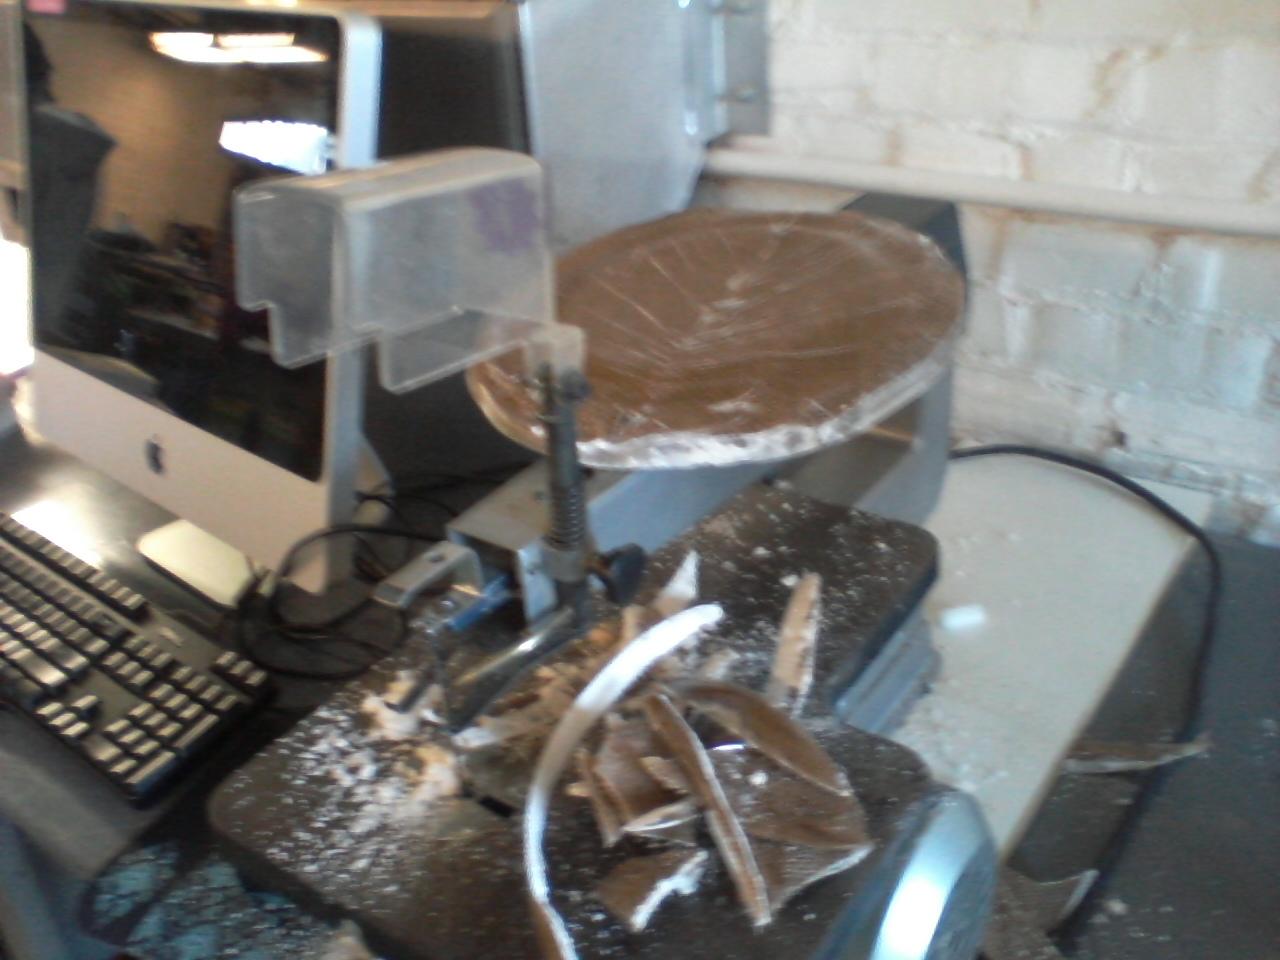
Finished Death Frisbee
All of the excess parts were cut off using a scroll saw. I'm pleased with the composite. It is roughly 2-3 mm tall and very strong. It is slightly to heavy to be functional incredibly. The burlap did not get all of the way to the bottom along the outer lip, and the non-composite resin at the boundary is brittle and has cracks. If you are to throw the frisbee, you may get cut as there are sharp interior resin edges. If you catch the frisbee, there are both sharp edges on the outside and the top.
I am very happy with my composite death frisbee. It even floats like a normal frisbee for a bit if thrown!