Week 7: Composites
assignment for this week
design and make a 3D mold (~ft2), and produce a fiber composite part in it
For this assignment we need basically 3 items, a design (stl format), material (blue foam) and a machine (Shopbot and appropiate software)
It seemed like a great idea to me to make a frisbee or a simple flat plate. As material I wanted to use burlap or linen because it is light and strong, ideal for my purpose.
For this assignment I decided to make use of a mold consisting of two parts, a male and a female part. The male part in the female part have to be exactly matching,taking into account the thickness of the material, so I reduced the male part in size around 2mm.
Female part 250x250 mm, male part 248x248mm
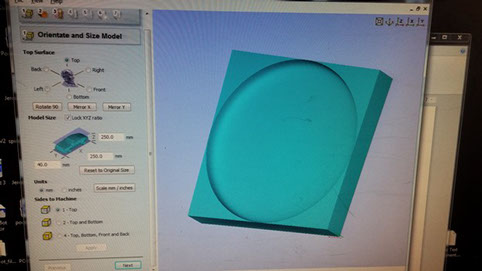
For this assignment, I went to work with Rhino 3D and practice al lot becaue I never had worked much with this piece modelling software before.
Arriving I started on the course location by cutting a block of blue foam with the correct dimensions. This foam block with Duplex taped on the bed of the shopbot.
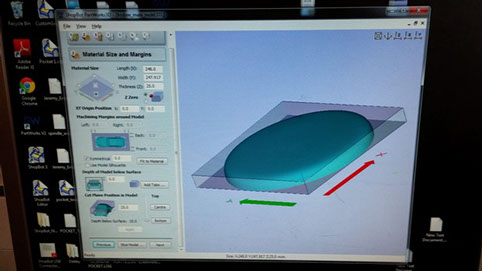
Then, started with the loading of one of the STL files in PARTWORKS 3D.
Partworks 3D creates two tool paths, a roughing and a finishing toolpath.
For the roughing toolpath I changed some values, including stepover to 45%, this on the advice of one of the teachers.
The female part 250x250x40 mm
The male part 250x250x25 mm
For the finishing toolpath, I gratefully made use of the settings that one of my fellow students had emailed us during the weekend, that worked fine for my design.
After the roughing and finishing toolpaths were saved for both the female and male design, I started SHOPBOT CONSOLE software.
Because I was the first user of the day on the shopbot, I conducted a warmup routine on the machine.
While the precise milling bit (10 mm, 4 flute) was already fixed in the machine, I checked if everything was still fixed properly.
Again of course I did all the routines needed for the shopbit, like xy zeroing, z settings and finding the right spot for zeropoint on the material. I did this before some weeks ago on the moulding and casting assignment so it felt almost familiar to me.
After check, double check, crosscheck and final check..;-) I gave it a go in this order:
1. Roughing toolpath female part
2. Finishing toolplath female part
3. Adjusting milling bit to the new material zero point
4. Roughing toolpath male part
5. Finishing toolpaht male part
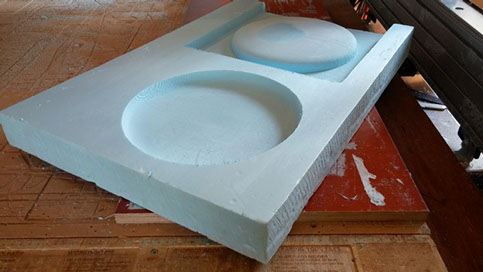
And this was the result, it drilled out a wand of the male part but that was not a problem because I would saw it in half anyway. As always I was fascinated by the accuracy of the machine.
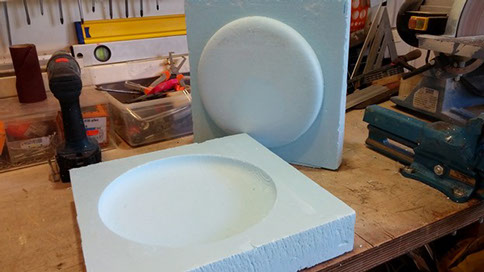
Then I had to separate (hand saw) the male and female part, tried it and to my relief it fitted beautifully.
And then it was time to do the actual compositing.
I liked to try to use my two part maybe for another try so I sticked vaseline on the it and transparant foil on it. I hoped this would make sure that the two part woulde come loose after hardening the composite and not easlily break after separating.
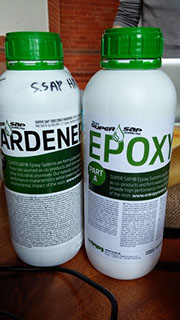
For compositing the material I used the stuff we have at the lab, and consists of two components , epoxy and hardening. The ratio for that is 2:1 on volume. I used 200 mililitre in totaal 132 milliliter for epoxy and 66 for the hardener. After slowly stirring (no shaked) and no airbubbles for a minute I soaked the burlapts I already cut out.
I decided to use three layers of burlap as a experiment, although I doubted if that was nog too much for my purpose to keep it as lighweight as possible.
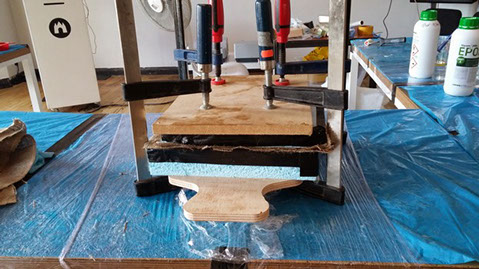
I soaked the three burlaps with the mixure and using an simple foram roller, put the burlap is in my mold, closed the box and pressed by hand.
Then I took 4 wood clamps and fixed them quite stiff as can be seen in the image below.
The next day:
After a day I went back to the Waag and was very curious of course how the result would be.
This time we had an informal local review led by the founder of the Amsterdam Fab Academy (Alex) and I appreciated that very much.
Because I had used transparant folie and even vaseline, the two mold were released very easy from each other, no damage of what so ever.
I had used three layers of burlap and the frisbee came out beautifully!
After removing some waste material and sanding this was the final result:
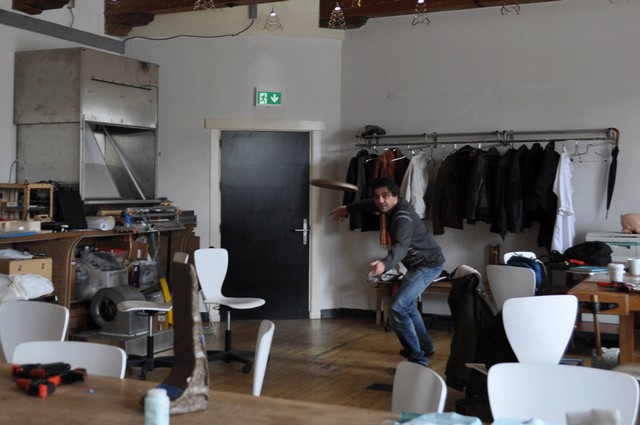
And here on it's maiden trip..;-)
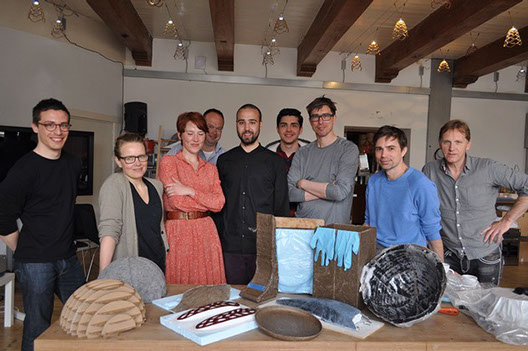
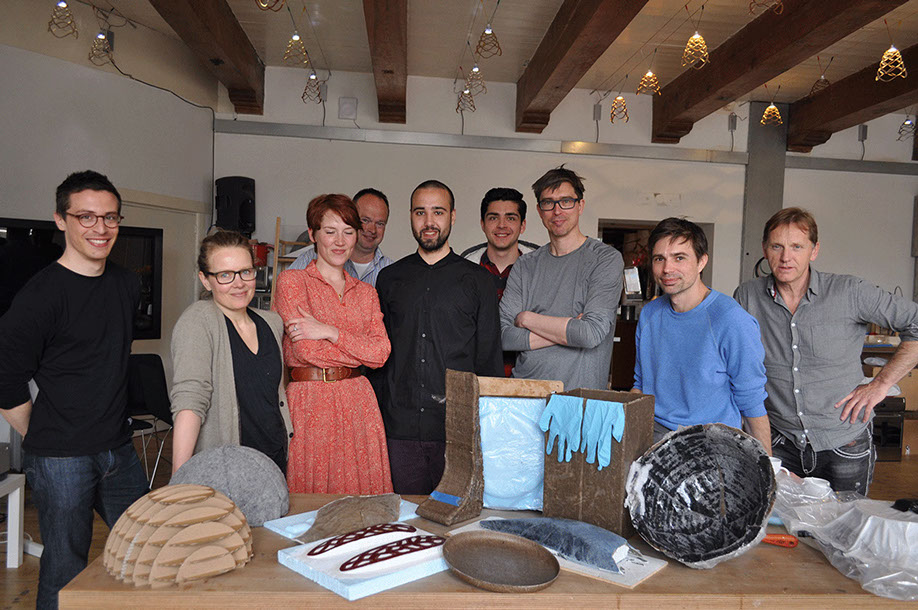
And finally a picture of the Amsterdam Fabgroup, showing all our products from this weeks assigment on composites.
Many thanks to Mickael for his interesting lecture about composites, patience and help!