Week 2: Computer-aided design
Assignment: Draw, render, animate and simulate a possible final project.
Fab Academy Course details | Video of lecture
Approach
The purpose of this week was to review a number of software packages for 2D, 2.5D and 3D design - with the aim of creating a rendered and animated sequence of our final project.
I have chose Adobe Illustrator and Blender as the main platforms, given my previous experience - I also intend to explore Rhino and Antimony. Antimony is a fascinating application using maths to create shapes, the interface is very similar to the nodes feature in Blender used for mixing attributes for shading, lighting, animation and scene preparation.
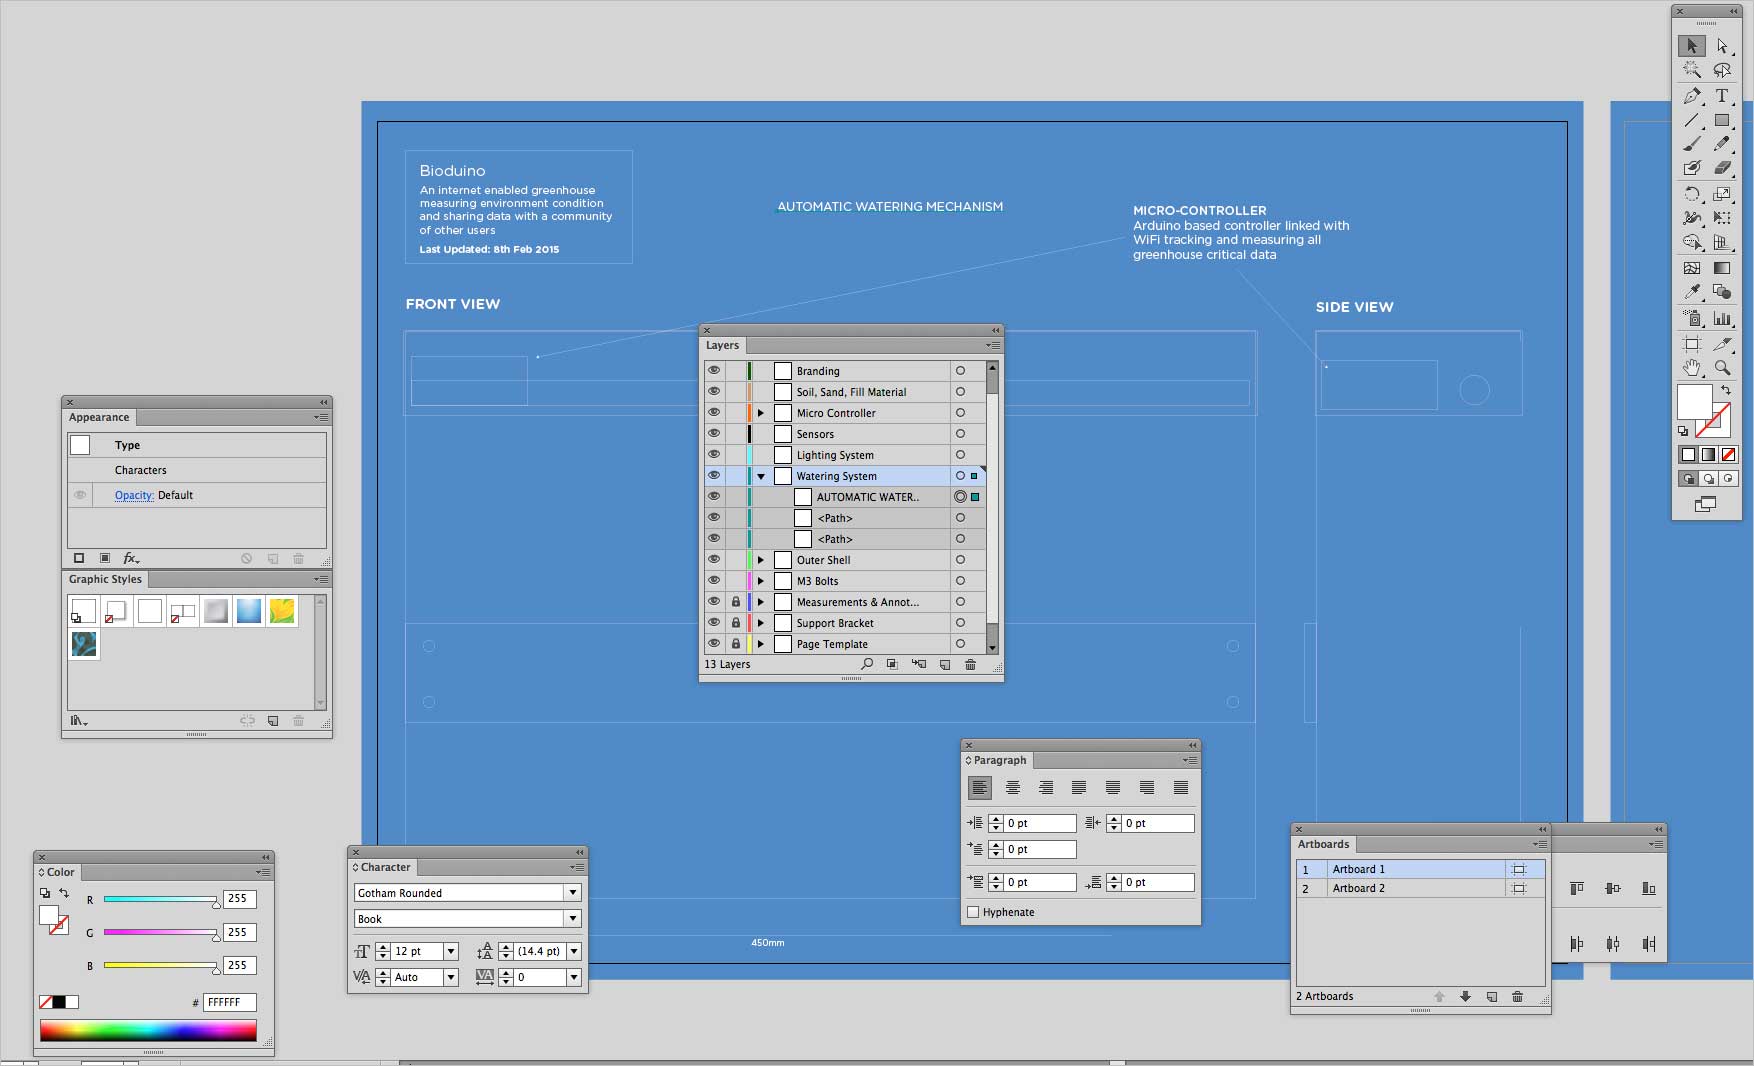
1. VECTOR DESIGN WITH ILLUSTRATOR
I'm a designer. I like to create beautiful and elegant objects. So... I couldn't resist exploring Illustrator to generate a series of blue prints for the project. Using the simple vector shapes and layers to represent the different aspects of the project. Building the project up as a series of layers, which can be turned on and off for ease whilst designing the greenhouse.
It's not the ideal application to design such an object, as the files will not be of much use for a CAD package such as Rhino, Blender or OpenSCAD. I doubt I will progress beyond the initial sketches, and focus more of my time creating a 3D rendition of the object and the associated mechanical and structural parts.
2. 3D SKETCHING IN BLENDER
I've been using Blender on and off, and found it great to rendering simple scenes for projects. Blender is a very powerful tool combining a 3D design engine, animation toolkit, games engine with a python CLI interface. It's has difficult learning curve, but once you understand how the application interface and the core features, you're able to generate very impressive 3D scenes, animation and sequences.
I decided to use Blender as a way to improve my knowledge and get to grips with the animation and modelling features - creating a number of different scenes and sequences to put the Bioduino into a public space.
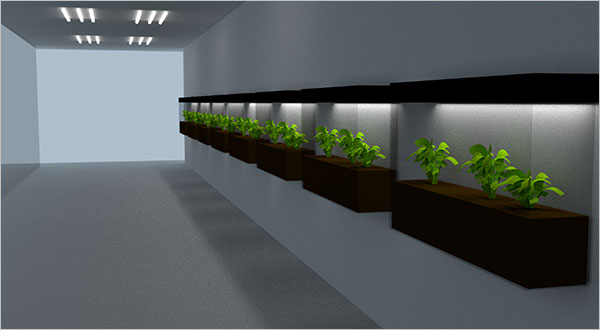
Simple scene render and camera move - 80 frames rendered over 90 minutes at 50% of scale. Note: Far too many emissive surfaces, plenty of light noise.
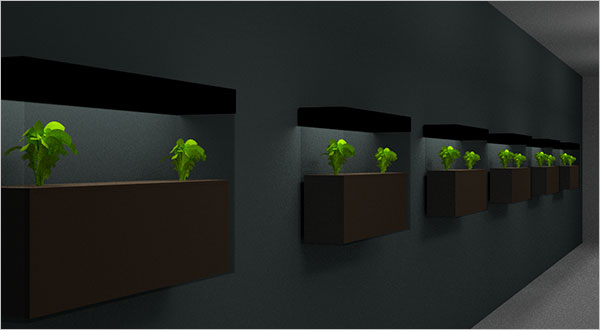
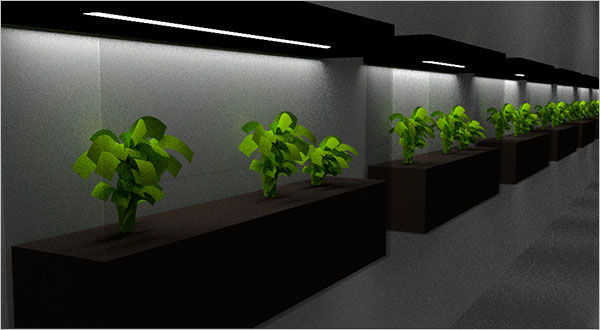
Scene render, camera and object movement. Single light source, 120 frames rendered over 4 hours at 50% of scale.
I've learnt that I need a much faster Graphics card to work effectively with Blender - the higher the sampling rate, the greater the detail and the slower the render.
I also discovered that the Arduino is able to work directly with Blender ... Arduino controls Blender object in real time - very cool!
3. MODELING WITH ANTIMONY
Lots of potential. Lack of any tutorials. Non intuitive interface makes using Antimony a pain. I can see the potential of mixing maths and scripting to generate shapes and model using simple primitives - but my pace of progress is a little slower than anticipated.
In my hunt for documentation I came across an article in Makezine: Turn Codes into Things: kokopelli and antimony
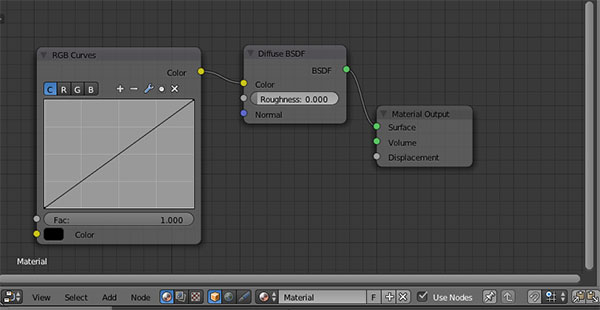
But the nodes concept is very similar to Blender, so at least I have a head start when it comes to figuring all this out :)
Next Steps
Explore parametric modeling using Antimony and FreeCAD
