week05
3D Scanning and Printing
This week assignment is first to design and 3D print an object that could not be made subtractively and second to 3D scan an object as well.
Design and 3D printing:
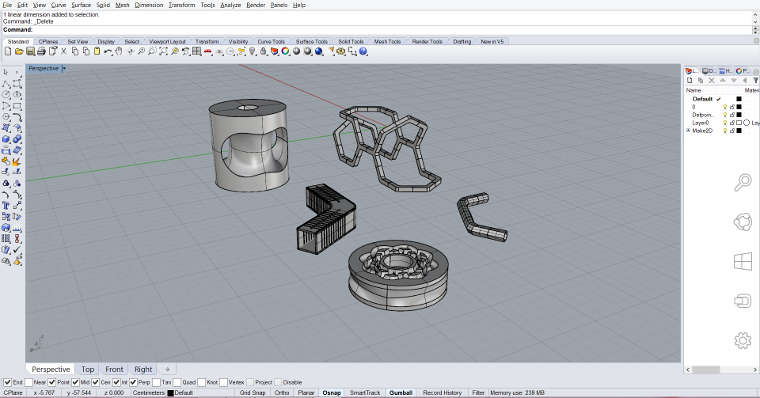
I decided to work with Rhino3d as it was my second time using it so I can practice and get better at it. I started by modeling different shapes to get to know more the tools of Rhino and how it works. I should say it was not an easy process but eventually I got use to it and I am getting better at it.
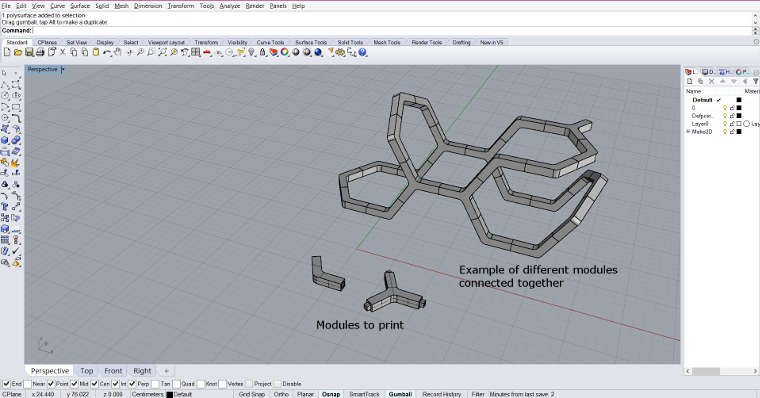
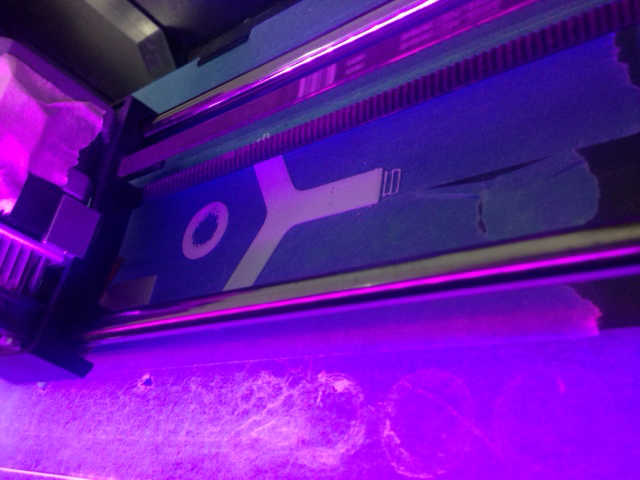
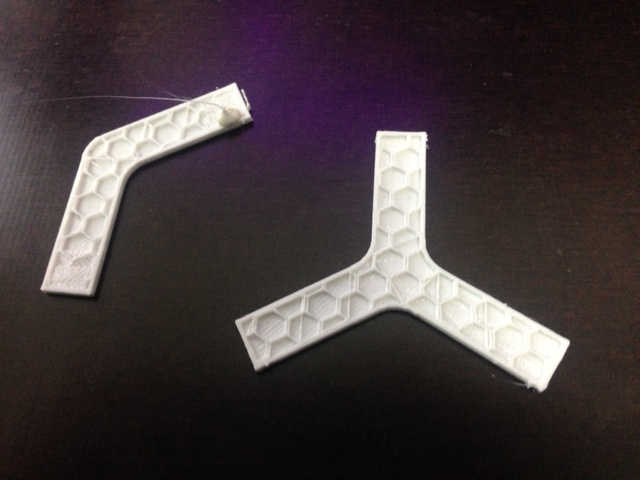
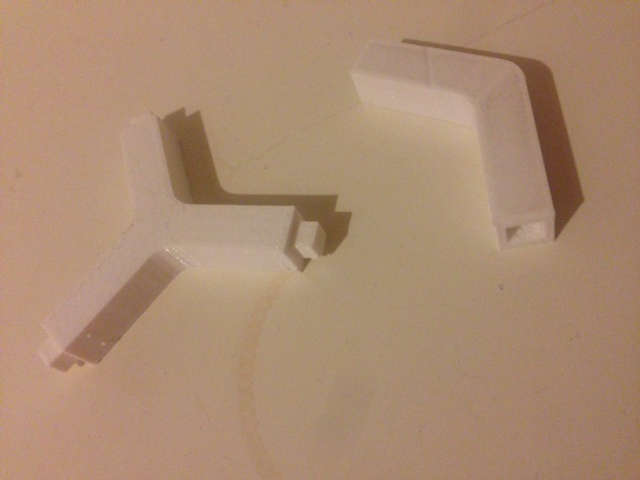
I have finally decided to 3D print the two modules of my project at a small scale and try to connect them together to have an idea of how it will look like with an offset of 0.15mm (on the connecting part). It is like a little version and prototype of the final result.
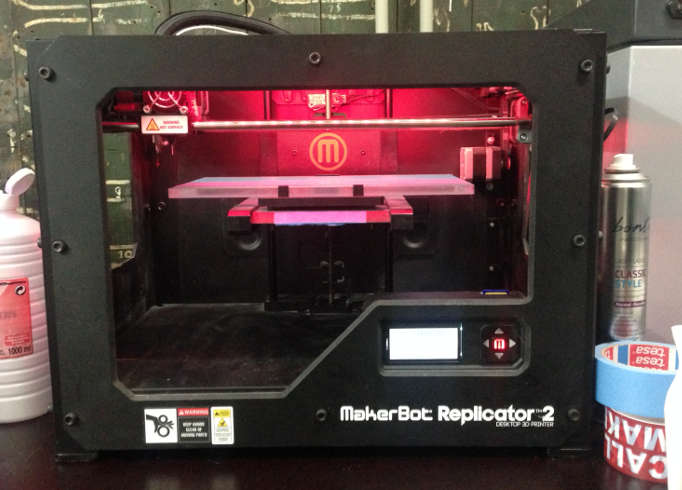
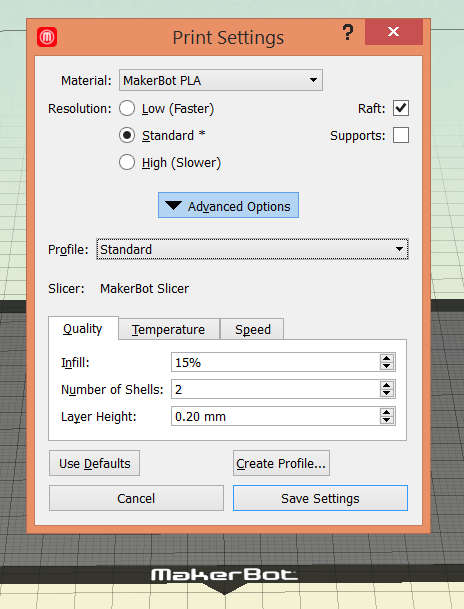
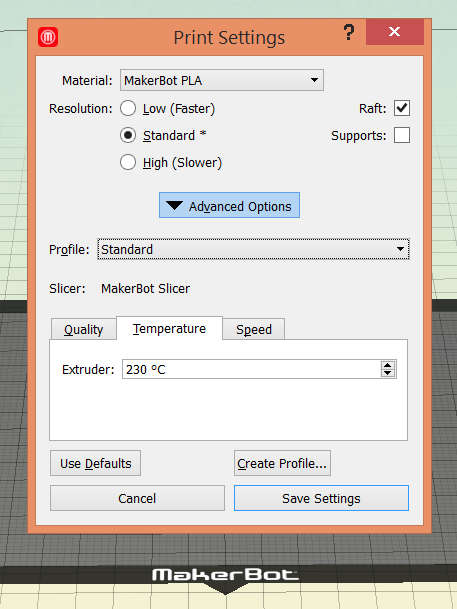
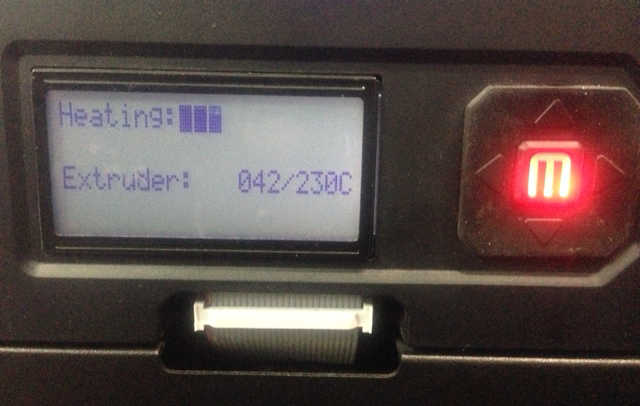
After designing the modules, I have exported the files separately as .stl files to be able to print it using the machine MarkerBot replica 2


3D scanning:
123d catch
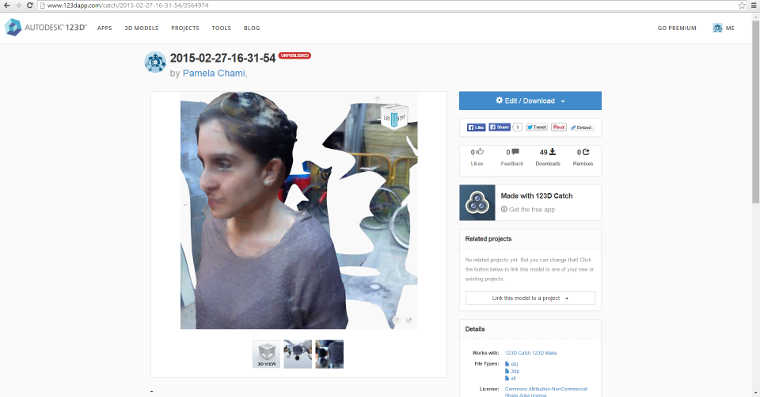
For the 3D scanning, I decided to explore the Autodesk 123d catch software which is very friendly and easy to use but the settings, the camera, the lighting conditions, the environment should be taken in consideration for the scan to be good otherwise it won't really work.
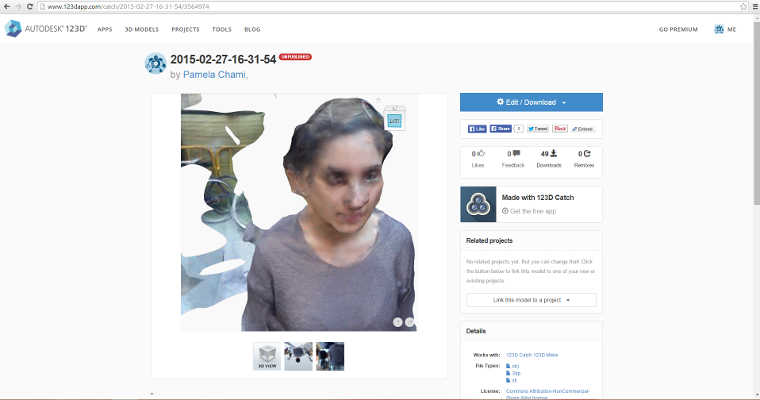
That is what happened with the first trial of 3D scanning. I had downloaded the application on my phone and tried to take as many pictures as possible. But it failed !!
I have taken around 60 pictures and It took a while to process and create the 3d scan. The software allows to export different type of files .3dp, .stl, .obj. .mtl
Skanect
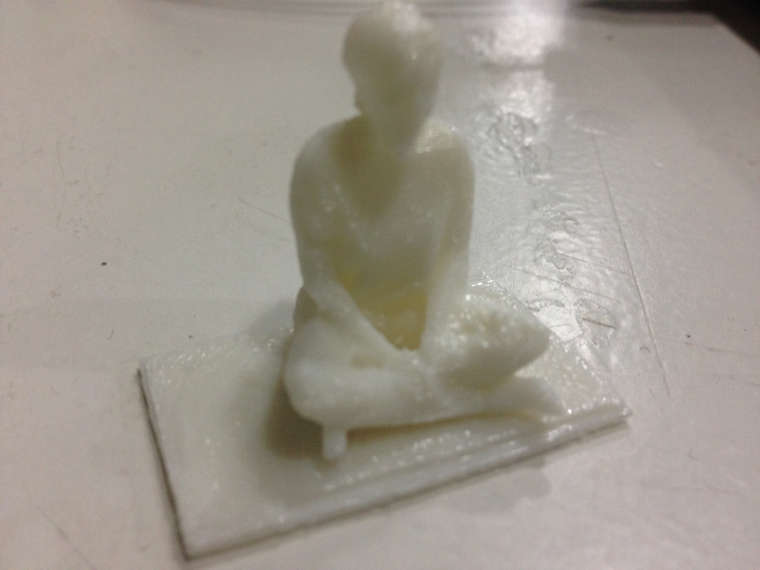
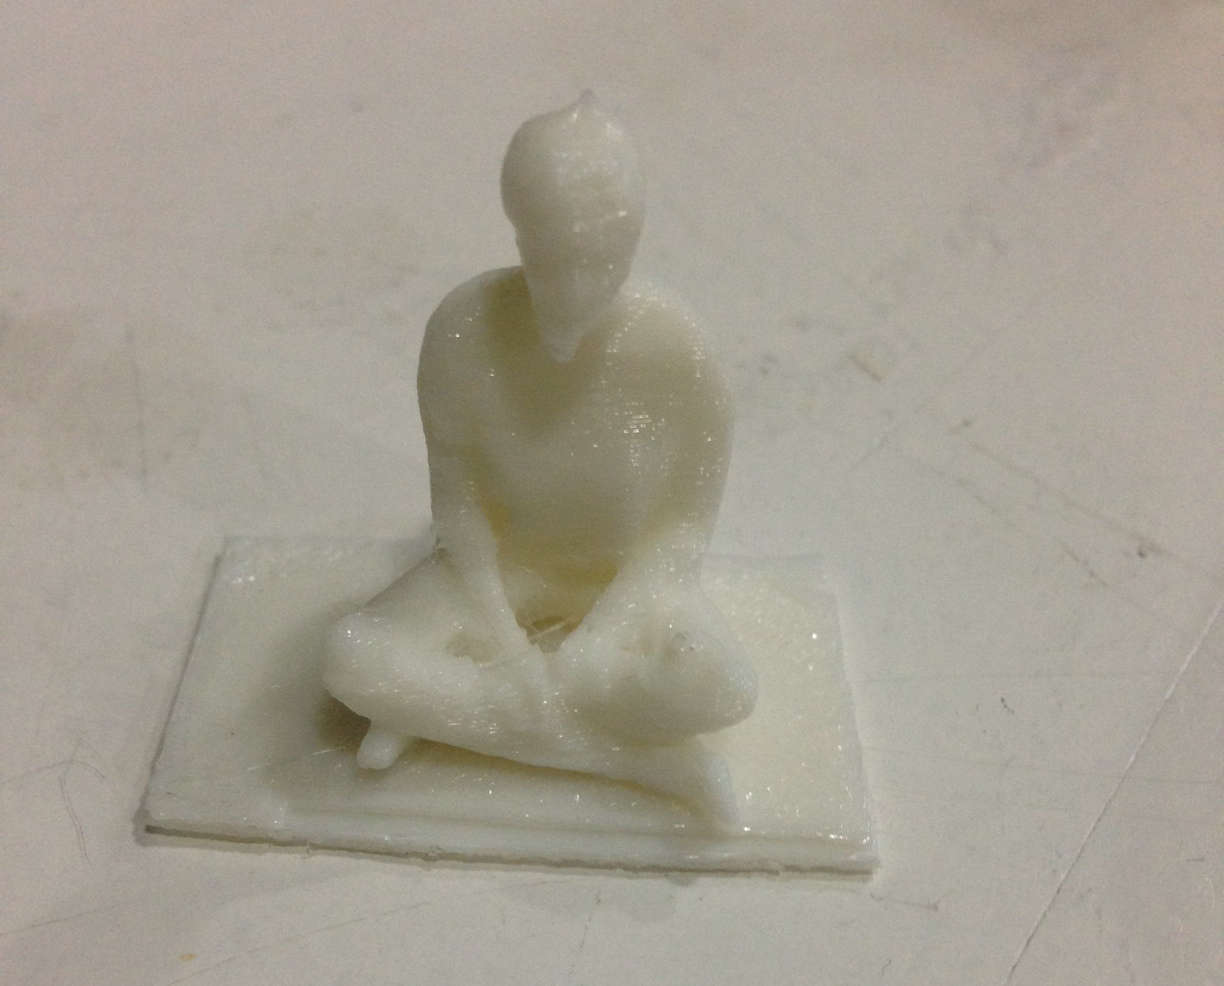
The second 3D scanning trial was with the Skanect optical software using the kinect for xbox 360 on the kuka robot machine, which we got introduce to. I have decided to scan myself seated to see the result instead of standing up.
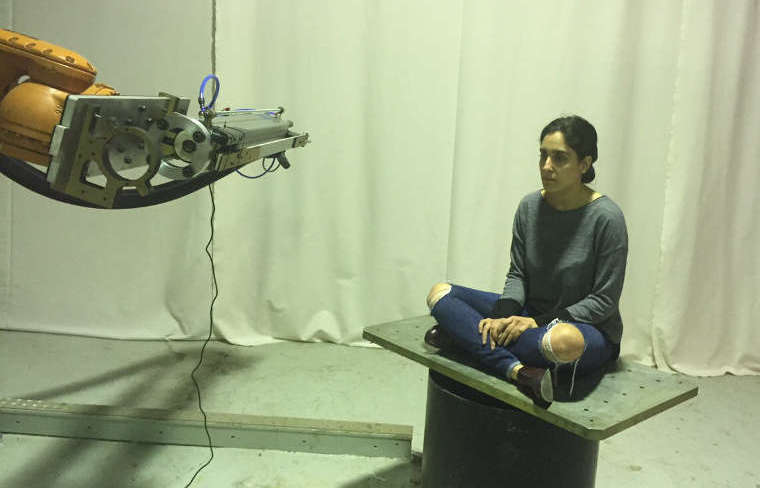
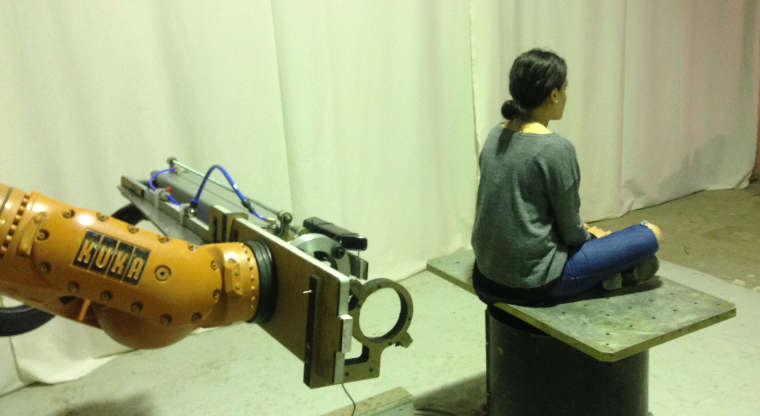
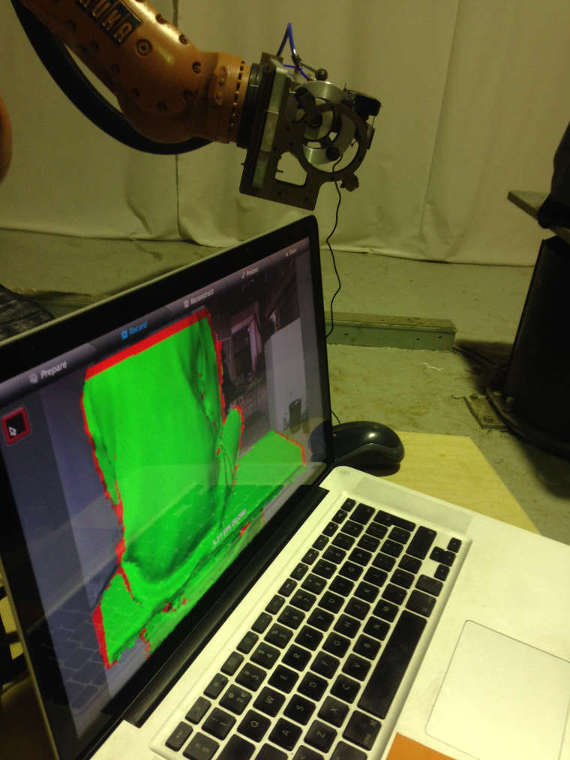
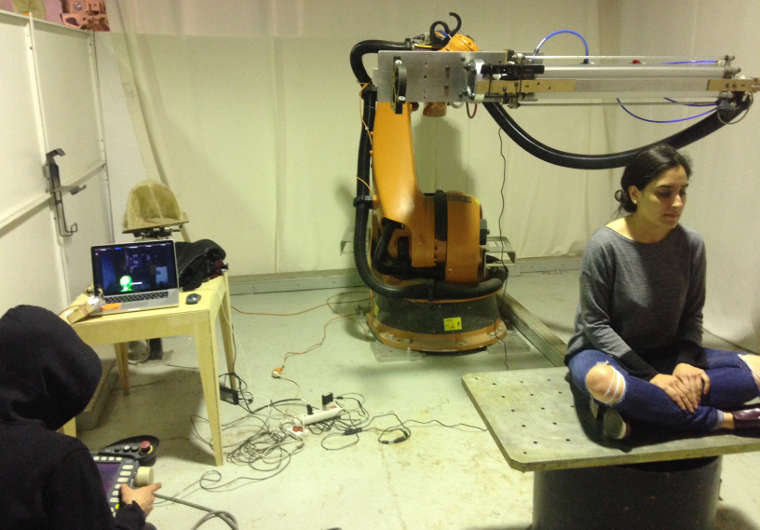
The process took 15 to 20 minutes to scan all the different sides and angles. I exported then the files in .obj, .ply, .stl to be able to edit the meshes and fix the wholes missing using the software blender. It is important to select the non manifold vertices or edges to fix the all the faces.
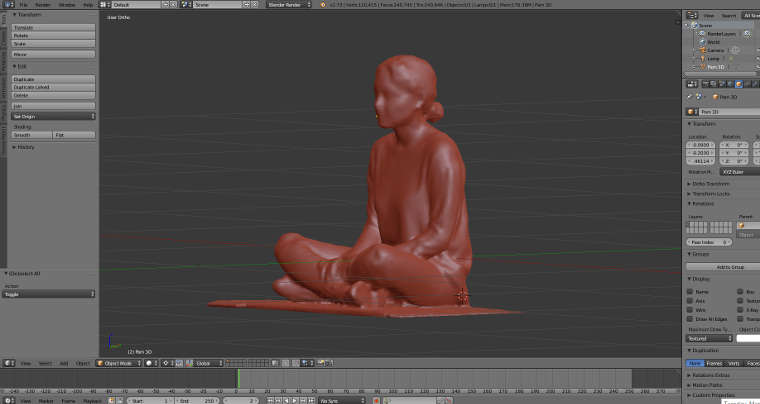
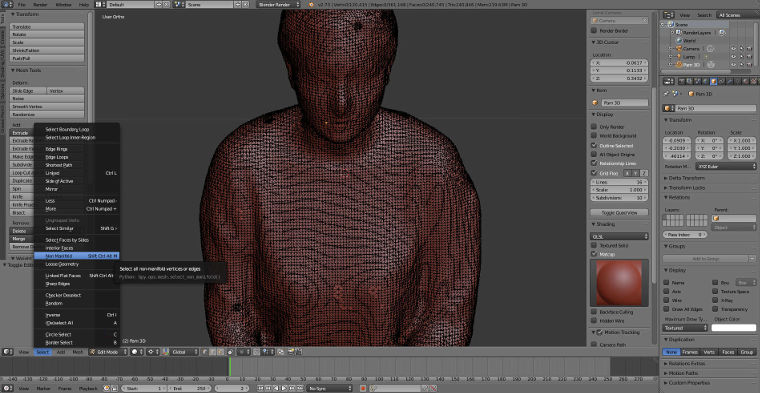
Once it was clean and ready to be printed, I exported the file again as an .stl file and send it to the makerbot machine using the same material, white PLA in a small scale.
Pam Scan by pamelachami on Sketchfab
Here are some recommended softwares to use for 3D scanning:
Download the files here : Body Scan and 3d print