Assignment given was to design and 3D print something that is cannot be manufactured subtractively.
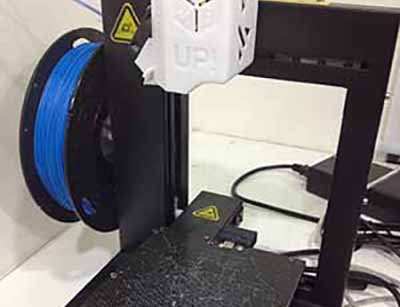
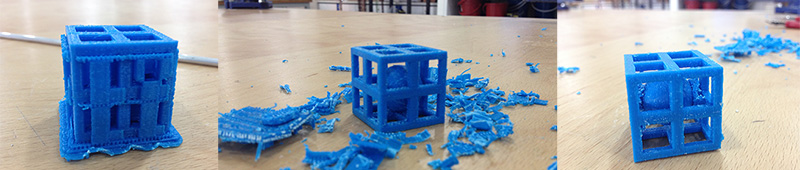
Using Inventor, i created a box with a ball in it. The size was just 30mm and I used the UP plus 2 to do the job. The setting was set at fast and the Z resolution set at 0.3mm - Print time took 20mins. material : ABS

I did not dictate the amount of support material and pretty much left it at default. I was quite suprised to find that most of the inner void spaces were filled. This lead to a painful 20 minutes of removal of materials with a cutter and long nose pliers. Finally I got the piece all cleaned up :) It took me a good 20 minutes, about the same time it takes to print. The file can be downloaded here
https://www.dropbox.com/s/w4bxhu86kldiapy/box.stl?dl=0
or
3D Scanning
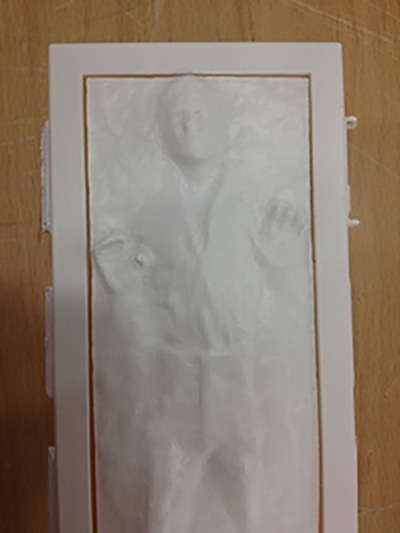
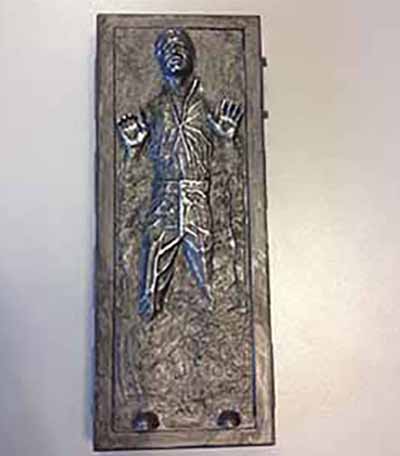
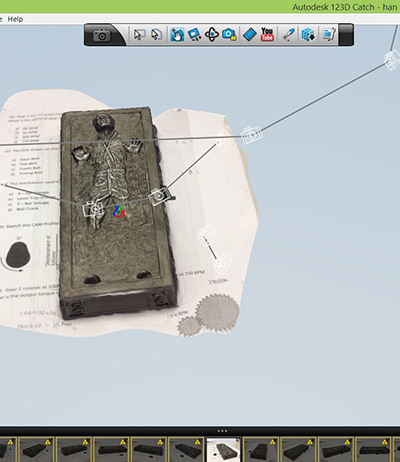
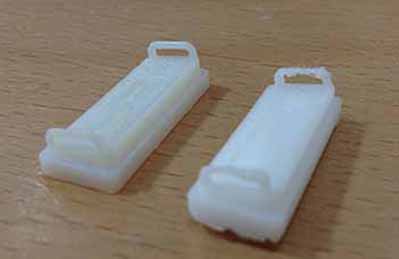
Next is 3D scanning. I downloaded autodesk 123D Catch and mesh mixer for post processing of the image. Since I am a Huge Star Wars Fan, I decided to scan the 6" Carbonite Han. The output was decent but not high end enough. I took the pictures with an iphone 4S.
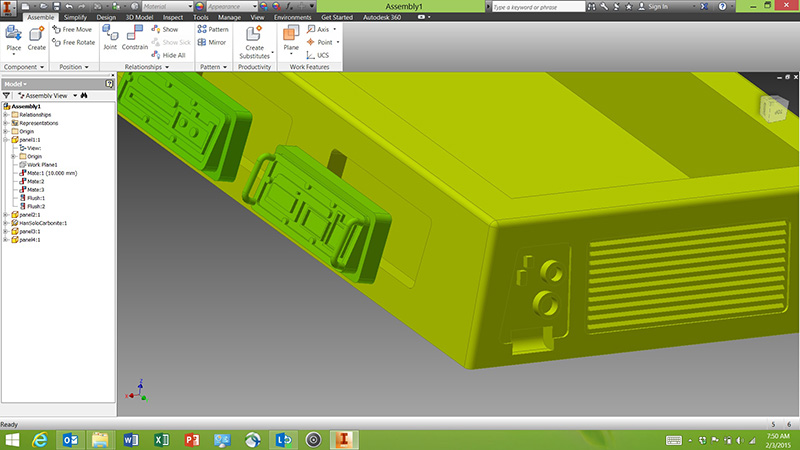
I tried printing on the Ultimaker, but there was some problems with the extruder so i aborted the job. I tried using the UP printer and was not too satified with the end quality, as there were many fine features and details at the side panels. Details that were not picked up at the scan. So I had to CAD + Repair out the missing links. The files can be downloaded here
https://www.dropbox.com/sh/nl65vdz48alrgpi/AABJfG-sxQwgHU6HcYNtUU6ea?dl=0
or
I used one of the Higher End printers from Stratasys. It uses PolyJet 3D printing technology. It basically uses UV light to cure layers of liquid photopolymer. More info can be found at PolyJet 3D Printing Technology - Stratasys


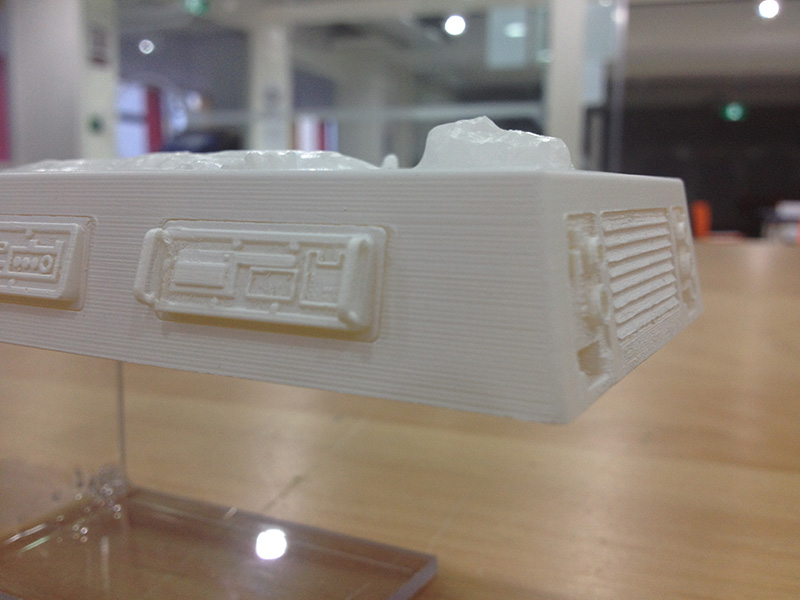
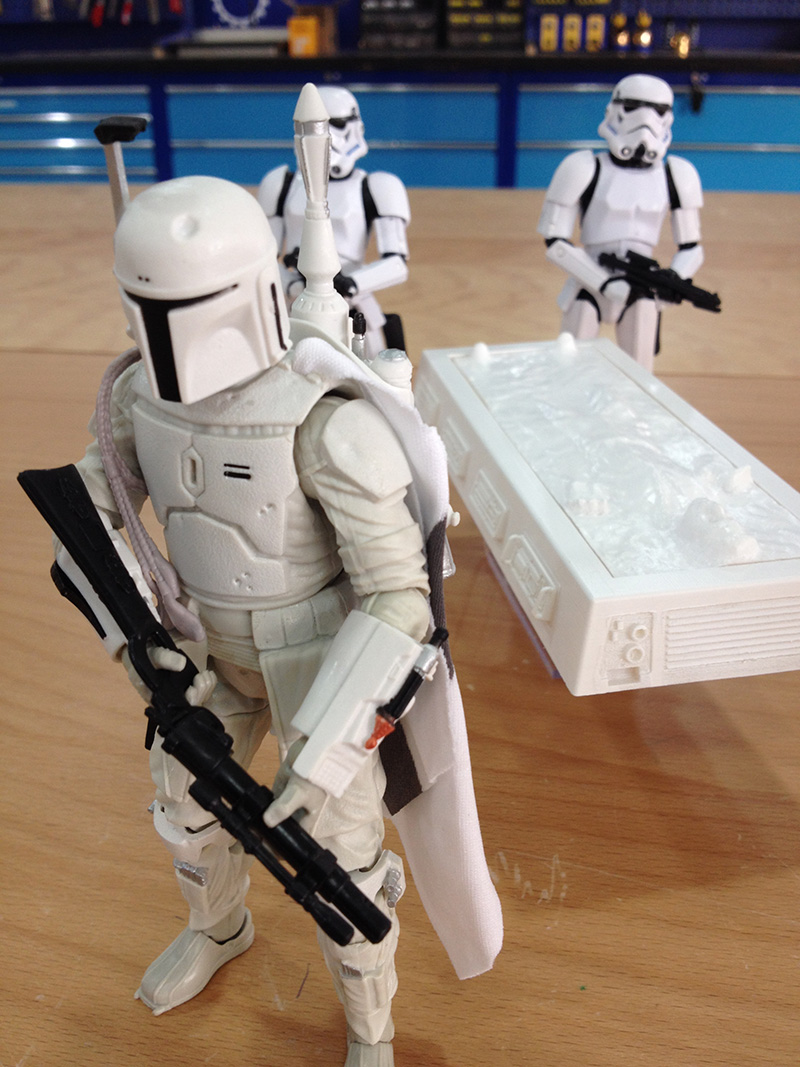
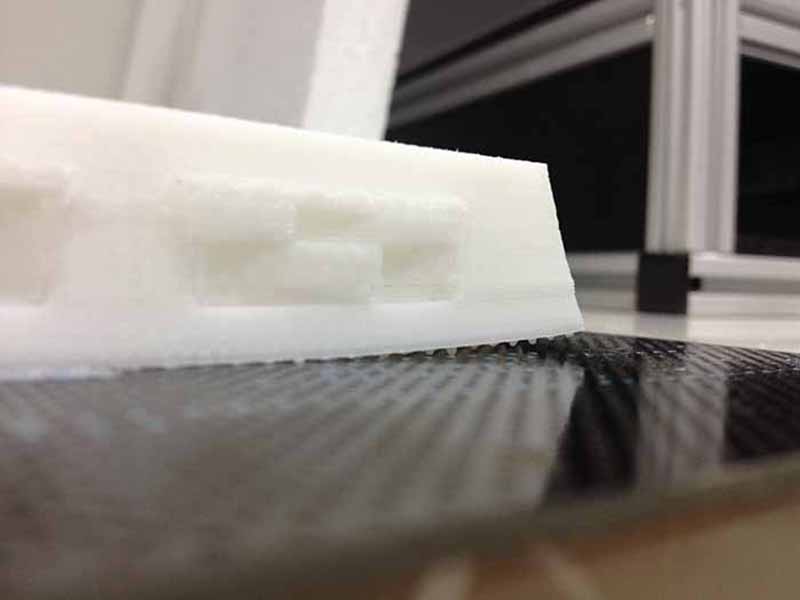
this is a close up picture of the details of the panels and the sides. The wall thickness on some of the features is 0.5mm
The Scan quality was not the best. I think with a better camera and lighting, the features would be alot more detailed. The fingers are fused together. Below is a comparision of the scan and print vs the original (in dark weathered grey)