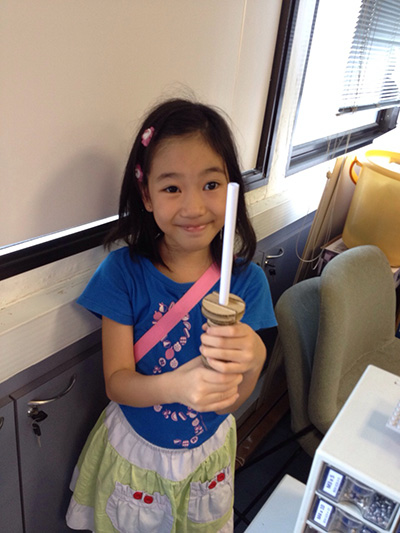
I decided to design a lightsaber for my kids. So the first step was to try and get the slot width right so that it slides and fits well. The slot width was 2.7mm. it was a little tight.
The Epilog's CAD interface is Corel Draw 7 and that is where we open up our 2D CAD files. For me I export my files 1:1 on .pdf and that works fine. There are some things that needs to be done before the laser starts its work.
1) Setting the layout size of 1000mm x 750 and converting all the lines into Hairline. This will ensure that the laser would cut the line and not engrave it.

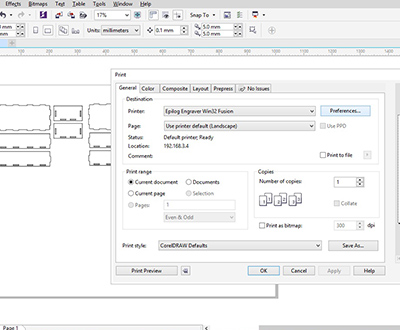
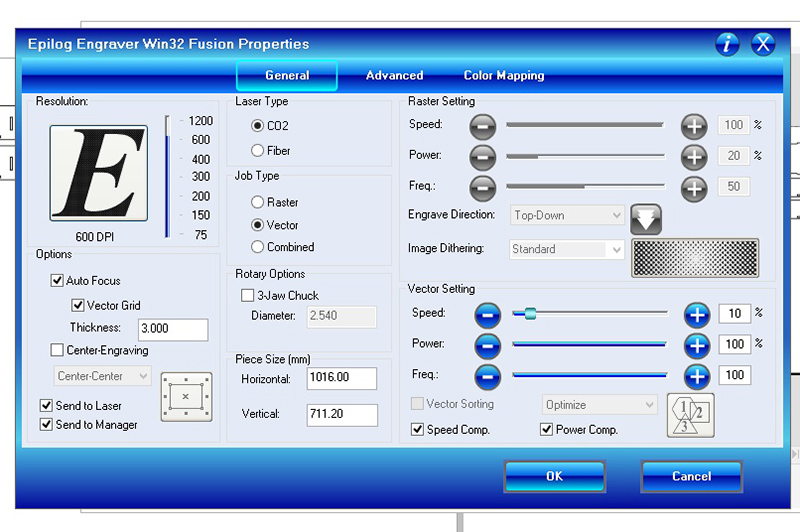
2) When you click on print or ctrl+p, it is just like printing a picture. But before you click ok select preference to enter in the parameters for the laser cutter. For acrylic it is set at Speed 11% Power 100% and Frequency 100% for cardboard it is set at Speed 15% Power 50% Frequency 70%.
The picture below show the settings for acrylic. for job type, select Vector.
So i jumped right into it and made my first set and it was a nightmare, it turned out bad, and I could not slot in all the disc as fingers in the backbone flex and deformed. see pic below. This was because the space between the disc were too small and the fingers were weak. The gap size of 2.7 was probably too small too.

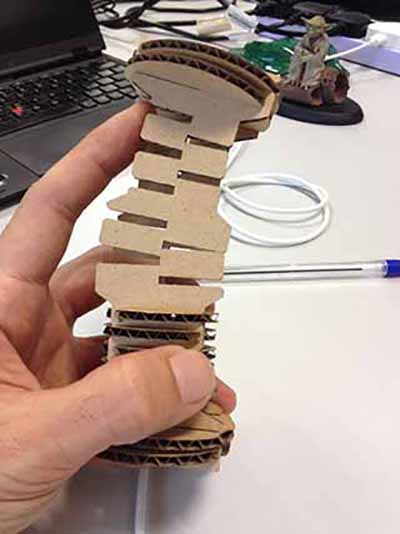
So I thought of flipping the slots in an alternate manner, so that the space between them would be larger. But it got worse and the backbone was flimsy and become like a spine. Which gives me an inspiration for future projects that require some degree of flexture. Assembly was easy though, but the end result was far from expectation.
Hence the general design rule is to have cut to cut distance of approx 2x thickness of the cardboard. But more importantly is the amount of interference of the slots. A slight interference is necessary to hold the pieces together. Too much interference would result in deformation to adjacent joints or corners, too little and the pieces would not hold in place.
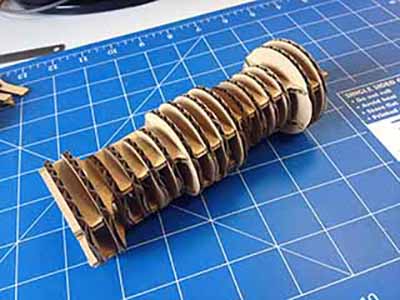
I made the backbone longer with more space between the sections. Upon the 3rd trial I succeeded. It was a humbling experience working with cardboard, because you thought you knew...but you don't.

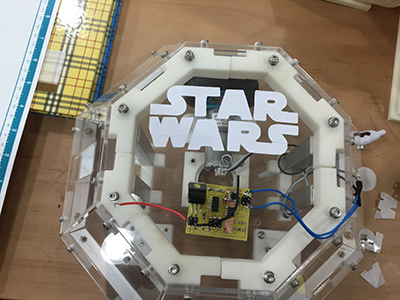
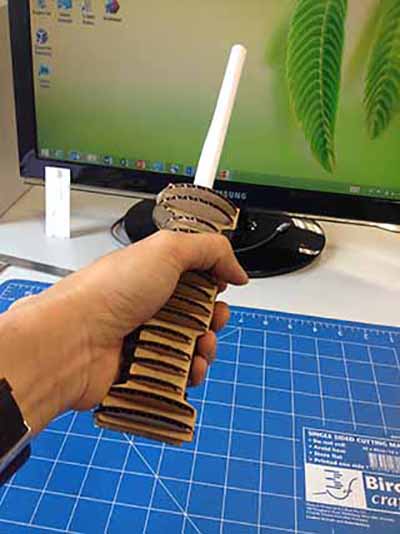
completed the assembly with ease. slot size was 2.8mm but i think 2.9 and 3mm would be smoother. Rolled up a piece of paper and there I have my lightsaber...ready to slay some sith lord...maybe not :)
My design files can be downloaded at the link below
https://www.dropbox.com/sh/wjrumwq6utsccpk/AADwTCl20ACcXb1xqXNb5YRFa?dl=0
or
Vinyl Cutter
The use of the vinyl cutter was an additional requirment that was added to our yoke. I used it to scan an image and cut stickers that was applied to the top of my final project.