On this week it was requested to design a 3D mold, machine it and cast parts from it.
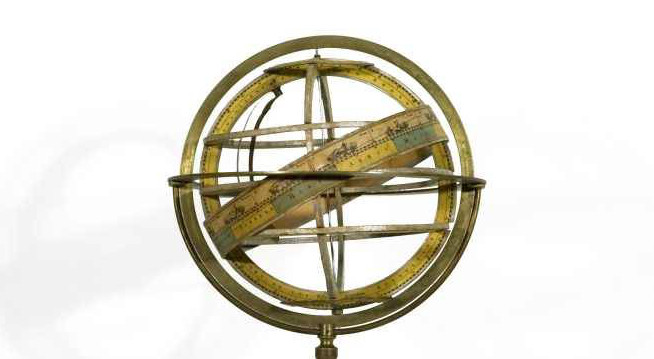
As inspiration I found the armillary sphere present on the national portuguese flag meaning the navigators reach and global contact during the Age of Discoveries a suitable object to explore and materialize.
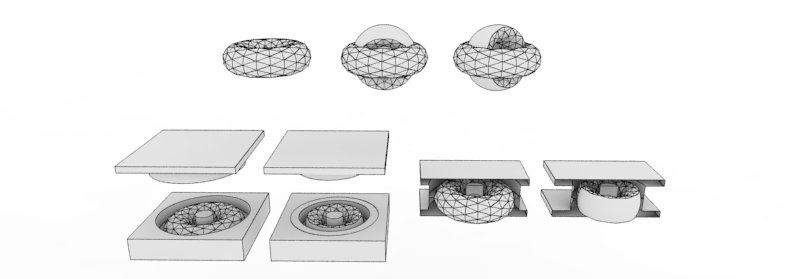
I started to explore modelling on Rhino and Grasshopper and I found interesting the idea of exploring the detail limits on the Modela precision milling machine on this mold.
The challenge I wanted to reach and explore on the armillary shere mecanism was to obtain movement on each element revolving freely from the other .
After a mental brainstorm with the fablab tutors I decided to resume the complexity up to a pair of rings forming each a part of a global one.
I set the goal of more than two rings for later development...here is the result pretended to start with:
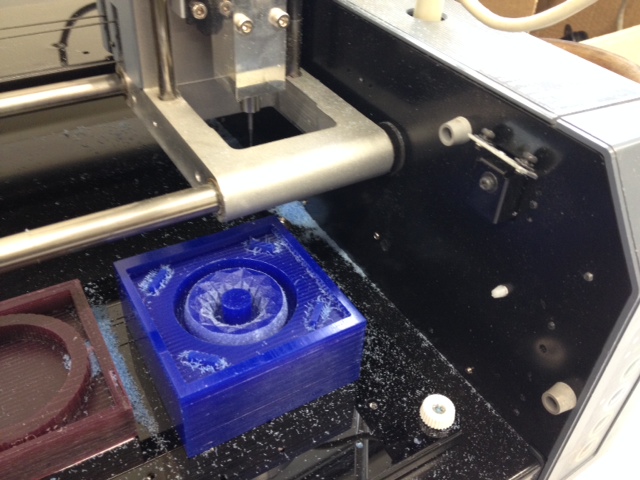
Once again time was precious this week due to machine milling time consumed on each part so I tried to at least mold and cast one part of the ring object.
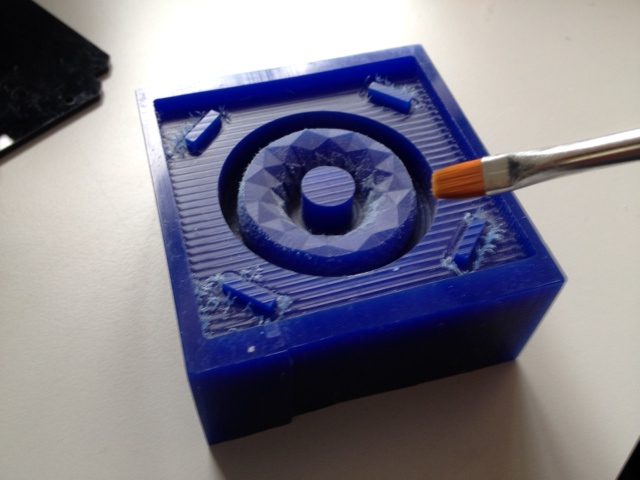
After setting all the parameters needed on the Modela software the milling started on some blue modelling wax piece. After many (day and night) hours later I got the piece finnished. I still needed to refine manually the surfaces with a small brush and scrape off gently some wax barbs with a sharp tool.
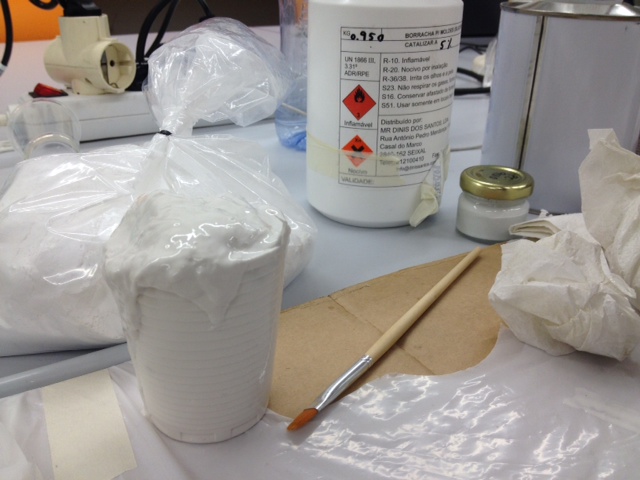
Then prepare the part for molding with the silicone.
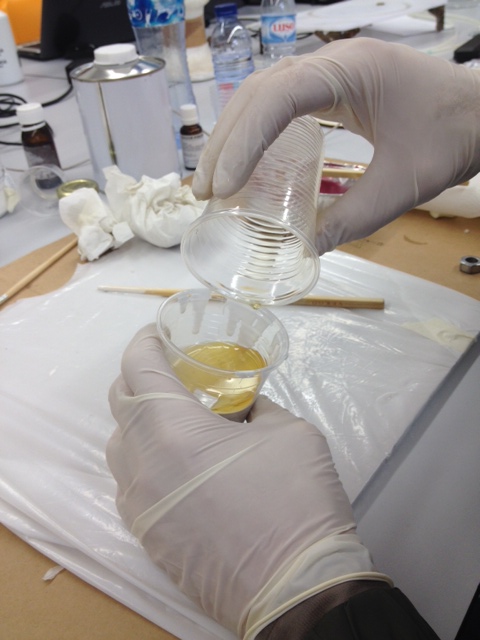
Note to read carefully the silicone and catalyst product info and dosage calculus accordingly to your mold volume.
Here I ruined one first mix...:(guess I took too much time mixing, the room temperature was high/hot and I think also influenced the result, so it got rapidly consistent solid and not suitable for pouring it liquid into the mold part...
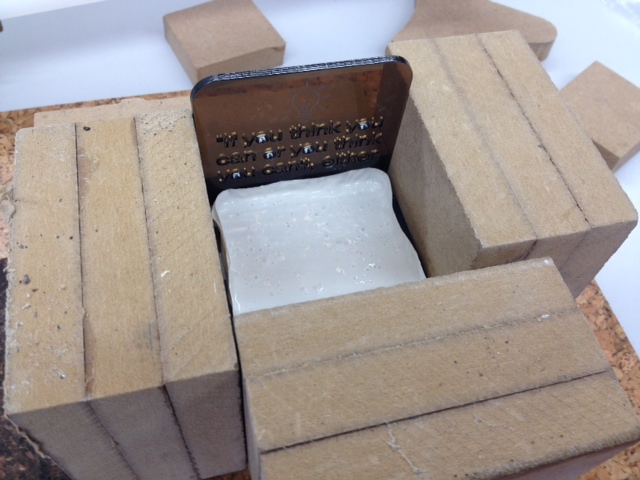
Then I took on the previous method and tested experience from the fablab tutors last year, when Ferdi after struggling with bubbles inside the mold, built a vacuum chamber.
This process expand air bubbles on silicone mixture to move up to surface and force "pop" them out, thats simple genius!
After this fun procedure, reserve the mold and mixture to rest quietly overnight until next day.
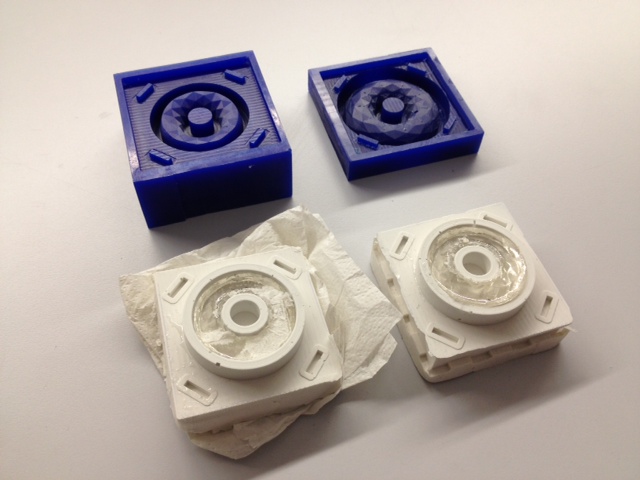
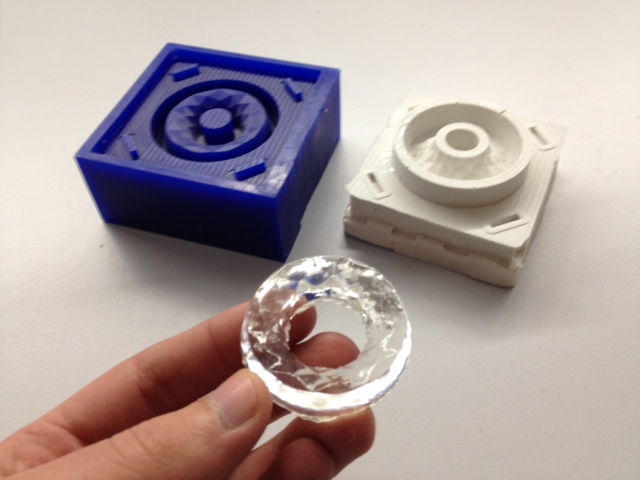
By the end, and due to lack of time this week, I only got the chance to try out casting my first clear resin piece, (from one pair of moulds that I tested to inject the resin by a syringe, it failed to run through the needle) and after one day driyng out it was not totally dried...then tryed to leave it inside the oven for 10 min or so but it ended to be a bad idea caused to melt the detailed faceted surface :( Oh well, my mistake, so I will get back to this molding and casting adventure...work around the right mold mixture and injection method asap I hope!