
Electronics design:
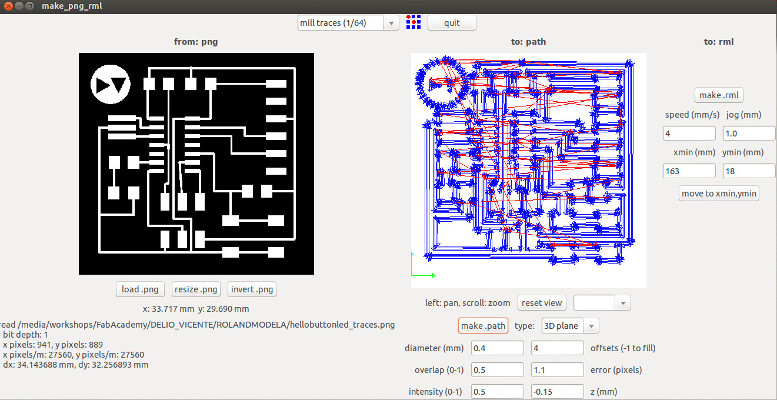
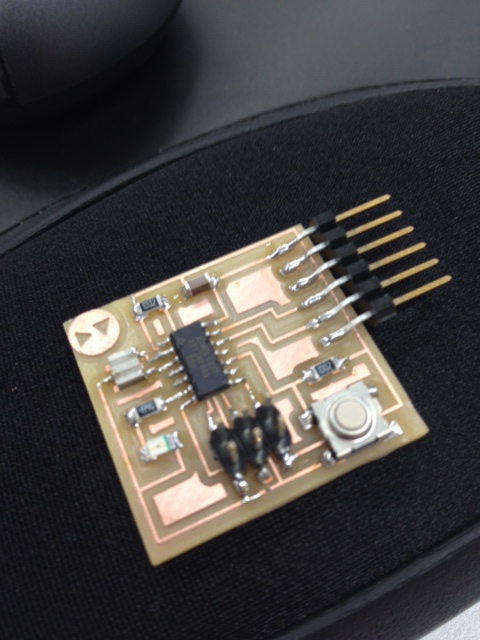
This week assignment was requested to redraw the echo_hello-world board adding at least a button and LED, checking the design rules and make it.
To start with, I download free version of the Eagle Cad software developed for design, route and test printed circuit boards PCBs.
Next download the specific components
libraries
needed for this class, unzip it, open the eagle libraries directory on your computer and place all .lbr files here. I followed the always helpfull and clear
Providence
Fab tutorial on this theme as well as the
Jeremy Blum
video tutorials on how to start working on Eagle Cad software.
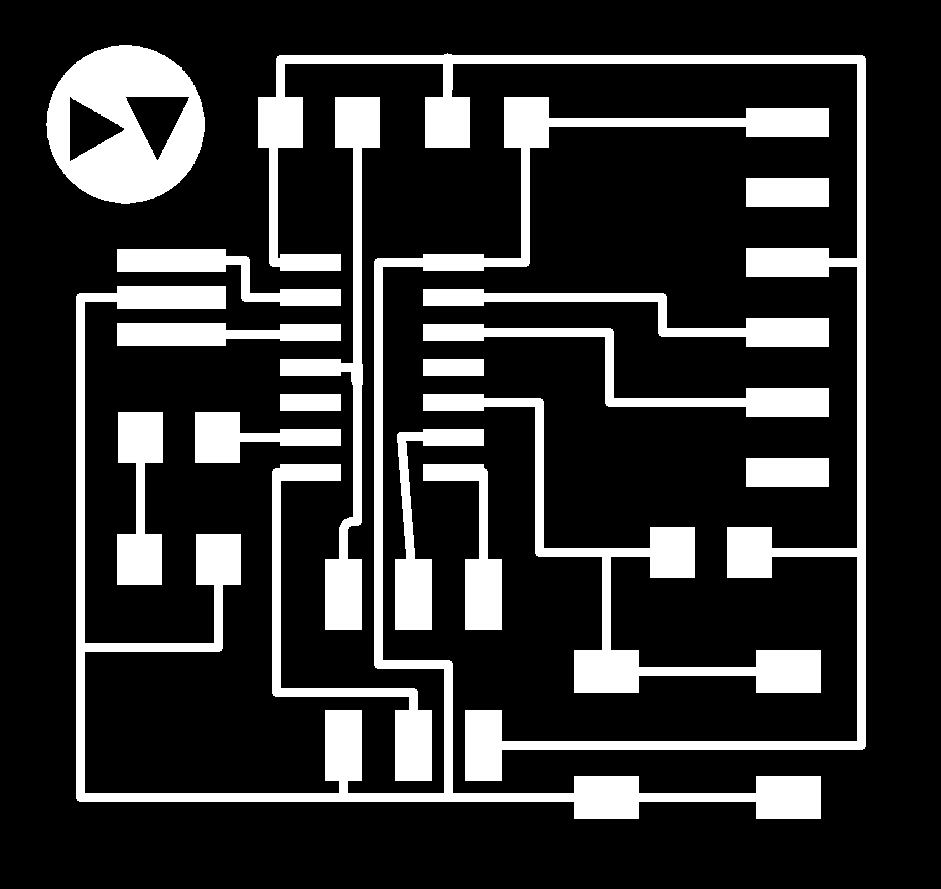
On Eagle I started by opening a new project file and click "add" all the component files needed from the library, and wire them in the schematic file session:

