ASSIGNMENT
Design a 3D mold, machine it, and cast parts from it.
WHAT I DID
- I designed my 3D model in Rhino.
- I prepared the wax block for the milling.
- I milled the 3D object with the Rolonad Modela MDX-20.
- I created the negative polyurethane mold.
- I casted with different materials.
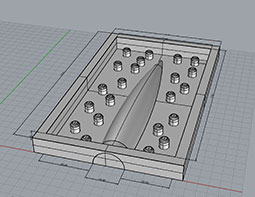
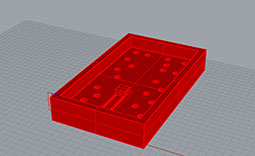
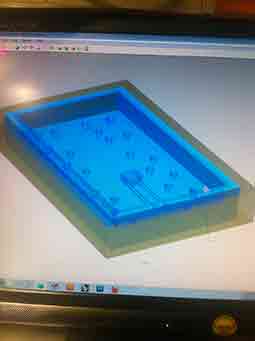
3D MODEL
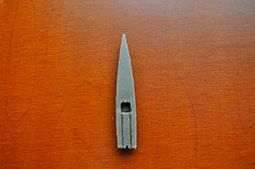
My first plan was to design a flower, I ended with the model of only one petal and I also wanted to insert a led inside the petal so I tried to create the space for that inside the petal.
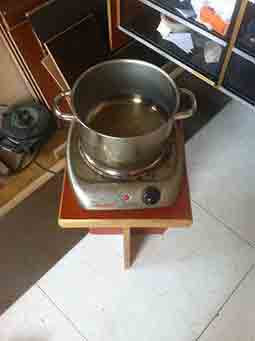
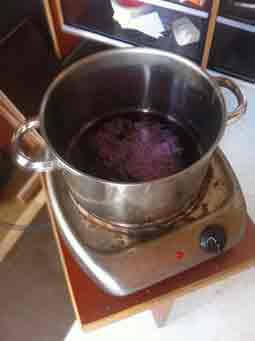
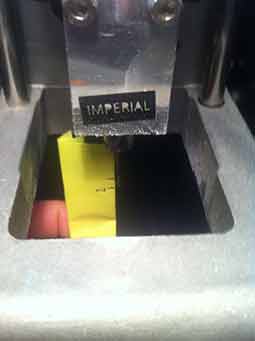
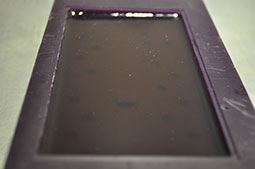
WAX
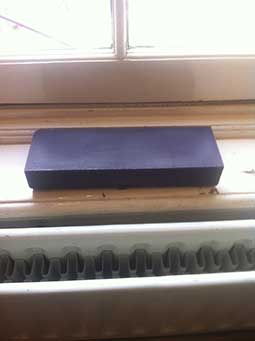
It's not so complicated, I took the proper pot, warmed it and filled the pot with wax surplus of old molds. When it was complitly melted I filled in the box to make the wax block.
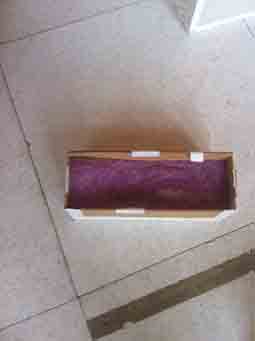
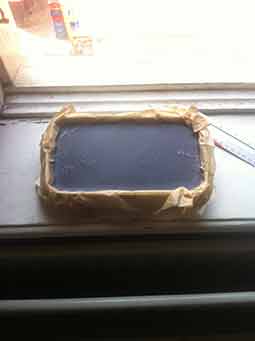
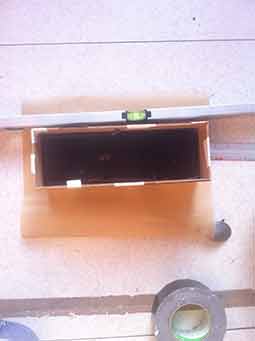
I tried different container: a food plastic box upholster by owen paper and mdf-tape box. The second one gave a workable result after I cutted with a circular saw the upper part. The next time I will use arcylic.
Using the owen paper- plastic box:
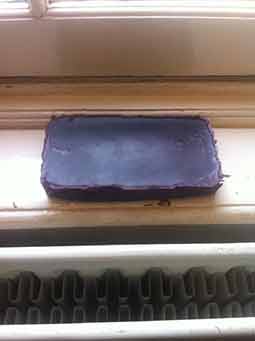
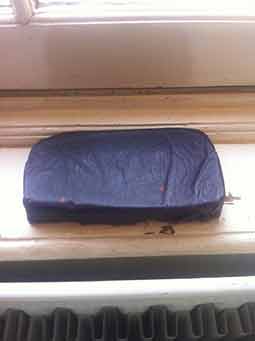
Using the mdf box:


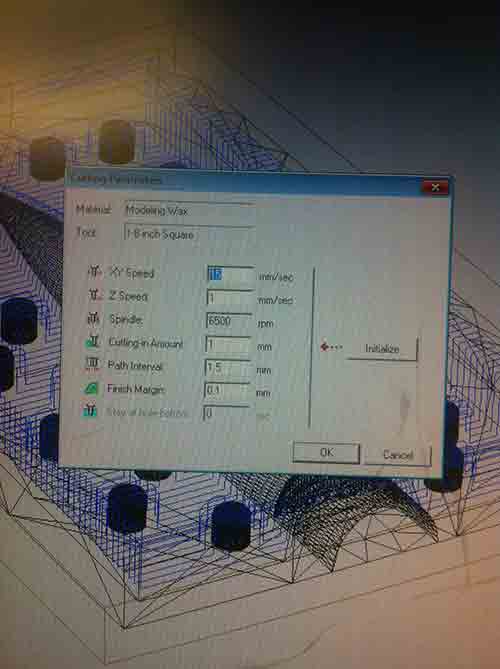
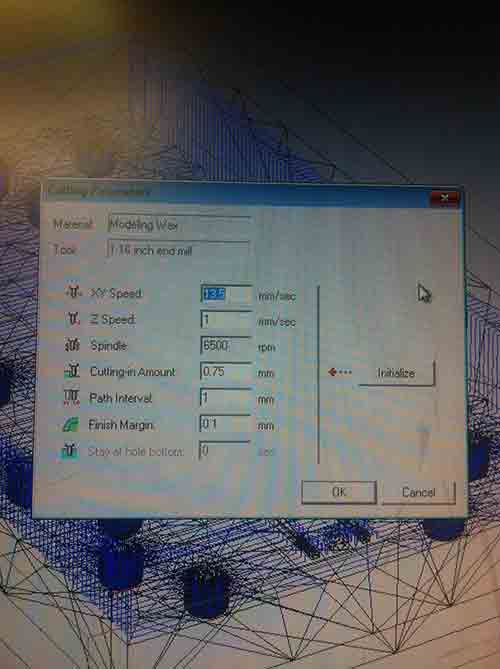
3D MILLING
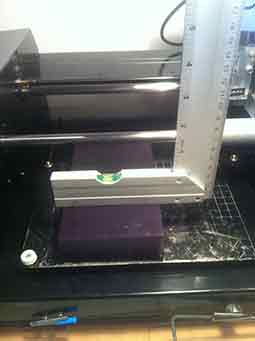
I had two jobs, the petal-top and the inner part.I fixed the wax block with double side tape and used MODEL player 4 software to set-up the milling job.

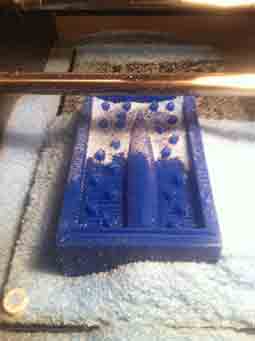
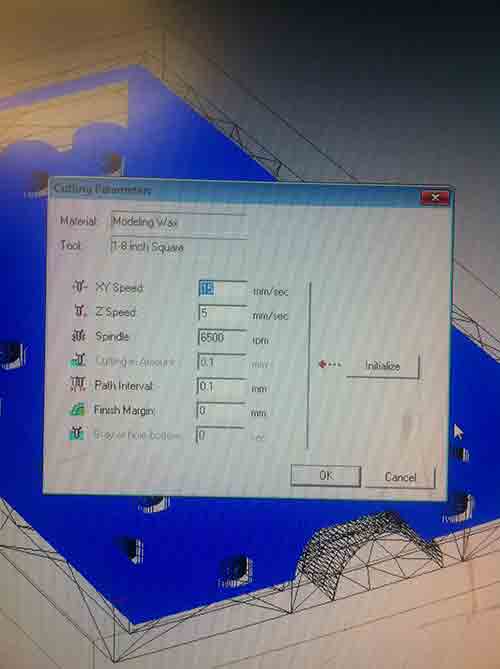
The petal-top has been done with 1/8 mill bit and the software already had the right set-up to work on wax. I runned two processes: the rough and the finishing.
Rough process:
Finishing process:
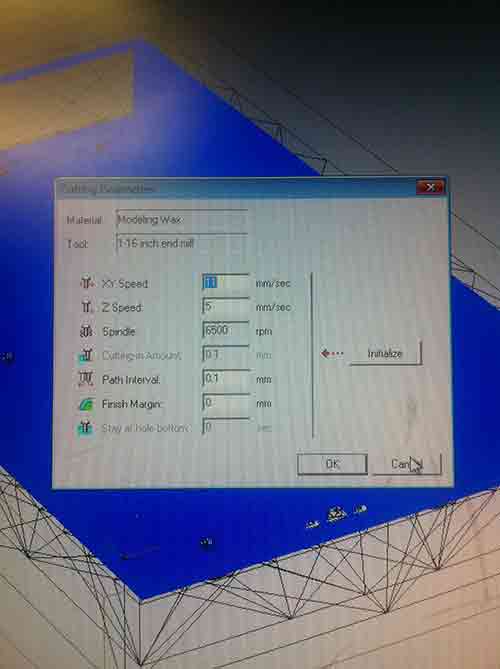
The inner petal has been done with 1/16 mill bit.
The rough process:
The finishing:
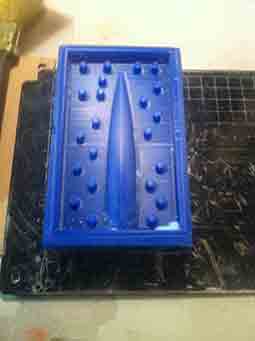
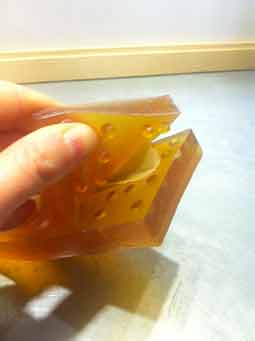
MOLD
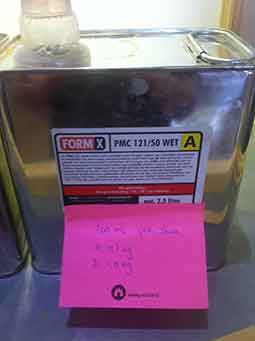
Using polyurethane two components I created my negative mold. I used 1:1 components proportion and left it dring for about 16 hours. I learned that:
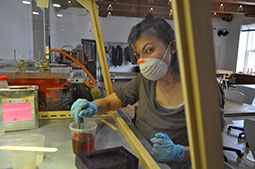
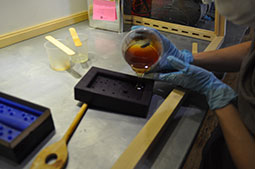
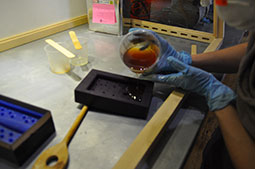
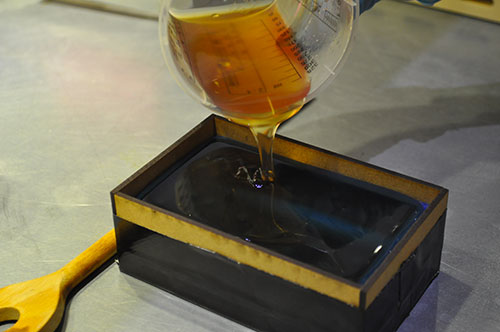
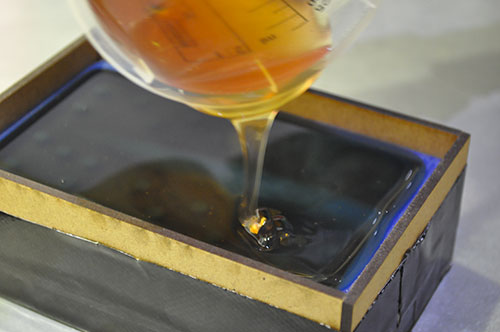
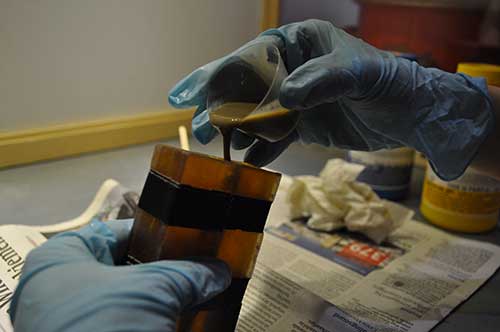
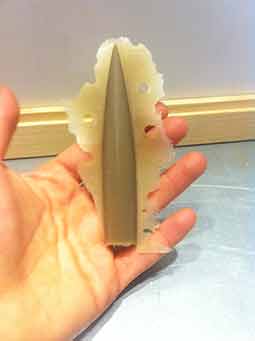
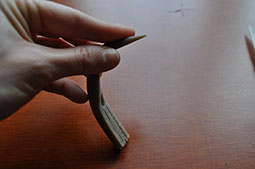
CAST
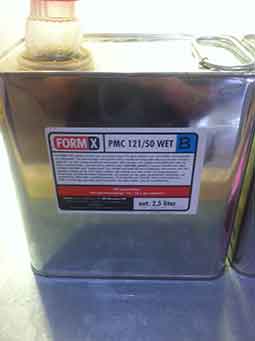
The casting process is very similar to the molding job. I used tape to close the mold and I used Smooth-on Vytaflex-60 (urethane rubber compound), pot life 60min - cure time 16h (it was over-date 2010).
I learned:
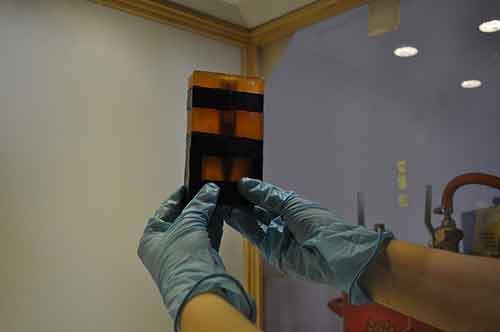
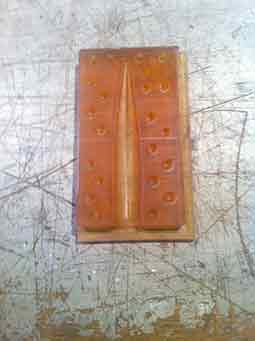
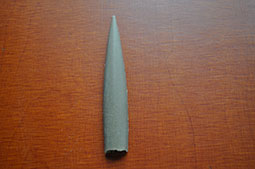
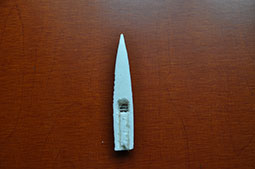
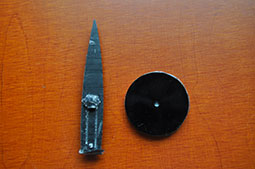
PETAL
After one rest night I could remove the petal from the mold.

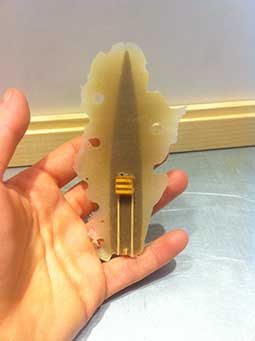
Comment: I made a mistake in my 3D model design. I made an empty where it was supposed to be full. So I filled the error with wooden cude and sticks.
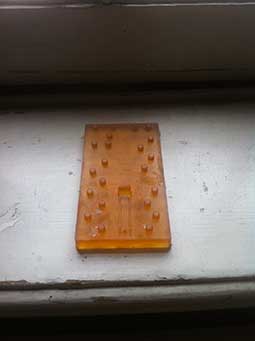
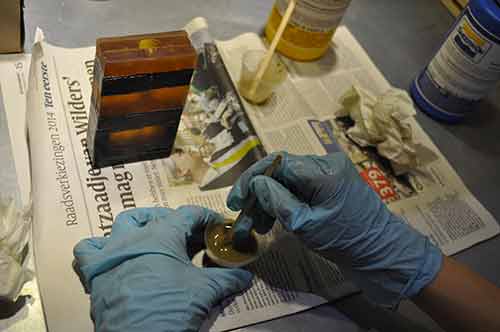
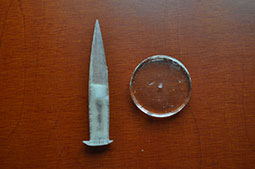
MATERIAL TEST
I really liked the process so I wanted to test more material also for my final project and here are my test:
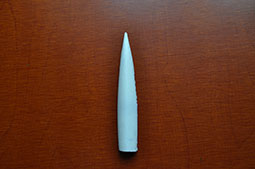
Smooth-on Vytaflex-60 (urethane rubber compound), pot life 60min - cure time 16h (it was over-date 2010).
[It use supposed to be white.....I like the soft touch and the flexibility]
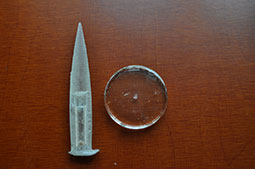
Smooth-Cast 310 (xxx), pot life 10min - cure time 4h.
[the surface is not shiny, it's hard and can't be bended]
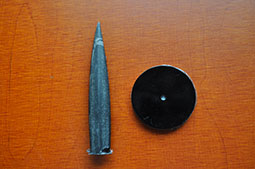
Smooth-Cast 326 (xxx), pot life 7min - cure time 1h.
[like with the 310 the surface is not shiny, like it should be, in the picture you can see the left material that got hard inside the cap I used to mix, it's trasparent and shiny, why??????]
Tools
Software: Rhino, Player Modela 4.
Machine: Roland Modela MDX-20.
Materials: wax, smooth-on products.