ASSIGNMENT
Make the FabISP in-circuit programme.
The FabISP developed during this week comes from this project: http://fablab.waag.org/project/fabtinystar and http://fablab.waag.org/project/fabtinystar/documentation/8259 (version v0.3).
MILLING
I cleaned and placed the board I was going to mill on the top sacrificial layer, it's a copper plate complitly milled, you don't see it on the picture because has the size of my board.
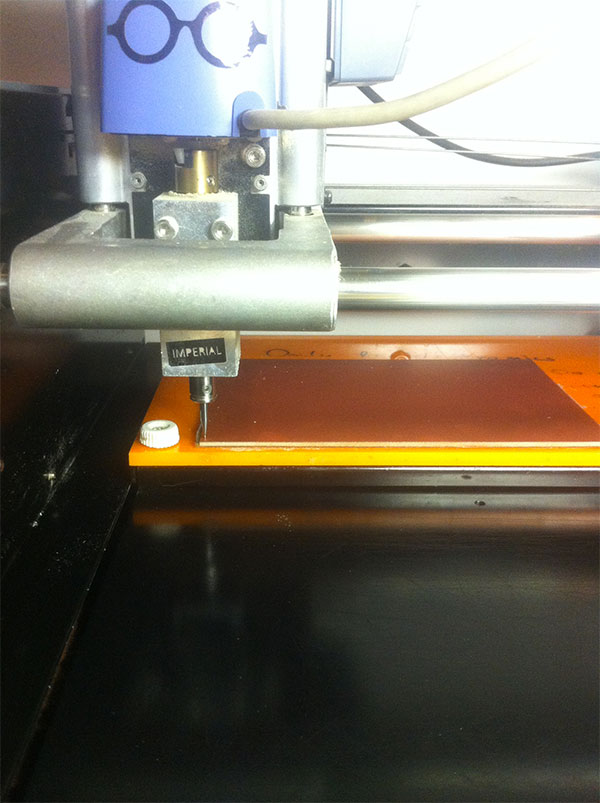
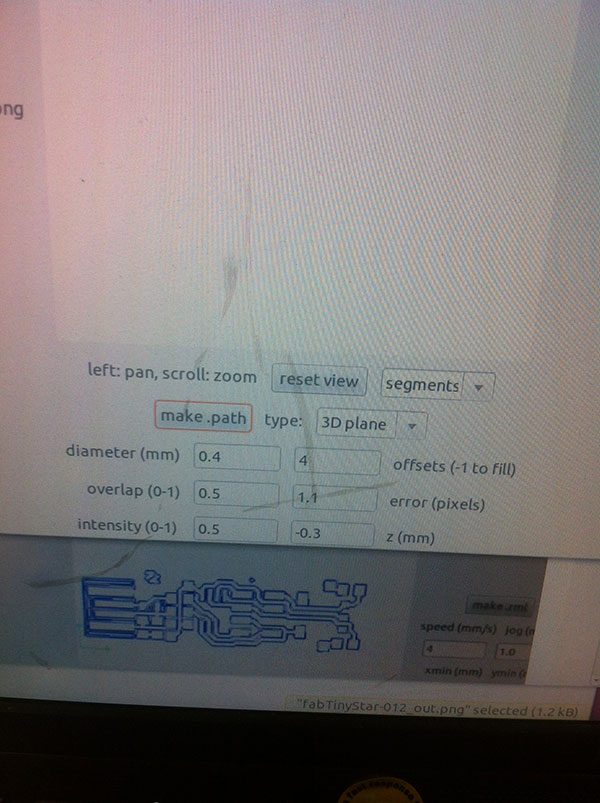
I loaded my .png from FabModules, (available in the computer dedicated to the machine) and created my path with this set-up:
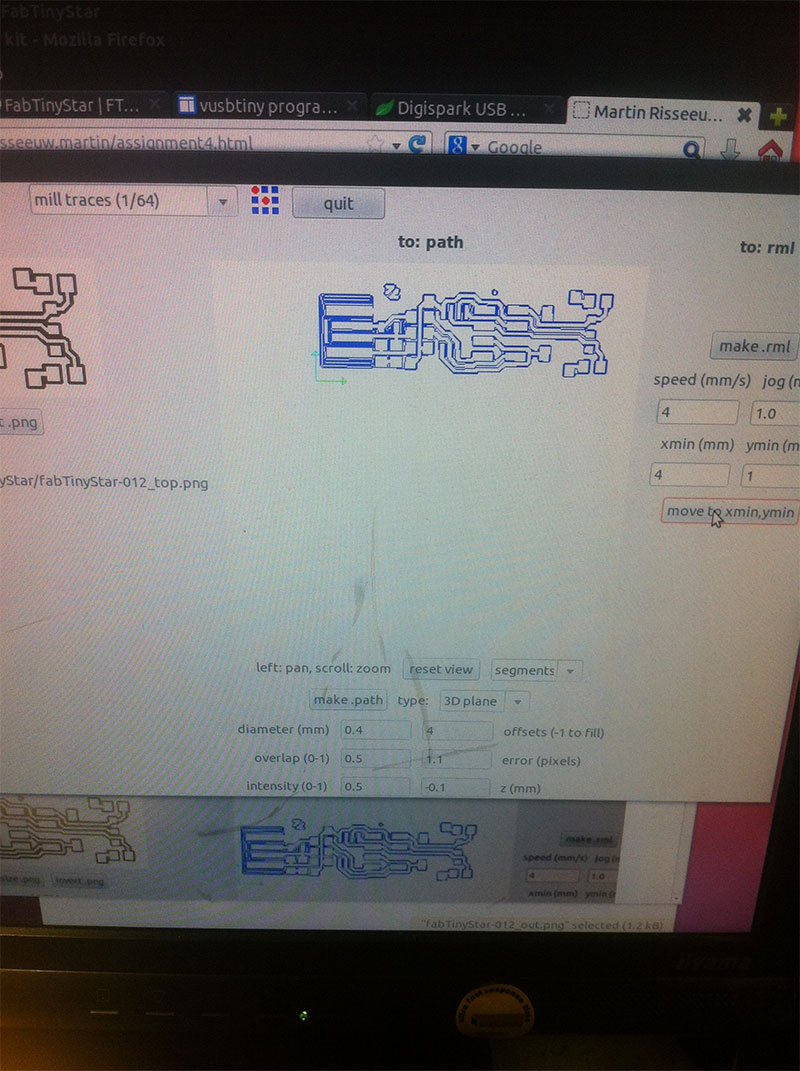
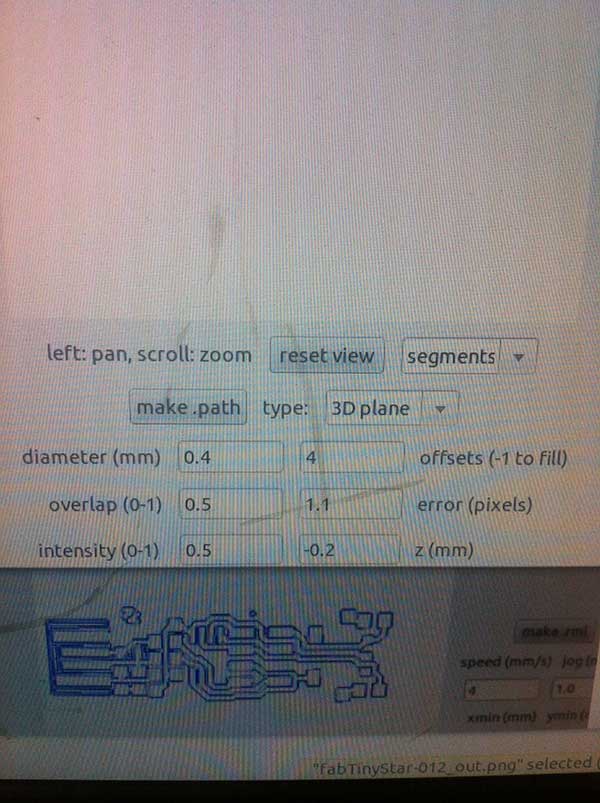
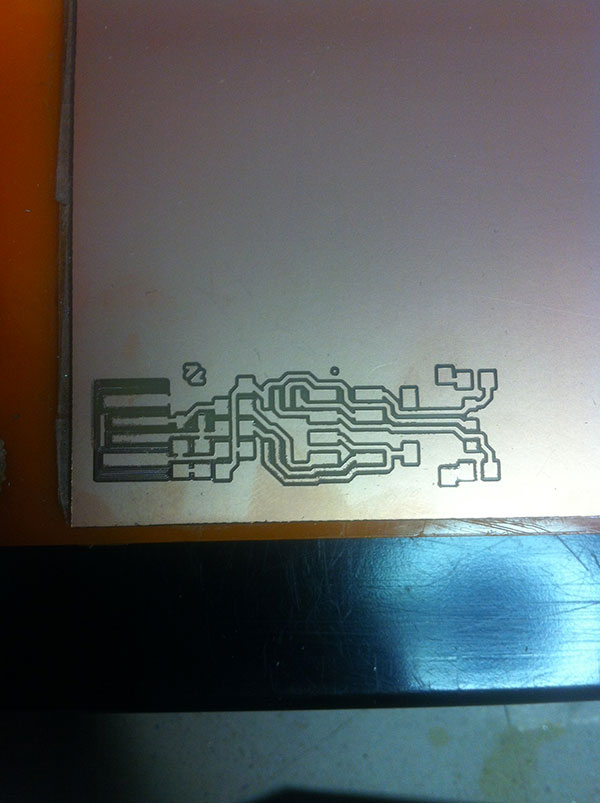
Unfortunately the result is the following picture.
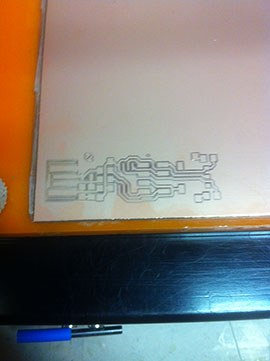
The drill bit didn't went trhough the copper layer and I tried to fix it changeing the z(mm) parameter from the control pannel. After two adjustments I got a good result:
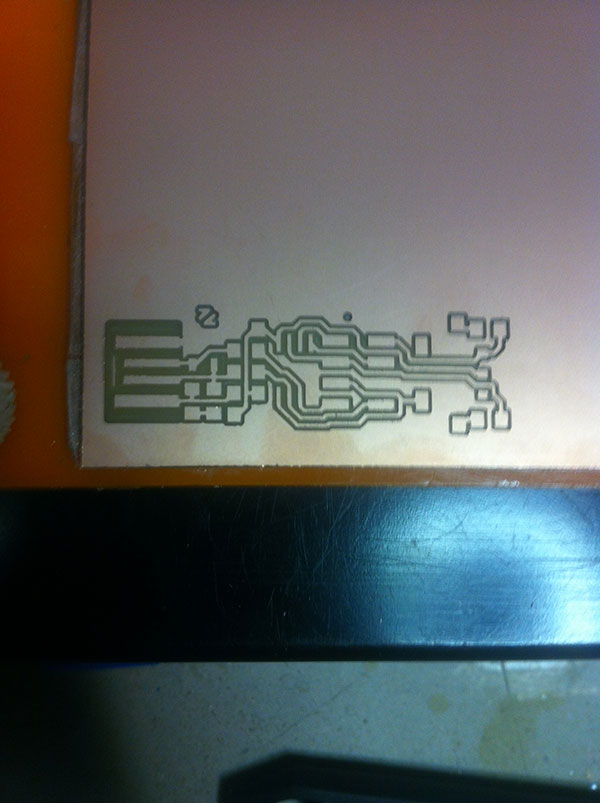
After the milling I cutted out my board using a 1/32" drill bit and using the default set-up of the FabModules.
SOLDER
I didn't wash the board because I forgot it and I moved on, time to solder. My workplace is composed by
an helping hands tool, a thin bite pliers, a box that I used like wrist support, tin and solderer. I used a paper piece to hang the board in the hands tool to avoid scratches on the copper.
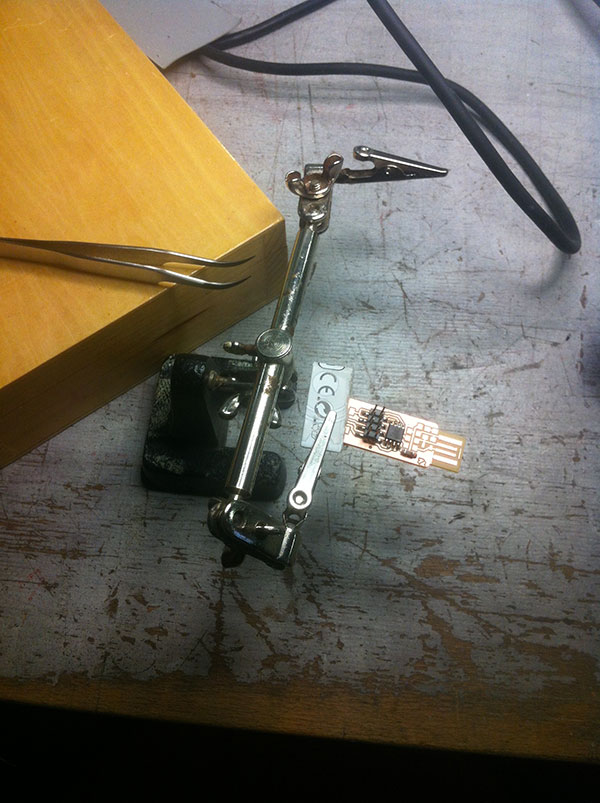
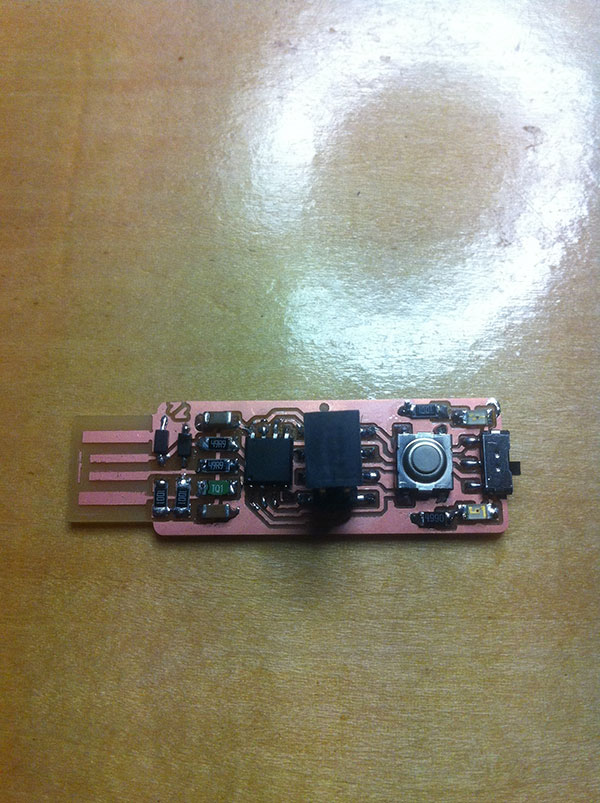
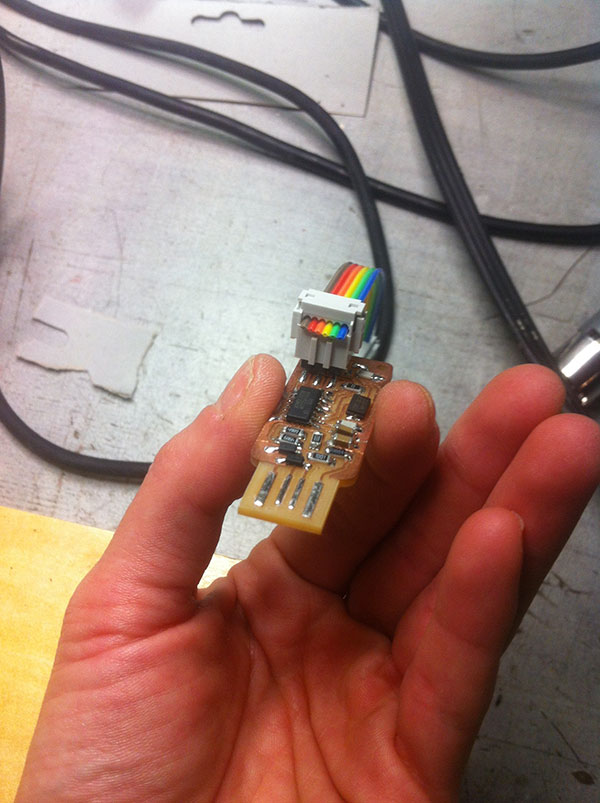
The assembled FabISP is:
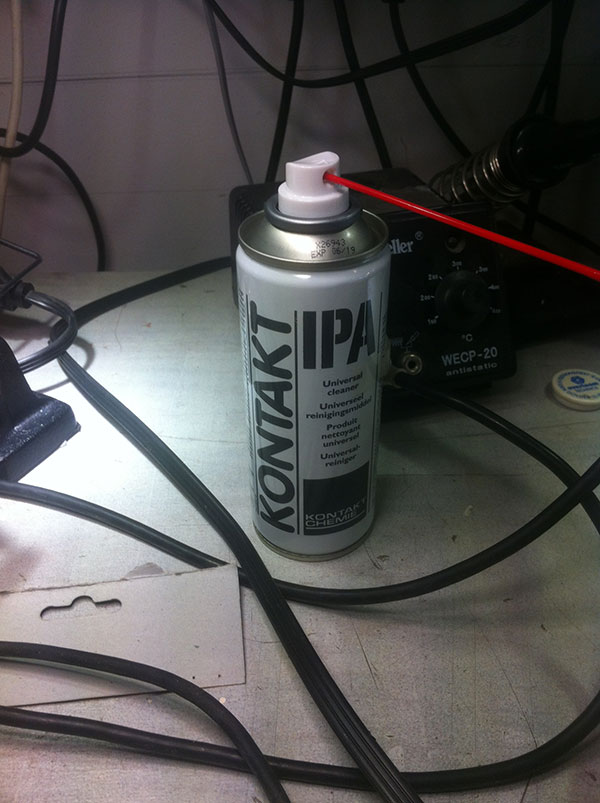
Like I said I forgot to wash the board out of the milling so following the suggestion of Zaerc (our electronic guru at Fablab Amsterdam) I cleaned it with an universal cleaming:
PROGRAM
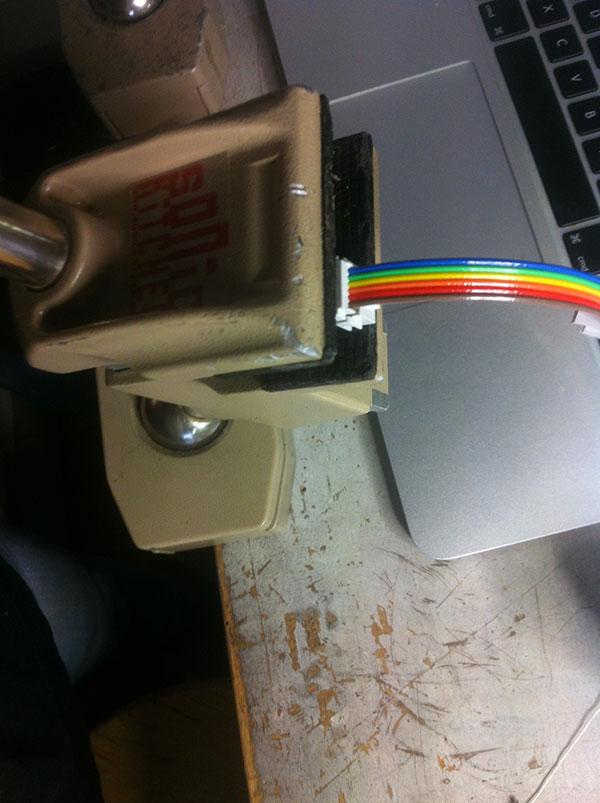
It was time to programm it, with a ribbon cable rainbow, two ribbon connectors and a bench vise I made the via I needed to comunicate to the FabISP.
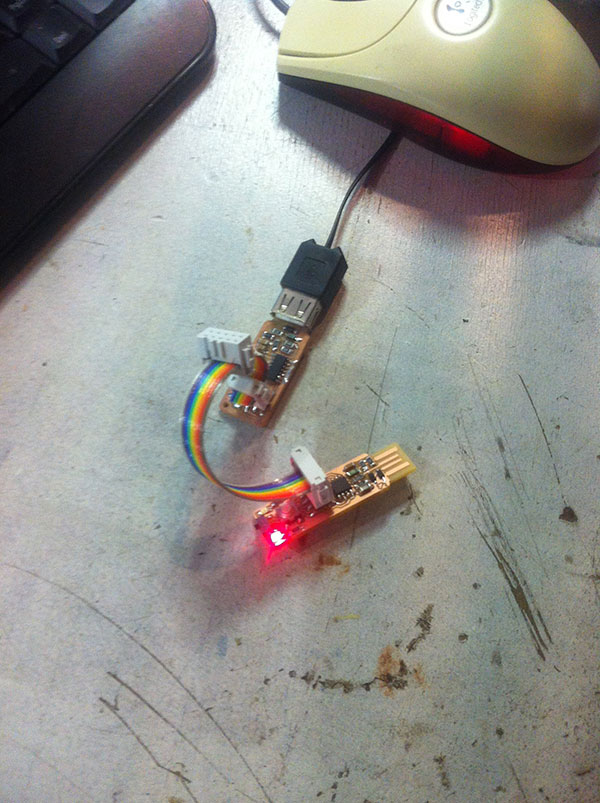
In the above picture you can see the red light board (my FabTinyStar) and another FabISP I did around 5 weeks ago. I worked in the lab computer, where I found the firmware and with the Zaerc help and indications in the Makefile file I gave the commnads:
- make fuse
- make flash
The job was done.
I had already an FabISP: http://fab.cba.mit.edu/content/projects/fabispkey/:
and I decided to make a new one because the FabTinyStar has some more features:
- has the red light to inform you that there is power and the green light led to tell you when it rebooting.
- the reset switch, in the old version the reset was possible only taking out the board from the USBport now I just need to push a button.
- there is a over-current protection implemented with the use of a thermal resistor. Thanks Zaerc!
- and thanks Zaerc again!! He gave me an ATtiny85, instead of ATtiny44. The ATtiny85 8 pins instead of 14pins of ATtiny44 and an internal clock that doesn't request a crystal.
Tools
Documentation: Fabtinystar
Machine: Roland Modela MDX-20