


For this task I am going to design and make a mould to produce a two-
First I need to design the pieces and the cast.
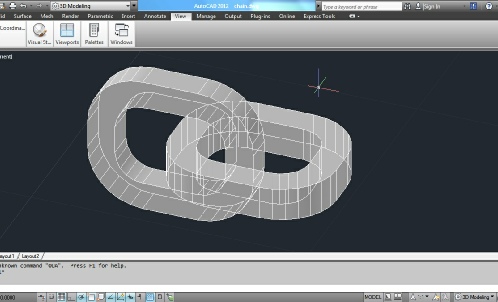
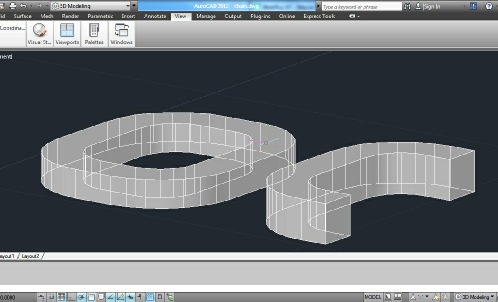
The production strategy is to cut the pieces in half (cut one vertically and cut one horizontally) make two moulds each forming half of the final product and put these two mould together and inject the plaster. As it has been mentioned before the challenge here is to produce the chain in one piece and to be able to move the rings freely.
By clicking on this link you can access the CAD file.
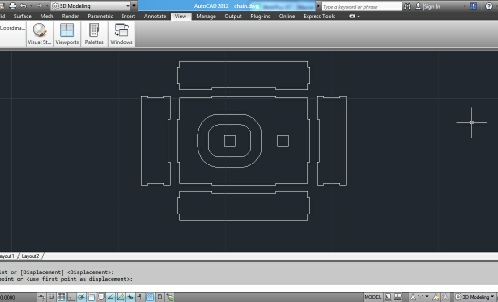
In order to make the process easier and to make the two-
By clicking on this link you can access the CAD file.
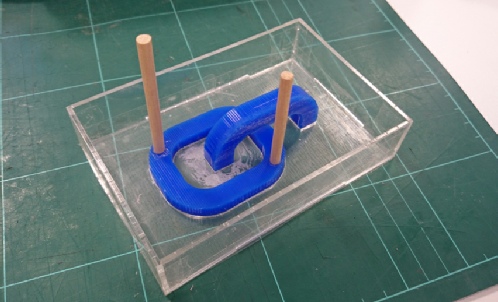
After milling out the pieces with machine able wax and laser cutting the box it is time to put them together. The wax pieces needed some filing and because I used 2 mm acrylic sheet to make the box it needed some support which was provided by adding some tape.
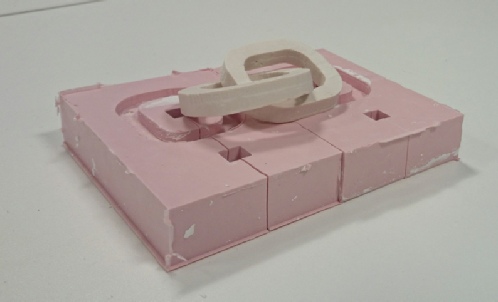
For the next casting I need to add some vents which would enable me to have access to the lower ring for injecting plaster and taking out the trapped air inside.
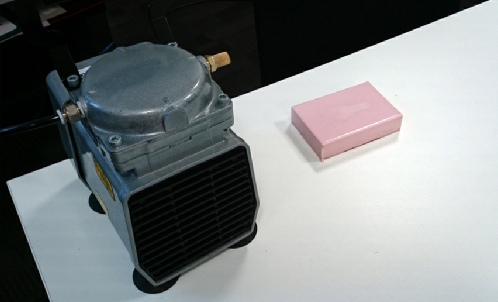
We use general purpose silicone rubber to make our casts. After pouring the silicone in the box in order to remove the air bubbles I put the box near a vibrating air pump which helped me a lot. We should continue the vibration for almost an hour after pouring. Vibration will not work after this time as the silicone hardens slightly. The cast needs 12 hours before de-
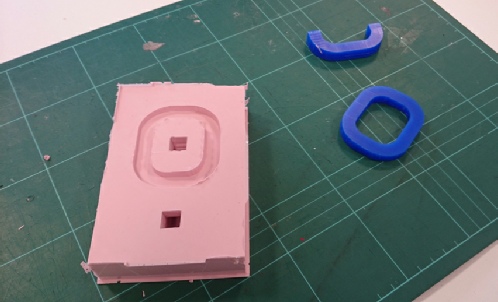
The produced cast is very flexible which allows easy removal of the parts without melting the wax.
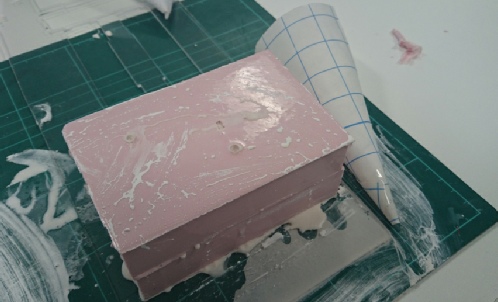
The last stage starts with putting the two pieces together and injecting the plaster. For this purpose we used the ‘Polycraft’ ‘fine casting plus formula’. Basically we mix it with water and it slightly hardens after and hour but it is still very brittle at that stage and is highly moist. Is the geometry of our product allows us, it could be a good idea to de-
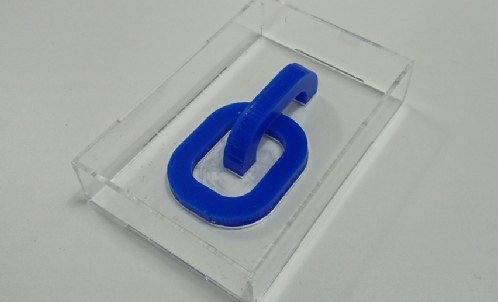
And finally here is the final product. Although I did not have any problem, but having some parts on the cast which lock together in order to show us the correct position of matching the different pieces of cast is very helpful in part production. It would reduce the defects.

For cutting the machine-