| Week 5 | 3D scanning and printing |
JosÚ J. Lazarte R.
Assignment part 1:
* design and 3D print an object (small, few cm) that could not be made subtractively
To carry out this assignment I used the Rhinoceros software and developed the design of a small personal seal.
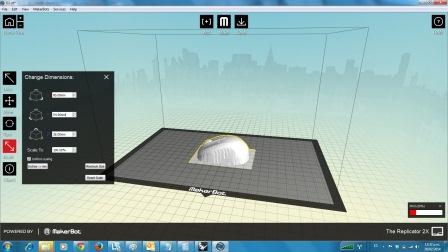
The seal has a lid to cover part of the letters and to avoid being exposed when not used. Makerbot2 Replicator2X was used for printing using the following settings.
House
printing some tests to finally find the right temperature (Extruder 230░C/Build Plate 110░C) for the
marerial to stick to the platform and printing were performed. Finally the result is shown.
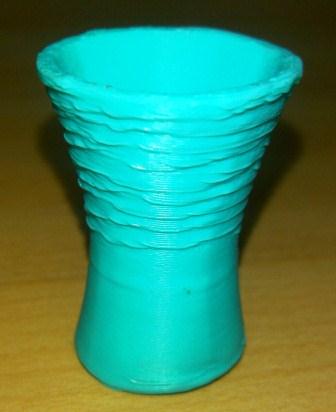
We can see some imperfections during printing, lines that are out of the location which gives a less warp relief.
Assignment part 2:
* 3D scan an object
To
scan an object I did two tests, the first with the Roland Modela ED Plotter MDX-20 and the
second with EXAscan scanner which is a professional 3D scanner.
Using the Modela ED Plotter MDX-20,
first configure the workspace in inches, install the tool for scan (R.A.P.S), then the scanning began, using
a mouse as an object has scanned, the process lasted 5 hours 57
minutes. The software I used was PICZA. The result is saved in a file
in STL format which allowed it to be printed directly from the 3D printer.
Using
EXAscan, the scanning procedure for this equipment
requires landmarks to perform the data acquisition process, because the
object was not large enough to be necesary to put points to the object. But
then the process was slow and very meticulous to cover all the details.
This team is working with the VxScan software, saving data into a file in
STL format. Then send it directly to the 3D printer.
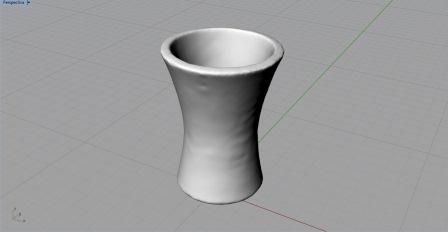
Then load the file with the Rhinoceros software to view the raster object.
Importantly, the difference in resolution of the two machines, nevertheless the results were pretty good both.
Assignment - extra credit:
- print the object you scanned
The scan with Moldela print it using the 3D printer makerbot. The material used for printing is ABS
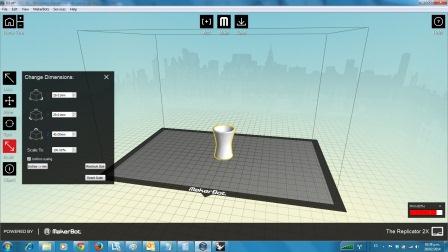
The scan with EXAscan printed using the 3D printer makerbot
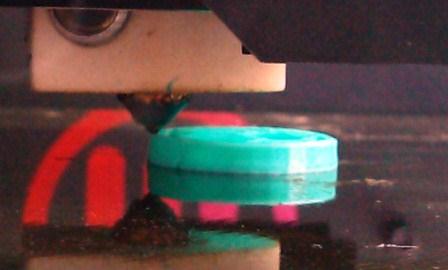
When printing this object was presented again misalignments which generated a result as shown
References: http://www.creaform3d.com/es/soluciones-de-metrologia/escaneres-3d-portatiles-handyscan-3d
Thanks to the team of instructors and assistants in the FabLab TECSUP for their support.


