| Week 3 | Computer-Controlled Cutting |
José J. Lazarte R.
To perform the task of this week, we started making a 3D model
To do this we first use the Rhinoceros program to lay out forms first in 2D structure. To then assemble under the concept of pres fit
Then make the cut with the laser cutter.
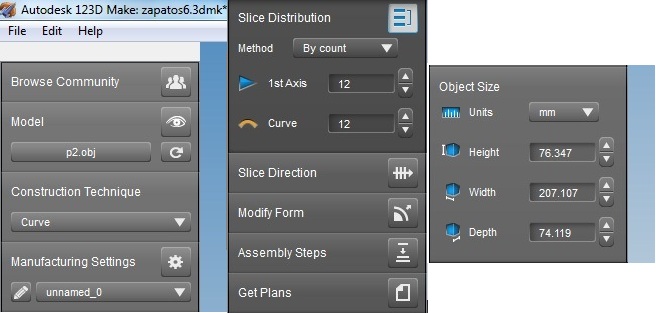
Then using the 123D Maker program, I load the file designed in the previous assignment and get the following image.
Define the following parameters, as shown in Figure.
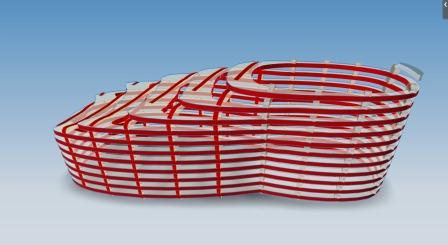
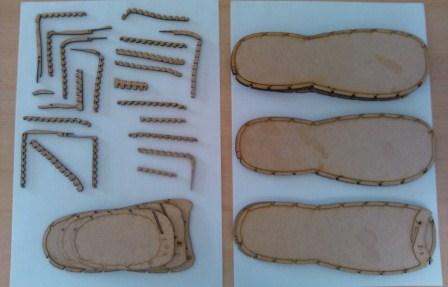
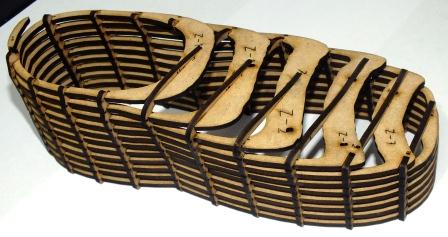
The result is shown in the model structure formed by the flat parts can be seen.
Must take into account the thickness and material used.
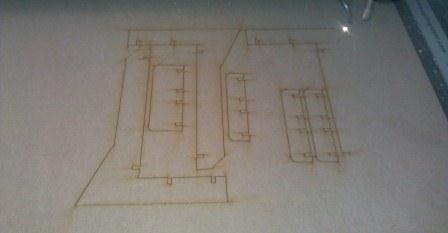
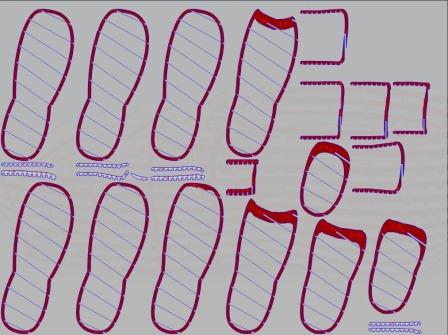
Diagrams of the elements of the assembly for printing in EPS format get.
Here's how it performs video1 assembly model.
Then we use the Corel Draw program to load the file in EPS format, the image shown below.
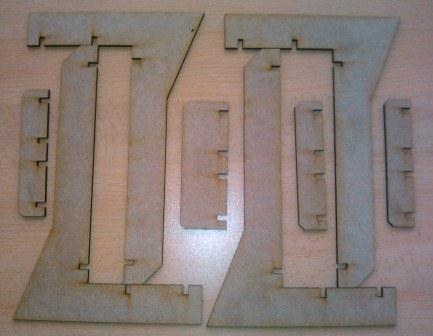
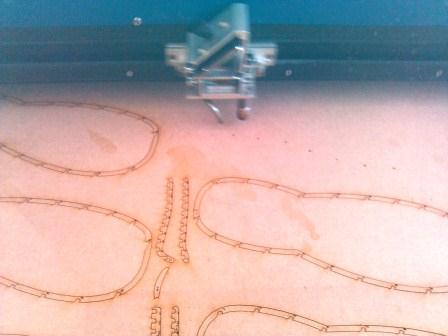
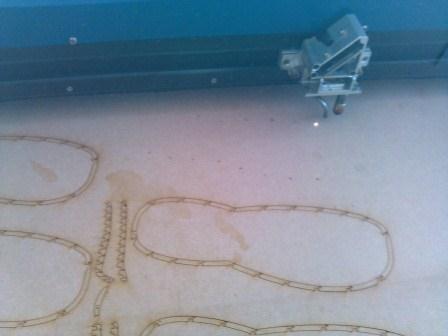
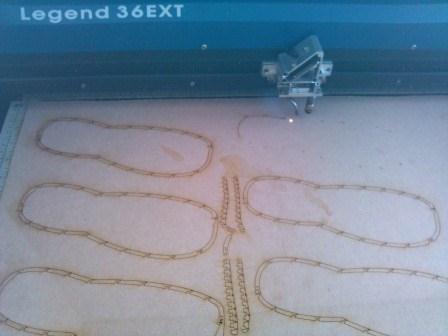
We perform laser printing with the accountant, that shown in the video2
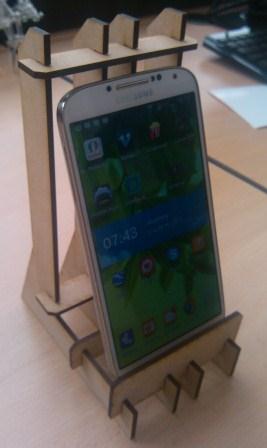
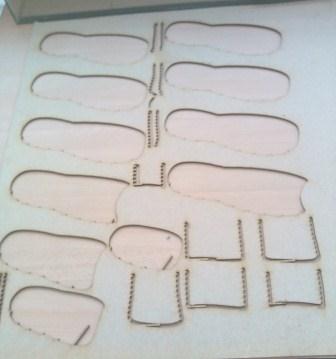
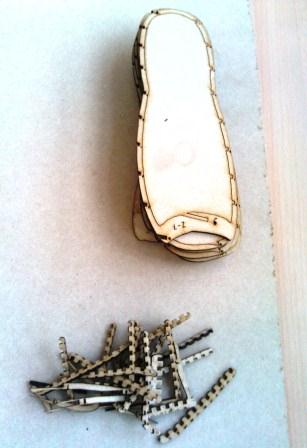
The pictures show the result of the cutter.
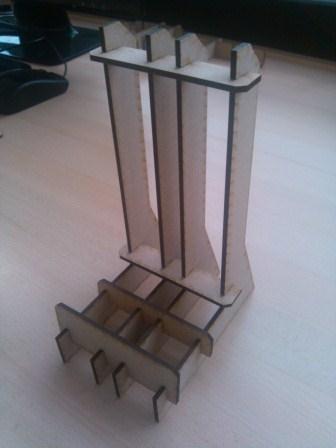
Below shows the finished model.
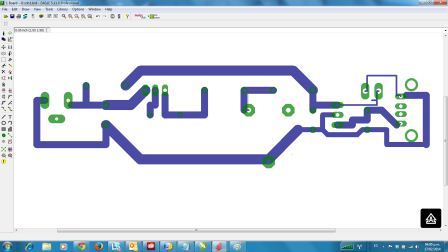
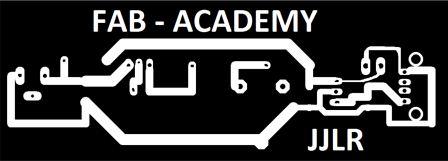
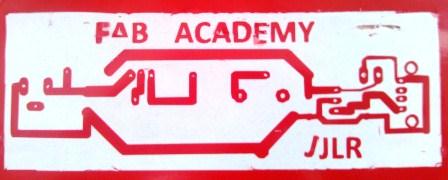
The second application performed starting from the design of an electronic circuit
Which was developed with the Eagle program, the designed circuit is shown in Fig.
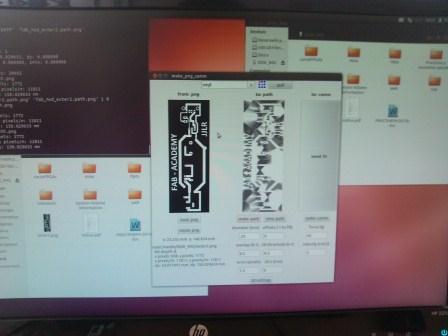
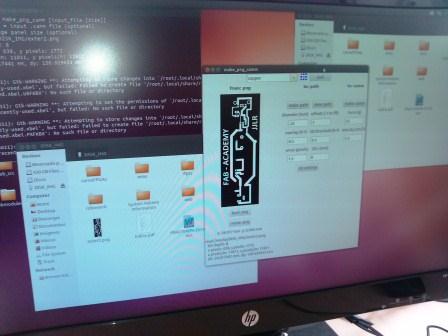
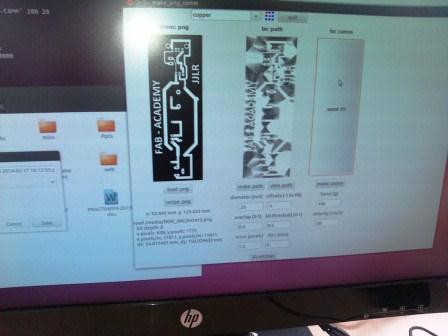
Save
the file in PNG format in order to import it using the program Corel
Draw and make final edits and get it ready for printing. The file is
saved in PNG format.
To use the Roland printing machine, which allows us to print in vinil foil.
Thanks:
I wish to express my thanks to the team of instructors and assistants FAB LAB TECSUP.