Software
I have used MAX language in this assignment. I tried to use superCollider in the beginning because I am familiar with Processing which is quite similar object-based language. Eventually I changed my mind and I used MAX since it is a more commonly used language in our Art and Design school.
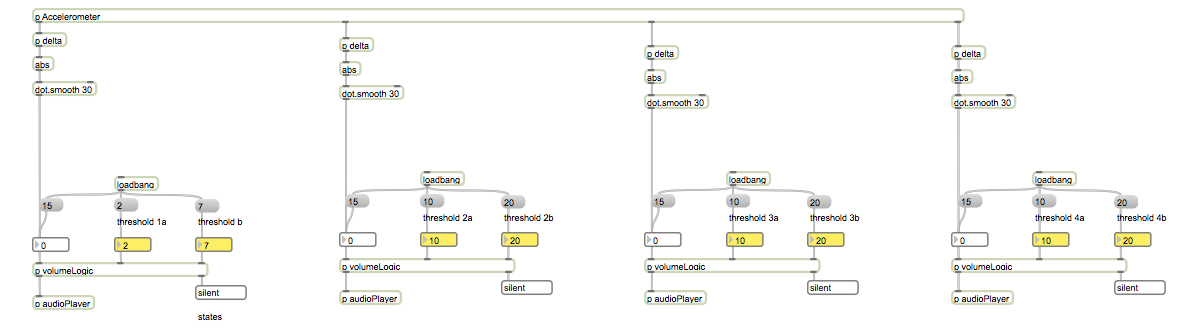
I used four accelerometers in this installation. The accelerometer sub-patch (see image below) connects serially the application with the fabduino board. I used only the x acceleration from my accelerometers. I had to process it though in order to get the desired interaction. I calculated the change of the acceleration, then I averaged the outcome and calculated its absolute value. Then with a very simple conditional statement I modified the volume (sound intensity) of 4 sound track that were playing simultaneously on a loop. Those loops could be silent, at a bit louder and very loud according the acceleration change. When the ribbon (which includes the accelerometer) is not moved by a human hand, the sound track connected to the ribbon is not heard. When the ribbon is moved very smoothly you can listen to the track. Finally when then ribbon is moved fast (this may happen when people dance), the track becomes very loud.
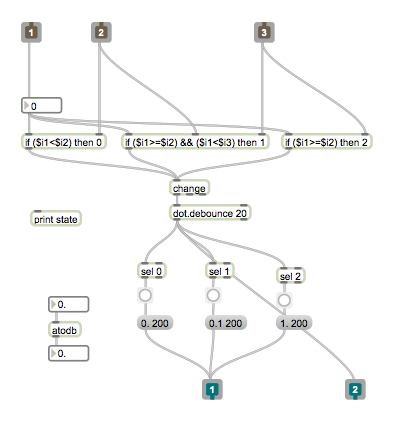
The conditional logic is
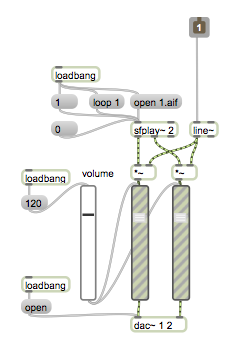
The player is implemented by one MAX object
Hardware
It was not very easy to design the shield and especially the pcb layer on Eagle. On a white board (I found this approach very handy) I tried many solutions
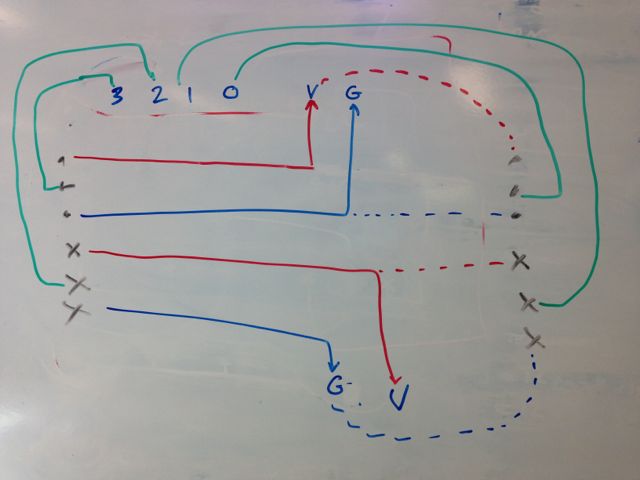
Finally the shield worked!
The schematic and the board Eagle files can be downloaded from the previous links. I have used a screw terminal CAD part from a library developed by one of my colleagues which can be found here.
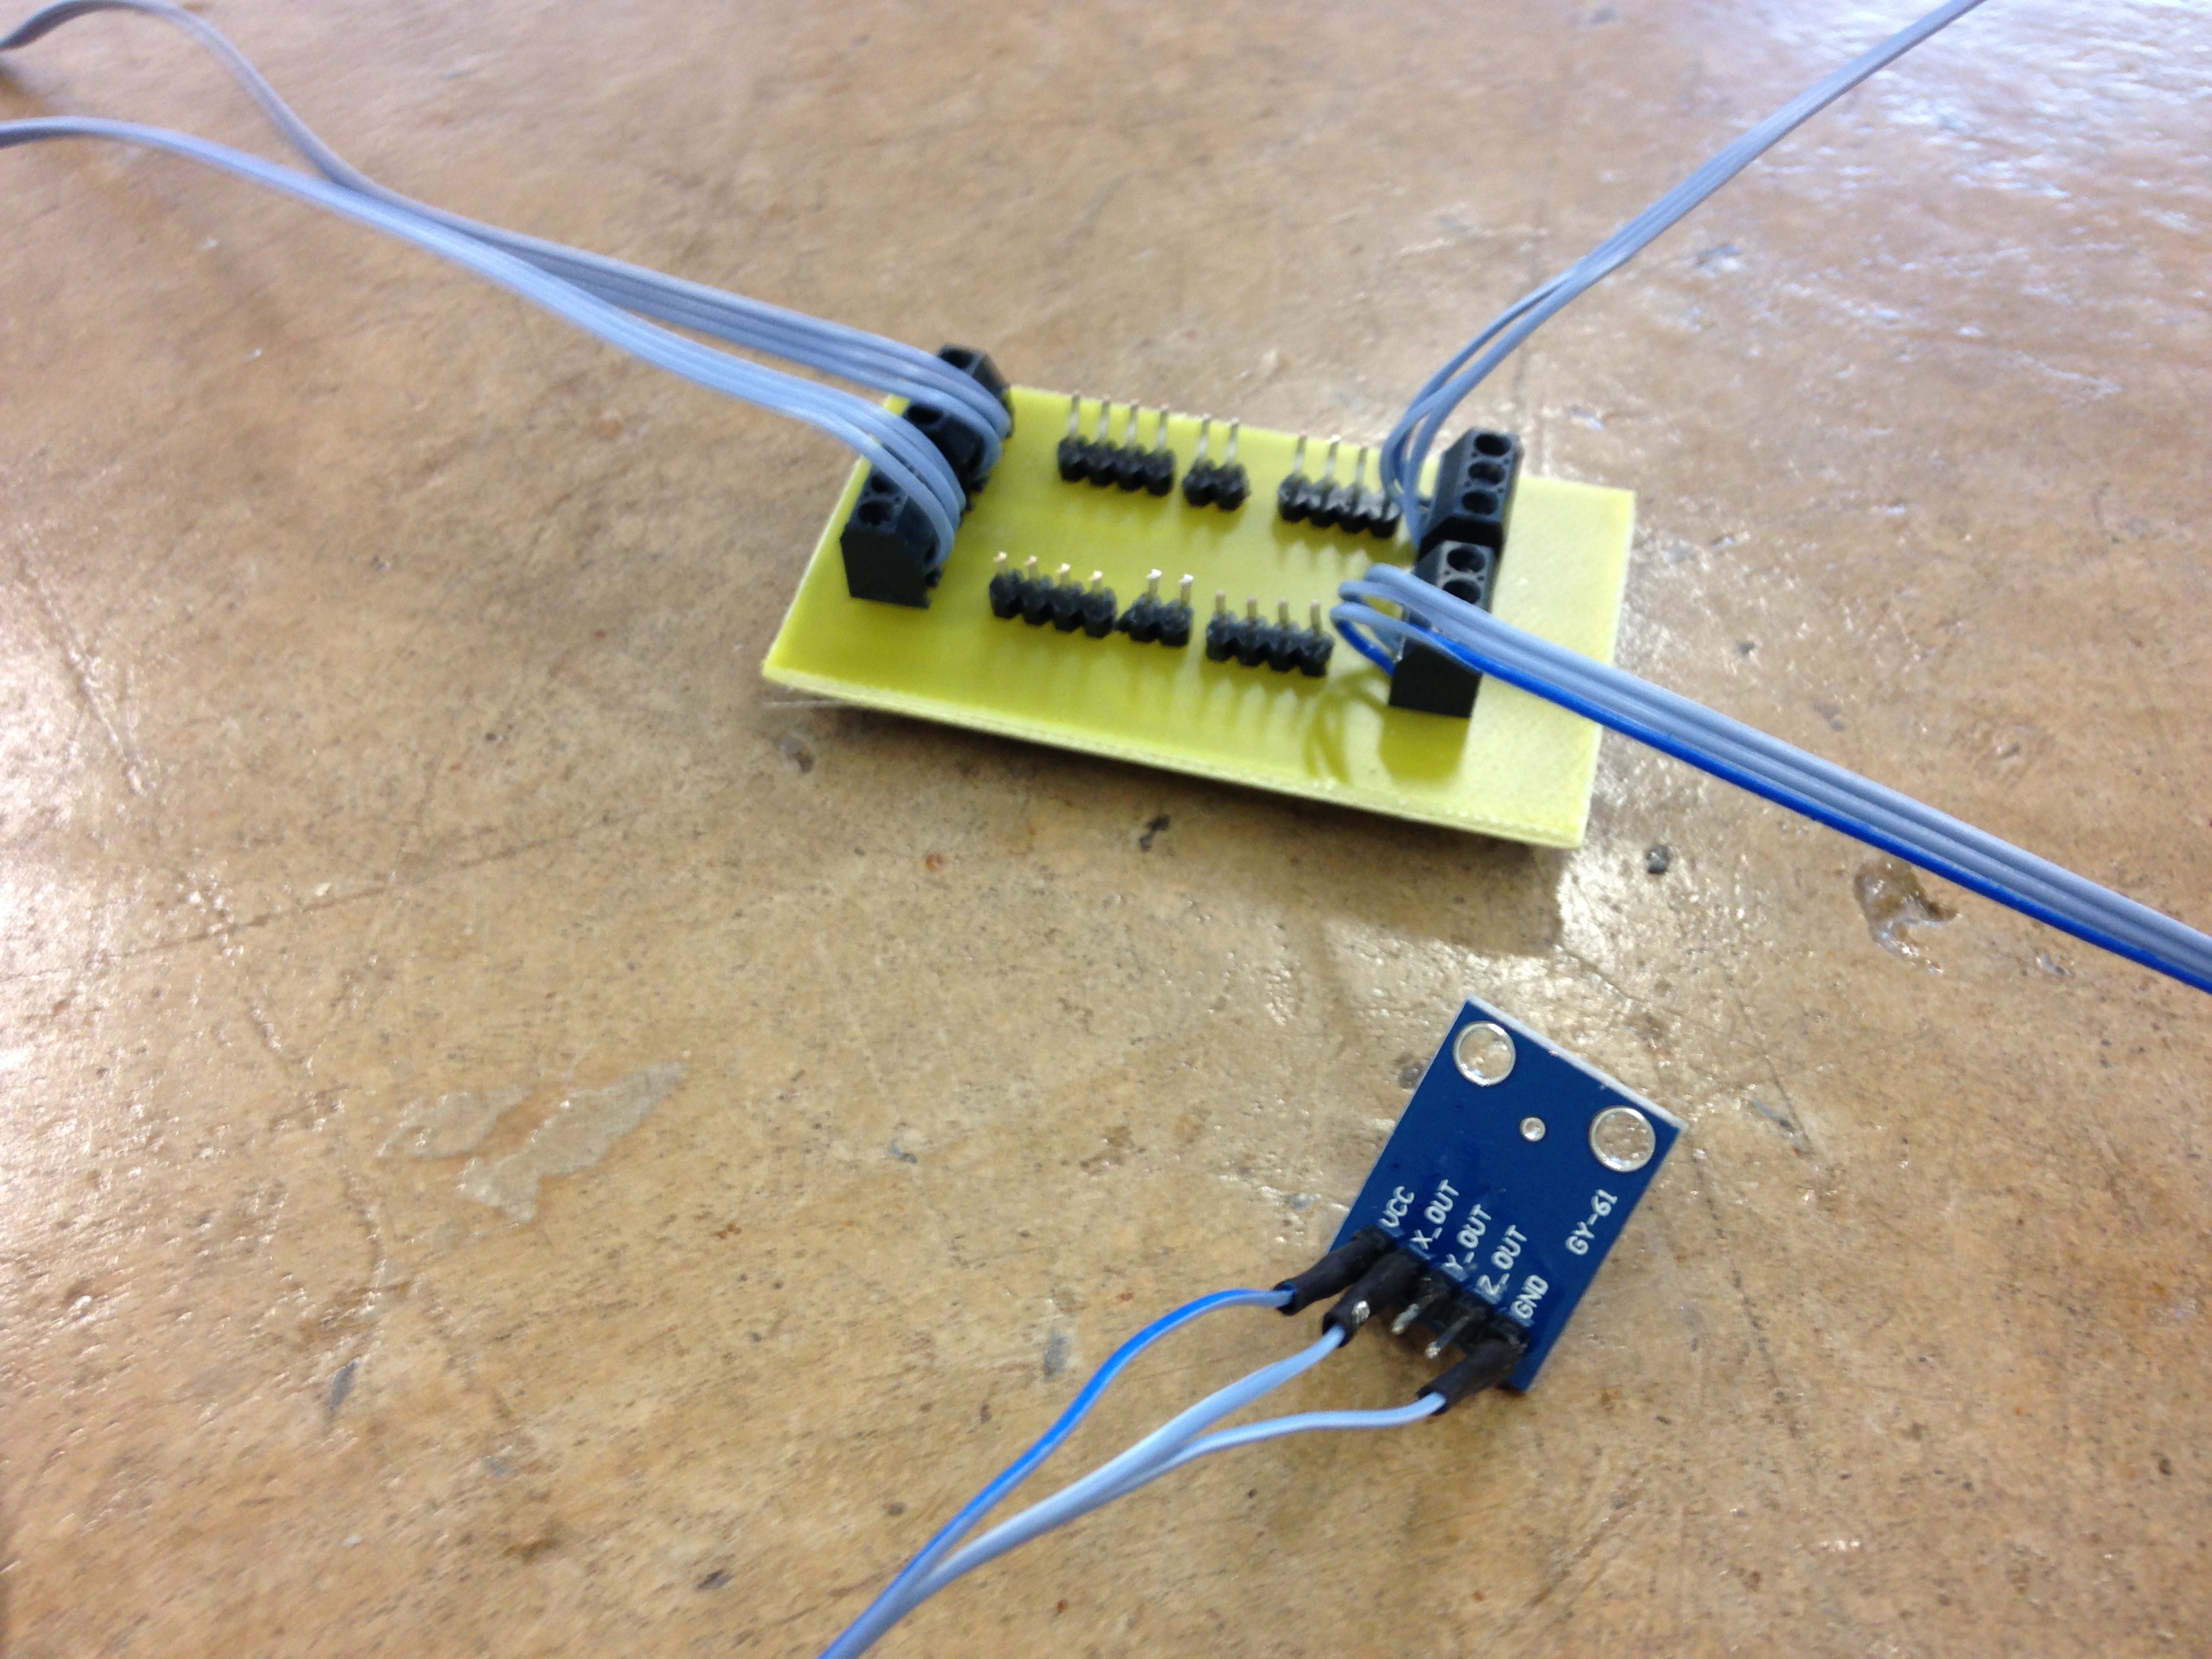
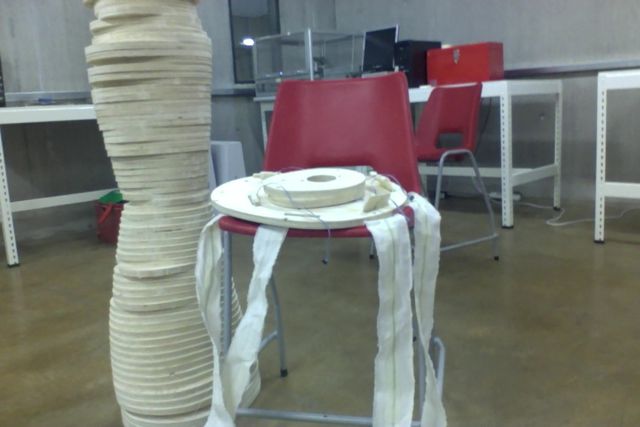
I attached the accelerometers with their 3 channel ribbon wire (acceleration x, ground and vcc) on the textile
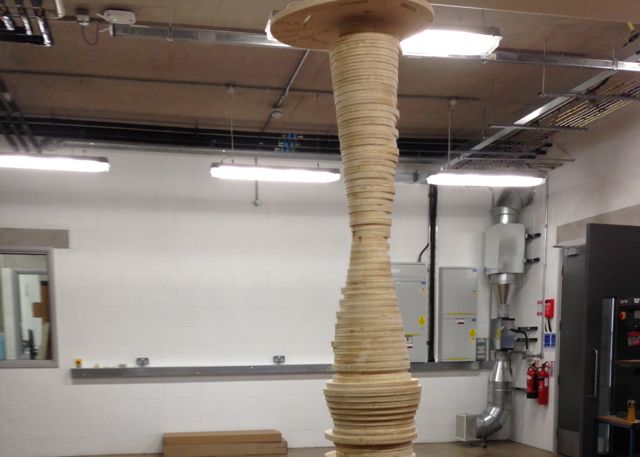
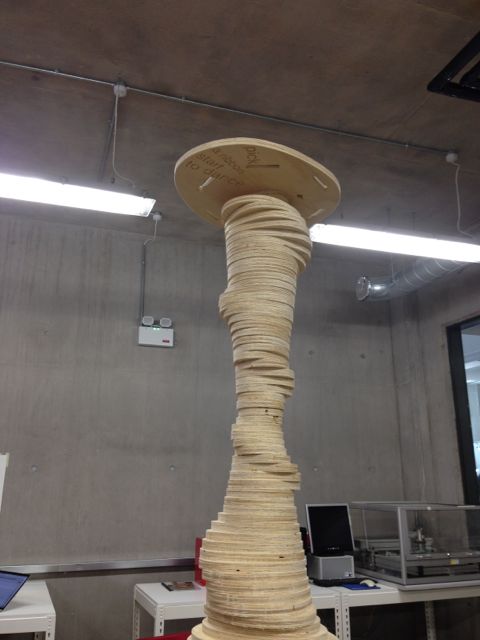
The main pole construction
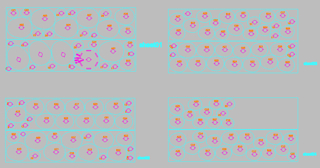
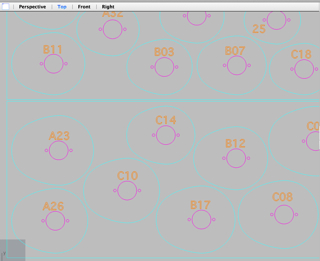
I designed and nested all the disks using Rhino and Rhino Nest. The colours correspond to layers which correspond to the 3 different toolpaths to be used for milling.
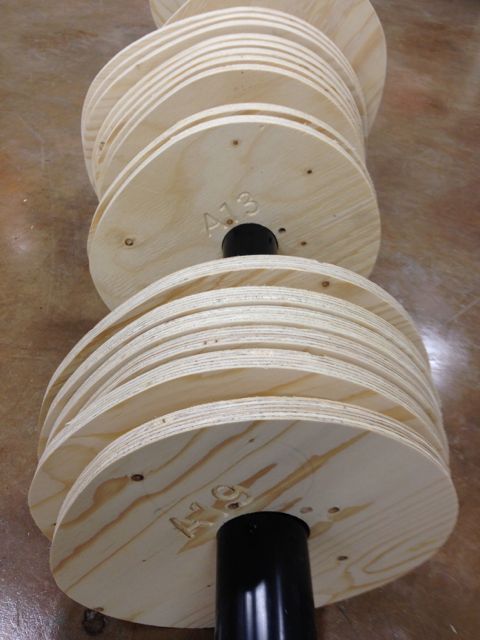
Each disk is a 18mm spruce ply disk that has got its own number to know where in the pile it should be placed.
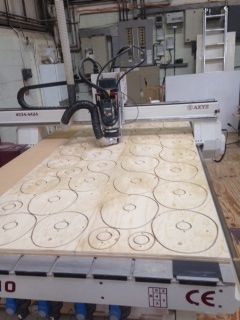
I cut 4 plywood sheets overall and later sanded each disk.
I used three different toolpaths for the cnc. THe first pass was with a v-shape 90 degrees for the numbering. THe second was the 1/4'' compression spiral tool for the internal holes and finally the same tool but set for an outside cut for the external line of each disk.
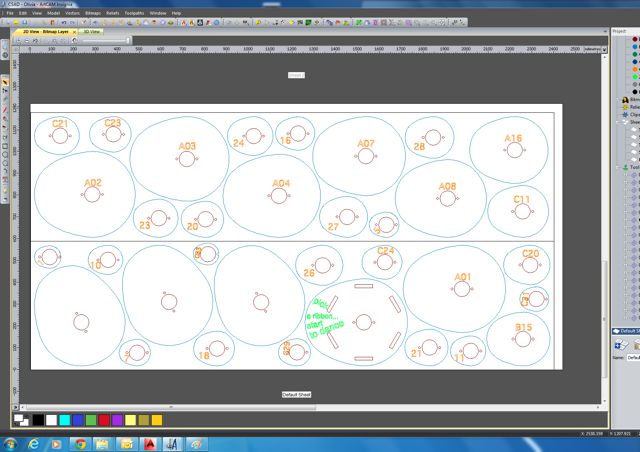

Here is how the disks will be placed. one can later replace a few of these disks to ones of different material i.e. acrylic / 3d printed etc. The oval design helps to make different patterns depending on how the disks are placed.
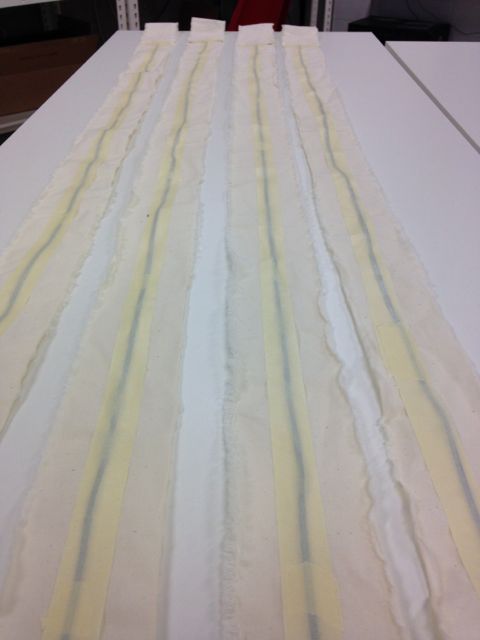
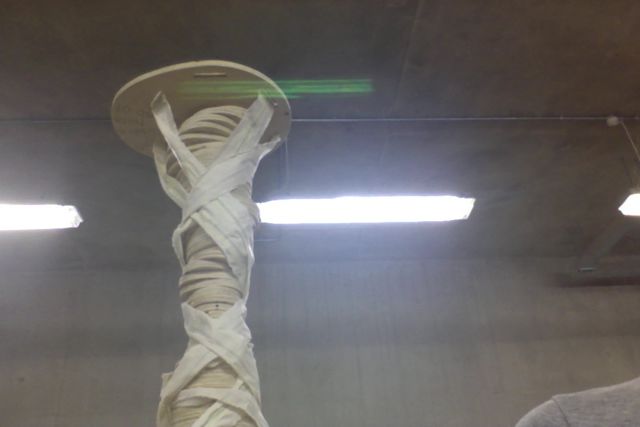
Here it is having the ribbons on - the accelerometers and ribbon cables are presented later.
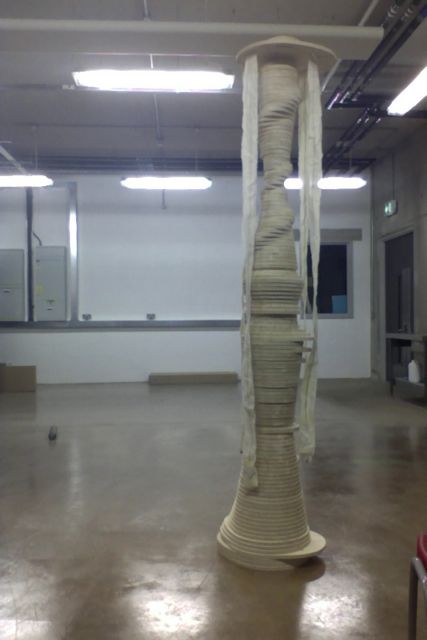
Also, below is an idea of how they should be weaved onto the pole. I am not happy with the choice of fabric, however I would like to develop this project more after Fab Academy and experiment with different fabrics especially ones that I can block print onto or heat transfer images and words.
The video...
The video shows the basic but very effective interaction. I used four tracks. Four of them are traditional Greek songs. The fourth sample is Neil's voice teaching on the Fab Academy course. I couldn't resist!!!
Unfortunately the cable was too short and therefore the maypole could be in the middle of the room as it needs to be plugged into the computer.