Home About Me Final Project Weekly Progress Notes
fab-academy2.jpg

[03/11/2014]

Week 6: Electronics Design  

During this week we had to design, fabricate and test a pcb with microcontroller, push button and an LED based on the echo hello-world board design provided by Neil in the class http://academy.cba.mit.edu/classes/electronics_design/index.html .
The main objective was to get started with using Eagle or an alternative circuit design software. My surface mount soldering experience during week 4 was frustrating to me :)

Eagle Experience
I used Eagle version 6.5 for Windows. First sketched the schematics with all the connections needed. Then started placing the components and adjusted the routes such that the routes doen't overlap and to be ready for milling. I followed the tutorial developed by Anna at FabLab providence http://academy.cba.mit.edu/content/tutorials/akf/electronics_design_eagle.html .

wk6scr2.png wk6scr1.pngwk6scr3.png
 Schematic and Layout in Eagle 

Milling and Soldering

After finishing the Layout as shown above I exported the traces from Eagle and milled the board then I started the journey of soldering:) This time it was much better and was easier for me and the results was way better.


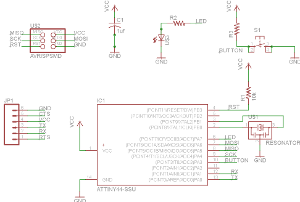
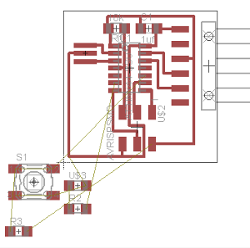
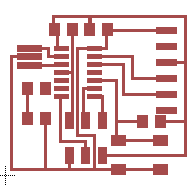
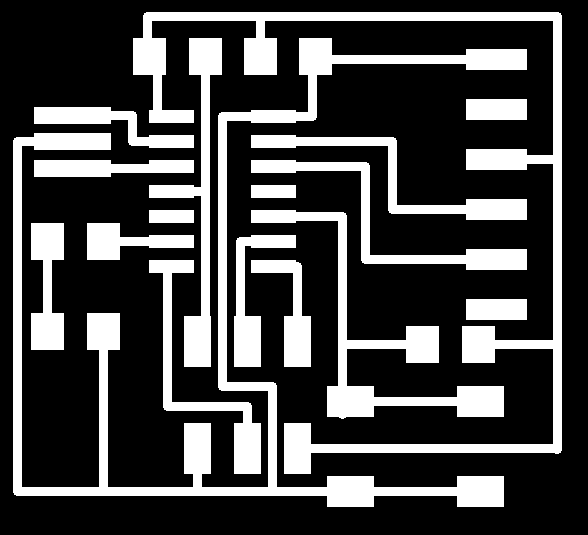
Tutorials Used
Anna LED + Button tutorial


Tools Used
Eagle
wk6invert_traces.png wk6pic1.jpg 
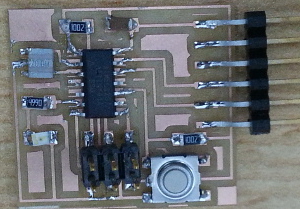
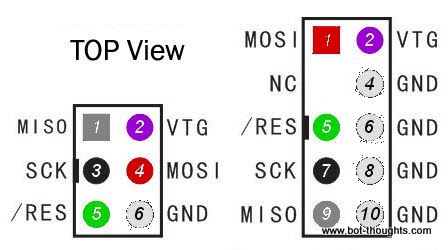
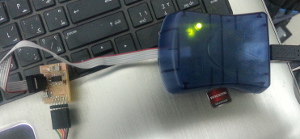
I tested the board first using an avometer and then with AVRISP programmer found in the lab to check that the power and connections are fine. If the AVRISP LED gave a green light then that means that the power is fine and the programmer can detect the connected board. Before connecting the programmer I checked for the pin assignment of the cable supplied with the programmer to connect it correctly with my board. You can see the cable pin assignment in the below image together with my test.
AVRISP_Pinout.jpg wk6pic2.jpg

So it is done for this week assignment! I went one more step and tried programming the board. you can find my experience here