| Home | About Me | Final Project | Weekly Progress | Notes |
|
|
[02/11/2014]
|
Tools Used123D DesignInkscape Tutorials UsedGetting Started with 123D2D sketches with 123D Sweep, Revolve, Loft with 123D Complete CAD assembly with 123D |
Think CAD Designing for fabrication is another story than graphic
design. You need to think in parts,
material specifications, and how parts are related. Measurements are another
critical thing. So after going through my first attempt; drawing my model
with the outer appearance only in mind I found out that going from outer
appearance to inner details is as doing it all over again. CAD software is
built with the concept of bottom up design approach rather than top down design
approach. In other words you sketch parts then start thinking of joining them
to build the objects. So I started again on paper breaking my design in parts, measurements
and relations. Then moving to 123D design and sketching parts and finally
assembling them. |
|
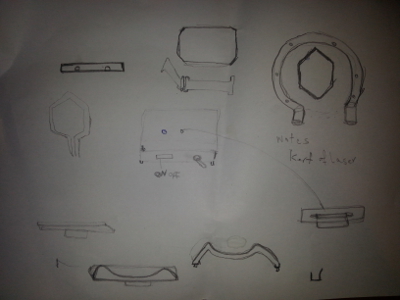
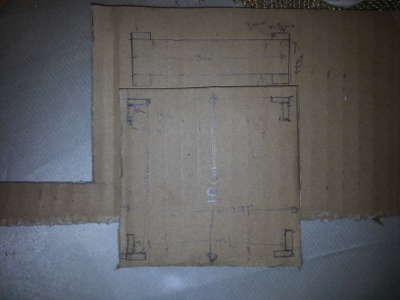 Design on paper | |
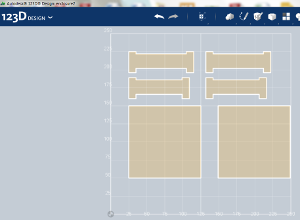
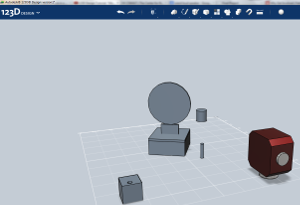
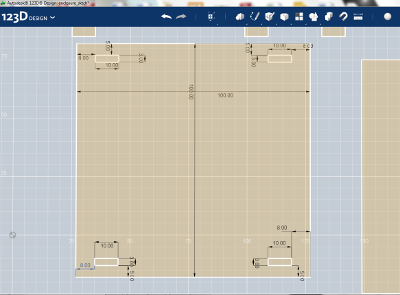 2D sketch on 123D | |
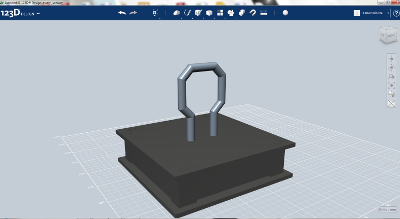
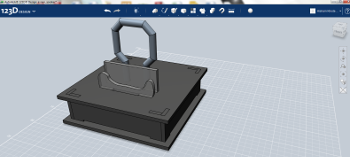 Assembly & Rendering | |
|
When to use 123D
and When Not? During the week I took a Jump Start session on AutoDesk
Inventor with Aser Nabil our FabLab Guru J.
It was a good session to help me compare 123D with Inventor and know more about
the CAD world. I consider 123D to be a user friendly software that you
could learn most or all the features over 1 or 2 day playing around. It is an excellent choice if the project you are attempting
to design doesn’t consist of many interrelated parts since 123D doesn’t have
parametric design features and also has only a simple snap tool for building
your different assemblies that compose your model. This comparison is based on my quick session
on Inventor were I realized that Inventor divides the project into a project
file with components that contains different parts and finally assembly files
with more advanced features and options to define how parts are joined and
related but of course with a more complex interface that could be a frustration
for newbies and young makers. One of the things that I figured out late is that the 2D
export feature is not available except in the premium version. I had a chance also to have a quick look at TinkerCad and I
see that it is worth trying later since it has a parametric design utility
using JavaScript as its back end; however, I couldn’t make a clear comparison
with 123D other designing tools and features. 2D Vector Design: For the 2D vector design I downloaded Inkscape and tried to import a line art bitmap that I thought it could one of the options for the shape of the speaker. I did a trace bitmap to convert it into vector design. 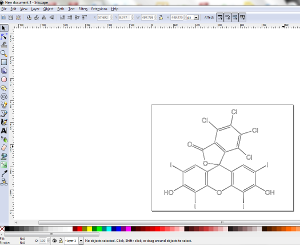 Raster Design: Since last week I used GIMP for bitmap resizing, scaling and
compression while building this website. Also all screenshots for this week
assignment was edited using GIMP. I can
say that GIMP is a really great opensource software that could be compared to
PhotoShop. |