Week 3: Computer-Controlled Cutting
Having already had some experience designing for and outputting to the vinyl cutter, what ended up being the time-consuming piece for this part of the assignment was deciding what I was going to design/make. When Shawn emailed the link to Fab Lab Japan's "Fab Font", I decided that I would use that fun typeface to do something text-related.
My school (where I teach) just adopted three broad "school rules" this year: Safety, Respect, and Responsibility. I thought that rather than pin-up the tabloid-sized posters the school was offering classrooms I would instead make large black vinyl decals of the rules for my wall.
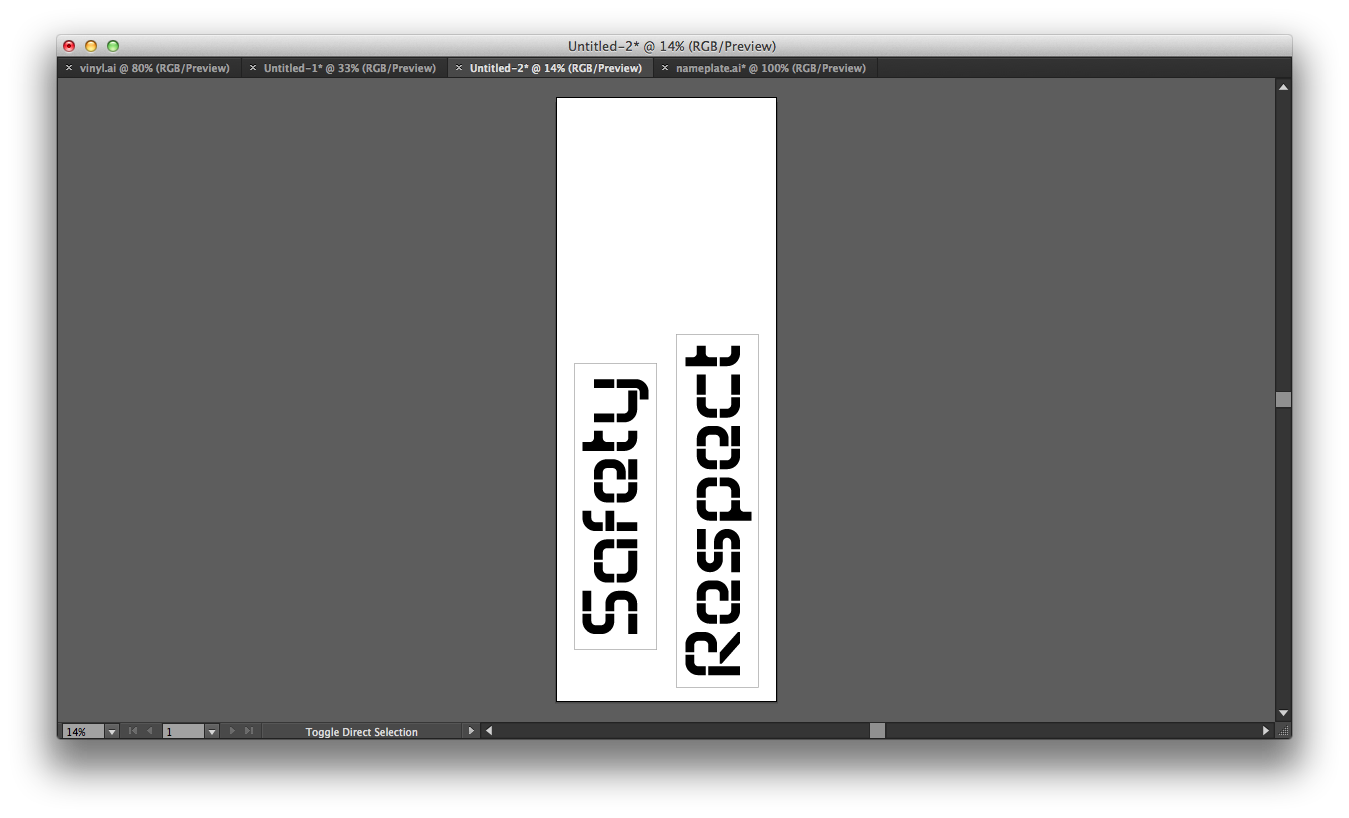
Aside from looking pretty cool, the Fab Font was particularly great because it required no weeding!
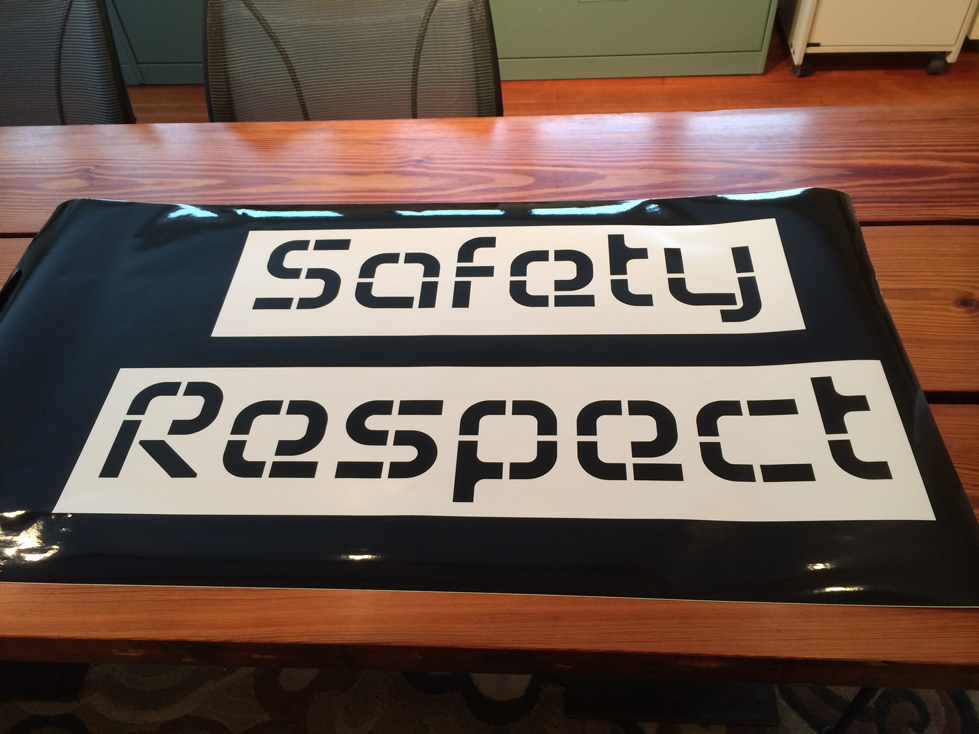
Backing paper was required to transfer the vinyl to the wall.

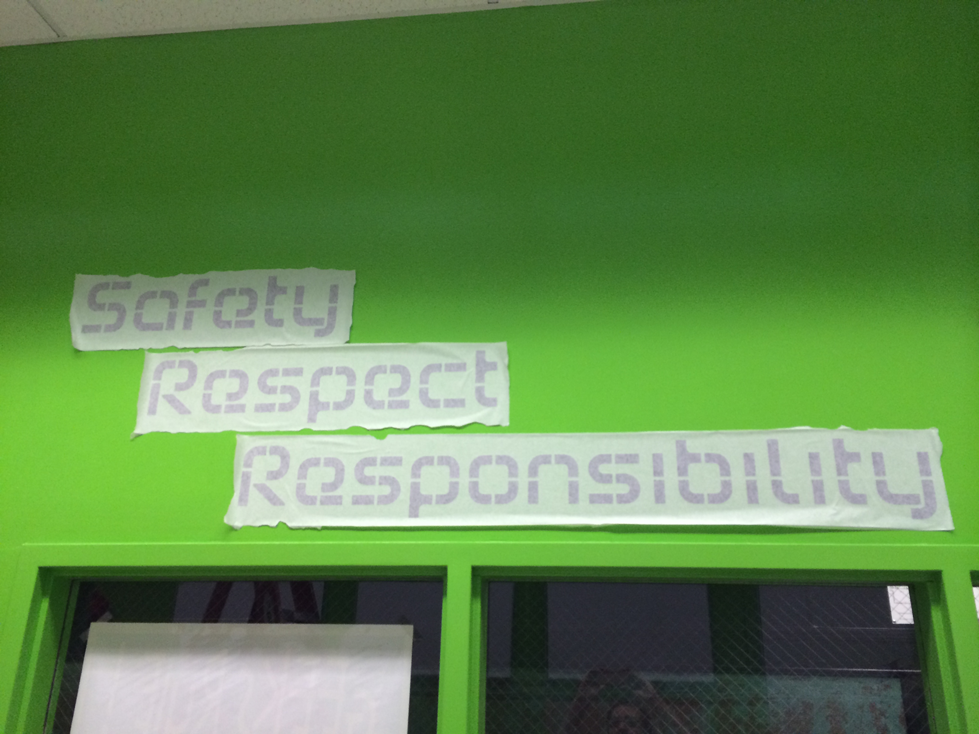
Yes, my classroom is lime green.

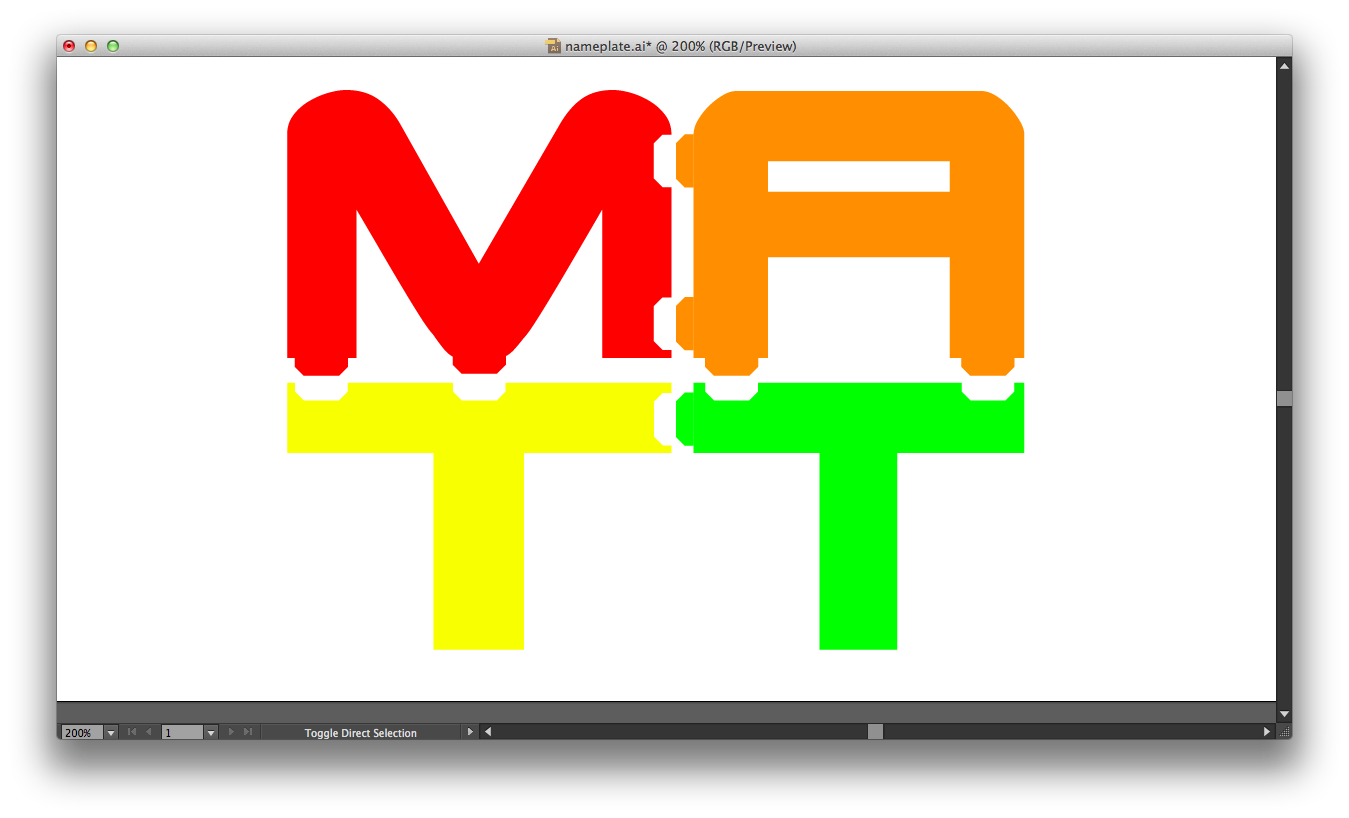
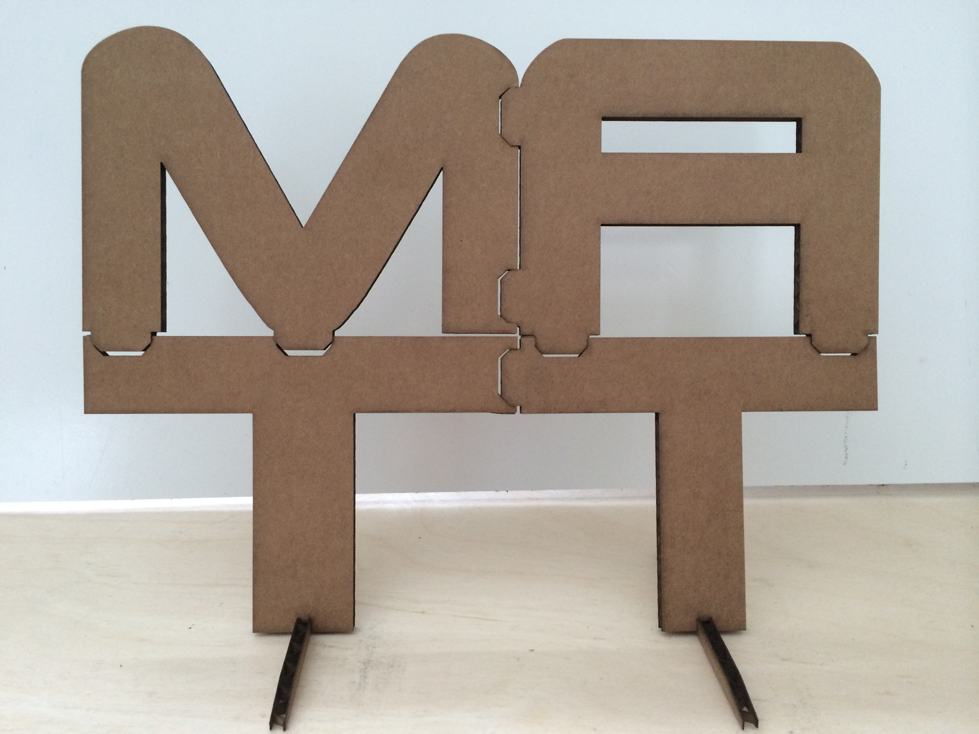
As for the laser-cutting portion of the assignment, I thought that I would start simply and create a stand-up "nameplate" for my desk. I started with a basic text-based design in Illustrator, originally with my full name but then shortened to just my first in the interest of simplicity.
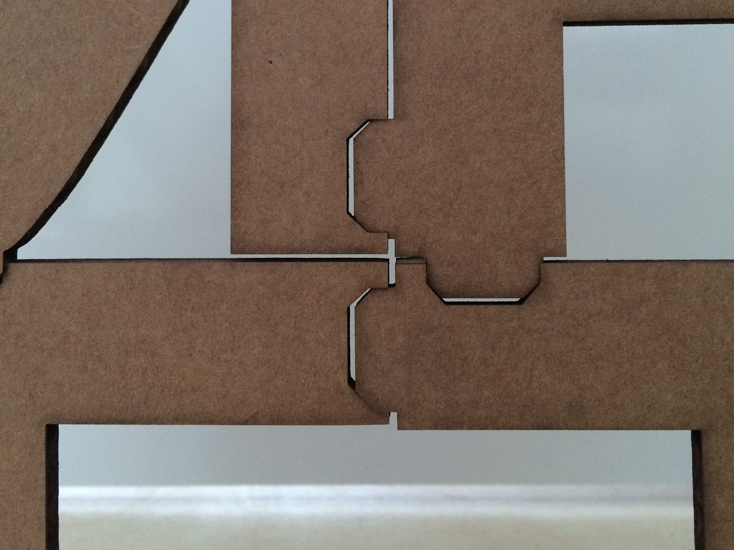
I colored each letter differently so I could better distinguish between the interlocking letters/parts. I created the tabs by first creating a small rectangular shape and chamfering the edges. I duplicated the tab and placed them on the letters, aligned opposite one another.
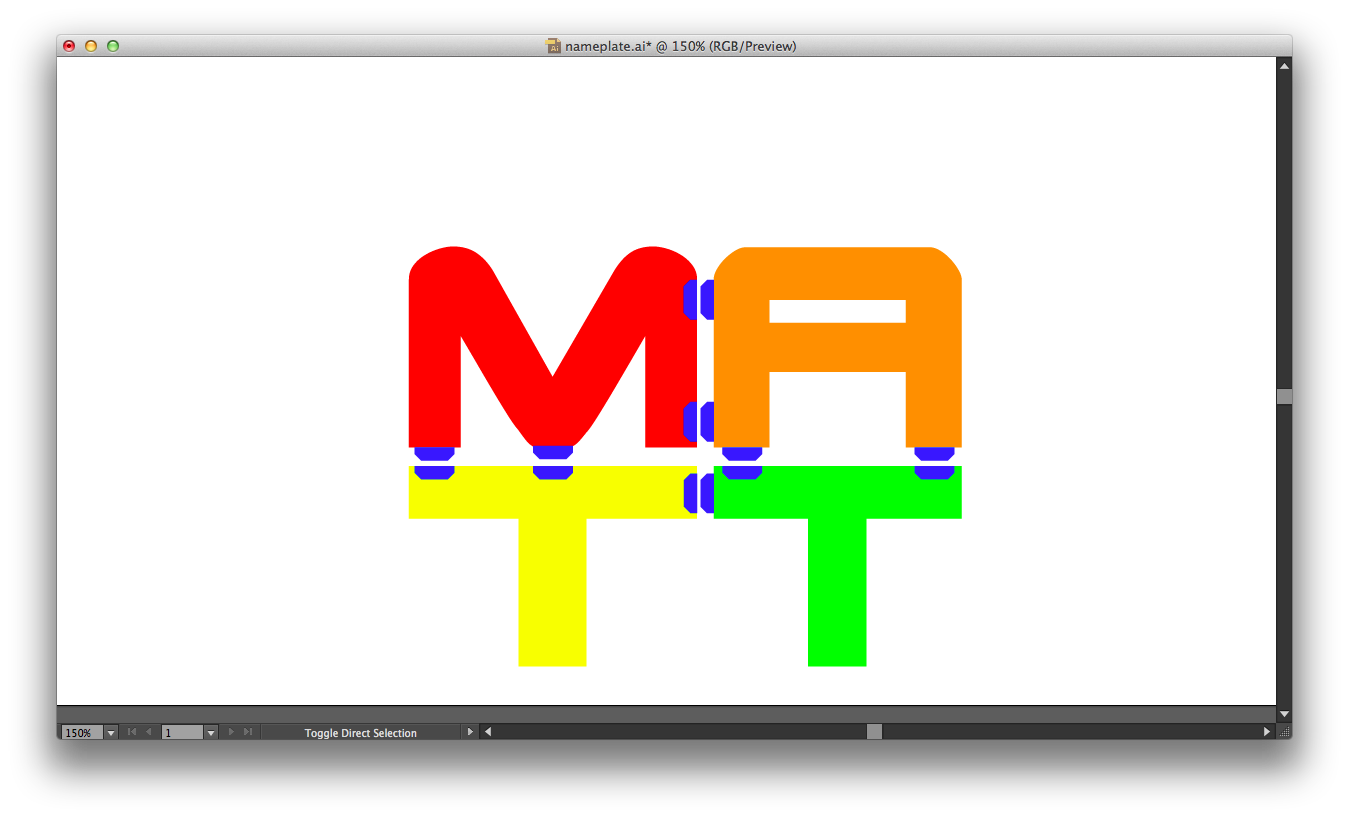
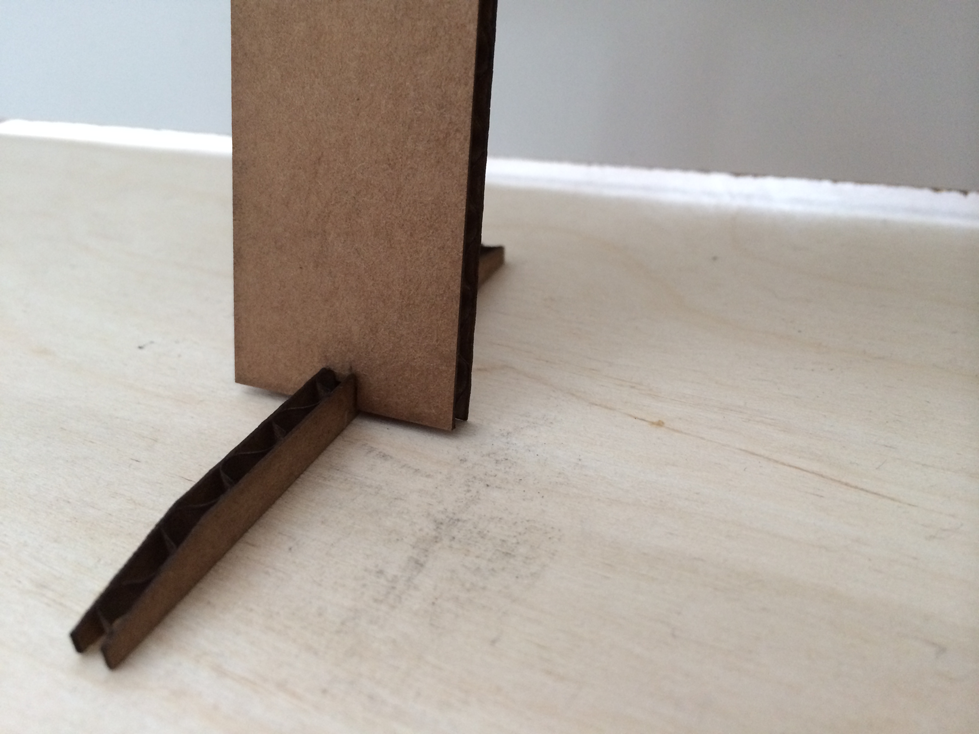
Next I created stand structures so the model would stand upright.
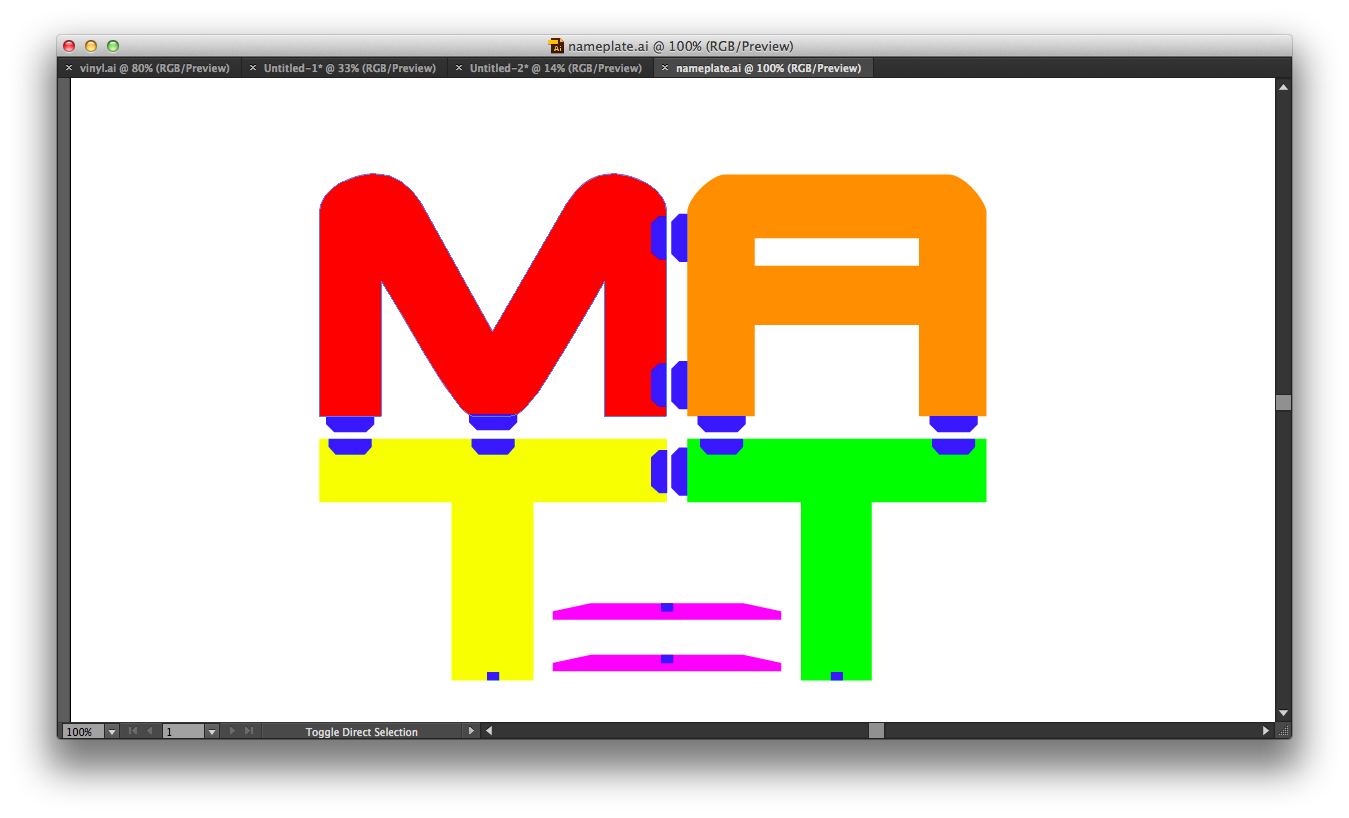
Once the tabs were in place, I used Illustrator's pathfinder tools to subtract the receptacles and unite the tabs.
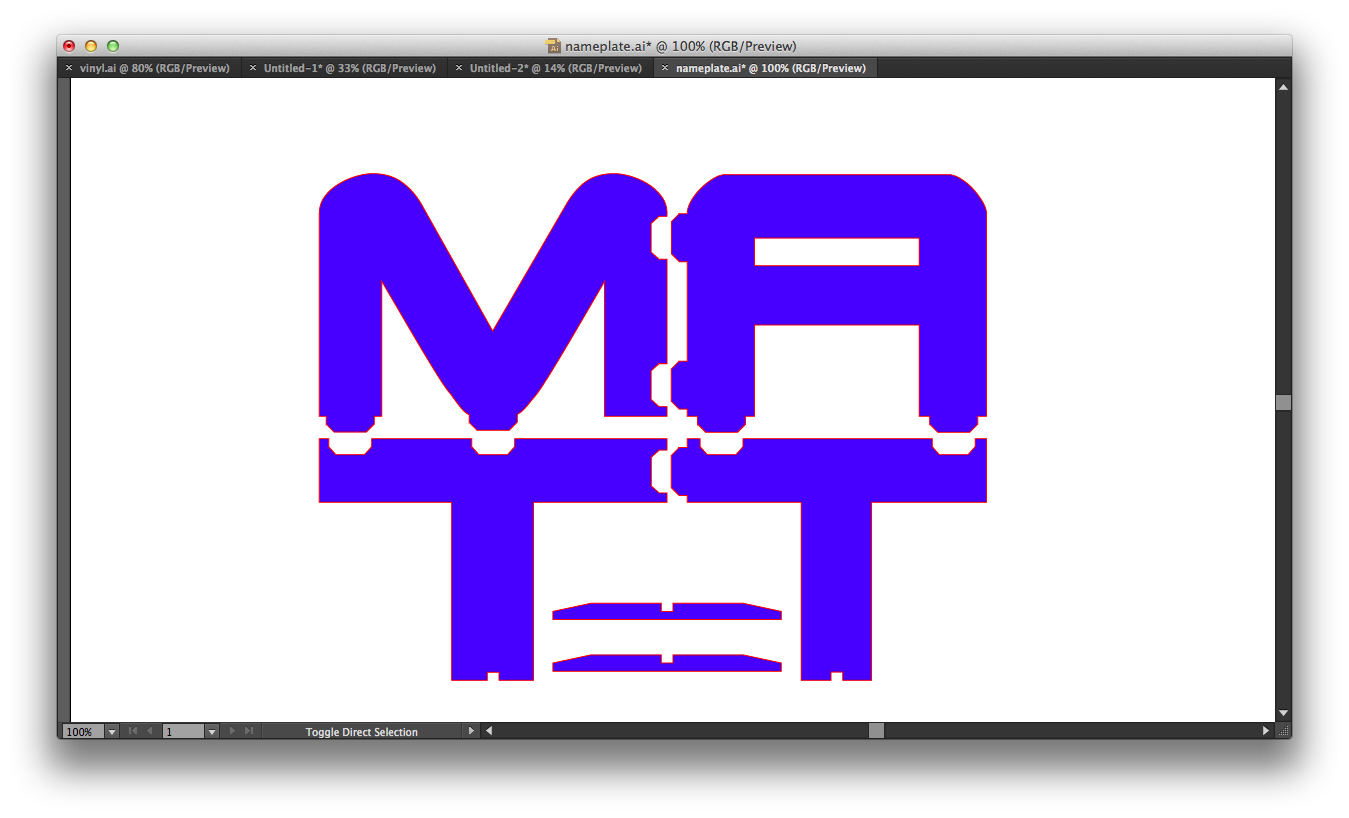
For the last step of the design process, I uniformly set the fill color of all the pieces (blue) and added a red hairline border.
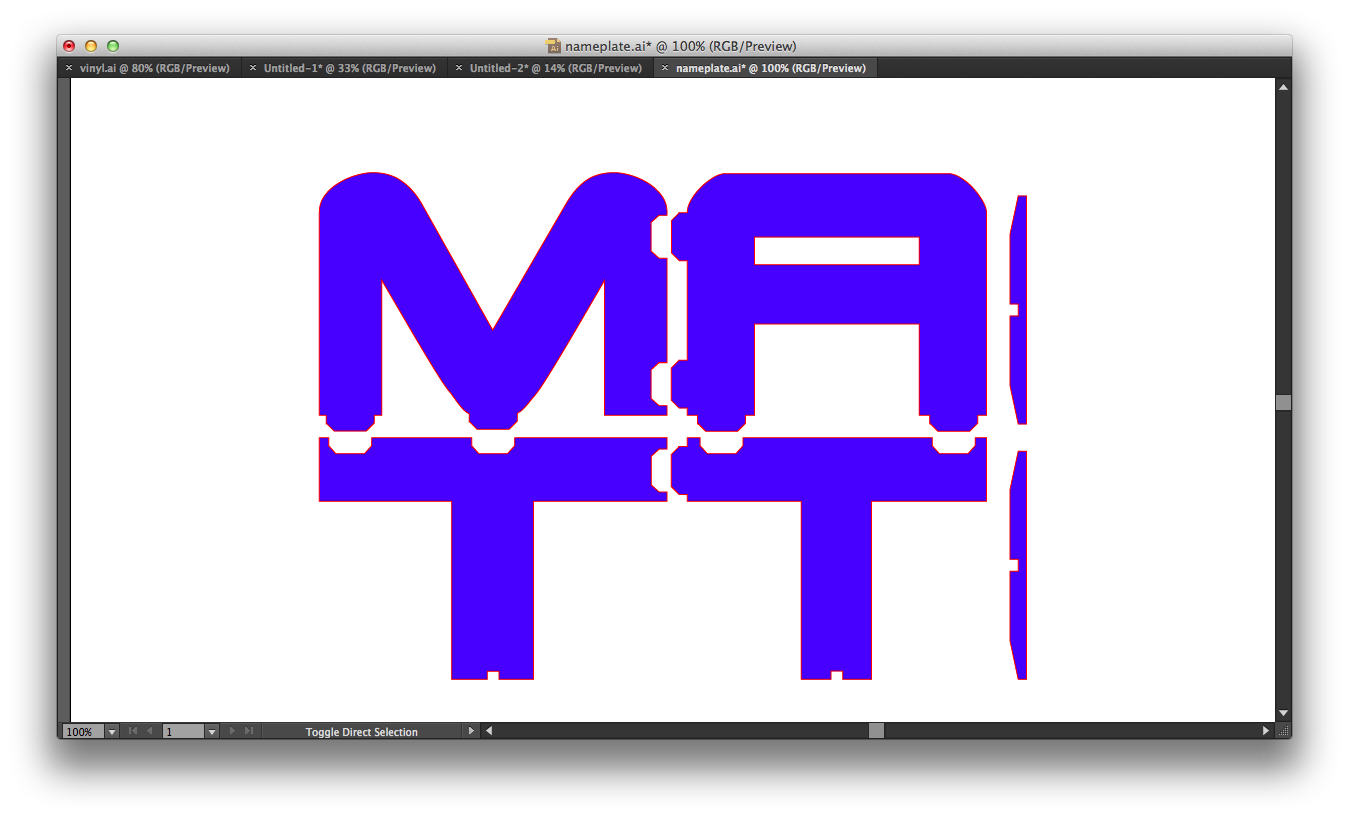
I had to make a slight adjustment in the printing layout--the stand pieces were narrow enough that they fit precisely between the folds in the cardboard and were being sliced apart. Rotating them 90 degrees resolved the issue.
The trickiest part of this assignment was getting the tabs sized properly so they would fit snugly. I went through five iterations of sizing, printing, and resizing:
- Δ 0.0009 in.
- Δ 0.0079 in.
- Δ 0.0179 in.
- Δ 0.0279 in.
- Δ 0.0379 in.
I seemed to find the "sweet spot" between the fourth and fifth iterations, though I ultimately kept with the 0.0379 in. difference (smaller receptacle) as I had already used quite a bit of cardboard by that point. The downside is that the tabs did not fit as perfectly as I would have liked, though they did fit tightly enough to keep the pieces together when stood upright.
Goals
- Create a vinyl cutout using the vinyl cutter
- Create a press-fit cardboard model using the laser cutter
- Post artifacts and reflections to personal class website
Explorations
- Used Adobe Illustrator to create a graphic design with the intent to output to the vinyl cutter
- Cut the graphic design using the vinyl cutter and, using backing paper, transferred the final pieces to my classroom wall
- Used Adobe Illustrator to create a press-fit design with the intent to output to the laser cutter
- Printed, tweaked, and reprinted the design several times until the tab measurements fit snugly together
- Updated personal class website to reflect this week's work
Learning Outcomes
- "Measure twice, cut once" does not apply (or is easily disregarded) when using the laser cutter
- When laser-cutting cardboard, pay attention to the grooves and seams and how cut pieces might be affected by their placement