3D Scanning and Printing Assignment
Week of February 24, 2014:
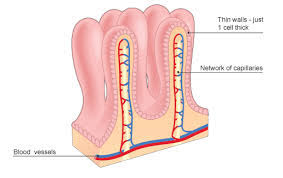
The goals for the week are to design an object and 3D print
it, and 3D scan an object. Directions include "keep it
small" which I appreciate. My intent is to model the villi
of the small intestine. |
|
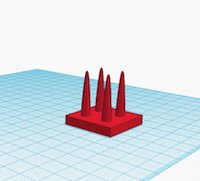
1. Shawn pointed me in the direction of Tinkercad and,
after watching a Youtube tutorial on the basics of
Tinkercad, I employed the cube and paraboloid shapes to
fashion four villi. I also found a pdf http://www.3dvinci.net/PDFs/GettingStartedInTinkercad.pdf
which I believe will be very useful for my 7th grade
students.

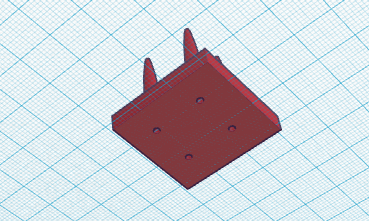
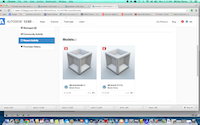
2. I used the hole tool and Group command to created a space
within each villus. Here is the finished Tinkercad product:
|
|
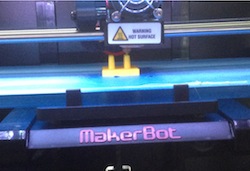
3. On to the Haystack Fab Lab - I pulled up my design,
created and downloaded the STL, opened it with Makerware,
hit "Make"and brought the card and the information across
the room to the 3D printer.
|
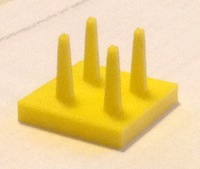
4. The resolution of the model was too fine, the wall
thicknesses were too small for the the printer to resolve at
the tips of the villi. However, I was still thrilled with my
first attempt.
|
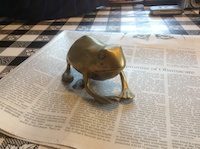
5. Without a 3D scanner at the Haystack Fab Lab, I began
to explore 123D Catch online. I took 20 pictures of my frog
object, uploaded them and waited. Although I am intrigued by
the process, my frog object was still processing after 36
hours.
|
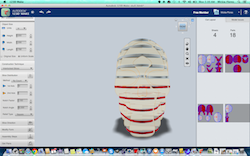
6. There was a cranium in the object file at 123D Catch.
I created an stl file of that. It's a start toward
understanding, and I certainly know much more than I did a
week ago.
Mickie Flores Home
|