To complete this assigment were used cardboard and acrilic materials that were cut by laser.
As for me, it was not difficult to use laser cutter. I have been making different projects before.
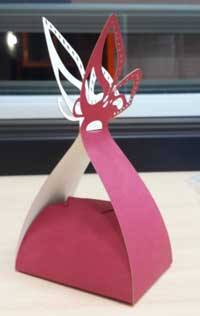
Here you can see some cardboard packaging. To asseble it, one need no glue. It´s a perfect representation of press-fit with a cardboard material.
Now, I will speak about process of fabrication. Firstly, it´s neccessary to design a packeging with any programm for computer-aided design. In this case, it was Rhinoceros.
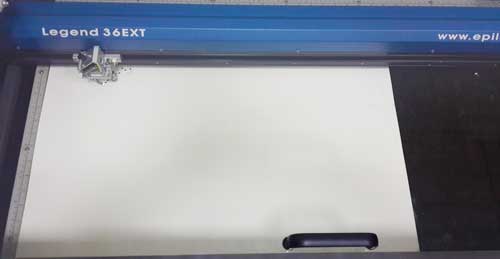
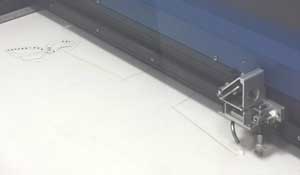
Then it´s important to set correcty all printing options for Epilog Laser Cutter.
First at all, you´ve got to check the unit settings, it´s better to have it in millimeters. Then you define the printing position on the laser field. Always remember that optimizing the cutting area, you save more material that may be used a little bit later. Pressing "options" button, you will communicate to the laser machine what material is to be cut and what characteristics it has. For example, for cardboard that you can see on the pic, I set 100/40/500, which means speed cutting, power and frequency. Usually, when the material is thin (x<1mm), there is no need to waste time and electricity, just give it the highest speed possible.
VIDEO 1. Laser Cutting

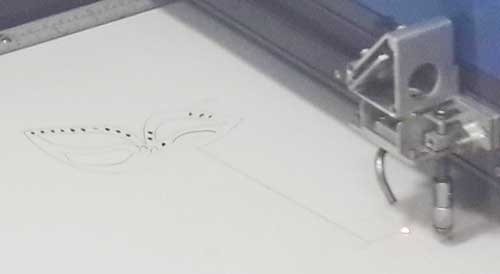
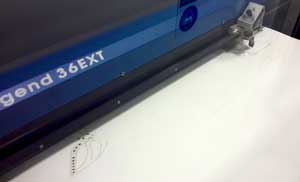
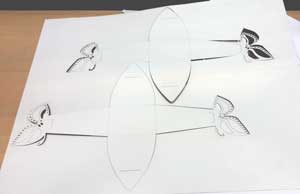
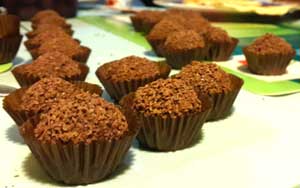
After the cutting proces, we´ve got this result. If all the options are chosen correctly, the cardboard will not be burned and the packaging is easy to take out. The "butterfly pack" is completly my own design and the other one "luggage pack" I searched by the internet. The press-fit unions of butterfly pack are sufficiently strong to support like 72 grams of truffles.
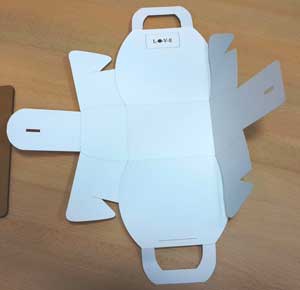
When assebled all parts and fit all the unions, we´ve got this result.

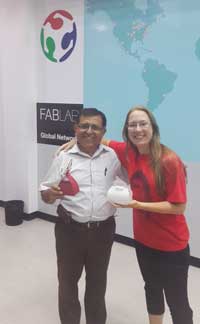 Here he is, our professor Roberto from Fablab Tecsup, approving the functionality of packeging.
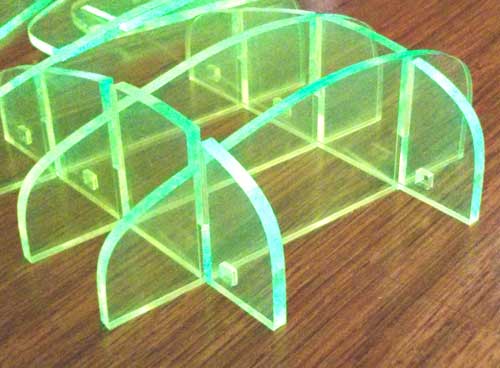
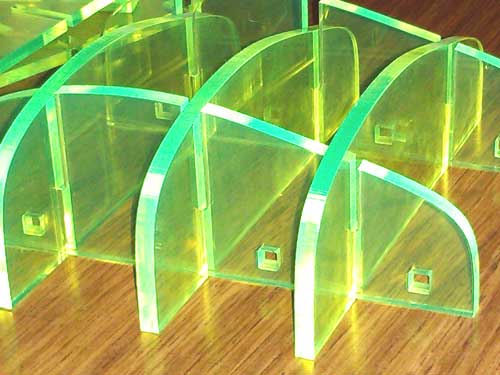
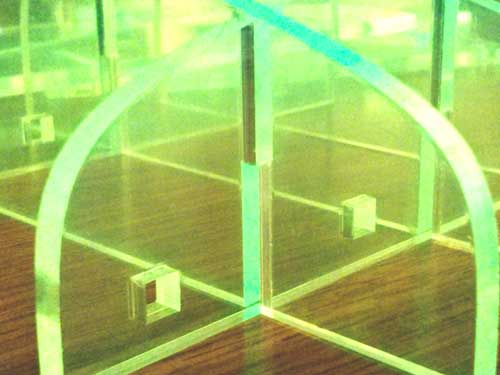
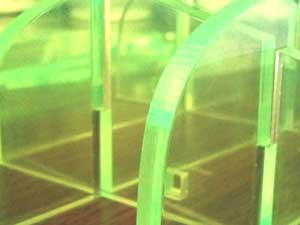
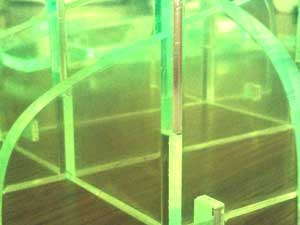
As I said before, I used two materials. As for acrilic, I have never used it. Be careful, cutting this material. The thing is that the acrilic warms too much and depending on its thickness, makes desappear like a 1 mm of initial planned figure. Surely these two projects are not connected with my main objective - intelligent clothing. What I obtain from this work is to learn how to use different material. Thinking about this, I decided to design a simple organized kit for sensors, leds, little wire and other stuff that I will need for my project. Such as for my project, I´ll use acrilic to make some signs (lights) on the back of T-shirt or a jacket to demonstrate at what direction will turn this person at the next moment, whether walking, jogging or cycling. But the creation of these signs does not imply any press-fit construction. That´s why I did not iclude into this page.
This kit I´ll put in my case and it will act such as a divider.
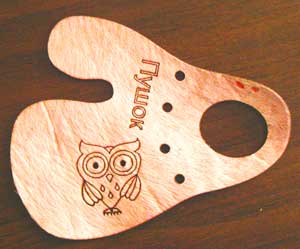
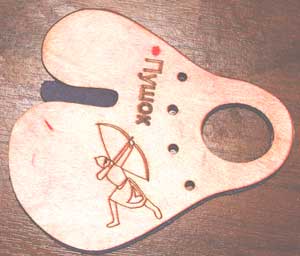
What about raster functions of laser machine? As I have been practicing archery for two years, I had a neccesity of personal designed hand protector for me. To apply vestor and raster techniques together, I made some hand protectors for archery. It´s a perfect demonstration of diverse usage of laser options. As you can see, the main piece is cut with low speed (12) and high power (80); the images and title are drawn with high speed (90) and low power (15). I wanted to use raster option but it always takes more time. For raster you´ve got to set the line thickness and power of laser cut. All the drawing I made using Illustrator and then imported them to Rhinoceros.
Conclusions
As far as I understood the main objective of this assigment is to show us what materials and machines for digital fabrication exist on the market, their pro and cons and to make help us when chosing materials for out final project. Well, the materials I experimented with are: different cardboard, the acrilic and the leather.
The cardboard certainly has such a called "paper memory" that is applied in origamy art. That´s why any bend of the cardboard is memorized. I mean that not all lines of packing is continious, some lines are dotted to help me bend all the neccessary parts of the pack. Once you bend the cardboard, it will always tend to bend in that direction. Obviously it helps to maitaing the requiered position of all pack´s parts. That´s why the press-fit unions are strong and safe when well-designed. The cardboard piece that enter the slash has got to be 2 mm wider that the slash size. So, this permits to obtain good unit characteristics. What about acrilic. For 5mm acrilic units you´ve got to subtract 0.5mm while drawing in Rhinoceros or other programm. It´s essential to reach the press-fit effect. I mean secure assembling between all pieces.