 Image 1.
During this week I was investigating about the usage of different programs mentioned in the fab academy list. In my opinion the most useful are: Photoshop, Illustrator, Rhinoceros, Solidworks, 3D Max and Inventor. There are a lot of well organized tutorials. As far as I am investigating about intelligent clothes, this week I designed some images with the help of illustrator and photoshop. Some of these pictures will be printed on the clothes I will design. Obviously, their main function is to hide the semiconductor steel strings. Online programs like 123D Autocad Design are free on the internet and permit you to create some basic forms. This one is not so useful for 3D designing. Rhinoceros gives much more possibilities and design options.
INSKAPE
Image 1.
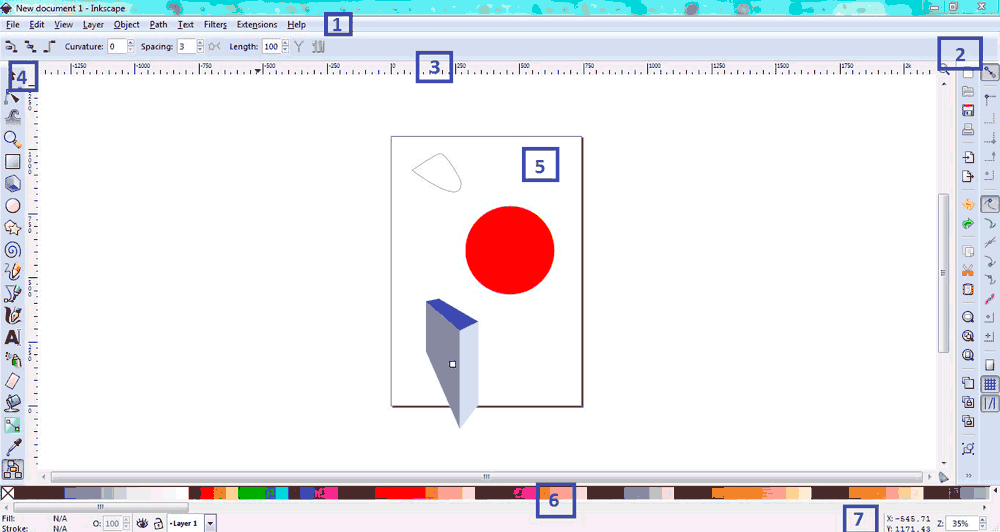
Inskape is the graphic redactor, which is comfortable for artistic objectives and for technical illustrations. The interface of Inskape is user friendly and consists of comfortable working panel:
1) Main menu;
2) Panel of instruments
3) Marking, ruler and net settings;
4) Window of instruments;
5) Canvas;
6) Palette;
7) Line.
ILLUSTRATOR MODELLING
Intelligent clothes needs printed images. The first funcion is to make its owner feel attractive, the second is to hide steel strings semiconductors. The more easiest way for me is to design it with the help of illustrator. Why not inskape or FreeCad? Obviously, inskape is more comfortable because of its ruler that permits you to manipulate quickly with dimensions. But the interface organization of illustrator is better. You´ve got all the instruments in front of you on the left side. Basically, I don´t see a lot of differences between mentioned programms because if you know how to use one, it will be easy for you to get to know how is working another CAD programm.
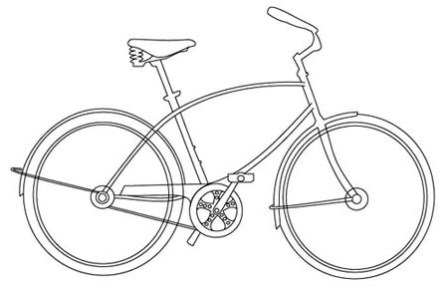
 Image 1 and 2
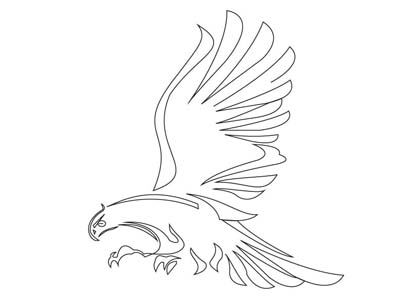
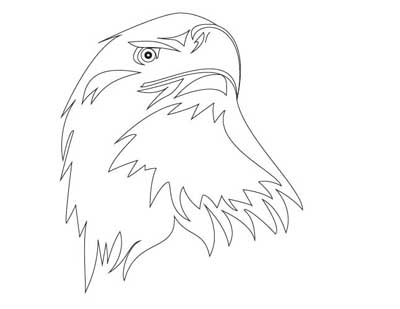

Image 3, 4 and 5
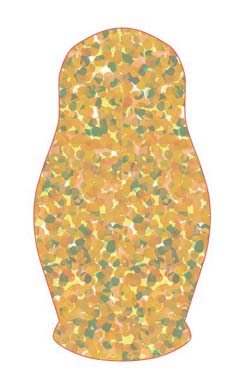

Image 6 and 7.
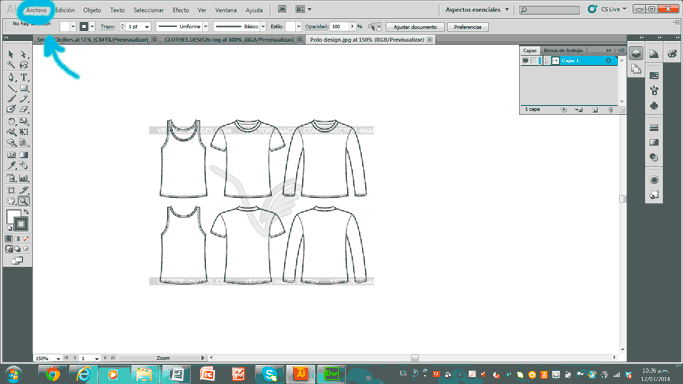 |
If you wish to copy any design, insert the image by opening the folder. Push "File", "Open" and insert the image. Then you can use the instruments on the left side of the screen. For more information, check the Tutorial "Illustrator". |
|---|
RHINOCEROS

Image 8.
This program is easy to use. All buttons are logically distributed. If you wish to make a 2D modeling, just work is “Front” mode. But for 3D, you have to work in all dimensions. Using Ctrl+Z, you can undo any action. Shift allows you to maintain straight any line.
The window of Rhinoceros consists of:
1) the working panel below that allows you to link points or lines, showing you the middle, the end or centre of any object;
2) on the left you got lots of instruments, such as line types, scale and surface options, trim, curve options, group objects, ungroup objects, mirror options, copy options, etc;
3) Work menu, which helps you to write commands, set dimensions and modify settings of chosen instrument;
4) Main menu, includes all options of left panel;
5) Instrument panel, which varies according to the mode you are using;
6) Mode options, like Standard instruments, Cplans (3D options), Setview (permites to visualize you project, Display (rendering settings), Select (select options according to the type of the object), view layout (comfortable options for 3D visualizing: front, perspective, right, top), with visibility you can hide objects to make possible work one by one, Transform refers to all that is copy object and symmetry, Curve and Surface tools permits you to modify the curve according to the necessity;
7) Window of projection: front, prespective, right and top;
2D MODELLING
For packing design I have chosen Rhinoceros because, in the moment when you draw a line, you give it any size by introducing any number on your keyboar. That numer appears in the command line. You also have several option for line design located on the right where layers. To create these packing of cardboard that I will use for truffles and cupcakes, first of all I checked the unit setting. It is recommended to work with millimiters. Then I draw one half of packing and used Mirror instrument for precise result. The dotted lines help to bend the paper.
The first packing that you see on the image 8, I searched by the internet, but the rest of the things I designed and proved that its is functioning. The image 11 represents a copybook design. And the destiny of the last one, the "Owl" is to be printed on the intelligent clothes.
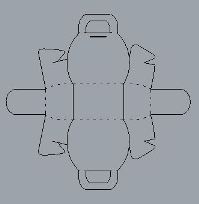
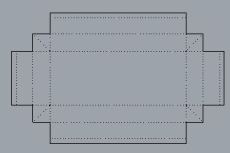 Image 9 and 10.
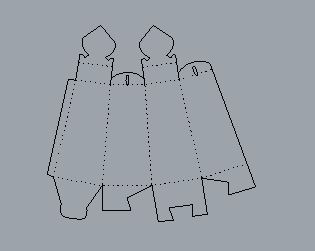
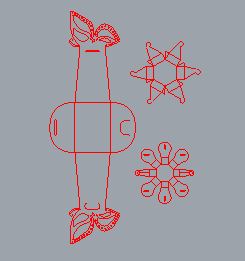 Image 10 and 11.
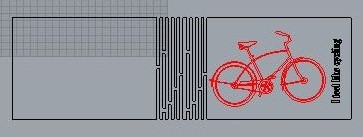 Image 12.
3D MODELLING
|
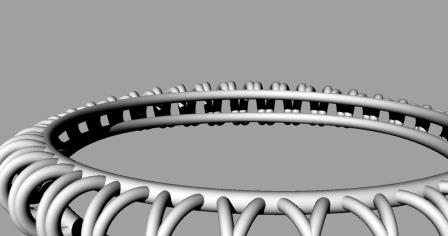
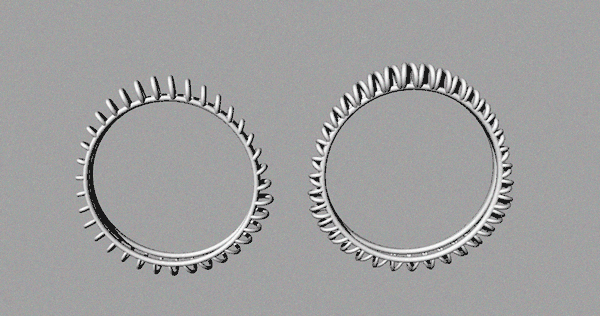
I have never used 3D Rhinoceros modelling before. I created this ring, following a tutorial (image 13,14 and 15).
To reach this result, you have to create 3 circles or another shape made of arcs (situated on the left panel) with diameter of 17.5 millimeters. First of all, you have to draw a circle in “front” mode and to give some thickness, drawing around the circle any shape. Then in “right” mode draw 2 vertical arcs that will locate two circles beside the first circle. After that, we divide all the circles into 36 points, which are supposed to be united by 36 pipes with different diameter from 1.1 till 0.70 millimeters. That´s all! You´ve got your ring! For the best visualization, we press the button "render view" on the control menu. Image 13, 14 and 15. |
|---|
3D MAX
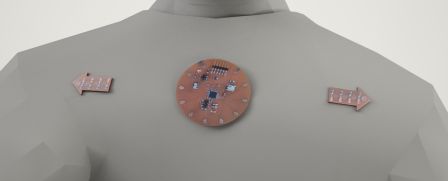 |
Using the 3D MAX I designed the boards of the Final project |
 |
Here you can see th Battery 9V |
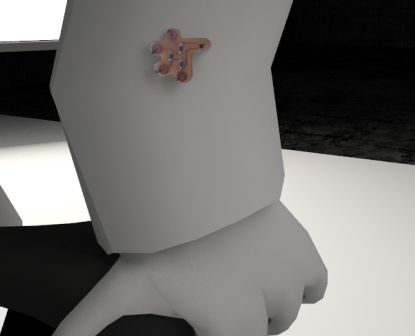 |
This is the temperature sensor |
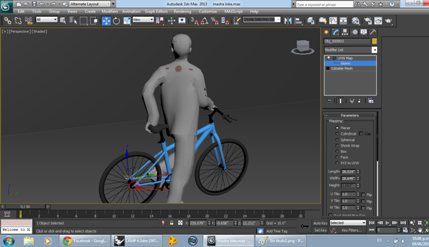 |
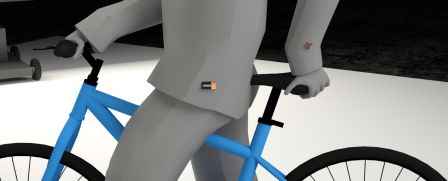
This is the jacket for Bikers |
SolidWorks
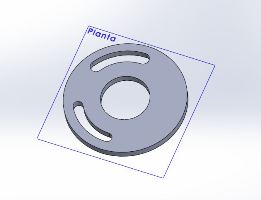
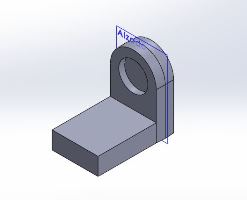
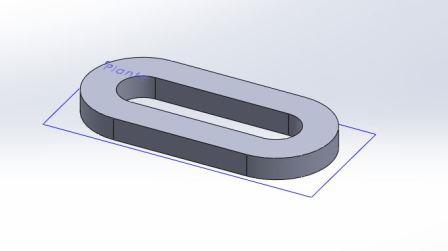
This program is really easy to use if you are designing some solid parametrical mechanical components. Allows complete association between solid elements. It helps you to reach the precise result while building any mechanical component and check the union between elements. There are lots of ways to construct the same model. The more you know this programm, more creative and fast you can become, designing things.
Audio and Video Edit
The programms I always used to edit videos and compound them, are Realplayer, VLC, and FuguFilms. Reading about Kdenlive I made a conclusion that it is a great example of free software that is passing constant renovation. I downloaded Audacity that supports WAV or AIFF. I´ll convert my audio with the help of online-convert.com. I still did not need to use these audio instruments. I would like to record a video for the next assigment - controller cutting, using a background music. There I will explain how to use laser machine. For this moment I dod not know what I could record.