Fab Academy 2014
 Here comes the tough stuff. This week we were
asked to make a FabISP (in system programmer). I have zero experience in electronics production, and had heard from several people that this is the
week where students start to have trouble completing their assignment, so I was a little nervous going in. However... it turned out to be not so bad.
In fact, pretty awesome. The only real downside is because I was so psyched out by the soldering, I didn't take as many pictures in process so my photos
are a bit lacking this week. Although I' still just beginning to understand all the details involved in this process, this was a great opportunity
for me to start learning about soldering and milling boards and I now feel confident enough to get going on my arduinome project, which is wonderful
since I have been stalling for a while on that.
Here comes the tough stuff. This week we were
asked to make a FabISP (in system programmer). I have zero experience in electronics production, and had heard from several people that this is the
week where students start to have trouble completing their assignment, so I was a little nervous going in. However... it turned out to be not so bad.
In fact, pretty awesome. The only real downside is because I was so psyched out by the soldering, I didn't take as many pictures in process so my photos
are a bit lacking this week. Although I' still just beginning to understand all the details involved in this process, this was a great opportunity
for me to start learning about soldering and milling boards and I now feel confident enough to get going on my arduinome project, which is wonderful
since I have been stalling for a while on that.
Class started out with an overview of the process from Shawn and some details about how the electronic components send and receive high/low signals to create digital commands. I was mostly silently panicking about soldering, but I let the words of wisdom wash over me like a cool breeze.

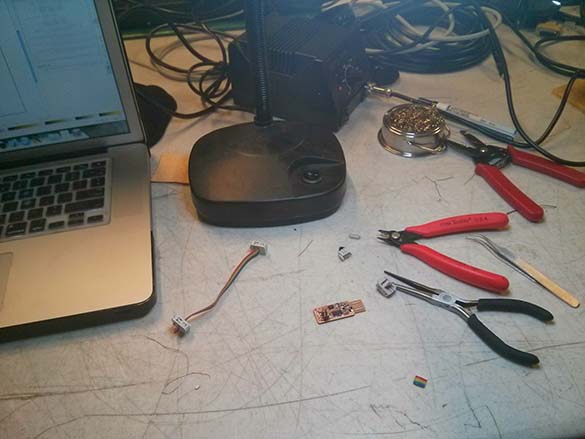
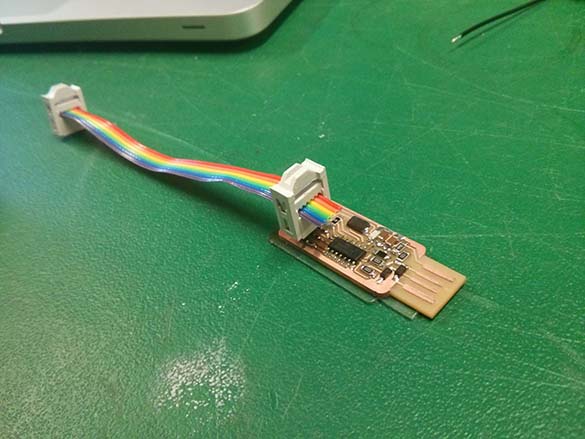
Step 1 was milling out boards on the modela. I was part of a faction that decided to try milling Andy's version of the FabISP, which doesn't have a USB header, but just slides right into the computer. I liked the sleek design, but we had to wait for a batch of the regular FabISP's to get milled which meant the first class ended up being mostly waiting and watching.
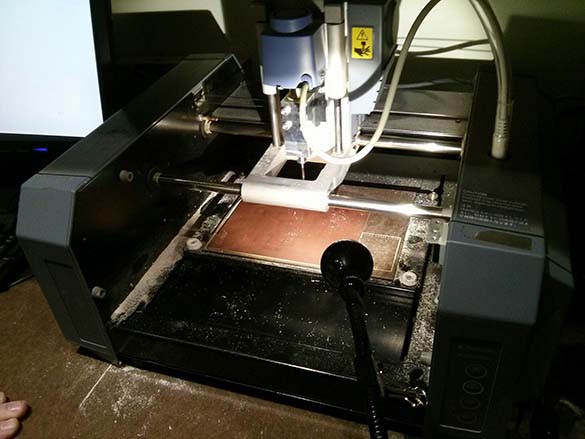
I've used a modela before in Egypt (and actually seen students making FabISPs as a starting project), but I didn't know the detailed procedure for changing the bit or which bits to use for tracing versus milling (1/64" vs 1/32").
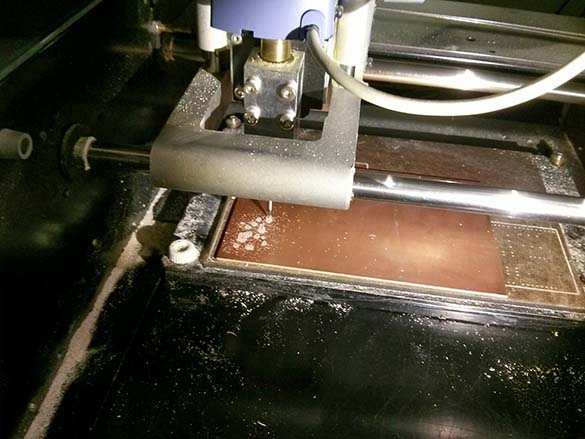
I kept a log of our x,y positions on the computer and we milled 6-8 boards per pass so we could have some backups in case we messed up the soldering. Shawn showed a good technique for changing the bit and zeroing the z axis:
- set the modela to view mode
- move to a part of the board where you wont' drop on top of anything (using the x/y control in the Fab modules)
- change out the bit by loosening the collet set screw and replacing with a new bit (don't over tighten)
- lower the bit using the on board controls
- gauge the distance using the shadow of the bit on the board, then loosen the collet just enough for the bit to drop and touch the board
- Boom! You've got yourself a nice zeroed bit. Tighten that up.
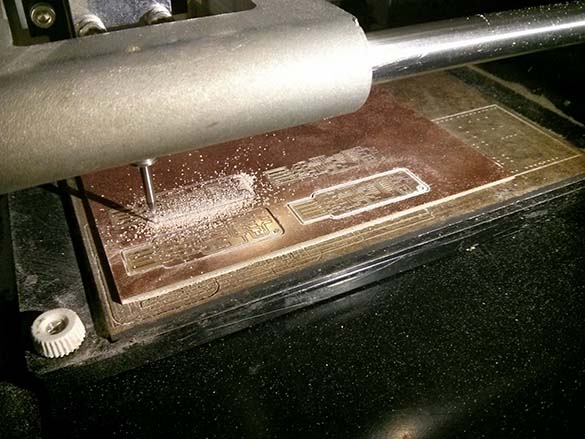
Our first attempt seemed to leave some tiny bits of copper between traces. We increased the number of paths, and some students tried decreasing the z on the Fab modules to increase the cut depth. Varying success here, and we eventually just had to remove little bits with an exacto knife afterwards. Good lesson in post-production board editing I guess.
The soldering actually went very smoothly. Thanks to some helpful classmates and a dose of confidence I got everything on and tested with a multimeter. Keeping my tip very clean seemed to help a lot, and it seemed like over time that became more difficult so I actually switched soldering irons halfway through. I also found that sometimes the solder seemed to stick to my iron more than anything else, which turned out to be pretty helpful (particularly for getting the AT-Tiny44 in place. Flux seemed to help sometimes, whereas other times it seemed like my board was just getting burned trying to use it.
Our design required a shim for a snug fit in my laptop, so I laser cut a batch of shims using some thing acrylic. This seemed to work well, although for the time being it's left unattached to the FabISP itself. After testing the FabISP with Shawn, I cut out a cable for it, and tried programming an Arduino.
Although the device powered up corrected and got through avrdude with no problems, it did not reprogram the arduino. As Shawn suspected, this was a hardware issue and turned out to be caused by reversed transistors. Shawn corrected the tutorial document, and it seems like with this change everything is working properly.