Fab Academy 2014
This week was a little disjointed for me, as I had to travel to Philadelphia for a work commitment. This meant that I had one day of class to
plan with no materials, then a week long break, then a day with materials (but no Shawn!). I'll document the whole process in order to be
thorough, although it ended up being fairly disjointed. For starters, Shawn had mentioned that the design files for the entire Herman Mille chair collection
is available online. This is a
great resource for all kinds of Fab projects, but I thought it would be super cool to make a chair and use one of my old Boogie Down bots
shirts as the top layer of a composite for the back rest or bottom. The 'Eames Dining - Wood Legs' chair looked promising, so I started pulling
apart the models provided.
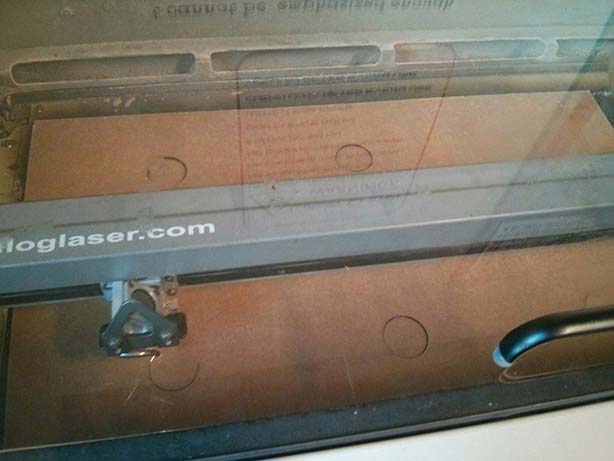
When I came into class the next week, I imported my work into Cut3D, the software used to make 3D cuts with the ShopBot. However, I realized that I should check the vacuum bag to make sure my part would fit first. Turns out, there was no vacuum bag. It had ripped last week, and everyone had just been making their own per project. This seemed like it could get tricky. Next, we considered using one of the existing chairs in class as a base and doing a wet layup directly on the chair. However, this also seemed overly complicated and I was a bit concerned that I might be over-reaching for a first attempt. However, one of my classmates had brought some beers for everyone to celebrate Patriot's day and the Boston marathon... and that's when inspiration struck. I was really struck with the folds of the fabric in a classmates work with burlap draped over a ball, and I thought I could make a great beverage holder using just burlap fastened around bottles.
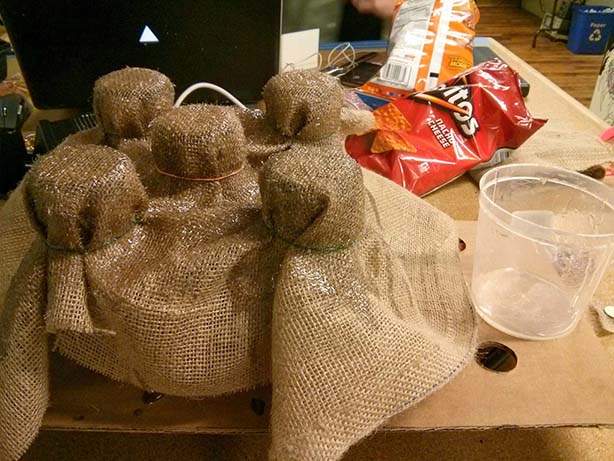
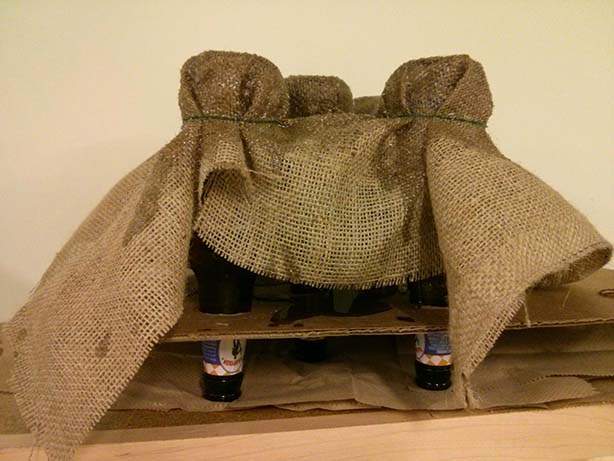
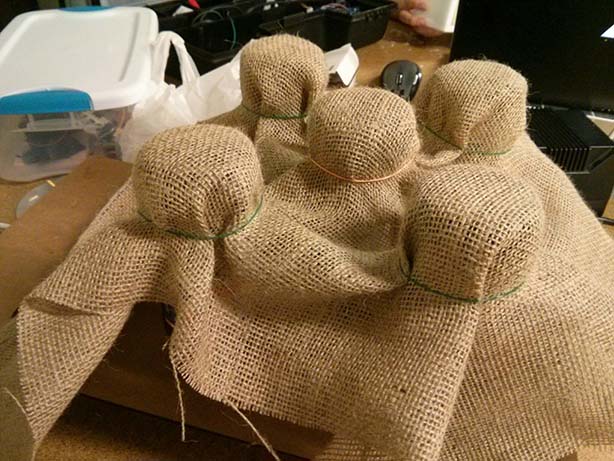
I got started by cutting a jig out of cardboard for 6 bottles, but then realized that I had spaced them too far apart, so modified the design to work with just five.

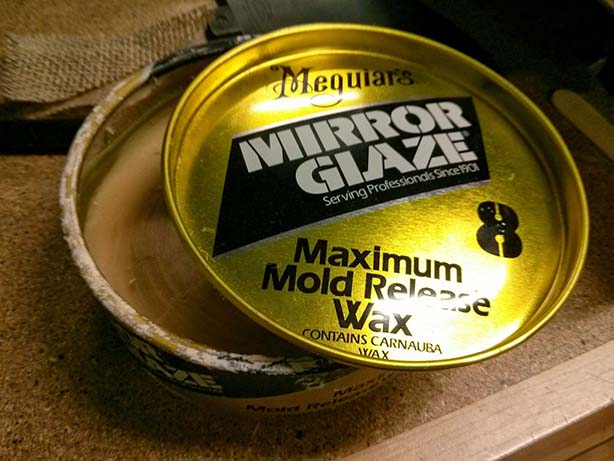
Next I coated the bottom of the bottles with mold release wax using a tongue depressor to apply it.

The burlap wouldn't form around the bottles tightly enough with just gravity, so I grabbed some rubber bands to fix it in place. Nick warned me that they would be stuck in the composite (he had tried the same thing with a zip tie), but that was OK with me and adds a touch of color. In retrospect I should have precut the handles in the burlap to make this an easy bag assembly.
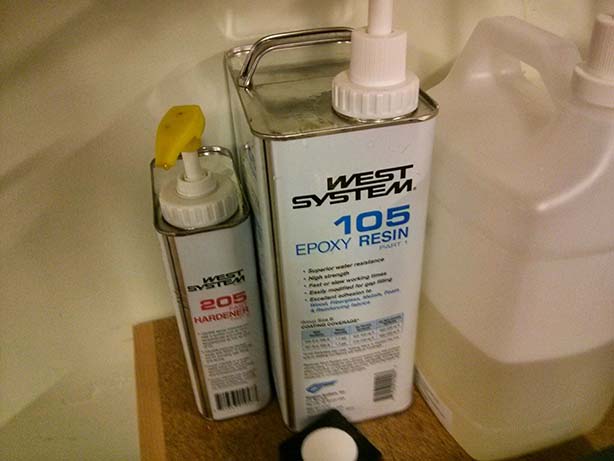
Next I mixed up a batch of the epoxy and hardener (5 to 1 ratio here).