3D scanning and printing (Feb 20)
Assignment
* 3D scan an object
- extra credit: make the scanner
* design and 3D print an object (small, few cm)
- extra credit: edit and print an object that you scanned
3D scan an object
This week the class has divided into several working groups to learn different 3d scanning techniques. There were several options to scan an object: laserScanner,123DCatch,structured light with a projector, milk scanner. Juan and me started with Autodesk 123d Catch, this is a program that uses some photos, minimum 30, to create a 3D model.
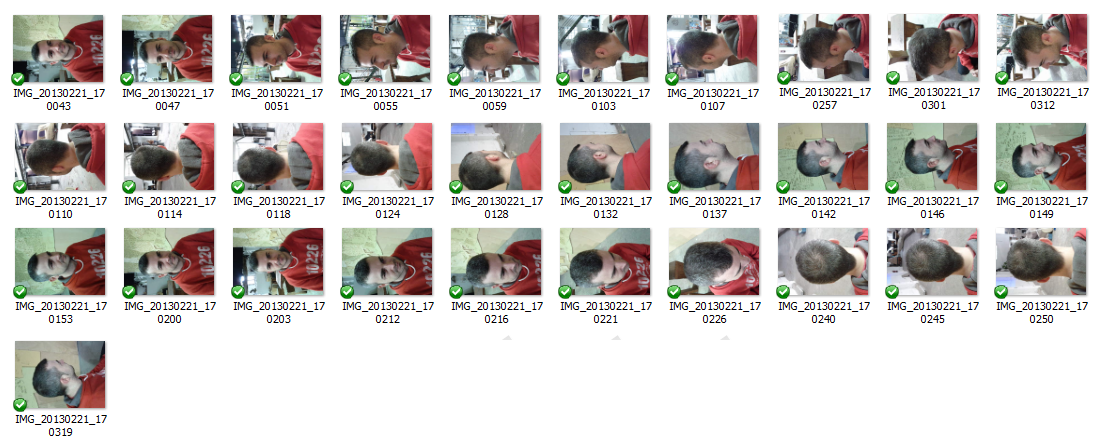
We conducted a first test, without any strategy to take photos. The aim was to verify the results with a minimum of required photos
Photos
Autodesk 123D catch
We obtained amazing results, the program was able to generate a model very close to reality with the minimum of photos we take.
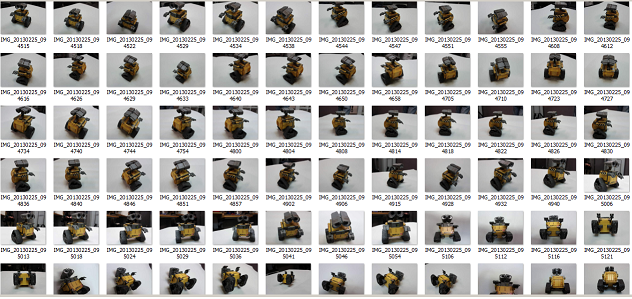
The second test we tried to find an object more complicated and take more photos.
Photos
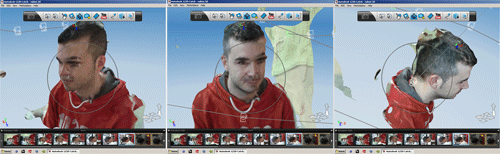
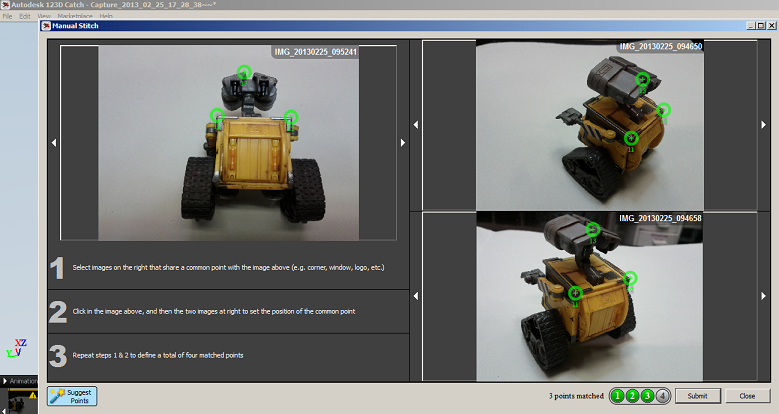
In this case, the results were not successful. The program did not detect patterns of fusion photos and asked us to create a common reference points.
After introducing several benchmarks, the result did not find it acceptable to print in 3D. This video shows the result obtained
This experience showed me that it's advisable to place the object in a background with clear references to facilitate the work of the program, points and lines in a white background with good light, for example. It is advisable to plan your shots
Planning your shoot