Fab Academy
Fab Academy |
Miguel Lourenco |
||||||||||||||||||||||||||||||
|
The molds will be cut in CNC milling (Roland MDX-20), using a small endmill for roughing cut and ball end mill for finishing. |
|
||||||||||||||||||||||||||||
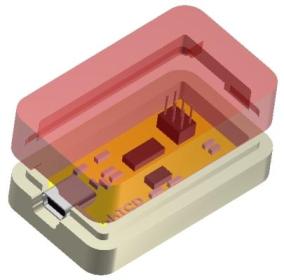
These are the molds for upper side box and bottom side box of ISP. they can be immediately saved as STL files. |
||||||||||||||||||||||||||||||
To saving time and tools, made two cutting paths. First one for rhough cutting and seconde for finishing action. Used two diferent milling tools.
|
||||||||||||||||||||||||||||||
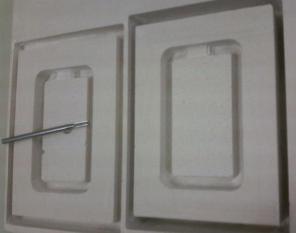
Finally I tried milling the molds using plaster solid blocks. |
||||||||||||||||||||||||||||||
Finally we have wax and casting stuffs.
Now, I choose to molding and casting car wheel caps (fab logo).
For a tridimensional part I need two molds. Again, I made two cutting paths.First one for rhough cutting and seconde for finishing action. Used two diferent milling tools.
Now I used Fab Modules and Modela to perform the necessary cutting operations.
Wax machining with Modela
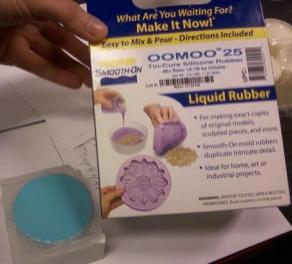
Used silicone liquid rubber (two components in porportions 50%+50%)
The four guide pins and holes must be greater than the picture shows, because I had some problems to align the two silicone molds together. The central hole is for insert the resin and the two other holes are for air goes out.
I mixed black aniline to the resine to obtain a color part.
Finally, I painted the casting part and applied it to the wheel.
|
||||||||||||||||||||||||||||||
|
||||||||||||||||||||||||||||||