Mechanical Design and Machine Design
This "week" we are to join our efforts to design and create a machine. The Stoughton team of Brad, Chris and I have decided to try to make a Drawbot similar to this Makelangelo Polargraph Art Robot:
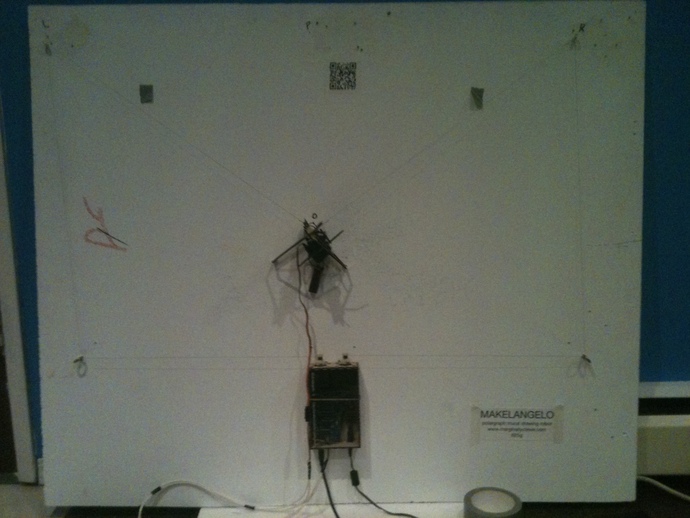
Each of us is taking a different section of the design and our current plan is to have Brad focus on the 3-D printed parts, Chris focus on the Arduino and I'll work on the motor board. Then we'll combine our efforts and hopefully draw some pretty pictures.
As of right now, the components that hold the pen and the Arduino are done (funny how thats everything but my part). The open source motor boards that we found were all pin-hole components so we are working on figuring out a solution so that we can fab our own board. More updates as we get closer.
Brad's Progress. Chris's Progress.
Update 5/10: So I have been working on the motor shield for the draw bot. A motor shield can be bought for roughly $20 but as this is fab academy, I of course decided to fab my own. While I initially thought this would be as simple as other projects, I soon realized that this would be a two sided board, something I have not done before and that carries with it an extra layer of complexity.
To begin with, I downloaded the Eagle Files from the Adafruit website. The schematic and board are shown below
:
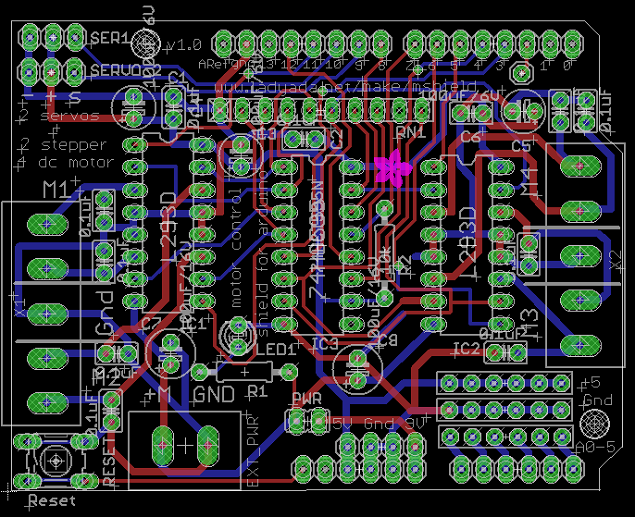
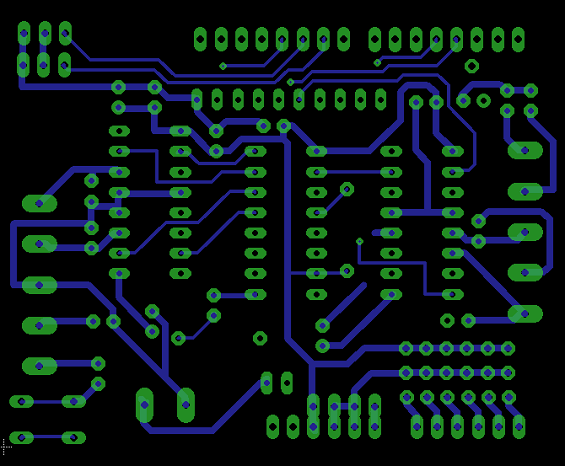
Seeing all those layers was initially intimidating. Upon some closer thought about what we needed, I discovered that only the top traces, pads, vias, and bottom traces were required. I would need to export three files: one that had the top traces, pads, and vias,
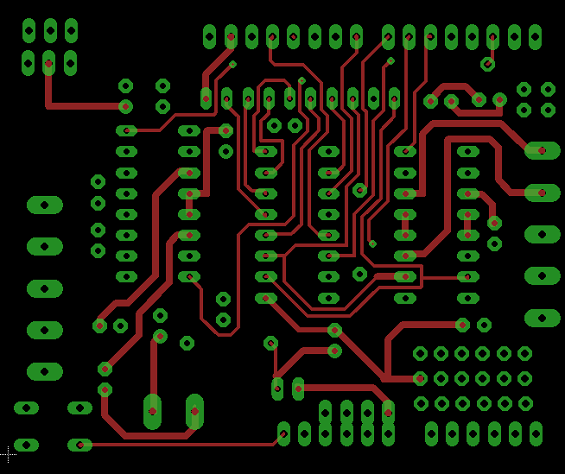
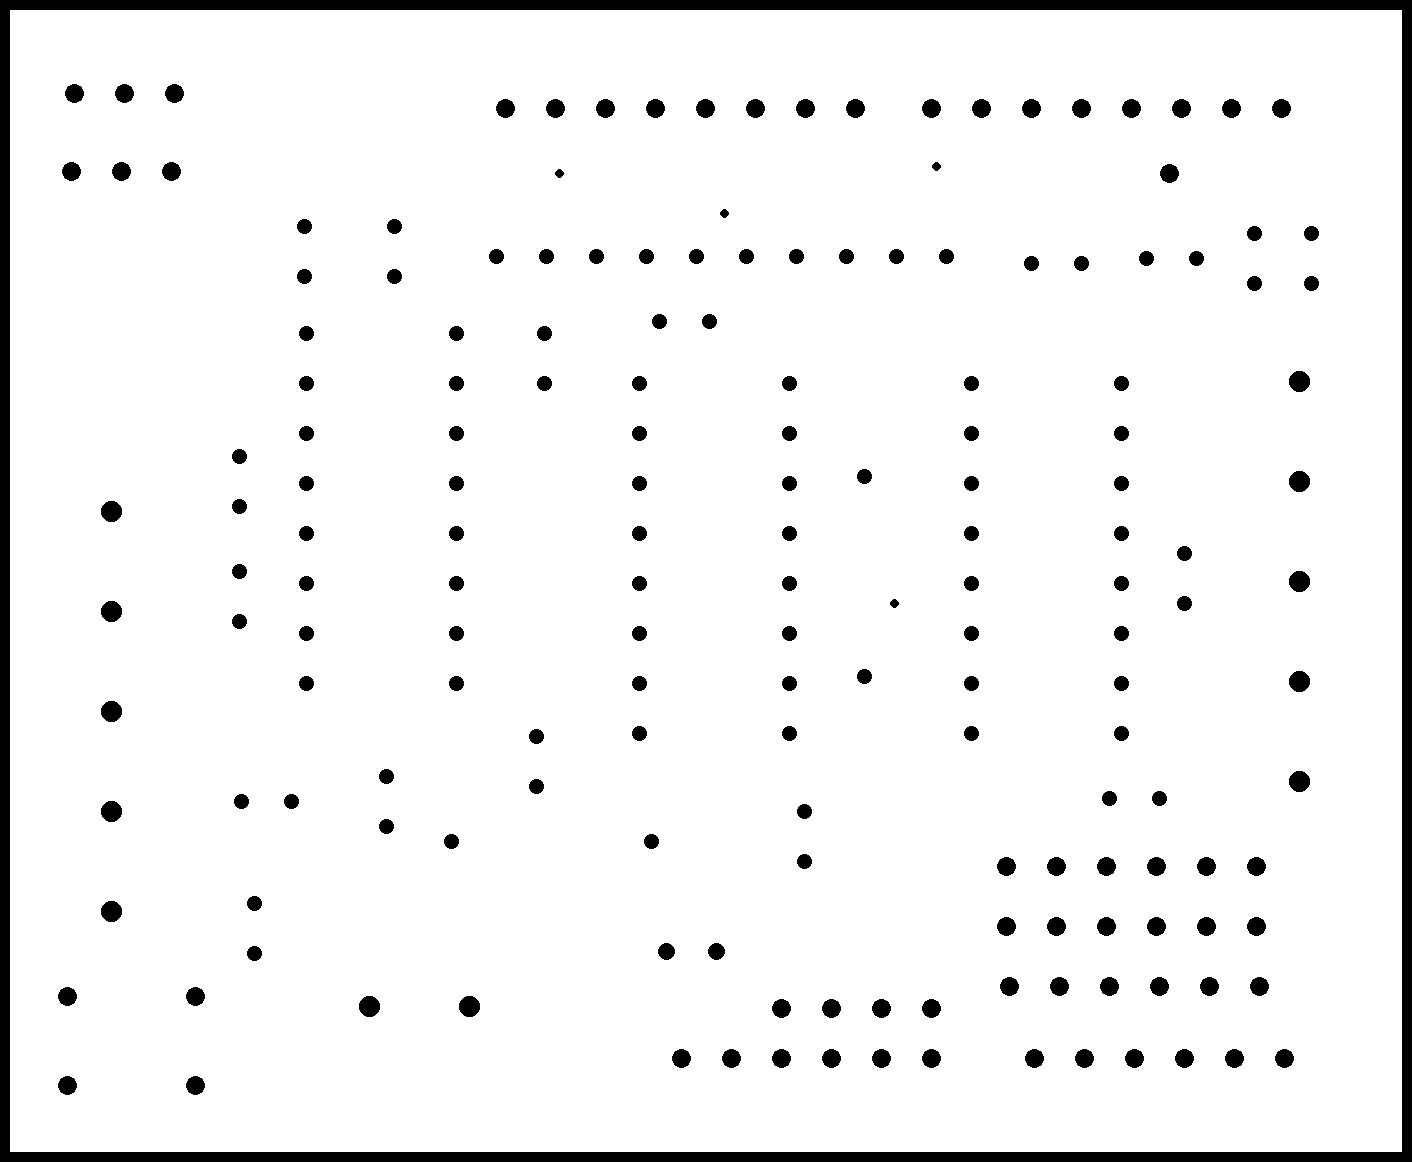
one that had only the pads and vias (this would later be used to cut out the board,
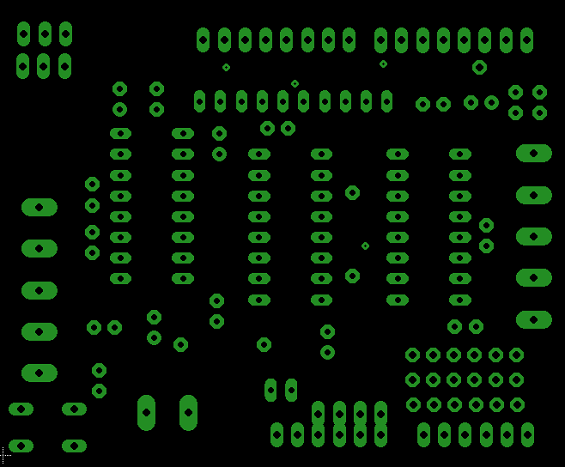
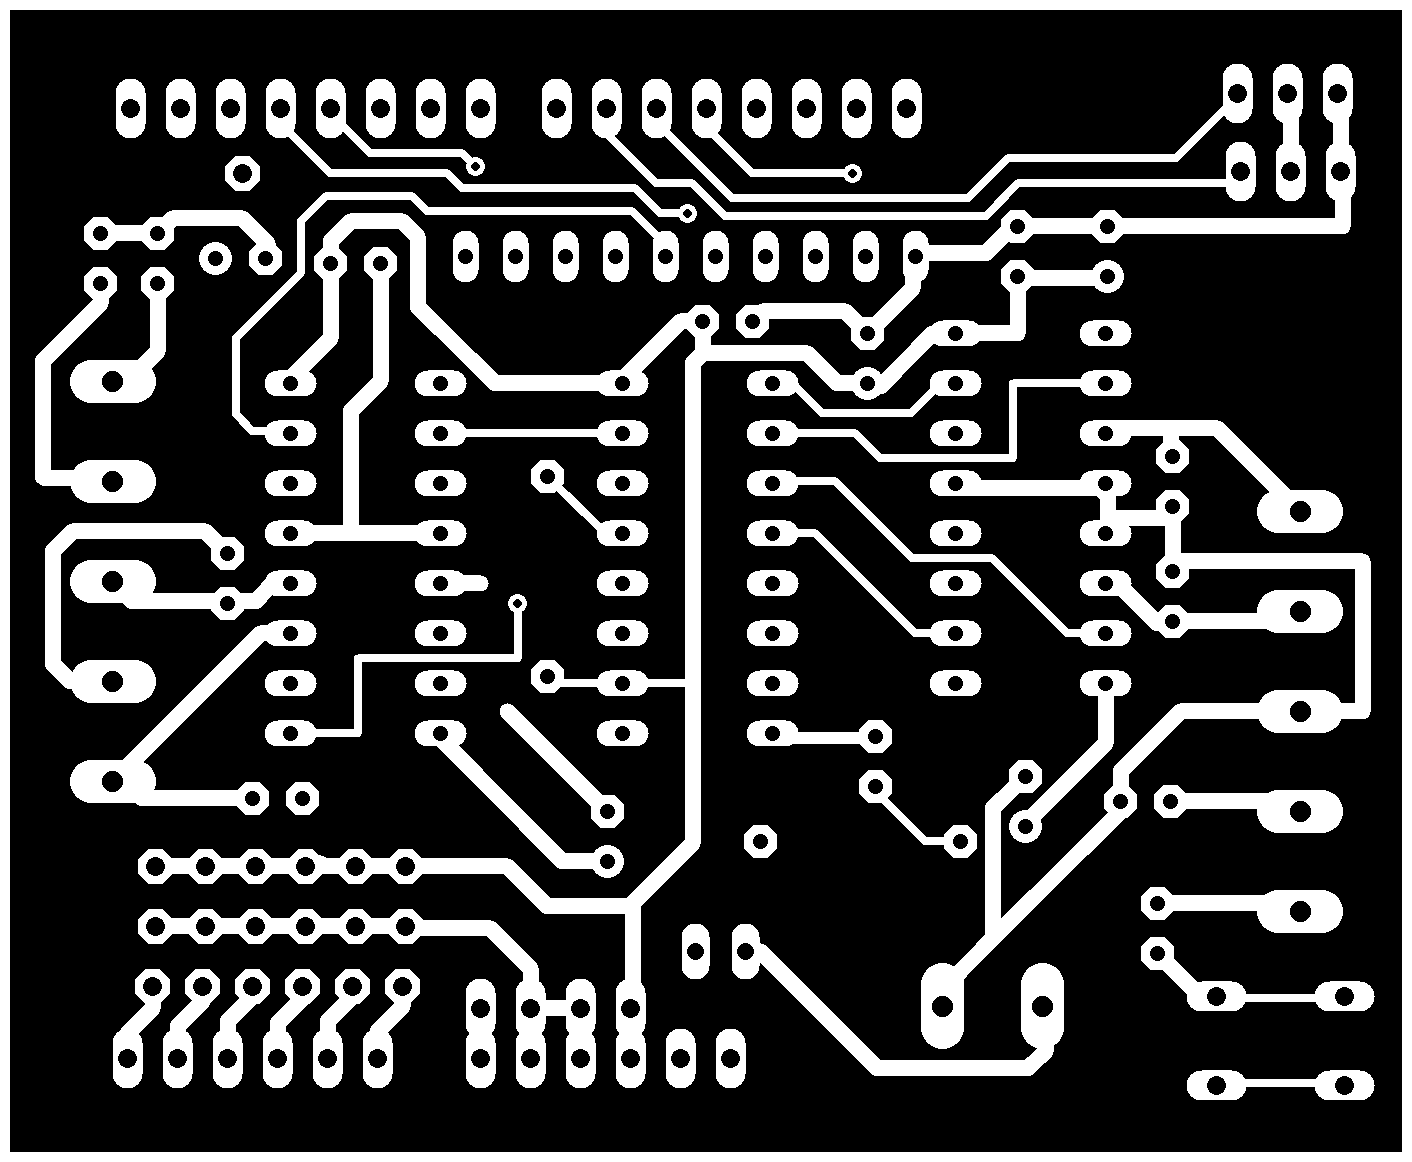
and finally one that had the bottom traces, pads, and vias:
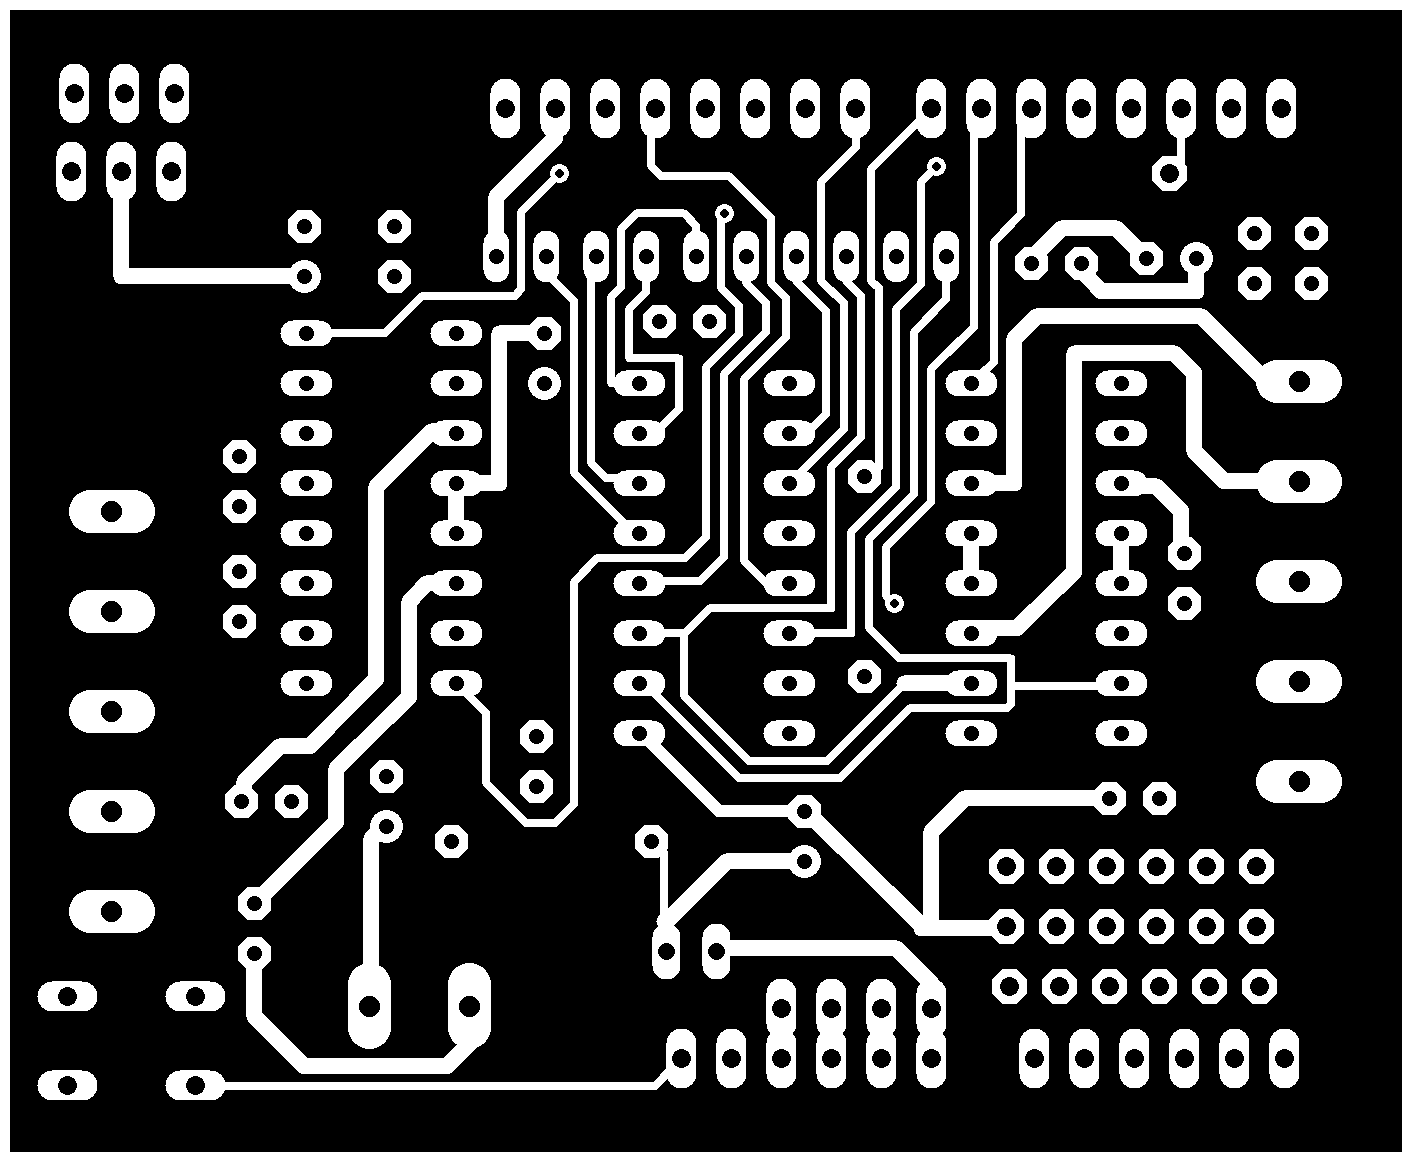
Much as I did in the electronics design week, I needed to export each of these board files as a PNG. I made a small mistake when trying to follow my own directions from that week and changed the sizes of the images to match that week's designs. After my first print of a (very) tiny board, I realized I shouldn't have done that and just left sizes as they were. I got these files for the top:
For the bottom file, I had to recognize that after I cut out the top and flipped it over, it would be mirrored. As such I had to rotate the entire image in the Gimp to get this file:
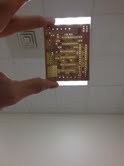
I was then prepared to mill. Milling took two trys. The first attempt, the board did not get cut out very well, and I couldn't remove it without taking everything out, and when I did that, it was very difficult to line it back up. The second attempt went better, though still not perfect. I am hopeful that some of the holes that do not line up perfectly are ones we do not need:
Time to stuff! I'll be back with a (hopefully) successful update soon.
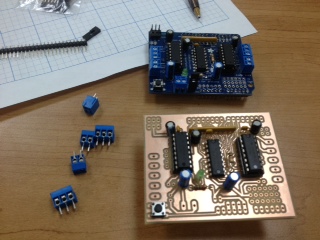
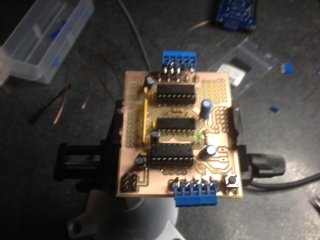
Stuffed. Ran into a few issues trying to make sure everything was where it was supposed to be. I used pieces from a kit that we ordered and a couple didnt fit so we had to get creative with some of the soldering/wiring.
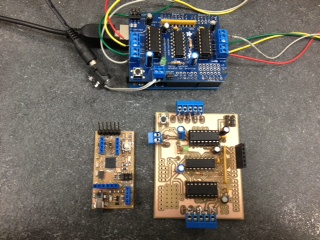
With my side done, it was time to combine our efforts and see if we could get anything workable out. We decided to try first with the store bought arduino and motor shield so that we could get a feel for how it all works. We placed the motor shield on the arduino, downloaded the associated arduino files, and ran the program. Seeing the pen holder move for the first time was pretty cool, but there was a slight problem. No matter which way we tried to move the gondola, it would only move right and down. We realized that we had a couple of our wires from the stepper motors on backwards. Fixing that led to correct motion. The first few drawings that we tried to make were pretty rough. The pen-holder wasn't sturdy enough, nor did it grip the pen tight enough. When the gondola would move, the pen would stick to the board due to friction, and then get dragged, rather than move as one piece. Brad fabbed up a new design for the pen holder and it went much smoother.
Our boards compared to store bought boards:
Final product:
