Electronics Production Feb 13
This week's assignment was to create the FabISP. As I understand it, the FabISP is a programmer which we will then be able to use to program chips and electronics in later weeks. By building the piece ourselves, we save money and gain an appreciation for the process. As this was my first time doing anything like this, saying I saved time would be a joke.
Our first step was installing the Fab Modules which we would use to take the design from the computer to the milling machine. Our group at Stoughton High School ran into a little trouble because, as it was explained to me, our milling machine was a newer model and therefore not compatible with the Fab Modules. We worked with Dr. Gershenfeld and our guru Blair and after a long Sunday of work my colleague Chris had everything working.
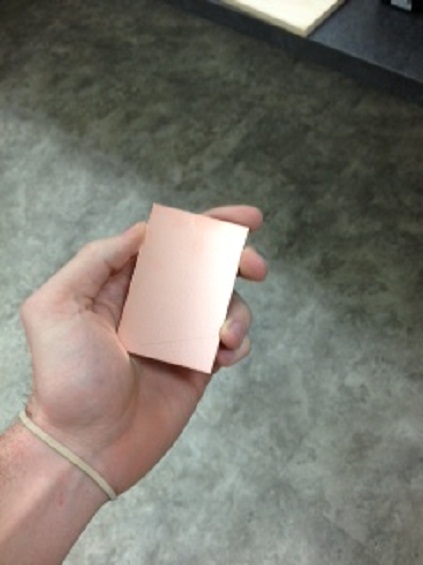
To begin, we start with a copper-coated board barely as big as the palm of your hand. Much of my later troubles would have to do with the size of the components but it is extremely cool that everything can be done on this scale.
Within the Fab Module, there was a specific procedure to follow before milling the board. I told the program what type of file I was going to use and where I was going to send it. I uploaded the file that I got off the fab server, changed the appropriate hashtags for what I wanted (traces) and wrote the path. I made sure the appropriate bit was selected (1/64), moved the drill bit to the appropriate place on the board, and dropped it down so it was just touching the copper. I sent the file and we were off and running.
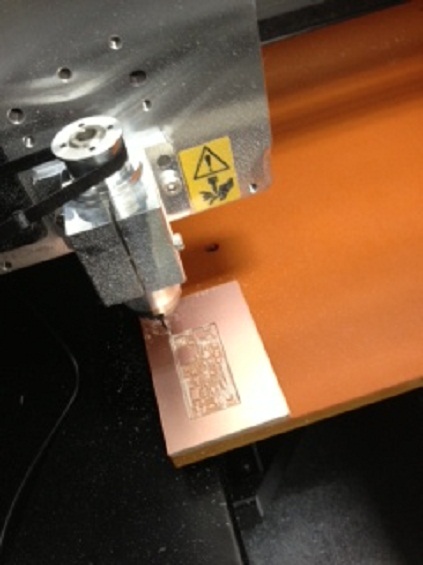
After the first run, it was apparent that the traces were not deep enough. I re-positioned the bit, and this time dropped it down into one of the paths that it had already cut out. This gave it a good depth. I returned to the computer, changed the hashtag from traces to interior, and wrote the path. I changed out the 1/64 bit to the 1/32 bit drill head and dropped it to touching the copper. Sent the file and the board was cut out.

Next was my least favorite part of the assignment based on the fact that I have very little experience soldering and no experience soldering at this size. I followed a very helpful instructional supplied by Anna Kaziunas France on which pieces to solder first, and went about the process. I found it most helpful to get a bit of solder on the iron and then sort of paint it on the part. I struggled mightily with this process, but it was lack of practice more than anything else. What seemed like an eternity later I finished soldering and had my very own FabISP:

I tested the FabISP by connecting via mini-usb to a computer. Since no error message appeared (and no smoke on the board) I knew there were no shorts. I then connected the ISP to the AVR programmer and got 2 green lights. Success! (or so I thought). In attempting to program the ISP I received an error message when attempting to "make fuse." After using a computer magnifier, I found a few connections where there was solder on the part, but not touching the board. After a bit of a touch up at my new home-away-from-home the soldering station, I tried again and got no error messages. Hooray. Last step was to remove a solder-bridge and a 0 Ohm resister. My programmer is now ready to use.