Computer-Controlled Machining Mar 20
In today's episode of Fab Academy, we find our hero tasked with the goal of making something "big." I will be using Stoughton's Shopbot to cut out large assembly pieces. This piece of equipment is like the milling machines bigger, steroid using brother, and boy does he pack a punch.
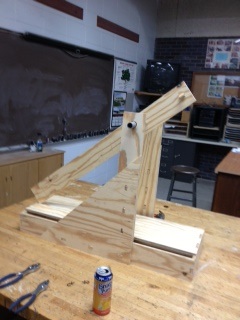
After giving it some thought, I wanted to make something that could have practical applications in my classroom, but would also be fun. As a physics teacher, fun and practical come together very nicely in our projectile unit so I decided to make a trebuchet very similar to this picture I found on the internet.

Wanting to design the machine myself, and also wanting to use primarily materials I found in the lab, I didn't look at any specifications and decided to make mine a snap-fit machine. This has the added bonus of easy dis-assembly and storage in an already cluttered physics demo area.
I set to work designing the pieces in Autodesk Inventor. What would have taken me several hours just a few weeks ago was completed in much less time. Forcing myself to practice with this and other CAD programs has really been helpful. I designed the base and supports to snap together. Any piece that was to lie flush I added holes for 1-inch wood pieces to hold it together like nails. Not sure how this is going to turn out but its a good attempt for a first timer like me. The assembly page for those parts is shown here:

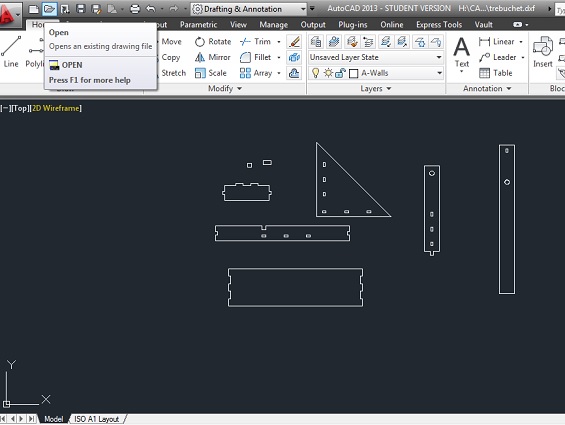
Using Inventor actually turned out to be a bit of a problem. To get the files into a format usable by our shop-bot, they needed to represent 2-D drawings, not 3-d parts. Upon many exporting attempts, I found that I couldn't get the 3-d files to convert and show up without being on the wrong plane. As such, I opened AutoCad, which would do 2-d, and re-made all my parts. As I stated before, earlier in the semester this would have set me back an entire day. At this point it was 20 or so extra minutes of work. The AutoCad file is shown below:
I exported this file as a .dxf file and opened it in in PartWorks. I set the board size to match our ShopBot, 96 by 48 inches; put the material thickness to 0.5 inches, and copied the parts that I would need multiple of. I created paths for the outlines of the pieces (telling the machine to cut on the outside) and created separate paths for the holes inside the parts (telling the machine to cut on the inside). 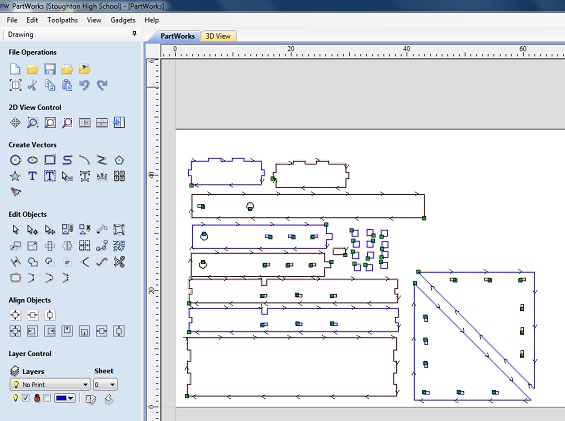

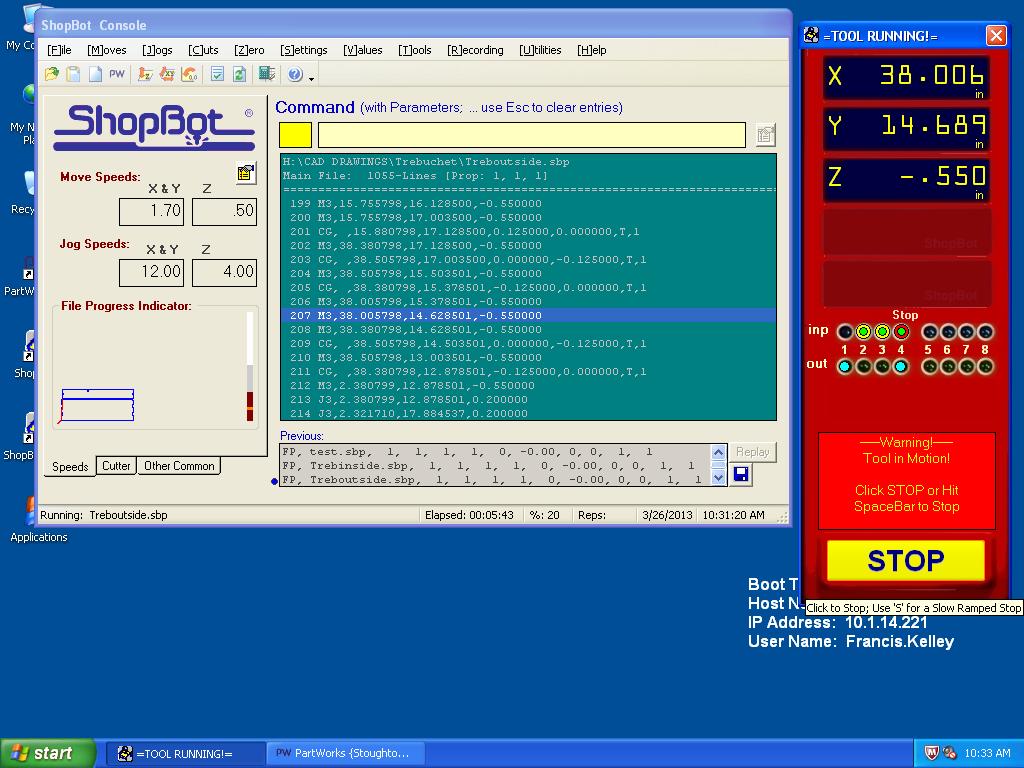
Due to some unscheduled maintenance, I was unable to use the ShopBot until Tuesday which threw off my construction a little, though I was still able to complete everything.
I opened the ShopBot program and manuallt zeroed the x, y and z axis. I then uploaded my path files. I created a test path that was just one of my very small pieces (more on those later) and ran that first. It cut where it was supposed to, the size it was supposed to. Since all seemed to be working well, I hit go on the next two paths and awaited my trebuchet.

Some comments on parts and assembly (Intended goal was a hammer as the only tool needed after parts ready):
--My goal was to make the entire machine, save the string, hooks, and weights, in the FabLab. As such, I created small 1 inch by 1 inch pegs to hold the flush pieces together. This led to a couple problems: 1) I cut the pegs the exact size of the holes. As such, I needed to sand them down when they were finished to get them to fit. This was super easy, but broke my fab only rule. 2) The 1 inch by 1 inch pegs were so small that they got sucked up into the dust-vacuum on the ShopBot. I had to unscrew and remove the air vent to get them out. Not the end of the world, but a little annoying. In the future I would more accurately scale those pieices to both fit the holes and not fly away.
--One of the triangle supports was a bit bowed, a defect of the plywood. As such, it resisted the wood pegs. An easy fix for this would be to screw the pieces together or use wood clue. I really wanted my machine to be easly disassembled though because the goal is to have five or six of these as a classroom set and the pieces are much more room friendly than the final product.
--Because I got set back a day using the ShopBot, I haven't been able to attach all the hooks/string and see if this bad boy actually fires. It does hold the weights, though, and the lever arm swings through quite nicely so the design is sound.