Composites Apr 3
Though not actually technically difficult, this week gave me a lot of trouble conceptually. While I often use the sentence "I've never done this before" during this class, I've at least understood the basic concepts. This week, I was really unclear on all the steps inbetween design a mold, and get a composite out. (Note that is all the important steps). I relied on a combination of old fab academy pages, online tutorials, and the instructional attached to the class page. While I think I've done everything correctly, I am writing this with the vacuum still on so we'll see in about 7 hours when I remove the part and see how it turned out.
First I had to figure out what I wanted to make. A lot of my first ideas were three dimensional and as I was a little intimidated by the assignment, I decided that was a bit too tough. My colleague Chris suggested a frisbee, and I was intrigued but still, that's 3-d. I decided I could make a reasonably well working boomerang that would only be 2-d, and still prove to have fun applications if it worked out.
My first step was to design the boomerang. Easiest desgin all semester! I just free hand sketched it in Illustrator. Boom. Done. No CAD necessary.
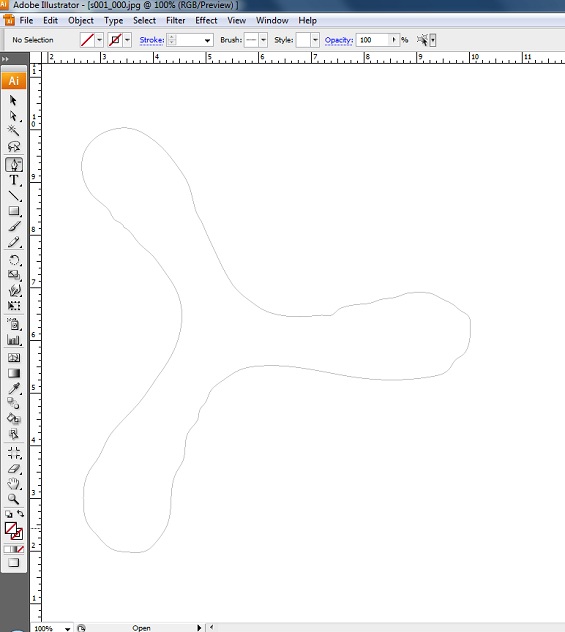
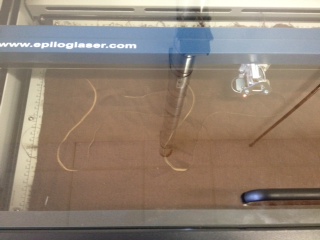
I'm not going to win any art awards, but it seemed like ti would work out OK. I used the laser cutter to print the boomerang. I decided (based on it being the only thing we had in the lab) to use some brown linen as my composite material. I cut a piece out and stappled it to my cardboard, and put the whole thing in the laser cutter. Adjusting the settings for cardboard allowed me to cut out everything at once, which was pretty sweet.
Next it was on to the vacuum bagging. As I understand it, I am to mix an epoxy, apply it to the linen, place it on my cardboard, and then with various layers, suck all the air out of a bag to get it to set. I think I can do that.
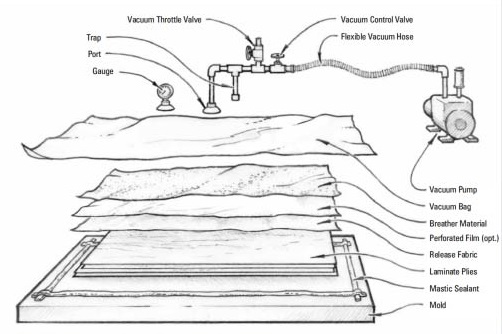
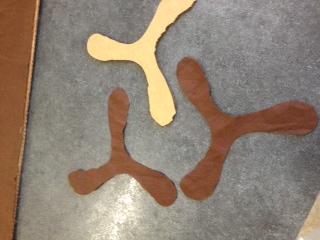
I first cut the bag, breather material, and release fabric. I then mixed the epoxy (shown below) according to the directions. I dipped the linen in the epoxy, placed it in the appropriate places on the cardboard, put my sandwhich of materials together, and applied the vacuum bag sealant. I then ran the vacuum for about an hour and half.

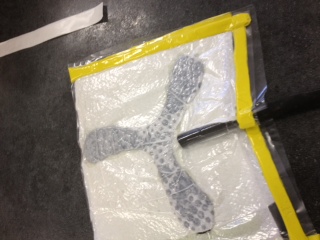
According to some information I found online, those little circles mean I was a bit overzealous with the epoxy, but we'll have to wait a bit to find out. I'll update in about 8-10 hours when its hopefully done and a lieghtweight but solid boomerang.
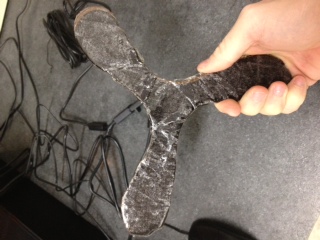
Next day update: Unwrapped the boomerang and it looks great (If by great you mean sloppy but complete). I definitely used too much epoxy as it was oozed out, but hardened, pretty much everywhere. Stil, it seems to have set pretty well and I am left with a fully functioning, strong boomerang.